⚡ FLASH SALE: Get 60% OFF All Premium 3D & STL Models! ⚡
In the dynamic world of 3D visualization, the demand for exceptionally high-quality 3D car models has never been greater. From cinematic automotive advertisements and immersive game environments to cutting-edge AR/VR experiences and detailed product visualization, realistic vehicle assets are pivotal. However, creating or even effectively utilizing these complex models requires a deep understanding of several technical disciplines. It’s not just about aesthetics; it’s about robust topology, precise UV mapping, authentic PBR materials, optimized rendering, and seamless integration into various pipelines.
This comprehensive guide will take you on a deep dive into the intricate workflows involved in handling 3D car models. We’ll explore the foundational principles of clean topology, demystify the art of UV mapping for complex surfaces, delve into the nuances of PBR material creation, and navigate the pathways of high-fidelity rendering. Furthermore, we’ll uncover critical strategies for game engine optimization, discuss the specific requirements for AR/VR applications, and even touch upon preparing models for 3D printing. Whether you’re a seasoned 3D artist, an aspiring game developer, an automotive designer, or a visualization professional, this article will equip you with the advanced insights and actionable techniques necessary to elevate your projects to the next level. Prepare to unlock the full potential of 3D car models.
The underlying mesh structure, or topology, is the bedrock upon which any high-quality 3D model is built. For intricate subjects like cars, impeccable topology is non-negotiable, directly impacting everything from smooth deformations during animation to the quality of subdivision surface rendering. A well-constructed mesh ensures that surfaces are smooth, reflections are clean, and the model can be easily edited or optimized later. Neglecting topology leads to pinching, artifacts, and endless headaches down the line.
When modeling automotive surfaces, the primary goal is to maintain a clean and logical flow of edges that accurately describe the car’s contours and creases. This often means working primarily with quadrilaterals (quads), as they subdivide predictably and handle deformation gracefully. While triangles are unavoidable in some scenarios, and n-gons (faces with more than four vertices) should be strictly avoided in subdividable meshes, understanding their appropriate use is crucial for efficient 3D modeling workflows.
Quads are the gold standard for organic and subdividable models because they allow for even distribution of new polygons when using subdivision surface modifiers (like Catmull-Clark in Blender or Turbosmooth in 3ds Max). This results in smooth, predictable curves without unsightly lumps or bumps, which is vital for the reflective surfaces of a car body. Triangles, on the other hand, are rigid and don’t subdivide as cleanly, often creating pinching or unwanted tension in a mesh. They are generally acceptable for flat, non-deforming surfaces, especially in game assets where polycount is a critical concern, and subdivision is rarely used at runtime. N-gons are problematic in almost all scenarios for models intended for subdivision or deformation; they can lead to unpredictable shading, rendering errors, and make edge loops difficult to manage. Always strive to convert n-gons to quads or triangles during the modeling process.
Creating the flowing, aerodynamic curves characteristic of modern vehicles requires meticulous attention to edge flow. To maintain sharp creases, such as those found around windows, door seams, or body lines, you’ll need to use “holding edges” or “support loops.” These are additional edge loops placed very close to the crease line, effectively tightening the subdivided surface in that area. For example, a crisp body line might require two or three edge loops running parallel and very close to each other along the sharp edge, while the rest of the surface flows smoothly with wider-spaced quads. Achieving accurate panel gaps is equally important for realism. These are typically modeled as distinct, separate pieces of geometry for each panel, with a small, uniform gap between them. This approach allows for realistic occlusion and lighting interactions, preventing the “one-piece” look that instantly breaks immersion. Always work from high-quality blueprints and reference images, meticulously aligning vertices and edges to match the real-world dimensions and forms of the vehicle.
Once your 3D car model boasts impeccable topology, the next critical step is UV mapping. UV mapping is the process of unwrapping the 3D surface of your model into a 2D plane, allowing you to apply textures and materials accurately. For complex objects like cars, with their diverse materials (paint, glass, rubber, chrome, interior fabrics), well-executed UVs are paramount for achieving photorealistic results and efficient texturing workflows. Poor UVs lead to stretched textures, visible seams, and wasted texture space, undermining all the hard work put into the modeling phase.
The goal is to create a UV layout that minimizes distortion, hides seams in less visible areas, and efficiently utilizes the available texture space. This often involves segmenting the car into logical components—body panels, windows, wheels, interior elements—and unwrapping each section strategically. Tools in software like 3ds Max, Blender, or Maya offer various projection methods (planar, cylindrical, spherical, pelt mapping) to tackle different surface types effectively.
An optimized UV layout ensures that your textures appear crisp and consistent across the entire model. To achieve this, several best practices should be followed. Firstly, minimize the number of UV seams, as these can be visible artifact lines in your textures, especially with normal maps or highly reflective materials. When seams are necessary, strategically place them along natural breaks in the geometry or in less visible areas (e.g., the underside of a car, along panel gaps). Secondly, avoid texture stretching by ensuring that the scale of the UV islands accurately corresponds to the scale of the 3D geometry. A checker map is an invaluable visual tool for this; it reveals any stretching or inconsistencies in UV density across the model. Lastly, maximize UV space utilization. Arrange your UV islands efficiently within the 0-1 UV coordinate space, rotating and scaling them to fill as much area as possible without overlapping. This ensures that every pixel of your texture contributes meaningfully to the model’s detail, preventing wasted resolution. For a car body, a high-resolution texture like 4K or 8K is often recommended for primary surfaces to capture fine details and reflections.
For highly detailed 3D car models, especially those destined for high-end rendering or cinematic production, a single UV set often isn’t enough. Multiple UV sets allow different parts of the car to have dedicated texture maps without resolution conflicts. For instance, you might have one UV set for the main body paint, another for the interior, and a third for intricate details like emblems or dashboard controls. This provides greater flexibility and control over texture resolution for different components. For projects demanding extreme texture detail, particularly in film VFX, UDIM (U-Dimension) workflows come into play. UDIMs extend the 0-1 UV space into multiple tiled squares (e.g., 0-1, 1-2, 2-3, etc.), allowing each panel or even smaller parts of the car to have its own dedicated high-resolution texture tile. This is particularly useful for vehicles with vast, highly reflective surfaces where even minor texture resolution compromises can be noticeable. Software like Substance Painter and Mari are built to handle UDIM workflows seamlessly, making them powerful tools for texturing complex automotive models.
Once your 3D car model has pristine topology and meticulously unwrapped UVs, the next crucial step is to breathe life into it with realistic materials. Physically Based Rendering (PBR) has revolutionized this process, providing a standardized approach to material creation that mimics real-world light interactions more accurately. PBR materials ensure that your automotive rendering looks consistent and believable across different lighting conditions and render engines, making them indispensable for achieving photorealism.
PBR workflows rely on a set of standardized texture maps that define how light interacts with a surface. Understanding how to create and combine these maps, along with building sophisticated shader networks, is key to capturing the nuanced appearance of various car components – from the intricate clear coat of metallic paint to the subtle wear on rubber tires and the refraction of glass. Platforms like 88cars3d.com often provide models with expertly crafted PBR materials, saving artists significant time and effort.
At its core, PBR aims to represent how light behaves with materials in the physical world. There are two primary PBR workflows: Metallic-Roughness and Specular-Glossiness. The Metallic-Roughness workflow, common in game engines like Unity and Unreal Engine, and many DCC tools, uses a Base Color (or Albedo) map, a Metallic map (0 for dielectric, 1 for metallic), and a Roughness map (0 for smooth/reflective, 1 for rough/matte). The Specular-Glossiness workflow uses a Diffuse map, a Specular map (color of reflections), and a Glossiness map (inverse of Roughness). Regardless of the workflow, other essential PBR maps include Normal maps (for surface detail without added geometry), Ambient Occlusion (AO) maps (for contact shadows), and often Height/Displacement maps (for actual geometric detail). Each map plays a vital role: the Base Color defines the intrinsic color, Metallic dictates reflectivity, Roughness controls the sharpness of reflections, and Normal maps add micro-surface detail, all working in concert to create a believable material response.
Recreating the complex finishes of a car requires more than just basic PBR maps. Car paint shaders, for instance, are notoriously difficult due to their multi-layered nature. A typical car paint shader involves a base color layer (often with metallic flakes or pearlescent particles), topped by a highly reflective clear coat. This clear coat layer needs its own distinct roughness and normal map properties to simulate tiny scratches or orange peel textures. Software like 3ds Max with Corona or V-Ray, or Blender with Cycles, allows for building these layered shaders using blend materials or complex node networks. Tires require robust rubber materials, often with subtle normal maps for tread patterns and an additional layer for dirt or wear, controlled by vertex paint or procedural masks. Glass shaders for windows and headlights need accurate refraction (often controlled by an Index of Refraction, IOR), reflection, and sometimes a slight tint. Headlights and taillights can also benefit from subsurface scattering (SSS) for the plastic lenses, allowing light to subtly diffuse through them, enhancing realism. Tools like Substance Painter and Substance Designer are invaluable for generating these intricate texture maps and material definitions quickly and non-destructively, enabling artists to paint directly onto the 3D model and observe PBR values in real-time.
With a perfectly modeled car and stunning PBR materials, the next step is to showcase it in the best possible light. High-fidelity automotive rendering is an art form that combines technical mastery with an artistic eye, transforming your 3D model into a captivating image or animation. This involves meticulously setting up lighting, crafting realistic environments, optimizing render settings, and finally, finessing the output through post-processing and compositing. Every detail, from the reflections on the car’s paint to the subtle shadows cast on the ground, contributes to the overall realism and impact of the final visualization.
Choosing the right render engine and understanding its capabilities is crucial. Popular choices like Corona Renderer and V-Ray for 3ds Max, Cycles for Blender, and Arnold for Maya each offer unique strengths, but the core principles of lighting and scene setup remain universal. The goal is to simulate how light behaves in the real world, creating depth, mood, and visual interest that accentuates the design and craftsmanship of the 3D car models.
A convincing studio lighting environment is the cornerstone of a great automotive render. High Dynamic Range Images (HDRIs) are indispensable here, providing realistic ambient lighting and complex reflections that immediately ground the car in its environment. A high-quality HDRI of a studio, parking lot, or open landscape can dramatically elevate realism. Beyond HDRIs, traditional three-point lighting (key, fill, and rim lights) is often employed. A strong “key light” defines the main illumination and highlights, while a softer “fill light” reduces harsh shadows. “Rim lights” positioned behind the car help separate it from the background and accentuate its form. For showcasing a car’s reflections, large softbox or strip lights are commonly used in virtual studios, strategically placed to create elegant streaks of light across the bodywork. Additionally, integrating a “backplate” – a photographic background image – can seamlessly place your rendered car into a real-world scene, provided the perspective and lighting match accurately.
Achieving a high-quality render efficiently involves a delicate balance of settings. Render engines offer parameters like sampling rates, noise thresholds, and ray depth limits (for reflections and refractions). For example, in Corona Renderer, adjusting the ‘Passes limit’ or ‘Noise limit’ will control the quality and duration of the render. In V-Ray, optimizing ‘Min/Max Subdivisions’ and ‘Noise Threshold’ is key. Pushing these settings too high can drastically increase render times, while too low can result in noisy or unrealistic output. A common strategy is to render with a reasonable noise threshold and clean up the remaining noise in post-processing. Crucially, render passes (also known as AOV’s – Arbitrary Output Variables) are essential for advanced post-production. These separate image layers capture different components of the render, such as diffuse color, reflections, refractions, specular highlights, Z-depth (for depth of field), and normals. Compositing these passes in software like Adobe Photoshop, Nuke, or Affinity Photo allows for unparalleled control over the final image. You can adjust colors, contrast, add lens flares, cinematic depth of field, subtle vignettes, or even correct small rendering imperfections without re-rendering the entire scene, bringing your visualization to a professional standard.
The transition of a highly detailed 3D car model from an offline renderer to a real-time game engine presents a unique set of challenges and requirements. While offline rendering prioritizes ultimate fidelity regardless of render time, game engines demand models that are highly optimized for performance, ensuring smooth frame rates even with multiple complex assets on screen. This optimization is critical for creating immersive and responsive experiences in video games, interactive applications, and simulation environments. Understanding the core principles of game engine optimization, particularly for platforms like Unity and Unreal Engine, is paramount for any developer or artist working with real-time assets.
The goal is to reduce the computational load on the GPU and CPU as much as possible without sacrificing visual quality beyond an acceptable threshold. This involves intelligent polygon reduction, efficient texture management, and smart material setup. When sourcing models from marketplaces such as 88cars3d.com, ensure they are designed with real-time optimization in mind, often indicated by clean topology, optimized polycounts, and PBR material setups ready for direct engine import.
One of the most significant factors in game performance is polygon count. High-poly models, while great for offline renders, can cripple real-time applications. The primary technique to manage this is implementing Level of Detail (LODs). LODs involve creating multiple versions of a single model, each with progressively fewer polygons. For instance, a car might have an LOD0 (close-up) with 50,000 polygons, an LOD1 (mid-distance) with 10,000, and an LOD2 (far distance) with 2,000. Game engines automatically switch between these versions based on the camera’s distance, ensuring high detail when needed and saving performance when not. Another critical optimization is reducing draw calls, which are instructions sent from the CPU to the GPU. Each unique material, mesh, or texture can generate a draw call. To minimize these, techniques like texture atlasing (combining multiple smaller textures into one large texture map) and mesh combining (merging multiple small meshes into a single larger one) are employed. Batching (dynamic or static) and occlusion culling, where objects hidden from view are not rendered, further contribute to significant performance gains in engines like Unity and Unreal Engine.
AR/VR applications impose even stricter performance budgets than traditional video games, often requiring lower polygon counts and highly optimized materials to maintain high frame rates necessary for comfort and immersion. For AR/VR optimization techniques, car models often need to be within a 20,000-30,000 polygon limit, including all sub-components. Materials should be simplified, often relying on baked lighting and streamlined shader graphs rather than complex real-time global illumination. Special attention must be paid to texture resolutions, ensuring they are optimized for mobile or standalone VR devices, which may have limited memory and processing power. File formats also become crucial here. GLB (glTF Binary) is the preferred format for web-based AR/VR and many Android applications due to its efficiency and inclusion of model, materials, and textures in a single file. For Apple’s ARKit, USDZ is the proprietary format, offering similar benefits. Both glTF and USDZ are designed for efficient real-time delivery and rendering. Ensuring your 3D car models are exported with proper scaling, pivot points, and correctly configured materials in these formats is vital for a smooth AR/VR integration pipeline, allowing users to experience your vehicles seamlessly in augmented or virtual realities.
The utility of 3D car models extends far beyond high-fidelity rendering and real-time game engines. With advancements in additive manufacturing, 3D printing has emerged as a powerful application, allowing digital designs to materialize as physical prototypes, collectibles, or functional parts. However, preparing a model for 3D printing involves a distinct set of considerations that differ significantly from those for rendering or game development. Additionally, navigating the myriad of file formats and ensuring cross-software compatibility is a constant challenge for 3D artists and developers alike, underscoring the importance of robust and adaptable assets.
Understanding these diverse applications and their specific technical requirements ensures that your 3D car models are versatile and can be leveraged across various industries, from rapid prototyping in automotive design to creating custom merchandise. Marketplaces like 88cars3d.com often provide models prepped for multiple use cases, offering essential flexibility.
Unlike rendering, which is forgiving of slight mesh imperfections, 3D printing demands a “watertight” or “manifold” mesh. This means the model must be a completely enclosed volume with no gaps, internal faces, or inverted normals. A non-manifold mesh will result in printing errors or failed prints. Key preparation steps include:
The 3D industry uses a wide array of file formats, each with its strengths and specific use cases. Understanding their differences and how to convert between them efficiently is crucial for a smooth workflow and collaboration.
When converting between formats, always prioritize clean exports. Ensure all transformations are frozen, meshes are cleaned, and materials are correctly assigned. For instance, exporting from 3ds Max to Blender via FBX requires careful consideration of scale and material interpretation. Platforms like 88cars3d.com provide models in multiple common formats, such as FBX, OBJ, and GLB, ensuring maximum compatibility and ease of use for various projects, significantly streamlining your workflow by providing assets ready for your chosen pipeline.
The journey of a 3D car model, from its initial conceptualization to its final deployment in diverse applications, is a testament to the intricate artistry and rigorous technical expertise demanded in the 3D industry. We’ve traversed the critical stages, beginning with the foundational importance of flawless topology and intelligent edge flow that underpins visual realism and model versatility. We then delved into the strategic unwrapping of complex surfaces through UV mapping and the painstaking creation of authentic PBR materials, essential for captivating automotive rendering.
Furthermore, we explored the nuances of high-fidelity rendering workflows, understanding how lighting, environment, and post-processing elevate an image from good to extraordinary. The distinct challenges of optimizing models for real-time environments like game engines and cutting-edge AR/VR experiences were also covered, emphasizing the need for performance-driven decisions, including LODs and efficient file formats. Finally, we touched upon preparing models for the tangible world of 3D printing, highlighting the unique requirements for physical fabrication.
Each step in this multifaceted process—from topology to textures, rendering to real-time, and visualization to physical output—contributes to the overall quality and utility of the final asset. For professionals and enthusiasts alike, understanding these technical intricacies is not just an advantage but a necessity in today’s demanding digital landscape. Whether you are building from scratch or sourcing premium assets, the pursuit of quality in every detail will define the success of your project. To jumpstart your next project with meticulously crafted and optimized 3D car models, explore the vast selection available on platforms like 88cars3d.com, where quality and versatility are paramount. Continue to learn, experiment, and refine your craft, and you’ll consistently produce compelling and realistic automotive visualizations.
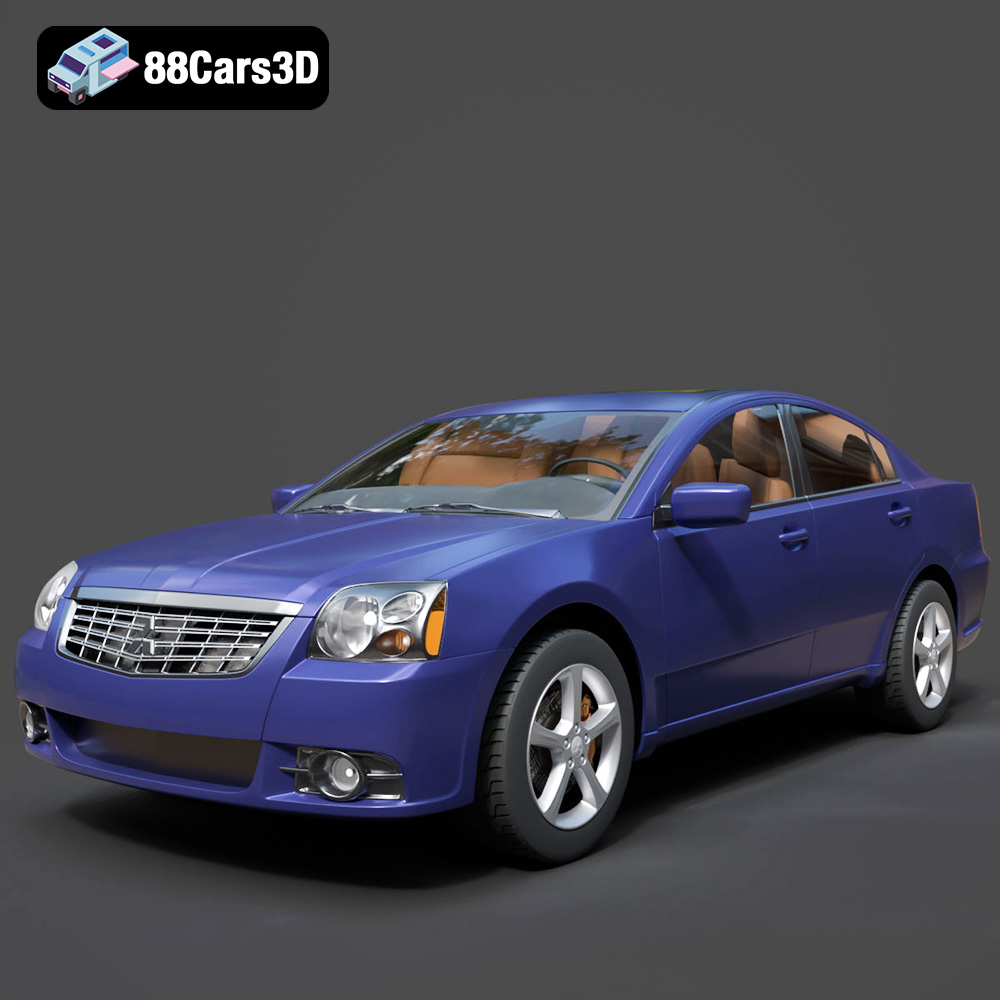
Texture: Yes
Material: Yes
Download the Mitsubishi Galant 2009 3D Model featuring clean geometry, realistic detailing, and a fully modeled interior. Includes .blend, .fbx, .obj, .glb, .stl, .ply, .unreal, and .max formats for rendering, simulation, and game development.
Price: $4.99
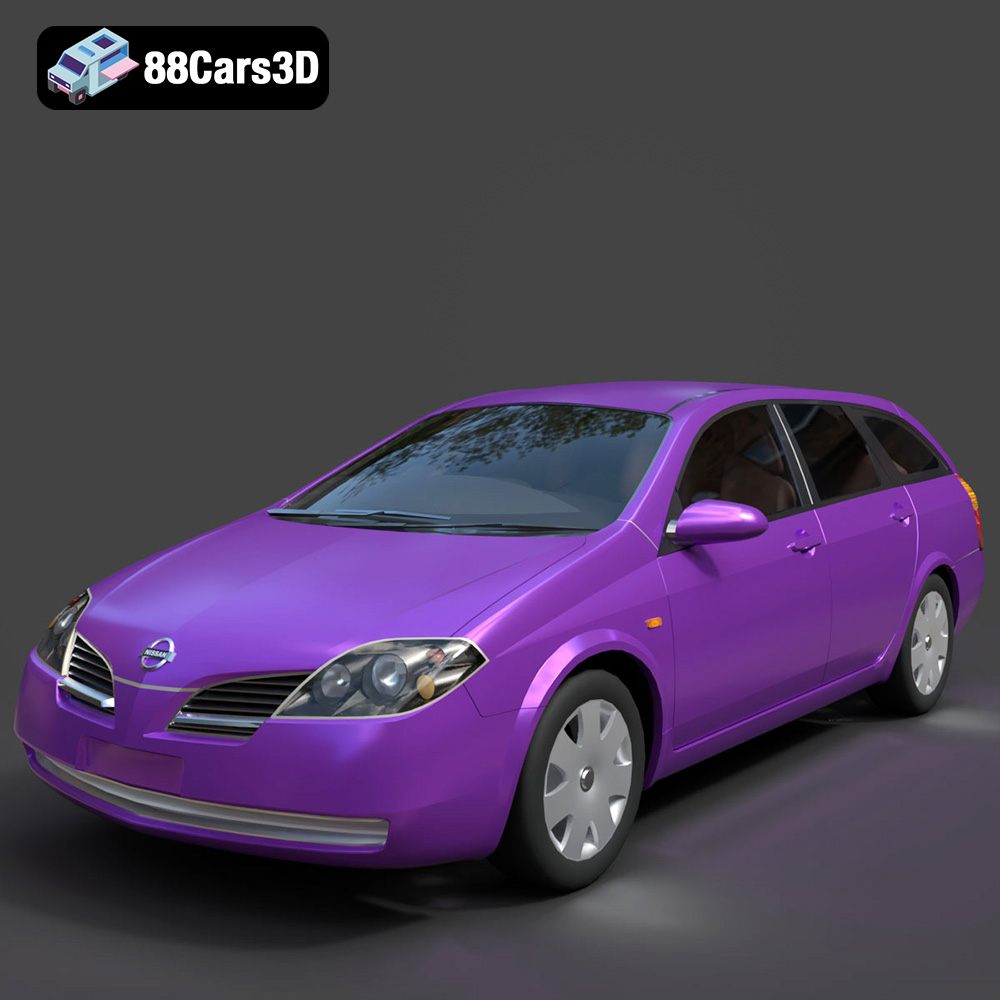
Texture: Yes
Material: Yes
Download the Nissan Primera Wagon 3D Model featuring clean geometry, realistic detailing, and a fully modeled interior. Includes .blend, .fbx, .obj, .glb, .stl, .ply, .unreal, and .max formats for rendering, simulation, and game development.
Price: $4.99
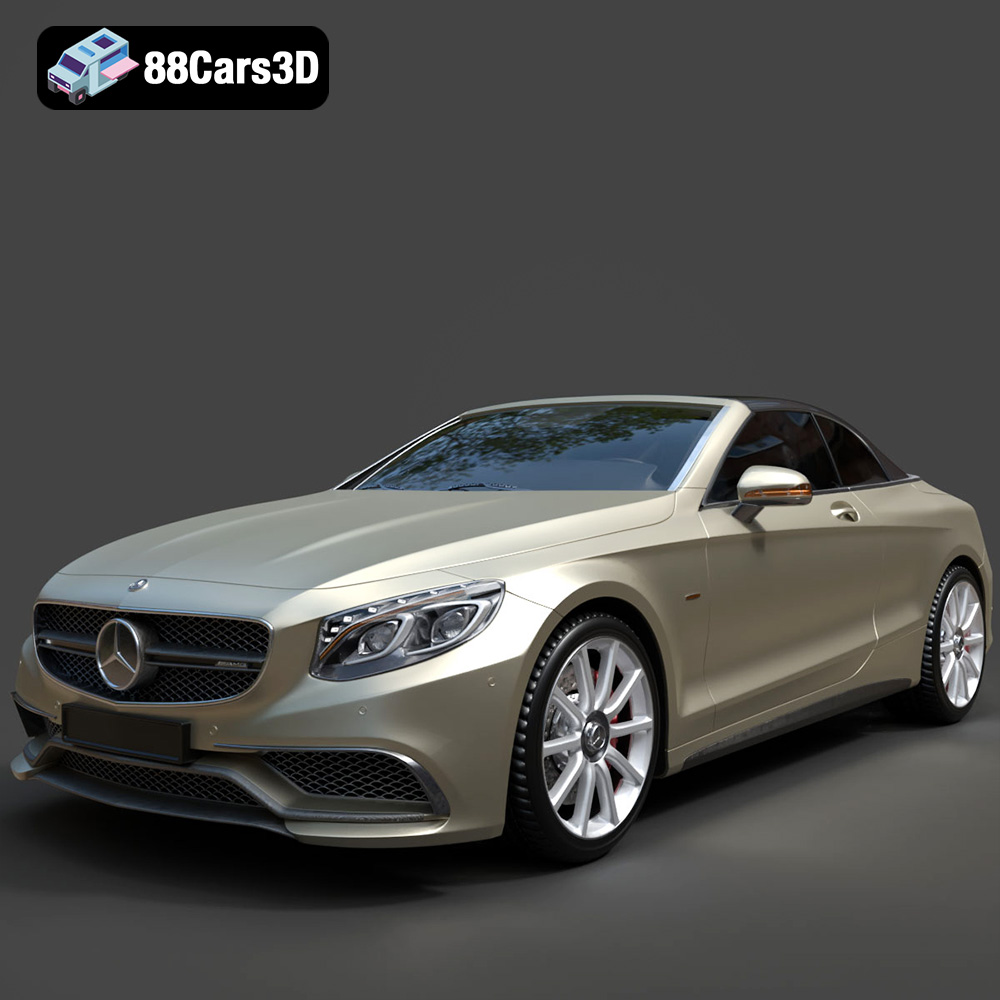
Texture: Yes
Material: Yes
Download the Mercedes-Benz S63 AMG Cabriolet 2017 3D Model featuring clean geometry, realistic detailing, and a fully modeled interior. Includes .blend, .fbx, .obj, .glb, .stl, .ply, .unreal, and .max formats for rendering, simulation, and game development.
Price: $20.99
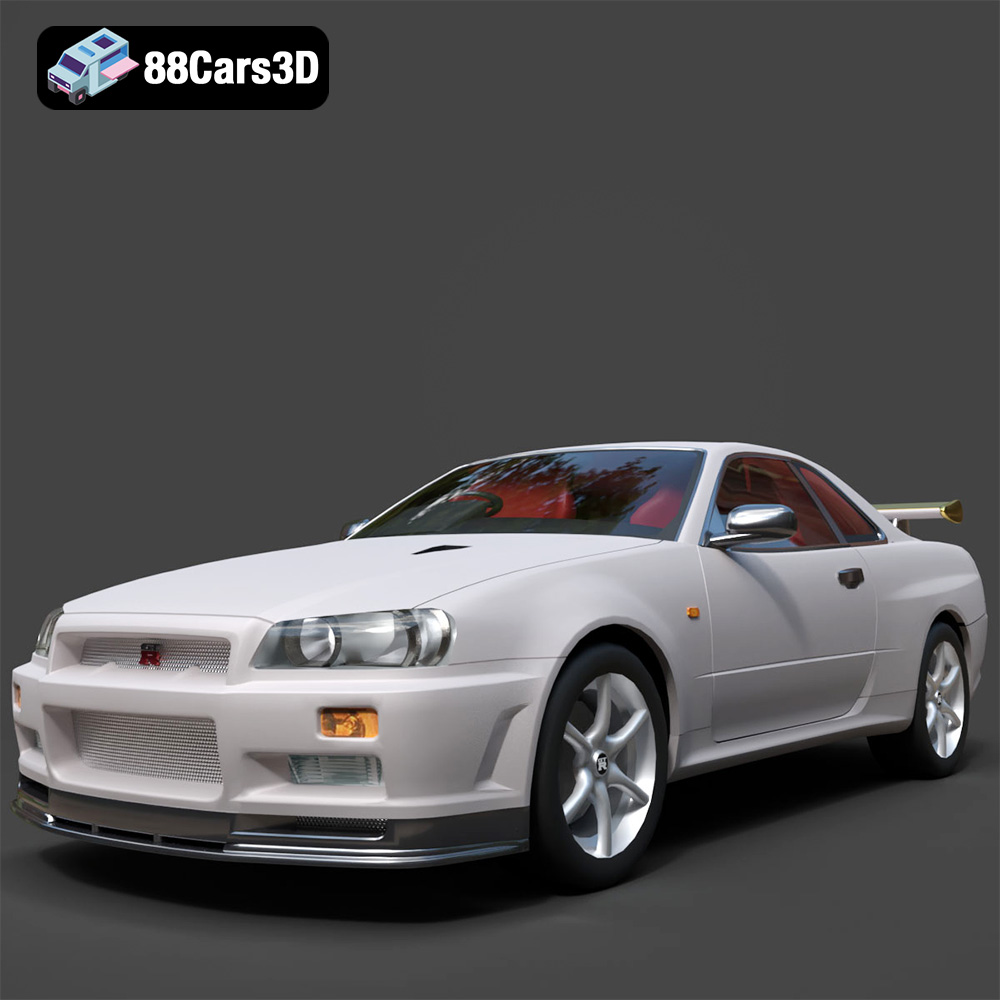
Texture: Yes
Material: Yes
Download the Nissan Skyline R34 2002 3D Model featuring clean geometry, realistic detailing, and a fully modeled interior. Includes .blend, .fbx, .obj, .glb, .stl, .ply, .unreal, and .max formats for rendering, simulation, and game development.
Price: $4.99
Texture: Yes
Material: Yes
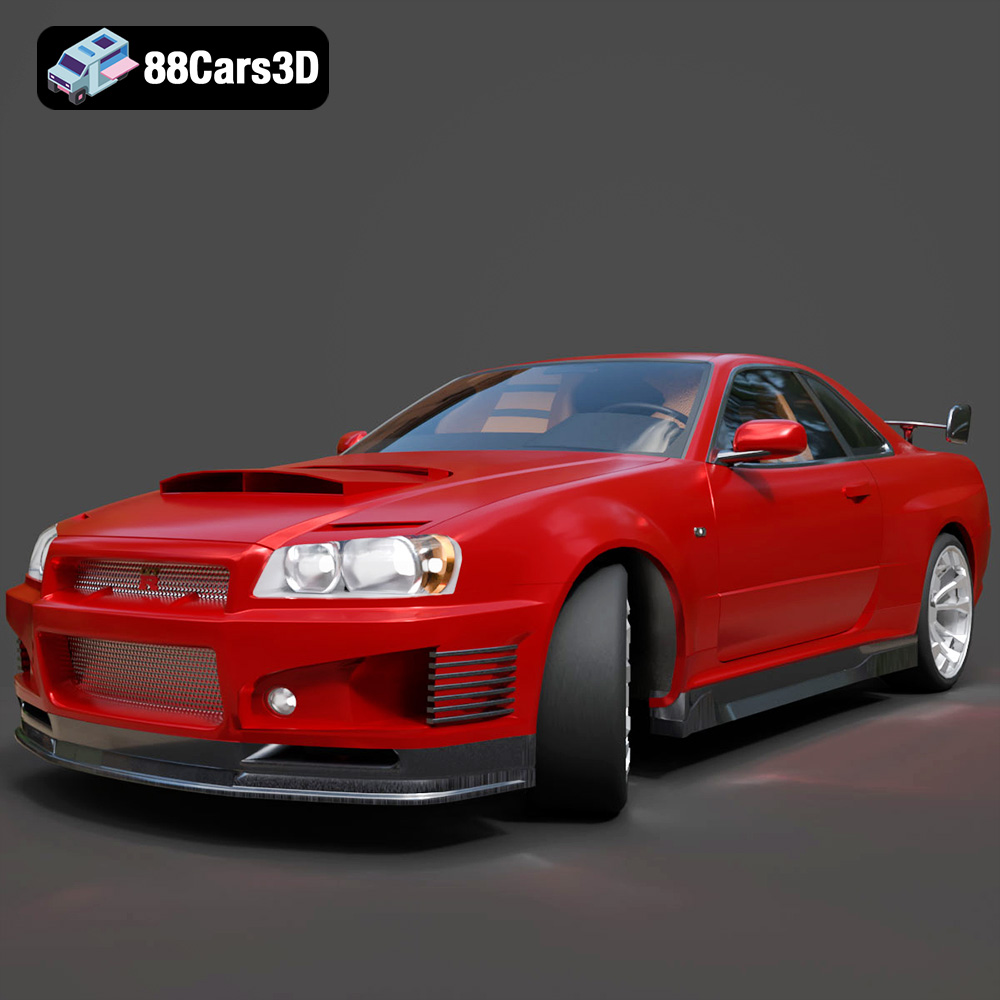
Download the Nissan Skyline 3D Model featuring clean geometry, realistic detailing, and a fully modeled interior. Includes .blend, .fbx, .obj, .glb, .stl, .ply, .unreal, and .max formats for rendering, simulation, and game development.
Price: $9.99
Texture: Yes
Material: Yes
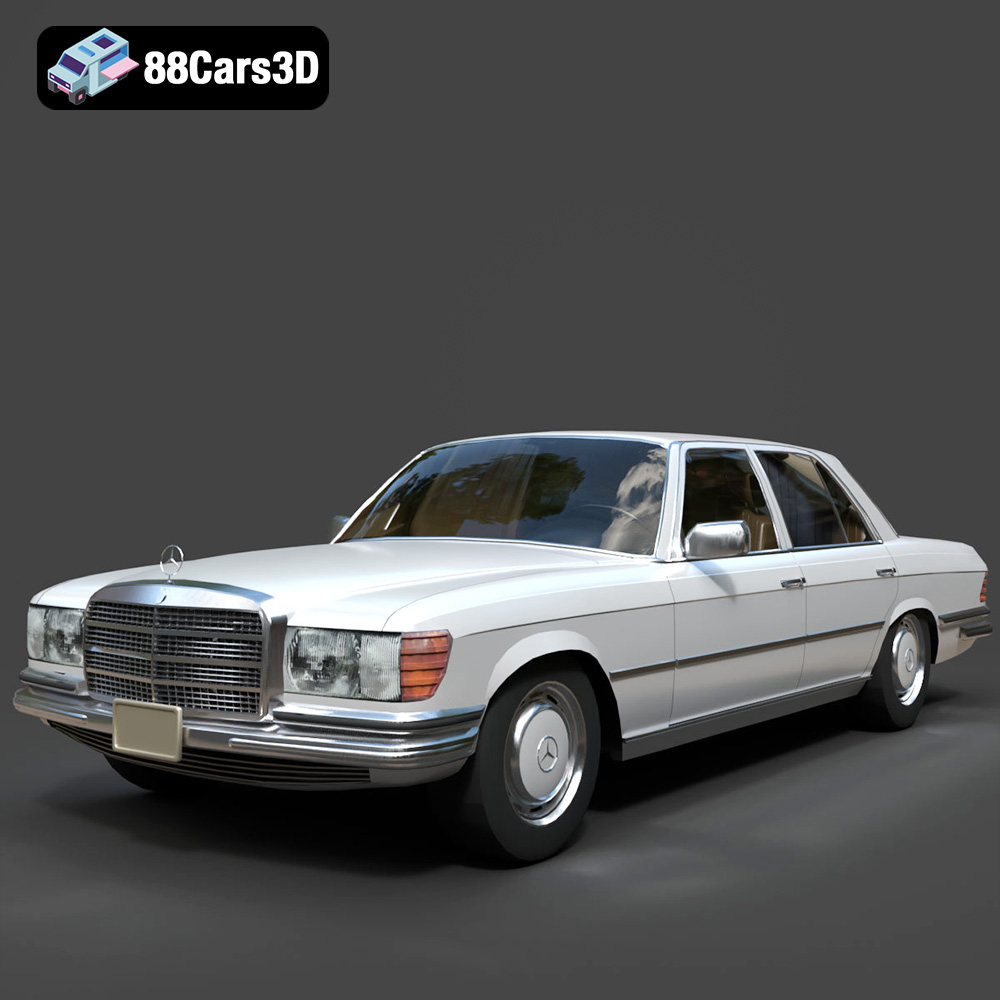
Download the Mercedes-Benz S-Klasse W116 3D Model featuring clean geometry, realistic detailing, and a fully modeled interior. Includes .blend, .fbx, .obj, .glb, .stl, .ply, .unreal, and .max formats for rendering, simulation, and game development.
Price: $4.99
Texture: Yes
Material: Yes
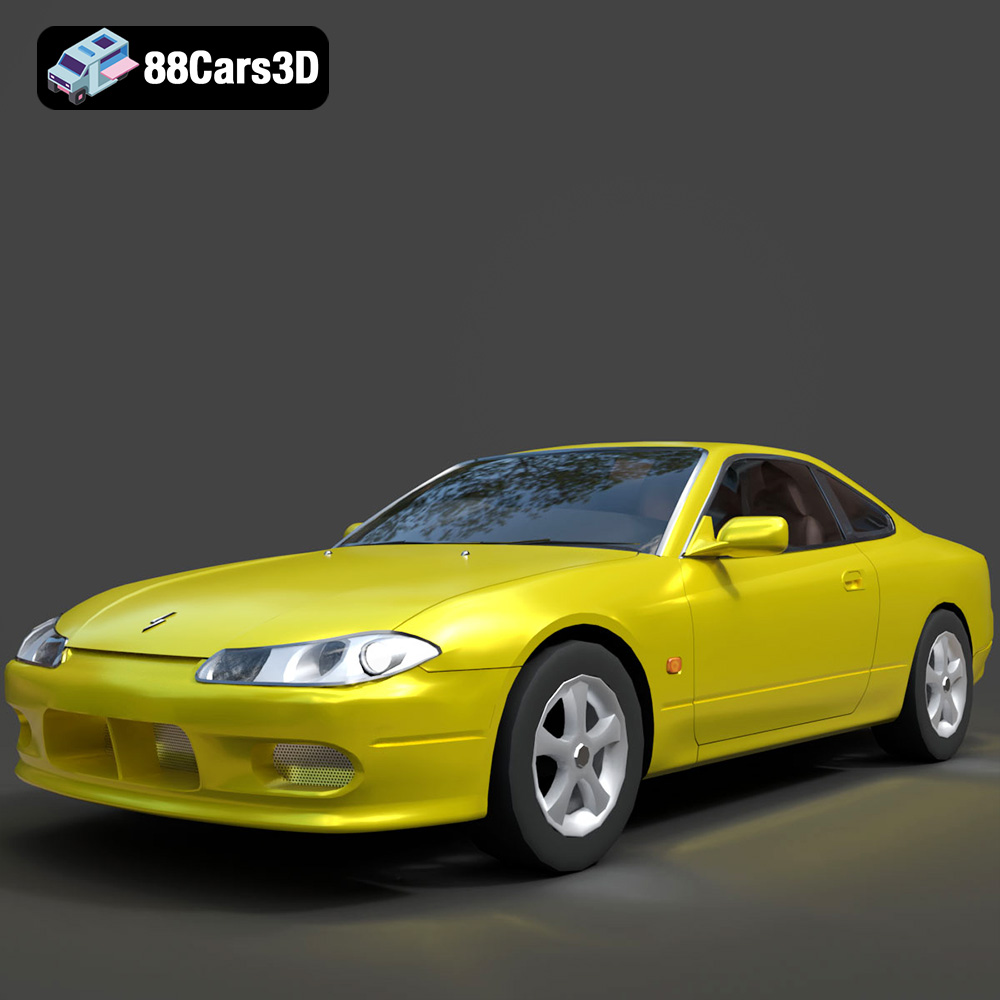
Download the Nissan Silvia 3D Model featuring clean geometry, realistic detailing, and a fully modeled interior. Includes .blend, .fbx, .obj, .glb, .stl, .ply, .unreal, and .max formats for rendering, simulation, and game development.
Price: $4.99
Texture: Yes
Material: Yes
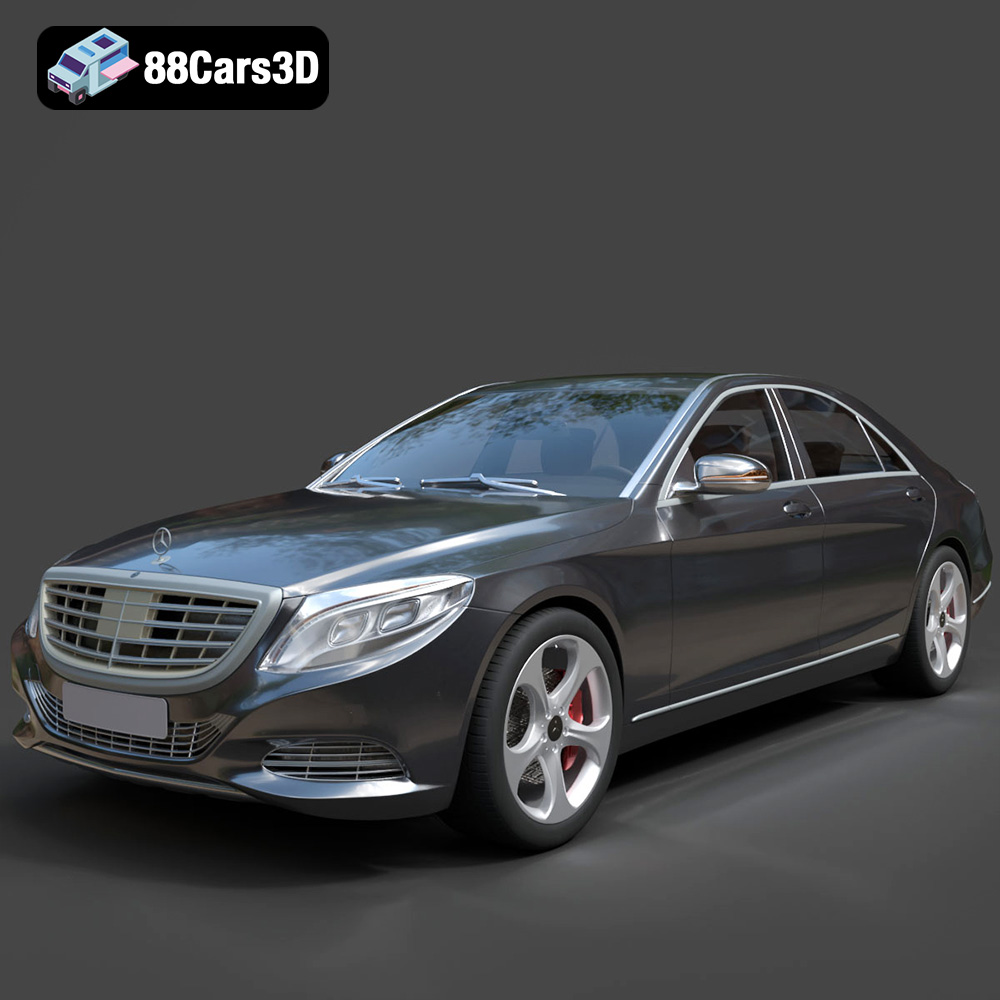
Download the Mercedes-Benz S-Class 2014 3D Model featuring clean geometry, realistic detailing, and a fully modeled interior. Includes .blend, .fbx, .obj, .glb, .stl, .ply, .unreal, and .max formats for rendering, simulation, and game development.
Price: $6.99
Texture: Yes
Material: Yes
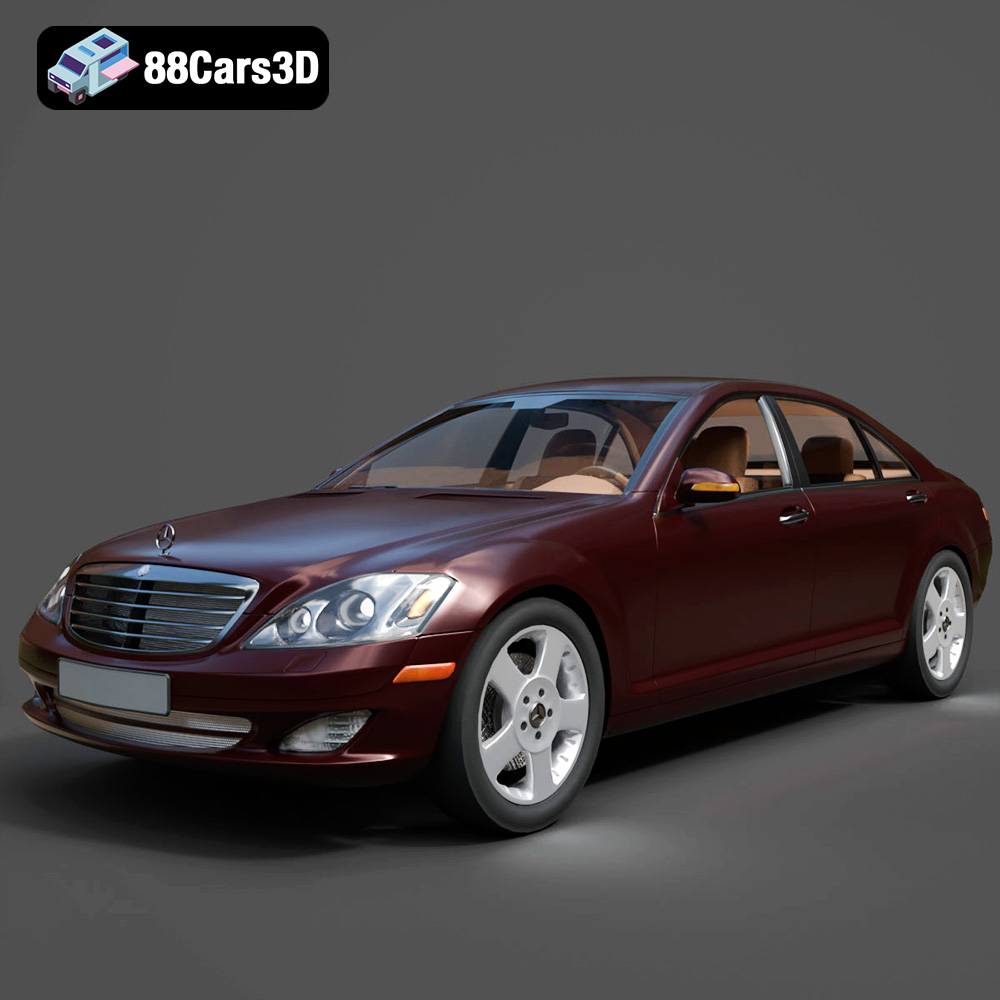
Download the Mercedes-Benz S-Klasse W221 2008 3D Model featuring clean geometry, realistic detailing, and a fully modeled interior. Includes .blend, .fbx, .obj, .glb, .stl, .ply, .unreal, and .max formats for rendering, simulation, and game development.
Price: $4.99
Texture: Yes
Material: Yes
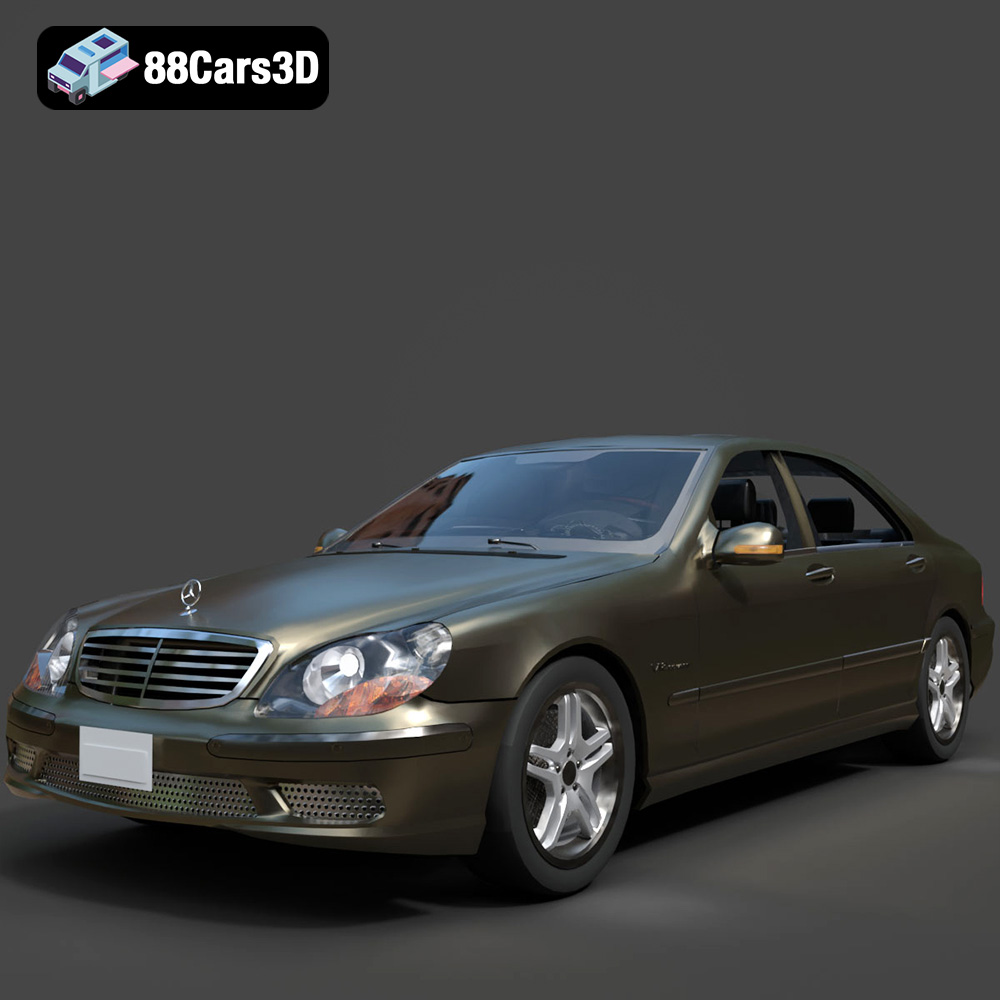
Download the Mercedes-Benz S-Klasse W220 3D Model featuring clean geometry, realistic detailing, and a fully modeled interior. Includes .blend, .fbx, .obj, .glb, .stl, .ply, .unreal, and .max formats for rendering, simulation, and game development.
Price: $4.99