⚡ FLASH SALE: Get 60% OFF All Premium 3D & STL Models! ⚡
In the dynamic world of 3D visualization, automotive design, and interactive experiences, the demand for high-quality 3D car models is ever-present and continually evolving. Whether you’re an architect visualizing a new development with realistic streetscapes, a game developer crafting an immersive racing simulation, or an automotive designer presenting a groundbreaking concept, the fidelity and performance of your 3D car assets can make or break your project. Achieving truly professional results goes far beyond simply having a model; it requires a deep understanding of intricate technical workflows, from meticulous topology and precise UV mapping to advanced material creation, rendering techniques, and optimization strategies for diverse applications like AR/VR and 3D printing.
This comprehensive guide delves into the essential technical aspects of working with 3D car models. We’ll explore the foundational principles of clean modeling, demystify the complexities of PBR materials, dissect rendering workflows, and outline the critical steps for preparing models for real-time engines and cutting-edge interactive experiences. By the end of this journey, you’ll possess the knowledge to not only appreciate the quality found on platforms like 88cars3d.com but also to confidently create, optimize, and integrate 3D car models into any professional pipeline, ensuring your projects stand out with unparalleled realism and performance.
The journey to a hyper-realistic 3D car model begins with its fundamental structure: topology. Clean, efficient topology, characterized by well-defined edge flow, is the bedrock upon which all subsequent stages of texturing, rigging, animation, and rendering are built. For automotive models, this is particularly critical due to the prevalence of smooth, continuous curves, sharp creases, and precise panel gaps that define a vehicle’s aesthetic. Poor topology can lead to artifacts, unsightly pinching, and difficulties in UV unwrapping, especially when working with subdivision surfaces or deformation.
The industry standard dictates quad-based topology, where every face is a four-sided polygon. While triangles can be unavoidable in very specific, flat areas, excessive use of tris and n-gons (polygons with more than four sides) should be avoided, as they can cause unpredictable deformation during subdivision and make editing more challenging. Good edge flow ensures that edges follow the natural contours and design lines of the car, guiding the flow of light and shadow smoothly across the surface. This is vital for accurately capturing the subtle reflections and highlights that make car paint look convincing.
When modeling a car’s body, for instance, edge loops should run along the contours of the wheel arches, around windows, down character lines, and define panel breaks. These strategic loops are not only crucial for visual fidelity but also for ease of modification and the creation of smooth, predictable creases. For complex areas like air intakes, grilles, or intricate headlight assemblies, careful planning of edge loops is paramount to maintain detail without excessive polygon density in less critical areas. A high-quality 3D car model often balances polygon count, delivering enough resolution for intricate details while remaining optimized for performance, typically within a range of 100,000 to 500,000 polygons for a hero asset, depending on its purpose.
Many high-quality 3D car models are built to take advantage of subdivision surface modifiers (e.g., Turbosmooth in 3ds Max, Subdivision Surface in Blender, Smooth Mesh in Maya). This workflow allows artists to model with a relatively low-polygon base mesh and then smoothly increase its resolution at render time. To effectively use subdivision surfaces, controlling edge sharpness is key. “Crease edges” or “support loops” are essential: these are additional edge loops placed very close to a hard edge or corner. When subdivided, these support loops prevent the hard edge from becoming overly rounded, preserving the design’s crispness while still benefiting from the overall smoothing effect. For a car’s sharp fender lines or the distinct edges of a spoiler, multiple support loops may be necessary to maintain their integrity after several levels of subdivision, preventing a ‘blobby’ appearance.
Finding the sweet spot between polygon count and visual detail is a constant balancing act. For high-fidelity renders, a higher polygon count is generally acceptable, allowing for smooth curves and intricate details like engine components or interior stitching. However, for real-time applications like games or AR/VR, excessive polygons are detrimental to performance. Professional artists often create multiple versions of a model: a high-poly sculpt for baking normal maps and a low-poly version optimized for real-time. In 3ds Max or Blender, this often involves using modifiers to generate lower detail meshes or manually retopologizing the high-poly model. Maintaining a clean and consistent quad flow in the base mesh ensures that LOD (Level of Detail) creation and optimization processes are smoother and more predictable, yielding better results across various polygon budgets.
Once the topology is solid, the next crucial step in bringing a 3D car model to life is UV mapping and texturing. UV mapping is the process of unwrapping the 3D mesh into a 2D space, creating a set of coordinates that tell the renderer or game engine how to apply textures. For complex curved surfaces like those on a car, meticulous UV layout is paramount for preventing distortion, ensuring texture clarity, and maximizing the efficiency of material application, from the gleaming car paint to intricate tire treads and interior fabrics.
Effective UV mapping for cars often involves a combination of unwrapping techniques. Planar mapping might be used for flat surfaces like a window or a license plate, while cylindrical or spherical mapping could be applied to parts like wheel barrels or certain curved body panels. More commonly, “pelt mapping” or “unwrap” tools in software like 3ds Max, Blender, or Maya are employed to ‘cut’ the mesh along natural seams (e.g., panel gaps, edges that would be hidden) and then flatten the resulting ‘islands’ into the UV space. The goal is to minimize stretching and overlap, providing a clean canvas for your textures. Each UV island should ideally be oriented and scaled consistently to ensure uniform texture density across the model.
A typical UV layout for a car might divide the model into several major islands: the main body, doors, hood, trunk, wheels, interior elements, and small details. Each of these islands is then strategically placed within the 0-1 UV space (the square area where textures are painted) to optimize resolution and reduce wasted space. For assets with symmetrical components, mirroring UVs can save significant texture memory by allowing both sides to share the same texture space, provided the textures themselves are designed to be symmetrical.
For game engines and real-time applications, UV atlasing is a critical optimization technique. Instead of having separate texture maps for dozens of individual car parts, UV atlasing combines the UVs of multiple mesh components into a single, larger UV map. This allows all those components to share one texture atlas – a single large image containing all the necessary diffuse, normal, roughness, and metallic maps. This significantly reduces the number of “draw calls” a game engine has to make, leading to improved performance. For instance, the UVs for an entire car’s exterior – body, bumpers, mirrors, and door handles – might be packed into one atlas, while interior elements might share another. Tools like RizomUV, UVLayout, or the built-in UV packers in Blender and 3ds Max can automate much of this process, ensuring optimal packing efficiency and minimal wasted UV space.
Texture resolution directly impacts the visual fidelity of your model. For hero car assets in high-end renders, 4K (4096×4096) or even 8K (8192×8192) texture maps are common, particularly for the main body and detailed components like the engine or dashboard. For game-ready assets, resolutions like 2K or 1K are often used, with careful attention paid to what details are truly necessary at different LODs. Physically Based Rendering (PBR) workflows are the industry standard for creating realistic materials. This involves a set of texture maps that describe how light interacts with a surface: Albedo (base color), Normal (fine surface detail), Metallic (how metallic a surface is), Roughness (how rough or smooth), Ambient Occlusion (simulating indirect shadows), and sometimes Opacity or Displacement maps. Each of these maps contributes to the overall realism, and understanding their individual roles is key to achieving believable car surfaces.
With precise topology and expert UV mapping in place, the next step is to infuse your 3D car models with the physical properties that make them appear real. This is achieved through the creation of Physically Based Rendering (PBR) materials and sophisticated shading networks. PBR materials are designed to simulate how light behaves in the real world, providing consistent and predictable results regardless of the lighting environment. This realism is paramount for automotive visualization, where the accurate representation of complex surfaces like car paint, glass, and chrome is crucial.
PBR workflows typically utilize a set of distinct texture maps, each controlling a specific aspect of a material’s light interaction. The Albedo (or Base Color) map defines the primary color without any lighting information. The Normal map, often baked from a high-polygon model, adds fine surface detail like subtle dents, scratches, or panel lines without increasing the polygon count of the low-poly mesh. The Metallic map indicates which parts of the surface are metallic (values close to 1) and which are dielectric (values close to 0), governing the material’s reflectivity. The Roughness map dictates how spread out or sharp reflections appear – a low roughness value means a smooth, mirror-like surface, while a high value suggests a duller, more diffuse reflection. Finally, an Ambient Occlusion (AO) map simulates indirect shadows where surfaces are close together, adding depth and contact realism.
For advanced car materials, such as multi-layered car paint, these basic PBR maps are just the starting point. Shading networks in software like 3ds Max (using Corona or V-Ray materials), Blender (Cycles/Eevee), or Maya (Arnold) allow artists to layer and blend multiple material properties, creating incredibly nuanced surfaces. These networks enable the combination of procedural textures with image-based maps, driving parameters like reflection glossiness, clear coat thickness, and even iridescent effects.
Realistic car paint is one of the most challenging materials to reproduce in 3D, primarily due to its complex layered structure. A typical car paint shader consists of several layers:
In renderers like Corona or V-Ray for 3ds Max, this is achieved using multi-layered materials or blend materials, where the clear coat is a separate reflective material placed on top of the base paint material. In Blender’s Cycles, node-based shaders allow for highly customized layering using ‘Mix Shaders’ and ‘Layer Weight’ nodes to simulate Fresnel effects, enhancing the clear coat’s appearance based on viewing angle.
Achieving convincing glass and chrome also requires specific attention to their PBR properties.
By meticulously crafting these materials and their underlying texture maps, the perceived realism of 3D car models reaches unprecedented levels, making them indistinguishable from their real-world counterparts in high-quality renders.
A perfectly modeled and textured 3D car model only truly shines when placed within a thoughtfully lit and rendered environment. Rendering is the process of generating a 2D image from a 3D scene, and for automotive visualization, the goal is often hyper-realism – making the digital car appear as if it were photographed in the real world. This involves mastering lighting, camera setup, and post-processing techniques within powerful render engines like Corona Renderer, V-Ray, Cycles, or Arnold.
Each renderer offers unique strengths. Corona Renderer (3ds Max, Cinema 4D) is celebrated for its ease of use, physically accurate light transport, and exceptional quality, making it a favorite for automotive studio shots. V-Ray (3ds Max, Maya, SketchUp, Rhino) is an industry-standard workhorse, offering immense flexibility, speed, and a vast feature set suitable for complex productions. Blender’s Cycles is a powerful, integrated path-tracer, excellent for realistic results with an open-source workflow. Arnold (Maya, 3ds Max, Cinema 4D) is known for its robust production rendering capabilities, particularly in film and VFX, excelling with complex materials and volumes.
Effective lighting is paramount. For cars, the way light plays across the curved surfaces and highlights the paint finish is critical. High Dynamic Range Image (HDRI) maps are indispensable, providing realistic environmental lighting and reflections simultaneously. An HDRI acts as both a light source and a reflection map, seamlessly integrating the car into a virtual environment, whether it’s a bustling city street or a serene natural landscape. Supplementing HDRIs with targeted area lights, spot lights, or mesh lights allows for artistic control, emphasizing specific features or creating dramatic highlights.
Camera work is equally important. Just like a real photographer, a 3D artist must consider focal length, depth of field, and camera angles. A telephoto lens (e.g., 85mm-135mm equivalent) is often preferred for automotive photography to minimize perspective distortion and create elegant, flattering lines. Shallow depth of field can isolate the car from its background, drawing the viewer’s eye. Subtle motion blur, applied to wheels or the entire car, can add a sense of speed and dynamism, even in a static render.
The choice between studio and environment lighting heavily influences the mood and realism of your render:
Rendering is rarely the final step. Post-processing and compositing in software like Adobe Photoshop or Affinity Photo are vital for enhancing the raw render. This includes:
This final polish elevates a good render to an exceptional one, making the 3D car model truly indistinguishable from a real photograph.
The transition of a high-fidelity 3D car model from a static render to a dynamic, interactive experience in a game engine or real-time application introduces a unique set of technical challenges and optimization requirements. Game engines like Unity and Unreal Engine demand highly efficient assets to maintain fluid frame rates, even when rendering dozens of vehicles simultaneously. The focus shifts from raw polygon count for maximum detail to a strategic balance of visual quality and performance optimization, ensuring the model is truly game-ready.
The primary concern for game assets is polygon budget. While a render-ready model might have hundreds of thousands or even millions of polygons, a game-ready version needs to be significantly leaner. A common range for a hero car asset in a modern racing game might be 50,000 to 150,000 triangles (or even higher for next-gen titles), while background vehicles might be reduced to a few thousand. This reduction is achieved through careful retopology, removing unnecessary geometry, and baking high-poly detail onto normal maps for the lower-poly mesh.
Beyond polygon count, other factors like draw calls and texture memory are critical. Every time the engine has to draw a unique material or mesh, it incurs a draw call, which can be a significant performance bottleneck. Strategies like texture atlasing (combining multiple textures into one larger texture) and material instancing (using the same base material with different parameters for variations) help reduce draw calls. Batching, where the engine groups similar objects together to render them more efficiently, also plays a crucial role.
Level of Detail (LOD) is a cornerstone of game optimization. It involves creating multiple versions of a 3D model, each with progressively fewer polygons, designed to be swapped out based on the camera’s distance from the object.
Most modern game engines have built-in LOD systems (e.g., Unity’s LOD Group, Unreal Engine’s LOD settings) that automate the switching. Creating effective LODs requires careful mesh simplification (either manually or using tools like Decimate in Blender or ProOptimizer in 3ds Max), ensuring that the visual silhouette and important details are preserved even at lower poly counts. Normal maps and texture atlases remain essential across all LODs to maintain visual quality without adding geometric complexity.
Beyond the visual mesh, game engines require a separate, much simpler mesh for collision detection. This “collision mesh” (or “collider”) defines the physical boundaries of the car for interactions with the environment, other vehicles, and game physics. Using the high-detail visual mesh for collision would be computationally expensive and unnecessary. Collision meshes are often simplified convex hulls, primitive shapes (boxes, spheres, capsules), or a low-polygon approximation of the car’s silhouette. They must be watertight and have appropriate collision types assigned (e.g., static, dynamic, query only). In Unity, this involves adding Collider components (Box Collider, Mesh Collider). In Unreal Engine, simple collision primitives can be generated automatically or custom collision meshes can be imported and set up within the Static Mesh Editor. Proper collision setup is vital for realistic physics simulations, accurate hit detection, and overall game performance, as it minimizes the calculations the physics engine needs to perform.
The utility of high-quality 3D car models extends far beyond traditional rendering and game development, venturing into cutting-edge applications like Augmented Reality (AR), Virtual Reality (VR), and even physical fabrication through 3D printing. Each of these domains introduces its own unique technical requirements and optimization strategies, demanding a versatile approach to asset preparation and an understanding of specific file formats. Platforms like 88cars3d.com typically provide models in multiple formats precisely to cater to this diverse range of applications.
AR/VR experiences demand extremely high frame rates (typically 90 FPS or higher) to prevent motion sickness and ensure immersion. This imposes even stricter polygon and draw call budgets than traditional games.
Transforming a digital 3D car model into a physical object via 3D printing requires an entirely different set of technical considerations. The mesh must be “manifold” or “watertight,” meaning it has no holes, non-manifold geometry, or intersecting faces. Every edge must be connected to exactly two faces, forming a completely sealed volume.
Preparing a 3D car model for printing is a meticulous process, but it allows for rapid prototyping, creating physical collectibles, or even custom parts for real vehicles.
The landscape of 3D file formats can be complex, but understanding the strengths and weaknesses of each is crucial for interoperability across different software and applications.
When sourcing models from marketplaces such as 88cars3d.com, you’ll often find models provided in several of these formats to ensure maximum compatibility. Always check the included formats and any conversion instructions to ensure a smooth workflow into your chosen software or engine. Clean exports, with correctly embedded or referenced textures and proper scaling, are key to avoiding frustrating import issues.
The journey through the intricate world of 3D car models reveals a multifaceted discipline, demanding a blend of artistic vision and rigorous technical execution. We’ve explored the critical importance of clean, quad-based topology and intelligent edge flow for smooth deformation and realistic rendering. We delved into the art of UV mapping and texturing, emphasizing efficient atlasing and the power of PBR materials to bring surfaces like car paint, glass, and chrome to vibrant life. Our discussion covered the nuances of automotive rendering, from mastering lighting environments in Corona and V-Ray to the essential post-processing steps that elevate a raw render to a photographic masterpiece.
Furthermore, we tackled the specific demands of real-time applications, detailing game optimization techniques like LODs and collision meshes that ensure fluid performance in Unity and Unreal Engine. Finally, we ventured into the exciting frontiers of AR/VR, 3D printing, and the mastery of various file formats like GLB and USDZ, demonstrating the expansive utility of high-quality 3D car assets across diverse industries. The takeaway is clear: whether for stunning visualizations, immersive gaming experiences, or tangible 3D prints, the foundational quality of your 3D car model – its topology, UVs, materials, and optimization – dictates its ultimate success.
By understanding and applying these technical insights, you are now better equipped to evaluate, create, and utilize 3D car models with professional precision. Investing in meticulously crafted assets or dedicating time to perfecting your own models will undoubtedly elevate your projects, ensuring realism, performance, and versatility. Explore the vast possibilities and discover the perfect automotive models for your next venture, knowing that true quality begins with these fundamental technical principles. Your next project awaits its perfect set of wheels.
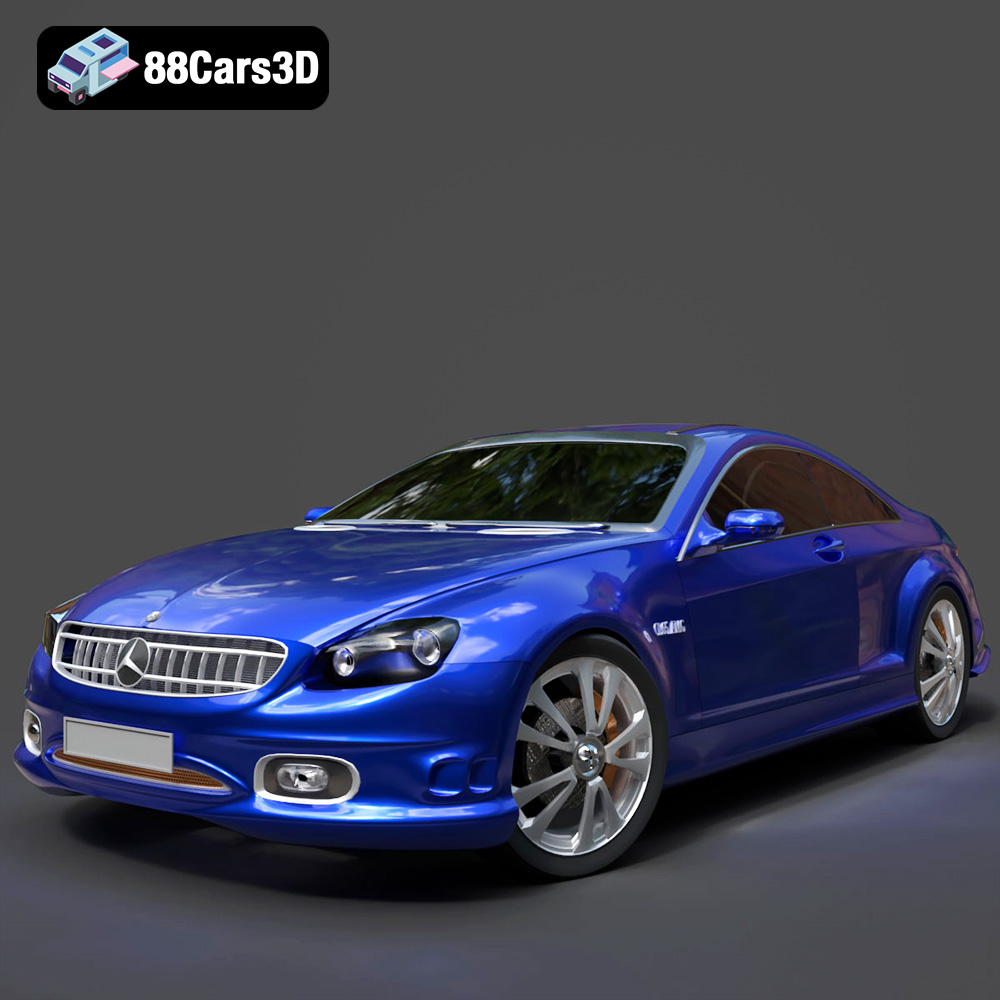
Texture: Yes
Material: Yes
Download the Mercedes-Benz CL6540-005 3D Model featuring clean geometry, realistic detailing, and a fully modeled interior. Includes .blend, .fbx, .obj, .glb, .stl, .ply, .unreal, and .max formats for rendering, simulation, and game development.
Price: $4.99
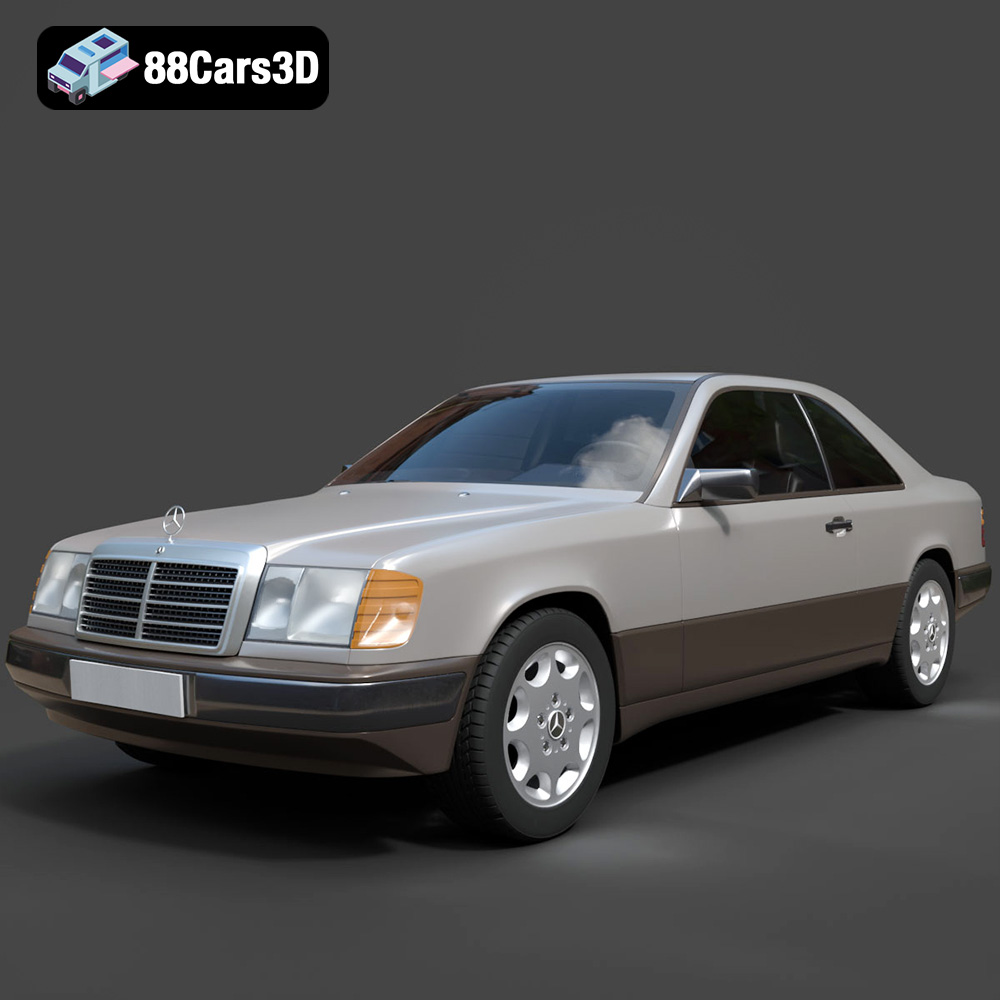
Texture: Yes
Material: Yes
Download the Mercedes E-Class w124 Coupe 3D Model featuring clean geometry, realistic detailing, and a fully modeled interior. Includes .blend, .fbx, .obj, .glb, .stl, .ply, .unreal, and .max formats for rendering, simulation, and game development.
Price: $4.99
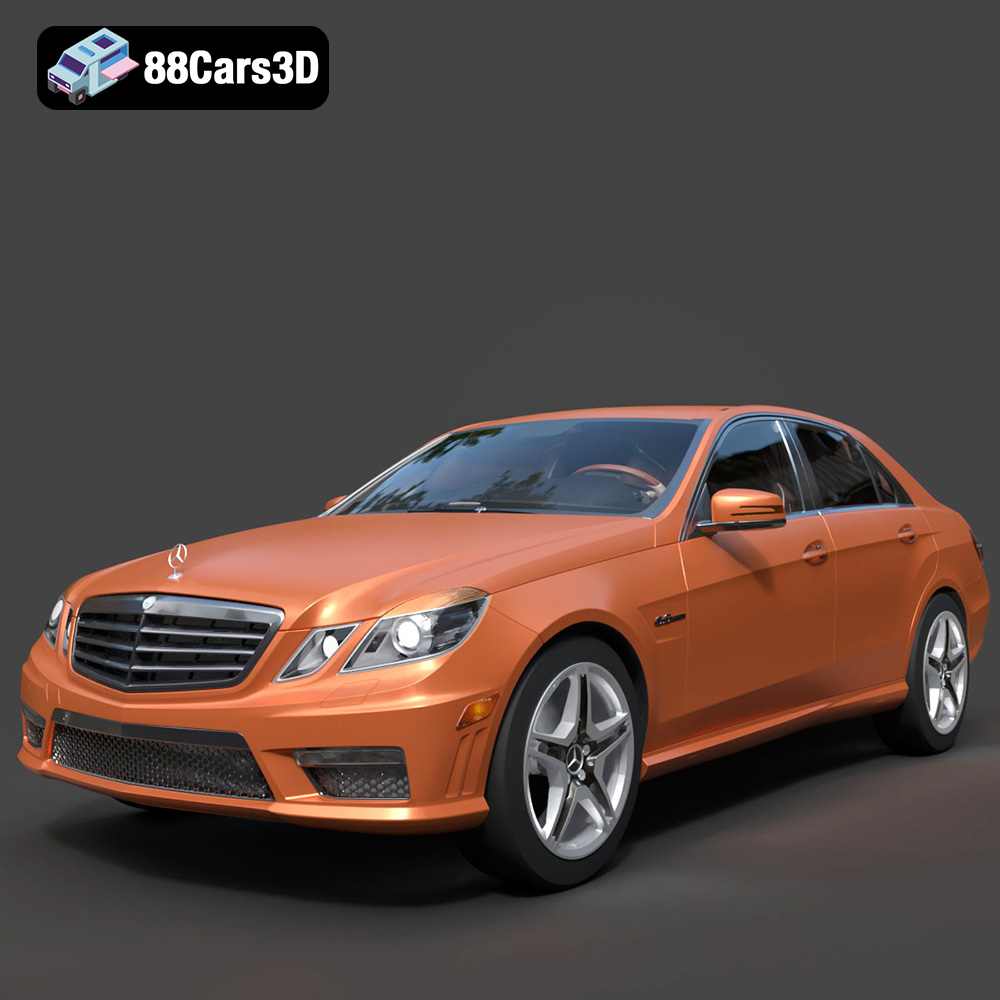
Texture: Yes
Material: Yes
Download the Mercedes-Benz E-Klasse 63 AMG 3D Model featuring clean geometry, realistic detailing, and a fully modeled interior. Includes .blend, .fbx, .obj, .glb, .stl, .ply, .unreal, and .max formats for rendering, simulation, and game development.
Price: $4.99
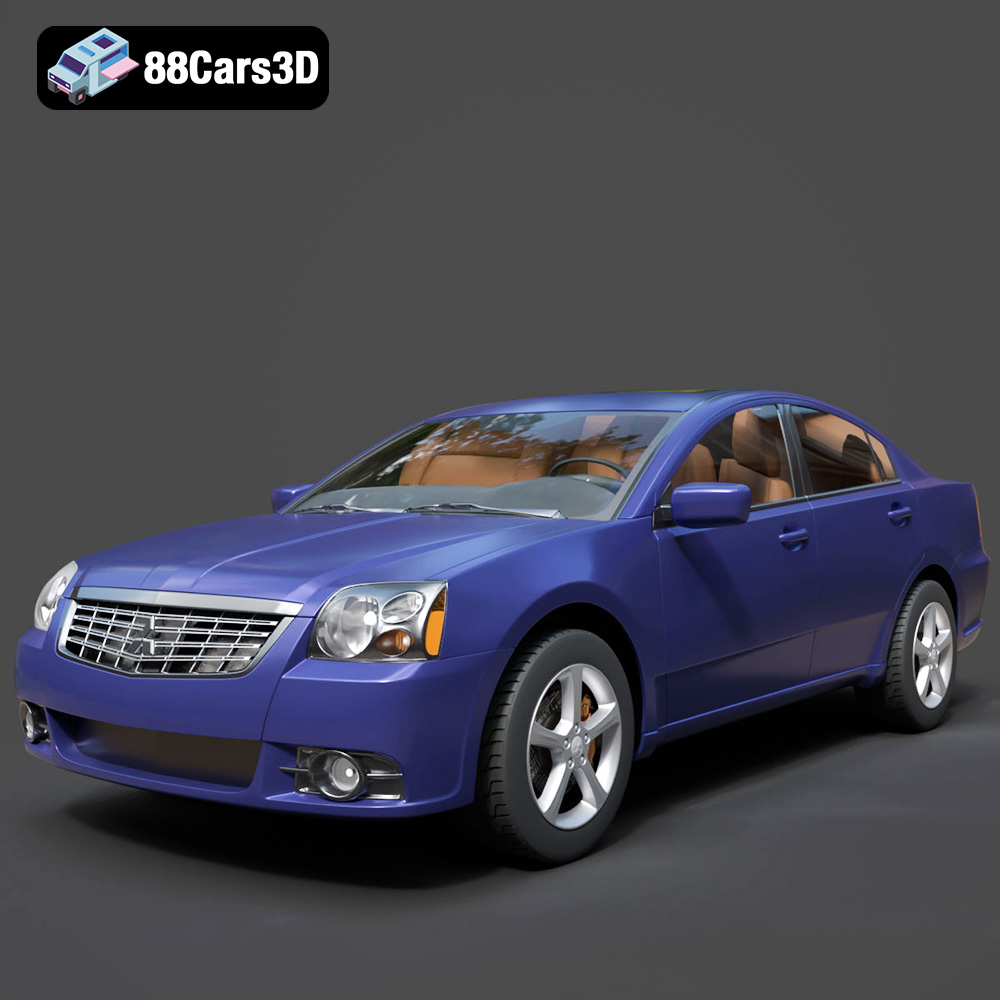
Texture: Yes
Material: Yes
Download the Mitsubishi Galant 2009 3D Model featuring clean geometry, realistic detailing, and a fully modeled interior. Includes .blend, .fbx, .obj, .glb, .stl, .ply, .unreal, and .max formats for rendering, simulation, and game development.
Price: $4.99
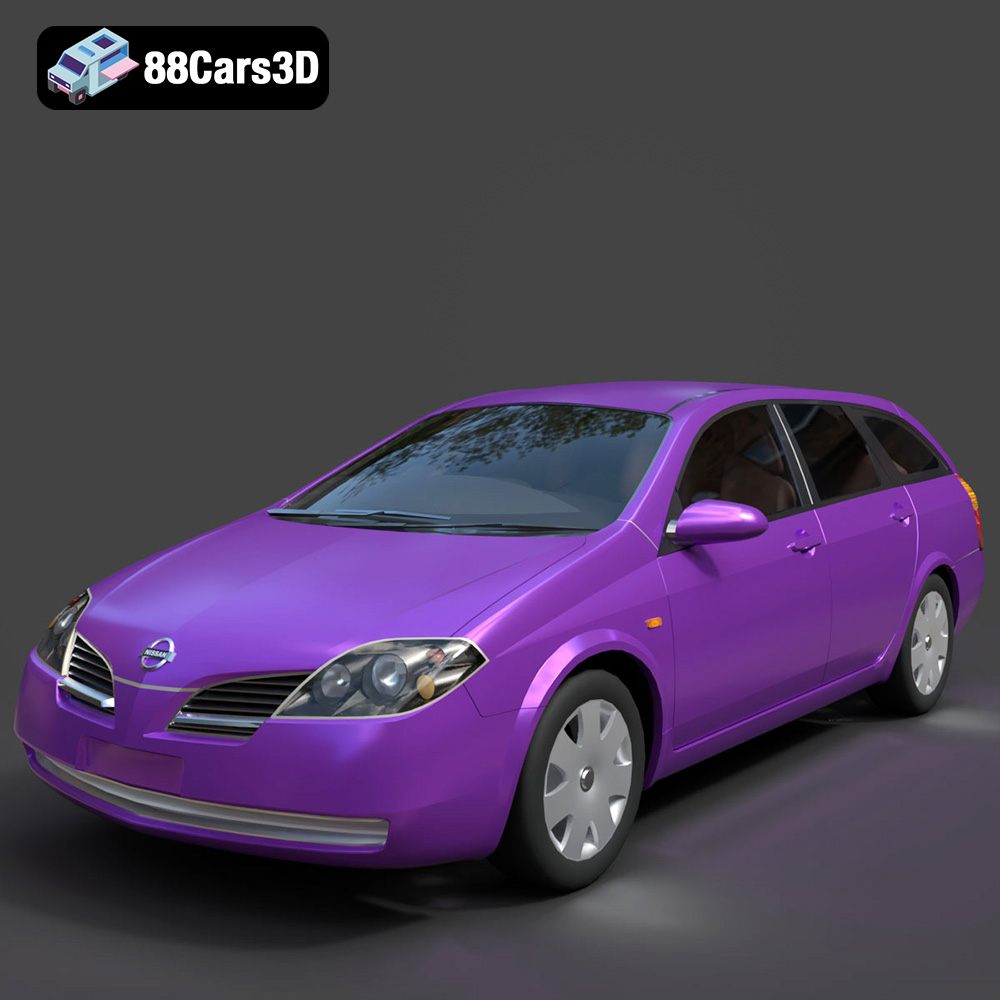
Texture: Yes
Material: Yes
Download the Nissan Primera Wagon 3D Model featuring clean geometry, realistic detailing, and a fully modeled interior. Includes .blend, .fbx, .obj, .glb, .stl, .ply, .unreal, and .max formats for rendering, simulation, and game development.
Price: $4.99
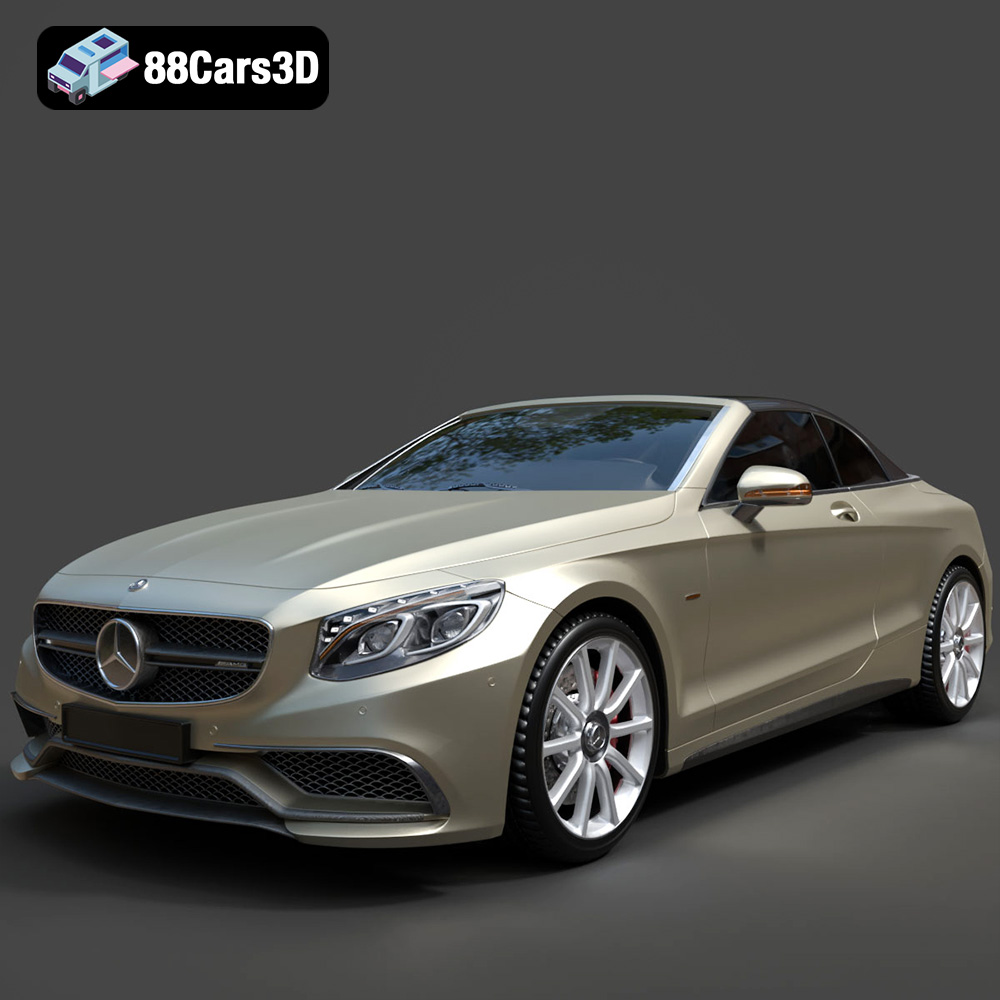
Texture: Yes
Material: Yes
Download the Mercedes-Benz S63 AMG Cabriolet 2017 3D Model featuring clean geometry, realistic detailing, and a fully modeled interior. Includes .blend, .fbx, .obj, .glb, .stl, .ply, .unreal, and .max formats for rendering, simulation, and game development.
Price: $20.99
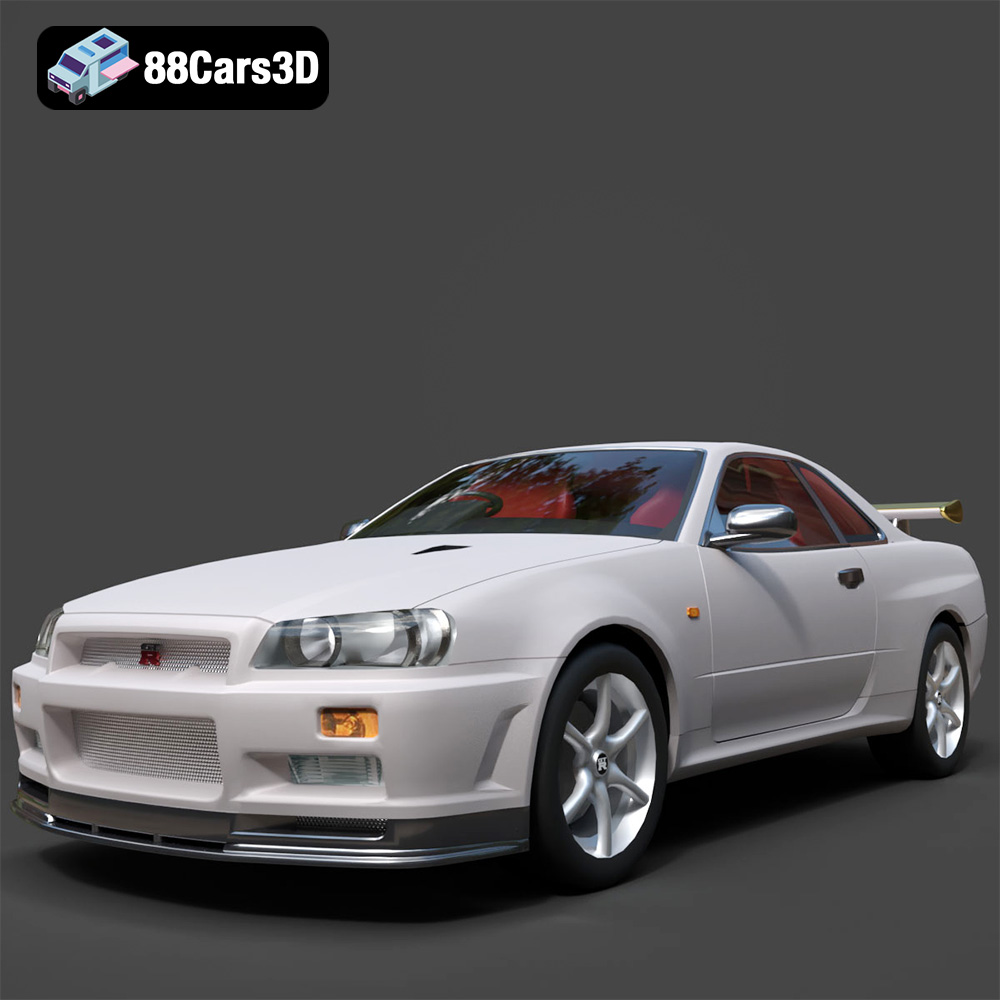
Texture: Yes
Material: Yes
Download the Nissan Skyline R34 2002 3D Model featuring clean geometry, realistic detailing, and a fully modeled interior. Includes .blend, .fbx, .obj, .glb, .stl, .ply, .unreal, and .max formats for rendering, simulation, and game development.
Price: $4.99
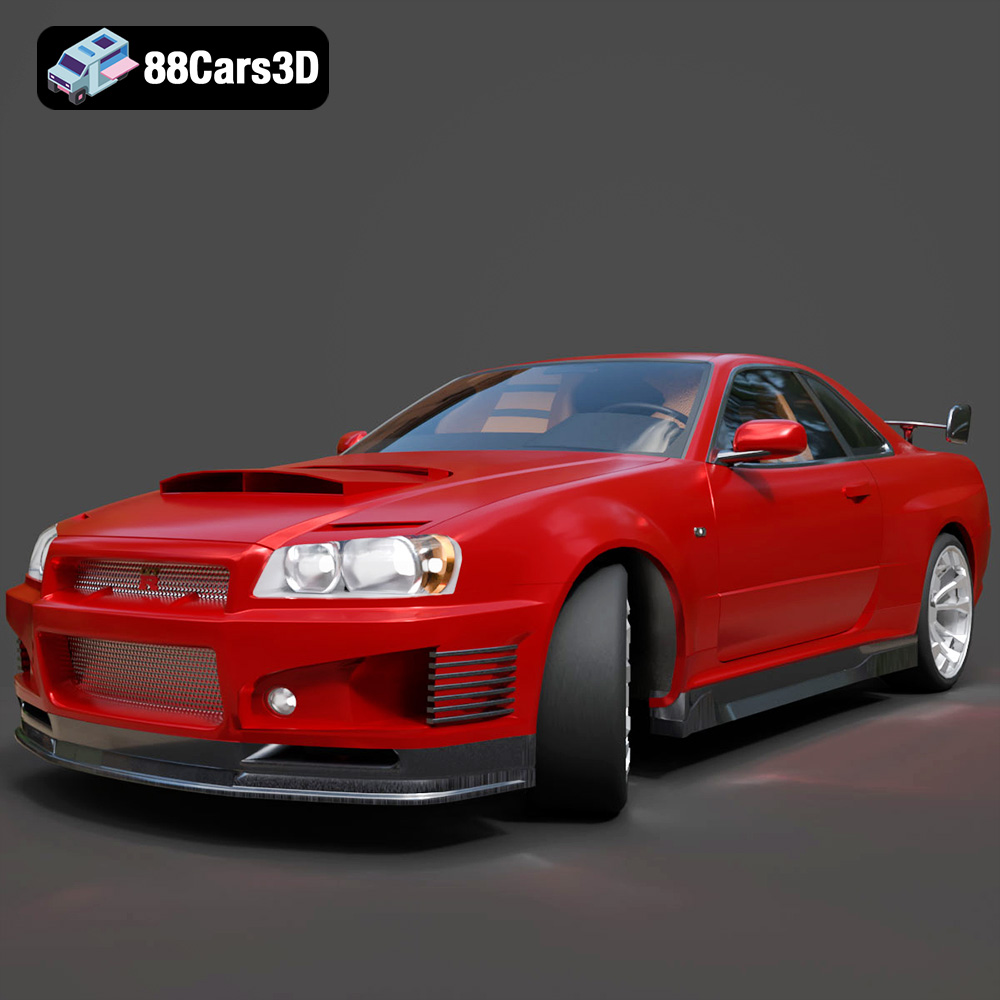
Texture: Yes
Material: Yes
Download the Nissan Skyline 3D Model featuring clean geometry, realistic detailing, and a fully modeled interior. Includes .blend, .fbx, .obj, .glb, .stl, .ply, .unreal, and .max formats for rendering, simulation, and game development.
Price: $9.99
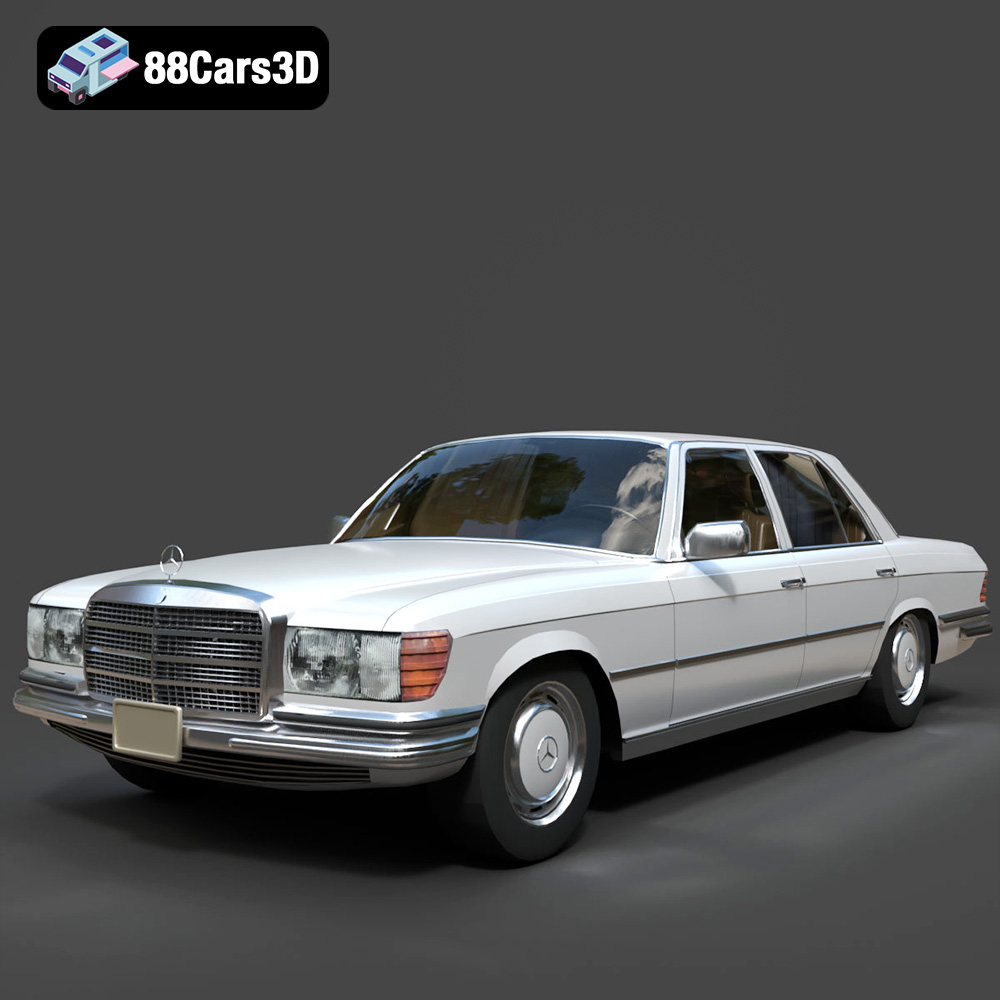
Texture: Yes
Material: Yes
Download the Mercedes-Benz S-Klasse W116 3D Model featuring clean geometry, realistic detailing, and a fully modeled interior. Includes .blend, .fbx, .obj, .glb, .stl, .ply, .unreal, and .max formats for rendering, simulation, and game development.
Price: $4.99
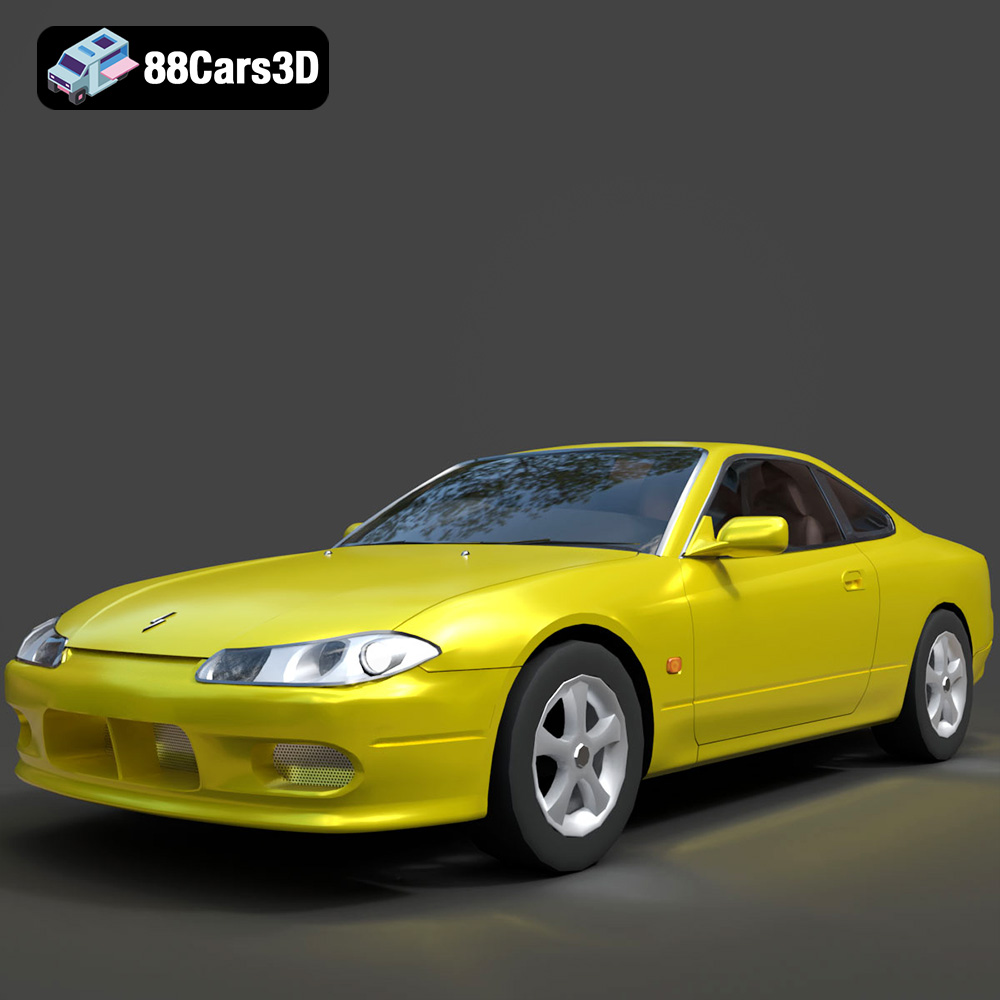
Texture: Yes
Material: Yes
Download the Nissan Silvia 3D Model featuring clean geometry, realistic detailing, and a fully modeled interior. Includes .blend, .fbx, .obj, .glb, .stl, .ply, .unreal, and .max formats for rendering, simulation, and game development.
Price: $4.99