⚡ FLASH SALE: Get 60% OFF All Premium 3D & STL Models! ⚡
The roar of an engine, the gleam of polished chrome, the sleek lines of a perfectly sculpted body – automotive design has always captivated us. In the realm of 3D, this fascination translates into a demanding yet incredibly rewarding art form: creating realistic 3D car models. From high-fidelity cinematic renders to optimized game assets and immersive AR/VR experiences, the journey of bringing a vehicle to life in the digital space is a complex tapestry of technical skill and artistic vision.
This comprehensive guide dives deep into the intricate world of 3D automotive modeling and its diverse applications. Whether you’re a seasoned 3D artist aiming for photorealism, a game developer optimizing for performance, an automotive designer visualizing future concepts, or a student embarking on your first project, understanding the core principles and advanced techniques is paramount. We’ll explore everything from the foundational pillars of clean topology and efficient UV mapping to the nuances of PBR material creation, advanced rendering workflows, game engine optimization, and preparing models for cutting-edge uses like AR/VR and 3D printing. Prepare to unlock the secrets behind crafting compelling 3D car models that stand out in any digital environment.
The success of any 3D car model, regardless of its final application, hinges on a robust and clean underlying mesh topology. For automotive models, which are characterized by large, smooth, reflective surfaces, impeccable topology and controlled edge flow are not merely preferences but necessities. Poor topology can lead to artifacts, pinching, and an inability to smoothly subdivide the mesh, ultimately undermining the model’s realism. The goal is always to create a mesh that faithfully represents the physical shape, holds up under various lighting conditions, and is easy to manipulate.
In 3D modeling, particularly for organic or highly curved surfaces like those on a car, quads are king. A quad (a polygon with four edges) provides predictable behavior during subdivision (e.g., using a TurboSmooth or Subdivision Surface modifier) and ensures smooth interpolation between vertices. While triangles are unavoidable in some instances, especially in game engines where all geometry is ultimately triangulated, they should be minimized or strategically placed where they don’t impact surface curvature. N-gons (polygons with more than four edges) should be avoided entirely on any surface that will deform or undergo subdivision, as they can cause unpredictable shading and pinching artifacts.
When modeling a car’s body panels, the primary focus is on maintaining continuous, flowing surfaces. This means ensuring that edge loops follow the natural curves and contours of the vehicle. For example, the edges defining the wheel arches should loop around the entire opening, and edges on a door panel should follow the creases and shut lines. This approach not only makes the model easier to work with but also ensures that reflections on the car’s surface appear smooth and unbroken, a critical aspect of automotive rendering. Tools like the 'Extrude Along Spline' or 'Bridge' functions in 3ds Max, Blender, or Maya can be invaluable for maintaining this flow while building complex shapes.
Beyond simply creating smooth surfaces, intelligent edge flow prepares your model for future manipulation, whether it’s subtle deformation for an animation or more significant changes during design iteration. Edge loops, which are continuous rings of edges that flow around a model, are essential for defining crucial areas. For instance, creating tight edge loops around panel gaps (like those between doors and the body) helps to maintain sharp, clean edges even after subdivision, preventing them from rounding off excessively. Similarly, areas like air vents, grilles, or headlight recesses require precise edge loops to articulate their forms without distorting the surrounding geometry.
If the car model is intended for animation – perhaps opening doors, a retractable spoiler, or suspension movement – the topology must support these actions without causing undesirable stretching or volume loss. Joint placement and weighting become much simpler and more effective when the underlying mesh has a logical flow that corresponds to the points of articulation. For high-polygon models, a typical car body might range from 200,000 to 1,000,000 polygons (unsubdivided), with individual wheels easily reaching 50,000-150,000 polygons depending on detail. For game-ready assets, these counts will be drastically reduced, but the underlying clean topology remains critical for generating accurate normal maps from high-poly sculpts.
Once the geometric form of your 3D car model is perfected, the next crucial step is to give it a realistic surface appearance through texturing and materials. This involves a meticulous process of UV mapping and crafting physically based rendering (PBR) materials, which together dictate how light interacts with the model, bringing out its color, reflectivity, and intricate details. The goal is to simulate the real-world properties of paint, metal, glass, rubber, and plastic, ensuring a convincing visual experience whether it’s for a still render or a real-time application.
UV mapping is the process of flattening the 3D surface of your model into a 2D space, allowing you to apply 2D textures. For complex automotive surfaces, strategic UV unwrapping is paramount. The primary challenges include minimizing seams, ensuring uniform texel density (pixel density on the surface), and avoiding texture stretching. For the large, sweeping body panels of a car, planar mapping often serves as a good starting point, followed by extensive manual adjustments and relaxation to distribute UVs evenly. Cylindrical mapping is ideal for components like tires, while box mapping can work for interior elements or engine parts.
To minimize visible seams, especially on highly reflective car paint, try to hide them along natural breaks in the geometry, such as panel gaps, edges, or the underside of the vehicle. Consistent texel density across all parts of the model is vital for a cohesive look; otherwise, some areas might appear blurry while others are sharp. Tools like 'UV Checker' patterns in your 3D software (e.g., 3ds Max’s 'UVW Map' modifier, Blender’s 'UV Editor') help visualize and correct density issues. Often, multiple UV sets are used – one for primary PBR textures, another for decals or ambient occlusion, and sometimes a third for lightmaps in game engines. High-resolution texture maps, typically 4K (4096×4096) or even 8K, are common for main body parts and hero assets to capture fine details.
Physically Based Rendering (PBR) materials are the industry standard for achieving photorealistic results. PBR workflows ensure that your materials react to light in a physically plausible way, regardless of the lighting environment. There are two main PBR workflows: Metallic/Roughness and Specular/Glossiness. The Metallic/Roughness workflow, common in game engines and many renderers, uses maps for Base Color (Albedo), Metallic, Roughness, and Normal. The Specular/Glossiness workflow uses Diffuse, Specular, Glossiness, and Normal maps.
For car paint, the Metallic/Roughness workflow is highly effective. The Base Color map provides the primary hue. The Metallic map dictates which parts are metallic (1.0 for metal, 0.0 for dielectric), while the Roughness map controls the micro-surface detail, influencing how light scatters (0.0 for perfectly smooth, 1.0 for extremely rough). A typical car paint might have very low roughness for a glossy finish. For tire rubber, a low metallic value and higher roughness would be appropriate. Glass requires specific PBR parameters like a high Index of Refraction (IOR), typically around 1.5-1.8 for automotive glass, and often a very low roughness to simulate its smooth surface. A Normal map is crucial for adding fine surface details like paint imperfections, subtle dents, or fabric weaves without adding extra geometry. Ambient Occlusion (AO) maps can also enhance realism by simulating self-shadowing in crevices.
Beyond simple PBR textures, advanced shader networks are often required to replicate the complexities of real-world automotive finishes. Car paint, for example, is often a multi-layered material. It typically consists of a base color coat, a metallic flake layer, and a clear coat. Renderers like Corona, V-Ray, Cycles, and Arnold allow artists to build sophisticated material graphs that stack these layers. A clear coat shader, often an additional glossy layer with its own roughness and IOR, can be blended on top of the base paint to simulate the protective transparent layer that gives car paint its depth and shine.
Materials like carbon fiber involve intricate patterns in the Base Color and Normal maps, often combined with a subtle metallic or anisotropic reflection. Headlight and taillight lenses might require complex refractions and scattering properties for the internal reflectors and bulbs. Interior materials like leather, fabric, and plastics each demand specific PBR map sets and careful tweaking of parameters like subsurface scattering (for leathery materials) or anisotropic reflections (for brushed metals). The key is understanding how each component of a shader network contributes to the overall visual fidelity and leveraging the renderer’s capabilities to layer and blend these effects realistically.
The true magic of 3D car models often culminates in a stunning render – a photorealistic image or animation that showcases the vehicle’s design and beauty. Achieving this requires a deep understanding of lighting, camera work, and renderer-specific techniques, followed by essential post-processing. A professional automotive render isn’t just about the model itself; it’s about the environment it’s in, how light interacts with its surfaces, and how the final image is composed to tell a story or highlight key features. This section delves into the methodologies employed by top artists to produce breathtaking automotive visualizations.
Lighting is arguably the most critical element in automotive rendering. Car surfaces, being highly reflective, act as mirrors, revealing every detail of their environment. Therefore, the lighting setup must be carefully crafted to highlight contours, reveal intricate details, and create appealing reflections. HDRI (High Dynamic Range Image) maps are the backbone of most automotive renders, providing a realistic lighting environment, ambient light, and complex reflections simultaneously. Using a high-quality studio HDRI with softboxes and light panels, or an outdoor environment HDRI, can instantly elevate your render.
Beyond HDRIs, supplementing with dedicated area lights or spherical lights is common. These can be strategically placed to create specific highlights on character lines, emphasize curves, or brighten shadowed areas. For instance, large, soft area lights positioned above and to the sides can simulate studio softboxes, creating long, elegant reflections across the car’s body. Rim lights, placed behind the vehicle, can help separate it from the background and add depth. Understanding how light bounces and interacts with different materials (diffuse, specular, reflective) is crucial. Renderers like Corona Renderer and V-Ray in 3ds Max, or Cycles and Arnold in Blender and Maya, offer advanced light settings and light mix capabilities, allowing for precise control over each light source’s contribution.
Just as in photography, camera settings and composition play a pivotal role in creating impactful automotive renders. A careful choice of focal length (typically 50mm to 100mm for cars to avoid distortion), aperture (for depth of field effects), and shutter speed (for motion blur in animations) can dramatically alter the mood and focus of your image. A shallow depth of field can beautifully isolate the car from a busy background, drawing the viewer’s eye to specific details.
Compositional rules like the rule of thirds, leading lines, and framing are equally important. Positioning the car slightly off-center, using road lines or architectural elements to lead the eye towards the vehicle, or framing it through a window or archway can create dynamic and engaging shots. Experiment with various camera angles – low angles can make the car appear powerful, while a slightly elevated angle can showcase its overall design. Always consider the story you want to tell and what aspects of the car you want to emphasize with your camera work. Platforms like 88cars3d.com often feature models presented with diverse, compelling camera angles to demonstrate their versatility and appeal.
Each renderer has its own unique strengths and workflow considerations. For instance, in Corona Renderer (often paired with 3ds Max), utilizing the Interactive Render provides immediate feedback, allowing you to fine-tune lighting and materials on the fly. Its denoiser is highly effective, reducing render times significantly. V-Ray, another powerhouse in architectural and automotive visualization, excels with its powerful GI solutions like Brute Force and Light Cache, offering extensive control over quality and speed. For both, understanding render passes (e.g., reflections, refractions, raw lighting) is key for professional post-production.
In Blender’s Cycles and Maya’s Arnold, both path tracers, increasing samples for cleaner results is common, along with careful use of adaptive sampling and denoisers. Optimizing scene geometry, ensuring efficient material setups, and utilizing features like instancing for repeating elements (e.g., tire treads, small bolts) are universal best practices across all renderers to keep render times manageable without sacrificing quality. Furthermore, knowing how to set up render elements or AOVs (Arbitrary Output Variables) allows you to export various layers of your render – such as diffuse, reflections, refractions, and masks – which are then indispensable for advanced compositing in software like Photoshop or After Effects.
While photorealistic renders are crucial for visualization, integrating 3D car models into real-time game engines presents a different set of challenges and requirements. Performance is paramount, as games need to render dozens, if not hundreds, of models simultaneously at high frame rates. This necessitates a strategic approach to optimizing geometry, textures, and materials without compromising visual fidelity. The goal is to deliver a smooth, immersive experience that looks great and runs efficiently on target hardware.
One of the most effective strategies for game engine optimization is the implementation of Levels of Detail (LODs). Instead of rendering a single high-polygon model at all distances, LODs involve creating multiple simplified versions of the same asset. The game engine then automatically switches to a lower-polygon version when the car is further away from the camera, significantly reducing the computational load. A typical car model might have 3-5 LOD levels:
These LODs are typically generated by decimating the original high-poly mesh, then baking normal maps from the high-poly to the low-poly versions to retain surface detail. Setting up LOD groups in Unity or Unreal Engine involves assigning these meshes and defining the screen percentage at which each LOD switches. This ensures that resources are allocated efficiently, rendering higher detail only when it’s noticeable to the player.
Texture optimization is another critical area for game assets. High-resolution textures consume significant memory, especially when many vehicles are present in a scene. Strategies include:
For rendering realistic car paint in real-time, engines like Unreal and Unity offer advanced shader graphs that allow artists to recreate complex effects like multi-layered clear coats, metallic flakes, and iridescent finishes, often using a single, optimized PBR shader.
Beyond visual models, interactive car models in games require simplified collision meshes. These are invisible, low-polygon meshes that define the physical boundaries of the car for collision detection with the environment or other vehicles. They should be convex and as simple as possible while accurately representing the car’s general shape to prevent players from getting stuck. Often, a combination of simple box colliders and a few complex shapes is used.
For more advanced physics simulation, game engines utilize physics assets or ragdolls, which typically consist of a skeletal rig with individual rigid bodies attached to various parts of the car (body, wheels, doors, suspension). These rigid bodies interact with the game’s physics engine, allowing for realistic deformation, suspension behavior, and damage models. Creating these assets requires careful consideration of joint placement, mass distribution, and constraint settings. When sourcing models from marketplaces such as 88cars3d.com, it’s wise to check if they come with pre-built LODs, collision meshes, or physics setups, as this can significantly accelerate game development workflows.
The versatility of high-quality 3D car models extends far beyond traditional rendering and gaming. They are integral to cutting-edge applications such as Augmented Reality (AR) and Virtual Reality (VR), provide tangible prototypes through 3D printing, and enhance various forms of professional visualization. Each application imposes its unique technical requirements and optimization strategies, highlighting the importance of adaptable and robust 3D assets.
For AR/VR applications, where real-time performance is paramount and users are immersed in a virtual or augmented environment, 3D car models must be meticulously optimized. The primary goal is to achieve high frame rates (typically 90 FPS or more per eye) to prevent motion sickness and ensure a smooth, comfortable experience. This means an even stricter approach to polygon budgets compared to traditional games.
The immersive nature of AR/VR also means that details that might be overlooked in a static render become noticeable. Accurate scaling, realistic material properties, and responsive interactivity are all vital for a convincing AR/VR automotive experience.
3D printing transforms digital models into physical objects, offering designers and enthusiasts a tangible output of their creations. However, preparing a 3D car model for printing requires a different set of technical considerations than for rendering or gaming:
The level of detail for 3D printing depends on the printer’s resolution. While intricate details are possible, extreme thinness or tiny unsupported overhangs might require structural modifications or support structures during printing.
In architectural visualization (ArchViz) and product design, 3D car models serve as powerful contextual elements, adding realism, scale, and a sense of life to a scene. A high-quality car model can elevate an architectural render from a sterile blueprint to a vibrant, lived-in environment. Key considerations here include:
For product visualization, car models might be used to showcase automotive accessories, custom paint jobs, or even entirely new vehicle concepts. Here, the focus is often on immaculate studio lighting and pristine materials to highlight the design and craftsmanship of the product. High-quality 3D car models sourced from reputable platforms like 88cars3d.com significantly enhance these visualization projects, providing ready-to-use, meticulously crafted assets.
Navigating the diverse landscape of 3D file formats and ensuring seamless compatibility across different software packages is a cornerstone of professional 3D production. A well-structured workflow, coupled with an understanding of what each format preserves, is essential for efficient collaboration, asset management, and project longevity. This section provides a technical overview of common 3D file formats, conversion strategies, and best practices for maintaining organized and accessible assets.
The 3D industry utilizes a myriad of file formats, each with its strengths and specific use cases:
Understanding these formats helps in choosing the right one for export based on the destination application and required data preservation.
Converting between formats is a common task. While most 3D software can import/export various formats, some considerations are crucial to prevent data loss:
Tools like Autodesk FBX Converter, or direct import/export functions within Blender, 3ds Max, and Maya, are invaluable. For web and AR/VR, dedicated tools and online converters can optimize and convert to gLTF/GLB and USDZ.
In professional pipelines, especially when dealing with complex assets like 3D car models (which can comprise hundreds of individual objects, materials, and textures), robust asset management is critical. This includes:
When you acquire assets from marketplaces like 88cars3d.com, you often benefit from models that are already meticulously organized, come with clean hierarchies, and adhere to industry-standard naming conventions, saving significant time and effort in production.
The journey from a blank canvas to a fully realized 3D car model is a testament to the blend of technical precision and artistic vision required in the digital arts. We’ve traversed the intricate landscape of automotive 3D modeling, from laying down the foundational elements of clean topology and efficient UV mapping to crafting lifelike PBR materials that respond flawlessly to light. We’ve explored advanced rendering techniques that breathe photorealism into still images, delved into the rigorous optimization necessary for seamless game engine integration, and examined the specialized preparations for groundbreaking applications like AR/VR and 3D printing.
Mastering these techniques not only elevates the quality of your work but also expands the horizons of what you can achieve in various industries, be it game development, architectural visualization, automotive design, or immersive media. The demand for high-quality, technically sound 3D car models continues to grow, underscoring the value of artists who understand these complex workflows. Whether you’re creating original designs or enhancing existing projects, a solid grasp of these principles is your key to success.
We encourage you to practice these techniques, experiment with different software and workflows, and continually refine your skills. For those seeking a head start or looking to populate their projects with premium assets, platforms like 88cars3d.com offer a curated selection of meticulously crafted 3D car models, ready for rendering, game development, AR/VR, and more. Dive in, explore the possibilities, and continue to push the boundaries of what’s possible with 3D automotive design. The road ahead is full of exciting creative opportunities.
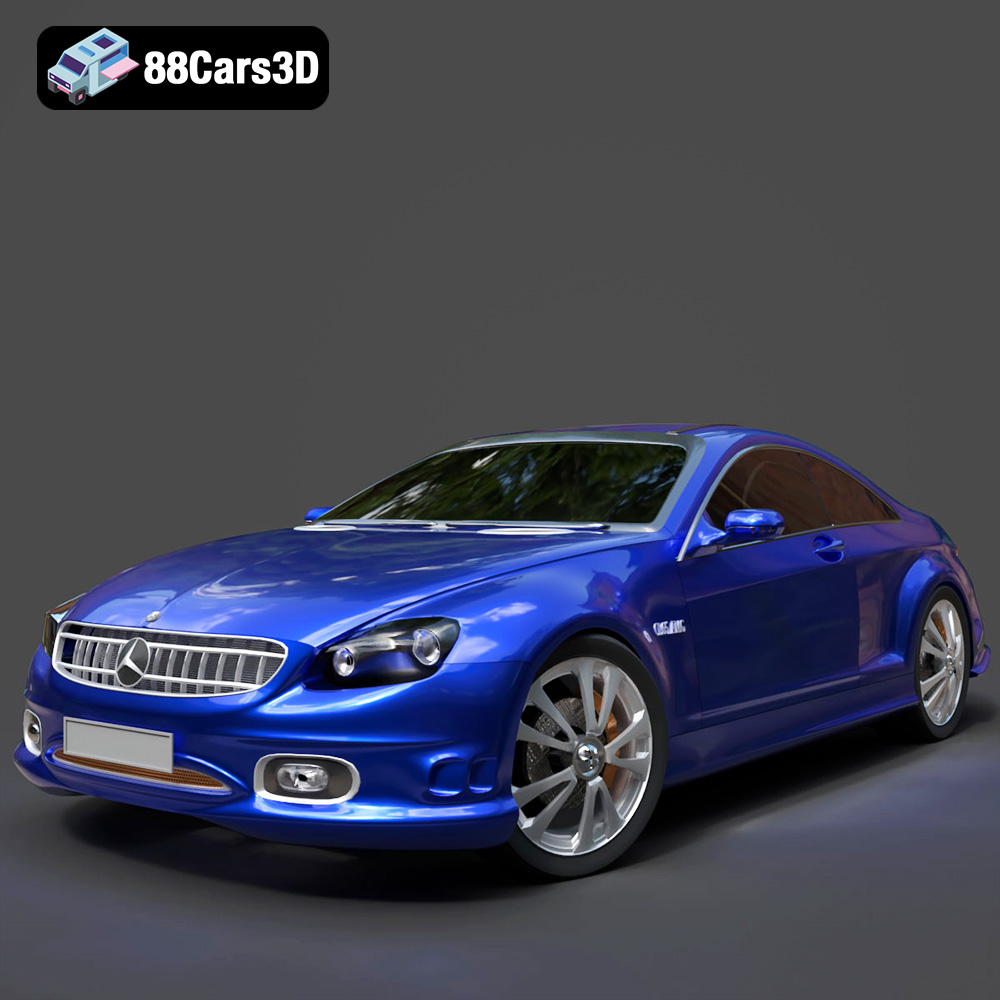
Texture: Yes
Material: Yes
Download the Mercedes-Benz CL6540-005 3D Model featuring clean geometry, realistic detailing, and a fully modeled interior. Includes .blend, .fbx, .obj, .glb, .stl, .ply, .unreal, and .max formats for rendering, simulation, and game development.
Price: $4.99
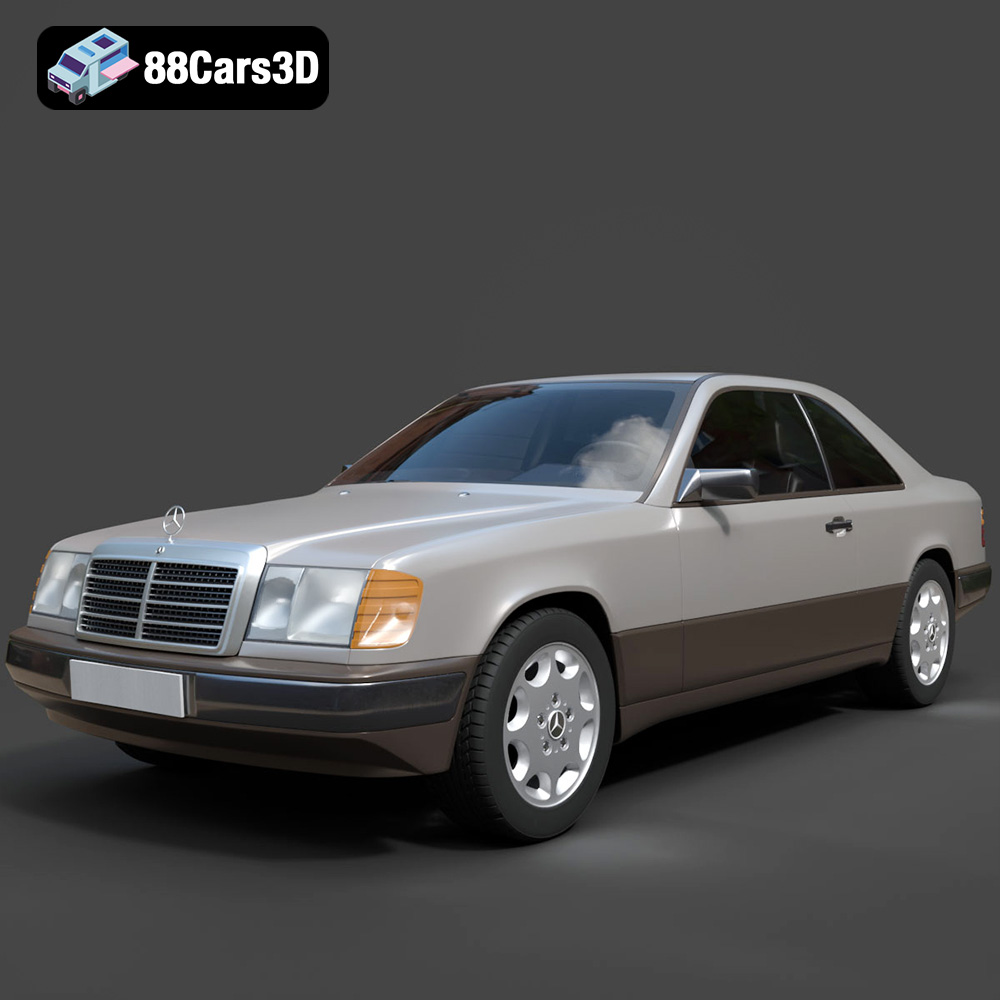
Texture: Yes
Material: Yes
Download the Mercedes E-Class w124 Coupe 3D Model featuring clean geometry, realistic detailing, and a fully modeled interior. Includes .blend, .fbx, .obj, .glb, .stl, .ply, .unreal, and .max formats for rendering, simulation, and game development.
Price: $4.99
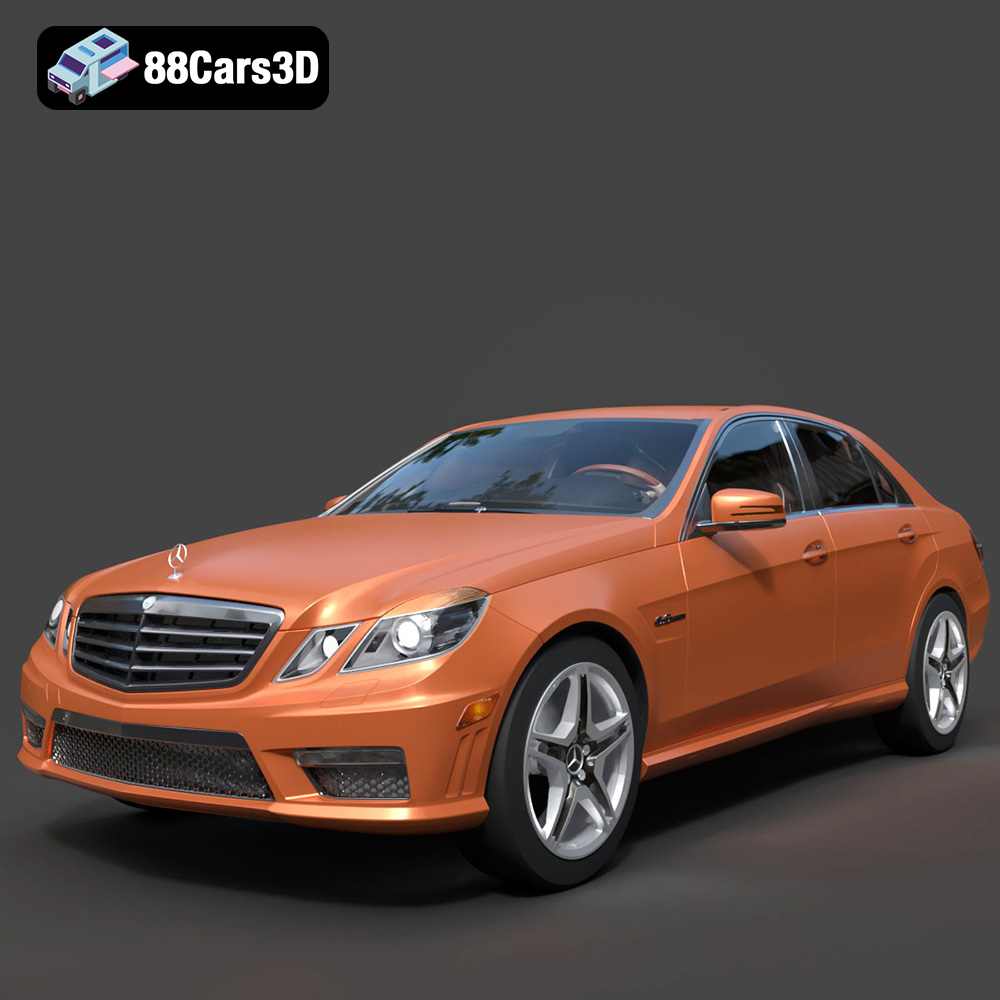
Texture: Yes
Material: Yes
Download the Mercedes-Benz E-Klasse 63 AMG 3D Model featuring clean geometry, realistic detailing, and a fully modeled interior. Includes .blend, .fbx, .obj, .glb, .stl, .ply, .unreal, and .max formats for rendering, simulation, and game development.
Price: $4.99
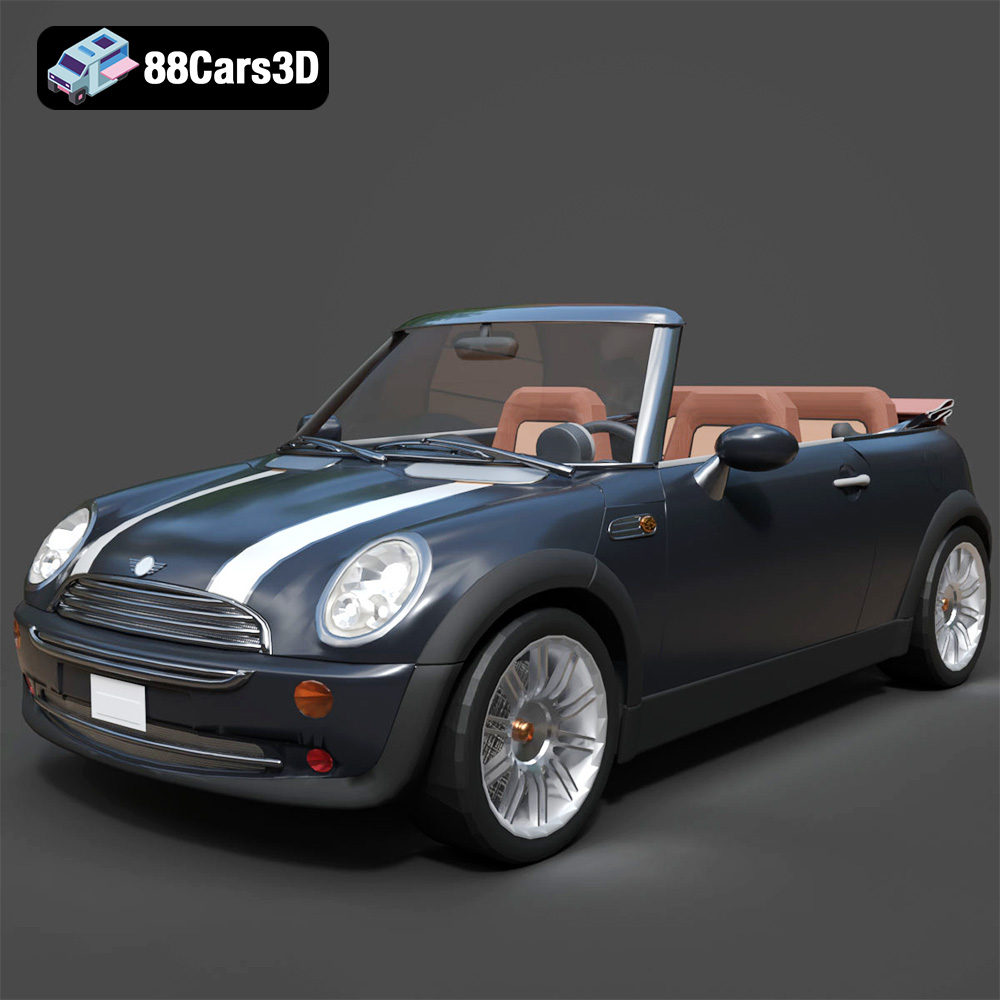
Texture: Yes
Material: Yes
Download the Mini Cabrio 2025 3D Model featuring clean geometry, realistic detailing, and a fully modeled interior. Includes .blend, .fbx, .obj, .glb, .stl, .ply, .unreal, and .max formats for rendering, simulation, and game development.
Price: $4.99
Texture: Yes
Material: Yes
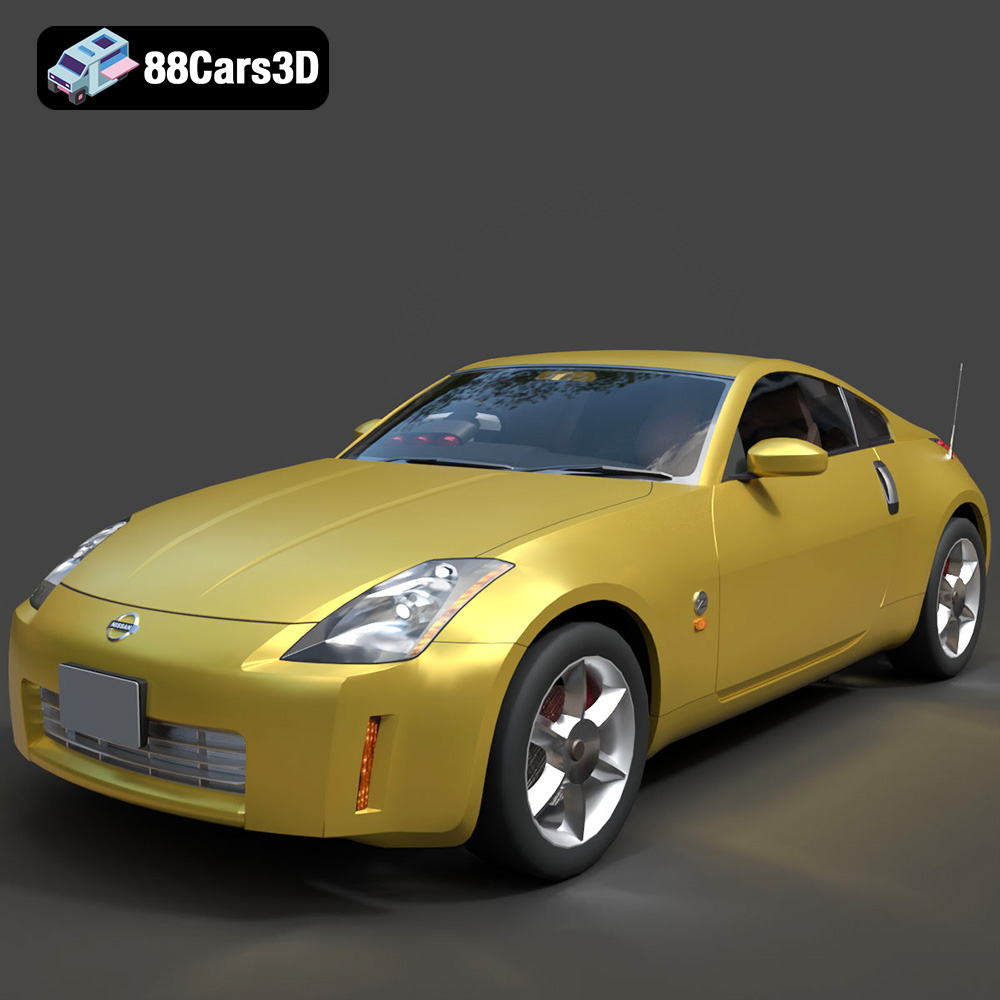
Download the Nissan 350Z 3D Model featuring clean geometry, realistic detailing, and a fully modeled interior. Includes .blend, .fbx, .obj, .glb, .stl, .ply, .unreal, and .max formats for rendering, simulation, and game development.
Price: $4.99
Texture: Yes
Material: Yes
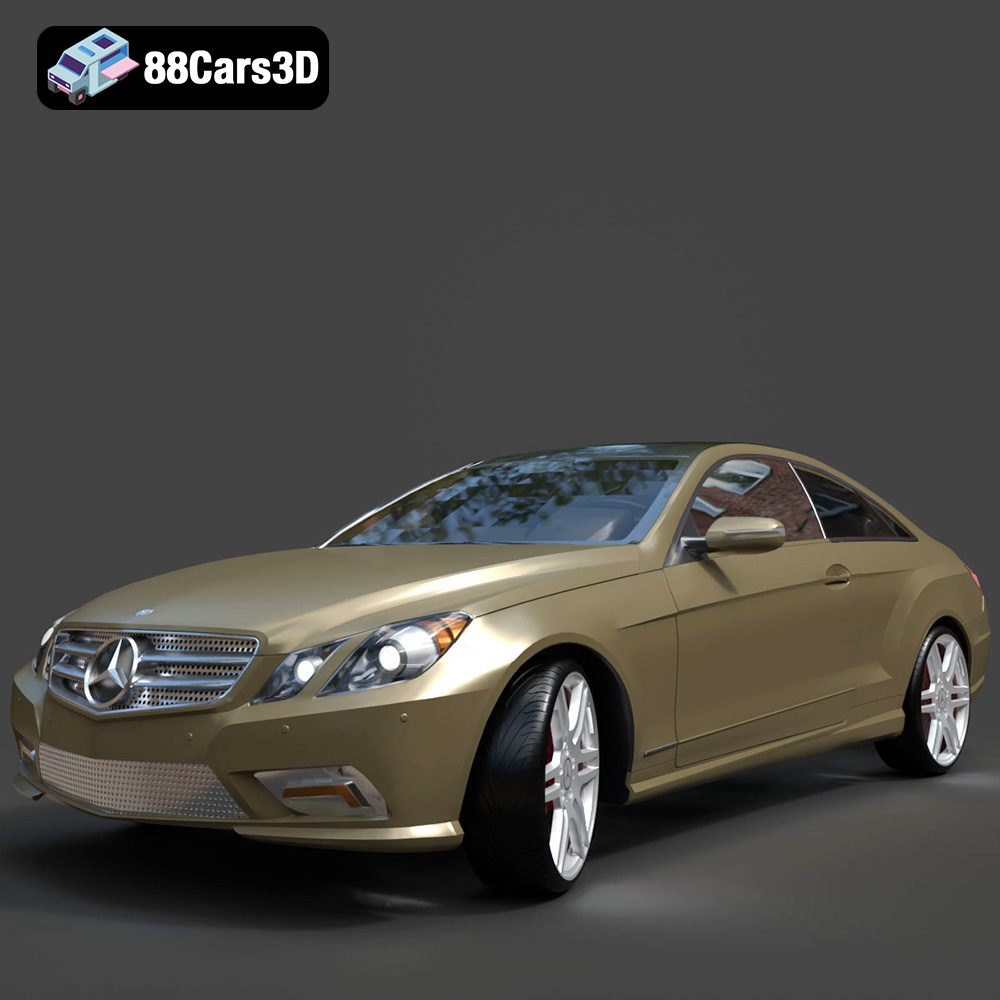
Download the Mercedes-Benz E-Klasse Coupe 3D Model featuring clean geometry, realistic detailing, and a fully modeled interior. Includes .blend, .fbx, .obj, .glb, .stl, .ply, .unreal, and .max formats for rendering, simulation, and game development.
Price: $4.99
Texture: Yes
Material: Yes
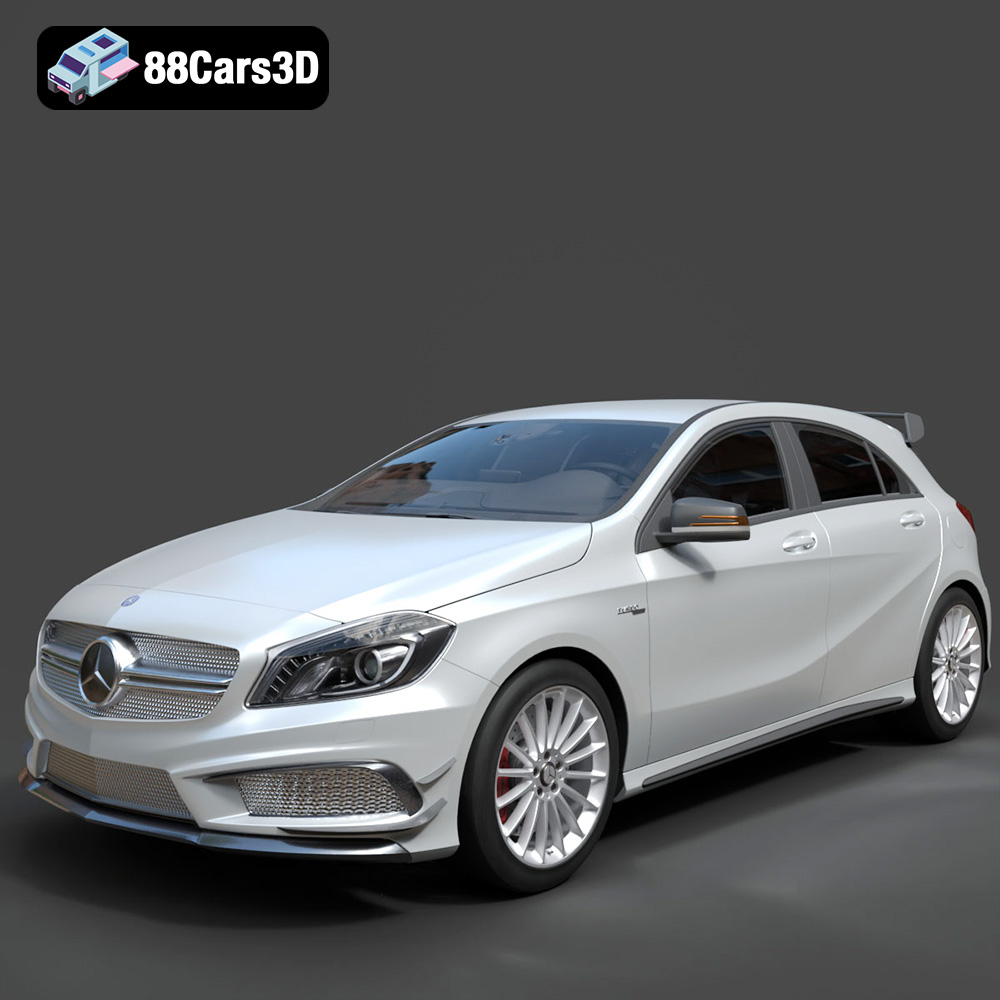
Download the Benza MERS-007 3D Model featuring clean geometry, realistic detailing, and a fully modeled interior. Includes .blend, .fbx, .obj, .glb, .stl, .ply, .unreal, and .max formats for rendering, simulation, and game development.
Price: $4.99
Texture: Yes
Material: Yes
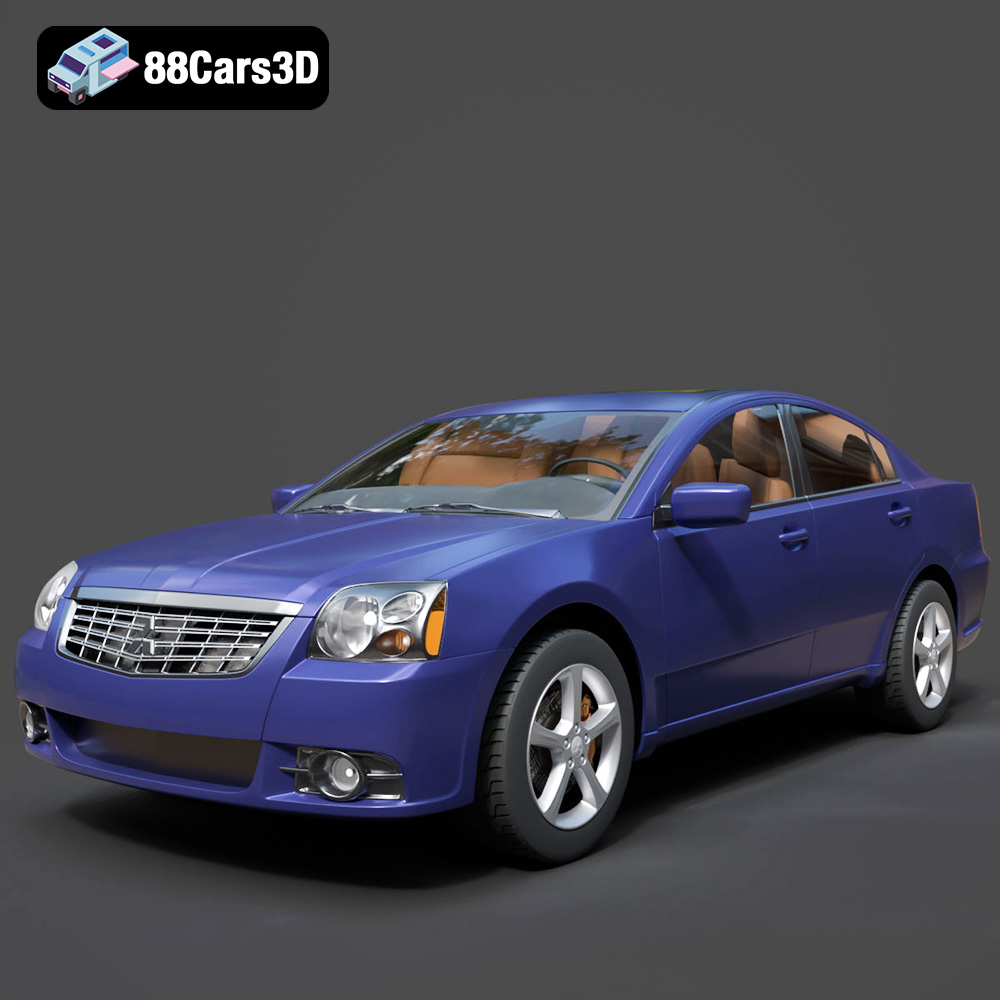
Download the Mitsubishi Galant 2009 3D Model featuring clean geometry, realistic detailing, and a fully modeled interior. Includes .blend, .fbx, .obj, .glb, .stl, .ply, .unreal, and .max formats for rendering, simulation, and game development.
Price: $4.99
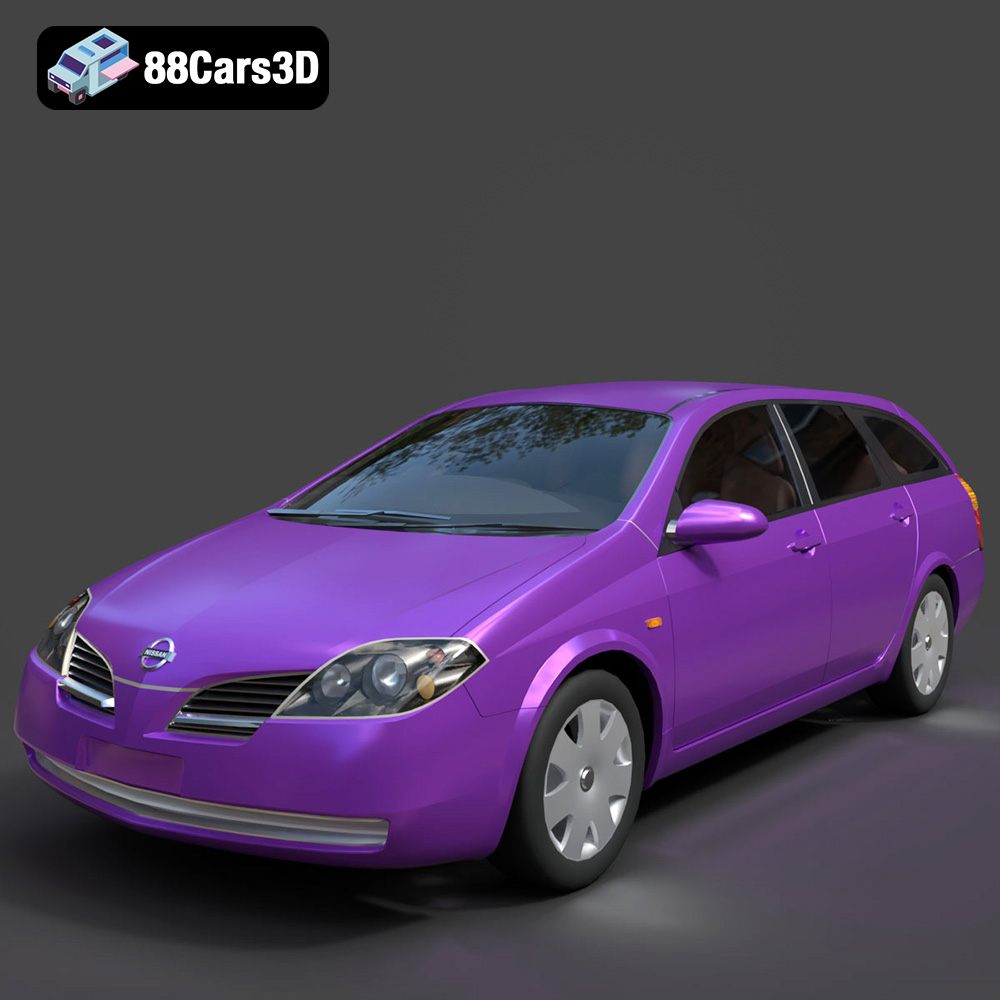
Texture: Yes
Material: Yes
Download the Nissan Primera Wagon 3D Model featuring clean geometry, realistic detailing, and a fully modeled interior. Includes .blend, .fbx, .obj, .glb, .stl, .ply, .unreal, and .max formats for rendering, simulation, and game development.
Price: $4.99
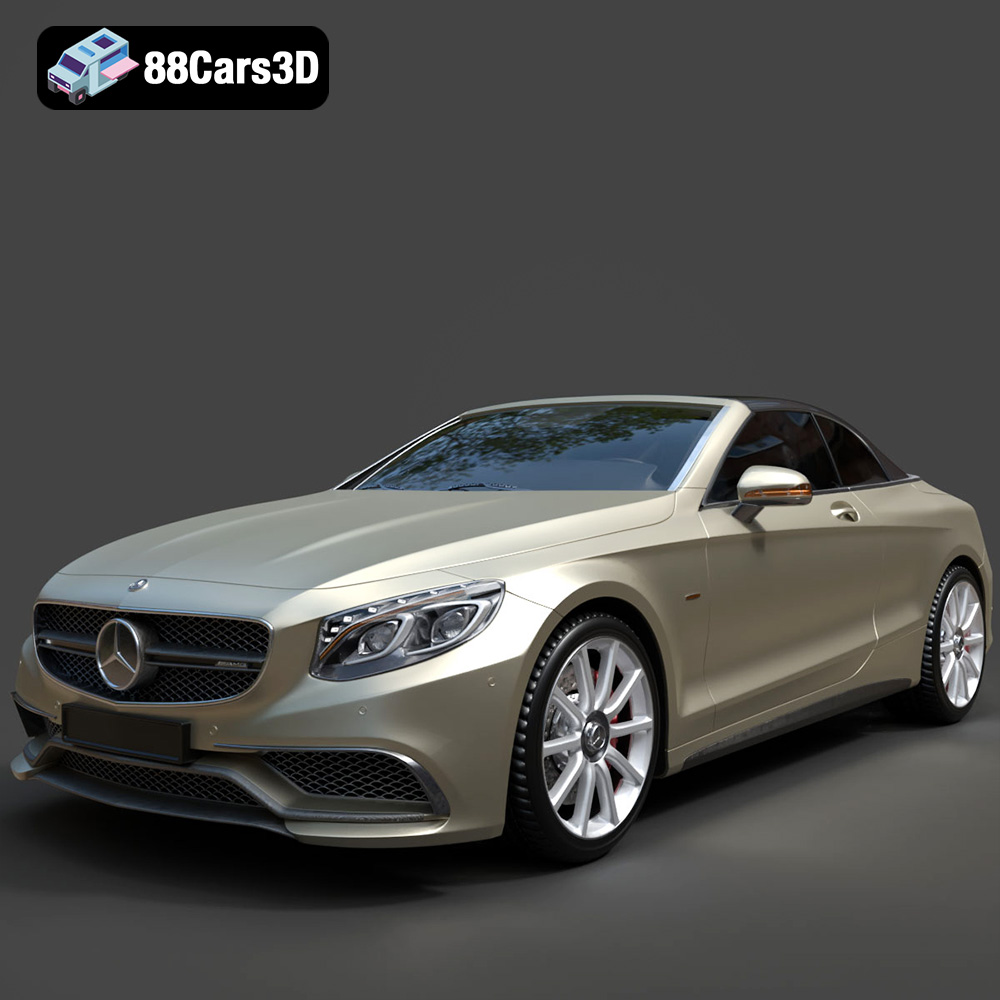
Texture: Yes
Material: Yes
Download the Mercedes-Benz S63 AMG Cabriolet 2017 3D Model featuring clean geometry, realistic detailing, and a fully modeled interior. Includes .blend, .fbx, .obj, .glb, .stl, .ply, .unreal, and .max formats for rendering, simulation, and game development.
Price: $20.99