⚡ FLASH SALE: Get 60% OFF All Premium 3D & STL Models! ⚡
“`html
A high-quality 3D car model is a masterpiece of digital craftsmanship. It represents hours of meticulous modeling, texturing, and shading to capture the essence of automotive design. But what happens after the final vertex is pushed into place? The true power of a 3D asset lies in its versatility. A single, well-constructed model can be the hero asset in a cinematic render, an interactive vehicle in a video game, an immersive object in an AR/VR experience, or even a physical prototype via 3D printing. However, transitioning a model from one pipeline to another is not a simple “save as” process. It requires a deep understanding of optimization, file formats, and application-specific requirements. This guide will take you on a comprehensive journey through the technical pipelines required to prepare a professional 3D car model for any use case. We will deconstruct the entire process, from foundational topology and UV mapping to the nuances of real-time optimization and preparing for physical production, equipping you with the skills to maximize the value of your automotive assets.
Everything in the 3D pipeline starts with the mesh. The quality of your model’s topology—the arrangement of its polygons, vertices, and edges—dictates its behavior under subdivision, its shading quality, and its suitability for deformation or optimization. For automotive models, with their blend of large, flowing surfaces and sharp, creased details, topology is paramount. A clean, quad-based mesh isn’t just a best practice; it’s a non-negotiable requirement for professional results.
A mesh composed primarily of four-sided polygons (quads) is predictable and efficient for 3D software to process. When a subdivision algorithm (like TurboSmooth in 3ds Max or a Subdivision Surface modifier in Blender) is applied, it smoothly and evenly divides each quad into four smaller quads. This process is essential for creating the high-resolution surfaces needed for photorealistic rendering. Triangles (three-sided polygons) and especially N-gons (polygons with more than four sides) disrupt this smooth division, leading to pinching, surface artifacts, and unpredictable shading. On a car body, where reflections are key to defining form, these errors are immediately noticeable and can ruin a render. Strive for a mesh that is 99%+ quads, using triangles only where absolutely necessary and strategically hidden from view.
The “flow” of your edges determines how light and reflections travel across a surface. On a car’s body panel, edge loops should follow the natural curvature and contours of the design. This ensures that when subdivided, the resulting high-poly surface is perfectly smooth and free of wobbles. To define sharp creases, such as those around headlights or panel gaps, we use support or holding edges. These are loops placed close to a primary edge line. The closer the support loops are to the main edge, the tighter and sharper the crease will be after subdivision. Mastering this technique allows you to transition seamlessly between broad, soft curves and crisp, machined lines without compromising the integrity of the mesh.
It’s crucial to understand the difference between a mesh built for rendering and one for real-time applications.
Starting with a clean, subdivision-ready model is often the best workflow, as it can be optimized down for game engines later.
If topology is the skeleton of your model, UV mapping is its skin. UV unwrapping is the process of flattening the 3D model’s surface into a 2D space so textures can be applied correctly. For a complex object like a car, with its countless individual parts and intricate surfaces, a strategic UV workflow is essential for both visual quality and performance.
A UV “seam” is where the 3D mesh is cut to allow it to be flattened. Poor seam placement can lead to visible texture breaks in your final render or game. The golden rule is to place seams where they are least likely to be seen.
For cylindrical parts like exhaust pipes or suspension components, run a single seam along the least visible side (usually the bottom or back).
When aiming for hyper-realism, a single 4K or 8K texture map may not provide enough resolution for the entire car. This is where the UDIM (U-Dimension) workflow shines.
In game development, efficiency is king. Unlike the UDIM approach, the goal here is to use as few materials and texture sets as possible to reduce draw calls. This involves texture atlasing, where the UVs for multiple, separate objects are packed into a single 0-1 UV space. For a car, you might create several atlases: one for the exterior, one for the interior, one for transparent elements like glass, and one for the wheels. Smart packing leaves minimal wasted space, ensuring every pixel of your texture map is used effectively. Tools like RizomUV or the packing tools within Blender and 3ds Max are invaluable for this task.
A great model and perfect UVs are incomplete without convincing materials. The modern standard for creating realistic surfaces is the Physically Based Rendering (PBR) workflow. PBR aims to simulate how light interacts with materials in the real world, resulting in materials that look correct in any lighting condition. This is achieved through a set of specific texture maps that control different surface properties.
Most PBR workflows (like Metallic/Roughness) rely on a few key maps:
A standard car paint is one of the most complex materials to replicate. It’s not a single layer but a combination of materials. In renderers like Corona, V-Ray, or Cycles, you build this with a layered shader network.
Achieving this look requires a shader that supports a dedicated clearcoat channel, which is standard in most modern render engines.
A perfectly clean car can look sterile. Adding subtle imperfections brings it to life. This can be done non-destructively using decals and grunge maps. In rendering software, you can use layering techniques to project dirt, smudges, or scratches onto your base material using a black and white mask. For game engines, decals are often implemented as separate floating geometry planes with transparent textures, which can be placed dynamically to add variety without creating unique texture sets for every asset. High-quality asset providers like 88cars3d.com often deliver models with clean materials, providing a perfect canvas for artists to add their own unique layers of wear and tear.
Transitioning a high-resolution model to a game engine like Unreal Engine or Unity is a process of strategic simplification. The goal is to preserve as much visual fidelity as possible while ensuring the game runs at a smooth, consistent framerate. This balancing act revolves around managing polygon counts, texture memory, and draw calls.
A game engine doesn’t need to render a 150,000-polygon car when it’s just a tiny speck in the distance. This is where Levels of Detail (LODs) come in. An LOD system involves creating multiple versions of the model at decreasing levels of complexity.
The game engine automatically switches between these LODs based on the car’s distance from the camera, drastically improving performance.
A “draw call” is a command from the CPU to the GPU to draw an object on the screen. Each object with a unique material generates at least one draw call. A car made of 100 separate objects with 100 different materials would generate 100 draw calls, which is incredibly inefficient. By using the texture atlasing technique discussed in the UV section, we can combine many parts onto a single material. If the entire car exterior uses one material and the interior uses another, we’ve reduced the draw calls from hundreds to just a handful. This is one of the single most important optimizations for real-time performance.
The target platform dictates your polygon budget. What’s acceptable for a high-end PC is impossible on a mobile device.
Always optimize for your target hardware. Start with a high-quality source model and carefully remove edge loops and details that won’t be noticeable on the target screen resolution.
Beyond traditional rendering and gaming, 3D car models are increasingly used in emerging technologies like Augmented Reality (AR), Virtual Reality (VR), and Additive Manufacturing (3D Printing). Each of these applications has its own unique set of technical requirements that demand careful preparation.
AR and VR are essentially real-time applications running on highly constrained hardware, especially mobile-based AR. Performance is paramount to maintain immersion and prevent motion sickness.
The process involves taking a game-ready model and optimizing it even further, ensuring it meets the strict performance budgets of AR platforms.
Preparing a model for 3D printing is a completely different challenge. Here, visual aesthetics are secondary to physical viability. The primary requirements are a “watertight” mesh and appropriate thickness.
Starting with clean, high-quality models, such as those available on marketplaces like 88cars3d.com, provides a solid base that often requires less manual cleanup for 3D printing.
We’ve journeyed from the foundational grid of a polygon mesh to the tangible reality of a 3D-printed object. The key takeaway is that a professional 3D car model is not a static endpoint but a versatile digital asset capable of adapting to any pipeline. The path from a subdivision-ready master model to a lean, real-time game asset or a printable prototype is paved with deliberate, technical choices. It requires a mastery of topology, a strategic approach to UV mapping, a deep understanding of material properties, and a ruthless commitment to optimization.
Whether you are an architectural visualization artist creating a stunning automotive render, a game developer building an immersive driving experience, or a designer prototyping the next generation of vehicles, these principles are universal. By investing time in proper preparation, you unlock the full potential of your 3D assets. Begin by sourcing or creating a model with impeccable topology. From there, follow the specific pipeline for your target application: layer materials for rendering, build LODs for gaming, or ensure a watertight mesh for printing. A high-quality starting point, like the meticulously crafted models found at 88cars3d.com, can save countless hours and serve as the perfect foundation for any creative or technical endeavor.
“`
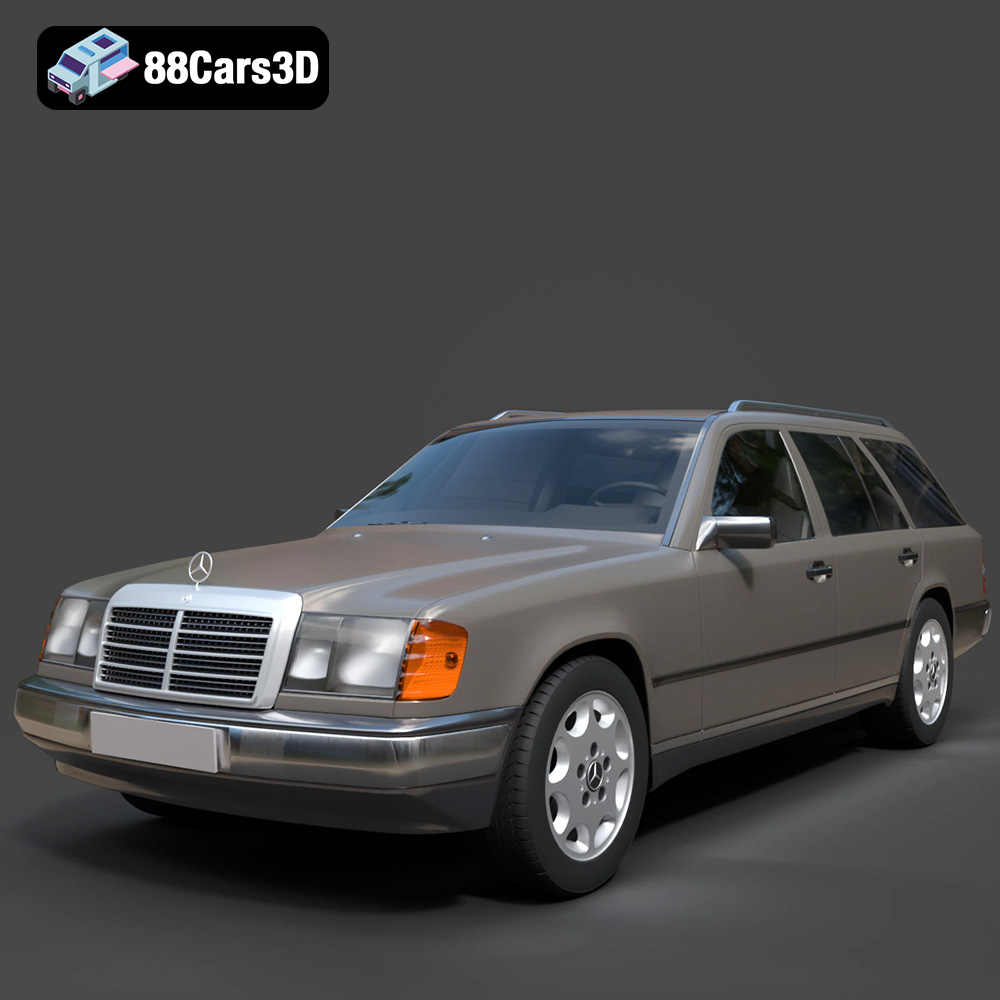
Texture: Yes
Material: Yes
Download the Mercedes E-Class w124 Kombi 3D Model featuring clean geometry, realistic detailing, and a fully modeled interior. Includes .blend, .fbx, .obj, .glb, .stl, .ply, .unreal, and .max formats for rendering, simulation, and game development.
Price: $4.99
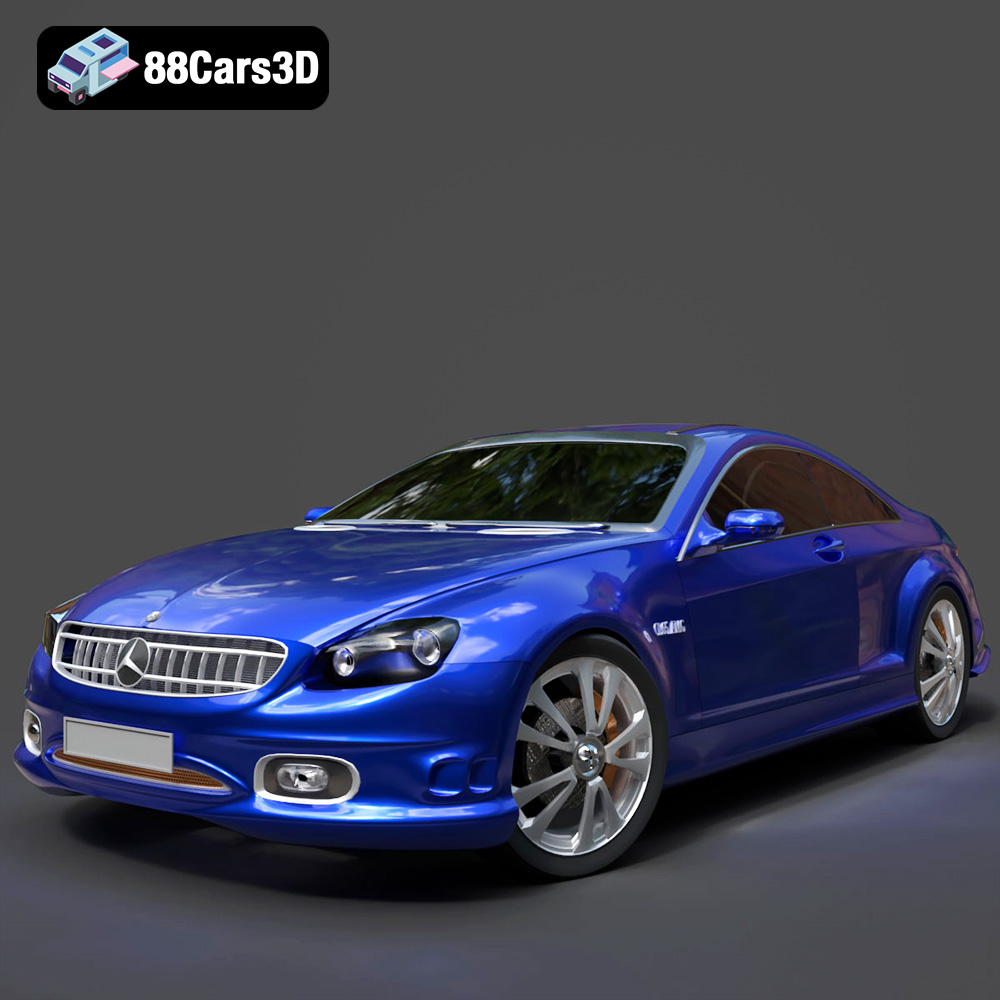
Texture: Yes
Material: Yes
Download the Mercedes-Benz CL6540-005 3D Model featuring clean geometry, realistic detailing, and a fully modeled interior. Includes .blend, .fbx, .obj, .glb, .stl, .ply, .unreal, and .max formats for rendering, simulation, and game development.
Price: $4.99
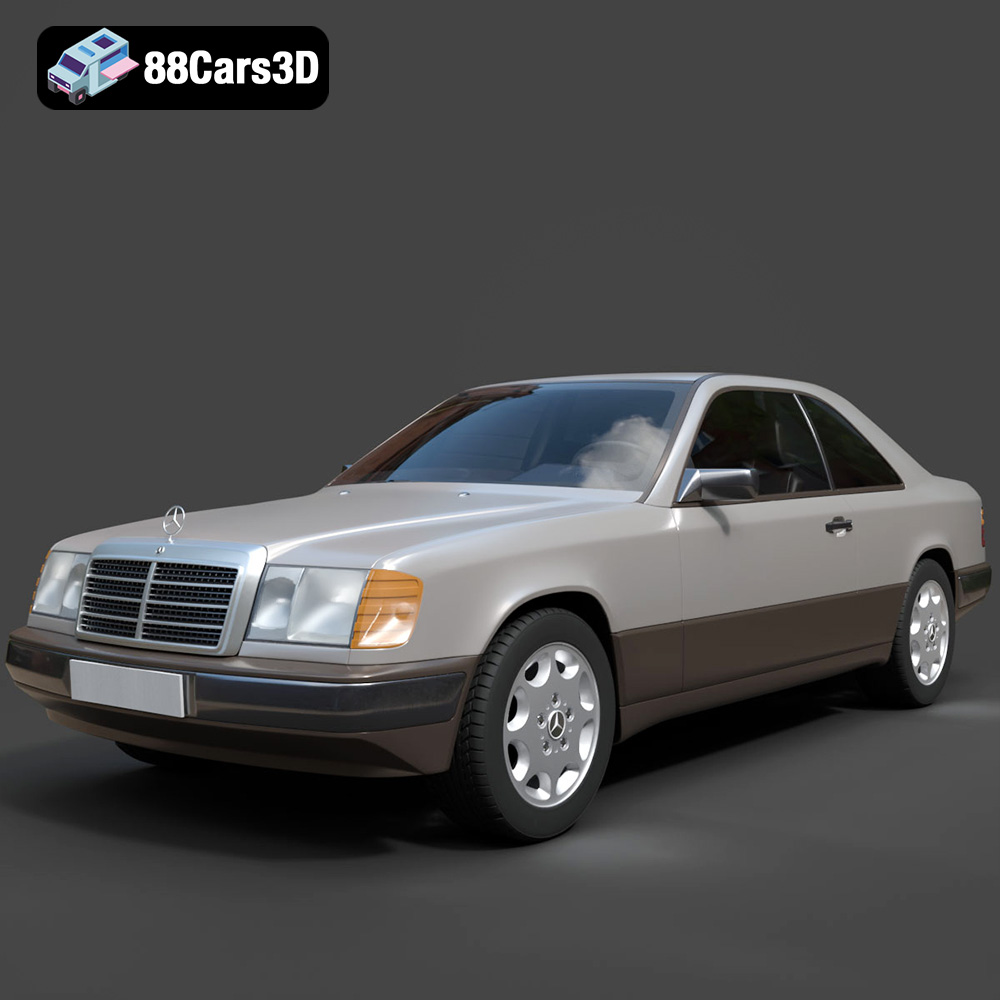
Texture: Yes
Material: Yes
Download the Mercedes E-Class w124 Coupe 3D Model featuring clean geometry, realistic detailing, and a fully modeled interior. Includes .blend, .fbx, .obj, .glb, .stl, .ply, .unreal, and .max formats for rendering, simulation, and game development.
Price: $4.99
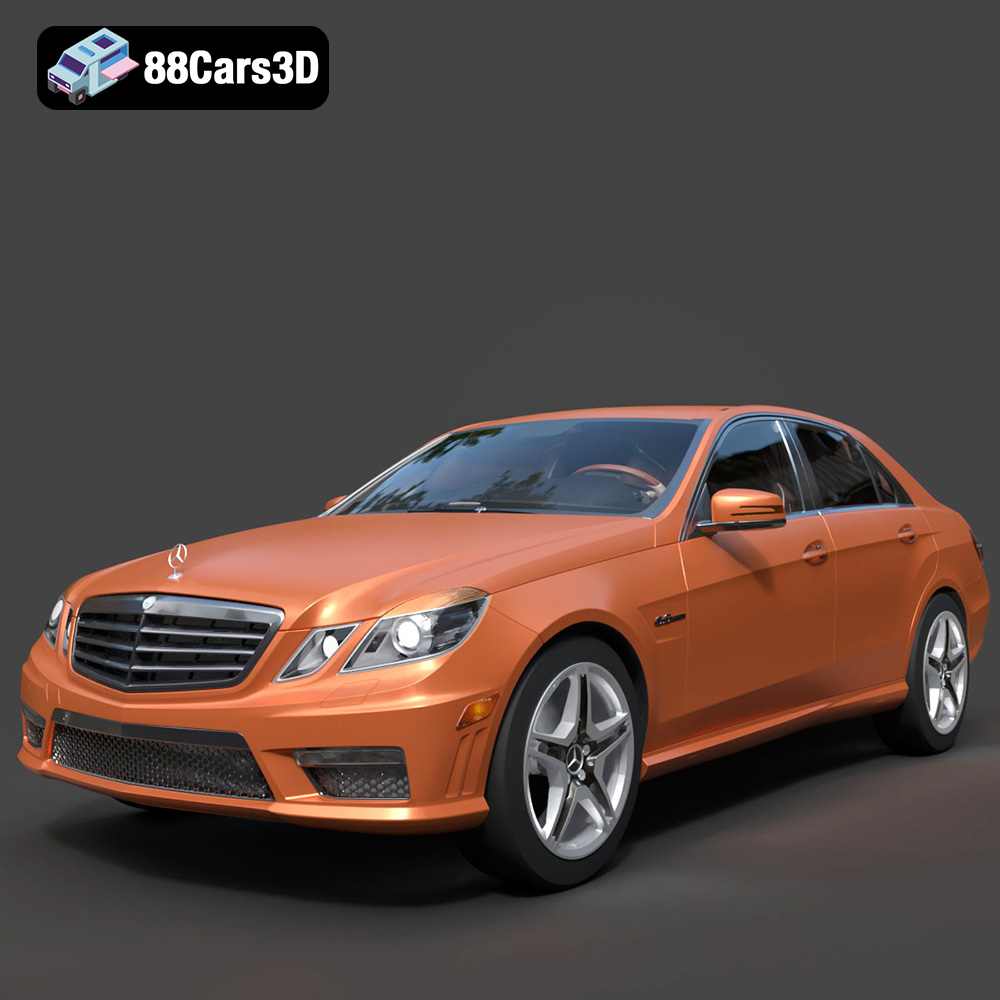
Texture: Yes
Material: Yes
Download the Mercedes-Benz E-Klasse 63 AMG 3D Model featuring clean geometry, realistic detailing, and a fully modeled interior. Includes .blend, .fbx, .obj, .glb, .stl, .ply, .unreal, and .max formats for rendering, simulation, and game development.
Price: $4.99

Texture: Yes
Material: Yes
Download the Mini Cabrio 2025 3D Model featuring clean geometry, realistic detailing, and a fully modeled interior. Includes .blend, .fbx, .obj, .glb, .stl, .ply, .unreal, and .max formats for rendering, simulation, and game development.
Price: $4.99
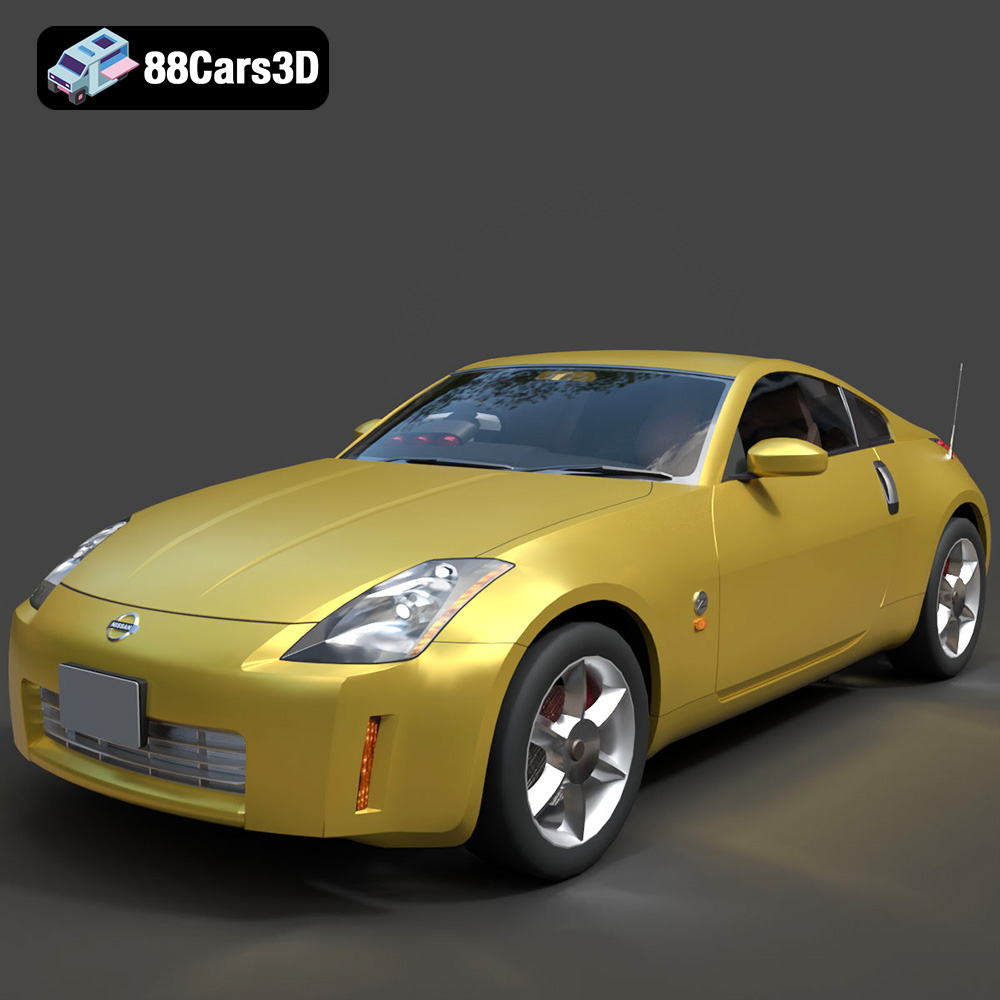
Texture: Yes
Material: Yes
Download the Nissan 350Z 3D Model featuring clean geometry, realistic detailing, and a fully modeled interior. Includes .blend, .fbx, .obj, .glb, .stl, .ply, .unreal, and .max formats for rendering, simulation, and game development.
Price: $4.99
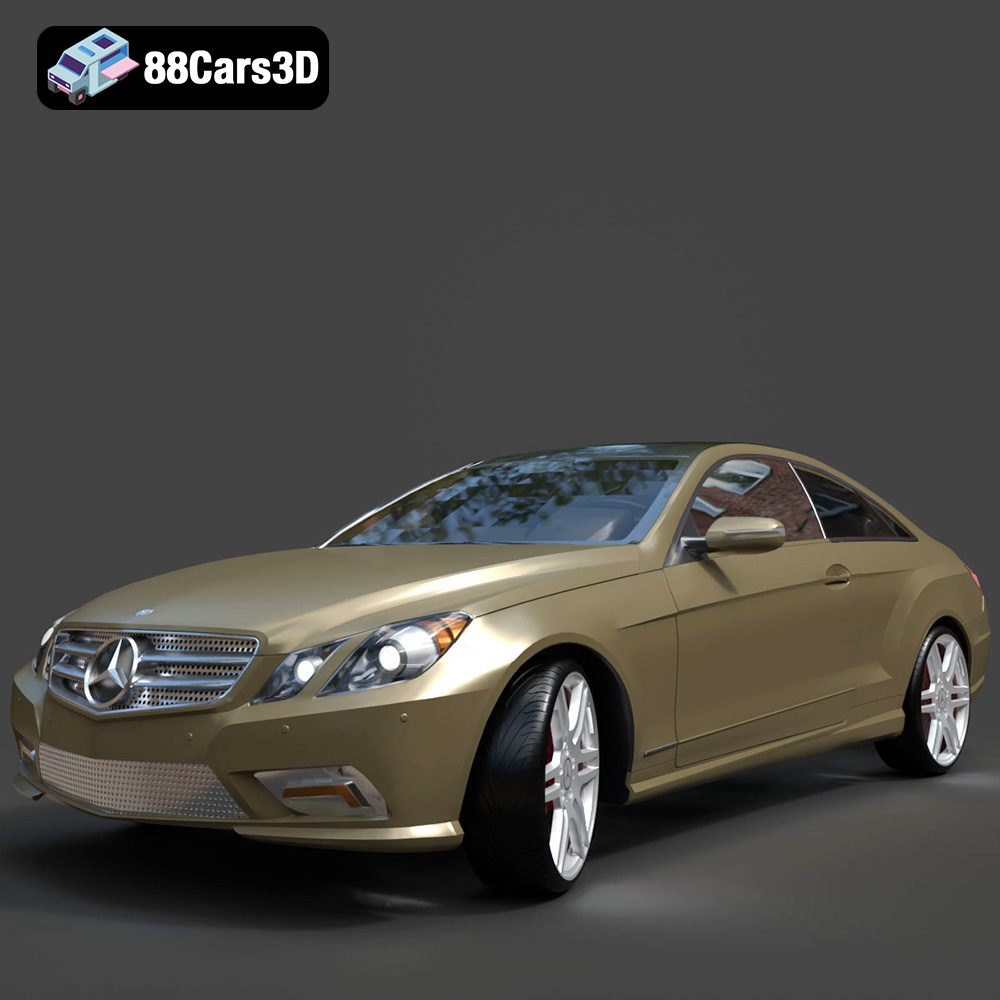
Texture: Yes
Material: Yes
Download the Mercedes-Benz E-Klasse Coupe 3D Model featuring clean geometry, realistic detailing, and a fully modeled interior. Includes .blend, .fbx, .obj, .glb, .stl, .ply, .unreal, and .max formats for rendering, simulation, and game development.
Price: $4.99
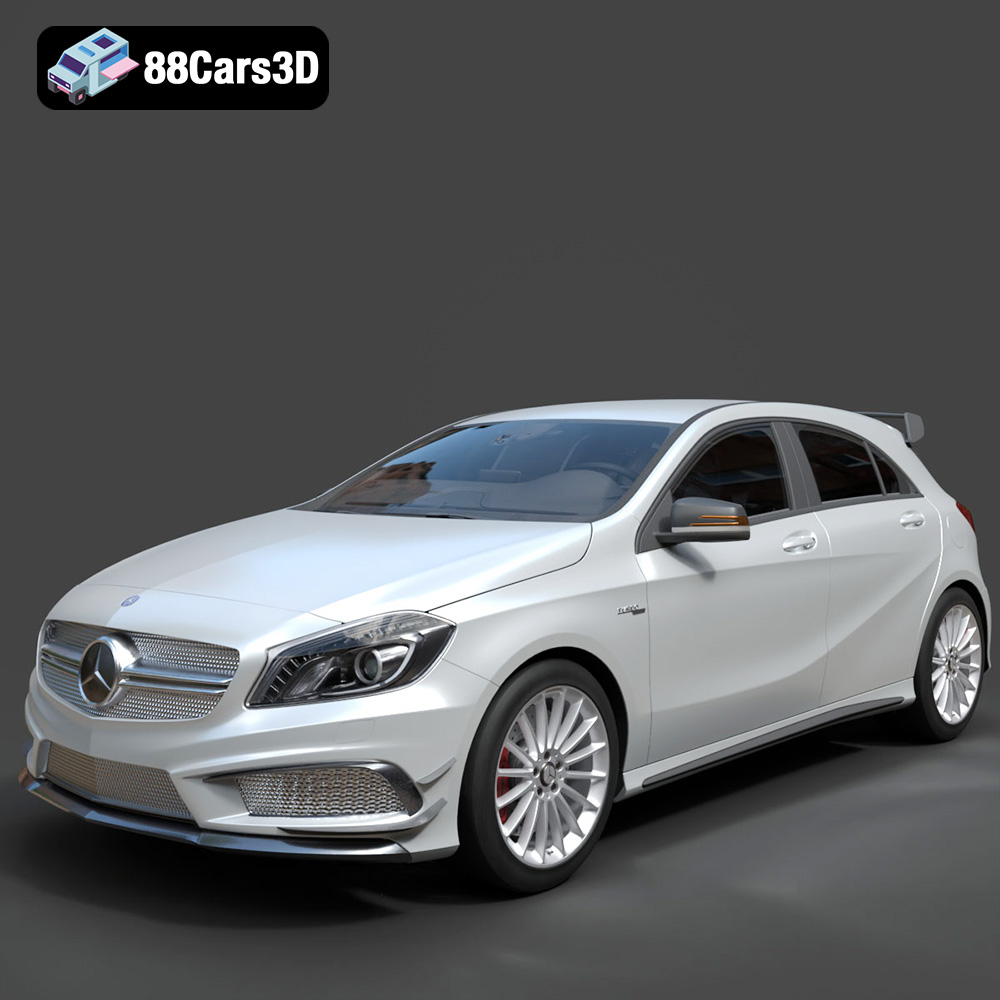
Texture: Yes
Material: Yes
Download the Benza MERS-007 3D Model featuring clean geometry, realistic detailing, and a fully modeled interior. Includes .blend, .fbx, .obj, .glb, .stl, .ply, .unreal, and .max formats for rendering, simulation, and game development.
Price: $4.99
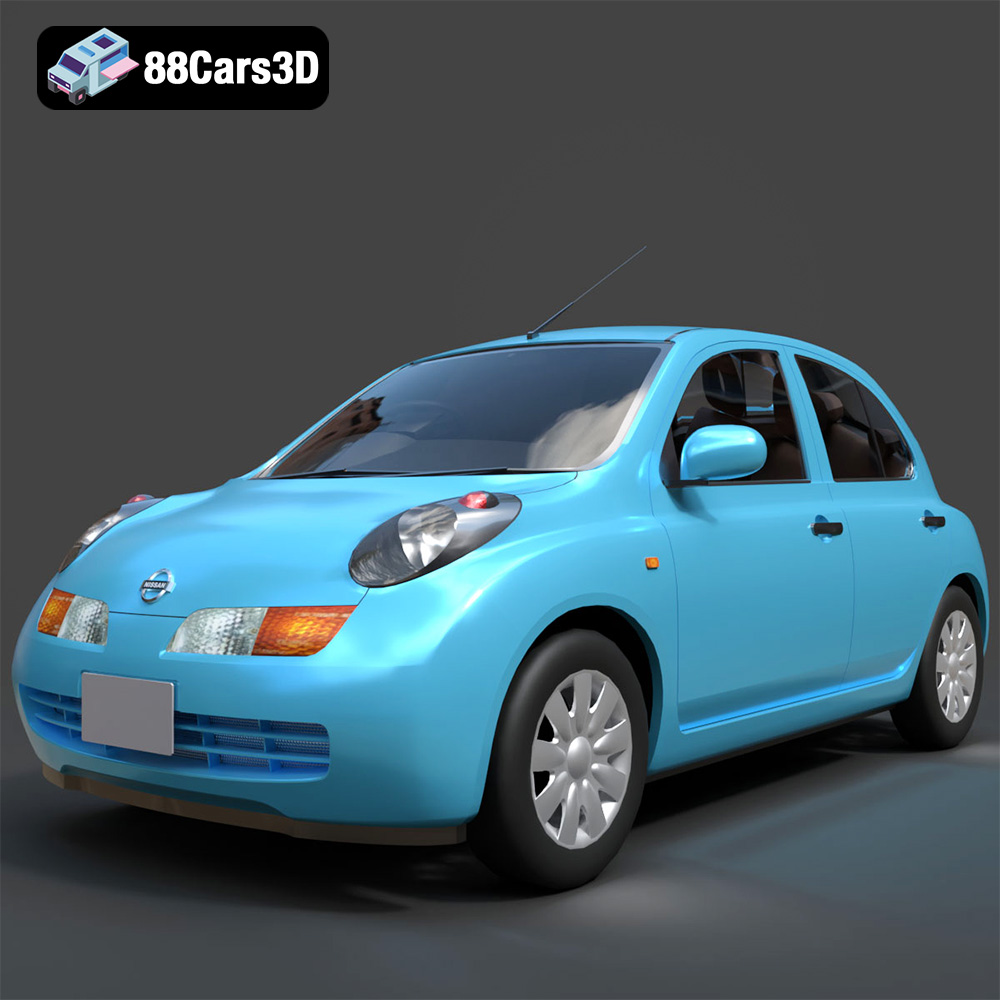
Texture: Yes
Material: Yes
Download the Nissan March 2025 3D Model featuring clean geometry, realistic detailing, and a fully modeled interior. Includes .blend, .fbx, .obj, .glb, .stl, .ply, .unreal, and .max formats for rendering, simulation, and game development.
Price: $4.99
Texture: Yes
Material: Yes
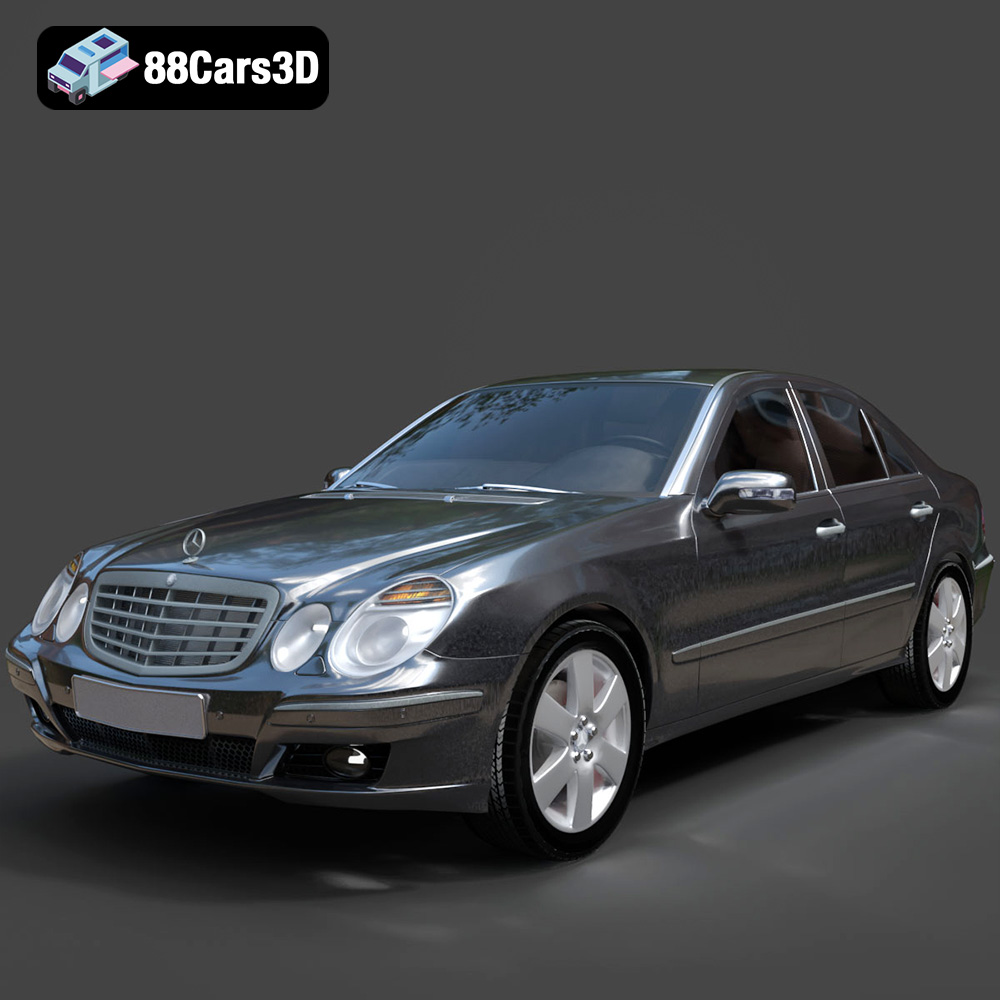
Download the Mercedes E-Class 2007 3D Model featuring clean geometry, realistic detailing, and a fully modeled interior. Includes .blend, .fbx, .obj, .glb, .stl, .ply, .unreal, and .max formats for rendering, simulation, and game development.
Price: $4.99