⚡ FLASH SALE: Get 60% OFF All Premium 3D & STL Models! ⚡
There’s an undeniable magic to a perfectly rendered car. The way light glints off the clear coat, the subtle imperfections that sell the realism, the intricate details of the interior—it’s a blend of technical skill and artistic vision. But achieving this level of quality, whether for a cinematic shot, an interactive game, or an augmented reality experience, goes far beyond simply downloading a file. A high-quality 3D car model is the essential starting point, but it’s the artist’s understanding of the entire pipeline that transforms that digital asset into a stunning final product. This guide is your roadmap to mastering that pipeline.
We will deconstruct the entire process, starting from the foundational geometry and moving through the nuances of texturing, shading, and rendering. You’ll learn how to optimize these complex models for the demanding performance requirements of game engines and AR/VR applications. We’ll even cover how to prepare a model for the physical world through 3D printing. This comprehensive overview is designed for 3D artists, game developers, and visualization specialists who want to elevate their work, ensuring that every polygon, texture, and light ray contributes to a breathtaking result. Let’s get started.
Before any material is applied or a single light is placed, the success of a 3D car model is determined by its geometry. Topology—the flow and structure of polygons on a model’s surface—is paramount. Good topology ensures smooth, predictable deformations and, most importantly, allows light to catch surfaces realistically, creating the clean, flowing highlights that define automotive design. Poor topology, on the other hand, leads to rendering artifacts, pinching, and shading errors that can ruin an otherwise perfect scene. For automotive models, this is non-negotiable.
Clean edge flow is about arranging polygons in a way that follows the natural curves and contours of the car’s body panels. Think of the sharp crease running down the side of a sports car or the smooth, sweeping curve of a fender. The edges of your polygons should align with these features. Quad-based topology (using four-sided polygons) is the industry standard for this reason. Quads subdivide cleanly and predictably, which is crucial for creating high-resolution renders without distortion. Triangles and especially N-gons (polygons with more than four sides) can cause pinching and unpredictable shading when a subdivision modifier (like TurboSmooth in 3ds Max or a Subdivision Surface modifier in Blender) is applied. When inspecting a model, look for evenly spaced quad loops that define the car’s form, especially around complex areas like headlights, grilles, and wheel arches.
The required polygon density varies dramatically depending on the final use case.
When you acquire a model from a marketplace like 88cars3d.com, the first step is a thorough inspection. A good seller will provide clean, quad-based topology, but it’s always wise to check. Open the model and look for N-gons or isolated vertices. Check that the different parts (body, wheels, windows, interior) are logically separated and named. Ensure the model’s scale is correct for your scene (e.g., set to real-world units in centimeters or inches). This initial prep work saves countless hours of frustration down the line and ensures you’re building on a solid foundation.
If topology is the skeleton of your model, UV mapping is its skin. It’s the critical process of unwrapping a 3D mesh into a 2D space so that textures can be applied correctly and without distortion. For a complex object like a car, with its mix of large, smooth panels and small, intricate details, a strategic UV mapping approach is essential for achieving professional results in both automotive rendering and game development.
The core of UV mapping is deciding where to place seams—the “cuts” in your 3D mesh that allow it to be laid flat. The goal is to hide these seams as effectively as possible. For cars, the best places to hide seams are along the natural panel gaps of the vehicle: where the door meets the fender, where the hood meets the body, or along hard edges on the underside of the car. Avoid placing seams in the middle of a large, smooth surface like a hood or a roof, as this can cause visible artifacts in the final texture, especially with detailed paint materials or decals. Use your 3D software’s UV editing tools (like 3ds Max’s Peel tools or Blender’s Smart UV Project with angle limits) to create clean UV islands based on these logical cuts.
For achieving maximum texture resolution, artists often choose between two main workflows:
Texel density refers to the number of texture pixels per unit of 3D surface area. Consistent texel density across your model is crucial for a uniform appearance. You don’t want the door handle to have a higher resolution texture than the door it’s attached to. Most UV editing toolsets have visualization modes to check texel density, often displayed as a colored checkerboard pattern. If the squares are stretched or vary wildly in size on different parts of the model, your textures will appear inconsistent. For a hero car in a game, you might give slightly more texel density to the interior dashboard (which the player sees up close) and less to the undercarriage (which is rarely seen).
Physically Based Rendering (PBR) has revolutionized 3D art by simulating the real-world flow of light. Creating believable PBR materials is what separates an amateur render from a photorealistic masterpiece. For cars, this means accurately recreating complex surfaces like metallic paint, brushed aluminum, tire rubber, glass, and leather. This is achieved not just with a single color texture, but with a network of specialized maps that tell the render engine how a surface should behave.
Understanding the fundamental PBR texture maps is the first step. While different workflows exist (Metallic/Roughness vs. Specular/Glossiness), the Metallic/Roughness model is the most common in real-time engines and modern renderers.
Standard car paint isn’t just one material; it’s a layered system. To replicate this digitally, you need a shader that can simulate these layers. Most modern renderers (like Corona, V-Ray, and Arnold) have a dedicated “Layered” or “Blend” material. A typical setup includes:
This layered approach is the secret to achieving depth and realism in your automotive renders.
Nothing in the real world is perfectly clean. The final touch of realism comes from adding subtle imperfections. Using procedural masks based on ambient occlusion or curvature, you can layer on subtle grime in the crevices, dust on the flat surfaces, and fine scratches on the clear coat. These details are often added as a “grunge” map that is multiplied over your base Roughness map, making certain areas less reflective. Even the slightest hint of wear and tear can trick the viewer’s eye into believing the car is real.
With a perfectly modeled and textured car, the final step is to bring it to life through rendering. This stage is all about light, shadow, and camera work. The right lighting and render settings can make an average model look great, while poor lighting can make a great model look flat and uninteresting. Achieving photorealism in automotive rendering requires a deep understanding of how light interacts with the complex materials you’ve created.
While most modern path-tracing render engines can produce stunning results, they each have their strengths.
The choice often comes down to personal preference and integration with your primary 3D application (e.g., V-Ray/Corona for 3ds Max, Cycles for Blender).
The most common and effective way to light a 3D car is with an Image-Based Lighting (IBL) setup using a High Dynamic Range Image (HDRI). An HDRI is a 360-degree panoramic photo that contains a vast range of light intensity data. When used as an environment map, it projects realistic lighting and reflections onto your model. For classic studio shots, use an HDRI of a professional photo studio. To enhance the look, supplement the HDRI with manually placed area lights. Use large, soft rectangular lights to create broad, soft reflections that define the car’s shape, and use smaller, sharper lights to create “specular highlights” that draw attention to specific design lines. This combination of global HDRI lighting and fine-tuned direct lighting offers the best of both worlds.
Never consider your raw render the final image. Professional artists render out multiple “passes” or Render Elements (AOV’s in Arnold terminology) to have maximum control during post-processing in software like Photoshop or After Effects. Essential passes for automotive renders include:
Compositing these passes gives you the creative freedom to perfect your image without needing to re-render the entire scene.
Transitioning a high-detail 3D car model into a real-time game engine like Unreal Engine or Unity is a process of careful optimization. The goal is to preserve as much visual fidelity as possible while adhering to the strict performance budgets required to maintain a smooth framerate. This balancing act is crucial for creating believable and performant game assets.
A Level of Detail (LOD) system is the single most important optimization for in-game vehicles. It’s a technique where multiple versions of the same model, each with a progressively lower polygon count, are swapped out in real-time based on the car’s distance from the camera.
Modern engines can generate LODs automatically, but for best results, they should be created manually by a 3D artist to preserve the car’s crucial silhouette.
A “draw call” is a command from the CPU to the GPU to draw an object on the screen. Too many draw calls can create a CPU bottleneck and lower performance. Each material on your model typically results in a separate draw call. A car model with 30 different materials (one for paint, glass, chrome, rubber, etc.) is highly inefficient. The solution is to consolidate materials using a “texture atlas.” This involves combining the textures for multiple parts onto a single, larger texture sheet. For example, all the small interior parts (dashboard, steering wheel, seats) could be unwrapped to share one material and one set of PBR textures. This drastically reduces draw calls and improves performance.
The visual mesh of the car is far too complex to be used for in-game physics calculations. Instead, a second, much simpler, invisible “collision mesh” is created. This is typically a collection of primitive shapes (like boxes and convex hulls) that roughly approximates the car’s shape. This simplified mesh is what the game engine’s physics system uses to calculate collisions with the environment and other objects. Creating an efficient and accurate collision mesh is vital for believable vehicle handling and crash dynamics.
Beyond traditional rendering and gaming, 3D car models are increasingly used in emerging technologies like Augmented Reality (AR), Virtual Reality (VR), and 3D printing. Each of these applications has its own unique set of technical requirements and optimization challenges that differ significantly from cinematic or PC game development.
AR and VR applications, especially those running on mobile or standalone headsets like the Meta Quest, operate under extremely tight performance constraints.
The key is aggressive optimization, using baked normal maps to retain detail on a low-poly mesh and consolidating all textures into a single atlas.
Preparing a model for 3D printing is a completely different challenge. Here, the visual appearance is secondary to the physical integrity of the mesh.
This process shifts the focus from visual perfection to creating a blueprint for a manufacturable object.
A high-quality 3D car model is a remarkably versatile asset, but unlocking its full potential requires a deep, multi-disciplinary skillset. As we’ve seen, the journey from a raw mesh to a final product involves a series of critical technical and artistic decisions. From establishing a solid foundation with clean topology to the intricate work of UV mapping and creating layered PBR materials, each step builds upon the last. The path then diverges, demanding aggressive optimization for real-time game assets, strict adherence to performance budgets for AR/VR, or a focus on physical integrity for 3D printing.
Mastering these pipelines—whether for a stunning piece of automotive rendering or an interactive experience—is what separates the novice from the professional. The key takeaway is that the principles of quality and attention to detail remain constant, even when the tools and technical constraints change. By starting with a professionally crafted asset, such as those available from sources like 88cars3d.com, you can focus your energy on these crucial post-purchase steps. We encourage you to take these techniques, experiment within your chosen software, and push the boundaries of what’s possible with your next automotive project.
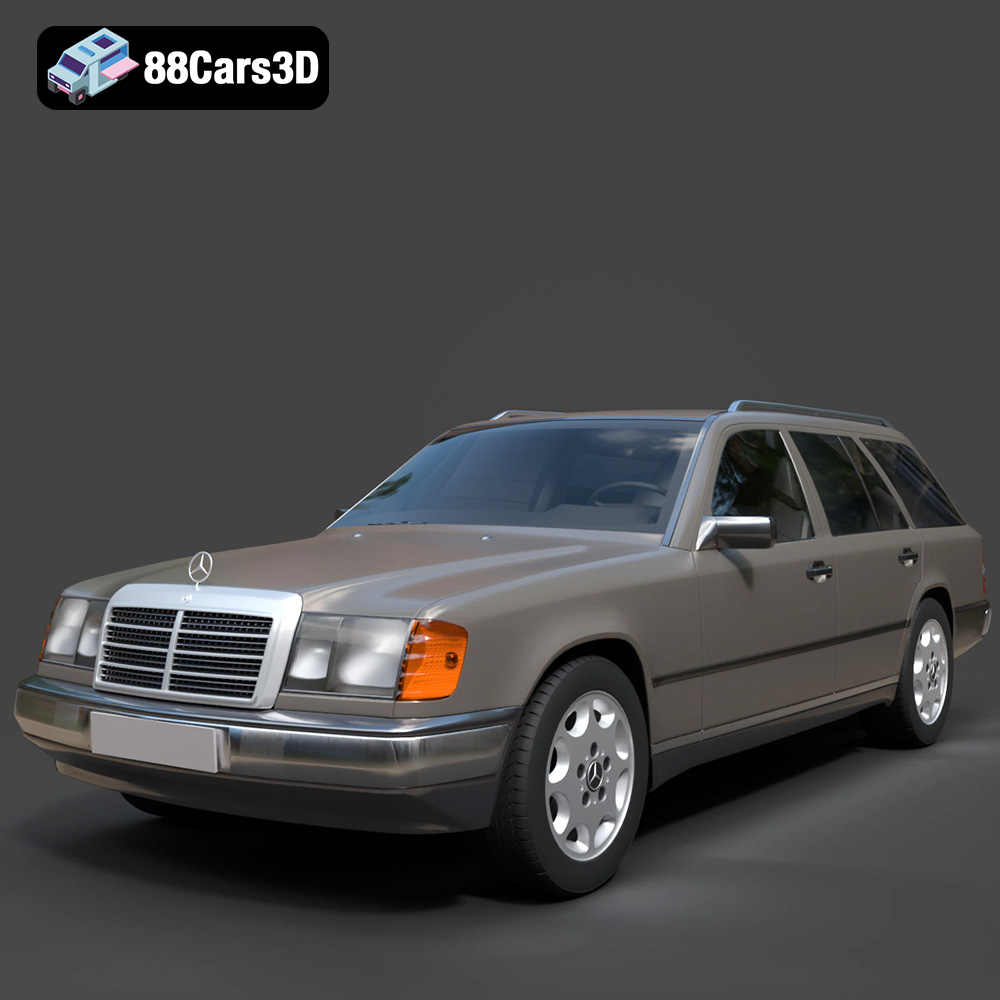
Texture: Yes
Material: Yes
Download the Mercedes E-Class w124 Kombi 3D Model featuring clean geometry, realistic detailing, and a fully modeled interior. Includes .blend, .fbx, .obj, .glb, .stl, .ply, .unreal, and .max formats for rendering, simulation, and game development.
Price: $4.99
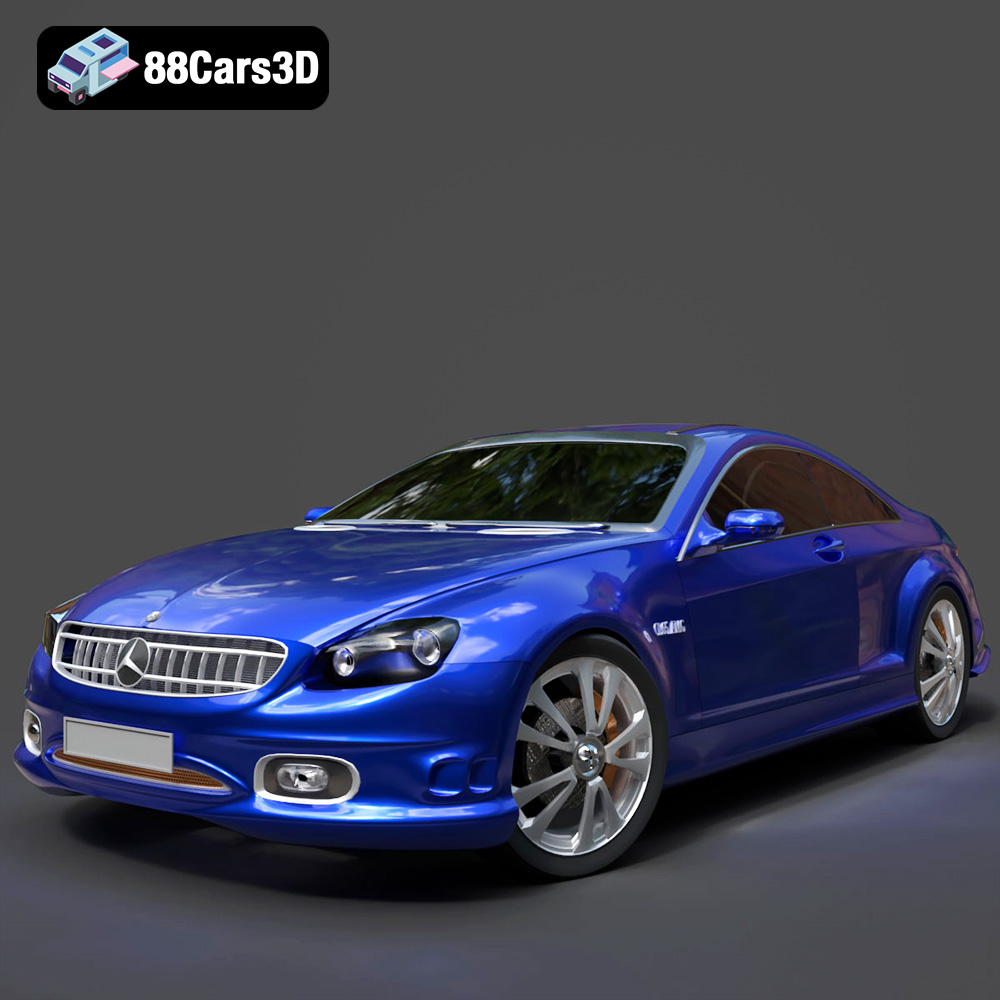
Texture: Yes
Material: Yes
Download the Mercedes-Benz CL6540-005 3D Model featuring clean geometry, realistic detailing, and a fully modeled interior. Includes .blend, .fbx, .obj, .glb, .stl, .ply, .unreal, and .max formats for rendering, simulation, and game development.
Price: $4.99
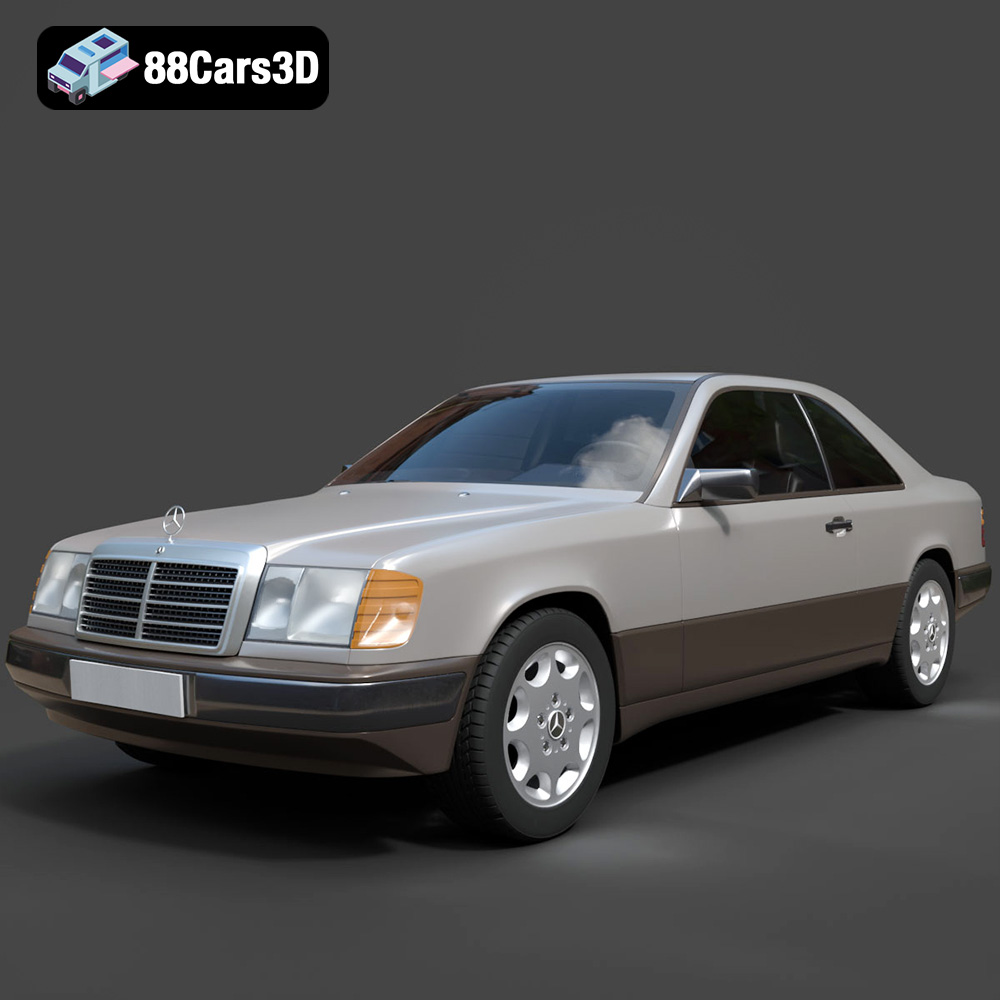
Texture: Yes
Material: Yes
Download the Mercedes E-Class w124 Coupe 3D Model featuring clean geometry, realistic detailing, and a fully modeled interior. Includes .blend, .fbx, .obj, .glb, .stl, .ply, .unreal, and .max formats for rendering, simulation, and game development.
Price: $4.99
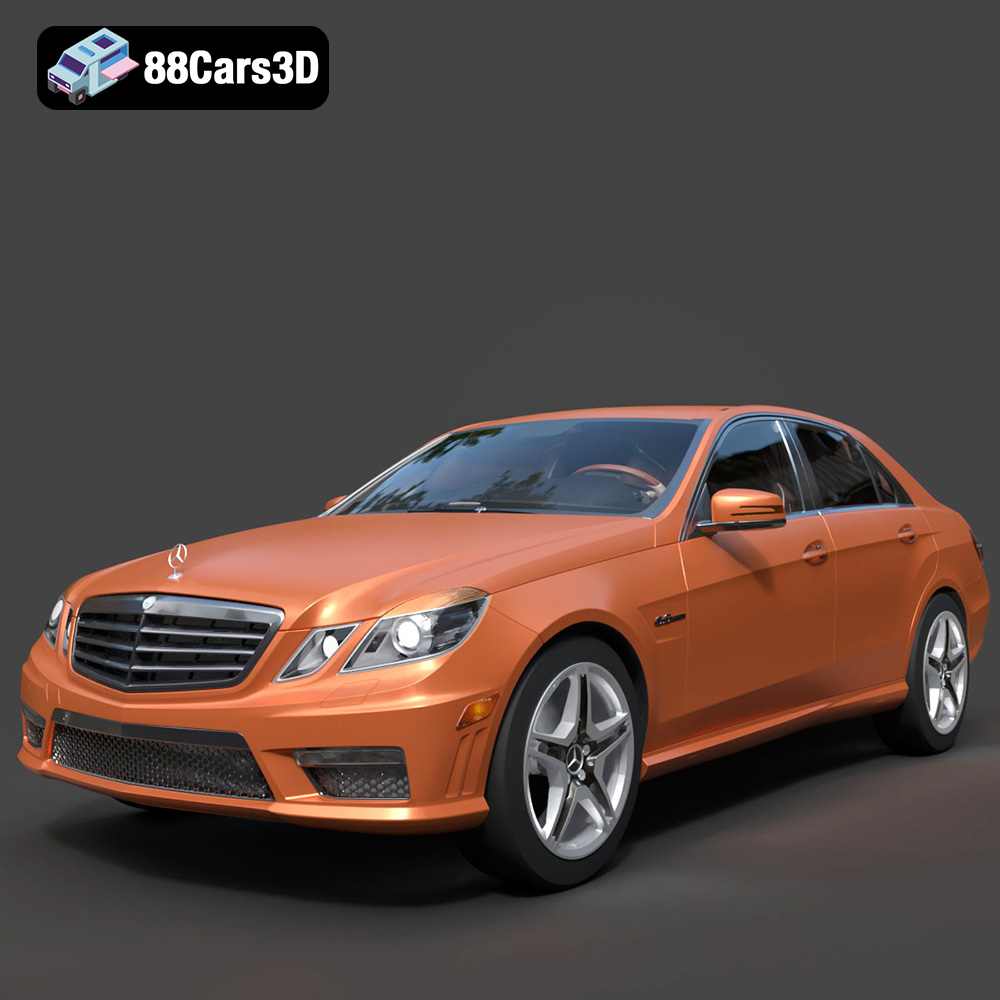
Texture: Yes
Material: Yes
Download the Mercedes-Benz E-Klasse 63 AMG 3D Model featuring clean geometry, realistic detailing, and a fully modeled interior. Includes .blend, .fbx, .obj, .glb, .stl, .ply, .unreal, and .max formats for rendering, simulation, and game development.
Price: $4.99
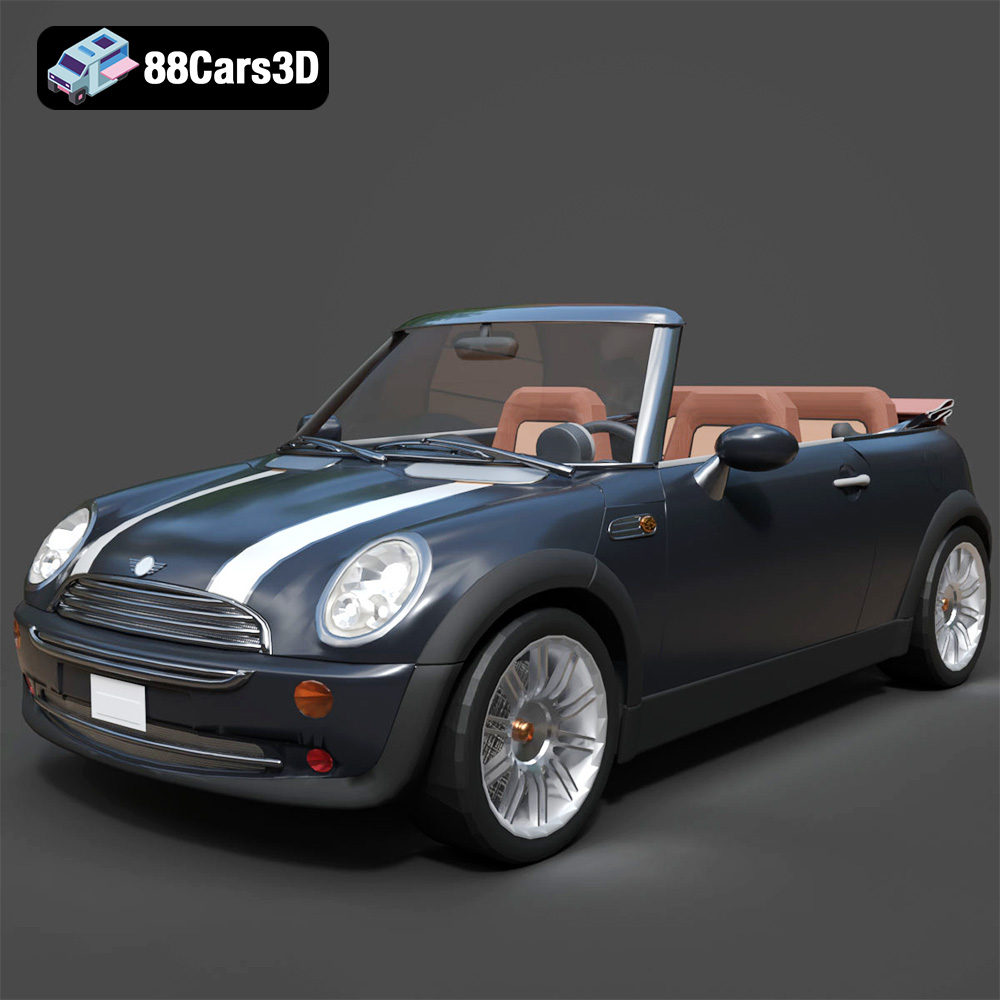
Texture: Yes
Material: Yes
Download the Mini Cabrio 2025 3D Model featuring clean geometry, realistic detailing, and a fully modeled interior. Includes .blend, .fbx, .obj, .glb, .stl, .ply, .unreal, and .max formats for rendering, simulation, and game development.
Price: $4.99
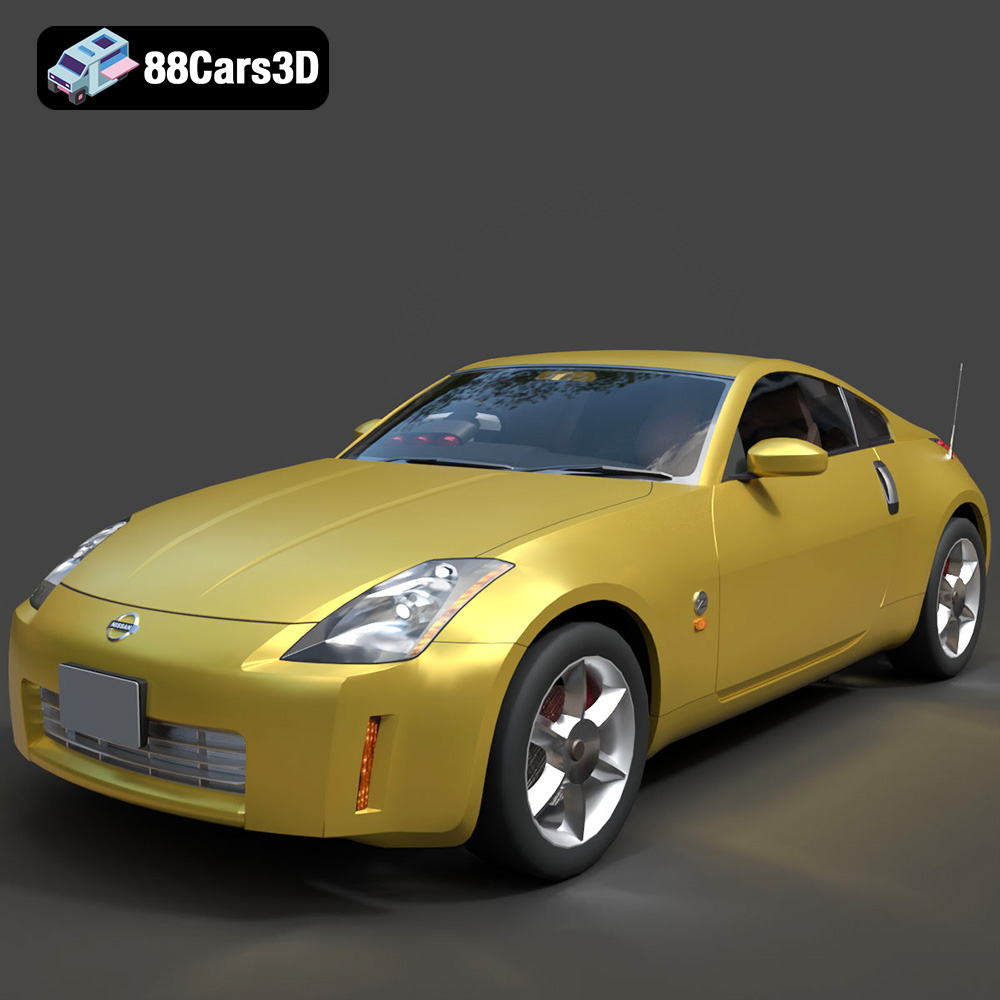
Texture: Yes
Material: Yes
Download the Nissan 350Z 3D Model featuring clean geometry, realistic detailing, and a fully modeled interior. Includes .blend, .fbx, .obj, .glb, .stl, .ply, .unreal, and .max formats for rendering, simulation, and game development.
Price: $4.99
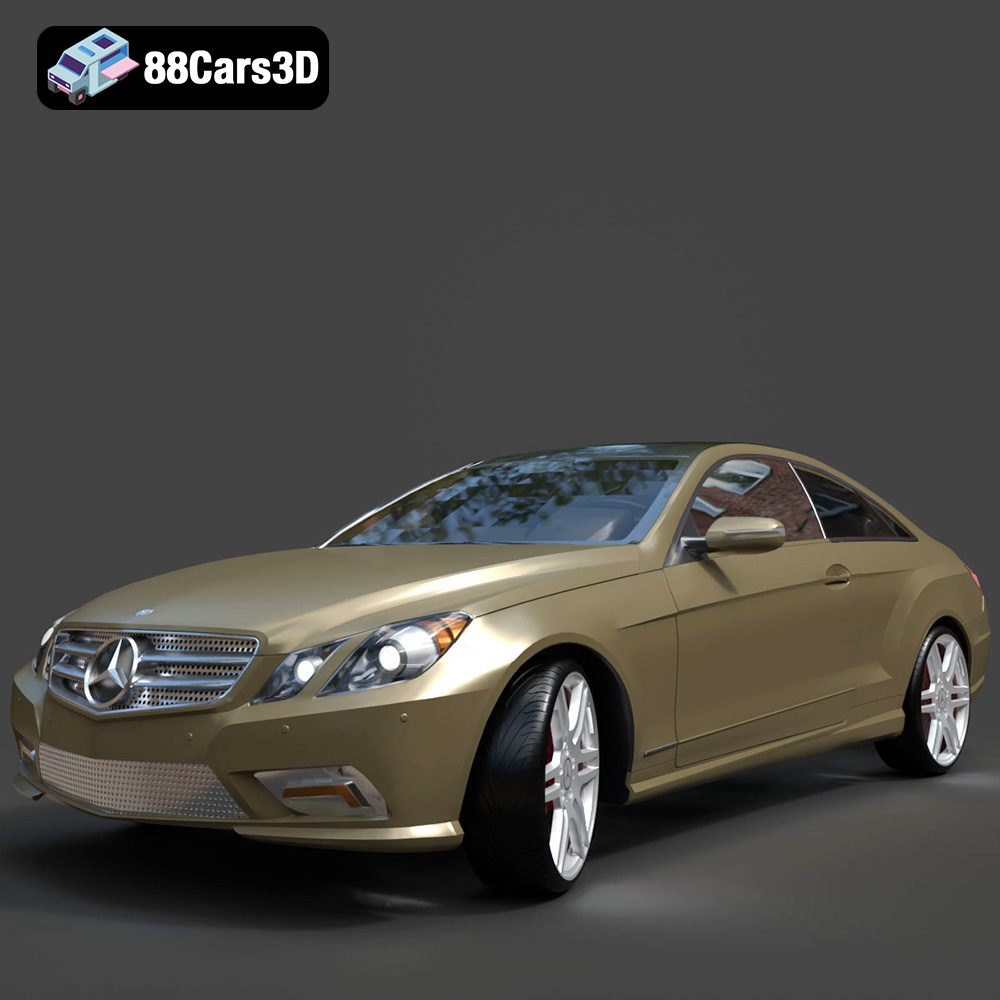
Texture: Yes
Material: Yes
Download the Mercedes-Benz E-Klasse Coupe 3D Model featuring clean geometry, realistic detailing, and a fully modeled interior. Includes .blend, .fbx, .obj, .glb, .stl, .ply, .unreal, and .max formats for rendering, simulation, and game development.
Price: $4.99
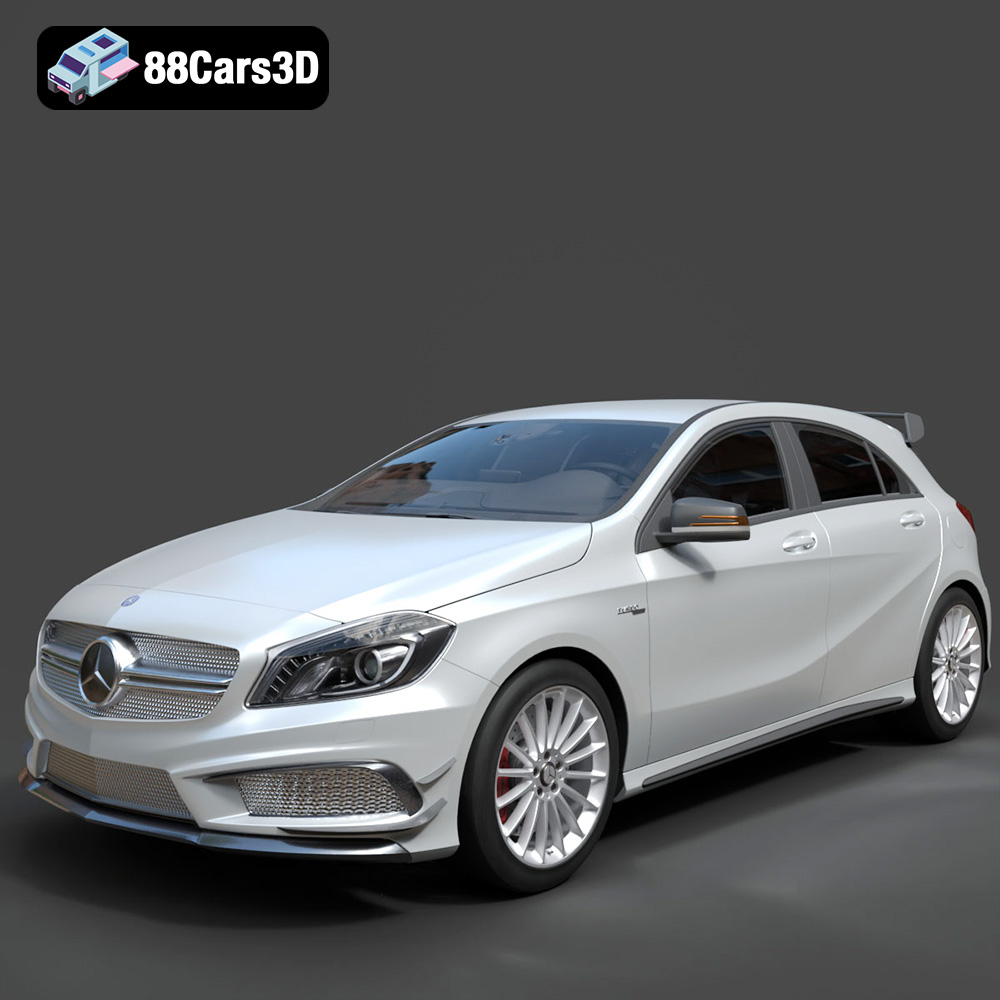
Texture: Yes
Material: Yes
Download the Benza MERS-007 3D Model featuring clean geometry, realistic detailing, and a fully modeled interior. Includes .blend, .fbx, .obj, .glb, .stl, .ply, .unreal, and .max formats for rendering, simulation, and game development.
Price: $4.99
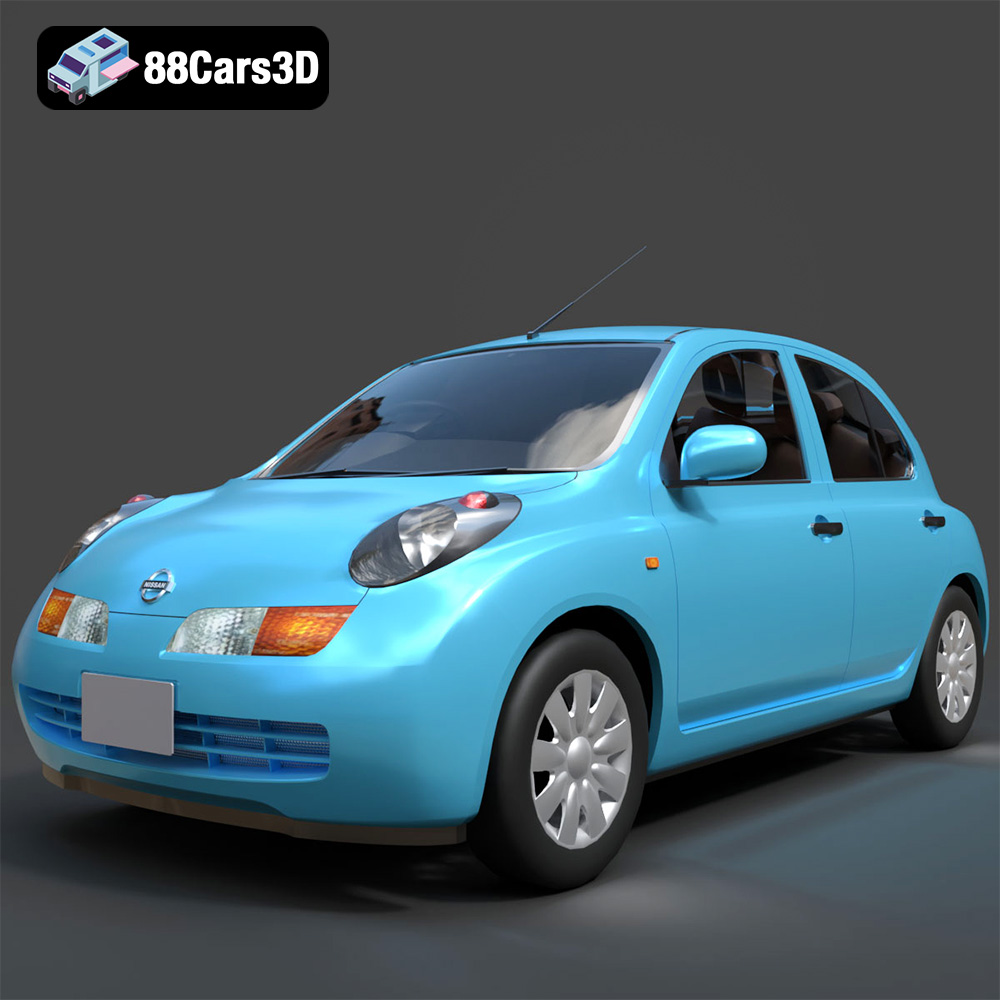
Texture: Yes
Material: Yes
Download the Nissan March 2025 3D Model featuring clean geometry, realistic detailing, and a fully modeled interior. Includes .blend, .fbx, .obj, .glb, .stl, .ply, .unreal, and .max formats for rendering, simulation, and game development.
Price: $4.99
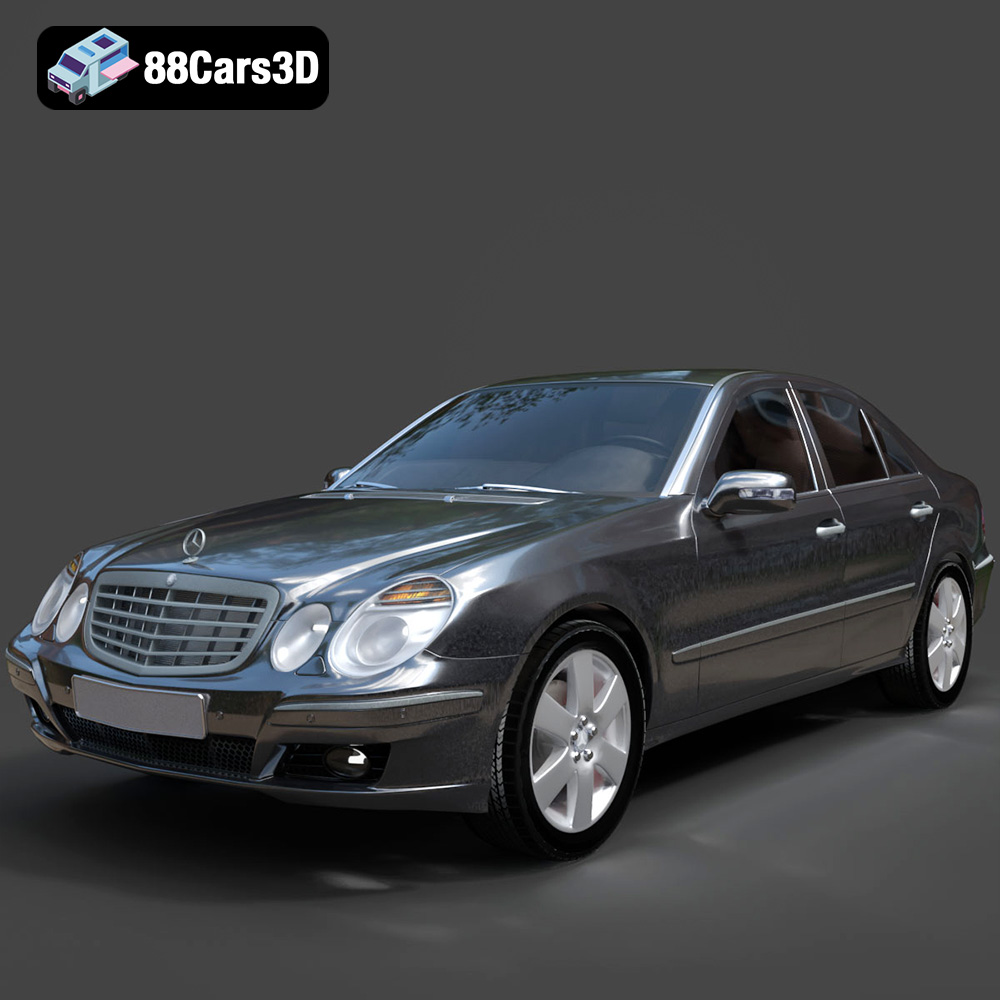
Texture: Yes
Material: Yes
Download the Mercedes E-Class 2007 3D Model featuring clean geometry, realistic detailing, and a fully modeled interior. Includes .blend, .fbx, .obj, .glb, .stl, .ply, .unreal, and .max formats for rendering, simulation, and game development.
Price: $4.99