⚡ FLASH SALE: Get 60% OFF All Premium 3D & STL Models! ⚡
“`html
There’s an undeniable magic to a perfectly rendered 3D car. Whether it’s a hyper-realistic automotive visualization that’s indistinguishable from a photograph, a stylized hero car screeching through a video game, or an interactive AR model sitting in your driveway, these digital vehicles represent a pinnacle of 3D artistry. However, the journey from a raw mesh to a polished, application-ready asset is complex and filled with technical hurdles. It’s a multi-stage process that demands a deep understanding of modeling principles, texturing workflows, rendering science, and rigorous optimization. This guide is your roadmap. We will deconstruct the entire lifecycle of a 3D car model, providing the technical knowledge you need to excel. You will learn the foundational importance of clean topology, the art of strategic UV mapping, the science behind photorealistic PBR materials, and the critical techniques for optimizing your models for everything from cinematic renders to high-performance game engines and immersive AR/VR experiences. Prepare to elevate your automotive 3D projects from good to truly exceptional.
Before any stunning material or dramatic lighting can be applied, a 3D car model’s success is determined by its underlying geometry—its topology. Topology refers to the arrangement of vertices, edges, and polygons that form the mesh. For hard-surface subjects like vehicles, clean, quad-based topology isn’t just a best practice; it’s a non-negotiable requirement for achieving professional results. It dictates how the model subdivides, how it catches light, and how it deforms, making it the bedrock upon which all subsequent work is built.
The primary reason for meticulous topology is its behavior with subdivision surfacing (like TurboSmooth in 3ds Max or a Subdivision Surface modifier in Blender). A clean, all-quad mesh subdivides smoothly and predictably, creating the seamless, high-resolution surfaces necessary for automotive renders. In contrast, messy topology riddled with triangles and n-gons (polygons with more than four sides) leads to visible artifacts. You’ll encounter issues like pinching, surface ripples, and incorrect shading, especially on reflective surfaces like car paint where every imperfection is magnified. Good topology ensures that highlights flow evenly and accurately across the curved panels of a car’s body, preserving the vehicle’s intended design language.
When modeling a car or evaluating a pre-made model, focus on these core topological principles:
A common mistake is adding excessive detail too early. A professional approach involves building the simplest possible quad-based form that captures the car’s silhouette and then gradually adding detail and support loops to refine the shape.
When sourcing assets from marketplaces such as 88cars3d.com, you are investing in a foundation for your project. A high-quality purchased model can save you hundreds of hours. To evaluate its quality, inspect the wireframe. Look for consistent polygon density across panels, logical edge flow that follows the car’s curves, and the absence of hidden n-gons or excessive triangles in visible areas. A well-constructed model will look clean and deliberate even in its raw wireframe form, promising a smooth path for texturing and rendering.
If topology is the skeleton of your model, UV mapping is its canvas. This crucial process involves “unwrapping” the 3D mesh into a 2D space, creating a map that dictates how textures are applied to the surface. For a complex object like a car, with its mix of large, smooth panels and intricate mechanical parts, a strategic approach to UV mapping is essential for achieving high-fidelity results without wasting texture memory or introducing visual artifacts like seams and distortion.
Different parts of a car require different unwrapping techniques. Simple, flat objects like a license plate can be unwrapped using a Planar projection. Curved components like an exhaust pipe or tire sidewall are best handled with a Cylindrical projection. For the main body, you will use more advanced unwrapping tools to carefully flatten the geometry while minimizing distortion. For hero assets destined for cinematic rendering, the industry standard is a UDIM (U-Dimension) workflow. Instead of cramming all UV shells into a single 0-1 texture space, UDIMs allow you to spread them across multiple texture tiles. This enables you to assign massive texture resolutions (e.g., multiple 8K maps) to a single object, providing incredible detail without managing dozens of separate materials.
The two greatest enemies in UV mapping are visible seams and texture distortion. To combat them:
Texel density is a critical technical concept that refers to the number of texture pixels per unit of physical space (e.g., pixels per meter) on your 3D model. Maintaining a consistent texel density across your model is crucial for a uniform appearance. If the car door has a much higher texel density than the fender next to it, the difference in texture sharpness will be jarringly obvious. For a hero car in a cinematic render, you might aim for a high density of 4096 pixels/meter. For a game asset, this might be reduced to 1024 or 512 pixels/meter, depending on how close the player will get to the vehicle. A consistent texel density ensures that your model looks cohesive and professionally textured.
With a solid mesh and a clean UV map, you can now focus on the most visually impactful stage: creating materials. The modern standard for realistic materials is the Physically Based Rendering (PBR) workflow. PBR aims to simulate how light interacts with surfaces in the real world, resulting in materials that look convincing under any lighting condition. This is particularly important for automotive rendering, where the interplay of light on materials like metallic paint, glass, chrome, and rubber defines the final image.
The PBR workflow primarily relies on a set of texture maps that describe the physical properties of a surface:
Car paint is a complex, layered material. A simple PBR shader won’t cut it. A professional car paint shader typically has three distinct layers:
Modern renderers like Corona and V-Ray have dedicated Car Paint materials that simplify this setup, but understanding the underlying principles allows for greater creative control.
Perfection is unrealistic. To truly sell the realism of a 3D car model, you must add subtle imperfections. This is where tools like Substance Painter or Quixel Mixer excel. By baking utility maps like Ambient Occlusion (AO) and Curvature, you can generate procedural masks to apply wear and tear logically. AO maps help place dirt and grime in crevices where it would naturally accumulate. Curvature maps can be used to add tiny scratches and wear to sharp edges. Adding a light layer of dust on the top-facing surfaces or subtle water streaks can elevate a clean model to a photorealistic one.
Rendering is where your meticulously crafted model and materials come to life. This stage is a blend of technical settings and artistic vision, akin to a professional photoshoot. Your choice of renderer, lighting setup, and camera settings will dramatically influence the final mood and quality of your automotive visualization. High-quality 3D car models serve as the perfect subject, allowing lighting and reflections to showcase every carefully modeled curve and detail.
While most modern path-tracing renderers can produce stunning results, they have different strengths:
The best choice often comes down to your preferred 3D software and workflow, as all are capable of photorealism.
Lighting is everything in rendering. For automotive scenes, two approaches are dominant:
Treat your 3D camera like a real-world DSLR. Adjusting physical camera settings is key to realism. Use a low f-stop (e.g., 2.8) to create a shallow depth of field, blurring the background and drawing focus to a specific part of the car. Use motion blur (enabled via shutter speed) for shots of moving vehicles. Critically, render in a linear color space and output to a high bit-depth format like EXR. This preserves the maximum amount of data for post-processing. Render out separate passes like Z-Depth (for depth of field control), Reflection, and Cryptomatte (for easy object selection). In Photoshop or a compositing application, you can then non-destructively color grade, add atmospheric effects like bloom and lens flares, and fine-tune the final image to perfection.
Creating a game asset from a high-poly 3D car model is a completely different challenge. In real-time applications like Unity or Unreal Engine, performance is paramount. Every polygon and every texture pixel contributes to the computational load, and the goal is to create a visually impressive asset that runs smoothly at a high frame rate. This process is a careful balancing act of reduction and illusion, where high-poly details are cleverly faked on a low-poly mesh.
The first step is creating a game-ready, low-polygon mesh through a process called retopology. This involves building a new, clean, and highly optimized mesh over the top of the original high-poly model. The goal is to capture the silhouette and form with the absolute minimum number of polygons.
Beyond the base low-poly model, creating Levels of Detail (LODs) is essential. LODs are a series of progressively lower-resolution versions of the main mesh.
The game engine automatically switches between these LODs based on the car’s distance from the camera, drastically improving performance in scenes with many vehicles.
How does a low-poly model look detailed? The magic is in the normal map. Baking is the process of projecting surface detail from the high-poly model onto a texture applied to the low-poly model. The normal map is an RGB texture where the color information tells the game engine how to shade the low-poly surface as if the high-poly detail were still there. This creates the illusion of complex paneling, vents, and bolts on a mesh that is actually quite simple. A successful bake requires the low-poly and high-poly models to be perfectly aligned and often involves using a “cage” mesh to control the projection direction and avoid errors.
In a game engine, a draw call is a command from the CPU to the GPU to draw an object. Each separate material on an object typically results in a separate draw call. Too many draw calls can create a CPU bottleneck and tank your frame rate. To combat this, we use texture atlasing. This is the technique of combining textures from multiple different parts of the car (e.g., brake calipers, interior dashboard elements, grille emblem) into a single, larger texture sheet. By assigning one material that uses this “atlas” texture to all those different objects, you can reduce dozens of draw calls to just one, leading to a massive performance gain.
The utility of a high-quality 3D car model extends far beyond traditional renders and games. Emerging technologies like Augmented Reality (AR), Virtual Reality (VR), and 3D printing open up exciting new applications, from interactive car configurators to physical prototypes. However, each of these applications comes with its own unique set of technical requirements and optimization challenges that must be addressed.
For AR/VR, performance is even more critical than in traditional games. These applications, often running on mobile devices, demand extremely low file sizes and polygon counts to ensure a smooth, real-time experience. The dominant file formats for this space are GLB (for Android/web) and USDZ (for Apple iOS). These formats are designed to be self-contained, packing the model, materials, and textures into a single file. Key optimization steps for AR/VR include:
Preparing a model for 3D printing is a process of ensuring the digital mesh can be successfully translated into a solid, physical object. This involves several technical checks:
Once your mesh is prepared, it is run through a “slicer” program (like Cura or PrusaSlicer). The slicer converts the 3D model into hundreds or thousands of thin horizontal layers and generates the G-code instructions the printer follows. During this stage, you will decide on layer height (which affects detail), infill density (which affects strength and weight), and whether support structures are needed for overhanging parts. The material choice—from standard PLA for prototypes to high-detail Resin for display models—will also heavily influence the settings and the final quality of your physical 3D car model.
We’ve journeyed through the entire, intricate pipeline of bringing a 3D car model to life. We’ve seen that the foundation of any great project lies in clean, deliberate topology. We learned that strategic UV mapping is the canvas for PBR materials, which breathe realism into the model by simulating the physics of light. From there, the path diverges: for cinematic renders, it’s a world of artistic lighting and high-end path tracing; for game development and AR/VR, it’s a rigorous discipline of optimization, baking, and performance management. And for 3D printing, it becomes a challenge of transforming a digital surface into a tangible, solid object. Each application demands a unique skill set, but they all share a common starting point: a meticulously crafted 3D model. By mastering these diverse techniques, you can transform a single asset into a multitude of stunning final products. To accelerate this journey, starting with a professionally built asset from a curated marketplace like 88cars3d.com allows you to bypass the initial modeling phase and dive straight into the creative work of texturing, lighting, and final implementation, empowering you to create your next masterpiece with confidence and efficiency.
“`

Texture: Yes
Material: Yes
Download the Mercedes-Benz Citan 2025 3D Model featuring clean geometry, realistic detailing, and a fully modeled interior. Includes .blend, .fbx, .obj, .glb, .stl, .ply, .unreal, and .max formats for rendering, simulation, and game development.
Price: $4.99

Texture: Yes
Material: Yes
Download the Mercedes-Benz C63 AMG 2012 3D Model featuring clean geometry, realistic detailing, and a fully modeled interior. Includes .blend, .fbx, .obj, .glb, .stl, .ply, .unreal, and .max formats for rendering, simulation, and game development.
Price: $4.99

Texture: Yes
Material: Yes
Download the Mercedes-Benz E-Class S211 3D Model featuring clean geometry, realistic detailing, and a fully modeled interior. Includes .blend, .fbx, .obj, .glb, .stl, .ply, .unreal, and .max formats for rendering, simulation, and game development.
Price: $4.99

Texture: Yes
Material: Yes
Download the Mercedes-Benz CLS63 AMG (C218) 2014 3D Model featuring clean geometry, realistic detailing, and a fully modeled interior. Includes .blend, .fbx, .obj, .glb, .stl, .ply, .unreal, and .max formats for rendering, simulation, and game development.
Price: $4.99

Texture: Yes
Material: Yes
Download the Mercedes-Benz CLS-Klasse 3D Model featuring clean geometry, realistic detailing, and a fully modeled interior. Includes .blend, .fbx, .obj, .glb, .stl, .ply, .unreal, and .max formats for rendering, simulation, and game development.
Price: $4.99
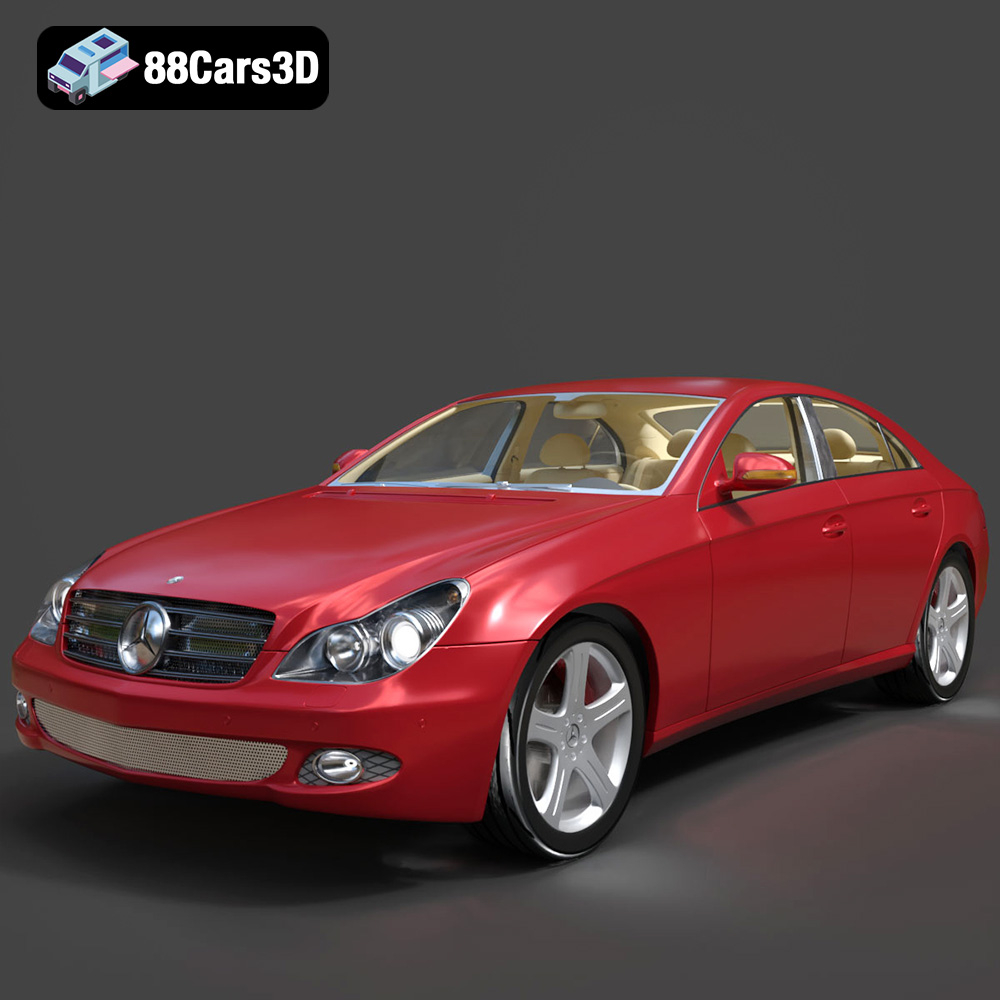
Texture: Yes
Material: Yes
Download the Mercedes-Benz CLS 500 3D Model featuring clean geometry, realistic detailing, and a fully modeled interior. Includes .blend, .fbx, .obj, .glb, .stl, .ply, .unreal, and .max formats for rendering, simulation, and game development.
Price: $4.99
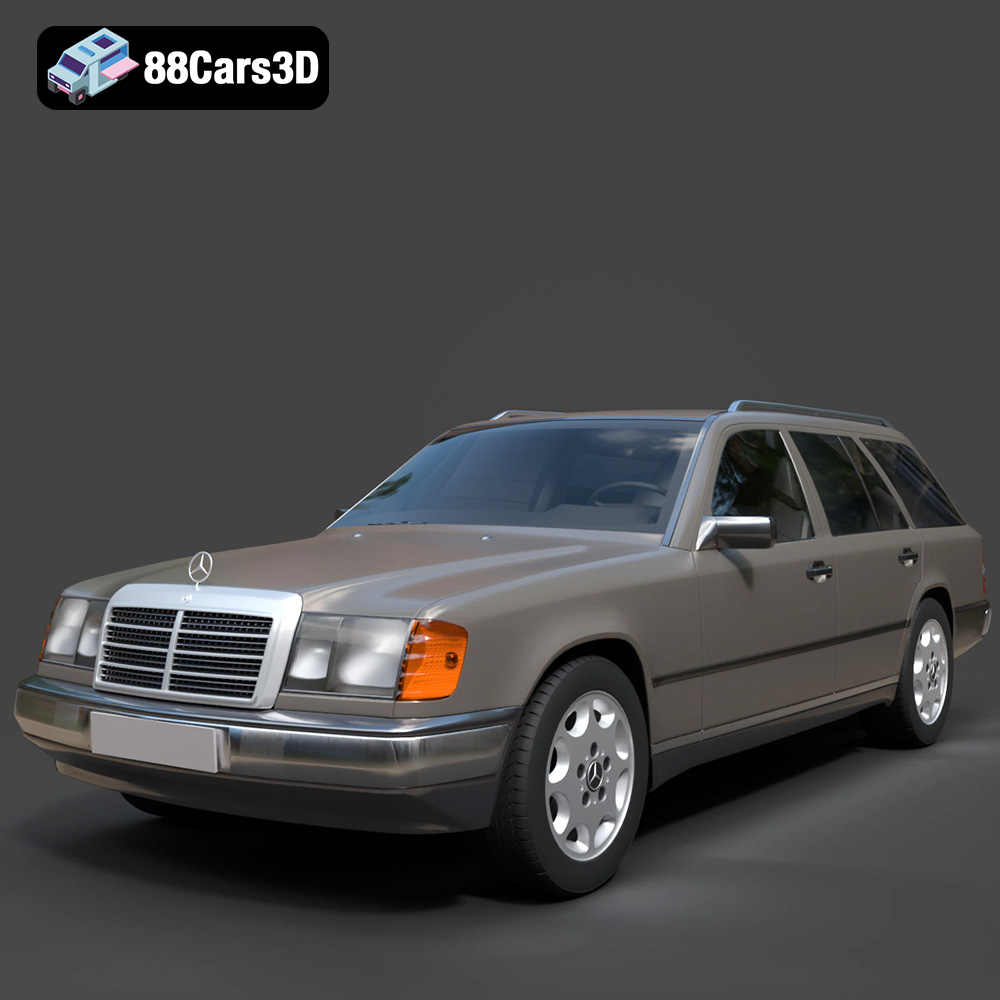
Texture: Yes
Material: Yes
Download the Mercedes E-Class w124 Kombi 3D Model featuring clean geometry, realistic detailing, and a fully modeled interior. Includes .blend, .fbx, .obj, .glb, .stl, .ply, .unreal, and .max formats for rendering, simulation, and game development.
Price: $4.99
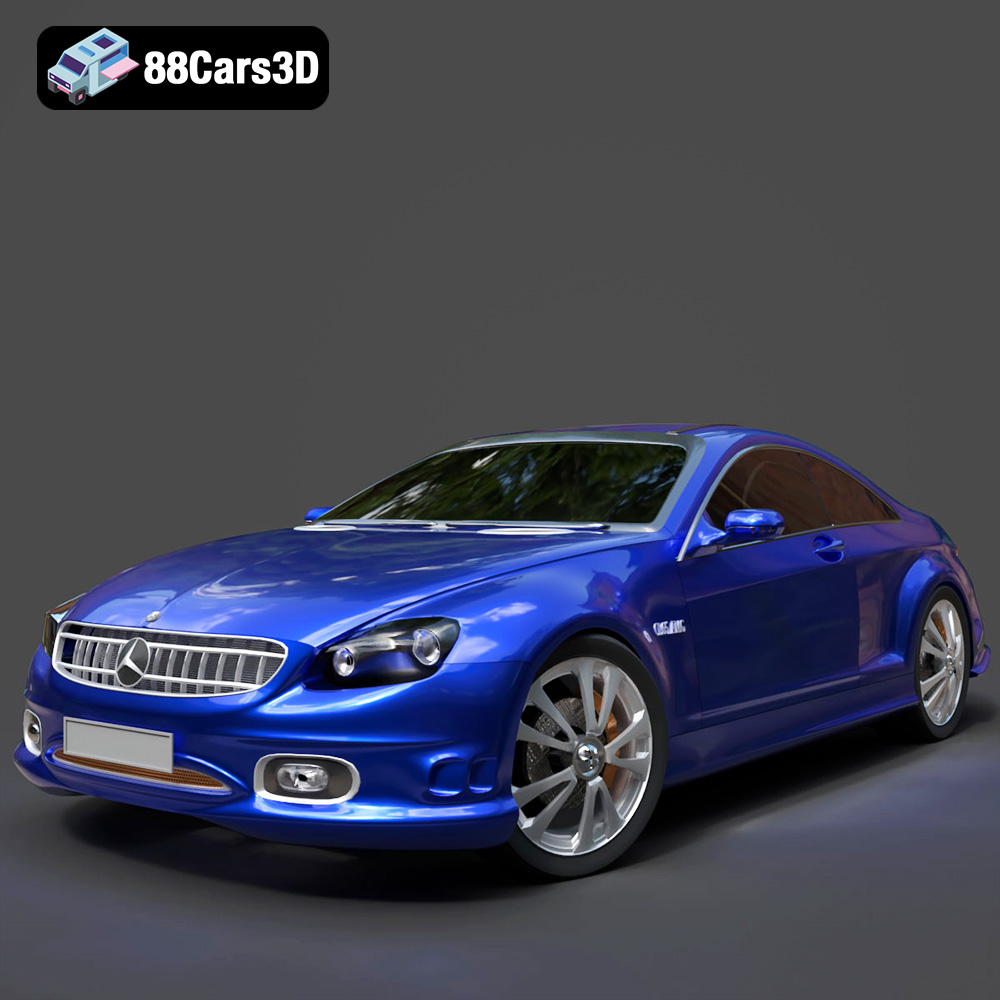
Texture: Yes
Material: Yes
Download the Mercedes-Benz CL6540-005 3D Model featuring clean geometry, realistic detailing, and a fully modeled interior. Includes .blend, .fbx, .obj, .glb, .stl, .ply, .unreal, and .max formats for rendering, simulation, and game development.
Price: $4.99
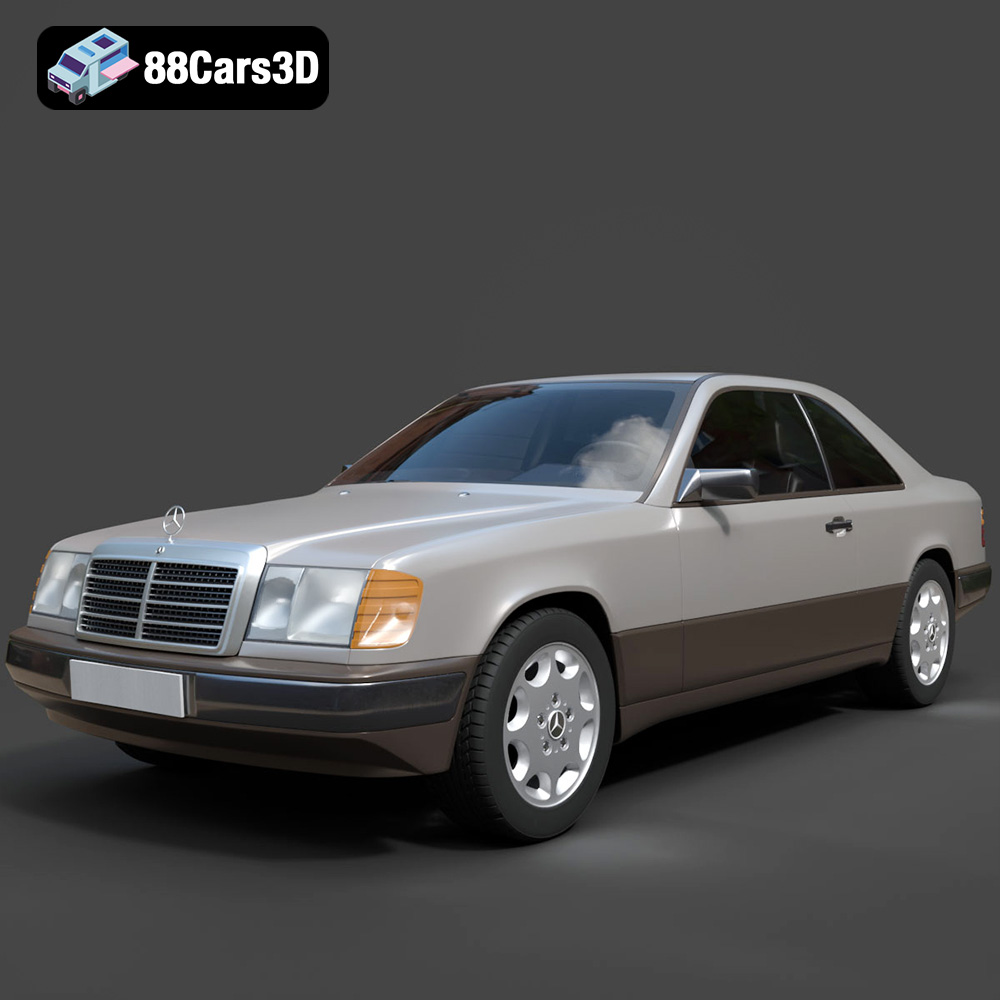
Texture: Yes
Material: Yes
Download the Mercedes E-Class w124 Coupe 3D Model featuring clean geometry, realistic detailing, and a fully modeled interior. Includes .blend, .fbx, .obj, .glb, .stl, .ply, .unreal, and .max formats for rendering, simulation, and game development.
Price: $4.99
Texture: Yes
Material: Yes
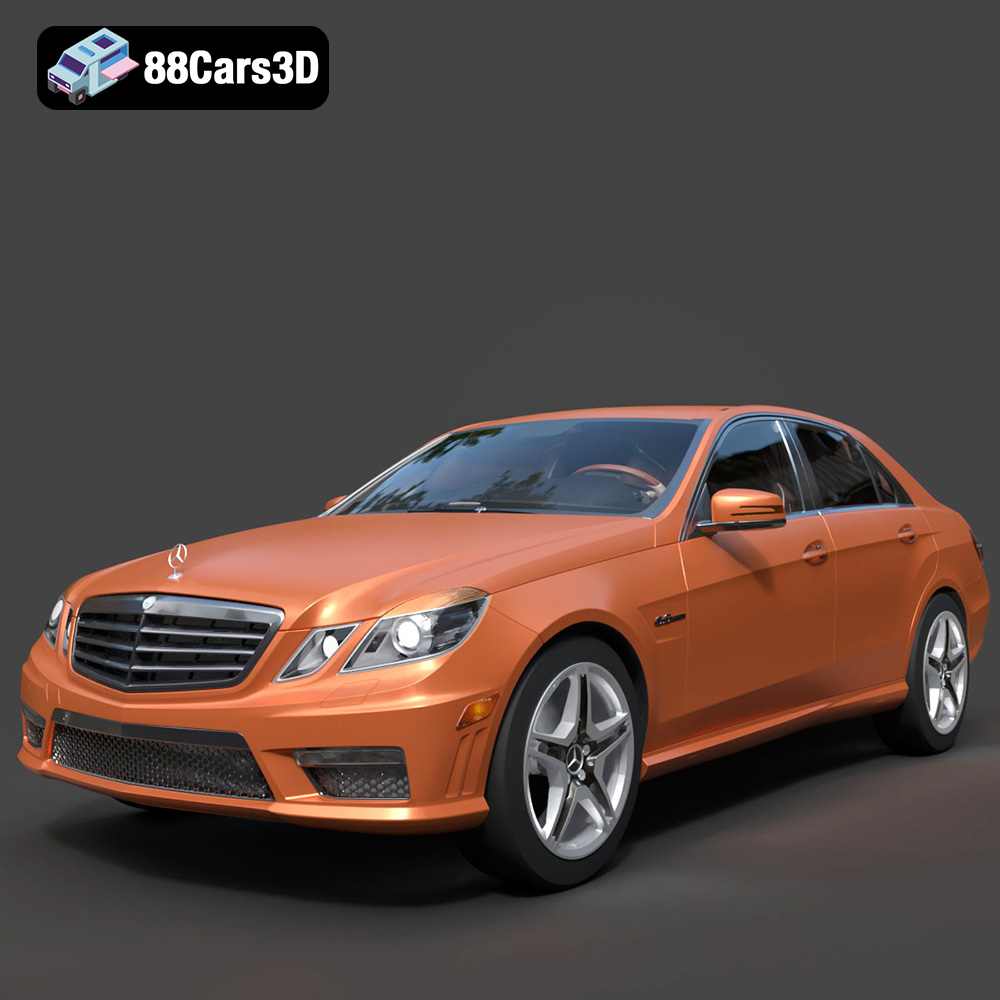
Download the Mercedes-Benz E-Klasse 63 AMG 3D Model featuring clean geometry, realistic detailing, and a fully modeled interior. Includes .blend, .fbx, .obj, .glb, .stl, .ply, .unreal, and .max formats for rendering, simulation, and game development.
Price: $4.99