⚡ FLASH SALE: Get 60% OFF All Premium 3D & STL Models! ⚡
“`html
From the hyper-realistic reflections in a blockbuster film to the interactive configurator on a dealership website, 3D car models are the unsung heroes of modern digital media. Creating a truly stunning and versatile digital vehicle, however, is a complex art form that blends technical precision with creative vision. It’s far more than just shaping a mesh; it’s about understanding the intricate dance between topology, materials, lighting, and performance optimization. A flawlessly executed model can serve as a hero asset for a cinematic render, an optimized component in a real-time game engine, an interactive object in an AR application, or even a physical prototype via 3D printing. This guide will take you on a deep dive into the professional workflows used to create and prepare high-quality 3D car models for any project. We will deconstruct the entire process, from laying the foundational edge flow and crafting photorealistic PBR materials to optimizing for the demanding environments of game engines and emerging AR/VR technologies. Whether you are an automotive designer, a game developer, or a visualization artist, mastering these principles will elevate the quality and usability of your digital garage.
The foundation of any high-quality 3D car model is its topology—the underlying structure and flow of its polygons. Unlike architectural or hard-surface models, automotive surfaces are defined by subtle, continuous curves and sharp, precise creases. Poor topology will inevitably lead to rendering artifacts, shading errors, and difficulties in UV mapping and texturing. Getting this stage right is non-negotiable for professional results. It’s the digital equivalent of shaping the sheet metal on a real vehicle; every edge and vertex plays a crucial role in defining the final form and how it interacts with light. This foundational step dictates the model’s scalability for use in everything from ultra-high-resolution automotive rendering to performance-critical real-time applications.
Clean edge flow refers to the logical, uninterrupted path of polygon edges that follow the natural contours of the car’s body. Think of the sweeping lines that run from the headlights, over the wheel arches, and along the doors. A model built primarily with quads (four-sided polygons) is the industry standard for several key reasons. Quads subdivide cleanly, making them ideal for creating high-poly versions from a mid-poly base using modifiers like TurboSmooth (3ds Max) or a Subdivision Surface (Blender). This predictable behavior is essential for achieving smooth, accurate surface reflections. Triangles and especially n-gons (polygons with more than four sides) can cause pinching, stretching, and unpredictable shading artifacts, particularly on curved surfaces where light reflections are most prominent. A clean, quad-based topology ensures that highlights roll smoothly and evenly across the body panels, mimicking real-world physics and producing a believable result.
Building great automotive topology relies on a few core principles. First, maintain even polygon distribution across surfaces. Avoid clustering too many polygons in a flat area while starving a curved section, as this leads to inconsistent detail and shading. Second, use support loops to define sharp edges and creases. To create a crisp panel gap or the sharp edge of a spoiler, you need to add parallel edge loops on either side of the main edge. This technique contains the smoothing effect of subdivision algorithms, allowing you to have sharp details on an otherwise smooth surface. Finally, always model with the final use case in mind. The density of your mesh should be just enough to define the shape accurately without adding unnecessary geometric detail that will bloat file sizes and slow down performance, especially for real-time game assets.
The required polygon count for a 3D car model is dictated entirely by its application:
Once the model’s geometry is finalized, the next crucial stage is giving it a surface. This involves two distinct but interconnected processes: UV mapping and PBR (Physically Based Rendering) texturing. UV mapping is the technical process of “unwrapping” the 3D model into a 2D space so that textures can be applied accurately. PBR texturing is the artistic and technical process of creating materials that mimic how light interacts with real-world surfaces. For a vehicle, this means creating convincing car paint, glass, chrome, rubber, plastic, and leather, each with its own unique physical properties. A perfect model with poor materials will look flat and fake, while a well-textured model can look photorealistic even with a lower polygon count.
UV mapping a car is a significant challenge due to its large, smooth panels and intricate details. The goal is to create UV “islands” or “shells” with minimal stretching and distortion. Here’s a professional workflow:
The PBR workflow has become the industry standard for creating realistic materials. The Metallic/Roughness workflow is the most common and relies on a set of texture maps to define a surface:
The resolution of your textures directly impacts the final quality and performance. For hero renders, 4K (4096×4096) or even 8K textures are common for large parts like the car body. For real-time game assets, optimization is key. Here, texture atlasing is a crucial technique. This involves combining multiple smaller textures into a single, larger texture sheet. For example, all the textures for the dashboard—plastic, wood trim, button icons—can be baked into one texture set. This dramatically reduces the number of draw calls in a game engine, as the GPU only has to load one material and texture set for many different objects, significantly improving performance.
With a perfectly modeled and textured car, the next step is to place it in a virtual photo studio and create a stunning image. This is where lighting, camera work, and rendering settings come together to produce photorealism. A great render tells a story and evokes emotion, highlighting the car’s design, curves, and material quality. The choice of render engine, the lighting setup, and the final post-processing touches are what separate an average image from a professional, portfolio-worthy piece of automotive rendering. This process requires both a technical understanding of the rendering software and an artistic eye for composition and lighting.
While many render engines exist, a few have become industry powerhouses for automotive visualization:
Lighting is arguably the most critical element in a render. For cars, two setups are most common. The studio setup often uses a large, soft area light overhead to create broad, soft reflections, combined with several smaller lights to pick out specific details and create “specular highlights” that define the car’s shape. This controlled environment is perfect for showcasing design. For outdoor scenes, Image-Based Lighting (IBL) using a High Dynamic Range Image (HDRI) is the go-to method. An HDRI map captures the lighting information from a real-world location. When used as a light source, it projects this information onto the scene, creating incredibly realistic lighting, shadows, and reflections that perfectly ground the car in its environment.
Treat your virtual camera like a real DSLR. Use a physical camera model in your render engine and adjust settings like f-stop (aperture) to control depth of field, creating a shallow focus that draws attention to a specific part of the car. Use shutter speed to introduce motion blur for dynamic shots of a moving vehicle. Once the render is complete (a process called “beauty pass”), the work isn’t over. Exporting additional render passes like reflections, ambient occlusion, and a clown pass (object ID map) allows for immense control in post-processing software like Adobe Photoshop or After Effects. Here, you can fine-tune colors, enhance contrast, add lens flares, and composite the final image to perfection.
Integrating a 3D car model into a game engine like Unreal Engine or Unity is a completely different challenge from creating a static render. In real-time applications, every polygon and texture byte counts. The goal is to maintain the highest possible visual quality while ensuring the game runs at a smooth, consistent frame rate (typically 60 FPS or higher). This requires a dedicated optimization workflow that balances fidelity with performance, ensuring the car looks great without crippling the GPU. A poorly optimized asset can introduce stuttering, long load times, and a negative player experience, regardless of how good it looks.
Level of Detail (LOD) systems are the single most important optimization technique for complex assets like vehicles. An LOD system uses multiple versions of the same model, each with a progressively lower polygon count. The game engine automatically switches between these versions based on the car’s distance from the camera.
This process drastically reduces the number of polygons the GPU needs to render at any given moment, providing a massive performance boost.
A “draw call” is a command the CPU sends to the GPU to draw an object on the screen. Each object with a unique material generates at least one draw call. A single car model can be made of dozens of separate objects (wheels, doors, windows, etc.), each with its own material. If not optimized, this can lead to hundreds of draw calls for one vehicle, which is a major performance bottleneck. The solution is to consolidate materials and use texture atlases. By combining multiple objects and mapping their UVs to a single, shared material and texture set, you can reduce the draw call count from dozens to just a handful. For example, the entire interior dashboard, steering wheel, and center console could be combined to use a single material.
The visual mesh of a car is far too complex to be used for physics calculations. Game engines use a second, much simpler, invisible mesh called a collision mesh or “collider.” This is typically a series of simple convex shapes (like boxes and spheres) that roughly approximate the shape of the vehicle. When the player’s car collides with a wall, the physics engine is only calculating the interaction between these simple shapes, not the hundreds of thousands of polygons of the visual model. This is an essential optimization that makes real-time vehicle physics possible.
Beyond traditional rendering and gaming, 3D car models are finding new life in emerging technologies like Augmented Reality (AR), Virtual Reality (VR), and 3D printing. Each of these applications comes with its own unique set of technical requirements and challenges. For AR/VR, performance is even more critical than in traditional games, as the entire scene must be rendered twice (once for each eye) at a very high frame rate to avoid motion sickness. For 3D printing, the digital model must be perfectly prepared to become a physical object, which requires a different kind of mesh integrity. Understanding these platform-specific needs is key to making your 3D car models truly versatile.
In AR and VR, the performance budget is extremely tight. A high-end PC VR experience might target 90 FPS, while a mobile AR app on a smartphone has even stricter limitations. This means polygon counts must be kept very low—often under 100,000 polygons for the entire viewable scene, not just a single car. Texture memory is also a premium, so 1K or 2K textures are standard. The choice of file formats is also critical. While FBX is a standard for development, formats like GLB (the binary version of glTF) and USDZ (for Apple devices) are the delivery standards. These formats are designed to be compact and efficient, packaging the model, textures, and animation data into a single file that’s optimized for real-time loading on web and mobile devices.
To successfully 3D print a car model, the digital mesh must be “watertight” or “manifold.” This means it must be a completely enclosed volume with no holes. Common problems that must be fixed include:
Software like Autodesk Meshmixer or Blender’s 3D-Print Toolbox includes tools to automatically detect and repair these issues, ensuring a successful print.
The format you export your model in is just as important as the model itself. A quick summary of the best use cases for common file formats:
We’ve journeyed through the entire lifecycle of a professional 3D car model, from the foundational importance of clean topology to the nuanced demands of rendering, real-time gaming, and 3D printing. The key takeaway is that a great digital vehicle is not just a single asset, but a versatile foundation that can be adapted for any purpose. A solid understanding of edge flow, PBR materials, and application-specific optimization is what separates an amateur model from a production-ready digital masterpiece. Each step—modeling, UV mapping, texturing, rendering, and optimization—builds upon the last, and a weakness in one area can compromise the entire project.
Whether you are meticulously crafting a vehicle from scratch or leveraging the incredible quality of pre-made assets from professional marketplaces like 88cars3d.com to accelerate your workflow, these principles remain the same. By applying these technical insights and workflows, you can ensure your final product is not only visually stunning but also technically sound and performant, ready to excel in any digital environment you can imagine. Now, it’s time to open your software of choice, apply these techniques, and start building your own world-class digital garage.
“`

Texture: Yes
Material: Yes
Download the Mercedes-Benz Citan 2025 3D Model featuring clean geometry, realistic detailing, and a fully modeled interior. Includes .blend, .fbx, .obj, .glb, .stl, .ply, .unreal, and .max formats for rendering, simulation, and game development.
Price: $4.99

Texture: Yes
Material: Yes
Download the Mercedes-Benz C63 AMG 2012 3D Model featuring clean geometry, realistic detailing, and a fully modeled interior. Includes .blend, .fbx, .obj, .glb, .stl, .ply, .unreal, and .max formats for rendering, simulation, and game development.
Price: $4.99

Texture: Yes
Material: Yes
Download the Mercedes-Benz E-Class S211 3D Model featuring clean geometry, realistic detailing, and a fully modeled interior. Includes .blend, .fbx, .obj, .glb, .stl, .ply, .unreal, and .max formats for rendering, simulation, and game development.
Price: $4.99

Texture: Yes
Material: Yes
Download the Mercedes-Benz CLS63 AMG (C218) 2014 3D Model featuring clean geometry, realistic detailing, and a fully modeled interior. Includes .blend, .fbx, .obj, .glb, .stl, .ply, .unreal, and .max formats for rendering, simulation, and game development.
Price: $4.99

Texture: Yes
Material: Yes
Download the Mercedes-Benz CLS-Klasse 3D Model featuring clean geometry, realistic detailing, and a fully modeled interior. Includes .blend, .fbx, .obj, .glb, .stl, .ply, .unreal, and .max formats for rendering, simulation, and game development.
Price: $4.99

Texture: Yes
Material: Yes
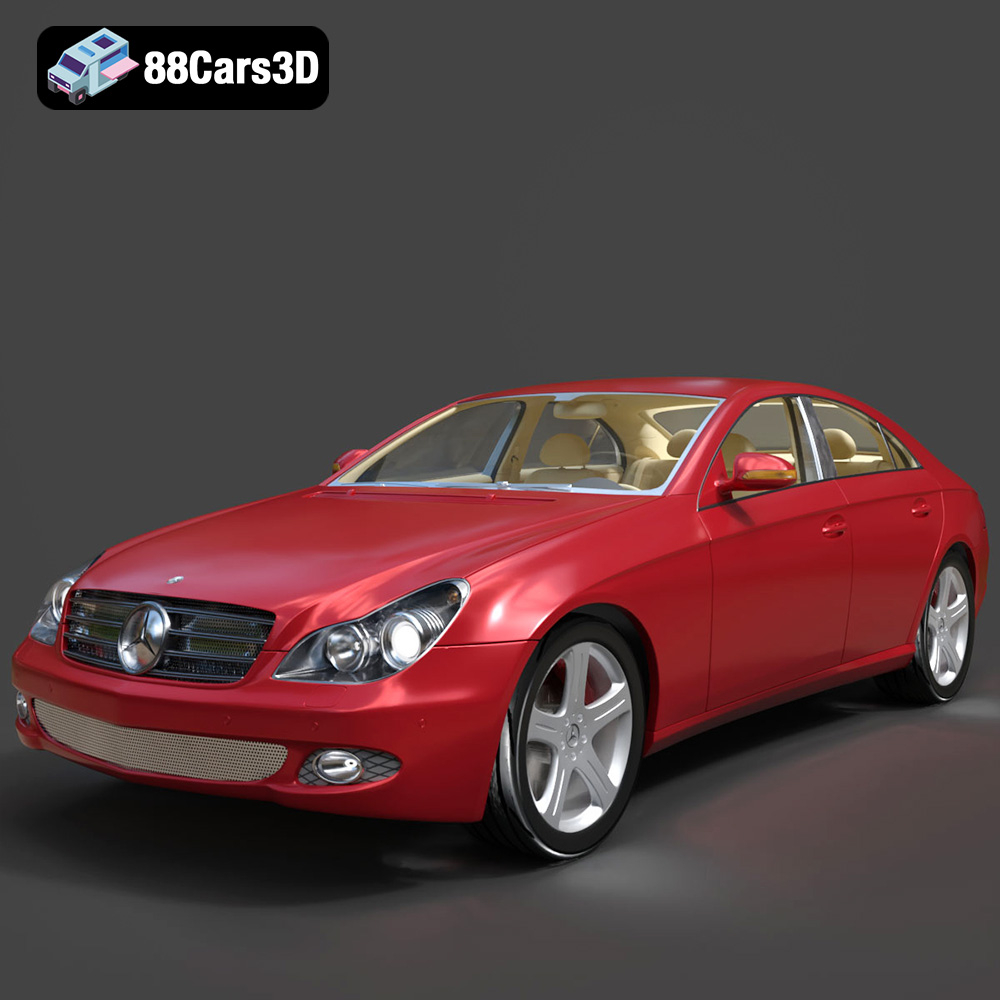
Download the Mercedes-Benz CLS 500 3D Model featuring clean geometry, realistic detailing, and a fully modeled interior. Includes .blend, .fbx, .obj, .glb, .stl, .ply, .unreal, and .max formats for rendering, simulation, and game development.
Price: $4.99

Texture: Yes
Material: Yes
Download the Mercedes-Benz CL-Klasse 2001 3D Model featuring clean geometry, realistic detailing, and a fully modeled interior. Includes .blend, .fbx, .obj, .glb, .stl, .ply, .unreal, and .max formats for rendering, simulation, and game development.
Price: $4.99

Texture: Yes
Material: Yes
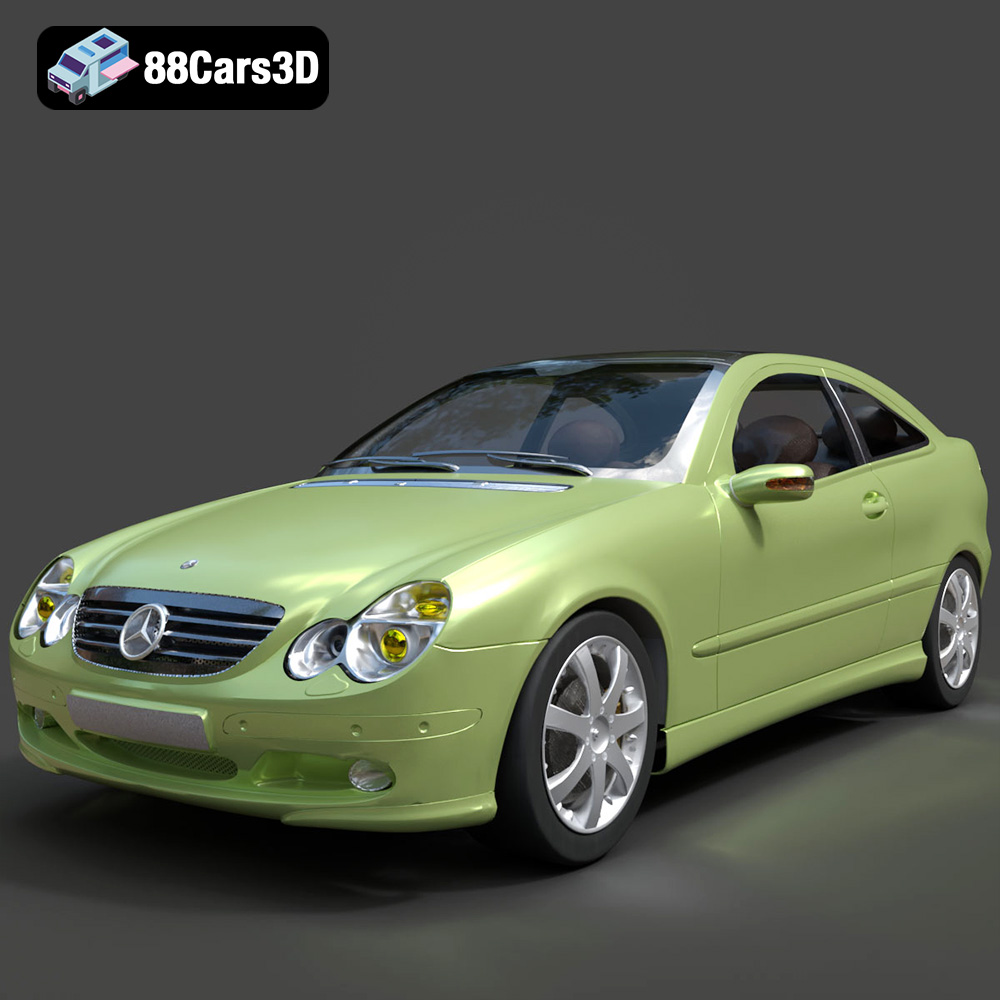
Download the Mercedes-Benz C-Klasse Sportcoupe 2000 3D Model featuring clean geometry, realistic detailing, and a fully modeled interior. Includes .blend, .fbx, .obj, .glb, .stl, .ply, .unreal, and .max formats for rendering, simulation, and game development.
Price: $4.99

Texture: Yes
Material: Yes
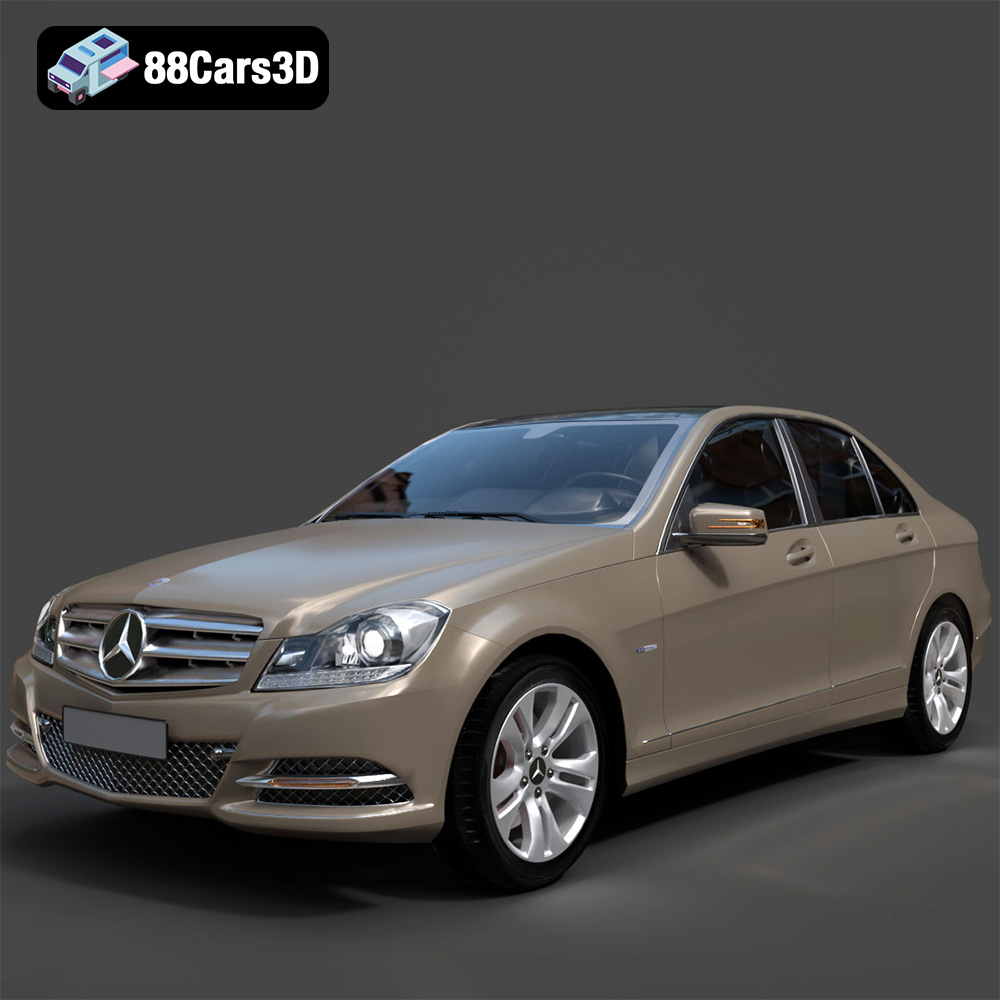
Download the Mercedes-Benz C-Klasse 204 2011 3D Model featuring clean geometry, realistic detailing, and a fully modeled interior. Includes .blend, .fbx, .obj, .glb, .stl, .ply, .unreal, and .max formats for rendering, simulation, and game development.
Price: $4.99

Texture: Yes
Material: Yes
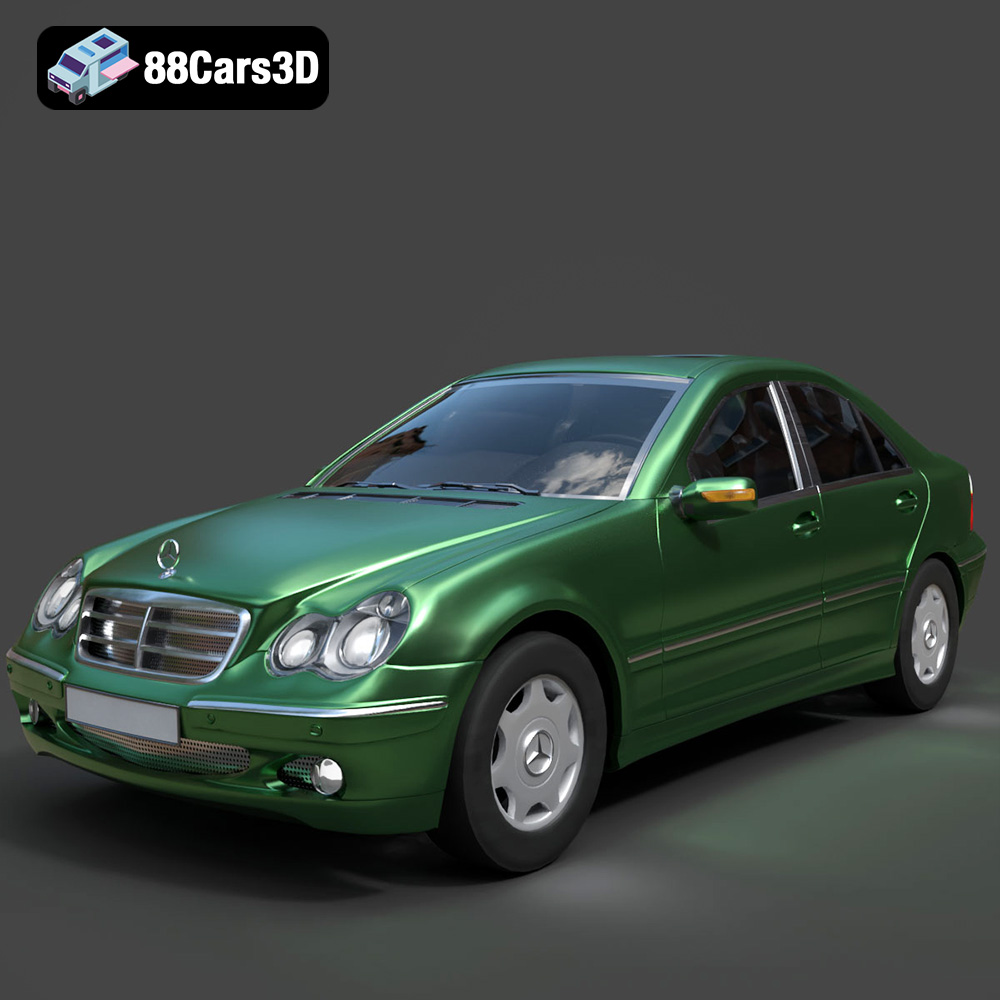
Download the Mercedes-Benz C-Class Sedan 3D Model featuring clean geometry, realistic detailing, and a fully modeled interior. Includes .blend, .fbx, .obj, .glb, .stl, .ply, .unreal, and .max formats for rendering, simulation, and game development.
Price: $4.99