⚡ FLASH SALE: Get 60% OFF All Premium 3D & STL Models! ⚡
“`html
A high-quality 3D car model is a powerful digital asset, but it’s only the starting point. Whether you’re an automotive designer crafting a photorealistic render, a game developer building an immersive racing experience, or a marketing professional creating an interactive AR configurator, the journey from a raw mesh to a polished final product is paved with technical challenges and creative decisions. A stunning model can quickly lose its impact if it’s poorly optimized, incorrectly textured, or improperly lit. The difference between an amateur-looking result and a professional, jaw-dropping visual lies in the preparation and pipeline.
This comprehensive guide is your roadmap to mastering that pipeline. We will deconstruct the entire process, from evaluating the foundational topology of a model to implementing it across various professional applications. You will learn the industry-standard techniques for UV mapping complex automotive surfaces, building physically-based materials that mimic real-world car paint and metals, and optimizing assets for peak performance in demanding real-time environments like Unity and Unreal Engine. We’ll dive into specific workflows for photorealistic rendering, game asset development, AR/VR integration, and even 3D printing, giving you the actionable knowledge to elevate your projects and achieve breathtaking results with your 3D car models.
Before any texturing or rendering can begin, the foundation of your asset—its topology—must be flawless. The arrangement of polygons (the mesh) dictates everything from how light reflects off a surface to how smoothly it can be subdivided for close-up shots. For automotive models, where precision curves and sharp creases define the vehicle’s character, proper topology is non-negotiable. Sourcing models from professional marketplaces like 88cars3d.com ensures you start with a clean, well-structured mesh, saving you countless hours of fixing and remodeling.
In 3D modeling, a “clean” mesh is predominantly composed of quadrilaterals, or “quads” (four-sided polygons). While triangles (tris) and n-gons (polygons with more than four sides) have their place, a quad-based workflow is the professional standard for hard-surface models like cars. Here’s why:
When inspecting a model, look for a consistent grid-like flow of polygons. Avoid triangles in highly visible, curved areas like the hood or fenders, and eliminate any n-gons, as they are notorious for causing rendering and texturing errors.
Edge flow refers to the direction in which the polygon edges are arranged across a model’s surface. For cars, the edge flow should follow and define the vehicle’s contour lines and character lines. Think of it as the grain of the model. Proper edge flow ensures that reflections and highlights travel smoothly and realistically across the car body. Poor edge flow results in wavy, distorted reflections that immediately break the illusion of realism. A key technique is to use support loops or holding edges—additional edge loops placed parallel to sharp creases (like panel gaps or body kit edges) to maintain their sharpness after subdivision.
The ideal polygon count is entirely dependent on the final application. There is no “one size fits all” solution.
A professional 3D car model should provide a clean, low-to-mid-poly base mesh that can be subdivided, allowing you to tailor the polygon density to your specific project needs.
UV mapping is the process of “unfolding” a 3D mesh into a 2D space so that textures can be applied accurately. For a complex object like a car, with its mix of large, flowing panels and intricate mechanical parts, a strategic approach to UV mapping is essential for achieving professional-grade results. Poor UVs can lead to stretched, pixelated textures, visible seams, and an overall unrealistic appearance.
A “seam” in UV mapping is where the mesh is split to allow it to be laid flat. The key to a good unwrap is placing these seams where they are least noticeable. For cars, the best places to hide seams are along the natural panel gaps and hard edges of the vehicle:
Avoid placing seams on large, smooth, highly visible surfaces like the center of the hood or the side of a door, as even a perfectly aligned texture can show a slight lighting artifact along a seam.
Depending on the project’s requirements, you’ll choose between two primary UV workflows:
Texel density refers to the number of texture pixels per unit of 3D space (e.g., pixels per meter). Maintaining a consistent texel density across the entire model is crucial for realism. If the door has a much higher resolution than the fender next to it, the difference will be jarring.
Physically Based Rendering (PBR) is a methodology for shading and rendering that provides a more accurate representation of how light interacts with materials. Creating convincing PBR materials is what breathes life into a 3D car model, transforming it from a simple mesh into a believable digital replica. This process involves creating a series of texture maps that control different surface attributes.
In the most common PBR workflow (Metallic/Roughness), several key texture maps work together in the shader:
A car’s materials are often more complex than a simple PBR shader. Modern render engines like Corona, V-Ray, and Cycles allow for layered shaders to create materials like multi-coat car paint.
A typical car paint shader consists of three layers:
For glass, it’s crucial to model thickness for realistic refraction. The shader should have a low roughness value, a black Albedo, and a high Index of Refraction (IOR) value (around 1.52 for glass). Tinted glass can be achieved by adding color to the material’s refraction or absorption properties.
With a perfectly modeled and textured car, the final step in creating a stunning image is the rendering process. This involves setting up lighting, cameras, and render settings to produce a photorealistic result. The goal of automotive rendering is often to replicate a professional automotive photography studio or to place the car in a believable real-world environment.
Lighting is arguably the most critical element for a successful render. It defines the mood, highlights the car’s shape, and creates believable reflections.
Your virtual camera should be treated like a real DSLR. Replicating real-world camera settings adds a crucial layer of realism.
Very rarely is a final image used straight out of the render engine. Post-processing in software like Adobe Photoshop or After Effects is where you add the final 10% of magic. This is made possible by rendering out “render passes” or AOVs (Arbitrary Output Variables). Common passes for automotive rendering include:
Final adjustments usually involve color grading, contrast enhancement, adding lens flares or glows, and sharpening the image.
Preparing 3D car models for game engines like Unreal Engine or Unity is a completely different discipline from preparing them for offline rendering. The primary goal is to maintain the highest visual fidelity possible while staying within a strict performance budget. Every polygon, texture, and material adds to the computational load, and the goal is to run the game at a smooth, consistent frame rate (e.g., 60 FPS).
Level of Detail (LOD) is the single most important optimization technique for complex assets like cars. It involves creating multiple, lower-polygon versions of the model that the engine swaps in real-time based on the car’s distance from the camera.
This process drastically reduces the number of polygons the GPU has to render for distant objects, freeing up resources for the objects right in front of the player.
A “draw call” is a command from the CPU to the GPU to draw an object. Each object with a unique material generates at least one draw call. Too many draw calls can create a CPU bottleneck and cripple performance. To optimize this, you must minimize the number of materials on your car.
The highly detailed visual mesh (LOD0) is not suitable for physics calculations. For that, you need a separate, extremely low-poly collision mesh. This is an invisible, simplified hull that accurately represents the car’s shape for collision detection. It should be as simple as possible—often just a few hundred polygons—to keep physics calculations fast and efficient. Additionally, the model needs to be prepared for game logic. This means separating objects like wheels, steering wheels, and doors into distinct, correctly pivoted objects so they can be animated and controlled by code in the game engine.
Beyond traditional rendering and gaming, 3D car models are increasingly used in emerging technologies like Augmented Reality (AR), Virtual Reality (VR), and 3D printing. Each of these applications has a unique set of technical requirements and optimization challenges.
AR and VR applications, especially those running on mobile devices, operate under even tighter performance constraints than PC games.
Starting with a clean base model, such as those available on marketplaces like 88cars3d.com, provides a fantastic foundation that can be efficiently optimized down to meet these strict AR/VR budgets.
Preparing a model for 3D printing is all about ensuring the mesh is a single, solid, “watertight” volume. A 3D printer needs to know what is “inside” and what is “outside” the object.
– Thickness: Unlike a digital model which can have infinitely thin surfaces (like a single polygon for a window), a physical 3D-printed object must have thickness and volume. Windows, body panels, and mirrors all need to be given depth.
The journey of a 3D car model from a file on a marketplace to a hero asset in a final project is a multi-stage process that demands both technical skill and artistic vision. We’ve seen that a successful outcome hinges on a solid foundation of clean topology and strategic UV mapping. It’s brought to life with the meticulous creation of realistic PBR materials and the careful orchestration of lighting and camera work in rendering. For real-time applications, this artistry must be balanced with rigorous optimization, leveraging LODs and texture atlasing to achieve smooth performance without sacrificing visual quality. Whether for a cinematic render, a fast-paced game, an immersive AR experience, or a physical 3D print, each application requires a tailored approach to preparation.
By understanding these core principles, you can unlock the full potential of any 3D car model. The key takeaway is that starting with a high-quality, professionally constructed asset is the most critical first step. It provides you with the clean foundation needed to apply these advanced techniques effectively. Now, take these insights and apply them to your next automotive visualization project. Analyze your model’s topology, refine its materials, optimize it for your target platform, and transform that digital file into a truly stunning final product.
“`

Texture: Yes
Material: Yes
Download the Mercedes-Benz Citan 2025 3D Model featuring clean geometry, realistic detailing, and a fully modeled interior. Includes .blend, .fbx, .obj, .glb, .stl, .ply, .unreal, and .max formats for rendering, simulation, and game development.
Price: $14.99

Texture: Yes
Material: Yes
Download the Mercedes-Benz C63 AMG 2012 3D Model featuring clean geometry, realistic detailing, and a fully modeled interior. Includes .blend, .fbx, .obj, .glb, .stl, .ply, .unreal, and .max formats for rendering, simulation, and game development.
Price: $14.99

Texture: Yes
Material: Yes
Download the Mercedes-Benz E-Class S211 3D Model featuring clean geometry, realistic detailing, and a fully modeled interior. Includes .blend, .fbx, .obj, .glb, .stl, .ply, .unreal, and .max formats for rendering, simulation, and game development.
Price: $14.99

Texture: Yes
Material: Yes
Download the Mercedes-Benz CLS63 AMG (C218) 2014 3D Model featuring clean geometry, realistic detailing, and a fully modeled interior. Includes .blend, .fbx, .obj, .glb, .stl, .ply, .unreal, and .max formats for rendering, simulation, and game development.
Price: $14.99

Texture: Yes
Material: Yes
Download the Mercedes-Benz CLS-Klasse 3D Model featuring clean geometry, realistic detailing, and a fully modeled interior. Includes .blend, .fbx, .obj, .glb, .stl, .ply, .unreal, and .max formats for rendering, simulation, and game development.
Price: $14.99

Texture: Yes
Material: Yes
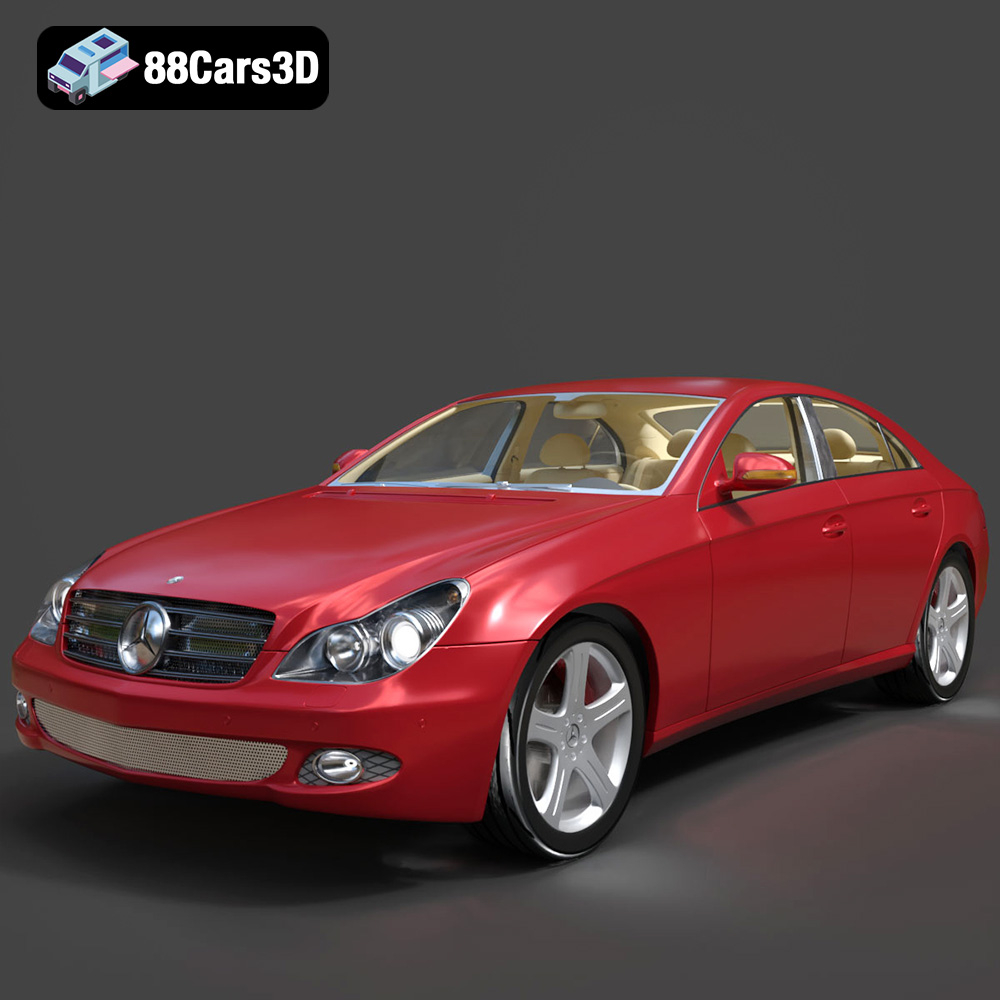
Download the Mercedes-Benz CLS 500 3D Model featuring clean geometry, realistic detailing, and a fully modeled interior. Includes .blend, .fbx, .obj, .glb, .stl, .ply, .unreal, and .max formats for rendering, simulation, and game development.
Price: $14.99

Texture: Yes
Material: Yes
Download the Mercedes-Benz CL-Klasse 2001 3D Model featuring clean geometry, realistic detailing, and a fully modeled interior. Includes .blend, .fbx, .obj, .glb, .stl, .ply, .unreal, and .max formats for rendering, simulation, and game development.
Price: $14.99

Texture: Yes
Material: Yes
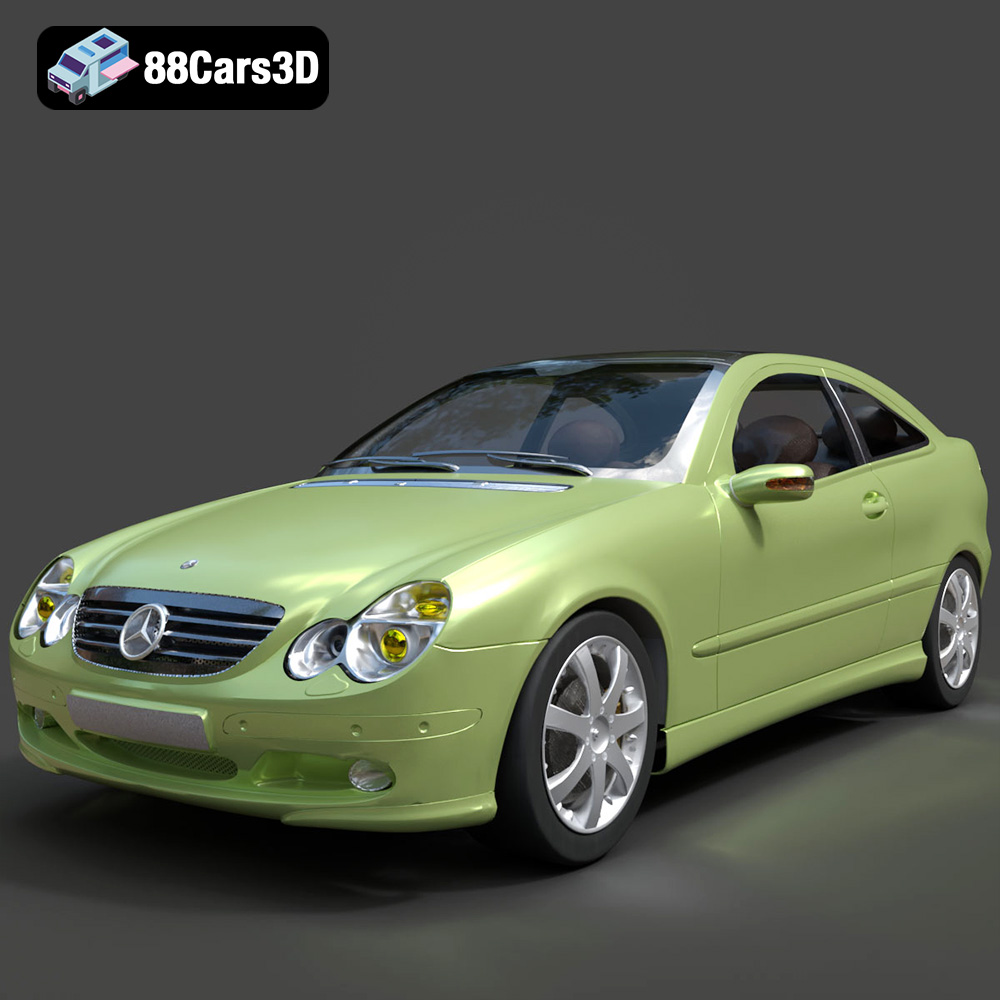
Download the Mercedes-Benz C-Klasse Sportcoupe 2000 3D Model featuring clean geometry, realistic detailing, and a fully modeled interior. Includes .blend, .fbx, .obj, .glb, .stl, .ply, .unreal, and .max formats for rendering, simulation, and game development.
Price: $14.99

Texture: Yes
Material: Yes
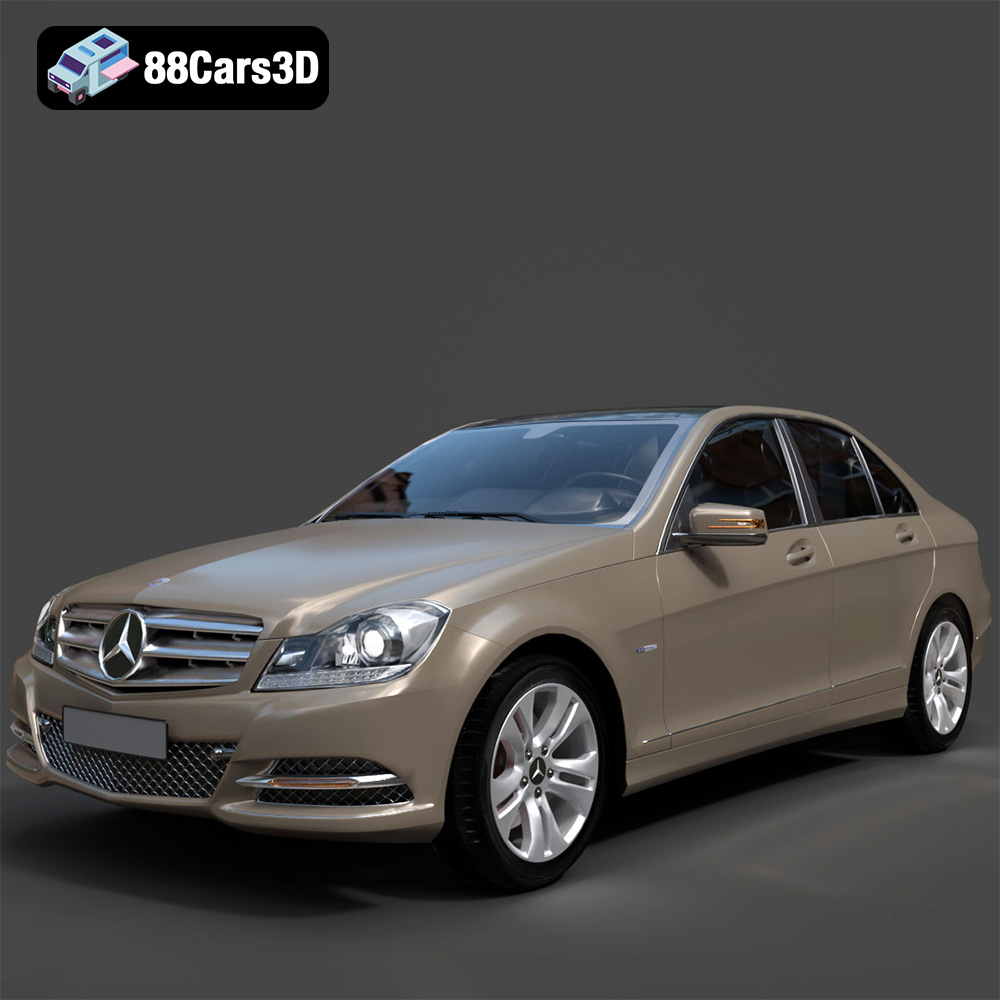
Download the Mercedes-Benz C-Klasse 204 2011 3D Model featuring clean geometry, realistic detailing, and a fully modeled interior. Includes .blend, .fbx, .obj, .glb, .stl, .ply, .unreal, and .max formats for rendering, simulation, and game development.
Price: $14.99

Texture: Yes
Material: Yes
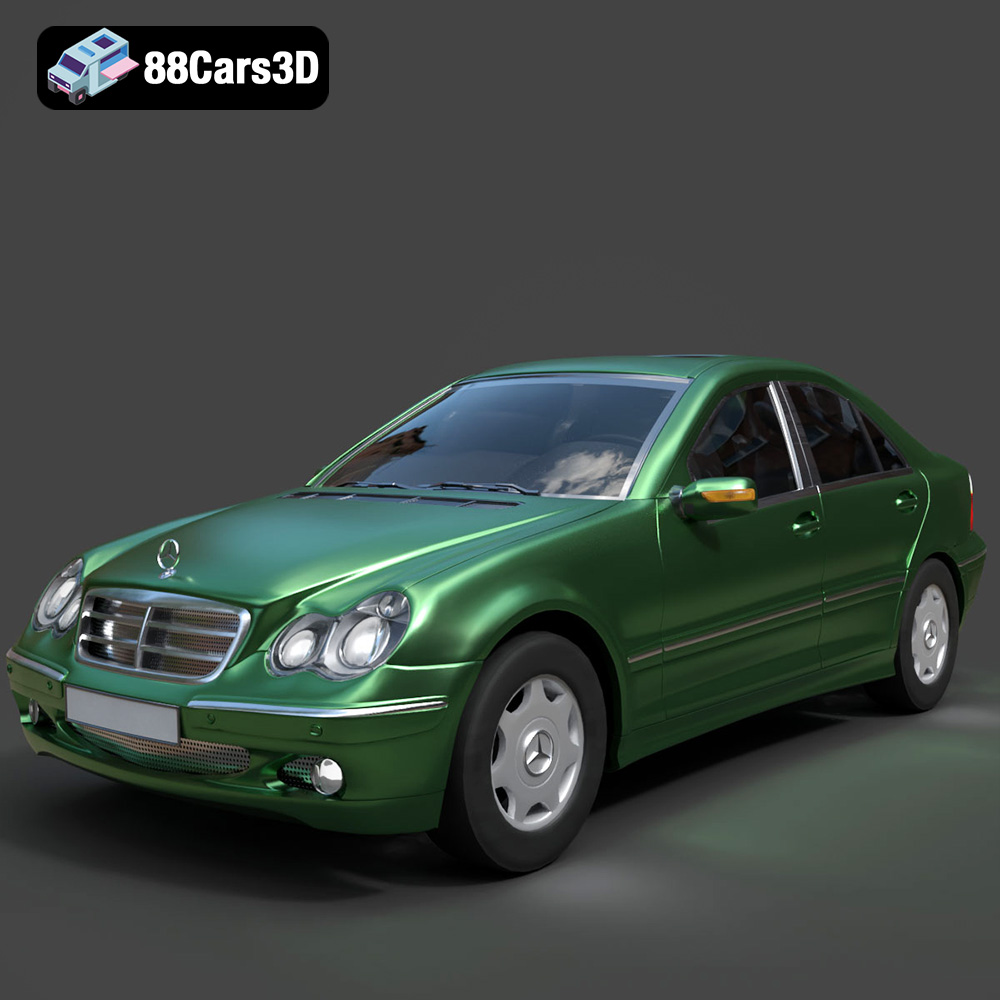
Download the Mercedes-Benz C-Class Sedan 3D Model featuring clean geometry, realistic detailing, and a fully modeled interior. Includes .blend, .fbx, .obj, .glb, .stl, .ply, .unreal, and .max formats for rendering, simulation, and game development.
Price: $14.99