Get 20% OFF All Premium 3D & STL Models!

“`html
A high-quality 3D car model is a marvel of digital craftsmanship, but its true power lies in its versatility. The same meticulously modeled vehicle can grace the pages of a glossy automotive brochure, become the hero asset in a blockbuster video game, allow customers to visualize customizations in an AR showroom, or even manifest as a physical object via 3D printing. However, a raw, high-polygon model is rarely ready for these diverse applications out of the box. Each use case demands a specific preparation and optimization workflow to ensure peak performance and visual fidelity. Simply put, the journey from a finished model to a production-ready asset is as critical as the modeling process itself.
This comprehensive guide will walk you through the essential technical pipelines for preparing 3D car models for any application. We will dive deep into the foundational principles of topology, demystify the art of UV unwrapping for complex automotive surfaces, and explore the nuances of creating photorealistic PBR materials. We’ll then navigate the distinct workflows for achieving stunning offline renders, optimizing for high-performance game engines and AR/VR experiences, and ensuring a successful transition to the physical world of 3D printing. By the end, you’ll have a professional framework for transforming any 3D car model into a versatile, efficient, and visually stunning asset, ready for any project you can imagine.
Before any texturing, rendering, or optimization can begin, the core geometry of the 3D car model must be impeccable. The topology—the flow and structure of polygons across the model’s surface—is the skeleton upon which all visual quality is built. Poor topology can lead to rendering artifacts, shading errors, and insurmountable difficulties in later stages of the pipeline. Getting this foundation right is non-negotiable for a professional-grade asset. This foundational work is why professional marketplaces like 88cars3d.com place such a high emphasis on clean, quad-based topology, ensuring their models are a solid starting point for any project.
The gold standard in hard-surface modeling, especially for automotive design, is quad-based geometry. This means the model is constructed almost entirely of polygons with four sides (quads). There are several critical reasons for this:
The required level of detail, and therefore the polygon count, is entirely dependent on the final application. A “one-size-fits-all” approach is inefficient and often unworkable. Here’s a general guideline:
A “clean” mesh is free of technical errors that can cause problems in other software. Before moving on, always perform a mesh cleanup checklist:
UV unwrapping is the process of flattening a 3D model’s surface into a 2D space so that textures can be applied correctly. For a complex object like a car, with its mix of large, flowing panels and small, intricate details, a strategic UV workflow is essential for achieving professional results. Rushing this stage will result in stretched textures, visible seams, and inconsistent detail, undermining all the hard work of modeling.
The goal of placing UV seams is to hide them where they are least likely to be seen. For a car, this means leveraging the natural construction of the vehicle:
Choosing between a single UV tile and a UDIM (U-Dimension) workflow depends on the required texture resolution and the target platform.
Texel density is the measure of texture resolution on a 3D surface (e.g., pixels per meter). Maintaining a consistent texel density across the entire model is crucial for a believable result. If the door has a high texel density and the fender next to it has a low one, the difference in texture sharpness will be immediately obvious and jarring. Use UV packing tools and texel density checkers (available in most 3D software and UV tools like RizomUV) to scale all your UV islands uniformly. For a hero car in a game, you might aim for 1024 pixels/meter (10.24 px/cm), while a cinematic model might aim for 4096 px/m or higher.
Physically Based Rendering (PBR) is a methodology for shading and rendering that provides a more accurate representation of how light interacts with materials. For automotive visualization, a PBR workflow is essential for creating believable car paint, glass, chrome, and plastics. This involves creating a set of texture maps that control different physical properties of a surface.
Modern car paint is a complex, multi-layered material. Replicating it requires a layered shader approach. In renderers like Corona, V-Ray, or Arnold, and even with Blender’s Principled BSDF node, you can simulate this layering:
Subtle imperfections, like a very faint “orange peel” effect, can be added to the clear coat’s normal map to push the realism even further.
Perfectly clean and sterile models look fake. Realism is found in the imperfections. This is where texturing software like Adobe Substance 3D Painter or Mari shines.
The resolution and file format of your textures have a massive impact on both visual quality and performance.
Preparing a 3D car model for a real-time application like a game engine (Unreal Engine, Unity) or an AR/VR experience is a process of strategic simplification. The goal is to retain as much visual detail as possible from the high-poly source model while drastically reducing the computational cost to ensure it can be rendered at a high framerate (typically 60-90 FPS).
This is the core of the real-time optimization workflow. It involves creating a new, clean, low-polygon mesh that matches the silhouette of the original high-polygon model.
It’s wasteful to render a 300,000-triangle car when it’s just a tiny speck in the distance. This is where Levels of Detail (LODs) come in. You create several versions of the model, each with a progressively lower polygon count.
Game engines like Unreal and Unity have built-in systems to automatically switch between these LODs based on the camera’s distance, providing a massive performance boost.
A “draw call” is a command from the CPU to the GPU to draw an object. Each object with a unique material generates at least one draw call. Too many draw calls can create a CPU bottleneck and lower framerates. For complex models like cars, it’s crucial to minimize them.
Taking a digital model and preparing it for physical fabrication via 3D printing requires a different set of considerations. The focus shifts from visual appearance to structural integrity and manufacturability. A model that looks perfect on screen can completely fail on a 3D printer if not properly prepared.
This is the most critical requirement for 3D printing. The 3D model must be a completely sealed, “watertight” volume. The slicing software, which cuts the model into thin layers for the printer, needs to know what is “inside” and what is “outside” the object.
In the digital world, a car’s body panel can be an infinitely thin plane. In the real world, it needs thickness to exist. All parts of the model must have a minimum wall thickness to be printed successfully. This minimum varies by printing technology (FDM, SLA, SLS) and material, but a safe starting point is often 1-2mm. You may need to use a “Shell” or “Solidify” modifier to add thickness to parts that were modeled as single surfaces. Proper scaling is also vital. You must scale the entire model to the desired physical dimensions before exporting it, ensuring all features, like wing mirrors, are thick enough to print without breaking.
Once your model is a clean, watertight solid, the final step is to run it through a slicer program (like Cura, PrusaSlicer, or ChiTuBox). The slicer converts the model into G-code—the instructions the printer follows.
We’ve journeyed through the intricate and diverse pipelines required to transform a master 3D car model into a production-ready asset for virtually any medium. The key takeaway is that a one-size-fits-all approach doesn’t exist; preparation is a process of targeted adaptation. For photorealistic renders, the focus is on high-fidelity geometry, complex layered shaders, and ultra-high-resolution textures. For real-time applications, the paradigm shifts to ruthless optimization, clever use of texture baking, LODs, and draw call management to achieve maximum performance. Finally, for 3D printing, the concerns become purely physical: creating a watertight, structurally sound object that can be successfully fabricated layer by layer.
Understanding these distinct workflows empowers you, the artist or developer, to unlock the full potential of your 3D assets. It’s the technical knowledge that separates a beautiful but limited model from a robust, versatile tool that can excel in any context. Whether you’re building from scratch or starting with a high-quality asset from a resource like 88cars3d.com, applying these preparation techniques is the crucial final step that ensures your project not only looks incredible but also performs flawlessly, no matter the final destination.
“`

Texture: Yes
Material: Yes
Download the Mercedes-Benz SLK 350 2005 3D Model featuring clean geometry, realistic detailing, and a fully modeled interior. Includes .blend, .fbx, .obj, .glb, .stl, .ply, .unreal, and .max formats for rendering, simulation, and game development.
Price: $9.99

Texture: Yes
Material: Yes
Download the Mercedes-Benz SL 65 AMG 3D Model featuring clean geometry, realistic detailing, and a fully modeled interior. Includes .blend, .fbx, .obj, .glb, .stl, .ply, .unreal, and .max formats for rendering, simulation, and game development.
Price: $9.99

Texture: Yes
Material: Yes
Download the Mercedes-Benz S500 3D Model featuring clean geometry, realistic detailing, and a fully modeled interior. Includes .blend, .fbx, .obj, .glb, .stl, .ply, .unreal, and .max formats for rendering, simulation, and game development.
Price: $9.99
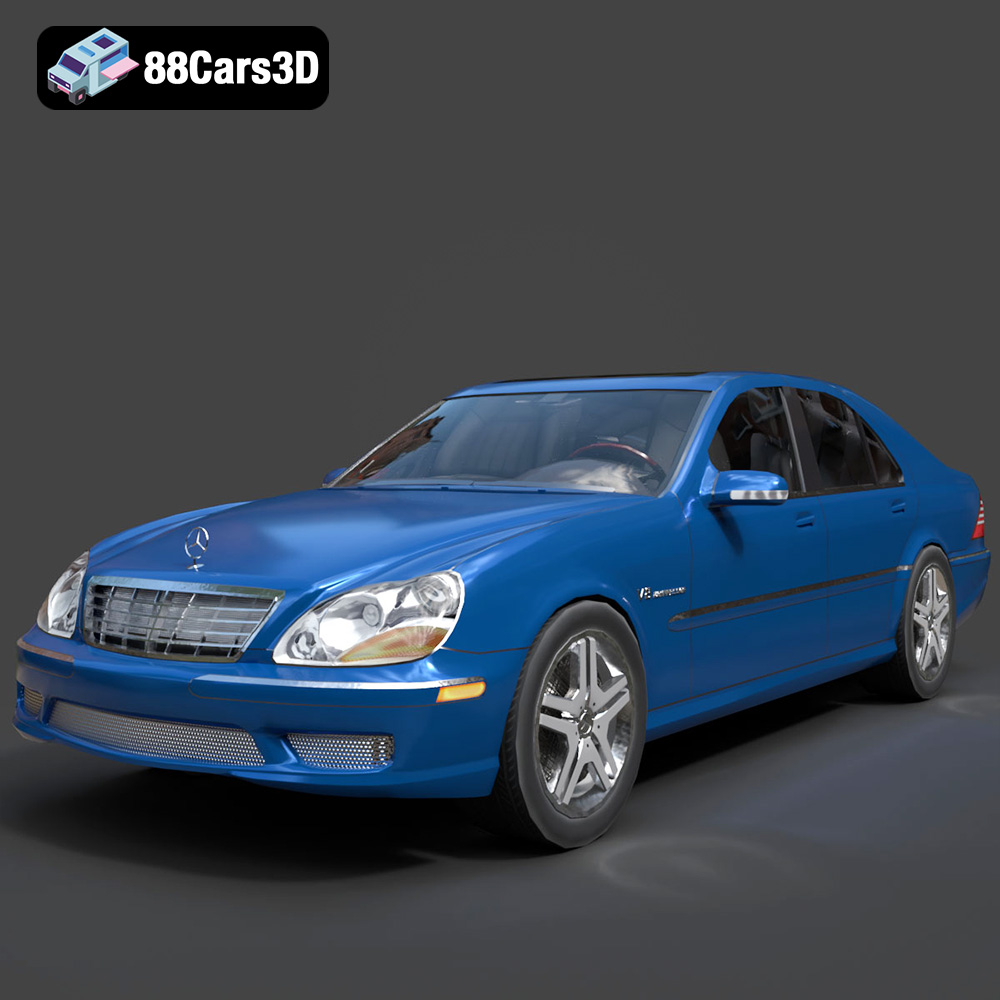
Texture: Yes
Material: Yes
Download the Mercedes-Benz S55 W220 AMG 1999 3D Model featuring clean geometry, realistic detailing, and a fully modeled interior. Includes .blend, .fbx, .obj, .glb, .stl, .ply, .unreal, and .max formats for rendering, simulation, and game development.
Price: $9.99
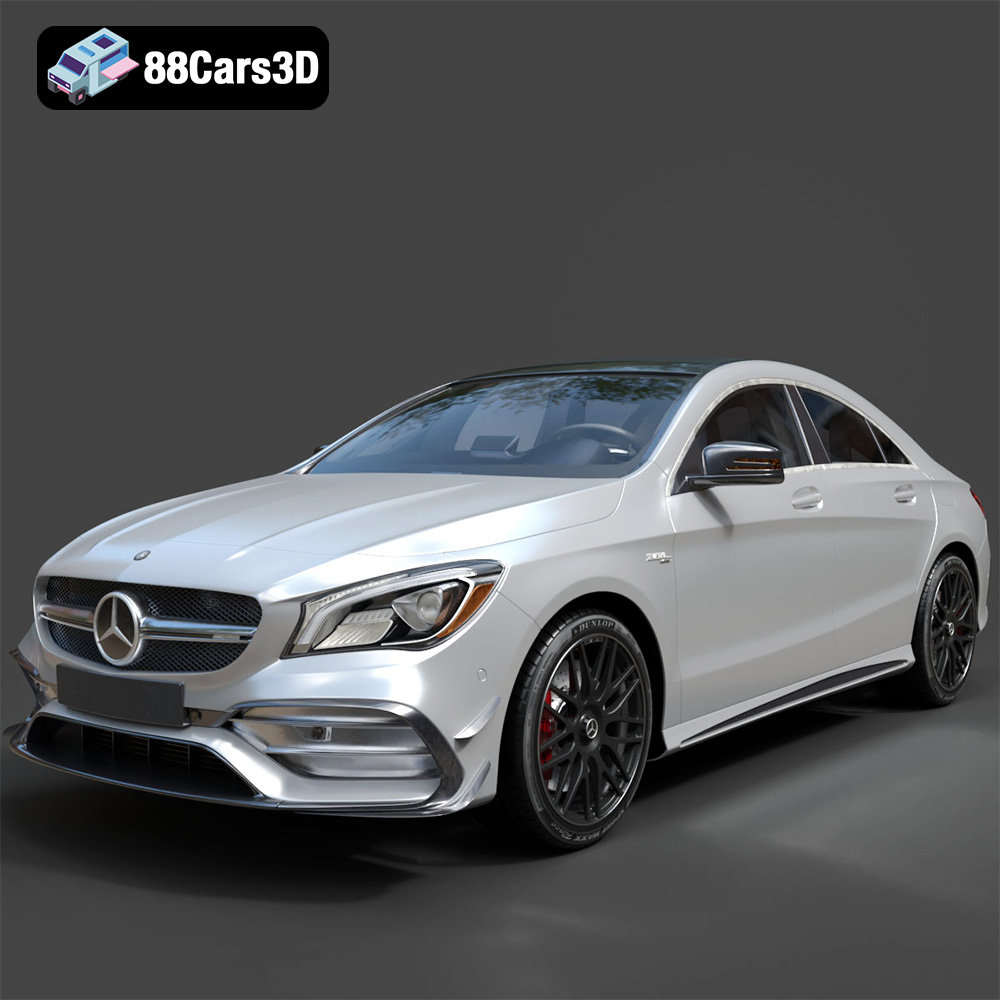
Texture: Yes
Material: Yes
Download the Mercedes-Benz CLA45 AMG 2017 3D Model featuring clean geometry, realistic detailing, and a fully modeled interior. Includes .blend, .fbx, .obj, .glb, .stl, .ply, .unreal, and .max formats for rendering, simulation, and game development.
Price: $29.99
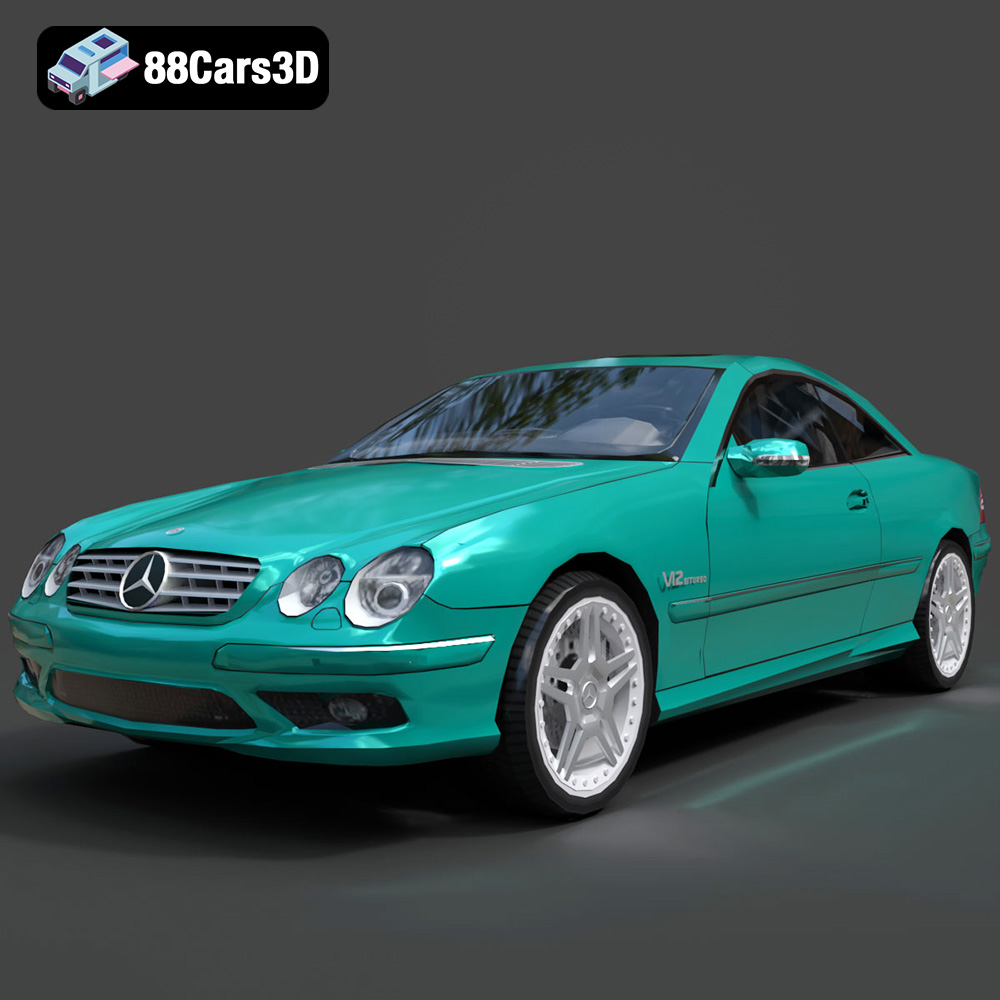
Texture: Yes
Material: Yes
Download the Mercedes-Benz CL65 C215 AMG 3D Model featuring clean geometry, realistic detailing, and a fully modeled interior. Includes .blend, .fbx, .obj, .glb, .stl, .ply, .unreal, and .max formats for rendering, simulation, and game development.
Price: $9.99
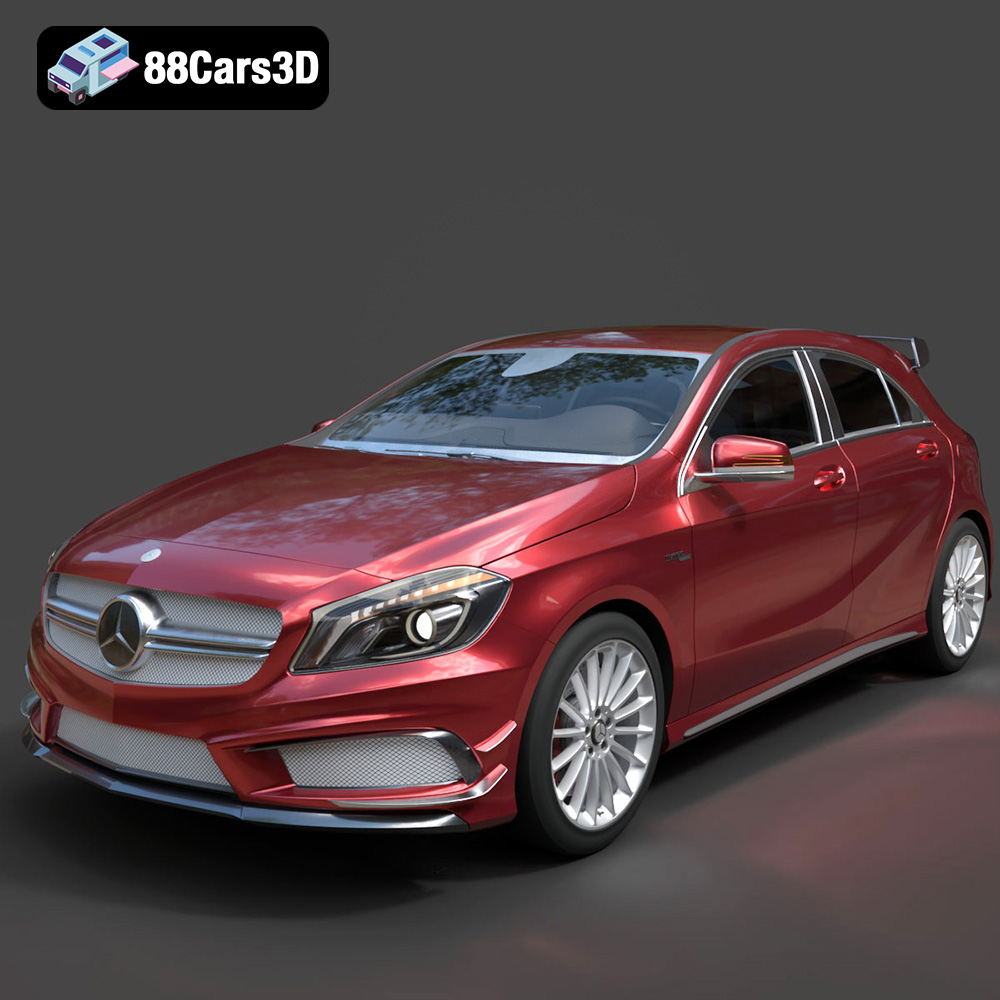
Texture: Yes
Material: Yes
Download the Mercedes-Benz A45 2021 3D Model featuring clean geometry, realistic detailing, and a fully modeled interior. Includes .blend, .fbx, .obj, .glb, .stl, .ply, .unreal, and .max formats for rendering, simulation, and game development.
Price: $9.99
Texture: Yes
Material: Yes
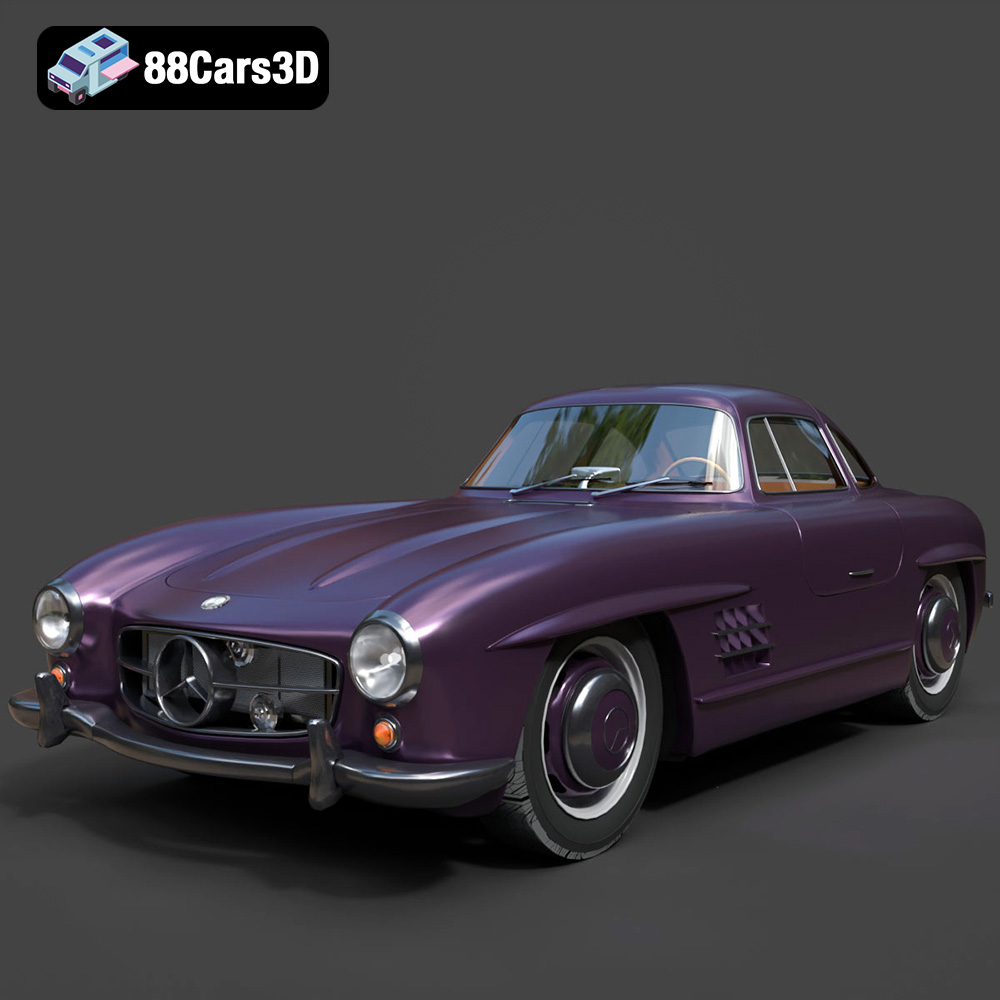
Download the Mercedes-Benz 300SL 1955 3D Model featuring clean geometry, realistic detailing, and a fully modeled interior. Includes .blend, .fbx, .obj, .glb, .stl, .ply, .unreal, and .max formats for rendering, simulation, and game development.
Price: $9.99
Texture: Yes
Material: Yes
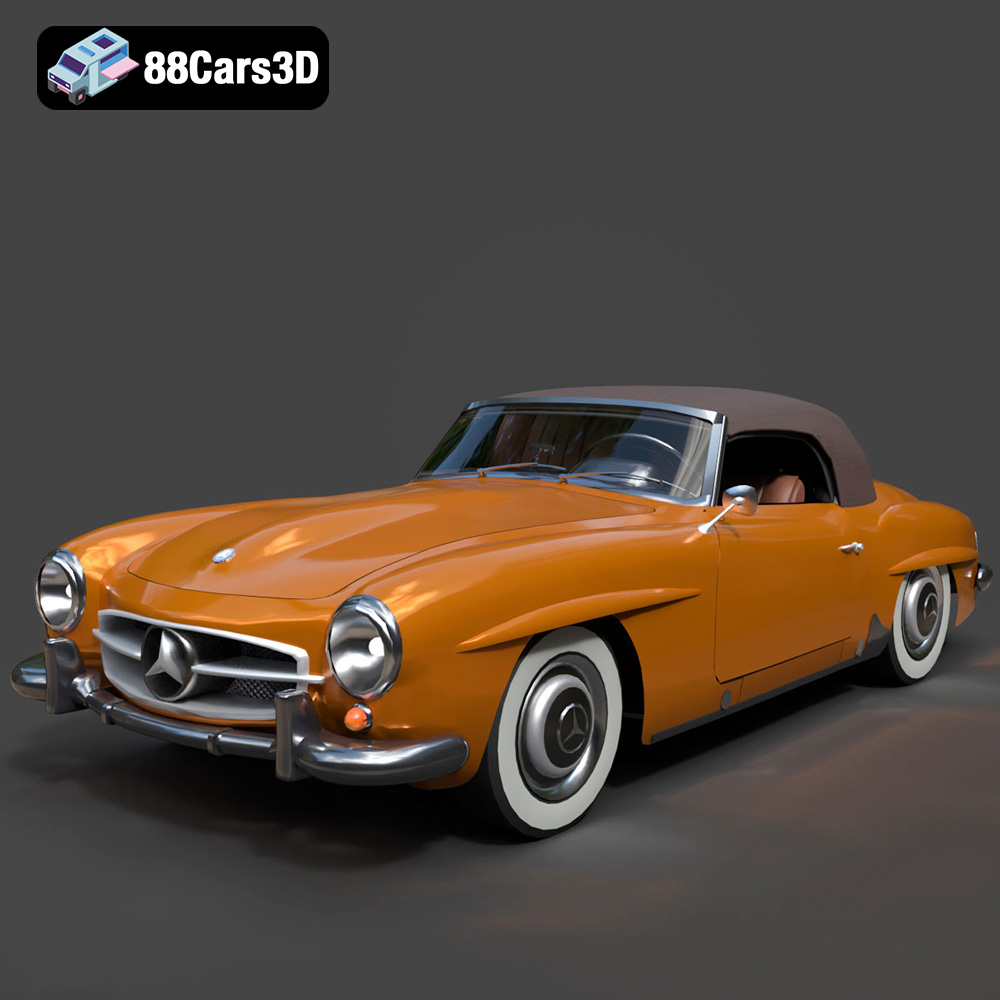
Download the Mercedes-Benz 190SL 1955 3D Model featuring clean geometry, realistic detailing, and a fully modeled interior. Includes .blend, .fbx, .obj, .glb, .stl, .ply, .unreal, and .max formats for rendering, simulation, and game development.
Price: $9.99
Texture: Yes
Material: Yes
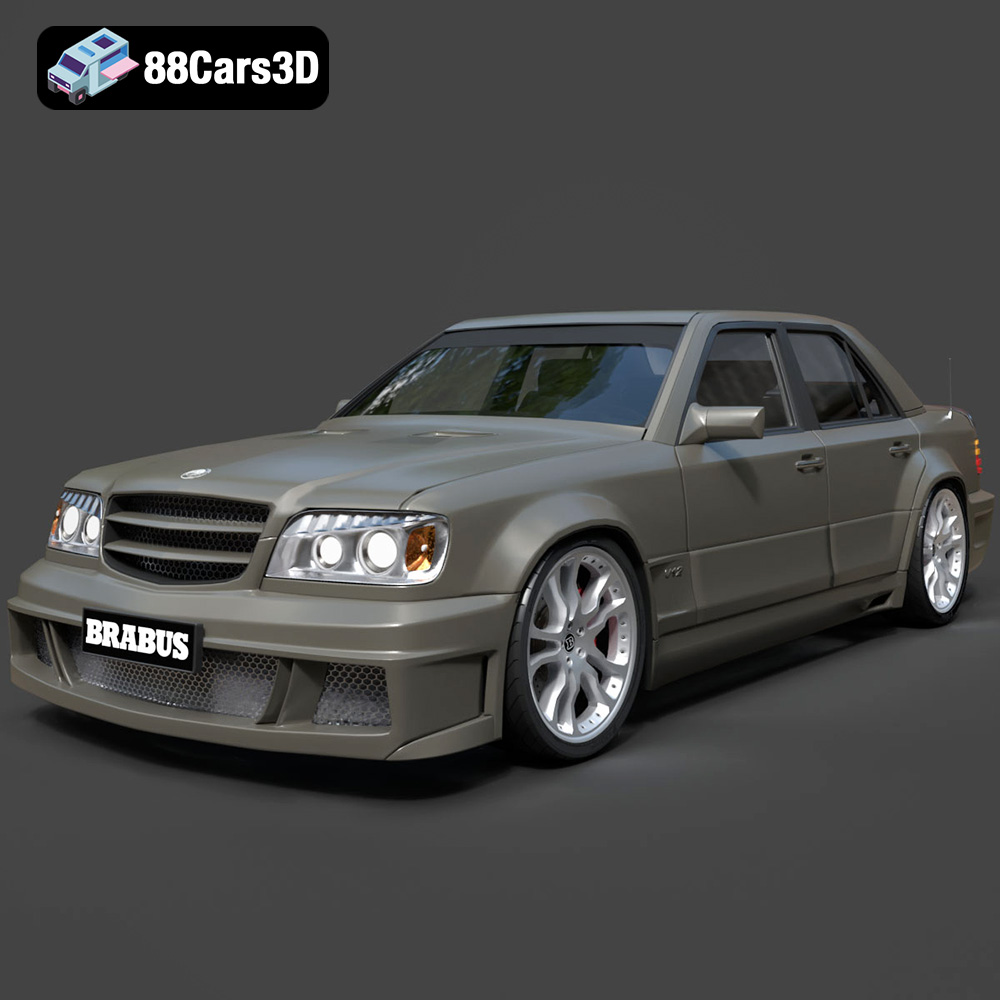
Download the Mercedes-Benz W124 Brabus V12 3D Model featuring clean geometry, realistic detailing, and a fully modeled interior. Includes .blend, .fbx, .obj, .glb, .stl, .ply, .unreal, and .max formats for rendering, simulation, and game development.
Price: $9.99

