Get 20% OFF All Premium 3D & STL Models!

The allure of a perfectly rendered automobile is undeniable. For decades, artists have meticulously crafted static images and animations that showcase vehicles with breathtaking realism, pushing the boundaries of what digital art can achieve. However, as the demand for interactive experiences grows, the challenge shifts from pre-rendered perfection to achieving that same cinematic quality in real-time environments.
This is where Unreal Engine 5 steps onto the stage. With its revolutionary features like Nanite and Lumen, UE5 offers an unparalleled opportunity to transform high-fidelity car models into living, breathing digital masterpieces that react dynamically to light and interaction. This guide delves into the technical strategies and artistic workflows essential for unlocking true cinematic automotive photorealism in Unreal Engine 5, moving beyond simple renders to create truly immersive experiences.
Traditionally, offline renderers have handled the extreme polygon counts and complex material setups of high-fidelity car models with relative ease. They could afford hours of computation per frame to achieve pixel-perfect reflections, intricate global illumination, and physically accurate material scattering. The paradigm for real-time rendering automotive, however, is fundamentally different.
The primary constraint in a real-time environment, such as an Unreal Engine 5 automotive project, is performance. Every millisecond counts. This means every polygon, every texture sample, and every light bounce must be optimized to maintain smooth frame rates. The challenge lies in translating the visual fidelity of a multi-million polygon CAD model, often used for engineering and high-end marketing renders, into a performant yet equally stunning real-time asset without sacrificing aesthetic integrity.
This transition demands a careful balance between visual quality and computational efficiency. Merely importing an unoptimized CAD model into UE5 will quickly bring even the most powerful hardware to its knees. To truly achieve cinematic photorealism, artists and developers must adopt a strategic approach to asset creation, material setup, and engine integration, leveraging UE5’s powerful tools while respecting real-time performance budgets.
The journey to cinematic automotive photorealism begins long before you even open Unreal Engine. It starts with the underlying geometry of your high-fidelity car models. Proper modeling and meticulous optimization are paramount to ensuring your vehicles look incredible while performing efficiently within UE5.
Even with Nanite, Unreal Engine 5’s virtualized micro-polygon geometry system, clean mesh topology remains crucial, especially for deformable parts or when traditional rendering paths are used. While Nanite excels at handling immense polycounts for static meshes, good underlying geometry simplifies UV unwrapping, prevents shading artifacts, and is vital for skeletal meshes or animated components. Focus on quads where possible, maintain consistent polygon density in visible areas, and ensure smooth, continuous surfaces.
For game-ready automotive assets, it’s often necessary to consider polygon budgets, even if Nanite handles the most complex parts. Non-Nanite meshes, like vehicle interiors or character models interacting with the car, still require traditional optimization. Analyze your model’s visibility and importance to determine appropriate polycounts for different components.
Effective UV unwrapping is the backbone of any successful PBR workflow for vehicles. It dictates how textures are mapped onto your 3D model, directly impacting the final visual quality and fidelity. Ensure that your UV maps are clean, non-overlapping, and efficiently utilize the UV space. Prioritize larger, continuous islands for major surfaces like the car body to minimize seams and texel distortion. Smaller, less visible parts can be packed more tightly.
For complex assets, consider using multiple UV sets. One set can be dedicated to unique, high-resolution textures for the main body panels, while another might be for tiling details or lightmaps. This strategic approach to UV mapping is essential for leveraging high-resolution textures effectively without compromising performance.
Even with Nanite, LODs optimization (Level of Detail) remains a critical strategy, especially for smaller props, interactive elements, or when vehicles are seen from a distance. LODs allow you to swap out higher-detail meshes for lower-detail versions as the camera moves further away, significantly reducing rendering overhead without a noticeable loss in quality. For static meshes, Nanite handles much of this automatically, but understanding its principles is key.
For dynamic objects or when precise control is needed, manually creating LODs involves generating simplified versions of your mesh. This process typically involves reducing polygon count, simplifying materials, and sometimes even swapping complex geometry for imposters or billboards at extreme distances. Effective LODs are vital for maintaining high frame rates in scenarios with multiple vehicles or expansive environments, ensuring your game-ready automotive assets perform optimally.
Materials are the soul of automotive photorealism. In Unreal Engine 5, a robust PBR workflow for vehicles is essential to simulate how light interacts with various surfaces realistically. Achieving cinematic quality requires an understanding of advanced material properties, especially for iconic automotive finishes like metallic paints, glass, and carbon fiber.
Physically Based Rendering (PBR) relies on real-world physics to simulate light interactions. The fundamental maps for PBR include Base Color (albedo), Metallic, Roughness, and Normal. For automotive materials, these maps must be meticulously crafted to reflect the precise optical properties of car components. Metallic values will typically be binary (0 for dielectric, 1 for metallic), while roughness maps are crucial for defining the microsurface details that dictate reflection sharpness and spread.
Understanding the interplay of these maps is key. A high metallic value combined with low roughness will produce mirror-like chrome, whereas a metallic value of 1 with higher roughness creates brushed metal. Dielectric surfaces like plastic or rubber will have a metallic value of 0, with their color derived purely from the Base Color map and their reflectivity controlled by Roughness and a fixed F0 specular value (usually around 0.04).
Car paint is one of the most complex materials to reproduce accurately. A basic PBR setup won’t suffice for the multi-layered, reflective, and sometimes iridescent properties of real-world automotive finishes. In Unreal Engine 5 automotive, custom material shaders are often required.
Clear Coat Layers: Real car paint consists of a base coat and a clear coat. UE5’s material system allows for a dedicated clear coat input, enabling two distinct specular lobes. This is critical for accurate reflections and highlights. The clear coat itself has its own roughness, normal map, and even tinted color. Experiment with slightly different roughness values for the base and clear coats to simulate depth.
Metallic Flakes: For metallic or pearlescent paints, simulating metallic flakes is paramount. This can be achieved through various techniques: using a normal map with fine noise, custom shader nodes that simulate microfacets, or more advanced methods involving custom G-buffers and screen-space flake generation. The flakes typically have their own normal and color, reacting subtly to light angles.
Anisotropy: Some paints, particularly brushed metals or certain premium finishes, exhibit anisotropic reflections. UE5 allows for anisotropic material setups, where reflections stretch along a specific direction, often controlled by a tangent map. This is particularly effective for components like exhaust pipes, chrome trim, or even certain paint types.
Automotive glass is not merely a transparent surface. It’s a complex material that refracts light, reflects the environment, and often has subtle tints or dirt. UE5’s translucent material model can be challenging for real-time photorealism, but with careful setup, excellent results are achievable.
Utilize the PBR workflow for vehicles even for glass. The Opacity input controls transparency, while roughness affects how blurry reflections are. Normal maps can add subtle imperfections or water droplets. Crucially, consider using screen space reflections (SSR) and planar reflections for accurate reflections on glass. For refraction, screen space refraction can provide a good approximation, but be mindful of its limitations.
Adding subtle tinting via the Base Color and incorporating a slight amount of roughness can dramatically improve realism. Don’t forget to account for glass thickness and double-sided rendering where appropriate, especially for windshields and windows that reveal an interior.
Materials like carbon fiber, brushed aluminum, or alcantara require specific texture work and shader nuances. Carbon fiber, for instance, benefits greatly from a detailed normal map that captures its woven pattern, combined with an anisotropic reflection setup. The roughness map should accurately portray the subtle variations between the resin and the fibers.
For digital twin cars or high-end visualizations, replicating these exotic materials with utmost accuracy is essential for immersion. This often involves layering textures, utilizing masks for wear and tear, and fine-tuning reflection properties to match real-world references. The material libraries available through resources like 88cars3d.com often include pre-calibrated PBR textures that serve as excellent starting points for these complex materials.
No matter how perfect your high-fidelity car models and materials are, they will fall flat without compelling lighting. Light defines form, mood, and atmosphere. For real-time rendering automotive in Unreal Engine 5, leveraging its advanced lighting systems is crucial for achieving cinematic photorealism.
Unreal Engine 5’s Lumen global illumination and reflections system, combined with Nanite’s high-fidelity geometry, are game-changers for Unreal Engine 5 automotive projects. Lumen provides dynamic, real-time global illumination, meaning light bounces realistically off surfaces, influencing ambient color and shadows. This is particularly impactful for car interiors and complex environments surrounding the vehicle.
Nanite allows you to use incredibly detailed meshes without traditional LOD constraints, meaning even the smallest details on a car’s body or wheels will cast accurate shadows and receive precise lighting. Together, Lumen and Nanite create an unprecedented level of dynamic realism, making traditional baked lighting often unnecessary for cinematic scenes.
High Dynamic Range Images (HDRIs) are indispensable for realistic automotive lighting. They capture real-world lighting environments, including sky, sun, and ambient light, providing incredibly accurate global illumination and reflections. In UE5, an HDRI can be used as a Sky Light source, casting realistic light and contributing to reflections on your car’s surfaces.
Complementing an HDRI with a directional light (simulating the sun) that matches the HDRI’s sun position creates a convincing natural environment. Ensure your HDRI has a high dynamic range to provide strong highlights and deep shadows, which are essential for making a car’s metallic paint and glass truly pop.
While HDRIs provide the overall ambiance, strategic placement of localized lights is key for emphasizing details and creating drama. Area lights are excellent for soft, even illumination, mimicking studio softboxes or large light sources. They are perfect for highlighting specific curves of a car or providing subtle fill light.
Spotlights can be used to create sharper highlights, rim lighting, or to draw attention to intricate details like badges, wheels, or interior elements. Remember to use IES profiles with your spotlights to simulate realistic light distribution patterns from real-world light fixtures. For both area and spotlights, careful attention to their color temperature, intensity, and attenuation is vital.
No cinematic look is complete without a robust post-processing pass. Unreal Engine 5’s Post Process Volume offers a wealth of tools to fine-tune your final image. Key settings for automotive scenes include:
These effects, when used judiciously, can elevate your Unreal Engine 5 automotive visuals from realistic to truly cinematic.
Once your high-fidelity car models are optimized and their materials perfected, the next crucial step is bringing them into Unreal Engine 5 and ensuring they perform flawlessly. This involves best practices for importing, configuring, and tuning your game-ready automotive assets.
The FBX format is generally the most robust for importing complex 3D models into Unreal Engine. When exporting from your DCC application (e.g., Blender, Maya, 3ds Max), ensure:
For static, highly detailed parts, ensure Nanite is enabled upon import or via the mesh editor to leverage its massive polygon handling capabilities.
To go “beyond renders,” your automotive assets need to be interactive. Unreal Engine’s Blueprint visual scripting system is ideal for this. Create a Blueprint class for your vehicle that can:
Using Blueprints allows artists and designers to add complex functionality without writing a single line of C++ code, making Unreal Engine 5 automotive projects accessible and efficient.
Even with LODs optimization and Nanite, continuous performance monitoring is vital. UE5 offers powerful profiling tools:
stat fps, stat unit, stat gpu to quickly identify bottlenecks.stat gpu. This tool provides a detailed breakdown of GPU time spent on various rendering passes, helping pinpoint expensive draw calls, materials, or post-processing effects.r.Lumen.Visualize 1 to see how Lumen is performing and identify areas for optimization.Regular profiling ensures your game-ready automotive assets deliver stunning visuals at optimal frame rates.
The true power of achieving cinematic automotive photorealism in Unreal Engine 5 automotive extends far beyond pretty pictures. It enables the creation of fully interactive, dynamic experiences, particularly relevant in the era of digital twin cars.
A digital twin car is more than just a 3D model; it’s a virtual replica that accurately represents its physical counterpart in real-time. This concept has revolutionized automotive design, manufacturing, and marketing. In UE5, these digital twins can be used for:
The ability to render high-fidelity car models with cinematic quality in real-time transforms these applications from novelties into indispensable tools. The assets available at 88cars3d.com are designed with these exact applications in mind, providing the foundation for incredible interactive experiences.
Achieving cinematic automotive photorealism in Unreal Engine 5 is a demanding yet incredibly rewarding endeavor. It requires a deep understanding of modeling optimization, a meticulous PBR workflow for vehicles, sophisticated lighting techniques, and rigorous performance tuning. By mastering these elements, you can transcend the limitations of traditional renders and deliver truly immersive, interactive experiences.
From crafting optimized game-ready automotive assets with smart LODs optimization to creating dynamic lighting environments that truly make your vehicles shine, every step contributes to the final masterpiece. The power of Unreal Engine 5 automotive, with its cutting-edge features like Nanite and Lumen, makes this level of realism more accessible than ever before, paving the way for the future of interactive visualization and digital twin cars.
Ready to bring your automotive visions to life with unparalleled realism? Explore the extensive library of professionally crafted, high-fidelity car models at 88cars3d.com. Start building your next cinematic project or interactive experience today and push the boundaries of real-time automotive visualization!

Texture: Yes
Material: Yes
Download the Suzuki SX4-002 3D Model featuring clean geometry, realistic detailing, and a fully modeled interior. Includes .blend, .fbx, .obj, .glb, .stl, .ply, .unreal, and .max formats for rendering, simulation, and game development.
Price: $10

Texture: Yes
Material: Yes
Download the Tesla Model S 2024 3D Model featuring clean geometry, realistic detailing, and a fully modeled interior. Includes .blend, .fbx, .obj, .glb, .stl, .ply, .unreal, and .max formats for rendering, simulation, and game development.
Price: $10

Texture: Yes
Material: Yes
Download the Subaru Impreza WRX STi-002 3D Model featuring clean geometry, realistic detailing, and a fully modeled interior. Includes .blend, .fbx, .obj, .glb, .stl, .ply, .unreal, and .max formats for rendering, simulation, and game development.
Price: $10

Texture: Yes
Material: Yes
Download the Subaru Impreza WRX STi Sedan 3D Model featuring clean geometry, realistic detailing, and a fully modeled interior. Includes .blend, .fbx, .obj, .glb, .stl, .ply, .unreal, and .max formats for rendering, simulation, and game development.
Price: $10

Texture: Yes
Material: Yes
Download the Subaru Legacy 2009 3D Model featuring clean geometry, realistic detailing, and a fully modeled interior. Includes .blend, .fbx, .obj, .glb, .stl, .ply, .unreal, and .max formats for rendering, simulation, and game development.
Price: $10

Texture: Yes
Material: Yes
Download the Suzuki Swift 2024 3D Model featuring clean geometry, realistic detailing, and a fully modeled interior. Includes .blend, .fbx, .obj, .glb, .stl, .ply, .unreal, and .max formats for rendering, simulation, and game development.
Price: $10

Texture: Yes
Material: Yes
Download the Suzuki Liana Sedan 2004 3D Model featuring clean geometry, realistic detailing, and a fully modeled interior. Includes .blend, .fbx, .obj, .glb, .stl, .ply, .unreal, and .max formats for rendering, simulation, and game development.
Price: $10

Texture: Yes
Material: Yes
Download the Subaru Outback 2024 3D Model featuring clean geometry, realistic detailing, and a fully modeled interior. Includes .blend, .fbx, .obj, .glb, .stl, .ply, .unreal, and .max formats for rendering, simulation, and game development.
Price: $10

Texture: Yes
Material: Yes
Download the Subaru Legacy 2003 3D Model featuring clean geometry, realistic detailing, and a fully modeled interior. Includes .blend, .fbx, .obj, .glb, .stl, .ply, .unreal, and .max formats for rendering, simulation, and game development.
Price: $10

Texture: Yes
Material: Yes
Download the Subaru Legacy Touring Wagon 3D Model featuring clean geometry, realistic detailing, and a fully modeled interior. Includes .blend, .fbx, .obj, .glb, .stl, .ply, .unreal, and .max formats for rendering, simulation, and game development.
Price: $10

Texture: Yes
Material: Yes
Download the Toyota Mark II (X100) 3D Model featuring clean geometry, realistic detailing, and a fully modeled interior. Includes .blend, .fbx, .obj, .glb, .stl, .ply, .unreal, and .max formats for rendering, simulation, and game development.
Price: $10

Texture: Yes
Material: Yes
Download the Toyota Corona 1985 3D Model featuring clean geometry, realistic detailing, and a fully modeled interior. Includes .blend, .fbx, .obj, .glb, .stl, .ply, .unreal, and .max formats for rendering, simulation, and game development.
Price: $10

Texture: Yes
Material: Yes
Download the Toyota Mark II X81 1990 3D Model featuring clean geometry, realistic detailing, and a fully modeled interior. Includes .blend, .fbx, .obj, .glb, .stl, .ply, .unreal, and .max formats for rendering, simulation, and game development.
Price: $10

Texture: Yes
Material: Yes
Download the Toyota iQ EV 2012 3D Model featuring clean geometry, realistic detailing, and a fully modeled interior. Includes .blend, .fbx, .obj, .glb, .stl, .ply, .unreal, and .max formats for rendering, simulation, and game development.
Price: $10

Texture: Yes
Material: Yes
Download the Toyota Aygo 2013 3D Model featuring clean geometry, realistic detailing, and a fully modeled interior. Includes .blend, .fbx, .obj, .glb, .stl, .ply, .unreal, and .max formats for rendering, simulation, and game development.
Price: $10

Texture: Yes
Material: Yes
Download the Toyota Crown S180 2005 3D Model featuring clean geometry, realistic detailing, and a fully modeled interior. Includes .blend, .fbx, .obj, .glb, .stl, .ply, .unreal, and .max formats for rendering, simulation, and game development.
Price: $10

Texture: Yes
Material: Yes
Download the Toyota Celica 2004 3D Model featuring clean geometry, realistic detailing, and a fully modeled interior. Includes .blend, .fbx, .obj, .glb, .stl, .ply, .unreal, and .max formats for rendering, simulation, and game development.
Price: $10

Texture: Yes
Material: Yes
Download the Toyota Corolla AE100 1992 3D Model featuring clean geometry, realistic detailing, and a fully modeled interior. Includes .blend, .fbx, .obj, .glb, .stl, .ply, .unreal, and .max formats for rendering, simulation, and game development.
Price: $10

Texture: Yes
Material: Yes
Download the Toyota Mark II X110 2000 3D Model featuring clean geometry, realistic detailing, and a fully modeled interior. Includes .blend, .fbx, .obj, .glb, .stl, .ply, .unreal, and .max formats for rendering, simulation, and game development.
Price: $10

Texture: Yes
Material: Yes
Download the Toyota Corolla 2020 3D Model featuring clean geometry, realistic detailing, and a fully modeled interior. Includes .blend, .fbx, .obj, .glb, .stl, .ply, .unreal, and .max formats for rendering, simulation, and game development.
Price: $10

Texture: Yes
Material: Yes
Download the Toyota Yaris 2020 3D Model featuring clean geometry, realistic detailing, and a fully modeled interior. Includes .blend, .fbx, .obj, .glb, .stl, .ply, .unreal, and .max formats for rendering, simulation, and game development.
Price: $9.9

Texture: Yes
Material: Yes
Download the Volkswagen Beetle 2012 3D Model featuring clean geometry, realistic detailing, and a fully modeled interior. Includes .blend, .fbx, .obj, .glb, .stl, .ply, .unreal, and .max formats for rendering, simulation, and game development.
Price: $9.9

Texture: Yes
Material: Yes
Download the Toyota Matrix 2005 3D Model featuring clean geometry, realistic detailing, and a fully modeled interior. Includes .blend, .fbx, .obj, .glb, .stl, .ply, .unreal, and .max formats for rendering, simulation, and game development.
Price: $9.9

Texture: Yes
Material: Yes
Download the Toyota Yaris Sedan 3D Model featuring clean geometry, realistic detailing, and a fully modeled interior. Includes .blend, .fbx, .obj, .glb, .stl, .ply, .unreal, and .max formats for rendering, simulation, and game development.
Price: $9.9

Texture: Yes
Material: Yes
Download the Volkswagen Golf R-004 2024 3D Model featuring clean geometry, realistic detailing, and a fully modeled interior. Includes .blend, .fbx, .obj, .glb, .stl, .ply, .unreal, and .max formats for rendering, simulation, and game development.
Price: $9.9

Texture: Yes
Material: Yes
Download the Volkswagen Golf 5 Door 2010 3D Model featuring clean geometry, realistic detailing, and a fully modeled interior. Includes .blend, .fbx, .obj, .glb, .stl, .ply, .unreal, and .max formats for rendering, simulation, and game development.
Price: $9.9

Texture: Yes
Material: Yes
Download the Toyota Premio 2010 3D Model featuring clean geometry, realistic detailing, and a fully modeled interior. Includes .blend, .fbx, .obj, .glb, .stl, .ply, .unreal, and .max formats for rendering, simulation, and game development.
Price: $9.9

Texture: Yes
Material: Yes
Download the Toyota Opa 2000 3D Model featuring clean geometry, realistic detailing, and a fully modeled interior. Includes .blend, .fbx, .obj, .glb, .stl, .ply, .unreal, and .max formats for rendering, simulation, and game development.
Price: $9.9

Texture: Yes
Material: Yes
Download the Volkswagen Polo 5 Door 2010 3D Model featuring clean geometry, realistic detailing, and a fully modeled interior. Includes .blend, .fbx, .obj, .glb, .stl, .ply, .unreal, and .max formats for rendering, simulation, and game development.
Price: $9.9

Texture: Yes
Material: Yes
Download the Toyota Prius 2024 3D Model featuring clean geometry, realistic detailing, and a fully modeled interior. Includes .blend, .fbx, .obj, .glb, .stl, .ply, .unreal, and .max formats for rendering, simulation, and game development.
Price: $9.9

Texture: Yes
Material: Yes
Download the Toyota Yaris 1999 3D Model featuring clean geometry, realistic detailing, and a fully modeled interior. Includes .blend, .fbx, .obj, .glb, .stl, .ply, .unreal, and .max formats for rendering, simulation, and game development.
Price: $9.9

Texture: Yes
Material: Yes
Download the Toyota Supra 2020 3D Model featuring clean geometry, realistic detailing, and a fully modeled interior. Includes .blend, .fbx, .obj, .glb, .stl, .ply, .unreal, and .max formats for rendering, simulation, and game development.
Price: $9.9

Texture: Yes
Material: Yes
Download the Volkswagen New Beetle 2000 3D Model featuring clean geometry, realistic detailing, and a fully modeled interior. Includes .blend, .fbx, .obj, .glb, .stl, .ply, .unreal, and .max formats for rendering, simulation, and game development.
Price: $14.99

Texture: Yes
Material: Yes
Download the Volkswagen Jetta 2005 3D Model featuring clean geometry, realistic detailing, and a fully modeled interior. Includes .blend, .fbx, .obj, .glb, .stl, .ply, .unreal, and .max formats for rendering, simulation, and game development.
Price: $18.99

Texture: Yes
Material: Yes
Download the Volkswagen Golf 3-Door 3D Model featuring clean geometry, realistic detailing, and a fully modeled interior. Includes .blend, .fbx, .obj, .glb, .stl, .ply, .unreal, and .max formats for rendering, simulation, and game development.
Price: $14.99

Texture: Yes
Material: Yes
Download the Volvo V70 2005 3D Model featuring clean geometry, realistic detailing, and a fully modeled interior. Includes .blend, .fbx, .obj, .glb, .stl, .ply, .unreal, and .max formats for rendering, simulation, and game development.
Price: $14.99

Texture: Yes
Material: Yes
Download the Volkswagen Bora 2004 3D Model featuring clean geometry, realistic detailing, and a fully modeled interior. Includes .blend, .fbx, .obj, .glb, .stl, .ply, .unreal, and .max formats for rendering, simulation, and game development.
Price: $14.99

Texture: Yes
Material: Yes
Download the Volkswagen Lupo 3D Model featuring clean geometry, realistic detailing, and a fully modeled interior. Includes .blend, .fbx, .obj, .glb, .stl, .ply, .unreal, and .max formats for rendering, simulation, and game development.
Price: $19.99

Texture: Yes
Material: Yes
Download the Volkswagen Passat B5 2000 3D Model featuring clean geometry, realistic detailing, and a fully modeled interior. Includes .blend, .fbx, .obj, .glb, .stl, .ply, .unreal, and .max formats for rendering, simulation, and game development.
Price: $19.99

Texture: Yes
Material: Yes
Download the Volkswagen Passat CC 3D Model featuring clean geometry, realistic detailing, and a fully modeled interior. Includes .blend, .fbx, .obj, .glb, .stl, .ply, .unreal, and .max formats for rendering, simulation, and game development.
Price: $19.99

Texture: Yes
Material: Yes
Download the Volkswagen Golf V 2006 3D Model featuring clean geometry, realistic detailing, and a fully modeled interior. Includes .blend, .fbx, .obj, .glb, .stl, .ply, .unreal, and .max formats for rendering, simulation, and game development.
Price: $19.99

Texture: Yes
Material: Yes
Download the Volvo S60 R-Design 3D Model featuring clean geometry, realistic detailing, and a fully modeled interior. Includes .blend, .fbx, .obj, .glb, .stl, .ply, .unreal, and .max formats for rendering, simulation, and game development.
Price: $19.99

Texture: Yes
Material: Yes
Download the Volkswagen Passat 2025 3D Model featuring clean geometry, realistic detailing, and a fully modeled interior. Includes .blend, .fbx, .obj, .glb, .stl, .ply, .unreal, and .max formats for rendering, simulation, and game development.
Price: $25.99

Texture: Yes
Material: Yes
Download the Volkswagen Passat Variant B6 2005 3D Model featuring clean geometry, realistic detailing, and a fully modeled interior. Includes .blend, .fbx, .obj, .glb, .stl, .ply, .unreal, and .max formats for rendering, simulation, and game development.
Price: $25.99

Texture: Yes
Material: Yes
Download the Volkswagen Phaeton W12 2004 3D Model featuring clean geometry, realistic detailing, and a fully modeled interior. Includes .blend, .fbx, .obj, .glb, .stl, .ply, .unreal, and .max formats for rendering, simulation, and game development.
Price: $25.99

Texture: Yes
Material: Yes
Download the Volkswagen Scirocco 2015 3D Model featuring clean geometry, realistic detailing, and a fully modeled interior. Includes .blend, .fbx, .obj, .glb, .stl, .ply, .unreal, and .max formats for rendering, simulation, and game development.
Price: $25.99

Texture: Yes
Material: Yes
Download the Volvo S60 2024 3D Model featuring clean geometry, realistic detailing, and a fully modeled interior. Includes .blend, .fbx, .obj, .glb, .stl, .ply, .unreal, and .max formats for rendering, simulation, and game development.
Price: $25.99

Texture: Yes
Material: Yes
Download the Volkswagen Polo 3D Model featuring clean geometry, realistic detailing, and a fully modeled interior. Includes .blend, .fbx, .obj, .glb, .stl, .ply, .unreal, and .max formats for rendering, simulation, and game development.
Price: $25.99

Texture: Yes
Material: Yes
Download the Volkswagen Golf 5-Doors 3D Model featuring clean geometry, realistic detailing, and a fully modeled interior. Includes .blend, .fbx, .obj, .glb, .stl, .ply, .unreal, and .max formats for rendering, simulation, and game development.
Price: $25.99

Texture: Yes
Material: Yes
Download the Volvo C70 T5 2000 3D Model featuring clean geometry, realistic detailing, and a fully modeled interior. Includes .blend, .fbx, .obj, .glb, .stl, .ply, .unreal, and .max formats for rendering, simulation, and game development.
Price: $23.99

Texture: Yes
Material: Yes
Download the Volvo S40 Sedan 2004 3D Model featuring clean geometry, realistic detailing, and a fully modeled interior. Includes .blend, .fbx, .obj, .glb, .stl, .ply, .unreal, and .max formats for rendering, simulation, and game development.
Price: $23.99

Texture: Yes
Material: Yes
Download the Volvo C30 BEV 2012 3D Model featuring clean geometry, realistic detailing, and a fully modeled interior. Includes .blend, .fbx, .obj, .glb, .stl, .ply, .unreal, and .max formats for rendering, simulation, and game development.
Price: $23.99

Texture: Yes
Material: Yes
Download the Volvo C70 1998 3D Model featuring clean geometry, realistic detailing, and a fully modeled interior. Includes .blend, .fbx, .obj, .glb, .stl, .ply, .unreal, and .max formats for rendering, simulation, and game development.
Price: $23.99

Texture: Yes
Material: Yes
Download the Mazda B-Series 3D Model featuring clean geometry, realistic detailing, and a fully modeled interior. Includes .blend, .fbx, .obj, .glb, .stl, .ply, .unreal, and .max formats for rendering, simulation, and game development.
Price: $23.99

Texture: Yes
Material: Yes
Download the Mercsedes Benz Z3-006 3D Model featuring clean geometry, realistic detailing, and a fully modeled interior. Includes .blend, .fbx, .obj, .glb, .stl, .ply, .unreal, and .max formats for rendering, simulation, and game development.
Price: $23.99

Texture: Yes
Material: Yes
Download the Mazda RX-7 3D Model featuring clean geometry, realistic detailing, and a fully modeled interior. Includes .blend, .fbx, .obj, .glb, .stl, .ply, .unreal, and .max formats for rendering, simulation, and game development.
Price: $23.99

Texture: Yes
Material: Yes
Download the Volvo VCC-003 3D Model featuring clean geometry, realistic detailing, and a fully modeled interior. Includes .blend, .fbx, .obj, .glb, .stl, .ply, .unreal, and .max formats for rendering, simulation, and game development.
Price: $23.99

Texture: Yes
Material: Yes
Download the Mercedes-Benz SLR McLaren 2005 3D Model featuring clean geometry, realistic detailing, and a fully modeled interior. Includes .blend, .fbx, .obj, .glb, .stl, .ply, .unreal, and .max formats for rendering, simulation, and game development.
Price: $23.99

Texture: Yes
Material: Yes
Download the GAZ 3110 Pickup 3D Model featuring clean geometry, realistic detailing, and a fully modeled interior. Includes .blend, .fbx, .obj, .glb, .stl, .ply, .unreal, and .max formats for rendering, simulation, and game development.
Price: $23.99

Texture: Yes
Material: Yes
Download the Mazda 626 GF 1997 3D Model featuring clean geometry, realistic detailing, and a fully modeled interior. Includes .blend, .fbx, .obj, .glb, .stl, .ply, .unreal, and .max formats for rendering, simulation, and game development.
Price: $23.99

Texture: Yes
Material: Yes
Download the Volvo S80 2011 3D Model featuring clean geometry, realistic detailing, and a fully modeled interior. Includes .blend, .fbx, .obj, .glb, .stl, .ply, .unreal, and .max formats for rendering, simulation, and game development.
Price: $23.99

Texture: Yes
Material: Yes
Download the Volkswagen Touran restyle-006 3D Model featuring clean geometry, realistic detailing, and a fully modeled interior. Includes .blend, .fbx, .obj, .glb, .stl, .ply, .unreal, and .max formats for rendering, simulation, and game development.
Price: $23.99

Texture: Yes
Material: Yes
Download the Skoda Octavia Scout 3D Model featuring clean geometry, realistic detailing, and a fully modeled interior. Includes .blend, .fbx, .obj, .glb, .stl, .ply, .unreal, and .max formats for rendering, simulation, and game development.
Price: $23.99

Texture: Yes
Material: Yes
Download the Volkswagen Golf V 2006 3D Model featuring clean geometry, realistic detailing, and a fully modeled interior. Includes .blend, .fbx, .obj, .glb, .stl, .ply, .unreal, and .max formats for rendering, simulation, and game development.
Price: $23.99

Texture: Yes
Material: Yes
Download the Mazda CX-7 3D Model featuring clean geometry, realistic detailing, and a fully modeled interior. Includes .blend, .fbx, .obj, .glb, .stl, .ply, .unreal, and .max formats for rendering, simulation, and game development.
Price: $23.99

Texture: Yes
Material: Yes
Download the Mazda Familia 3D Model featuring clean geometry, realistic detailing, and a fully modeled interior. Includes .blend, .fbx, .obj, .glb, .stl, .ply, .unreal, and .max formats for rendering, simulation, and game development.
Price: $23.99

Texture: Yes
Material: Yes
Download the GAS 21 3D Model featuring clean geometry, realistic detailing, and a fully modeled interior. Includes .blend, .fbx, .obj, .glb, .stl, .ply, .unreal, and .max formats for rendering, simulation, and game development.
Price: $23.99

Texture: Yes
Material: Yes
Download the Mercedes-Benz SL500 AMG (R129) 3D Model featuring clean geometry, realistic detailing, and a fully modeled interior. Includes .blend, .fbx, .obj, .glb, .stl, .ply, .unreal, and .max formats for rendering, simulation, and game development.
Price: $23.99

Texture: Yes
Material: Yes
Download the Mercedes-Benz S-Class W221 2005 3D Model featuring clean geometry, realistic detailing, and a fully modeled interior. Includes .blend, .fbx, .obj, .glb, .stl, .ply, .unreal, and .max formats for rendering, simulation, and game development.
Price: $23.99

Texture: Yes
Material: Yes
Download the Mercedes-Benz E-Class W212 2009 3D Model featuring clean geometry, realistic detailing, and a fully modeled interior. Includes .blend, .fbx, .obj, .glb, .stl, .ply, .unreal, and .max formats for rendering, simulation, and game development.
Price: $23.99

Texture: Yes
Material: Yes
Download the Mercedes-Benz E-class Estate S212 2009 3D Model featuring clean geometry, realistic detailing, and a fully modeled interior. Includes .blend, .fbx, .obj, .glb, .stl, .ply, .unreal, and .max formats for rendering, simulation, and game development.
Price: $23.99

Texture: Yes
Material: Yes
Download the Mercedes-Benz 190 W201 3D Model featuring clean geometry, realistic detailing, and a fully modeled interior. Includes .blend, .fbx, .obj, .glb, .stl, .ply, .unreal, and .max formats for rendering, simulation, and game development.
Price: $23.99

Texture: Yes
Material: Yes
Download the Mercedes-Benz C230 SportCoupé 2005 3D Model featuring clean geometry, realistic detailing, and a fully modeled interior. Includes .blend, .fbx, .obj, .glb, .stl, .ply, .unreal, and .max formats for rendering, simulation, and game development.
Price: $23.99

Texture: Yes
Material: Yes
Download the Mercedes-Benz SLK 3D Model featuring clean geometry, realistic detailing, and a fully modeled interior. Includes .blend, .fbx, .obj, .glb, .stl, .ply, .unreal, and .max formats for rendering, simulation, and game development.
Price: $23.99

Texture: Yes
Material: Yes
Download the Mercedes 600 SEC W140 1992 3D Model featuring clean geometry, realistic detailing, and a fully modeled interior. Includes .blend, .fbx, .obj, .glb, .stl, .ply, .unreal, and .max formats for rendering, simulation, and game development.
Price: $23.99

Texture: Yes
Material: Yes
Download the Mercedes S-Class 2010 3D Model featuring clean geometry, realistic detailing, and a fully modeled interior. Includes .blend, .fbx, .obj, .glb, .stl, .ply, .unreal, and .max formats for rendering, simulation, and game development.
Price: $23.99

Texture: Yes
Material: Yes
Download the McLaren MP4-12C-001 3D Model featuring clean geometry, realistic detailing, and a fully modeled interior. Includes .blend, .fbx, .obj, .glb, .stl, .ply, .unreal, and .max formats for rendering, simulation, and game development.
Price: $23.99

Texture: Yes
Material: Yes
Download the Mercedes-Benz SLK 350 2005 3D Model featuring clean geometry, realistic detailing, and a fully modeled interior. Includes .blend, .fbx, .obj, .glb, .stl, .ply, .unreal, and .max formats for rendering, simulation, and game development.
Price: $23.99

Texture: Yes
Material: Yes
Download the Mercedes-Benz SL 65 AMG 3D Model featuring clean geometry, realistic detailing, and a fully modeled interior. Includes .blend, .fbx, .obj, .glb, .stl, .ply, .unreal, and .max formats for rendering, simulation, and game development.
Price: $23.99

Texture: Yes
Material: Yes
Download the Mercedes-Benz S500 3D Model featuring clean geometry, realistic detailing, and a fully modeled interior. Includes .blend, .fbx, .obj, .glb, .stl, .ply, .unreal, and .max formats for rendering, simulation, and game development.
Price: $23.99
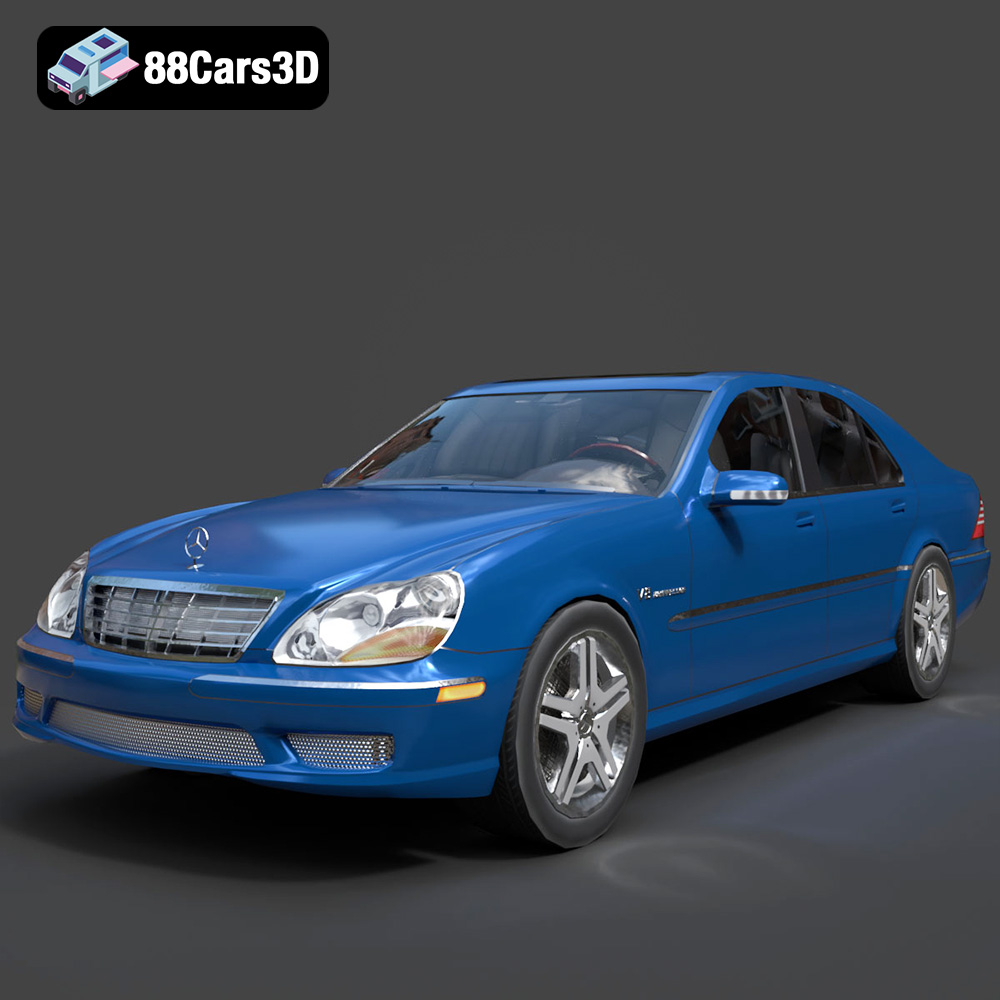
Texture: Yes
Material: Yes
Download the Mercedes-Benz S55 W220 AMG 1999 3D Model featuring clean geometry, realistic detailing, and a fully modeled interior. Includes .blend, .fbx, .obj, .glb, .stl, .ply, .unreal, and .max formats for rendering, simulation, and game development.
Price: $23.99
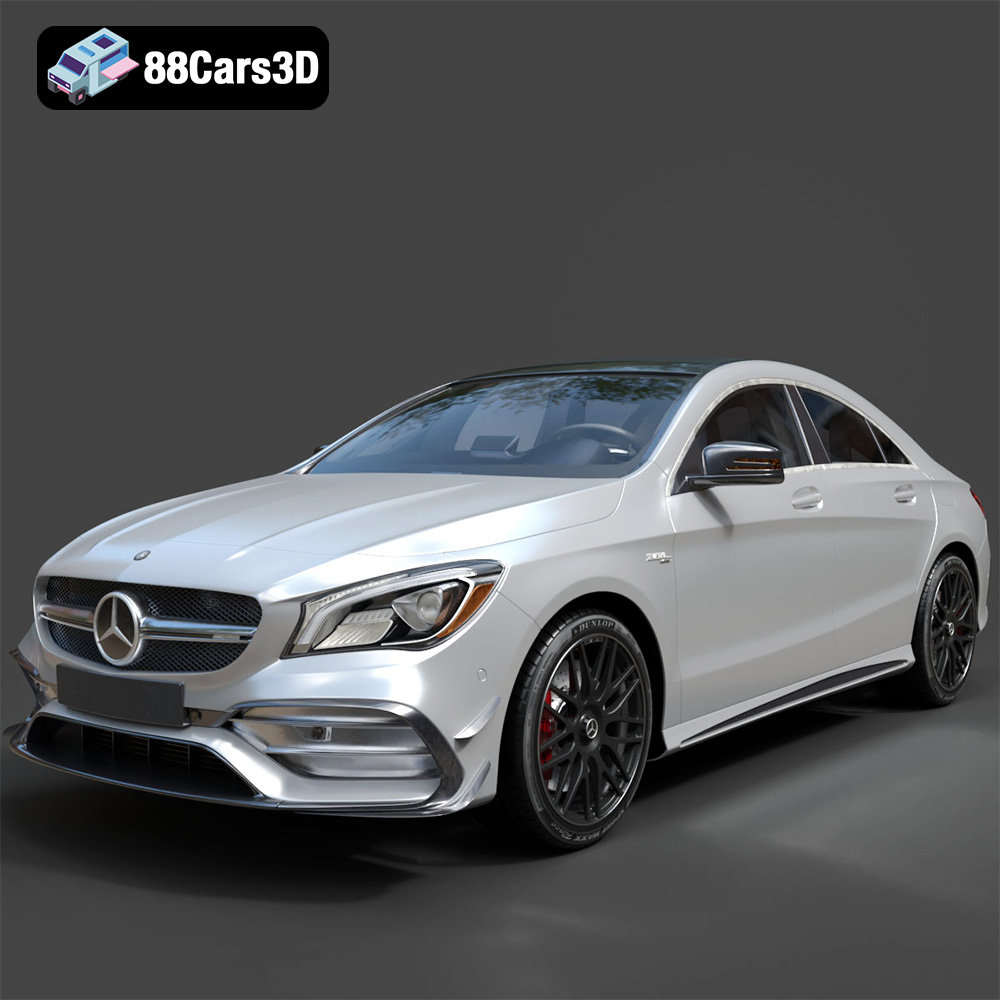
Texture: Yes
Material: Yes
Download the Mercedes-Benz CLA45 AMG 2017 3D Model featuring clean geometry, realistic detailing, and a fully modeled interior. Includes .blend, .fbx, .obj, .glb, .stl, .ply, .unreal, and .max formats for rendering, simulation, and game development.
Price: $38.99
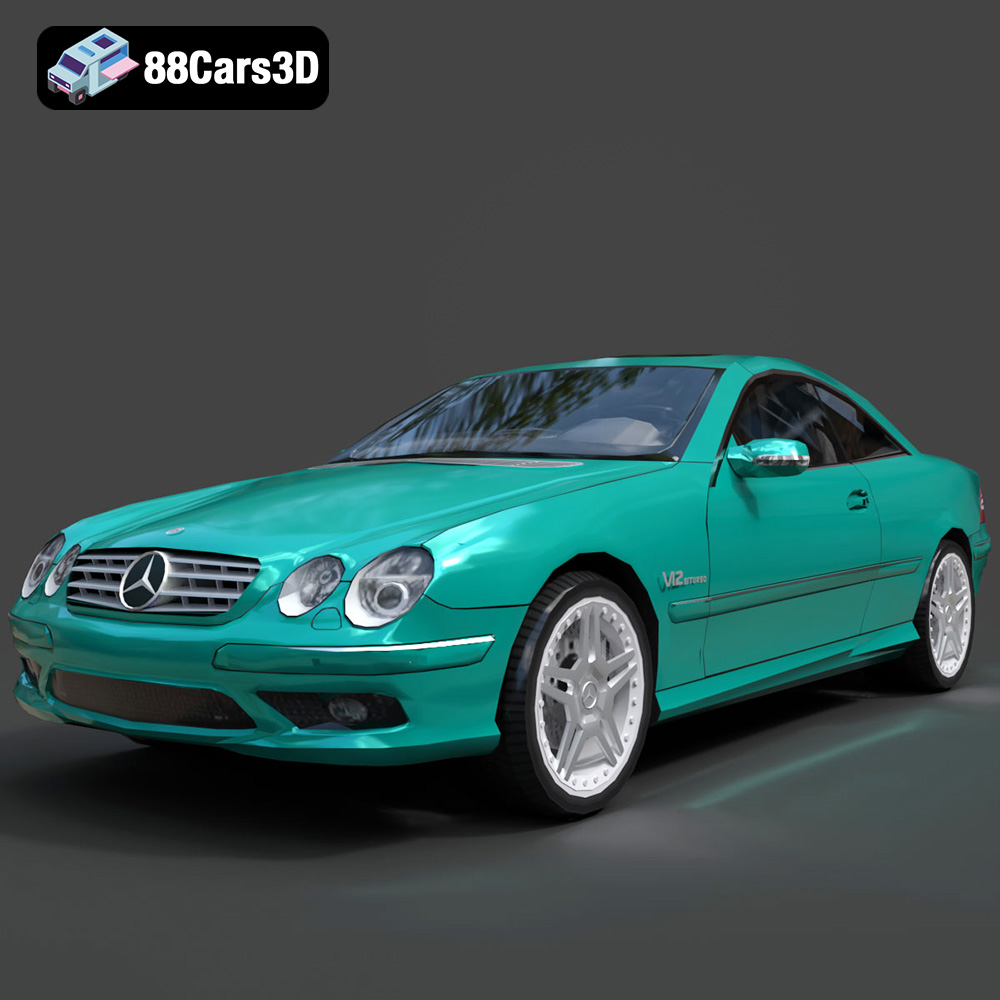
Texture: Yes
Material: Yes
Download the Mercedes-Benz CL65 C215 AMG 3D Model featuring clean geometry, realistic detailing, and a fully modeled interior. Includes .blend, .fbx, .obj, .glb, .stl, .ply, .unreal, and .max formats for rendering, simulation, and game development.
Price: $23.99
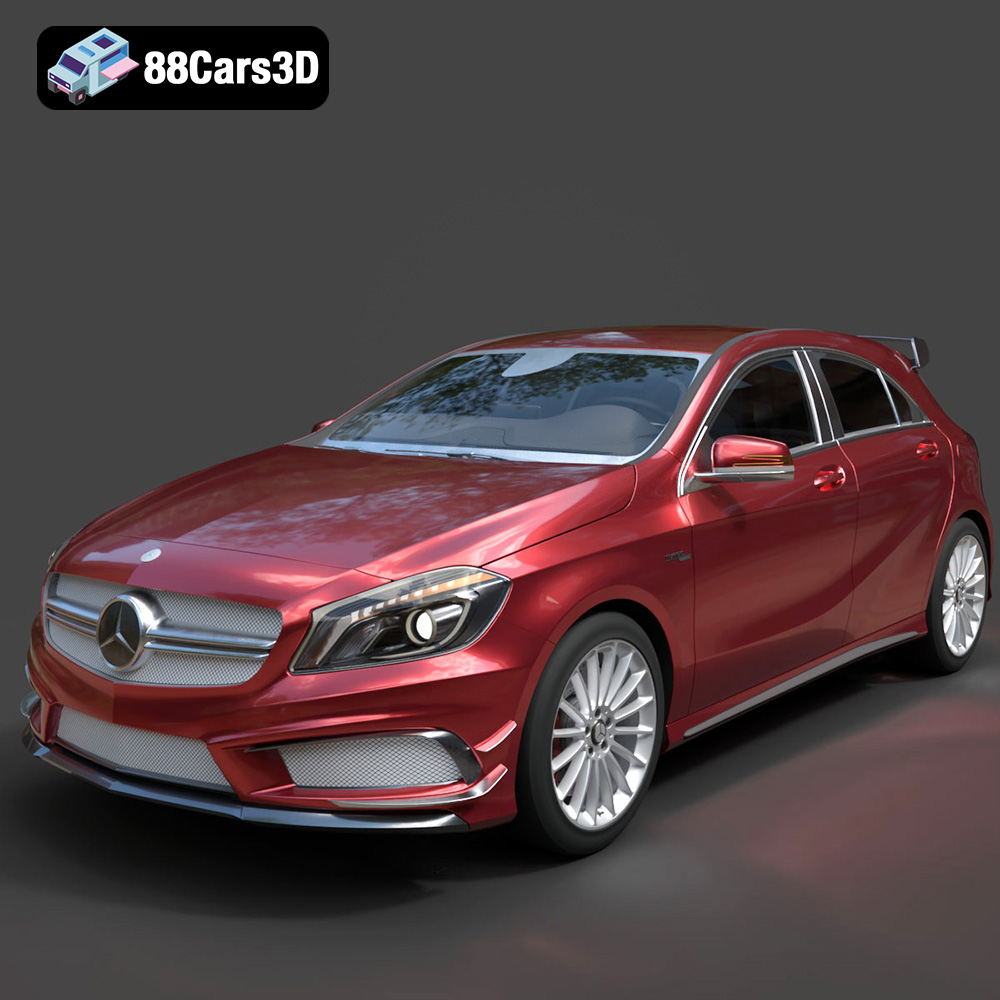
Texture: Yes
Material: Yes
Download the Mercedes-Benz A45 2021 3D Model featuring clean geometry, realistic detailing, and a fully modeled interior. Includes .blend, .fbx, .obj, .glb, .stl, .ply, .unreal, and .max formats for rendering, simulation, and game development.
Price: $23.99
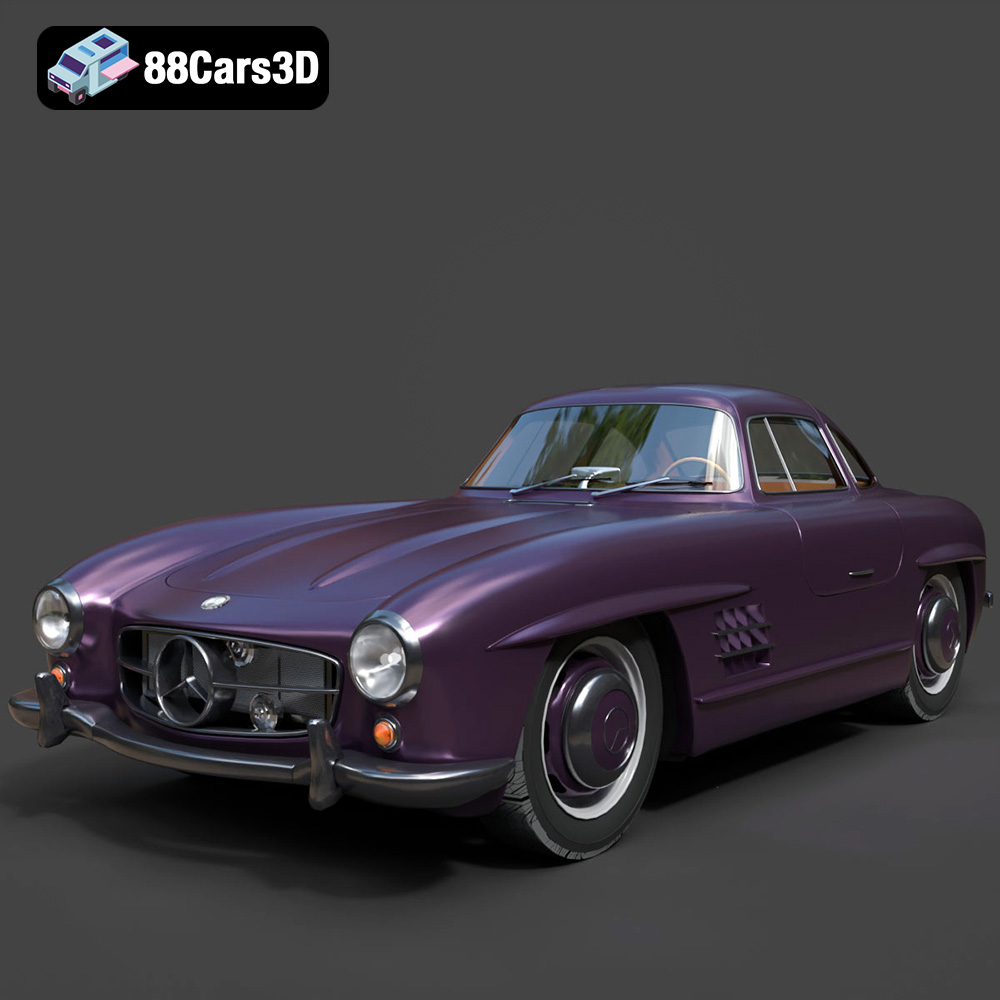
Texture: Yes
Material: Yes
Download the Mercedes-Benz 300SL 1955 3D Model featuring clean geometry, realistic detailing, and a fully modeled interior. Includes .blend, .fbx, .obj, .glb, .stl, .ply, .unreal, and .max formats for rendering, simulation, and game development.
Price: $23.99
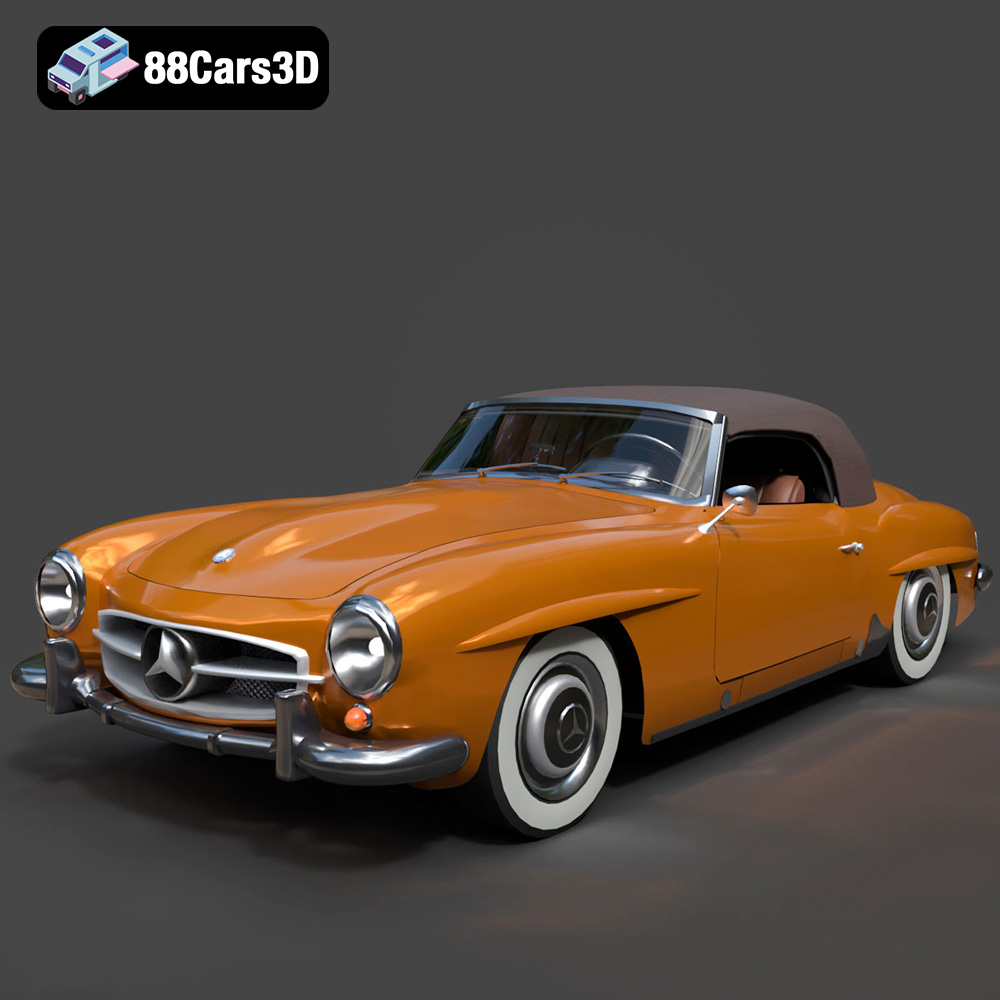
Texture: Yes
Material: Yes
Download the Mercedes-Benz 190SL 1955 3D Model featuring clean geometry, realistic detailing, and a fully modeled interior. Includes .blend, .fbx, .obj, .glb, .stl, .ply, .unreal, and .max formats for rendering, simulation, and game development.
Price: $23.99
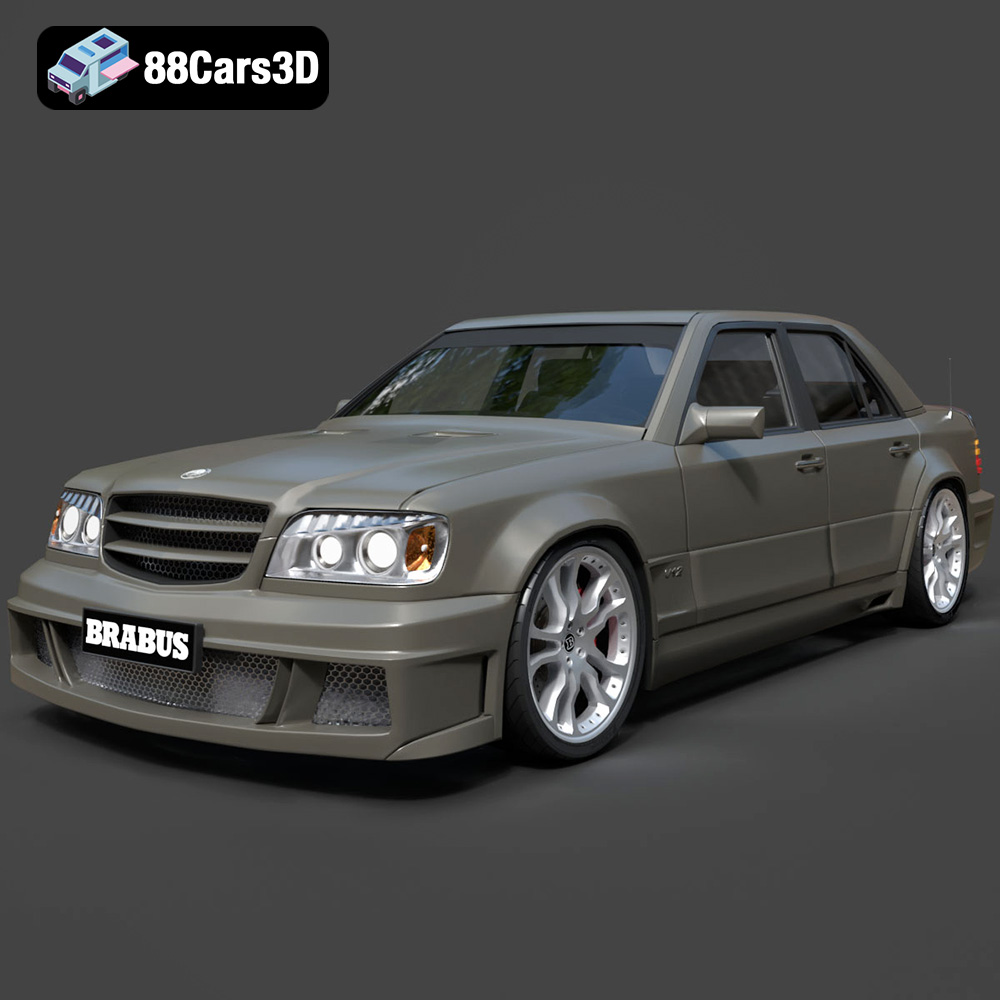
Texture: Yes
Material: Yes
Download the Mercedes-Benz W124 Brabus V12 3D Model featuring clean geometry, realistic detailing, and a fully modeled interior. Includes .blend, .fbx, .obj, .glb, .stl, .ply, .unreal, and .max formats for rendering, simulation, and game development.
Price: $23.99
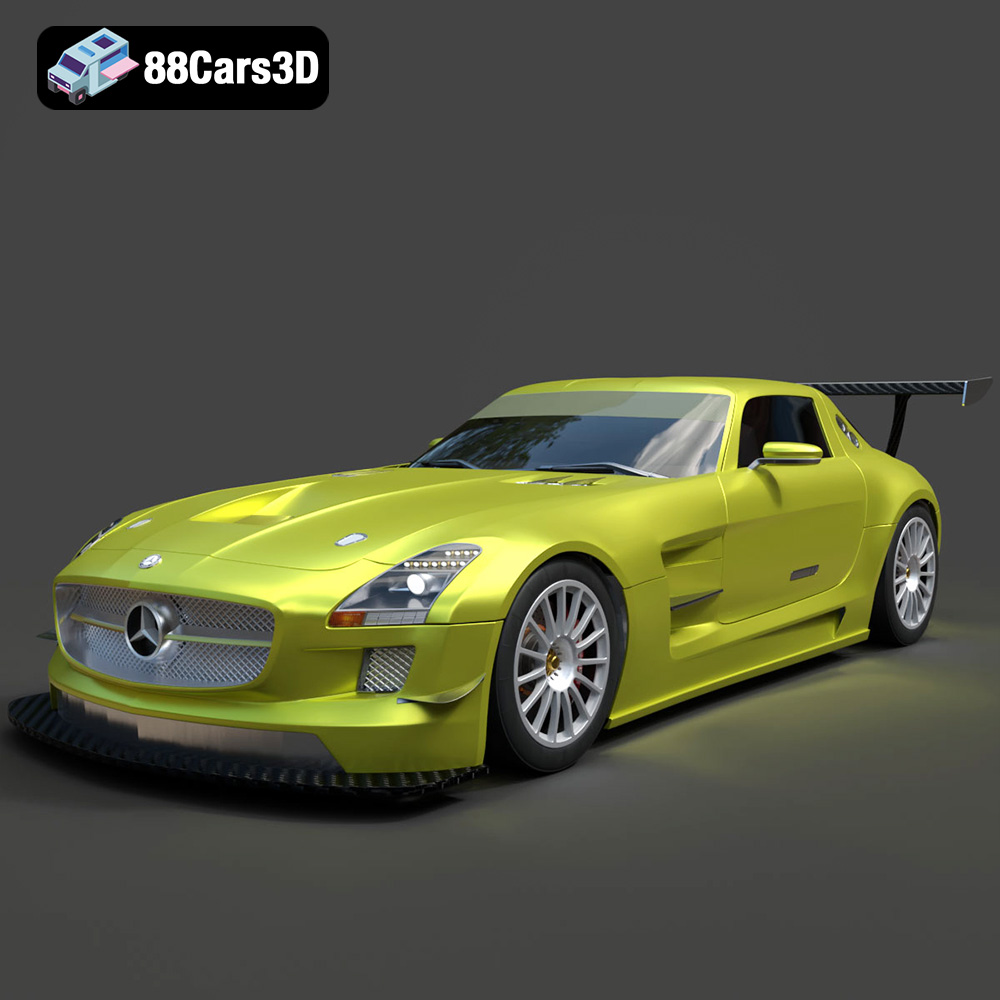
Texture: Yes
Material: Yes
Download the Mercedes-Benz SLS AMG GT3-002 3D Model featuring clean geometry, realistic detailing, and a fully modeled interior. Includes .blend, .fbx, .obj, .glb, .stl, .ply, .unreal, and .max formats for rendering, simulation, and game development.
Price: $38.99

Texture: Yes
Material: Yes
Download the Mercedes-Benz C-Class-001 3D Model featuring clean geometry, realistic detailing, and a fully modeled interior. Includes .blend, .fbx, .obj, .glb, .stl, .ply, .unreal, and .max formats for rendering, simulation, and game development.
Price: $38.99
Texture: Yes
Material: Yes
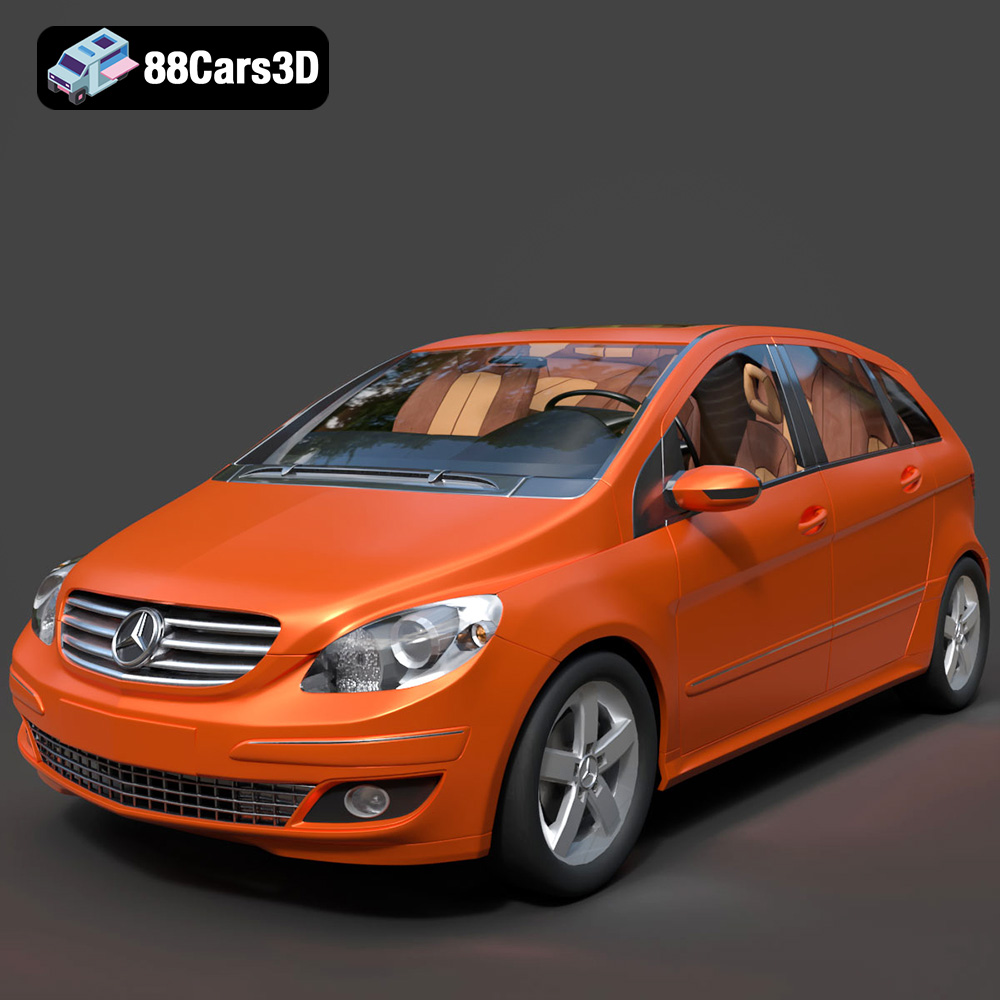
Download the Mercedes-Benz B-Klasse 2023 3D Model featuring clean geometry, realistic detailing, and a fully modeled interior. Includes .blend, .fbx, .obj, .glb, .stl, .ply, .unreal, and .max formats for rendering, simulation, and game development.
Price: $38.99
Texture: Yes
Material: Yes
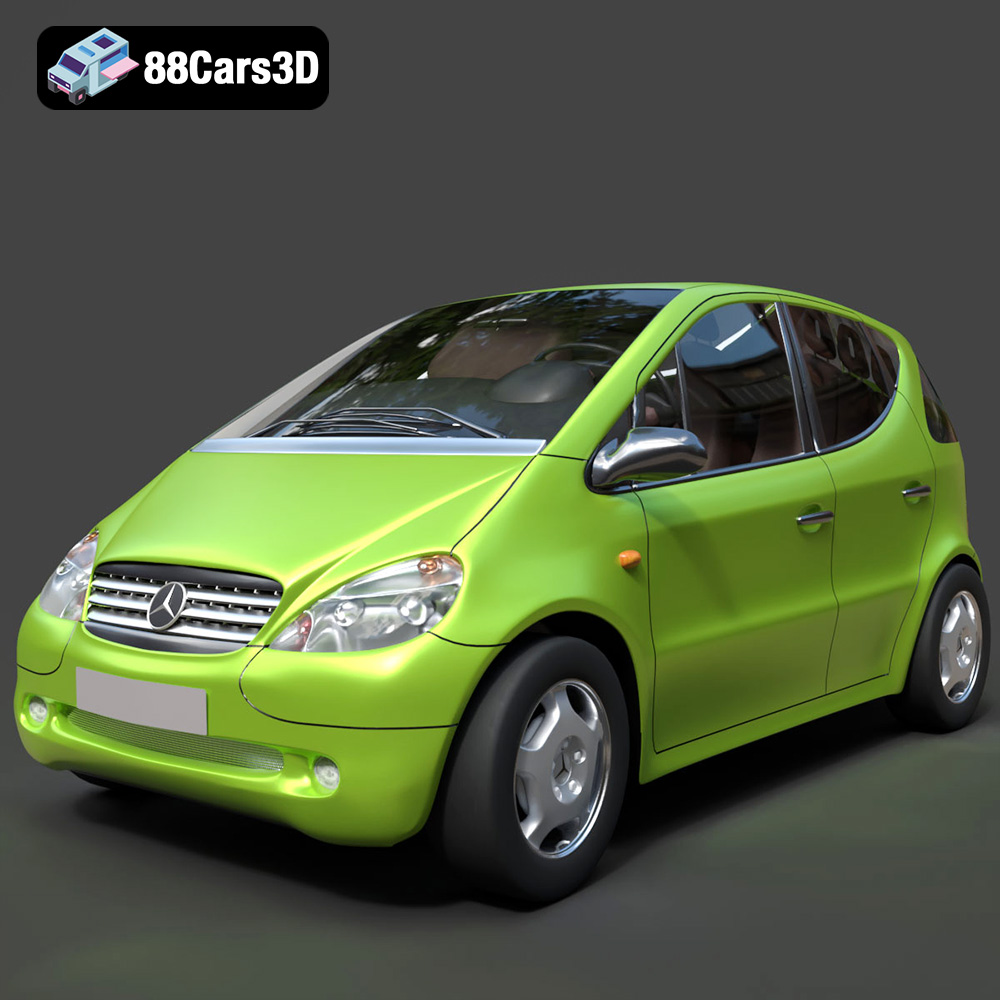
Download the Mercedes-Benz A-Klasse W168 3D Model featuring clean geometry, realistic detailing, and a fully modeled interior. Includes .blend, .fbx, .obj, .glb, .stl, .ply, .unreal, and .max formats for rendering, simulation, and game development.
Price: $38.99
Texture: Yes
Material: Yes
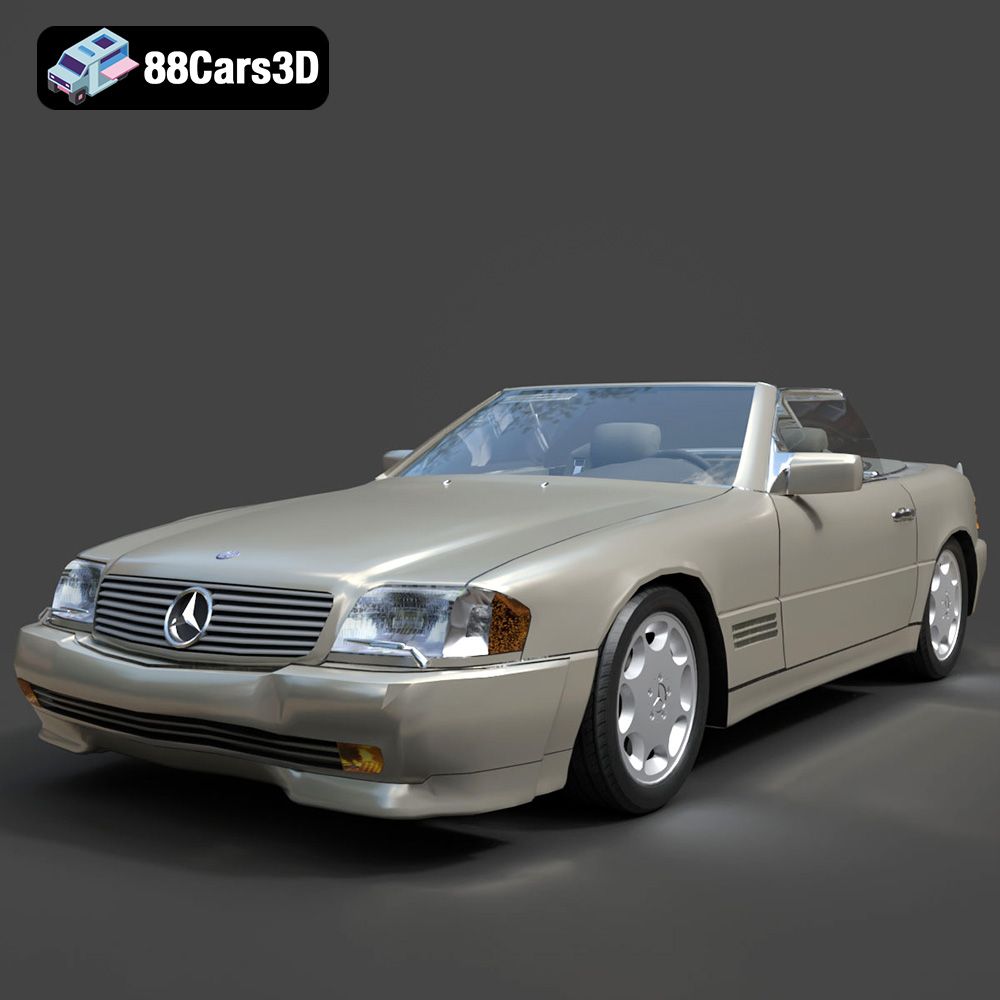
Download the Mercedes-Benz 500SL 2000 3D Model featuring clean geometry, realistic detailing, and a fully modeled interior. Includes .blend, .fbx, .obj, .glb, .stl, .ply, .unreal, and .max formats for rendering, simulation, and game development.
Price: $38.99
Texture: Yes
Material: Yes
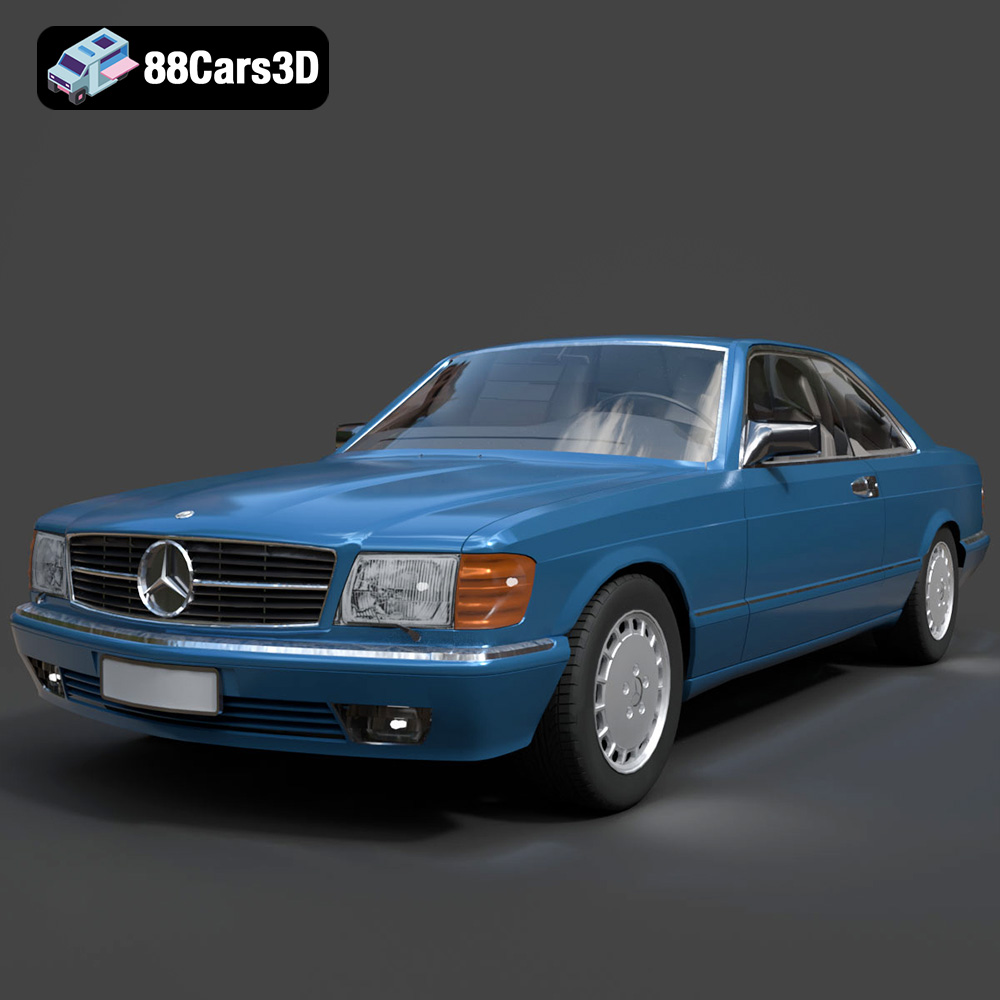
Download the Mercedes-Benz 500SEC 3D Model featuring clean geometry, realistic detailing, and a fully modeled interior. Includes .blend, .fbx, .obj, .glb, .stl, .ply, .unreal, and .max formats for rendering, simulation, and game development.
Price: $38.99
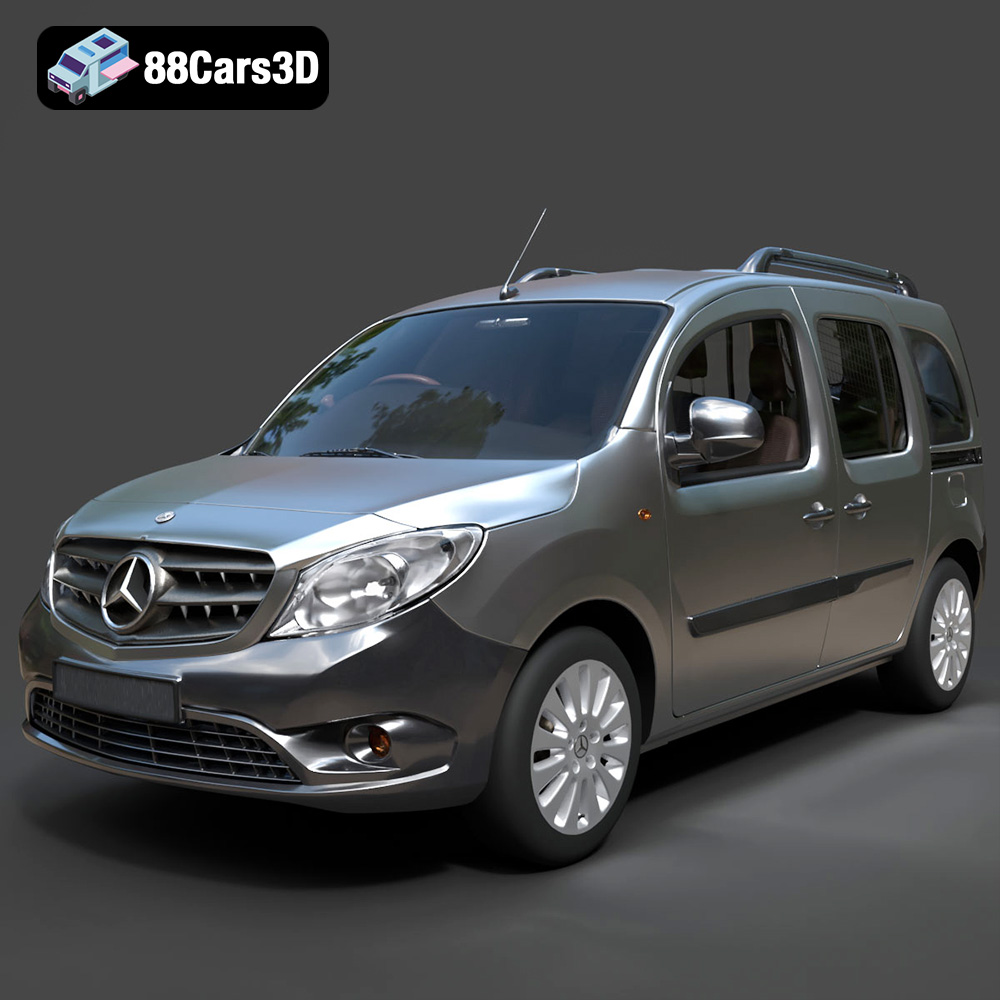
Texture: Yes
Material: Yes
Download the Mercedes-Benz Citan 2025 3D Model featuring clean geometry, realistic detailing, and a fully modeled interior. Includes .blend, .fbx, .obj, .glb, .stl, .ply, .unreal, and .max formats for rendering, simulation, and game development.
Price: $38.99
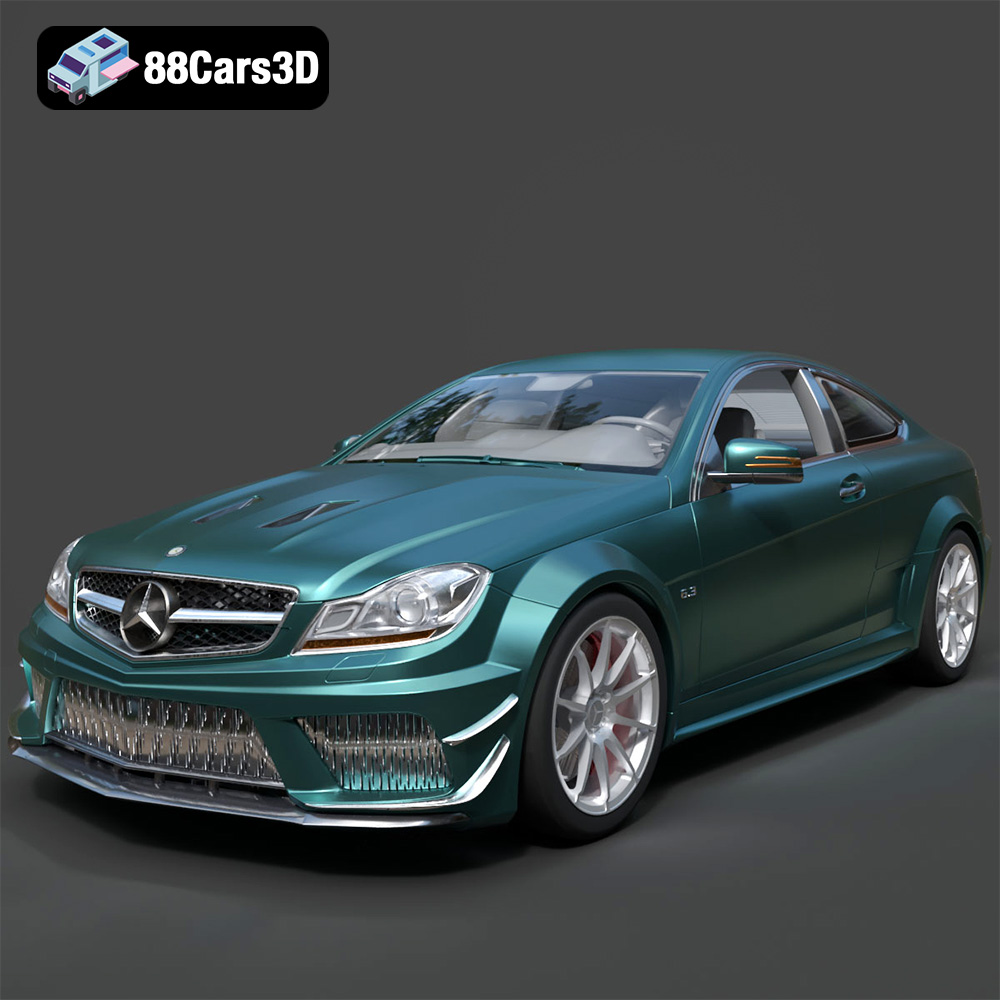
Texture: Yes
Material: Yes
Download the Mercedes-Benz C63 AMG 2012 3D Model featuring clean geometry, realistic detailing, and a fully modeled interior. Includes .blend, .fbx, .obj, .glb, .stl, .ply, .unreal, and .max formats for rendering, simulation, and game development.
Price: $38.99
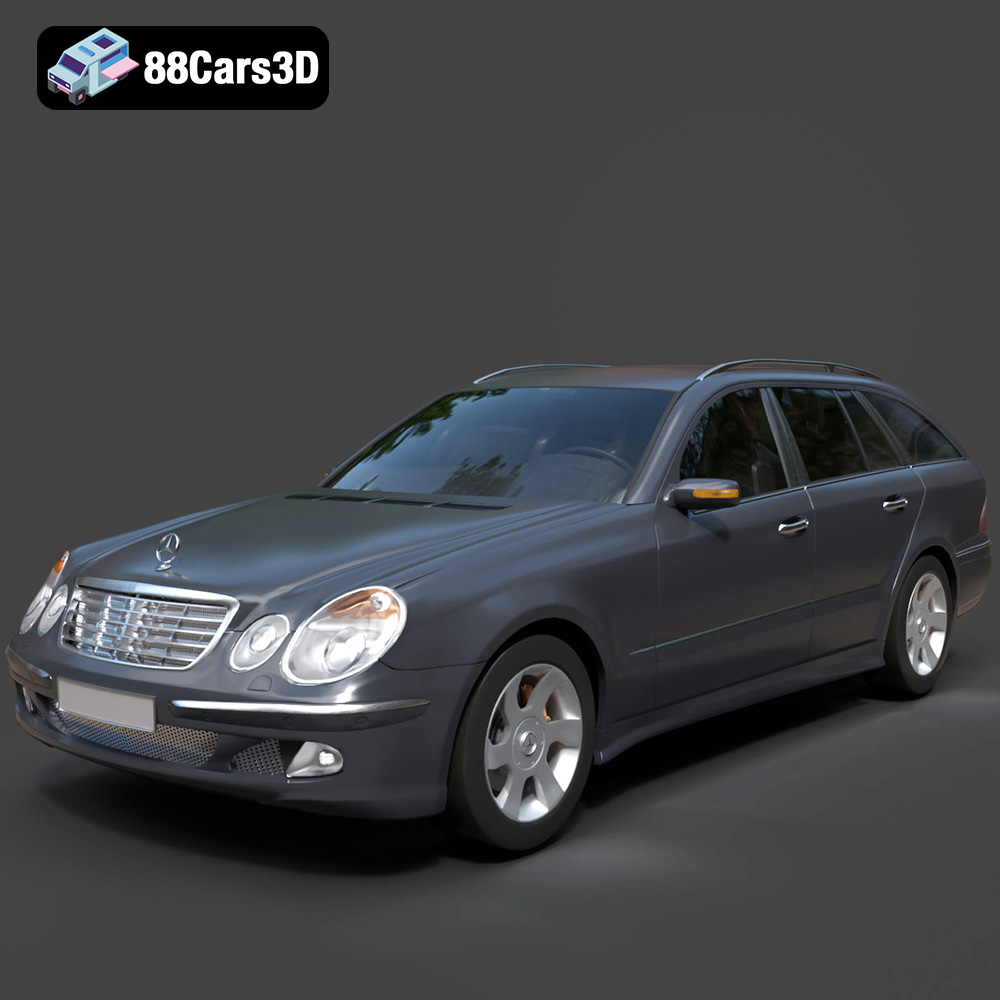
Texture: Yes
Material: Yes
Download the Mercedes-Benz E-Class S211 3D Model featuring clean geometry, realistic detailing, and a fully modeled interior. Includes .blend, .fbx, .obj, .glb, .stl, .ply, .unreal, and .max formats for rendering, simulation, and game development.
Price: $38.99
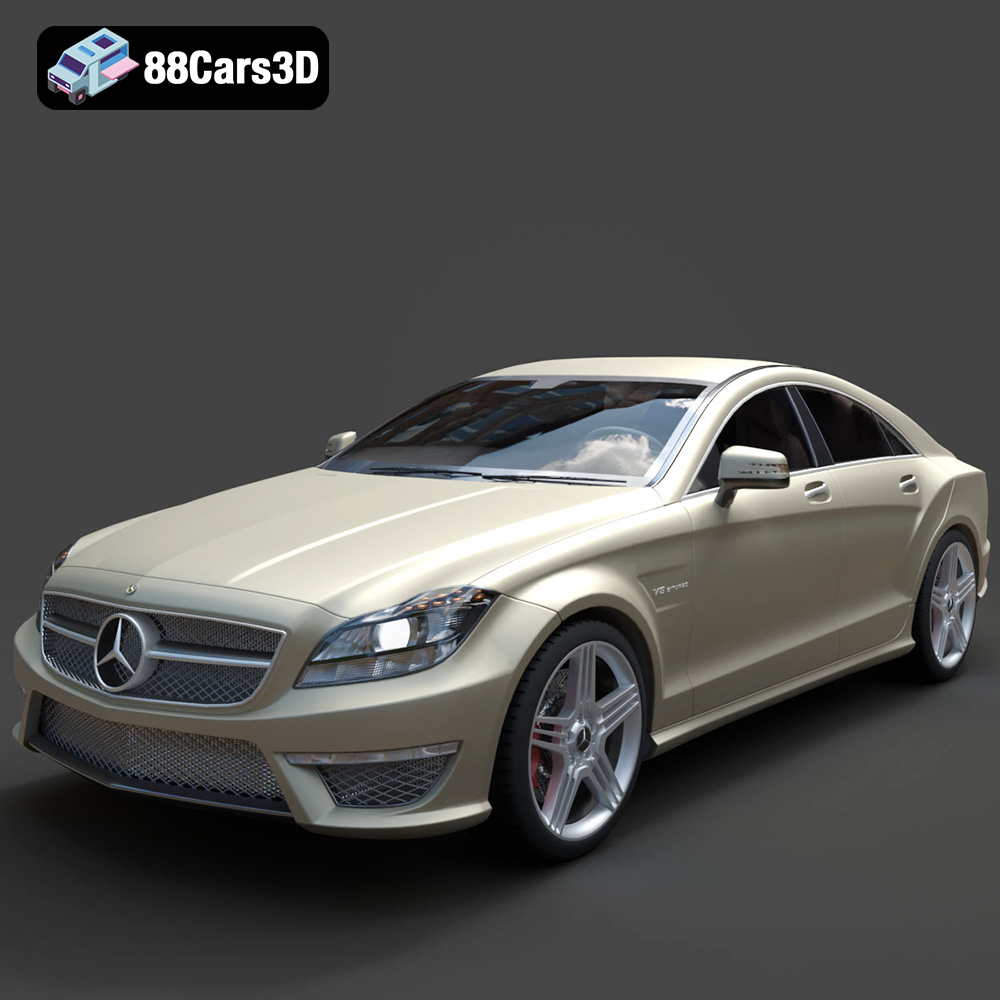
Texture: Yes
Material: Yes
Download the Mercedes-Benz CLS63 AMG (C218) 2014 3D Model featuring clean geometry, realistic detailing, and a fully modeled interior. Includes .blend, .fbx, .obj, .glb, .stl, .ply, .unreal, and .max formats for rendering, simulation, and game development.
Price: $38.99
Texture: Yes
Material: Yes
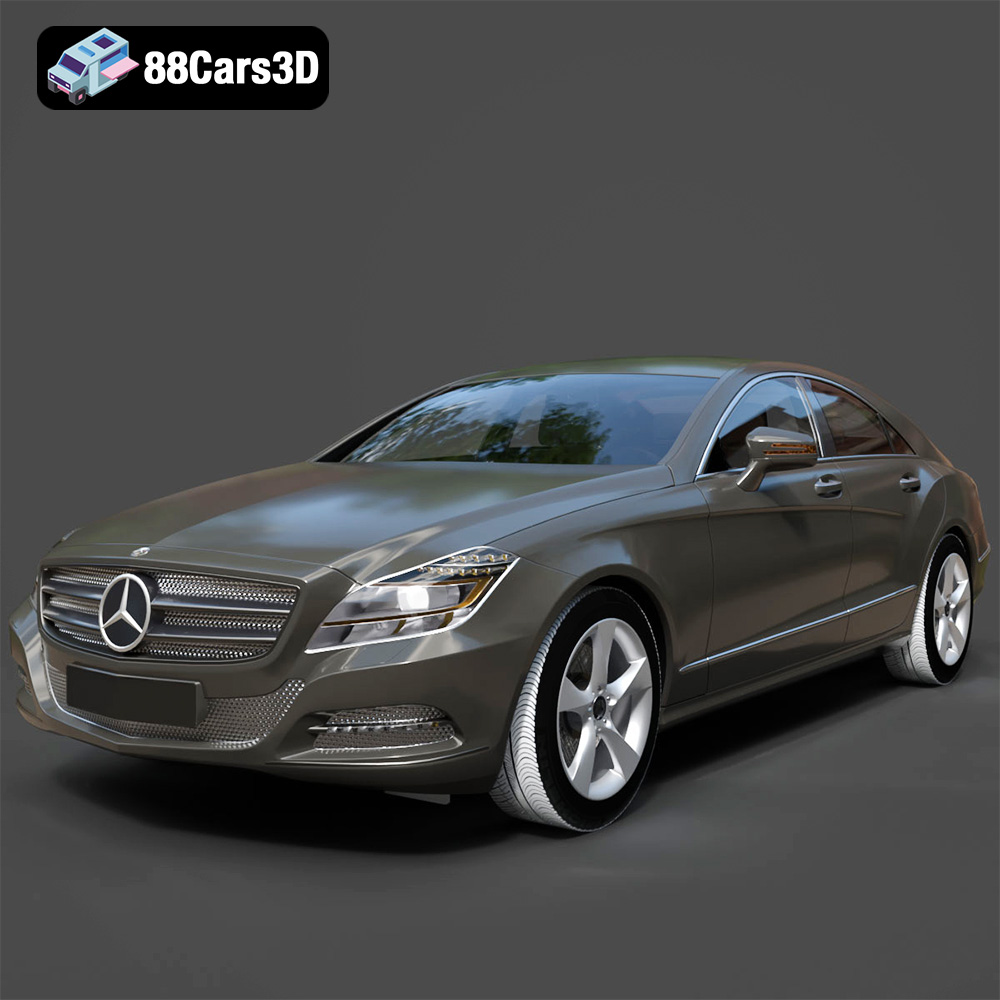
Download the Mercedes-Benz CLS-Klasse 3D Model featuring clean geometry, realistic detailing, and a fully modeled interior. Includes .blend, .fbx, .obj, .glb, .stl, .ply, .unreal, and .max formats for rendering, simulation, and game development.
Price: $38.99
Texture: Yes
Material: Yes
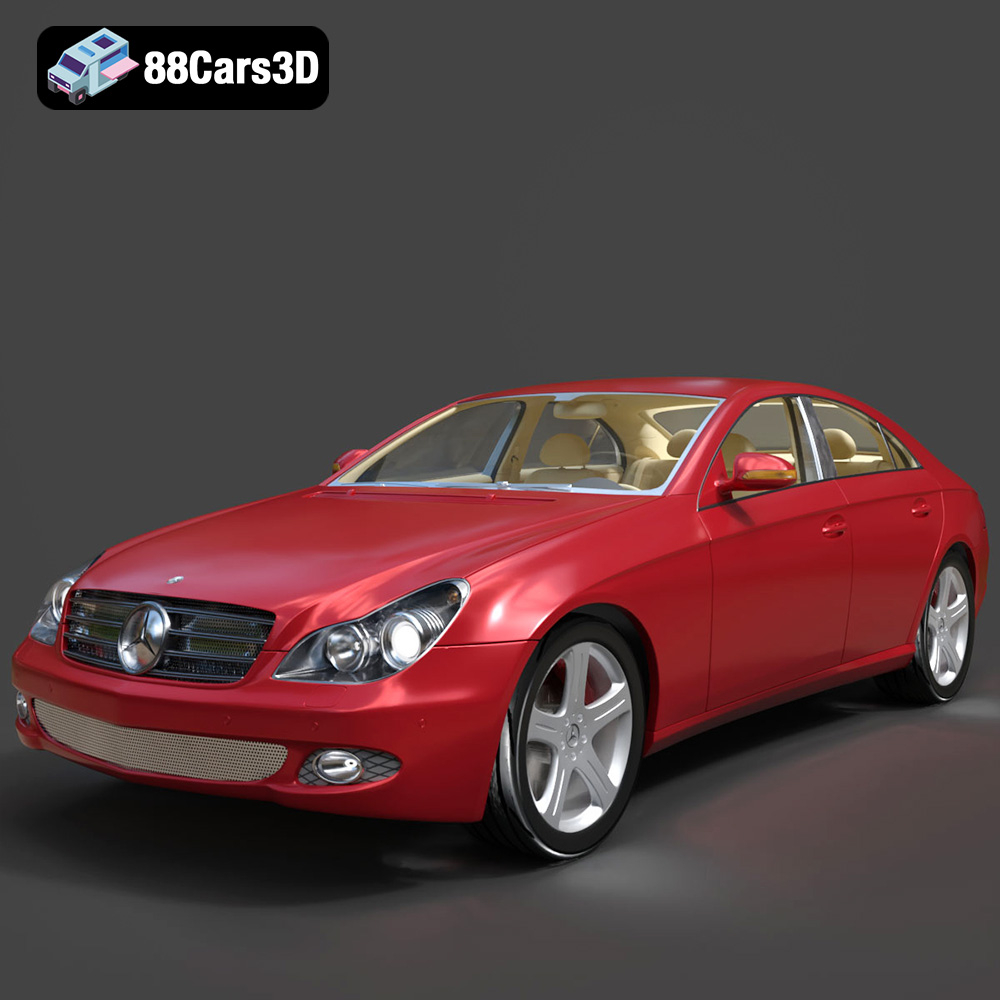
Download the Mercedes-Benz CLS 500 3D Model featuring clean geometry, realistic detailing, and a fully modeled interior. Includes .blend, .fbx, .obj, .glb, .stl, .ply, .unreal, and .max formats for rendering, simulation, and game development.
Price: $38.99

Texture: Yes
Material: Yes
Download the Mercedes-Benz CL-Klasse 2001 3D Model featuring clean geometry, realistic detailing, and a fully modeled interior. Includes .blend, .fbx, .obj, .glb, .stl, .ply, .unreal, and .max formats for rendering, simulation, and game development.
Price: $38.99

