Get 50% OFF All Premium 3D & STL Models!

“`html
The world of automotive rendering demands precision, artistry, and a deep understanding of 3D modeling and rendering techniques. Whether you’re a seasoned professional creating marketing materials or a student just starting, achieving photorealistic results requires a combination of technical skill and creative vision. This guide will walk you through the essential steps, from optimizing your 3D car models to mastering advanced rendering workflows, ensuring your automotive visualizations stand out from the crowd. We’ll delve into topology, UV mapping, PBR materials, lighting, and post-processing, providing practical tips and industry best practices to elevate your work. By the end, you’ll have a solid foundation for creating stunning and believable automotive renders.
The foundation of any great automotive render lies in a well-constructed 3D model. The model’s topology, polygon count, and overall accuracy directly impact the final visual quality and rendering performance. Investing time in optimizing your 3D car models before rendering will save you headaches down the line and ultimately lead to more realistic and efficient results.
Topology refers to the arrangement of polygons in your 3D model. Clean and efficient topology is crucial for smooth surfaces, predictable deformation, and realistic reflections. In automotive modeling, focus on achieving a smooth, flowing edge flow, particularly around curved surfaces like fenders, doors, and the hood. Avoid ngons (polygons with more than four sides) as they can cause shading artifacts and unpredictable behavior during rendering. Aim for a predominantly quad-based mesh (made up of four-sided polygons). Remember: smoother surfaces in real life require a denser mesh in 3D. When sourcing models from marketplaces such as 88cars3d.com, pay close attention to the topology examples provided. Examine wireframe renders closely to ensure the model boasts even polygon distribution, especially around curved panels. Uneven distribution will necessitate rework.
While detailed models are desirable, excessive polygon counts can significantly impact rendering performance. Strive for a balance between visual fidelity and efficiency. A car model with tens of millions of polygons might look impressive, but it could choke your rendering software and require excessive render times. Use techniques like subdivision surfaces sparingly and only where necessary to refine the model’s curves. Consider using Level of Detail (LOD) models for distant objects in your scene to reduce the polygon count without sacrificing visual quality. A good rule of thumb is to keep the polygon count of the primary car model under 1 million polygons for real-time applications like game development and AR/VR, and under 5 million for high-resolution rendering. Before purchase, confirm polygon counts in the product descriptions and technical specifications, especially on platforms like 88cars3d.com.
UV mapping is the process of unwrapping your 3D model’s surface into a 2D space, allowing you to apply textures correctly. For complex car surfaces, this can be a challenging but crucial step. Proper UV mapping ensures that your materials and textures are applied without distortion, stretching, or seams.
UV seams are the visible edges where the UV map is cut and unwrapped. Strategic placement of seams is essential to minimize their visibility. Hide seams in less noticeable areas, such as along panel gaps, under the car, or inside wheel wells. Use UV editing tools to straighten UV islands and minimize texture distortion. Aim for even UV distribution across the entire surface. Checkerboard patterns are extremely useful for visualizing and identifying areas of UV stretching or compression. A simple checkerboard texture applied to the car model will immediately highlight problematic areas. Adjust your UV seams and unfolding to correct any distortion. Common areas of UV stretching include curved areas around the bumpers, fenders, and roof. Ensure that these areas have sufficient UV resolution to prevent pixelation or blurring of textures.
The UV layout dictates how much of the texture resolution is allocated to different parts of the car model. Important areas, such as the body panels and wheels, should receive more UV space than less visible areas. This ensures that the details in these areas are sharp and clear. Avoid overlapping UV islands as this will cause textures to be applied incorrectly. Pack your UV islands efficiently to maximize the use of texture space. Tools like RizomUV and Headus UVLayout can automate the UV unwrapping and packing process, saving you time and effort. For example, larger, flat panels like the hood and doors should occupy a proportionally larger area in the UV space compared to smaller, more complex details like door handles or emblems. This approach guarantees optimal texture resolution for the most prominent features of the car model.
Physically Based Rendering (PBR) is a shading technique that simulates how light interacts with real-world materials. Using PBR materials is crucial for achieving photorealistic results in automotive rendering. Understanding the key PBR parameters and how they interact with each other is essential for creating convincing materials.
The core PBR parameters include Base Color (or Albedo), Metallic, Roughness, Normal Map, and Ambient Occlusion. Base Color defines the color of the material, while Metallic indicates whether the material is metallic or non-metallic. Roughness controls the surface’s smoothness and how diffuse or specular reflections appear. Normal Maps add surface detail without increasing the polygon count. Ambient Occlusion simulates how light is blocked by nearby surfaces, adding depth and realism. Experiment with different values for these parameters to achieve the desired look. The interplay between Roughness and Metallic is particularly important. A metallic surface with low Roughness will appear highly reflective, while a non-metallic surface with low Roughness will appear glossy. Understanding these relationships is crucial for accurately recreating various car paint finishes, chrome, and other materials. When working with materials downloaded from online sources, thoroughly inspect the texture maps. Sometimes, maps labeled as “roughness” might actually be “glossiness” maps (the inverse of roughness). Always invert the glossiness map if your shader requires a roughness map.
Most 3D software packages use node-based shader editors to create complex PBR materials. In 3ds Max with Corona Renderer, you can use the Corona Physical Material to define PBR parameters and connect texture maps. In Blender, use the Principled BSDF shader with Cycles or Eevee. Experiment with different shader networks to create various effects. For example, you can use a layered material to simulate dirt or scratches on the car’s paint. Consider using pre-made car paint shader libraries as a starting point, especially those found on platforms like 88cars3d.com, and tweak the parameters to match your desired look. In 3ds Max’s Material Editor, a common shader network for car paint involves using the CoronaPhysicalMtl, connecting texture maps for Base Color, Roughness, and Normal, and adjusting the Coat parameters to create a clear coat effect. Pay attention to the IOR (Index of Refraction) of the clear coat, typically around 1.5, to achieve a realistic glossy reflection. In Blender, the Principled BSDF shader can achieve similar results. Use a ColorRamp node to fine-tune the color variations in your Base Color texture, adding subtle gradients and imperfections to the paint. This enhances the realism and visual interest of the material.
Using 3D car models as game assets requires optimization techniques different from those used for high-resolution rendering. Game engines have strict performance constraints, so it’s crucial to optimize your models to ensure smooth gameplay. This involves reducing polygon counts, optimizing textures, and using techniques like LODs and texture atlasing.
Level of Detail (LOD) involves creating multiple versions of your 3D model with varying levels of detail. The game engine automatically switches between these versions depending on the object’s distance from the camera. This significantly reduces the polygon count of distant objects, improving performance. Draw calls are instructions sent to the graphics card to render each object. Reducing the number of draw calls is crucial for optimizing performance. Combine multiple objects into a single mesh where possible and use techniques like texture atlasing to reduce the number of materials. Create three to four LOD stages for your car model. The highest LOD should be used when the car is close to the camera, with subsequent LODs progressively simplifying the model’s geometry. A typical LOD reduction strategy might involve reducing the polygon count by 25%, 50%, and 75% for each successive LOD stage. Experiment with different LOD distances to find the optimal balance between visual quality and performance. In Unreal Engine, the Hierarchical LOD system can automate the LOD generation process based on specified parameters.
Texture atlasing involves combining multiple textures into a single larger texture. This reduces the number of texture samples required, improving performance. Optimize your materials by using the simplest possible shader and avoiding unnecessary calculations. Avoid complex shader networks and focus on using efficient PBR materials. Group similar materials together and use a single material for multiple objects where possible. For example, group all the metal trim pieces of the car together and apply a single, optimized metal material with a texture atlas containing the different metal finishes. For instance, you might have separate regions on the texture atlas for chrome, brushed aluminum, and painted metal. Ensure that each UV island correctly maps to the corresponding region on the texture atlas. In Unity, you can use the Mesh Baker tool to combine multiple meshes and their associated materials into a single draw call, dramatically improving rendering performance. Remember to rebake the lightmaps after combining the meshes to ensure accurate lighting.
Choosing the right file format is crucial for compatibility and efficient data transfer. Each file format has its own strengths and weaknesses, and the best choice depends on your specific needs and the software you are using. Understanding the differences between these formats is essential for a smooth workflow.
FBX is a proprietary file format developed by Autodesk and is widely used in the game development industry. It supports a wide range of features, including geometry, materials, textures, animations, and skeletal data. FBX is the preferred format for transferring assets between 3D modeling software and game engines like Unity and Unreal Engine. When exporting FBX files, pay attention to the export settings. Ensure that the correct axis orientation is selected and that the necessary data, such as normals and tangents, are included. Experiment with different FBX versions to ensure compatibility with your target software. In Unreal Engine, the FBX import pipeline automatically creates materials and textures from the FBX file. However, it is often necessary to manually adjust the material settings to achieve the desired look. Always verify that the textures are correctly linked and that the PBR parameters are properly configured.
OBJ is a simple, open-source file format that supports geometry, materials, and textures. It is a widely supported format, making it a good choice for exchanging assets between different 3D software packages. GLB is a binary file format based on the glTF (GL Transmission Format) standard. It is designed for efficient transmission and loading of 3D assets, making it ideal for web-based applications and AR/VR experiences. USDZ is a file format developed by Apple and Pixar specifically for AR applications. It is optimized for mobile devices and supports features like physically based rendering and animations. OBJ is often used as an intermediate format for converting models between different software packages. However, it does not support animations or skeletal data. GLB is a good choice for exporting car models for use in web-based viewers or online configurators. Its efficient compression and fast loading times make it ideal for delivering 3D content over the internet. USDZ is the preferred format for displaying car models in AR applications on iOS devices. It supports realistic rendering and allows users to interact with the model in a real-world environment.
Creating photorealistic automotive renders is a challenging but rewarding process. By mastering the techniques outlined in this guide, from optimizing your 3D car models to creating realistic PBR materials and understanding file formats, you’ll be well on your way to producing stunning visualizations. Remember to pay attention to detail, experiment with different settings, and continuously learn and refine your skills. Platforms like 88cars3d.com offer a great starting point for sourcing high-quality 3D car models that can serve as a foundation for your renderings. Start with a well-optimized model, focus on creating realistic materials, and don’t be afraid to experiment with lighting and post-processing. By applying these principles, you’ll be able to create automotive renders that capture the beauty and essence of these incredible machines. Take the time to explore advanced rendering techniques, such as using HDR environments for realistic lighting, and experimenting with different compositing techniques in software like Photoshop or After Effects. The journey to photorealism is an ongoing process, so continue to learn and experiment to push the boundaries of your skills.
“`
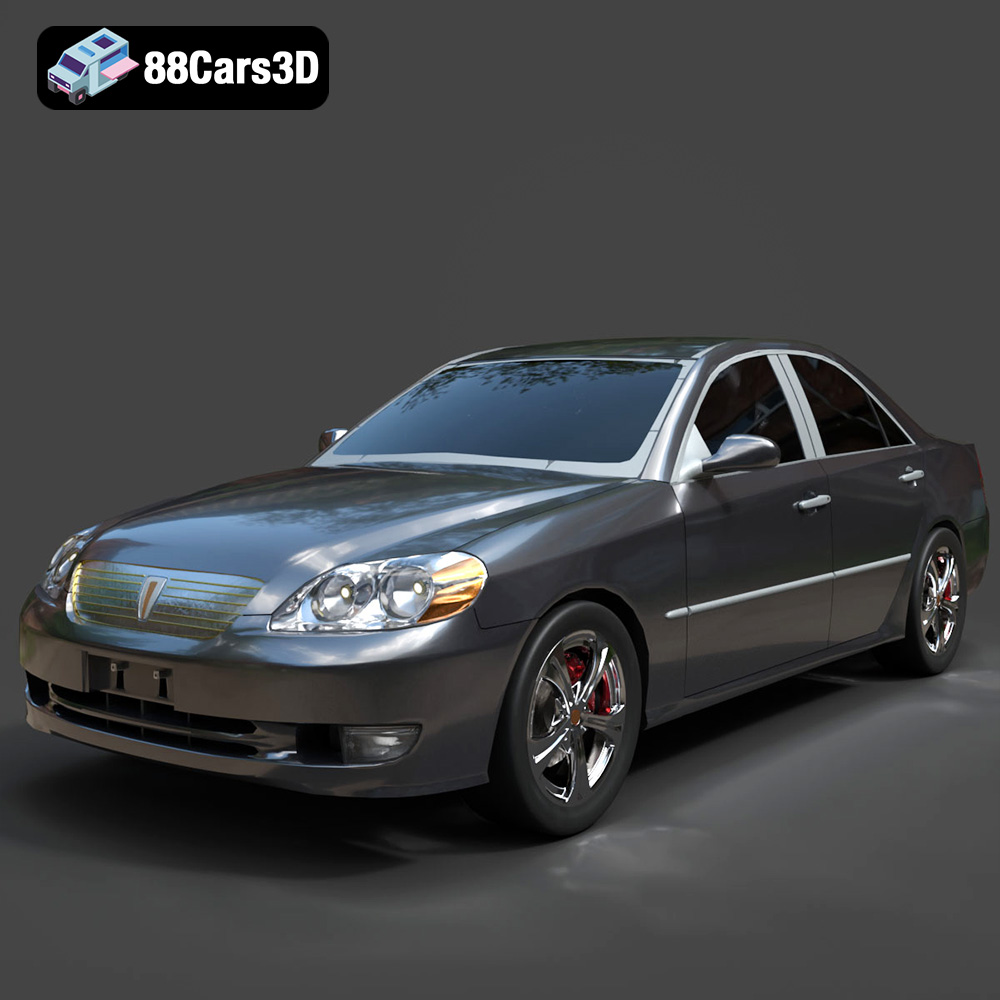
Texture: Yes
Material: Yes
Download the Toyota Mark 2 2001 3D Model featuring clean geometry, realistic detailing, and a fully modeled interior. Includes .blend, .fbx, .obj, .glb, .stl, .ply, .unreal, and .max formats for rendering, simulation, and game development.
Price: $10
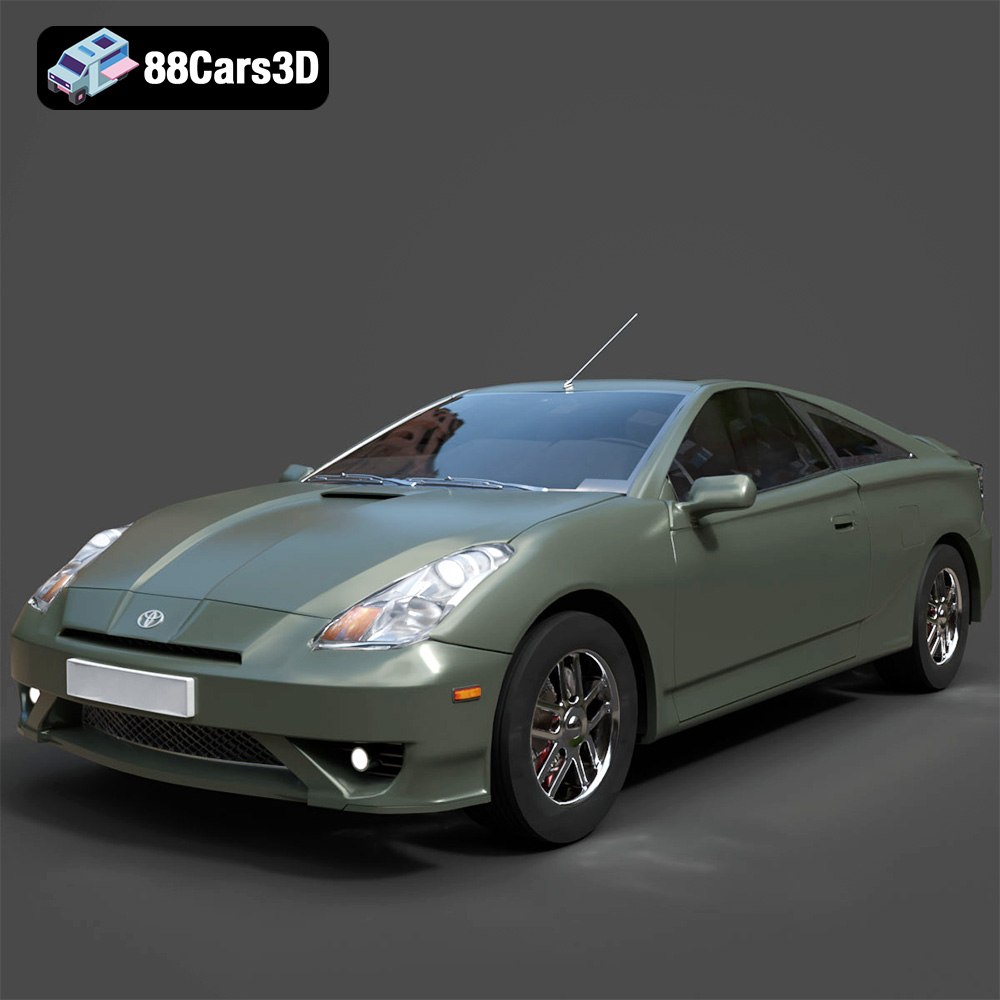
Texture: Yes
Material: Yes
Download the Toyota Celica 2000 3D Model featuring clean geometry, realistic detailing, and a fully modeled interior. Includes .blend, .fbx, .obj, .glb, .stl, .ply, .unreal, and .max formats for rendering, simulation, and game development.
Price: $10
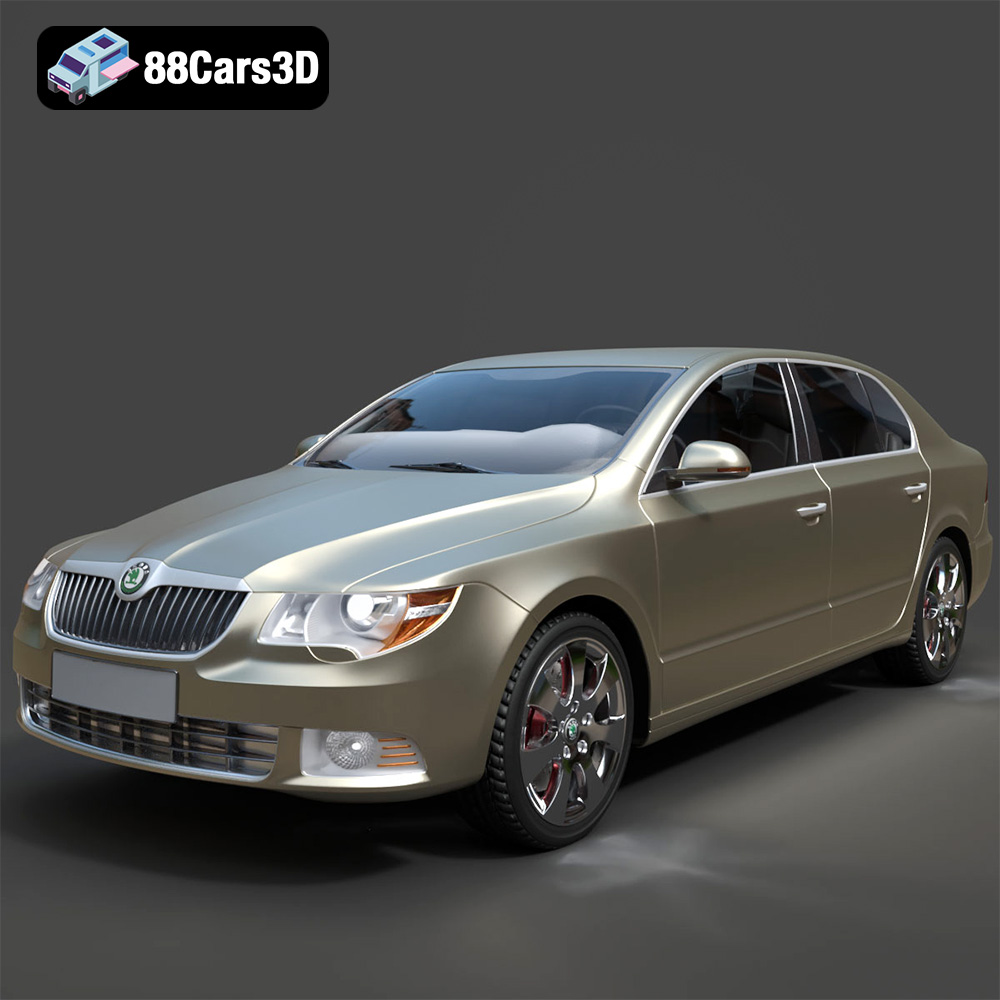
Texture: Yes
Material: Yes
Download the Skoda Superb 2009 3D Model featuring clean geometry, realistic detailing, and a fully modeled interior. Includes .blend, .fbx, .obj, .glb, .stl, .ply, .unreal, and .max formats for rendering, simulation, and game development.
Price: $10
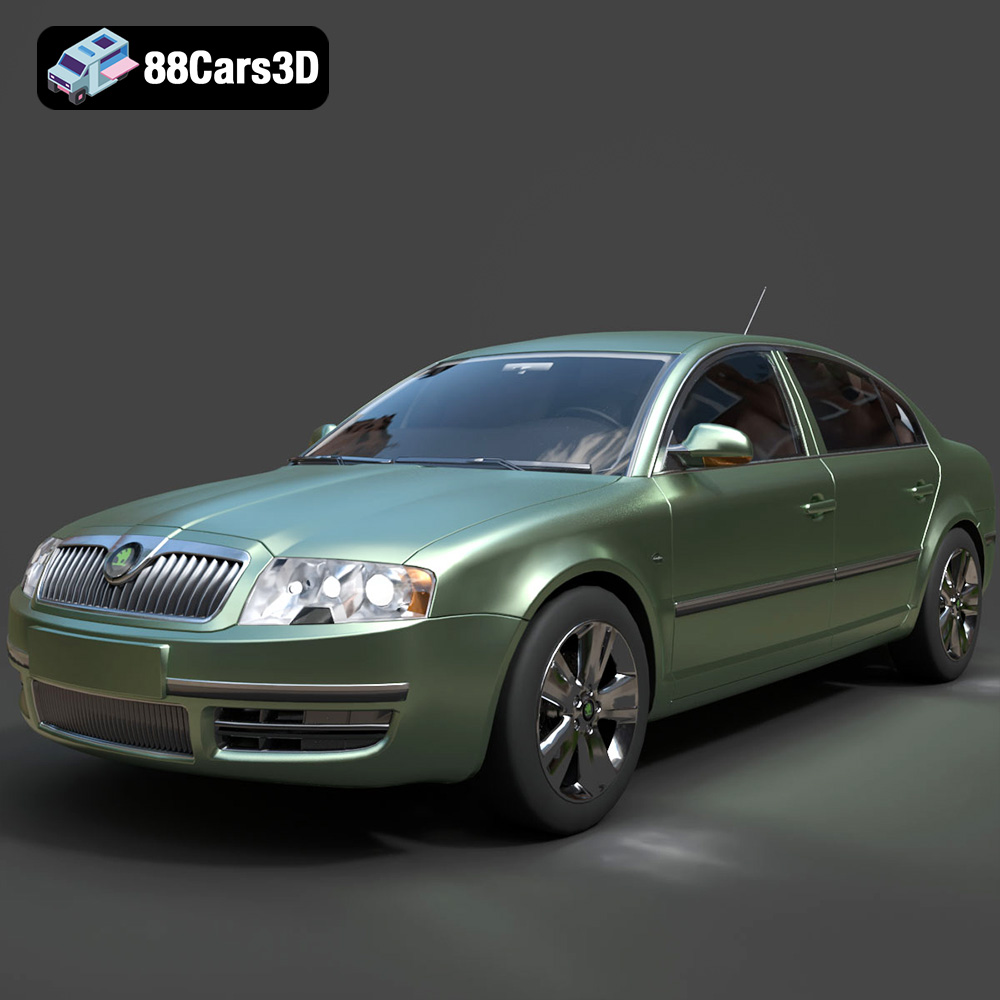
Texture: Yes
Material: Yes
Download the Skoda Superb 2006 3D Model featuring clean geometry, realistic detailing, and a fully modeled interior. Includes .blend, .fbx, .obj, .glb, .stl, .ply, .unreal, and .max formats for rendering, simulation, and game development.
Price: $10
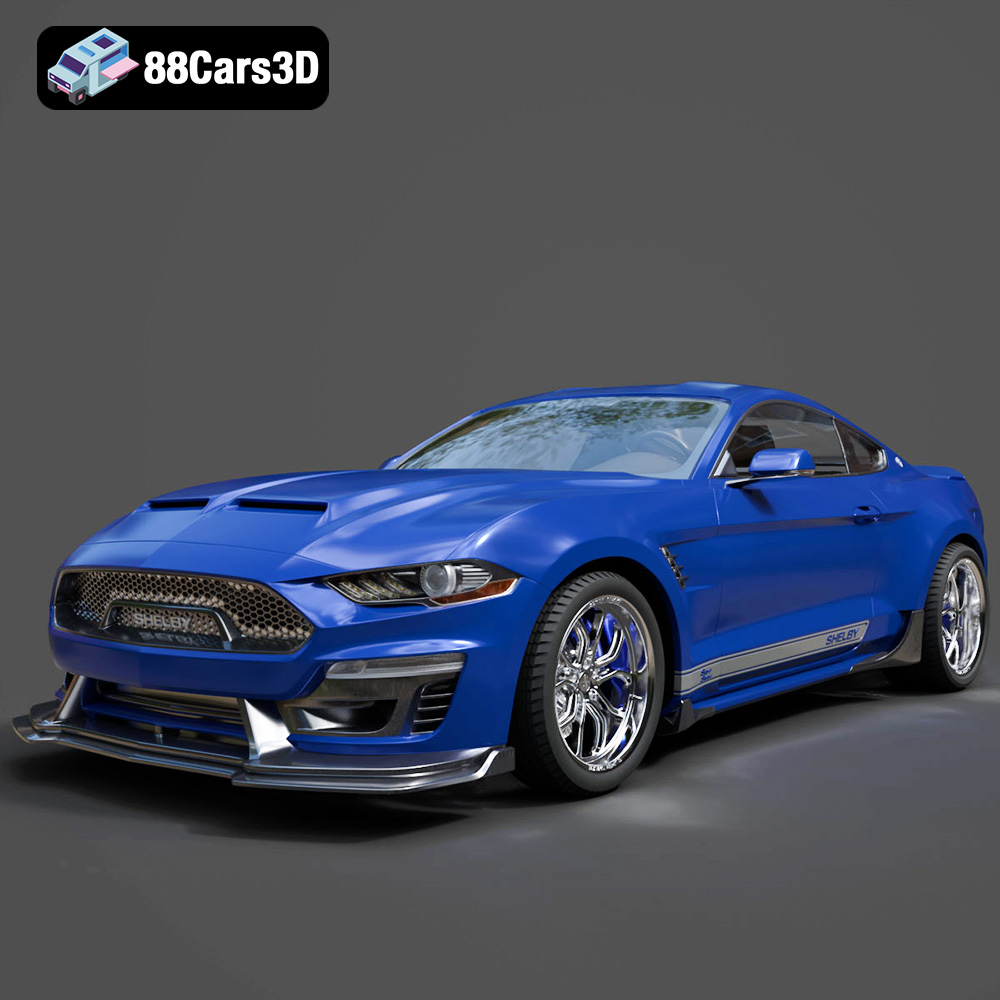
Texture: Yes
Material: Yes
Download the Ford Mustang Shelby Super Snake Concept 2018 3D Model featuring clean geometry, realistic detailing, and a fully modeled interior. Includes .blend, .fbx, .obj, .glb, .stl, .ply, .unreal, and .max formats for rendering, simulation, and game development.
Price: $18.99
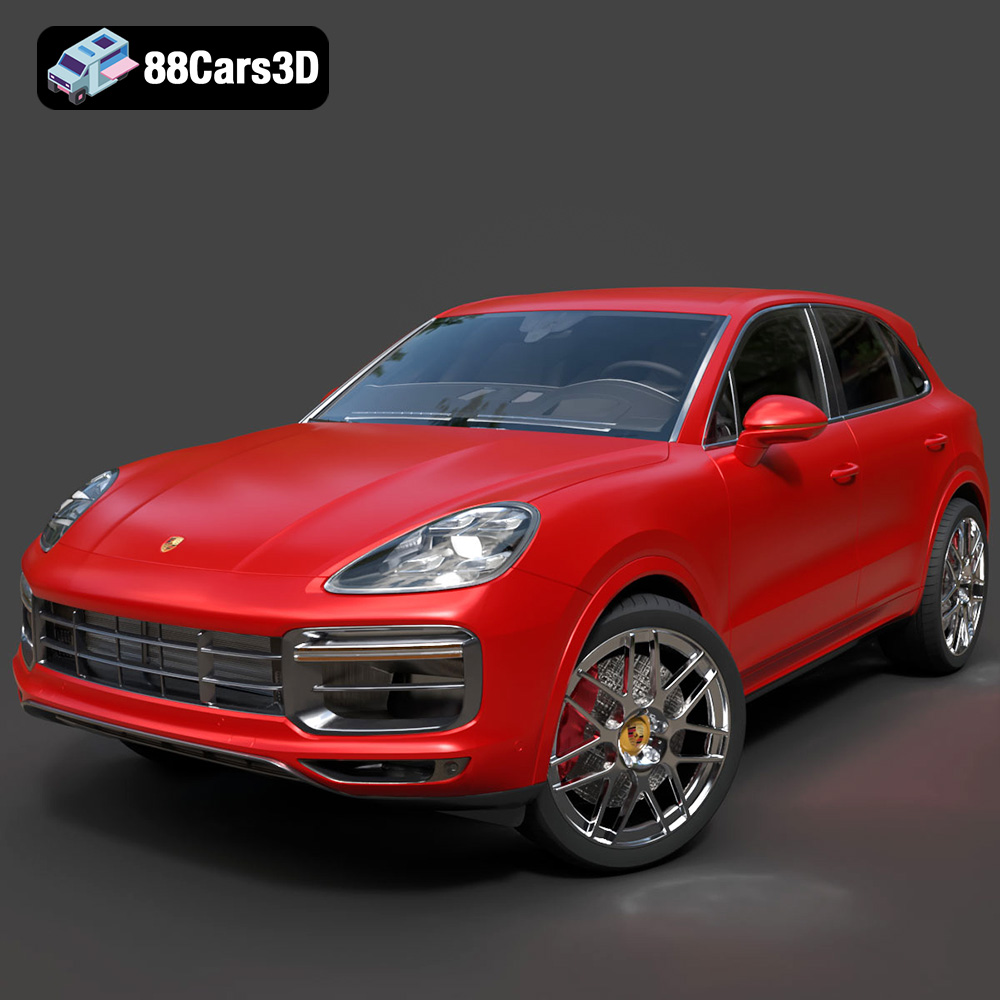
Texture: Yes
Material: Yes
Download the Porsche Cayenne Turbo 2018 3D Model featuring clean geometry, realistic detailing, and a fully modeled interior. Includes .blend, .fbx, .obj, .glb, .stl, .ply, .unreal, and .max formats for rendering, simulation, and game development.
Price: $10
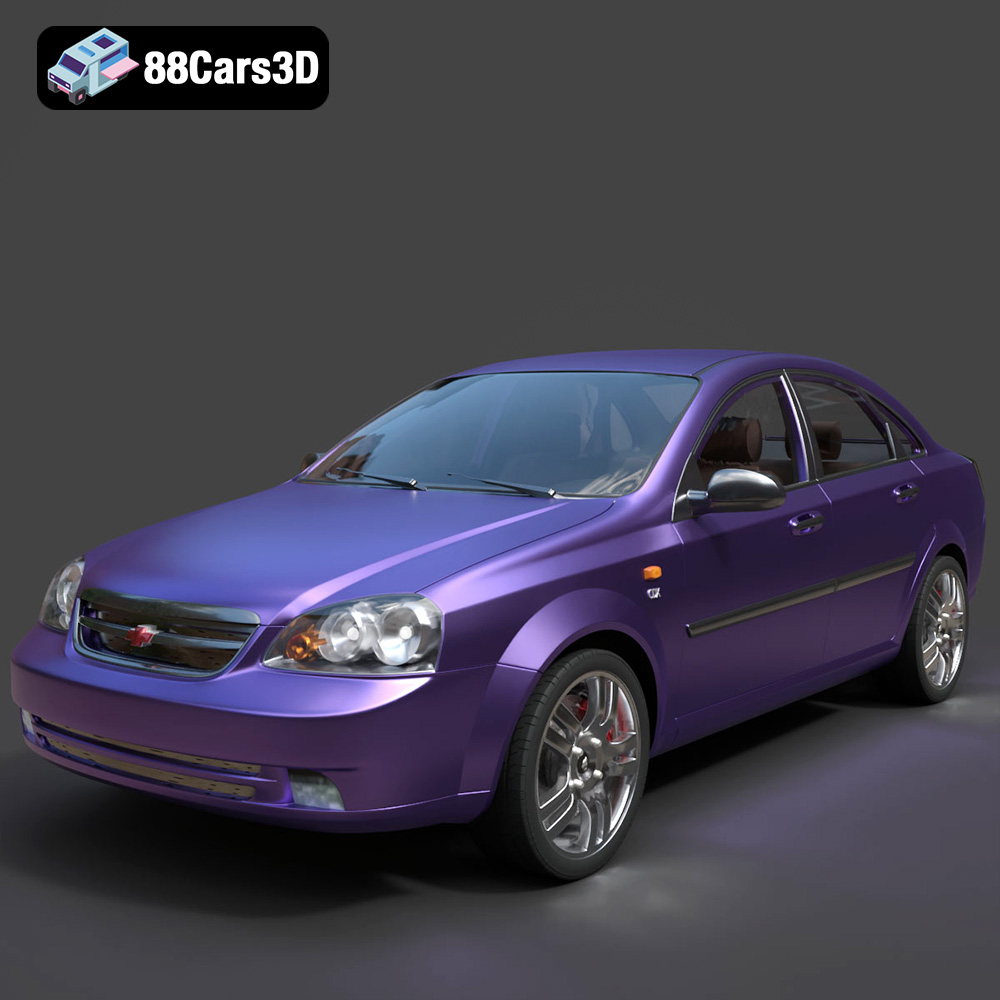
Texture: Yes
Material: Yes
Download the Chevrolet Lacetti Sedan 2004 3D Model featuring clean geometry, realistic detailing, and a fully modeled interior. Includes .blend, .fbx, .obj, .glb, .stl, .ply, .unreal, and .max formats for rendering, simulation, and game development.
Price: $10
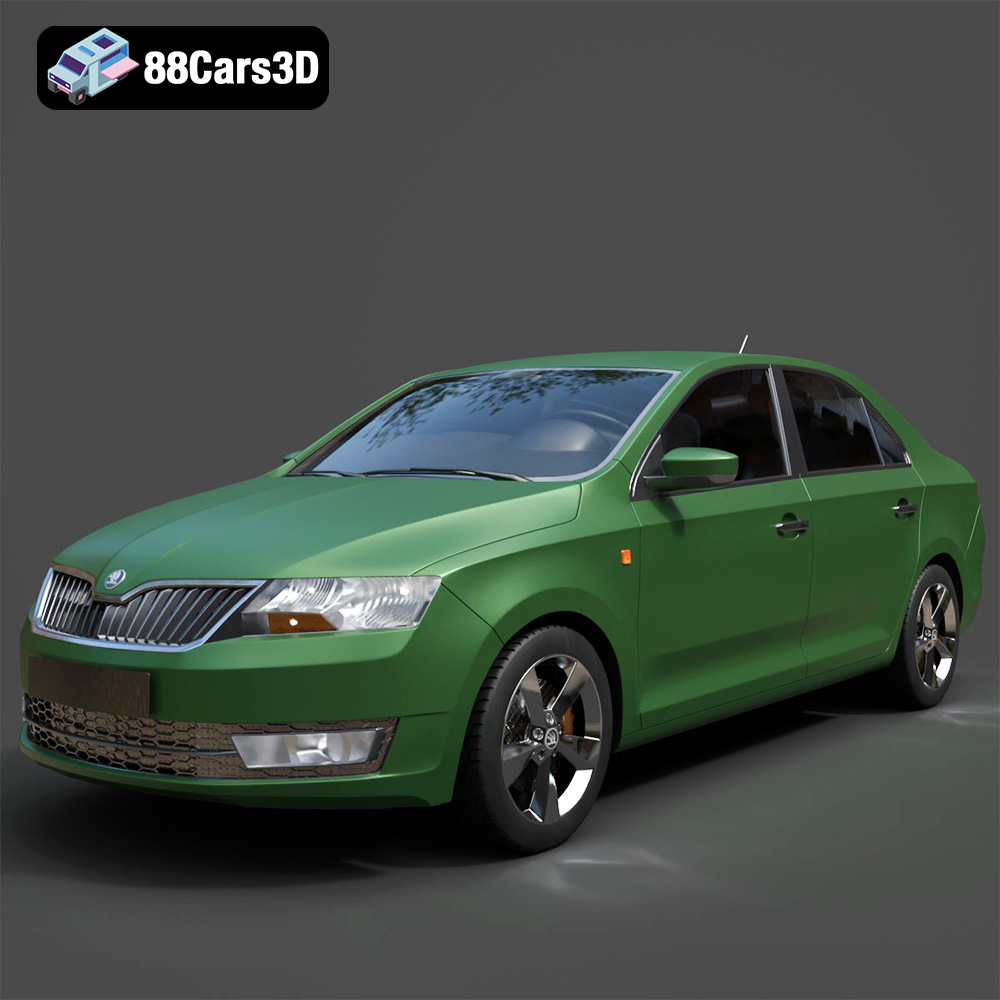
Texture: Yes
Material: Yes
Download the Skoda Rapid 2013 3D Model featuring clean geometry, realistic detailing, and a fully modeled interior. Includes .blend, .fbx, .obj, .glb, .stl, .ply, .unreal, and .max formats for rendering, simulation, and game development.
Price: $10
Texture: Yes
Material: Yes
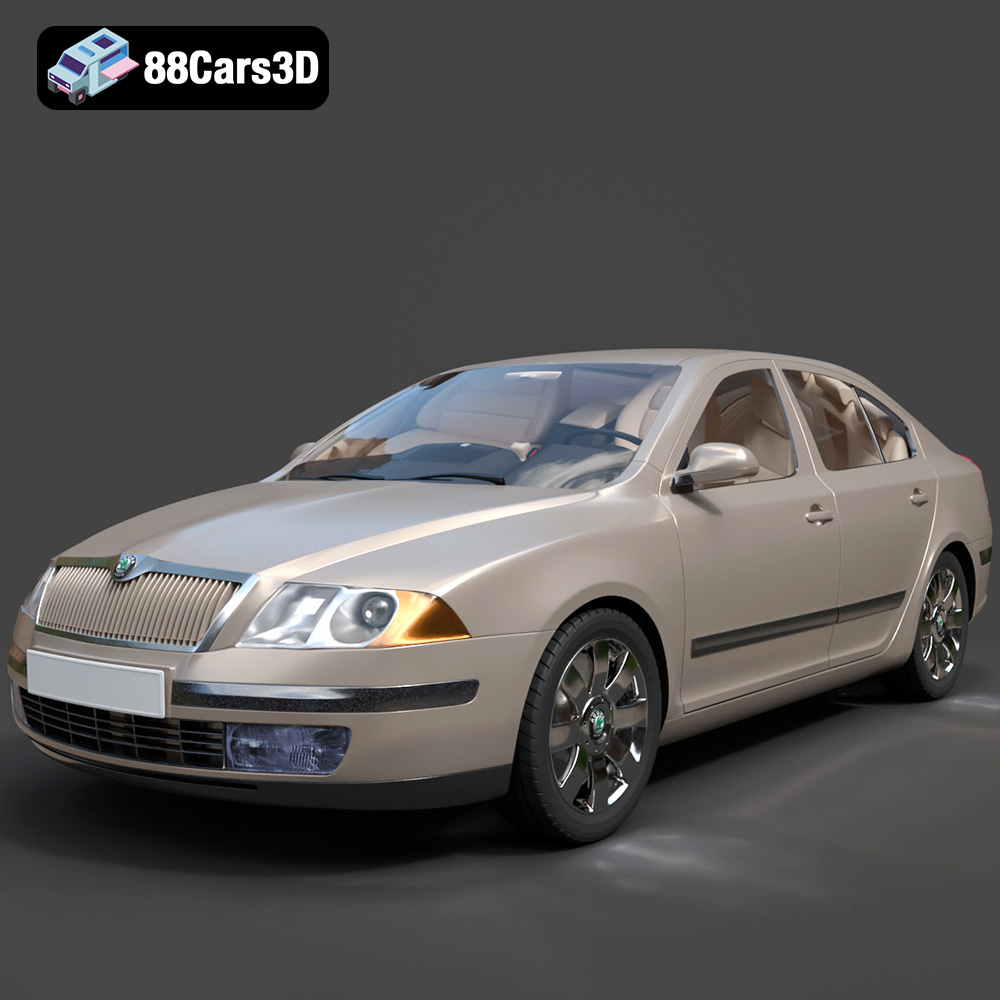
Download the Skoda Octavia A5-007 3D Model featuring clean geometry, realistic detailing, and a fully modeled interior. Includes .blend, .fbx, .obj, .glb, .stl, .ply, .unreal, and .max formats for rendering, simulation, and game development.
Price: $10
Texture: Yes
Material: Yes
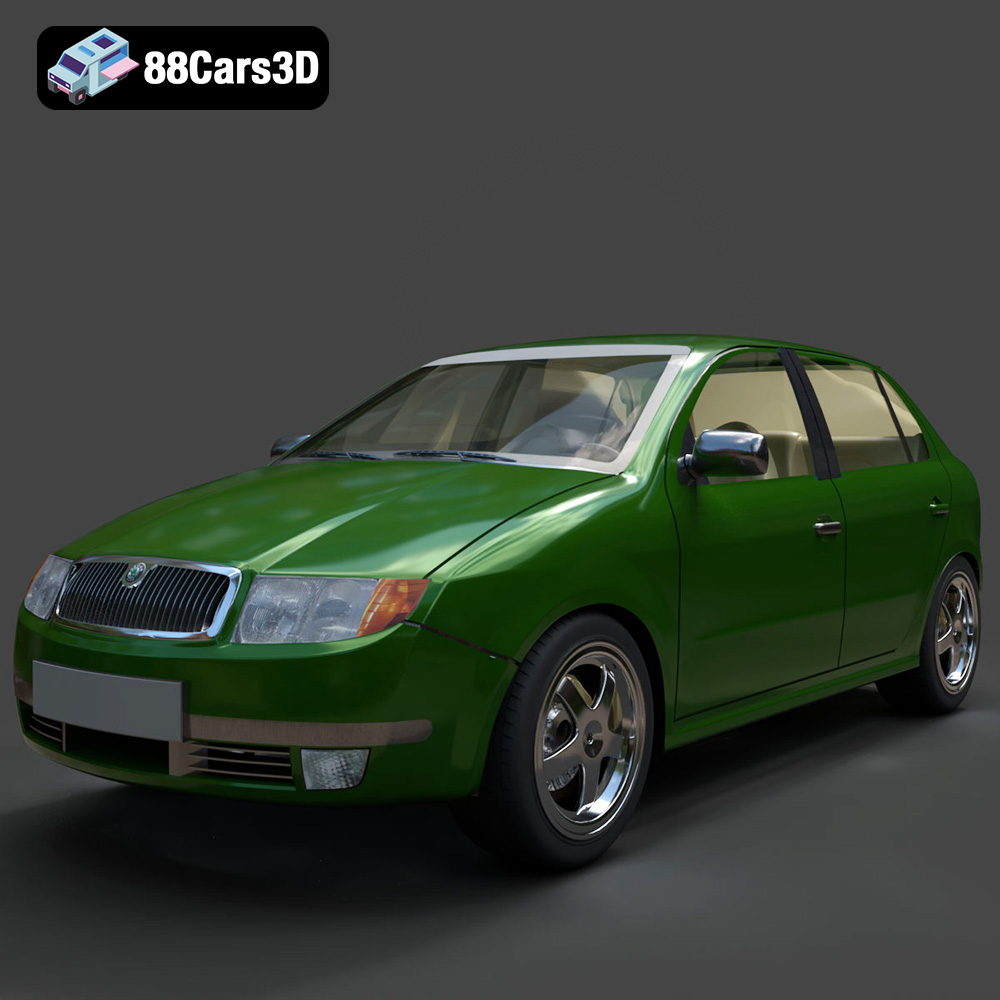
Download the Skoda Fabia 2023 3D Model featuring clean geometry, realistic detailing, and a fully modeled interior. Includes .blend, .fbx, .obj, .glb, .stl, .ply, .unreal, and .max formats for rendering, simulation, and game development.
Price: $10

