Get 50% OFF All Premium 3D & STL Models!

In the world of 3D visualization, nothing quite captures attention like a meticulously rendered car. The sleek lines, the dynamic lighting, and above all, the captivating finish of its paintwork. Yet, recreating the lustrous, multi-faceted depth of real-world automotive paint in a digital environment remains one of the most significant challenges for 3D artists. Basic shaders, while functional, simply fall short of delivering the nuance and complexity that define true automotive perfection. They often lack the subtle interplay of light, color, and reflection that gives a car its distinctive character.
This pursuit of hyper-realism isn’t just about aesthetics; it’s about conveying quality, design intent, and emotional appeal. Whether for high-end automotive rendering, marketing visuals, or immersive game environments, an authentic car paint shader can elevate a model from good to breathtaking. This deep dive will unravel the intricacies behind crafting physically accurate materials for car paint, transforming your 3D models into visual masterpieces.
Before we can digitally recreate automotive paint, we must understand its real-world composition. Automotive finishes are far more complex than a simple coat of color. They are engineered systems, typically comprising multiple distinct layers, each contributing to the paint’s overall appearance, durability, and depth. Grasping this layered structure is fundamental to developing a compelling PBR car paint shader.
Understanding these layers helps us appreciate why a simplistic approach to shading fails. Each layer interacts with light in unique ways, and a truly realistic shader must account for these complex interactions. This multi-layered approach is the cornerstone of creating physically accurate materials.
Physically Based Rendering (PBR) has revolutionized 3D graphics by providing a framework for creating materials that react to light in a way that mimics the real world. For car paint, this means moving beyond subjective artistic interpretations and embracing principles of physics. A proper PBR car paint implementation starts with a robust base layer.
PBR workflows rely on a few core principles. Materials are classified as either metallic or dielectric (non-metallic), and their surface properties like roughness and albedo (base color) are defined based on real-world measurements rather than arbitrary values. This ensures that your materials look consistent and believable under various lighting conditions, which is critical for realistic automotive rendering.
When starting with a high-quality model, such as those found on 88cars3d.com, applying these PBR principles correctly ensures that the underlying mesh truly shines. The accuracy of the base layer is paramount, as it dictates the underlying color and how it will be perceived through subsequent layers.
The subtle sparkle and shifting hues of a metallic or pearlescent car finish are what truly set it apart. This effect is achieved by microscopic metallic or mica flakes suspended within the paint’s base coat. Replicating this phenomenon accurately requires a dedicated metallic flake shader component within your overall shader network.
The key to realistic metallic flakes lies in simulating their randomized orientation and how each tiny flake reflects light individually. Instead of a uniform reflection, you get millions of microscopic glints that combine to create the characteristic shimmer.
Integrating this metallic flake shader into the broader shader network involves blending its reflective output with the base color layer. The flakes typically become more apparent when viewed at grazing angles or under direct light, adding depth and dynamic range to the paint. This intricate interplay is a hallmark of sophisticated physically accurate materials.
The clear coat layer is arguably the most visually impactful component of automotive paint, responsible for its glossy appearance, sharp reflections, and protective qualities. Without a meticulously crafted clear coat, even the most detailed base layer will fall flat. This is where the true depth of your PBR car paint comes to life.
Functionally, the clear coat is a separate refractive and reflective layer that sits atop the base and flake coats. It acts like a thin layer of transparent glass or plastic, allowing light to pass through to the color layer below, reflect off it, and then pass back through the clear coat before reaching the viewer. This process introduces subtle distortions and creates the characteristic “wet” look.
While hyper-perfection is often the goal, real-world car paint, even on high-end vehicles, isn’t absolutely flawless. A common characteristic is “orange peel,” a subtle texture resembling the skin of an orange, caused by the paint drying process. Simulating this, along with minor dust particles, swirl marks, or water spots, can significantly enhance believability.
By meticulously crafting the clear coat layer and introducing these nuanced imperfections, your automotive rendering will move beyond mere CG perfection into the realm of photo-realism.
Once you’ve mastered the foundational layers, several advanced techniques can push your PBR car paint shaders to an even higher level of fidelity, creating truly captivating visuals that stand out in any automotive rendering context.
Anisotropy is a phenomenon where the directionality of reflections depends on the viewing angle and the orientation of microscopic grooves or fibers on a surface. For car paint, particularly on curved panels, anisotropic reflections are crucial for realism. They create elongated, stretched highlights that follow the curvature of the bodywork, accentuating its form and polish.
How to Implement Anisotropy:
Applying anisotropic reflections primarily to the clear coat layer, and subtly to the metallic flakes, dramatically enhances the perceived quality and depth of the automotive paint. It’s a hallmark of high-end physically accurate materials.
The discussion so far highlights the need for a sophisticated shader network. Modern rendering engines and DCC applications facilitate this through node-based shader editors, allowing artists to build complex materials by layering and blending individual components.
Certain high-end automotive paints exhibit a “flip-flop” effect, where the color appears to shift or change hue depending on the viewing angle. This is achieved through specialized pigments that reflect different wavelengths of light at different angles. Simulating this requires a more advanced shader network.
This effect can be achieved by blending between two slightly different base colors based on the viewing angle (using a Fresnel-like falloff or dot product of view vector and normal). Alternatively, more advanced techniques might involve manipulating the spectral response of the flakes or using complex iridescent shaders.
While offline renderers can afford to calculate every ray bounce and flake interaction, real-time game engines demand efficiency without sacrificing too much visual quality. Adapting high-fidelity car paint for real-time environments presents a unique set of challenges and opportunities for optimization. This is where the concept of real-time car paint truly shines, delivering stunning visuals at interactive frame rates.
The goal is to achieve believable automotive paint aesthetics with minimal computational overhead. This often involves clever approximations and leveraging engine-specific features.
Achieving a convincing real-time car paint shader requires a balance of artistic vision and technical prowess. Developers can create truly immersive experiences by understanding engine limitations and employing smart optimization strategies. When sourcing high-quality, optimized 3D models for your projects, remember to visit 88cars3d.com, where you can find assets ready for these advanced real-time implementations.
Crafting hyper-realistic car paint shaders for high-end 3D is a journey that blends artistic intuition with a deep understanding of physics and rendering technology. We’ve explored the intricate layers of real-world automotive paint, delved into the foundations of PBR car paint, meticulously detailed the metallic flake shader, and uncovered the secrets of the clear coat layer.
From controlling anisotropic reflections to simulating subtle imperfections and optimizing for real-time environments, every step contributes to the ultimate goal: a visually stunning, physically accurate material that breathes life into your 3D automotive models. It’s about more than just color; it’s about depth, interaction with light, and the nuanced story the surface tells.
The pursuit of automotive perfection in 3D is ongoing, constantly evolving with new rendering techniques and hardware capabilities. By mastering these advanced concepts and continuing to experiment, you can elevate your 3D artistry to new heights. To apply these sophisticated shading techniques, you’ll need high-quality 3D car models. Explore the extensive collection of meticulously crafted assets at 88cars3d.com to bring your hyper-realistic automotive visions to life.
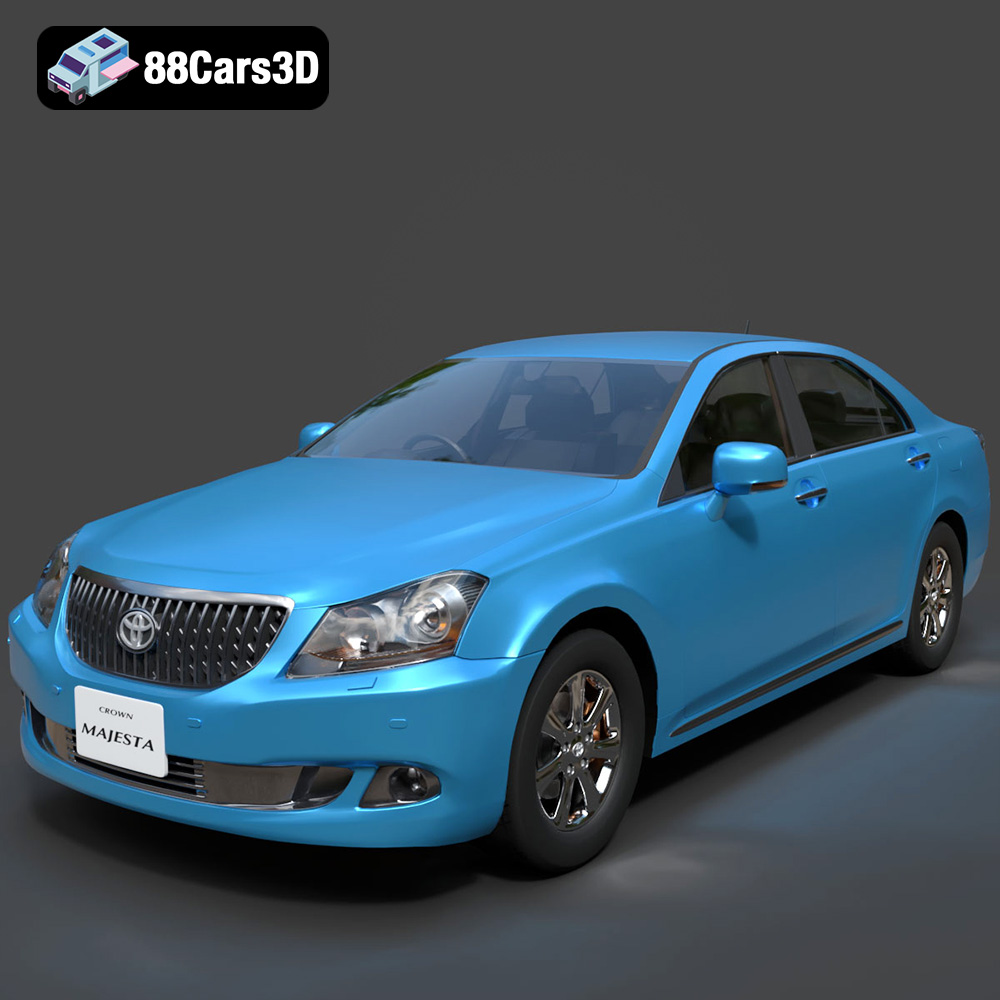
**Meta Description:**
Texture: Yes
Material: Yes
Download the Toyota Crown Majesta 2009 3D Model with luxury detailing, clean topology, and a fully modeled interior. Available in .blend, .fbx, .obj, .glb, .stl, .ply, .unreal, and .max formats for rendering, simulation, and game development.
Price: $13.9
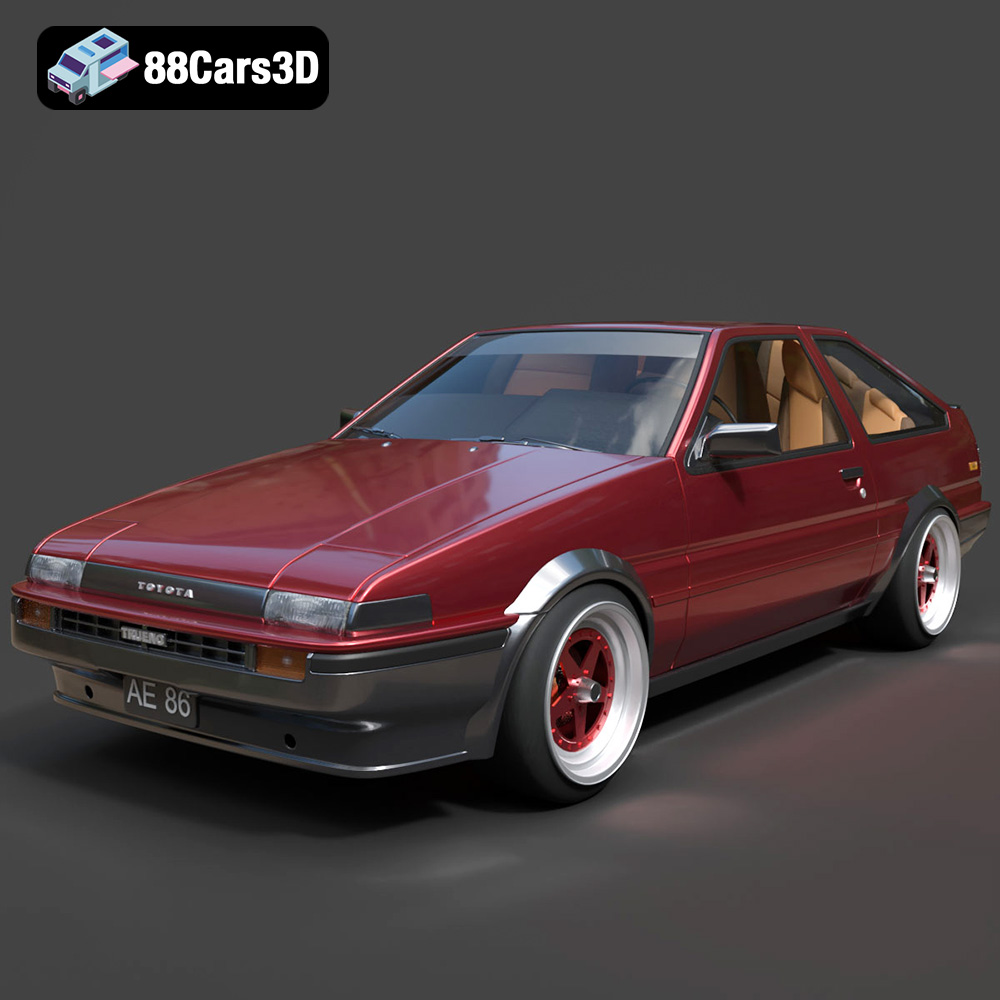
**Meta Description:**
Texture: Yes
Material: Yes
Download the Toyota AE86 Levin 1983 1987 3D Model featuring realistic exterior and interior detailing. Includes .blend, .fbx, .obj, .glb, .stl, .ply, .unreal, and .max formats for rendering, simulation, and game development.
Price: $29.99
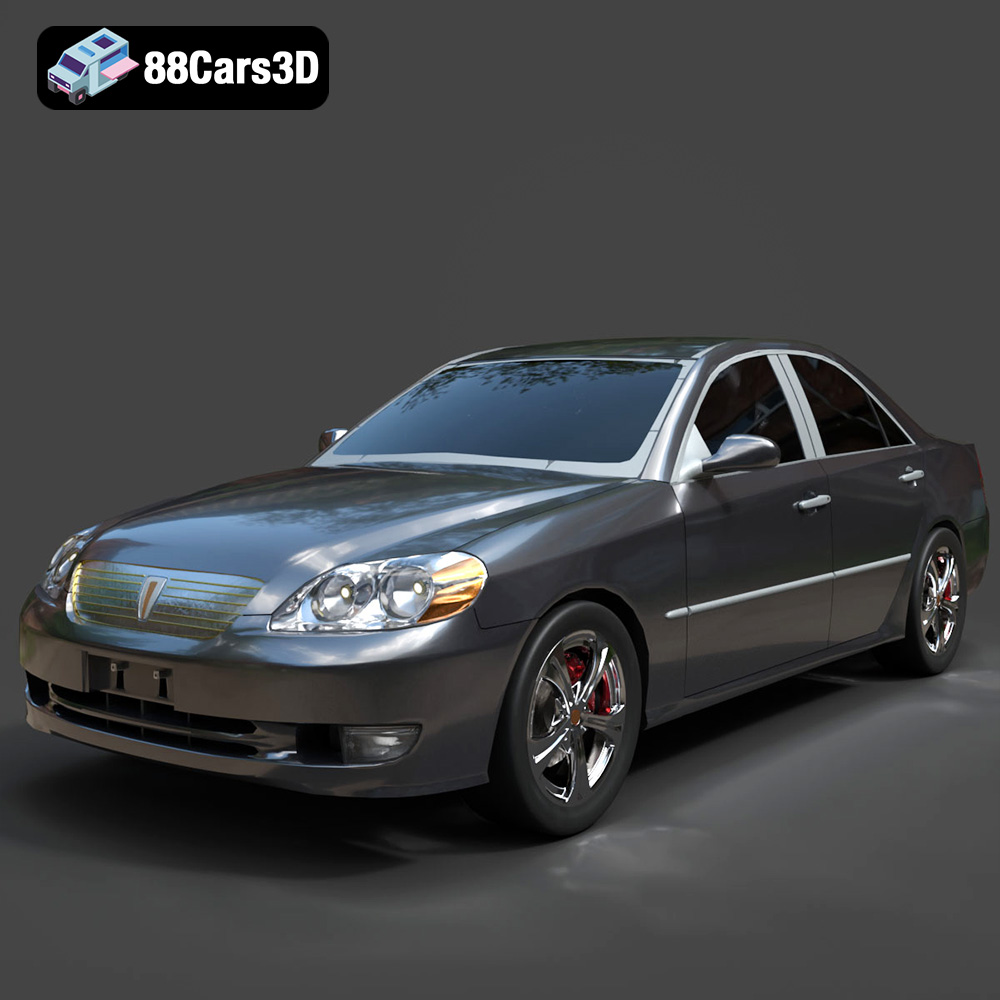
Texture: Yes
Material: Yes
Download the Toyota Mark 2 2001 3D Model featuring clean geometry, realistic detailing, and a fully modeled interior. Includes .blend, .fbx, .obj, .glb, .stl, .ply, .unreal, and .max formats for rendering, simulation, and game development.
Price: $10
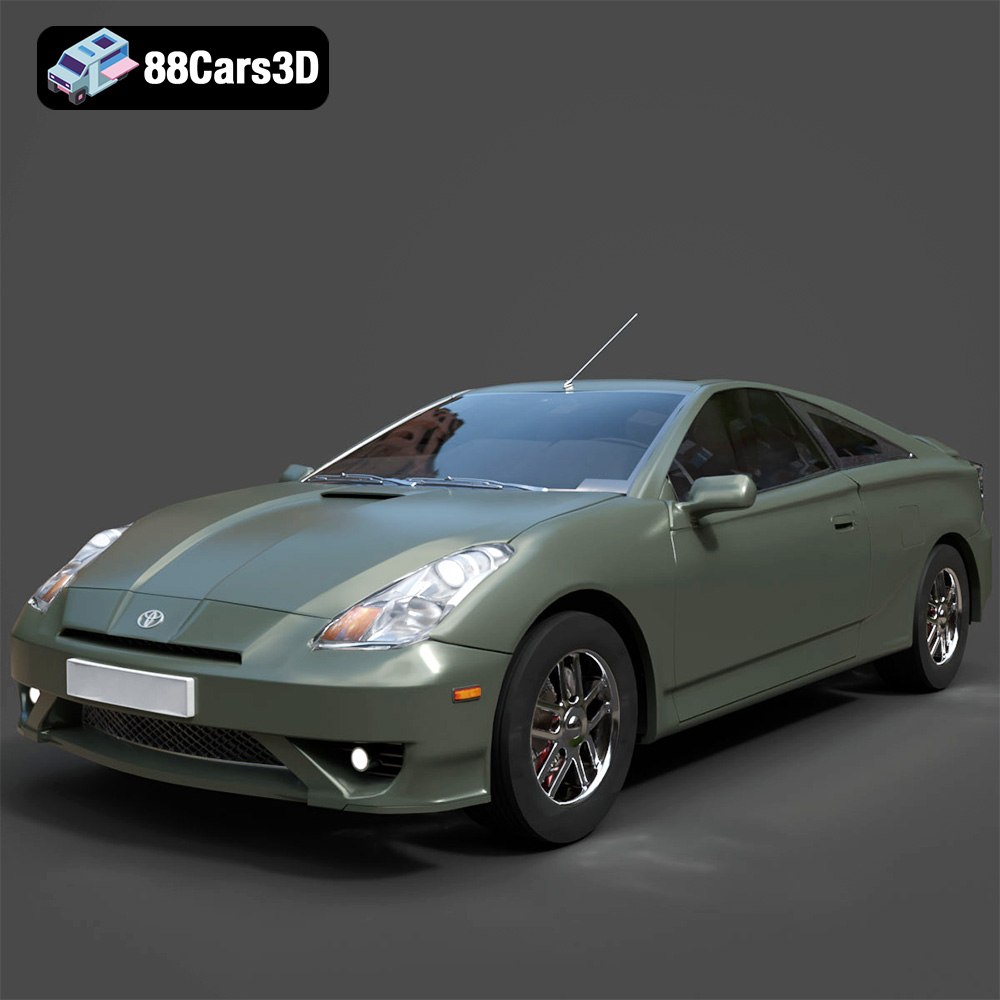
Texture: Yes
Material: Yes
Download the Toyota Celica 2000 3D Model featuring clean geometry, realistic detailing, and a fully modeled interior. Includes .blend, .fbx, .obj, .glb, .stl, .ply, .unreal, and .max formats for rendering, simulation, and game development.
Price: $10
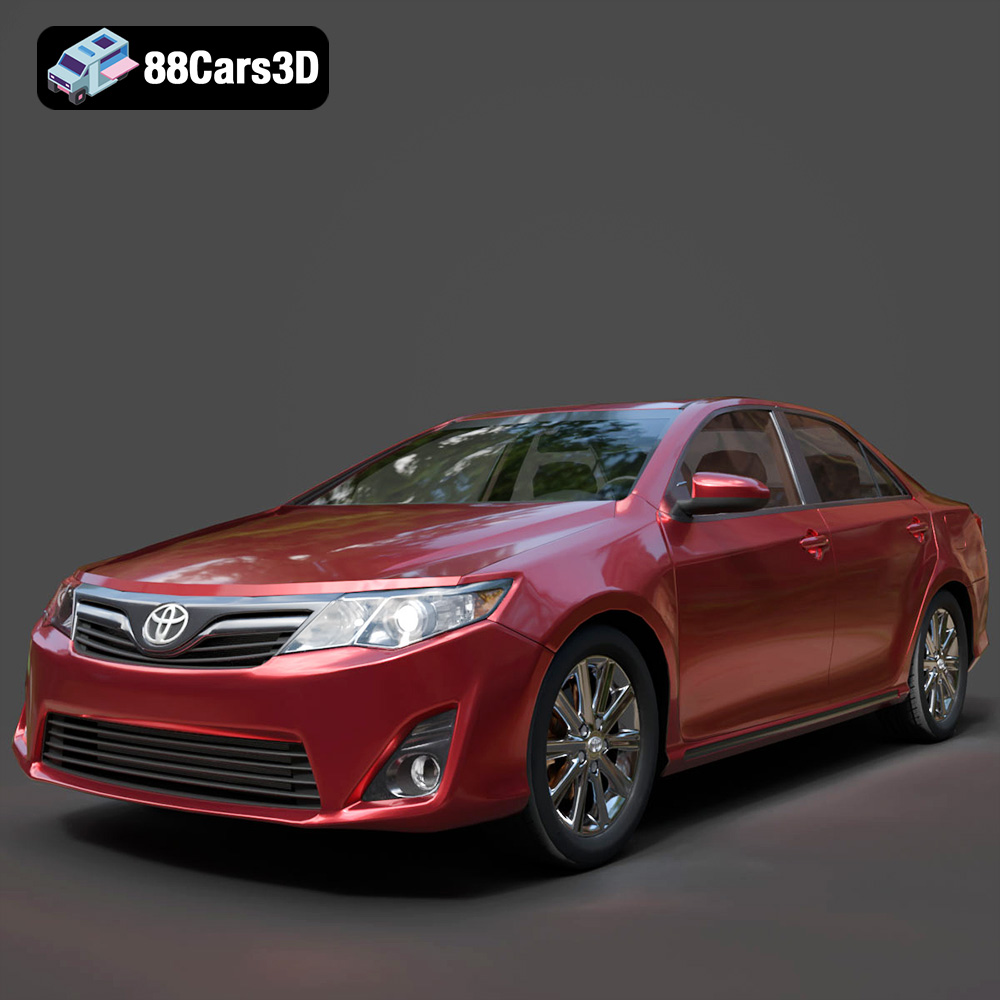
Download the Toyota Camry US 2012 3D Model featuring clean geometry, realistic detailing, and a fully modeled interior. Includes .blend, .fbx, .obj, .glb, .stl, .ply, .unreal, and .max formats for rendering, simulation, and game development.
Price: $10
Texture: Yes
Material: Yes
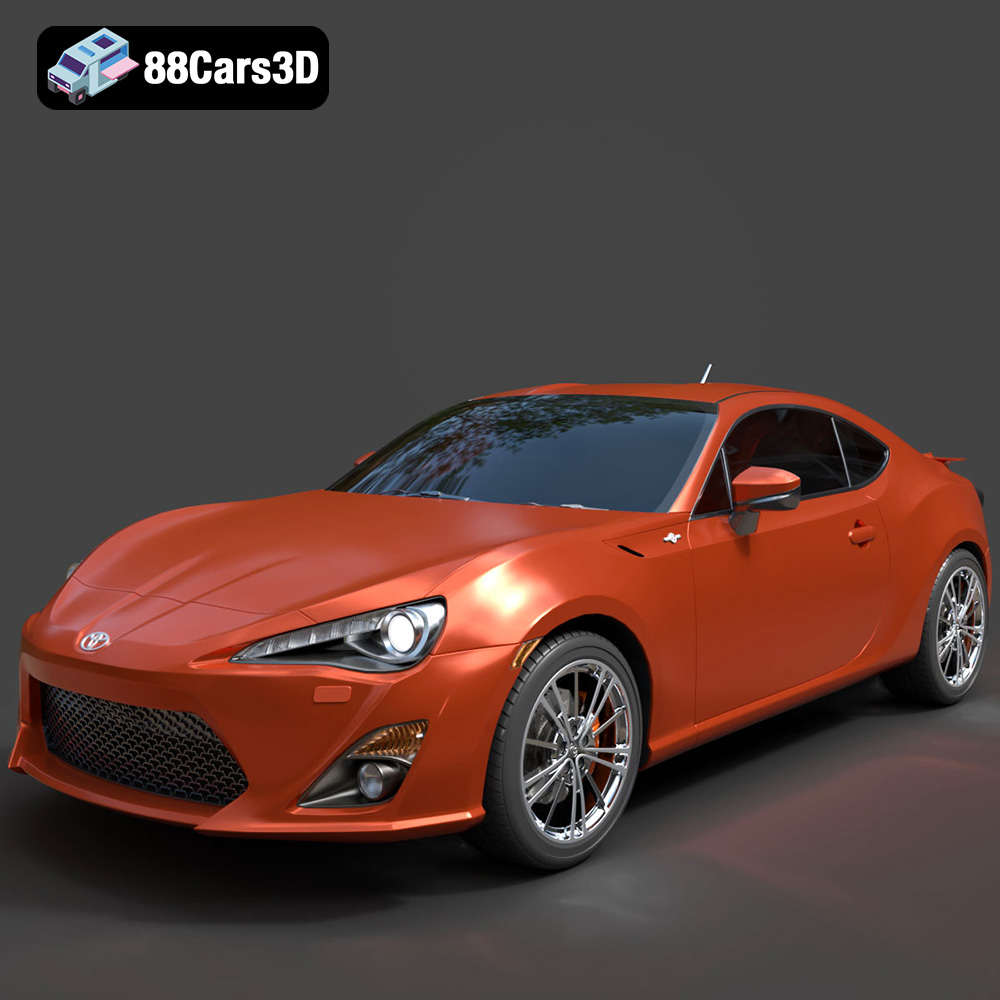
Download the Toyota GT 86 2013 3D Model featuring clean geometry, realistic detailing, and a fully modeled interior. Includes .blend, .fbx, .obj, .glb, .stl, .ply, .unreal, and .max formats for rendering, simulation, and game development.
Price: $10
Texture: Yes
Material: Yes
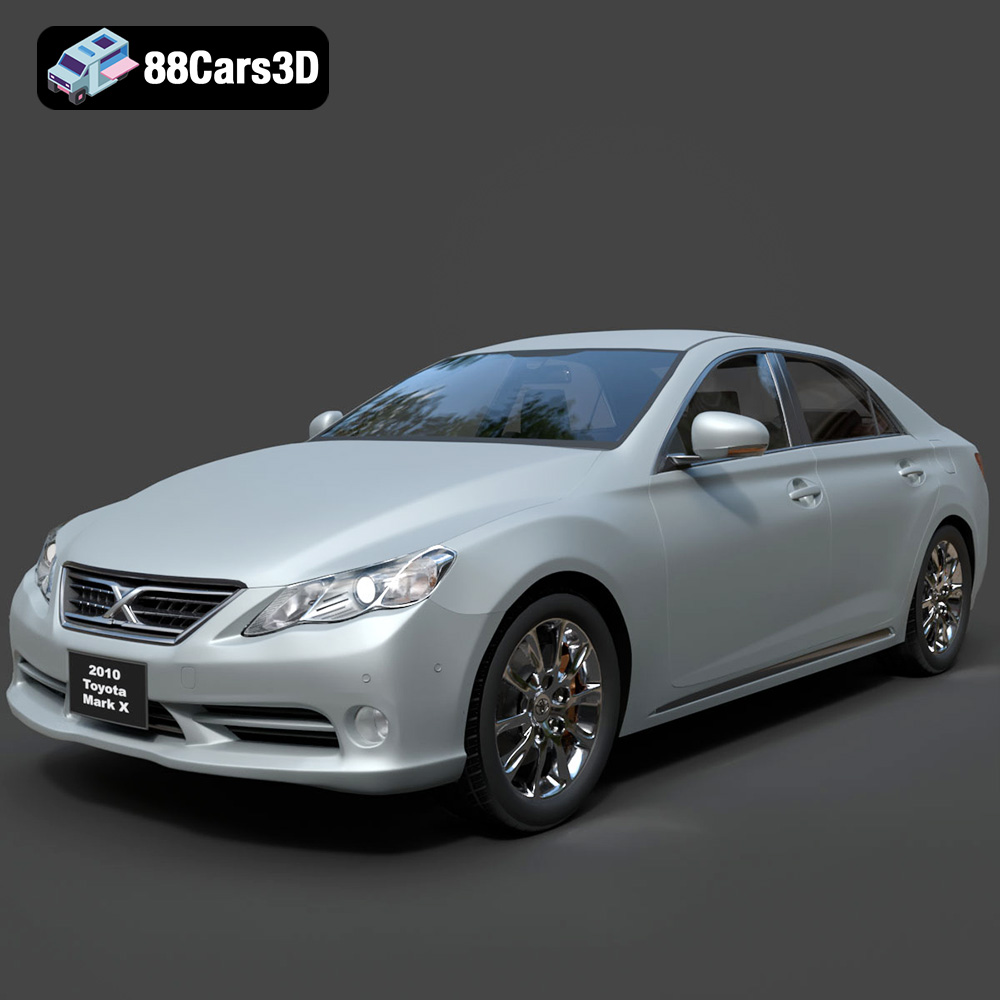
Download the Toyota Mark X 2010 3D Model featuring clean geometry, realistic detailing, and a fully modeled interior. Includes .blend, .fbx, .obj, .glb, .stl, .ply, .unreal, and .max formats for rendering, simulation, and game development.
Price: $10
Texture: Yes
Material: Yes
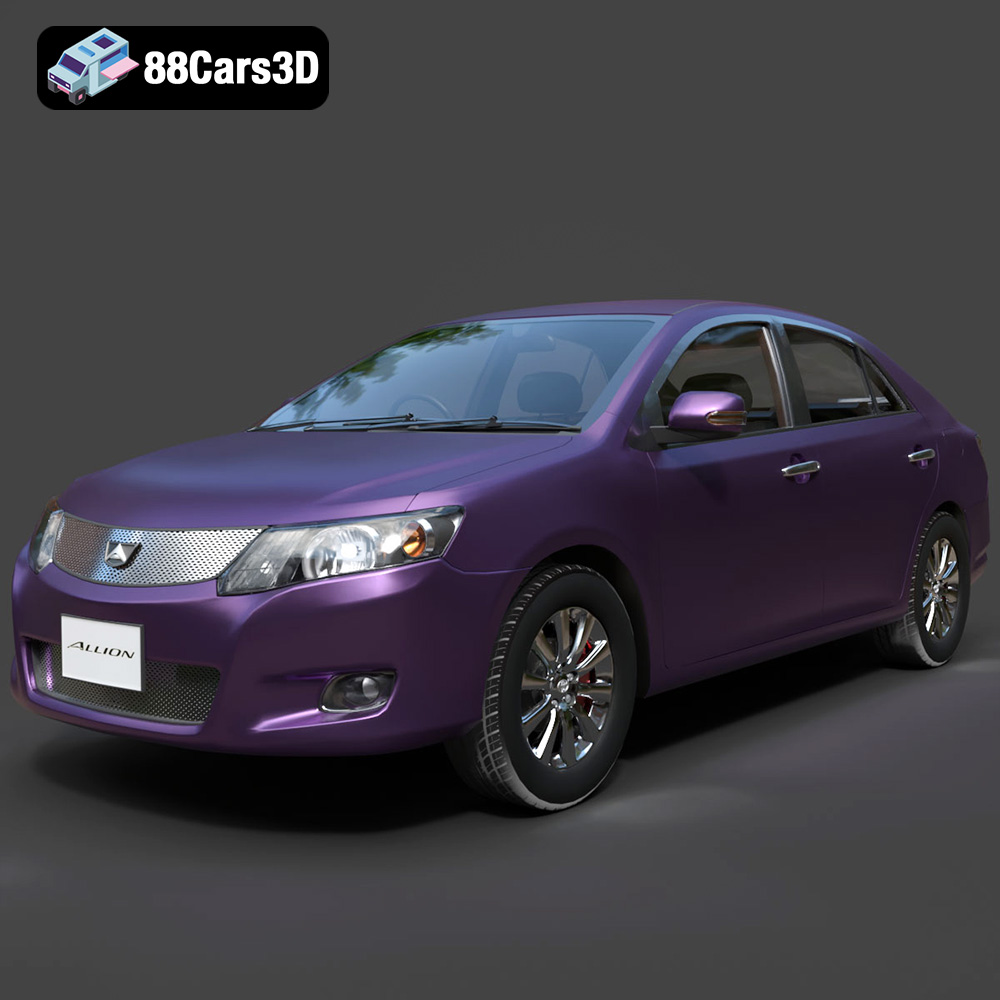
Download the Toyota Allion 2008 3D Model featuring clean geometry, realistic detailing, and a fully modeled interior. Includes .blend, .fbx, .obj, .glb, .stl, .ply, .unreal, and .max formats for rendering, simulation, and game development.
Price: $10
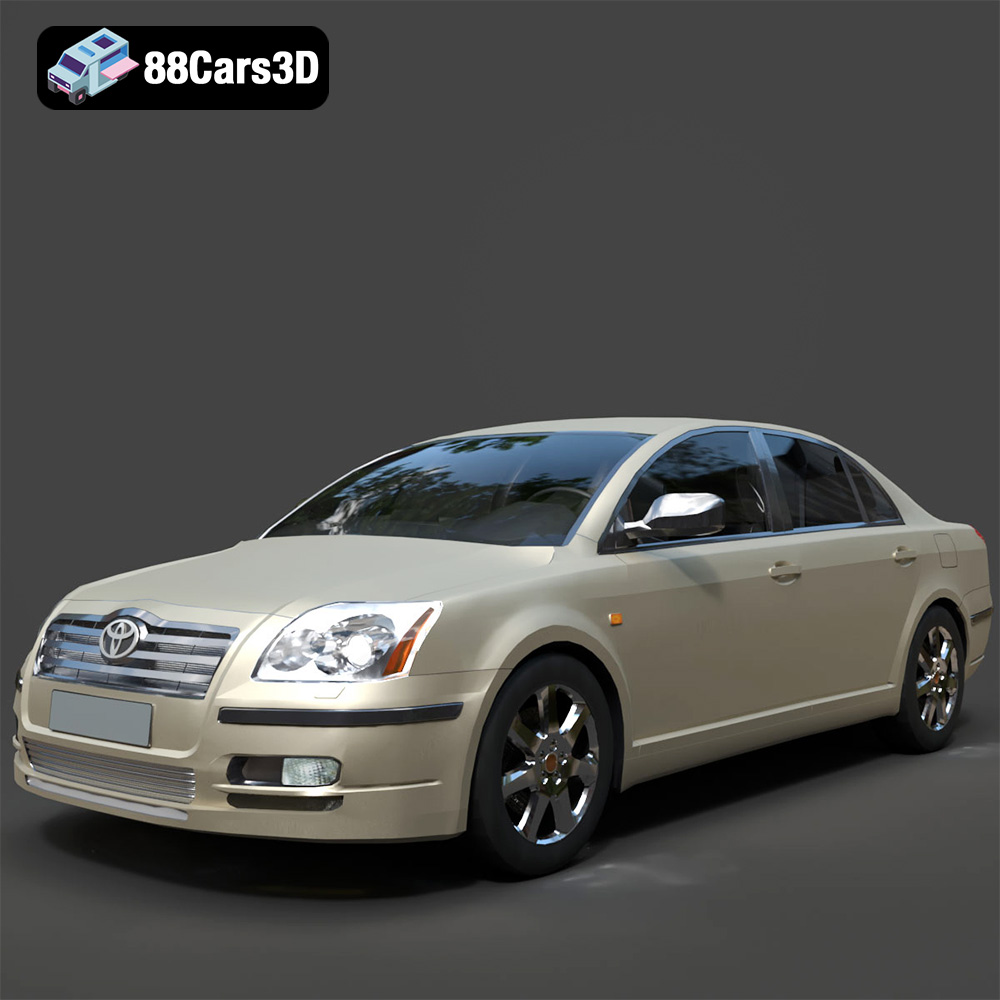
Texture: Yes
Material: Yes
Download the Toyota Avensis 2005 3D Model featuring clean geometry, realistic detailing, and a fully modeled interior. Includes .blend, .fbx, .obj, .glb, .stl, .ply, .unreal, and .max formats for rendering, simulation, and game development.
Price: $10
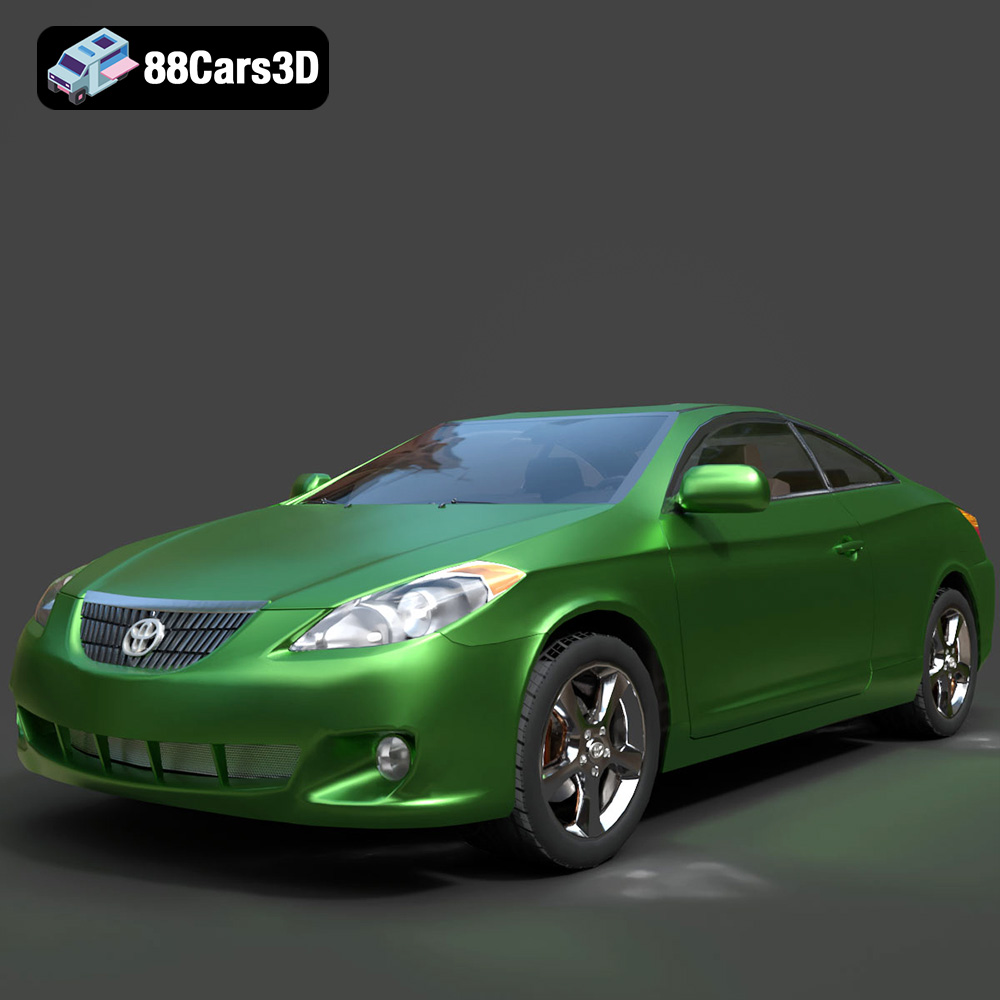
Texture: Yes
Material: Yes
Download the Toyota Camry Solara 2006 3D Model featuring clean geometry, realistic detailing, and a fully modeled interior. Includes .blend, .fbx, .obj, .glb, .stl, .ply, .unreal, and .max formats for rendering, simulation, and game development.
Price: $10
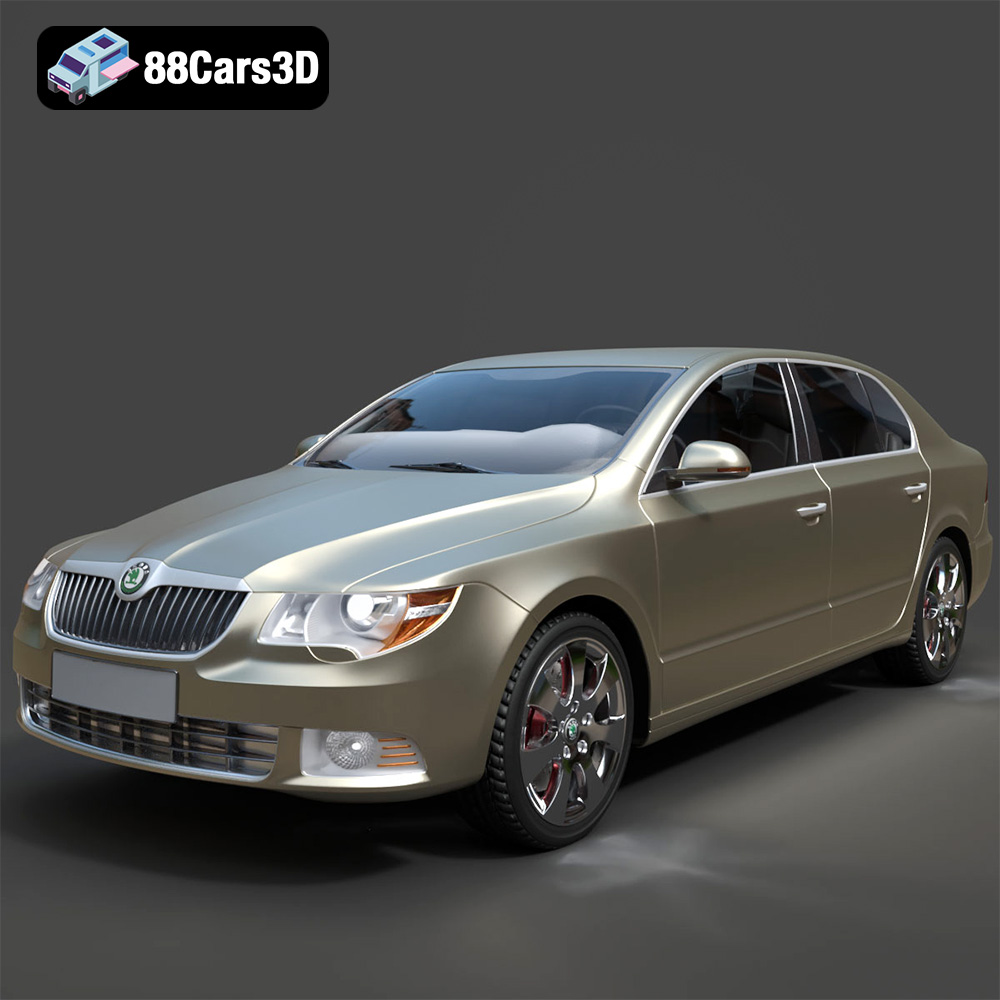
Texture: Yes
Material: Yes
Download the Skoda Superb 2009 3D Model featuring clean geometry, realistic detailing, and a fully modeled interior. Includes .blend, .fbx, .obj, .glb, .stl, .ply, .unreal, and .max formats for rendering, simulation, and game development.
Price: $10
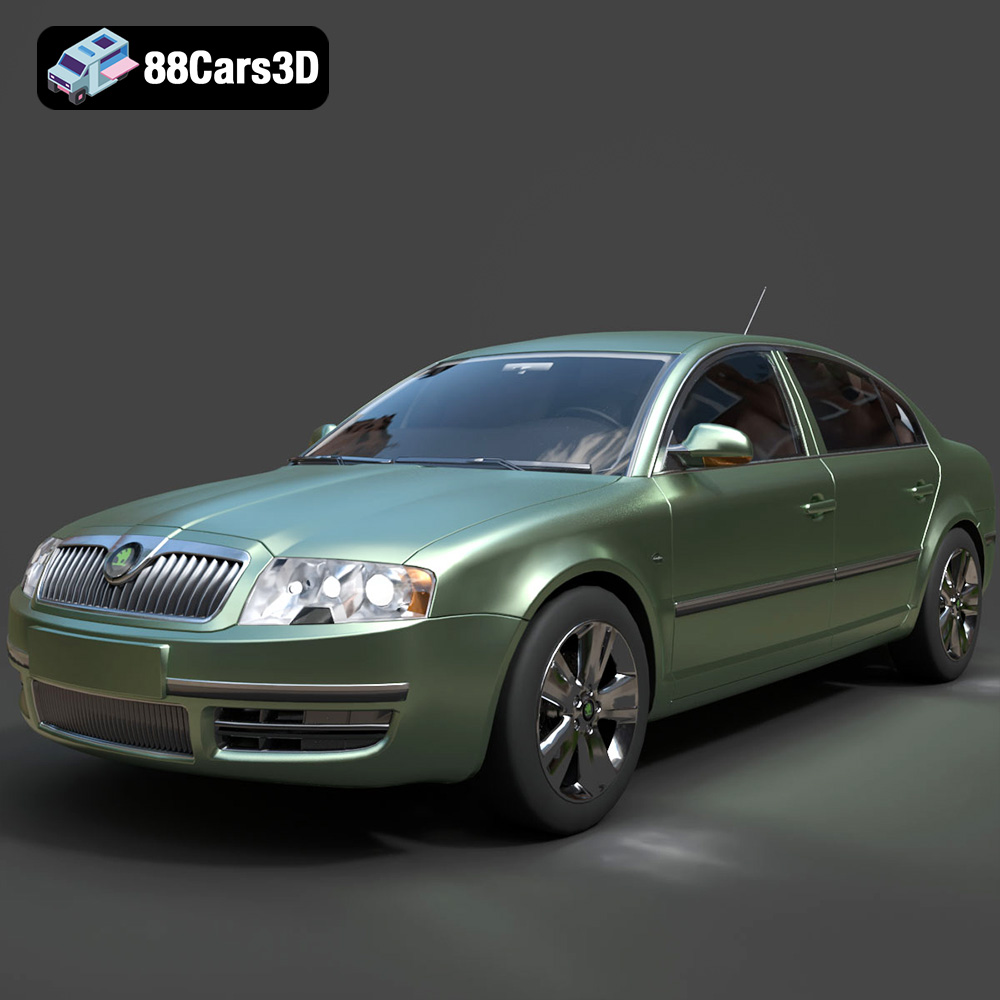
Texture: Yes
Material: Yes
Download the Skoda Superb 2006 3D Model featuring clean geometry, realistic detailing, and a fully modeled interior. Includes .blend, .fbx, .obj, .glb, .stl, .ply, .unreal, and .max formats for rendering, simulation, and game development.
Price: $10
Texture: Yes
Material: Yes
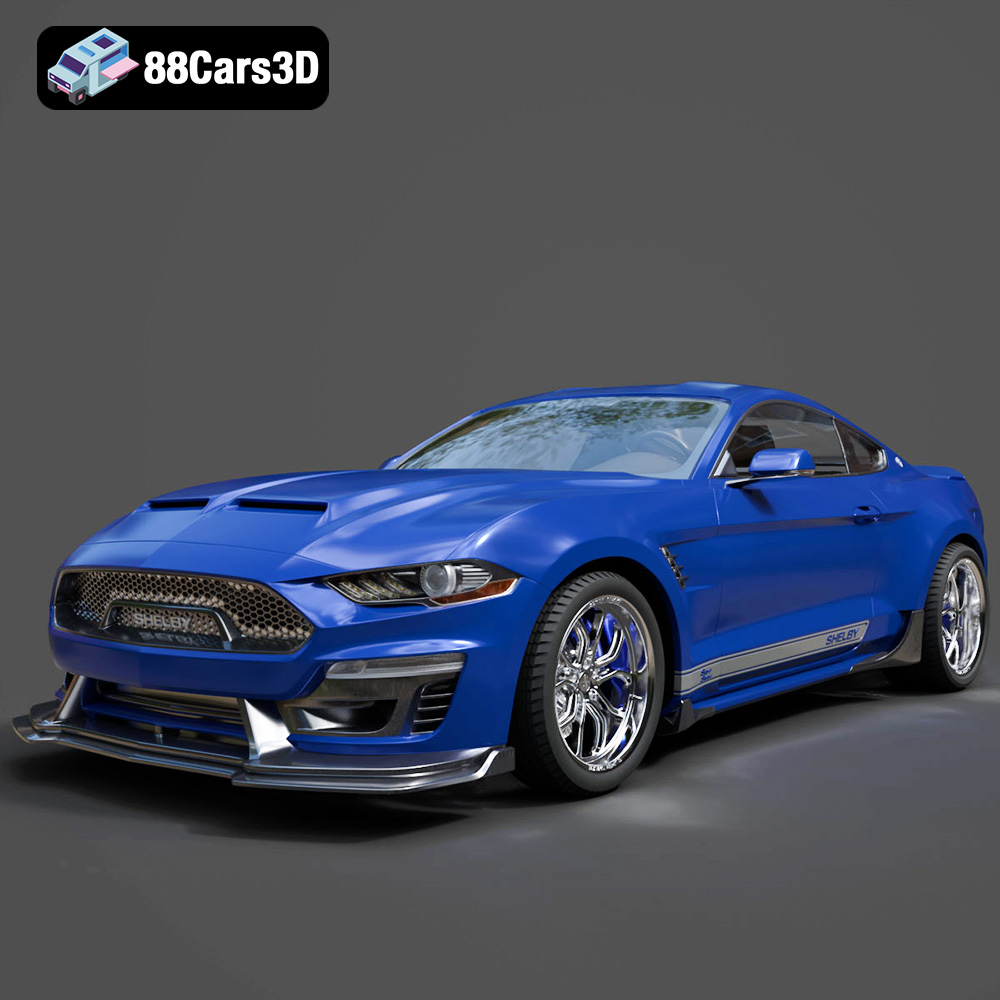
Download the Ford Mustang Shelby Super Snake Concept 2018 3D Model featuring clean geometry, realistic detailing, and a fully modeled interior. Includes .blend, .fbx, .obj, .glb, .stl, .ply, .unreal, and .max formats for rendering, simulation, and game development.
Price: $18.99
Texture: Yes
Material: Yes
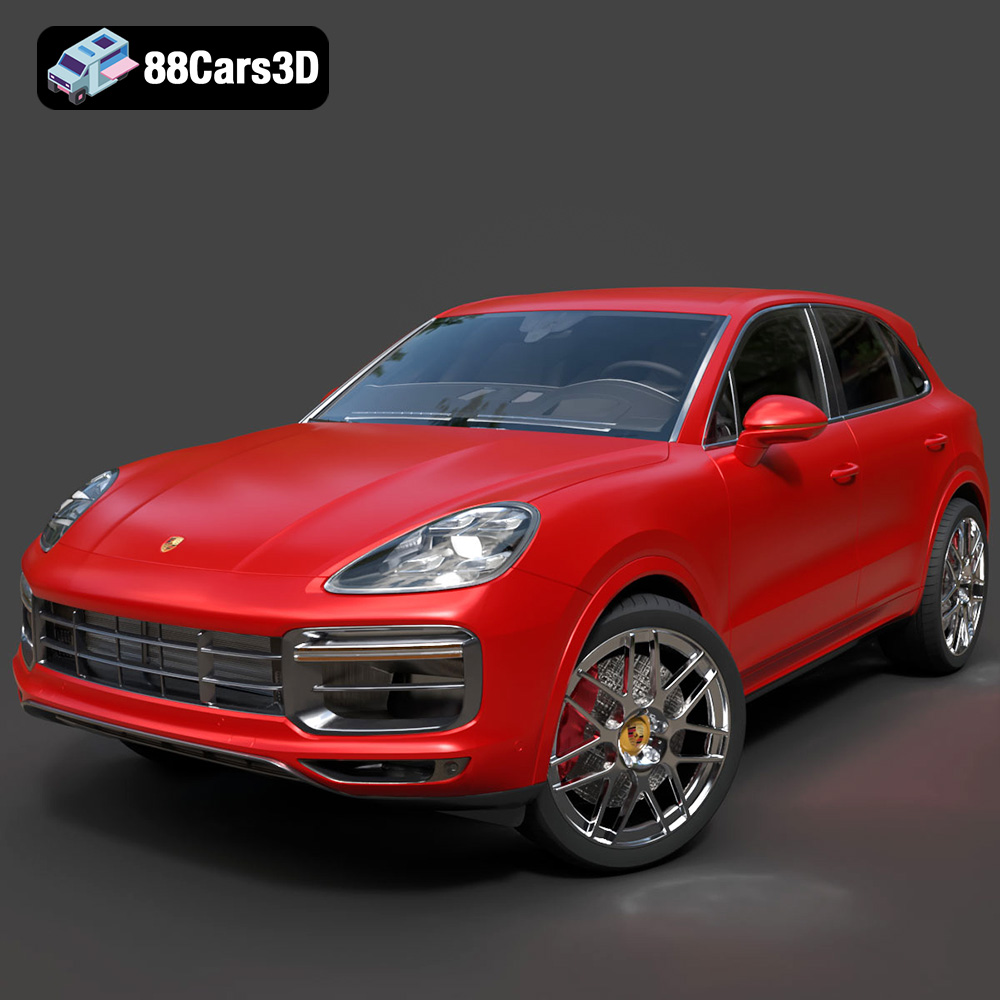
Download the Porsche Cayenne Turbo 2018 3D Model featuring clean geometry, realistic detailing, and a fully modeled interior. Includes .blend, .fbx, .obj, .glb, .stl, .ply, .unreal, and .max formats for rendering, simulation, and game development.
Price: $10
Texture: Yes
Material: Yes
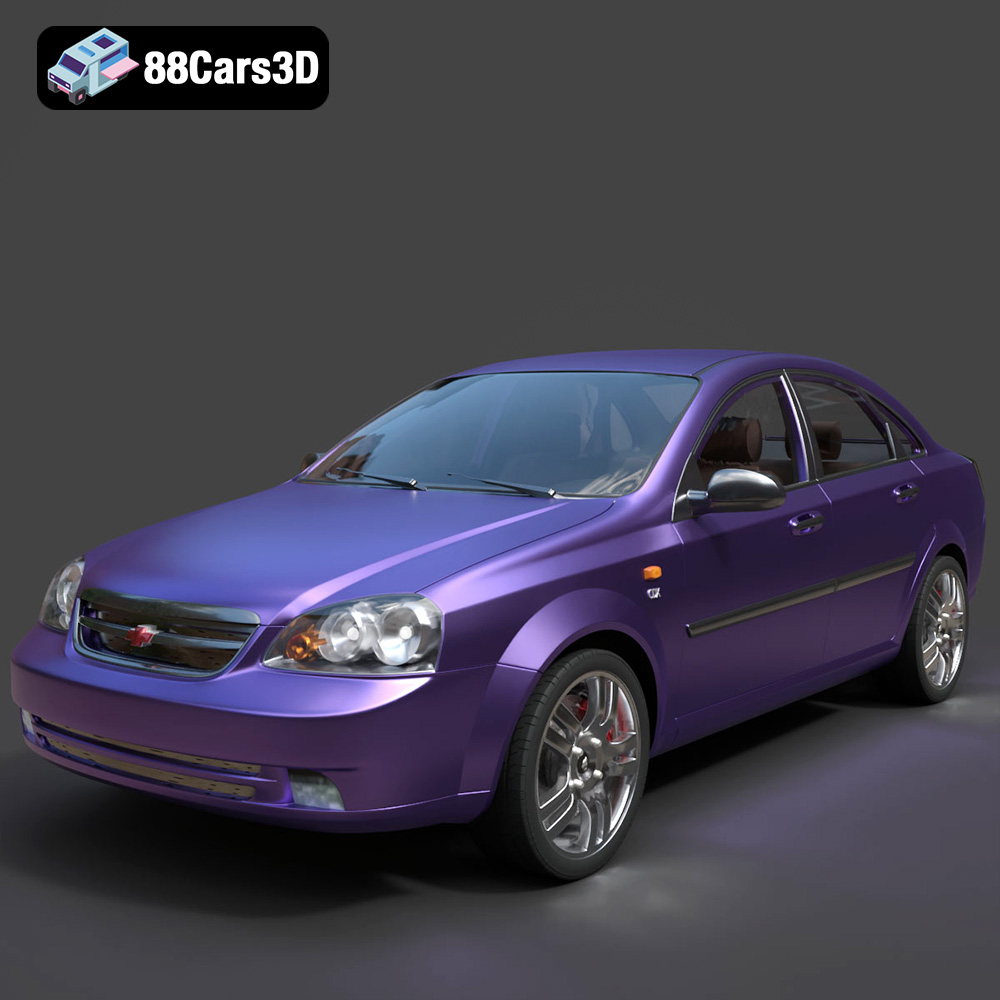
Download the Chevrolet Lacetti Sedan 2004 3D Model featuring clean geometry, realistic detailing, and a fully modeled interior. Includes .blend, .fbx, .obj, .glb, .stl, .ply, .unreal, and .max formats for rendering, simulation, and game development.
Price: $10
Texture: Yes
Material: Yes
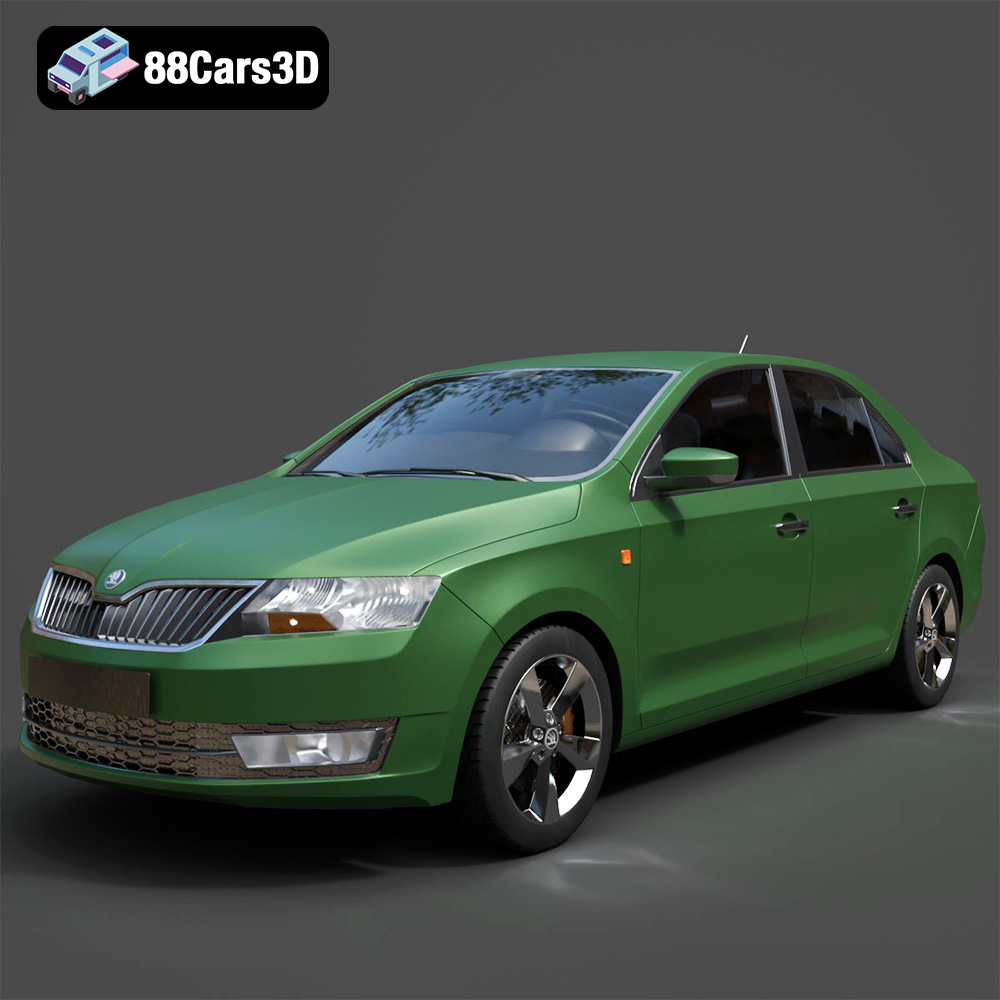
Download the Skoda Rapid 2013 3D Model featuring clean geometry, realistic detailing, and a fully modeled interior. Includes .blend, .fbx, .obj, .glb, .stl, .ply, .unreal, and .max formats for rendering, simulation, and game development.
Price: $10
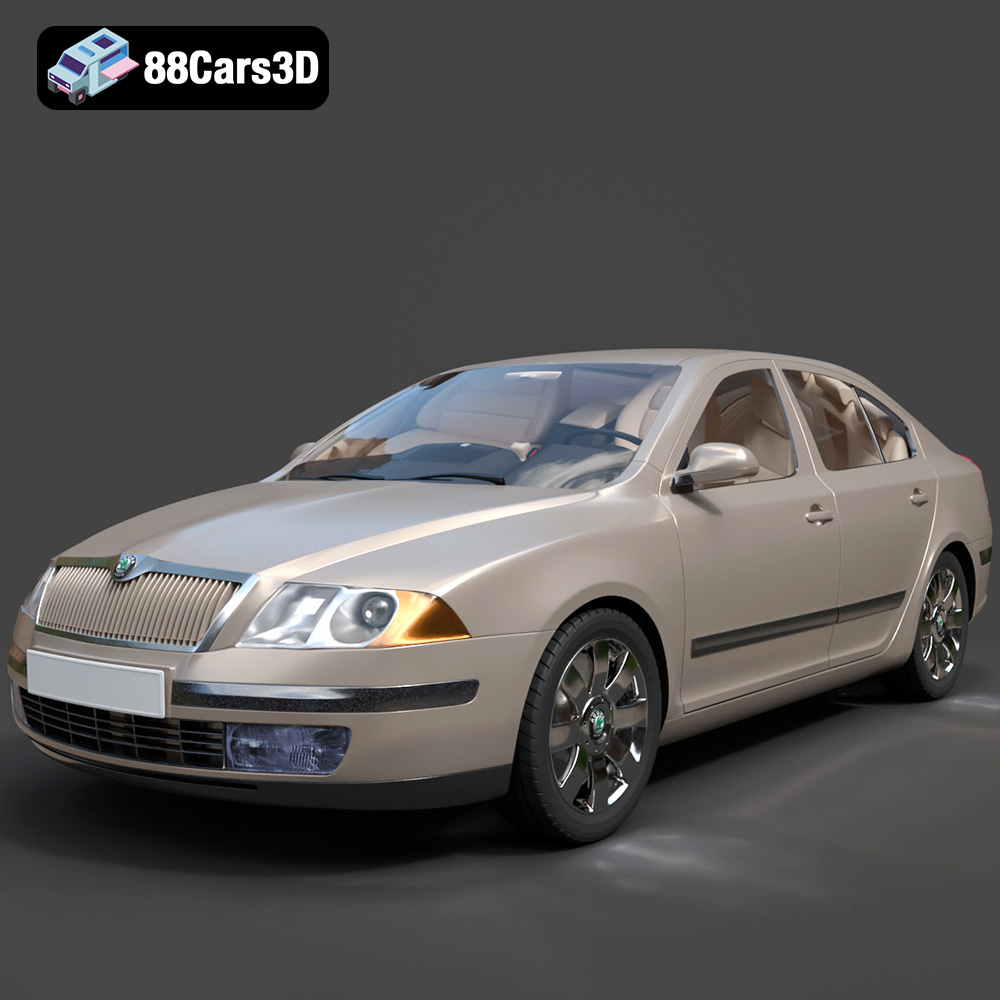
Texture: Yes
Material: Yes
Download the Skoda Octavia A5-007 3D Model featuring clean geometry, realistic detailing, and a fully modeled interior. Includes .blend, .fbx, .obj, .glb, .stl, .ply, .unreal, and .max formats for rendering, simulation, and game development.
Price: $10
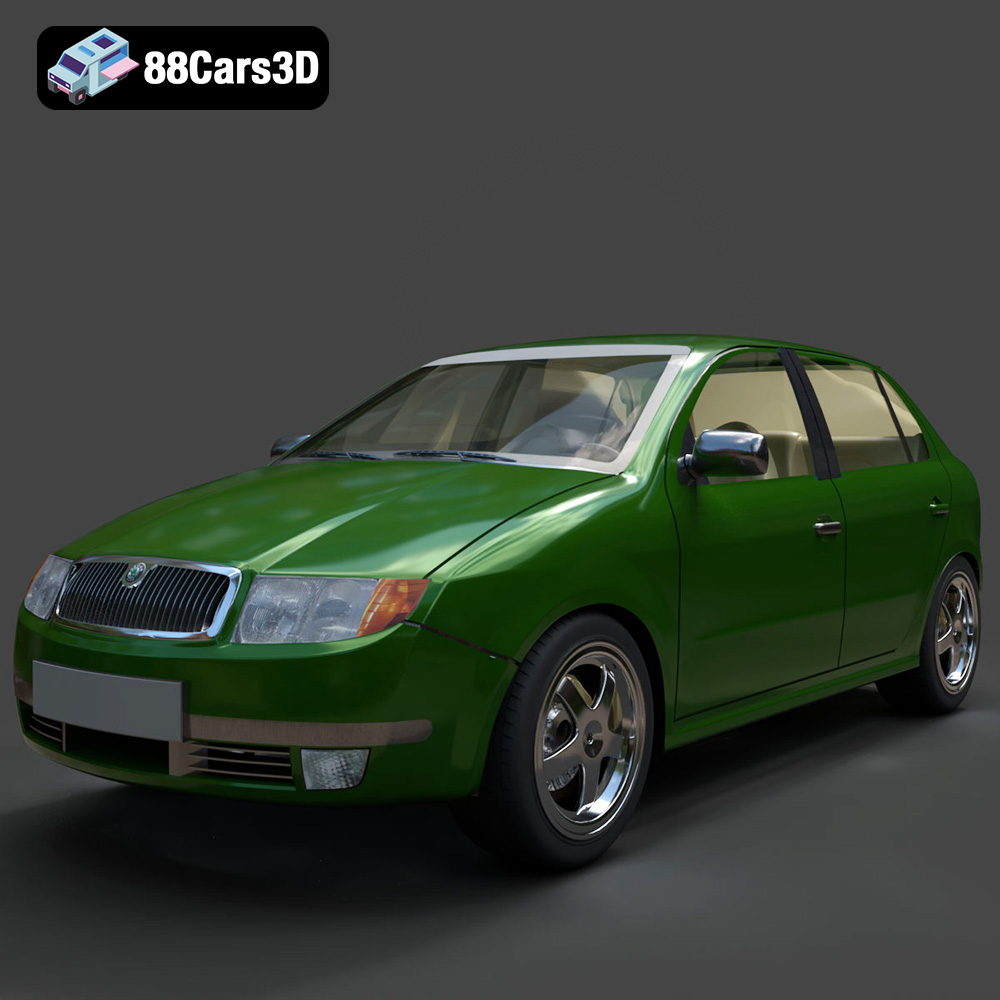
Texture: Yes
Material: Yes
Download the Skoda Fabia 2023 3D Model featuring clean geometry, realistic detailing, and a fully modeled interior. Includes .blend, .fbx, .obj, .glb, .stl, .ply, .unreal, and .max formats for rendering, simulation, and game development.
Price: $10
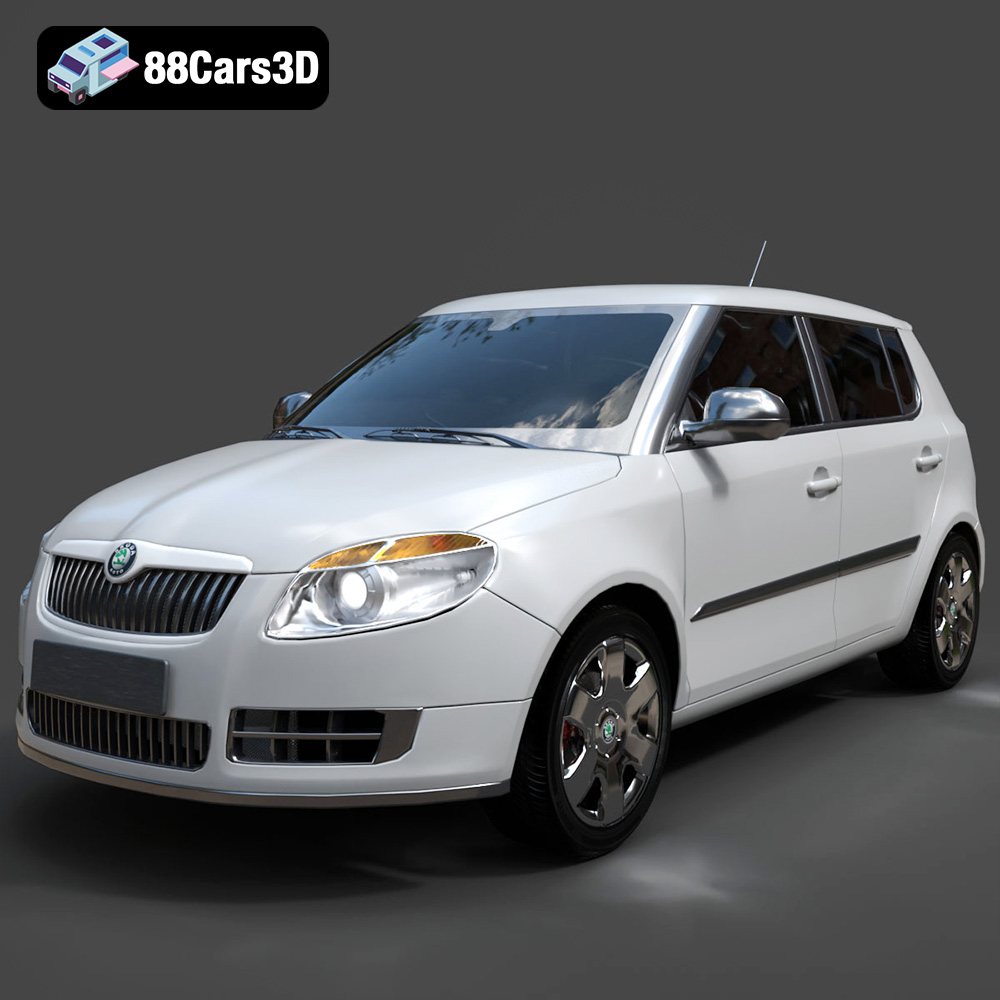
Texture: Yes
Material: Yes
Download the Skoda Fabia 2007 3D Model featuring clean geometry, realistic detailing, and a fully modeled interior. Includes .blend, .fbx, .obj, .glb, .stl, .ply, .unreal, and .max formats for rendering, simulation, and game development.
Price: $10
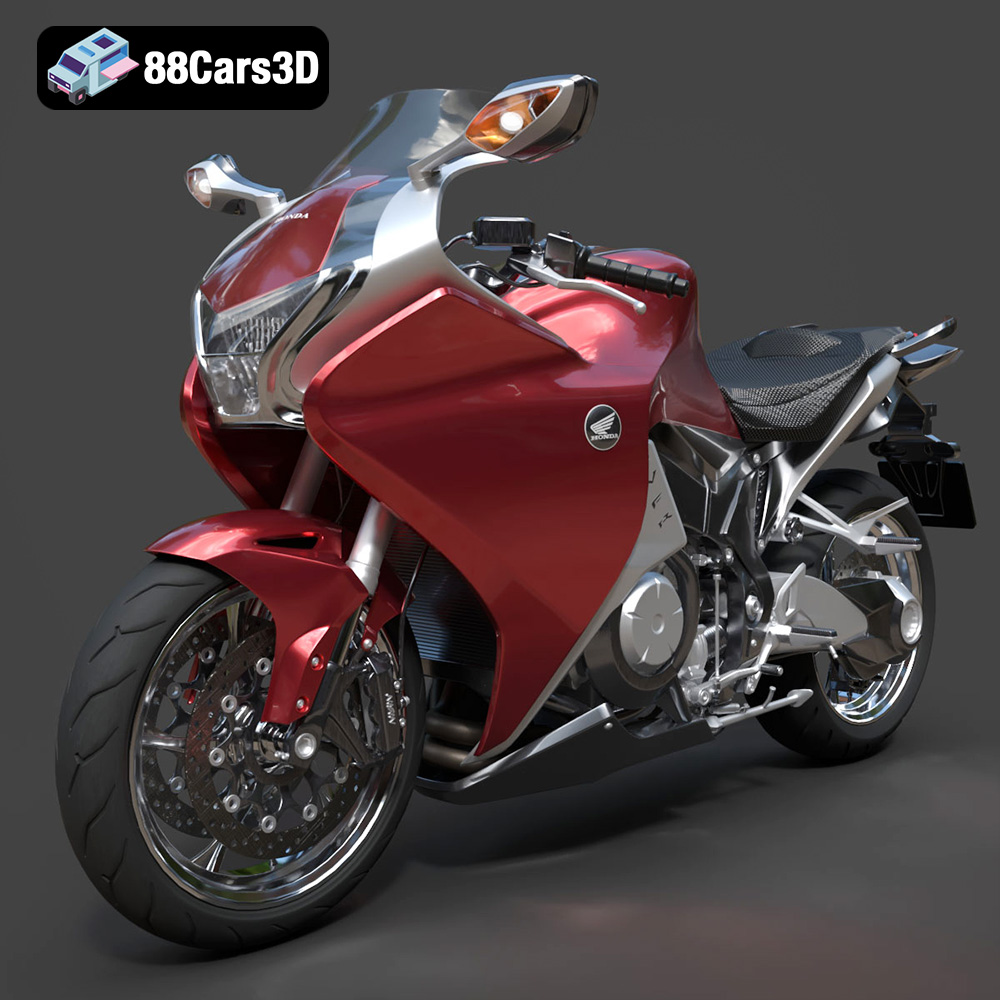
Texture: Yes
Material: Yes
Download the Honda VFR 1200 F 2015 3D Model featuring clean geometry, realistic detailing, and a fully modeled interior. Includes .blend, .fbx, .obj, .glb, .stl, .ply, .unreal, and .max formats for rendering, simulation, and game development.
Price: $10
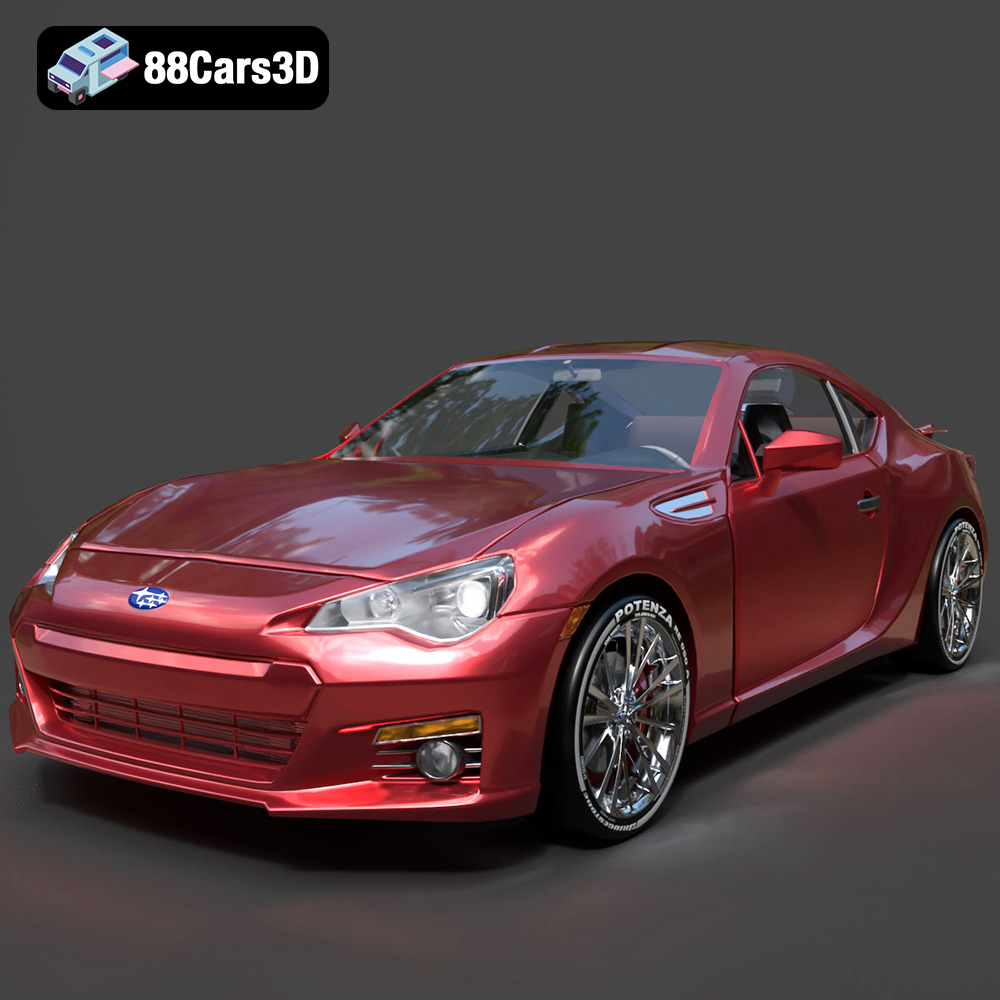
Texture: Yes
Material: Yes
Download the Subaru BRZ 2025 3D Model featuring clean geometry, realistic detailing, and a fully modeled interior. Includes .blend, .fbx, .obj, .glb, .stl, .ply, .unreal, and .max formats for rendering, simulation, and game development.
Price: $10

Texture: Yes
Material: Yes
Download the SsangYong Rodius 2007 3D Model featuring clean geometry, realistic detailing, and a fully modeled interior. Includes .blend, .fbx, .obj, .glb, .stl, .ply, .unreal, and .max formats for rendering, simulation, and game development.
Price: $10
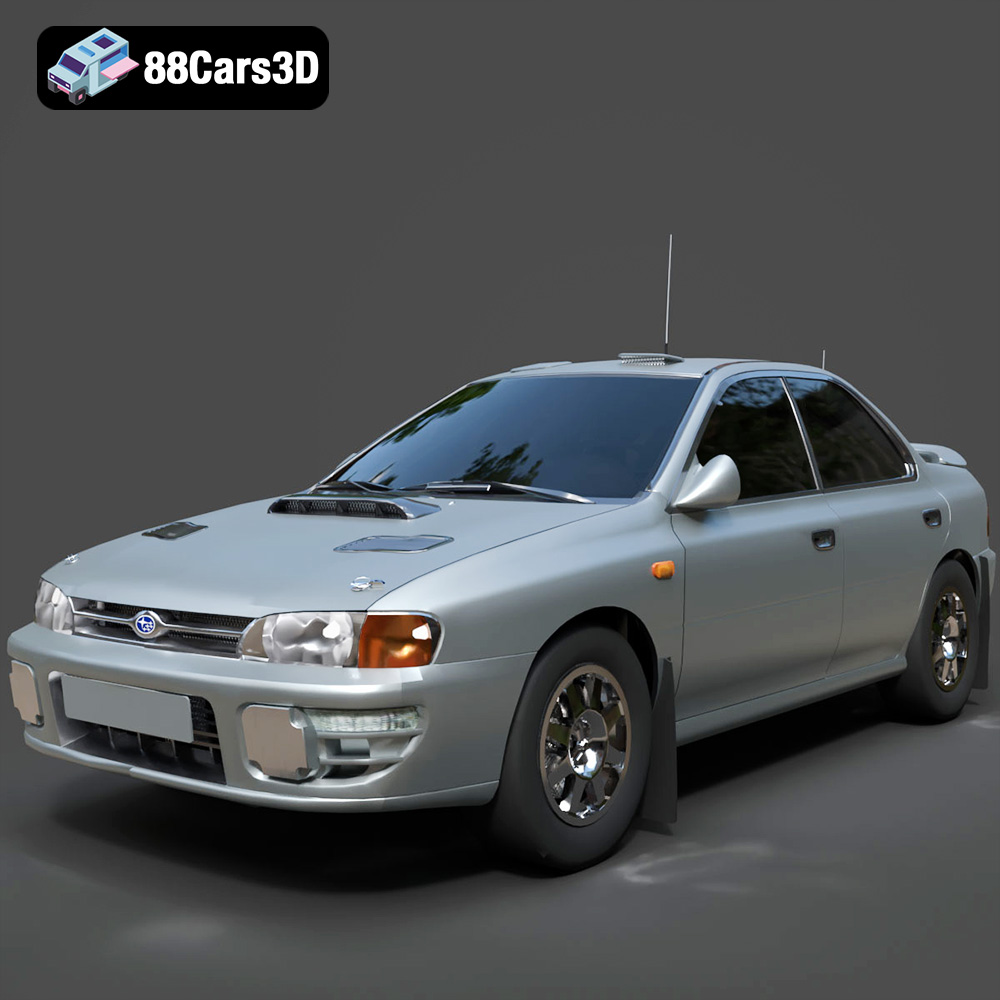
Texture: Yes
Material: Yes
Download the Subaru Impreza 1992 3D Model featuring clean geometry, realistic detailing, and a fully modeled interior. Includes .blend, .fbx, .obj, .glb, .stl, .ply, .unreal, and .max formats for rendering, simulation, and game development.
Price: $10
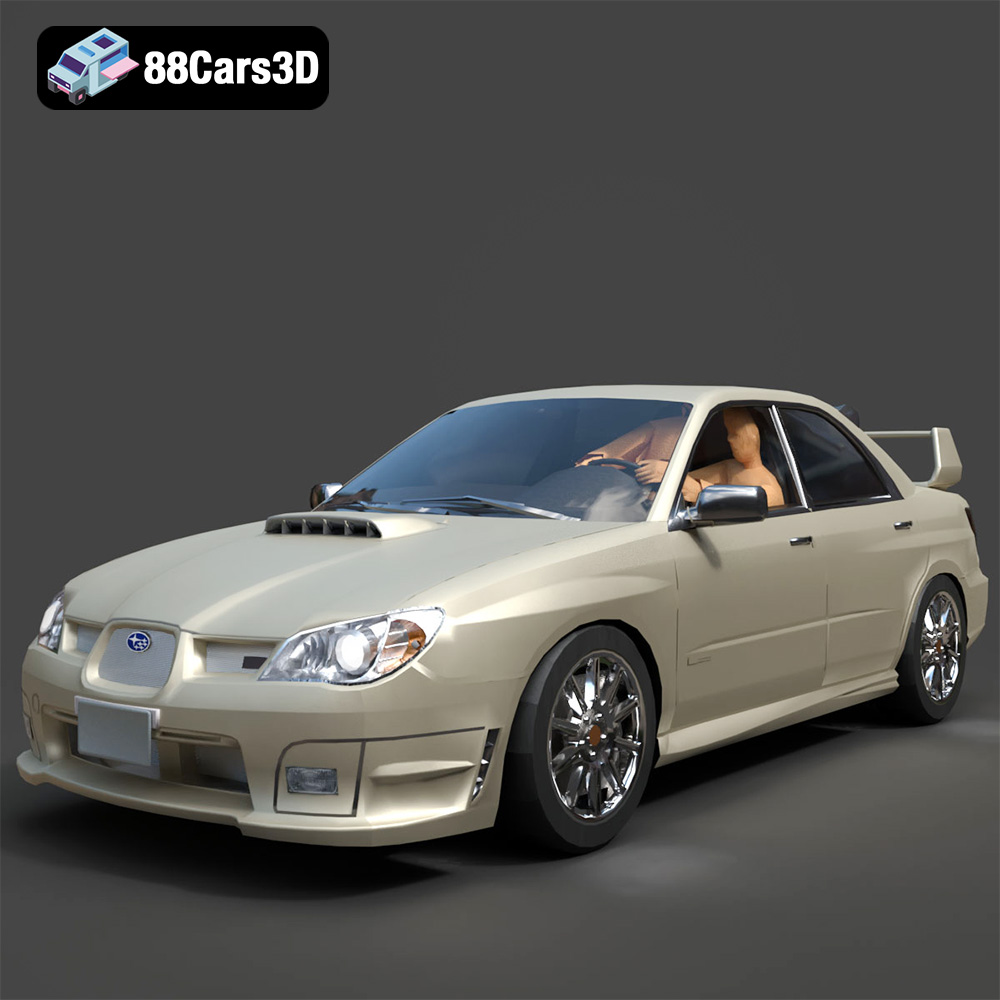
Texture: Yes
Material: Yes
Download the Subaru Impreza 2005 3D Model featuring clean geometry, realistic detailing, and a fully modeled interior. Includes .blend, .fbx, .obj, .glb, .stl, .ply, .unreal, and .max formats for rendering, simulation, and game development.
Price: $10
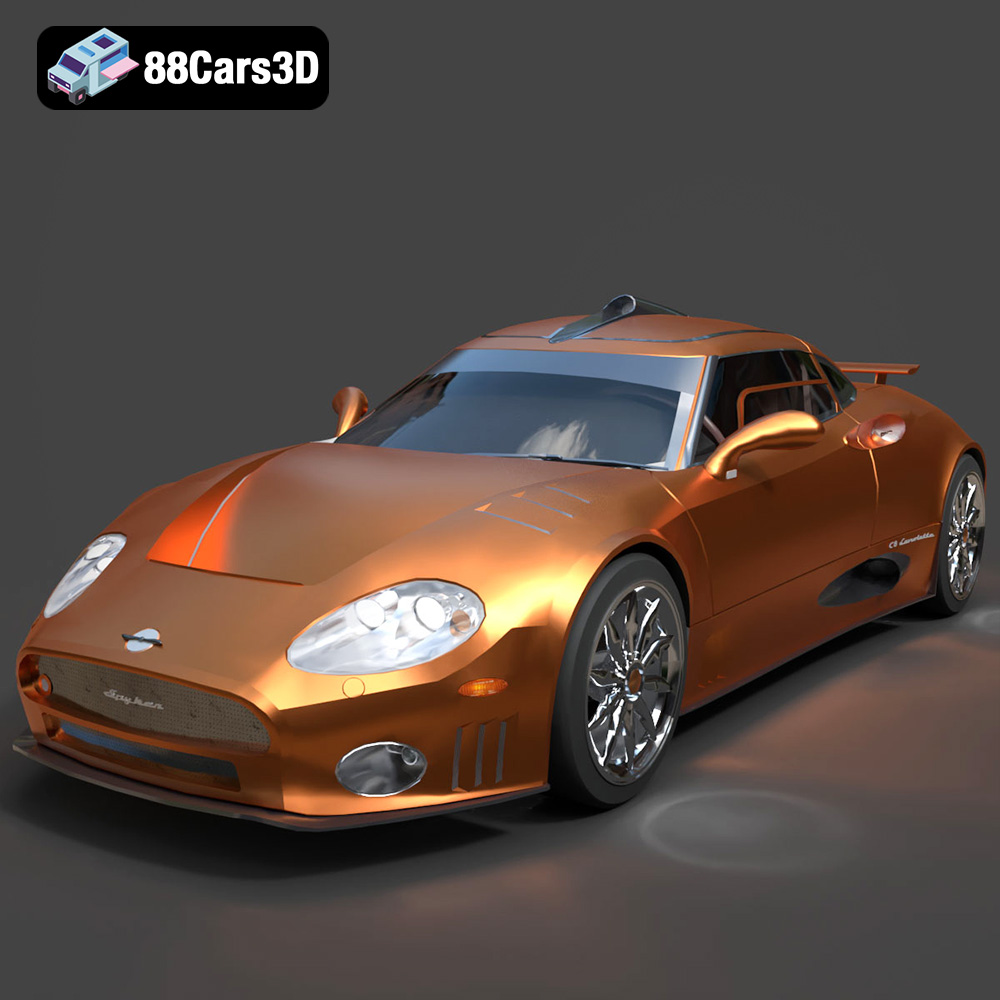
Texture: Yes
Material: Yes
Download the Spyker C8-007 2004 3D Model featuring clean geometry, realistic detailing, and a fully modeled interior. Includes .blend, .fbx, .obj, .glb, .stl, .ply, .unreal, and .max formats for rendering, simulation, and game development.
Price: $10
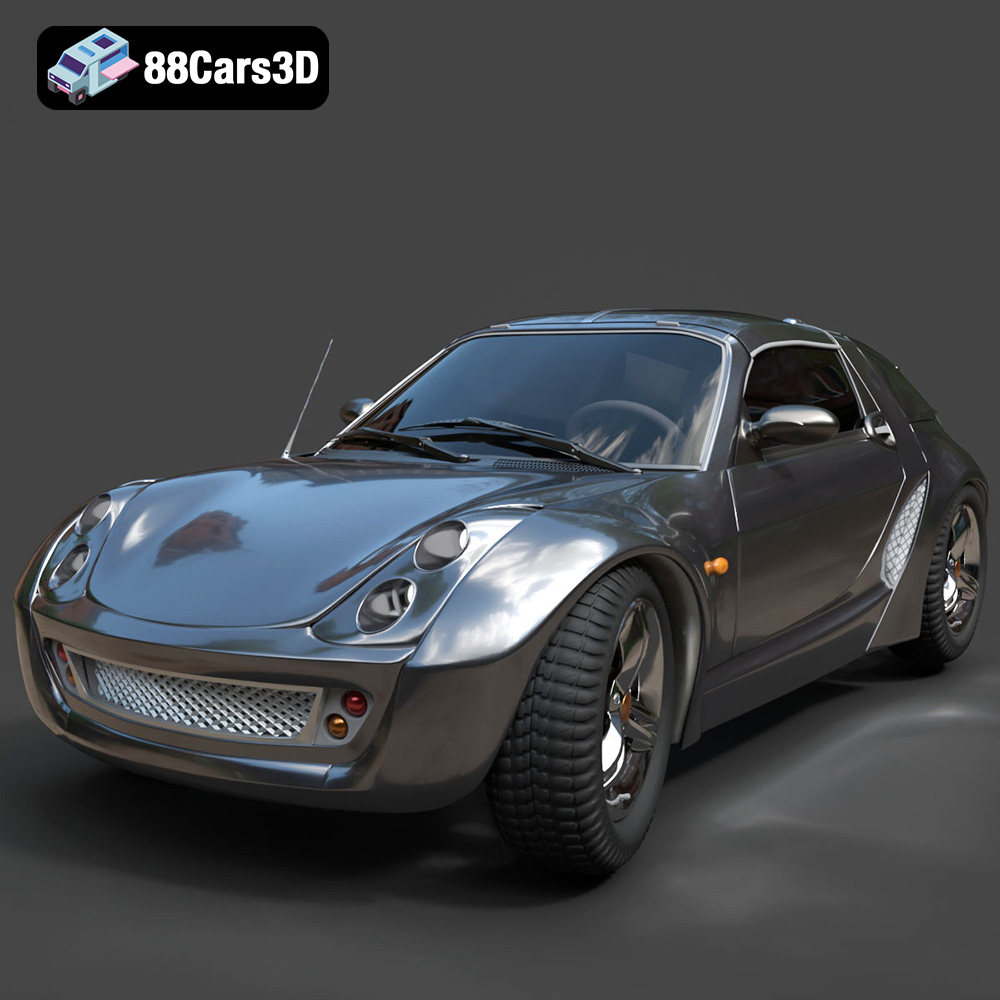
Texture: Yes
Material: Yes
Download the Smart Roadster 2003 3D Model featuring clean geometry, realistic detailing, and a fully modeled interior. Includes .blend, .fbx, .obj, .glb, .stl, .ply, .unreal, and .max formats for rendering, simulation, and game development.
Price: $10
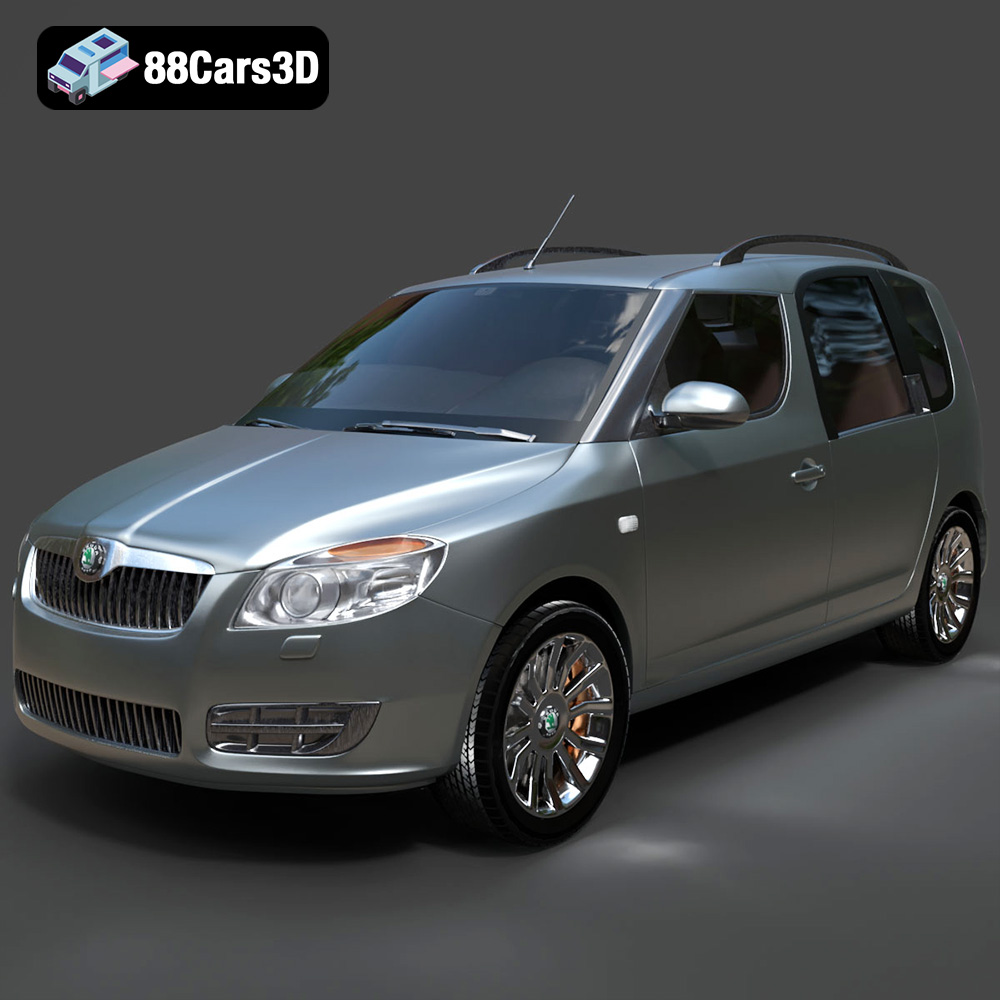
Texture: Yes
Material: Yes
Download the Skoda Roomster 2007 3D Model featuring clean geometry, realistic detailing, and a fully modeled interior. Includes .blend, .fbx, .obj, .glb, .stl, .ply, .unreal, and .max formats for rendering, simulation, and game development.
Price: $10

Texture: Yes
Material: Yes
Download the Subaru Impreza Sport Wagon 3D Model featuring clean geometry, realistic detailing, and a fully modeled interior. Includes .blend, .fbx, .obj, .glb, .stl, .ply, .unreal, and .max formats for rendering, simulation, and game development.
Price: $10

Texture: Yes
Material: Yes
Download the Skoda Octavia A7 2017 3D Model featuring clean geometry, realistic detailing, and a fully modeled interior. Includes .blend, .fbx, .obj, .glb, .stl, .ply, .unreal, and .max formats for rendering, simulation, and game development.
Price: $10

Texture: Yes
Material: Yes
Download the Suzuki SX4-002 3D Model featuring clean geometry, realistic detailing, and a fully modeled interior. Includes .blend, .fbx, .obj, .glb, .stl, .ply, .unreal, and .max formats for rendering, simulation, and game development.
Price: $10

Texture: Yes
Material: Yes
Download the Tesla Model S 2024 3D Model featuring clean geometry, realistic detailing, and a fully modeled interior. Includes .blend, .fbx, .obj, .glb, .stl, .ply, .unreal, and .max formats for rendering, simulation, and game development.
Price: $10

Texture: Yes
Material: Yes
Download the Subaru Impreza WRX STi-002 3D Model featuring clean geometry, realistic detailing, and a fully modeled interior. Includes .blend, .fbx, .obj, .glb, .stl, .ply, .unreal, and .max formats for rendering, simulation, and game development.
Price: $10

Texture: Yes
Material: Yes
Download the Subaru Impreza WRX STi Sedan 3D Model featuring clean geometry, realistic detailing, and a fully modeled interior. Includes .blend, .fbx, .obj, .glb, .stl, .ply, .unreal, and .max formats for rendering, simulation, and game development.
Price: $10

Texture: Yes
Material: Yes
Download the Subaru Legacy 2009 3D Model featuring clean geometry, realistic detailing, and a fully modeled interior. Includes .blend, .fbx, .obj, .glb, .stl, .ply, .unreal, and .max formats for rendering, simulation, and game development.
Price: $10

Texture: Yes
Material: Yes
Download the Suzuki Swift 2024 3D Model featuring clean geometry, realistic detailing, and a fully modeled interior. Includes .blend, .fbx, .obj, .glb, .stl, .ply, .unreal, and .max formats for rendering, simulation, and game development.
Price: $10

Texture: Yes
Material: Yes
Download the Suzuki Liana Sedan 2004 3D Model featuring clean geometry, realistic detailing, and a fully modeled interior. Includes .blend, .fbx, .obj, .glb, .stl, .ply, .unreal, and .max formats for rendering, simulation, and game development.
Price: $10

Texture: Yes
Material: Yes
Download the Subaru Outback 2024 3D Model featuring clean geometry, realistic detailing, and a fully modeled interior. Includes .blend, .fbx, .obj, .glb, .stl, .ply, .unreal, and .max formats for rendering, simulation, and game development.
Price: $10

Texture: Yes
Material: Yes
Download the Subaru Legacy 2003 3D Model featuring clean geometry, realistic detailing, and a fully modeled interior. Includes .blend, .fbx, .obj, .glb, .stl, .ply, .unreal, and .max formats for rendering, simulation, and game development.
Price: $10

Texture: Yes
Material: Yes
Download the Subaru Legacy Touring Wagon 3D Model featuring clean geometry, realistic detailing, and a fully modeled interior. Includes .blend, .fbx, .obj, .glb, .stl, .ply, .unreal, and .max formats for rendering, simulation, and game development.
Price: $10

Texture: Yes
Material: Yes
Download the Toyota Mark II (X100) 3D Model featuring clean geometry, realistic detailing, and a fully modeled interior. Includes .blend, .fbx, .obj, .glb, .stl, .ply, .unreal, and .max formats for rendering, simulation, and game development.
Price: $10

Texture: Yes
Material: Yes
Download the Toyota Corona 1985 3D Model featuring clean geometry, realistic detailing, and a fully modeled interior. Includes .blend, .fbx, .obj, .glb, .stl, .ply, .unreal, and .max formats for rendering, simulation, and game development.
Price: $10

Texture: Yes
Material: Yes
Download the Toyota Mark II X81 1990 3D Model featuring clean geometry, realistic detailing, and a fully modeled interior. Includes .blend, .fbx, .obj, .glb, .stl, .ply, .unreal, and .max formats for rendering, simulation, and game development.
Price: $10

Texture: Yes
Material: Yes
Download the Toyota iQ EV 2012 3D Model featuring clean geometry, realistic detailing, and a fully modeled interior. Includes .blend, .fbx, .obj, .glb, .stl, .ply, .unreal, and .max formats for rendering, simulation, and game development.
Price: $10

Texture: Yes
Material: Yes
Download the Toyota Aygo 2013 3D Model featuring clean geometry, realistic detailing, and a fully modeled interior. Includes .blend, .fbx, .obj, .glb, .stl, .ply, .unreal, and .max formats for rendering, simulation, and game development.
Price: $10

Texture: Yes
Material: Yes
Download the Toyota Crown S180 2005 3D Model featuring clean geometry, realistic detailing, and a fully modeled interior. Includes .blend, .fbx, .obj, .glb, .stl, .ply, .unreal, and .max formats for rendering, simulation, and game development.
Price: $10

Texture: Yes
Material: Yes
Download the Toyota Celica 2004 3D Model featuring clean geometry, realistic detailing, and a fully modeled interior. Includes .blend, .fbx, .obj, .glb, .stl, .ply, .unreal, and .max formats for rendering, simulation, and game development.
Price: $10

Texture: Yes
Material: Yes
Download the Toyota Corolla AE100 1992 3D Model featuring clean geometry, realistic detailing, and a fully modeled interior. Includes .blend, .fbx, .obj, .glb, .stl, .ply, .unreal, and .max formats for rendering, simulation, and game development.
Price: $10

Texture: Yes
Material: Yes
Download the Toyota Mark II X110 2000 3D Model featuring clean geometry, realistic detailing, and a fully modeled interior. Includes .blend, .fbx, .obj, .glb, .stl, .ply, .unreal, and .max formats for rendering, simulation, and game development.
Price: $10

Texture: Yes
Material: Yes
Download the Toyota Corolla 2020 3D Model featuring clean geometry, realistic detailing, and a fully modeled interior. Includes .blend, .fbx, .obj, .glb, .stl, .ply, .unreal, and .max formats for rendering, simulation, and game development.
Price: $10

Texture: Yes
Material: Yes
Download the Toyota Yaris 2020 3D Model featuring clean geometry, realistic detailing, and a fully modeled interior. Includes .blend, .fbx, .obj, .glb, .stl, .ply, .unreal, and .max formats for rendering, simulation, and game development.
Price: $9.9

Texture: Yes
Material: Yes
Download the Volkswagen Beetle 2012 3D Model featuring clean geometry, realistic detailing, and a fully modeled interior. Includes .blend, .fbx, .obj, .glb, .stl, .ply, .unreal, and .max formats for rendering, simulation, and game development.
Price: $9.9

Texture: Yes
Material: Yes
Download the Toyota Matrix 2005 3D Model featuring clean geometry, realistic detailing, and a fully modeled interior. Includes .blend, .fbx, .obj, .glb, .stl, .ply, .unreal, and .max formats for rendering, simulation, and game development.
Price: $9.9

Texture: Yes
Material: Yes
Download the Toyota Yaris Sedan 3D Model featuring clean geometry, realistic detailing, and a fully modeled interior. Includes .blend, .fbx, .obj, .glb, .stl, .ply, .unreal, and .max formats for rendering, simulation, and game development.
Price: $9.9

Texture: Yes
Material: Yes
Download the Volkswagen Golf R-004 2024 3D Model featuring clean geometry, realistic detailing, and a fully modeled interior. Includes .blend, .fbx, .obj, .glb, .stl, .ply, .unreal, and .max formats for rendering, simulation, and game development.
Price: $9.9

Texture: Yes
Material: Yes
Download the Volkswagen Golf 5 Door 2010 3D Model featuring clean geometry, realistic detailing, and a fully modeled interior. Includes .blend, .fbx, .obj, .glb, .stl, .ply, .unreal, and .max formats for rendering, simulation, and game development.
Price: $9.9

Texture: Yes
Material: Yes
Download the Toyota Premio 2010 3D Model featuring clean geometry, realistic detailing, and a fully modeled interior. Includes .blend, .fbx, .obj, .glb, .stl, .ply, .unreal, and .max formats for rendering, simulation, and game development.
Price: $9.9

Texture: Yes
Material: Yes
Download the Toyota Opa 2000 3D Model featuring clean geometry, realistic detailing, and a fully modeled interior. Includes .blend, .fbx, .obj, .glb, .stl, .ply, .unreal, and .max formats for rendering, simulation, and game development.
Price: $9.9

Texture: Yes
Material: Yes
Download the Volkswagen Polo 5 Door 2010 3D Model featuring clean geometry, realistic detailing, and a fully modeled interior. Includes .blend, .fbx, .obj, .glb, .stl, .ply, .unreal, and .max formats for rendering, simulation, and game development.
Price: $9.9

Texture: Yes
Material: Yes
Download the Toyota Prius 2024 3D Model featuring clean geometry, realistic detailing, and a fully modeled interior. Includes .blend, .fbx, .obj, .glb, .stl, .ply, .unreal, and .max formats for rendering, simulation, and game development.
Price: $9.9

Texture: Yes
Material: Yes
Download the Toyota Yaris 1999 3D Model featuring clean geometry, realistic detailing, and a fully modeled interior. Includes .blend, .fbx, .obj, .glb, .stl, .ply, .unreal, and .max formats for rendering, simulation, and game development.
Price: $9.9

Texture: Yes
Material: Yes
Download the Toyota Supra 2020 3D Model featuring clean geometry, realistic detailing, and a fully modeled interior. Includes .blend, .fbx, .obj, .glb, .stl, .ply, .unreal, and .max formats for rendering, simulation, and game development.
Price: $9.9

Texture: Yes
Material: Yes
Download the Volkswagen New Beetle 2000 3D Model featuring clean geometry, realistic detailing, and a fully modeled interior. Includes .blend, .fbx, .obj, .glb, .stl, .ply, .unreal, and .max formats for rendering, simulation, and game development.
Price: $14.99

Texture: Yes
Material: Yes
Download the Volkswagen Jetta 2005 3D Model featuring clean geometry, realistic detailing, and a fully modeled interior. Includes .blend, .fbx, .obj, .glb, .stl, .ply, .unreal, and .max formats for rendering, simulation, and game development.
Price: $18.99

Texture: Yes
Material: Yes
Download the Volkswagen Golf 3-Door 3D Model featuring clean geometry, realistic detailing, and a fully modeled interior. Includes .blend, .fbx, .obj, .glb, .stl, .ply, .unreal, and .max formats for rendering, simulation, and game development.
Price: $14.99

Texture: Yes
Material: Yes
Download the Volvo V70 2005 3D Model featuring clean geometry, realistic detailing, and a fully modeled interior. Includes .blend, .fbx, .obj, .glb, .stl, .ply, .unreal, and .max formats for rendering, simulation, and game development.
Price: $14.99

Texture: Yes
Material: Yes
Download the Volkswagen Bora 2004 3D Model featuring clean geometry, realistic detailing, and a fully modeled interior. Includes .blend, .fbx, .obj, .glb, .stl, .ply, .unreal, and .max formats for rendering, simulation, and game development.
Price: $14.99

Texture: Yes
Material: Yes
Download the Volkswagen Lupo 3D Model featuring clean geometry, realistic detailing, and a fully modeled interior. Includes .blend, .fbx, .obj, .glb, .stl, .ply, .unreal, and .max formats for rendering, simulation, and game development.
Price: $19.99

Texture: Yes
Material: Yes
Download the Volkswagen Passat B5 2000 3D Model featuring clean geometry, realistic detailing, and a fully modeled interior. Includes .blend, .fbx, .obj, .glb, .stl, .ply, .unreal, and .max formats for rendering, simulation, and game development.
Price: $19.99

Texture: Yes
Material: Yes
Download the Volkswagen Passat CC 3D Model featuring clean geometry, realistic detailing, and a fully modeled interior. Includes .blend, .fbx, .obj, .glb, .stl, .ply, .unreal, and .max formats for rendering, simulation, and game development.
Price: $19.99

Texture: Yes
Material: Yes
Download the Volkswagen Golf V 2006 3D Model featuring clean geometry, realistic detailing, and a fully modeled interior. Includes .blend, .fbx, .obj, .glb, .stl, .ply, .unreal, and .max formats for rendering, simulation, and game development.
Price: $19.99

Texture: Yes
Material: Yes
Download the Volvo S60 R-Design 3D Model featuring clean geometry, realistic detailing, and a fully modeled interior. Includes .blend, .fbx, .obj, .glb, .stl, .ply, .unreal, and .max formats for rendering, simulation, and game development.
Price: $19.99

Texture: Yes
Material: Yes
Download the Volkswagen Passat 2025 3D Model featuring clean geometry, realistic detailing, and a fully modeled interior. Includes .blend, .fbx, .obj, .glb, .stl, .ply, .unreal, and .max formats for rendering, simulation, and game development.
Price: $25.99

Texture: Yes
Material: Yes
Download the Volkswagen Passat Variant B6 2005 3D Model featuring clean geometry, realistic detailing, and a fully modeled interior. Includes .blend, .fbx, .obj, .glb, .stl, .ply, .unreal, and .max formats for rendering, simulation, and game development.
Price: $25.99

Texture: Yes
Material: Yes
Download the Volkswagen Phaeton W12 2004 3D Model featuring clean geometry, realistic detailing, and a fully modeled interior. Includes .blend, .fbx, .obj, .glb, .stl, .ply, .unreal, and .max formats for rendering, simulation, and game development.
Price: $25.99

Texture: Yes
Material: Yes
Download the Volkswagen Scirocco 2015 3D Model featuring clean geometry, realistic detailing, and a fully modeled interior. Includes .blend, .fbx, .obj, .glb, .stl, .ply, .unreal, and .max formats for rendering, simulation, and game development.
Price: $25.99

Texture: Yes
Material: Yes
Download the Volvo S60 2024 3D Model featuring clean geometry, realistic detailing, and a fully modeled interior. Includes .blend, .fbx, .obj, .glb, .stl, .ply, .unreal, and .max formats for rendering, simulation, and game development.
Price: $25.99

Texture: Yes
Material: Yes
Download the Volkswagen Polo 3D Model featuring clean geometry, realistic detailing, and a fully modeled interior. Includes .blend, .fbx, .obj, .glb, .stl, .ply, .unreal, and .max formats for rendering, simulation, and game development.
Price: $25.99

Texture: Yes
Material: Yes
Download the Volkswagen Golf 5-Doors 3D Model featuring clean geometry, realistic detailing, and a fully modeled interior. Includes .blend, .fbx, .obj, .glb, .stl, .ply, .unreal, and .max formats for rendering, simulation, and game development.
Price: $25.99

Texture: Yes
Material: Yes
Download the Volvo C70 T5 2000 3D Model featuring clean geometry, realistic detailing, and a fully modeled interior. Includes .blend, .fbx, .obj, .glb, .stl, .ply, .unreal, and .max formats for rendering, simulation, and game development.
Price: $23.99

Texture: Yes
Material: Yes
Download the Volvo S40 Sedan 2004 3D Model featuring clean geometry, realistic detailing, and a fully modeled interior. Includes .blend, .fbx, .obj, .glb, .stl, .ply, .unreal, and .max formats for rendering, simulation, and game development.
Price: $23.99

Texture: Yes
Material: Yes
Download the Volvo C30 BEV 2012 3D Model featuring clean geometry, realistic detailing, and a fully modeled interior. Includes .blend, .fbx, .obj, .glb, .stl, .ply, .unreal, and .max formats for rendering, simulation, and game development.
Price: $23.99

Texture: Yes
Material: Yes
Download the Volvo C70 1998 3D Model featuring clean geometry, realistic detailing, and a fully modeled interior. Includes .blend, .fbx, .obj, .glb, .stl, .ply, .unreal, and .max formats for rendering, simulation, and game development.
Price: $23.99

Texture: Yes
Material: Yes
Download the Mazda B-Series 3D Model featuring clean geometry, realistic detailing, and a fully modeled interior. Includes .blend, .fbx, .obj, .glb, .stl, .ply, .unreal, and .max formats for rendering, simulation, and game development.
Price: $23.99

Texture: Yes
Material: Yes
Download the Mercsedes Benz Z3-006 3D Model featuring clean geometry, realistic detailing, and a fully modeled interior. Includes .blend, .fbx, .obj, .glb, .stl, .ply, .unreal, and .max formats for rendering, simulation, and game development.
Price: $23.99

Texture: Yes
Material: Yes
Download the Mazda RX-7 3D Model featuring clean geometry, realistic detailing, and a fully modeled interior. Includes .blend, .fbx, .obj, .glb, .stl, .ply, .unreal, and .max formats for rendering, simulation, and game development.
Price: $23.99

Texture: Yes
Material: Yes
Download the Volvo VCC-003 3D Model featuring clean geometry, realistic detailing, and a fully modeled interior. Includes .blend, .fbx, .obj, .glb, .stl, .ply, .unreal, and .max formats for rendering, simulation, and game development.
Price: $23.99

Texture: Yes
Material: Yes
Download the Mercedes-Benz SLR McLaren 2005 3D Model featuring clean geometry, realistic detailing, and a fully modeled interior. Includes .blend, .fbx, .obj, .glb, .stl, .ply, .unreal, and .max formats for rendering, simulation, and game development.
Price: $23.99

Texture: Yes
Material: Yes
Download the GAZ 3110 Pickup 3D Model featuring clean geometry, realistic detailing, and a fully modeled interior. Includes .blend, .fbx, .obj, .glb, .stl, .ply, .unreal, and .max formats for rendering, simulation, and game development.
Price: $23.99

Texture: Yes
Material: Yes
Download the Mazda 626 GF 1997 3D Model featuring clean geometry, realistic detailing, and a fully modeled interior. Includes .blend, .fbx, .obj, .glb, .stl, .ply, .unreal, and .max formats for rendering, simulation, and game development.
Price: $23.99

Texture: Yes
Material: Yes
Download the Volvo S80 2011 3D Model featuring clean geometry, realistic detailing, and a fully modeled interior. Includes .blend, .fbx, .obj, .glb, .stl, .ply, .unreal, and .max formats for rendering, simulation, and game development.
Price: $23.99

Texture: Yes
Material: Yes
Download the Volkswagen Touran restyle-006 3D Model featuring clean geometry, realistic detailing, and a fully modeled interior. Includes .blend, .fbx, .obj, .glb, .stl, .ply, .unreal, and .max formats for rendering, simulation, and game development.
Price: $23.99

Texture: Yes
Material: Yes
Download the Skoda Octavia Scout 3D Model featuring clean geometry, realistic detailing, and a fully modeled interior. Includes .blend, .fbx, .obj, .glb, .stl, .ply, .unreal, and .max formats for rendering, simulation, and game development.
Price: $23.99

Texture: Yes
Material: Yes
Download the Volkswagen Golf V 2006 3D Model featuring clean geometry, realistic detailing, and a fully modeled interior. Includes .blend, .fbx, .obj, .glb, .stl, .ply, .unreal, and .max formats for rendering, simulation, and game development.
Price: $23.99

Texture: Yes
Material: Yes
Download the Mazda CX-7 3D Model featuring clean geometry, realistic detailing, and a fully modeled interior. Includes .blend, .fbx, .obj, .glb, .stl, .ply, .unreal, and .max formats for rendering, simulation, and game development.
Price: $23.99

Texture: Yes
Material: Yes
Download the Mazda Familia 3D Model featuring clean geometry, realistic detailing, and a fully modeled interior. Includes .blend, .fbx, .obj, .glb, .stl, .ply, .unreal, and .max formats for rendering, simulation, and game development.
Price: $23.99

Texture: Yes
Material: Yes
Download the GAS 21 3D Model featuring clean geometry, realistic detailing, and a fully modeled interior. Includes .blend, .fbx, .obj, .glb, .stl, .ply, .unreal, and .max formats for rendering, simulation, and game development.
Price: $23.99

Texture: Yes
Material: Yes
Download the Mercedes-Benz SL500 AMG (R129) 3D Model featuring clean geometry, realistic detailing, and a fully modeled interior. Includes .blend, .fbx, .obj, .glb, .stl, .ply, .unreal, and .max formats for rendering, simulation, and game development.
Price: $23.99

Texture: Yes
Material: Yes
Download the Mercedes-Benz S-Class W221 2005 3D Model featuring clean geometry, realistic detailing, and a fully modeled interior. Includes .blend, .fbx, .obj, .glb, .stl, .ply, .unreal, and .max formats for rendering, simulation, and game development.
Price: $23.99

Texture: Yes
Material: Yes
Download the Mercedes-Benz E-Class W212 2009 3D Model featuring clean geometry, realistic detailing, and a fully modeled interior. Includes .blend, .fbx, .obj, .glb, .stl, .ply, .unreal, and .max formats for rendering, simulation, and game development.
Price: $23.99

Texture: Yes
Material: Yes
Download the Mercedes-Benz E-class Estate S212 2009 3D Model featuring clean geometry, realistic detailing, and a fully modeled interior. Includes .blend, .fbx, .obj, .glb, .stl, .ply, .unreal, and .max formats for rendering, simulation, and game development.
Price: $23.99

