Get 50% OFF All Premium 3D & STL Models!

In today’s diverse digital landscape, the concept of “build once, deploy everywhere” is the holy grail for game developers and real-time visualization specialists. Reaching audiences on high-end PCs, next-generation consoles, and the billions of mobile devices in pockets around the world can maximize a project’s impact and return on investment. Unreal Engine stands as a titan in this arena, offering a powerful, unified framework for creating stunning experiences across a vast array of platforms. However, unlocking this potential is not as simple as flipping a switch. True cross-platform development is a discipline, demanding a strategic approach from the very first line of code to the final packaged build.
This comprehensive guide will navigate the intricate yet rewarding journey of building scalable projects in Unreal Engine. We will move beyond theory and dive deep into the practical workflows, technical considerations, and optimization strategies required to deliver a high-quality, performant experience on any target device. You will learn how to structure your project for scalability, optimize complex assets like 3D car models for any screen, implement flexible rendering pipelines, write platform-agnostic logic, and establish a rigorous testing and deployment process. Whether you’re building the next blockbuster racing game or an interactive automotive configurator, these principles will empower you to conquer the cross-platform challenge.
Before importing a single model or writing a single Blueprint node, the success of a cross-platform project is determined by its initial planning. A reactive approach, where you build for a high-end PC and later try to “port down” to mobile, is a recipe for frustration, massive rework, and compromised quality. A proactive, “target-first” strategy is essential. This involves defining your performance budgets and technical limitations upfront, ensuring every decision is made with the entire spectrum of target hardware in mind. This initial investment in planning pays dividends throughout the development lifecycle, leading to a smoother, more predictable production process.
The first step is to categorize your target platforms into performance tiers. This helps establish clear, measurable goals for quality and performance. A common breakdown includes:
For each tier, you must define a minimum viable specification. This includes target resolution (e.g., 1080p, 720p), target framerate (e.g., 60fps, 30fps), and memory budgets (RAM and VRAM). These numbers become your guiding star for every technical and artistic decision.
Inside Unreal Engine, proper initial project setup is critical. When creating a new project, pay close attention to the Target Hardware setting. Selecting Scalable is often the best choice for cross-platform development, as it configures the engine with a balanced feature set that can be scaled up or down. Choosing “Maximum” might enable features by default that are incompatible with your lower-end targets. Within your project settings (Edit > Project Settings), you’ll spend considerable time in the Platforms section, where you can begin configuring specific overrides for iOS, Android, and other targets. Furthermore, implementing a robust source control system like Git or Perforce from day one is non-negotiable for managing different configurations and collaborating effectively.
Unreal Engine’s built-in scalability settings are your primary tool for managing real-time quality adjustments. These settings, controlled by console variables, are grouped into levels: Low, Medium, High, Epic, and Cinematic. You can modify the specific commands for each level within your project’s configuration files (Config/DefaultScalability.ini). For example, you can define that the “Low” Anti-Aliasing setting uses a fast Temporal Super-Resolution (TSR) mode, while “Epic” uses a higher-quality, more expensive one. During development, you can map these groups to your platform tiers, ensuring that your low-end mobile build defaults to “Low” settings across the board, while your PC build can run on “Epic.”
Assets—your meshes, textures, and materials—are the building blocks of your world and often the biggest performance bottleneck. A single, unoptimized hero asset that looks stunning on a high-end PC can bring a mobile device to its knees. A successful cross-platform asset pipeline is built on the principles of efficiency, scalability, and automated workflows. The goal is to create assets that can be gracefully degraded in quality without losing their essential visual identity.
Every platform has a limit on how many triangles it can render per frame while maintaining your target framerate. Establishing strict polygon budgets is crucial. For an automotive visualization project, a hero car might be 500,000 polygons for the high-end tier but must scale down to under 100,000 for mobile. This is achieved through a robust Level of Detail (LOD) system. Unreal Engine provides an excellent built-in tool for automatically generating LODs. By opening a Static Mesh and navigating to the LOD Settings, you can specify the number of LODs to create and the screen size at which each should activate. For critical assets, manually creating custom LOD meshes in a 3D modeling application offers the highest quality reduction. Sourcing game-ready assets from marketplaces such as 88cars3d.com can be a major advantage, as their 3D car models are built with clean topology that is ideal for either automatic or manual LOD generation.
Textures consume significant memory and bandwidth. Your texturing strategy must be multi-tiered. Use 4K textures for hero assets on PC and next-gen consoles, but have 2K or even 1K versions for lower tiers. Unreal’s Device Profiles are invaluable here. They allow you to set Texture LOD Groups that automatically apply different compression settings and resolution biases based on the target platform (e.g., using high-quality BC7 compression on PC and ASTC on Android). Material complexity is another major factor. The number of shader instructions directly impacts GPU performance. Use the Material Quality Level switch node within the Material Editor to create a single material that can switch between a complex version (e.g., with parallax occlusion mapping) on high-end platforms and a simplified version on mobile. Similarly, the Static Switch Parameter can be used to compile out entire branches of expensive logic for specific quality levels.
Nanite, Unreal Engine’s virtualized geometry system, is a revolutionary technology that allows for rendering film-quality, high-polygon assets in real time without traditional LODs. It’s a game-changer for high-end platforms (PC, PS5, Xbox Series X/S). However, Nanite is not currently supported on mobile platforms or the Nintendo Switch. This creates a critical branching point in your asset pipeline. The best practice is to design a dual workflow:
You can manage this by having separate build configurations or by using scripts to disable Nanite and assign traditional LODs for specific platform packages. This ensures you can leverage the best technology for each platform without compromising compatibility.
Lighting and rendering are at the heart of your project’s visual appeal, but they are also among the most computationally expensive processes. A scalable rendering strategy involves leveraging Unreal Engine’s most advanced features for your top-tier platforms while relying on time-tested, performant techniques for the rest. Your goal is to maintain a consistent mood and art direction across all devices, even if the underlying technology differs dramatically.
Lumen is Unreal Engine’s fully dynamic global illumination and reflections system. It provides stunning, realistic lighting that reacts instantly to changes in the scene, making it perfect for dynamic environments. For your high-end PC and current-gen console tier, Lumen is the preferred choice. It has two main modes:
While powerful, Lumen carries a significant performance cost and is not a viable option for mobile or older console hardware. It should be reserved exclusively for your highest-performance tier.
For mobile, Nintendo Switch, and VR applications, static lighting, or “baking,” is the most performant solution. This process, handled by Unreal’s Lightmass system, pre-calculates complex light interactions (bounces, soft shadows) and stores them in texture maps called lightmaps. The workflow involves:
This workflow results in incredibly fast rendering at runtime because the GPU is simply reading from a texture instead of performing complex lighting calculations every frame.
Post-processing effects like Bloom, Screen Space Ambient Occlusion (SSAO), Depth of Field, and Motion Blur add significant polish but are very demanding on the GPU. Your cross-platform strategy must involve granular control over these effects. Use the Scalability Settings (tied to your Low-to-Epic quality levels) to reduce the quality or completely disable certain effects on lower-end tiers. For example, your `BaseScalability.ini` can be configured so that `sg.PostProcessQuality 0` (Low) disables expensive effects like lens flares and screen space reflections, while `sg.PostProcessQuality 3` (Epic) enables them at full quality.
Creating gameplay and interactive logic that functions seamlessly across different input methods—from keyboard and mouse to gamepads and touch screens—is a cornerstone of cross-platform design. Unreal Engine provides robust systems to abstract input and execute platform-specific code, allowing you to maintain a clean, unified codebase.
Hard-coding input events (e.g., checking if the “W” key is pressed) is the quickest way to create a cross-platform maintenance nightmare. The modern solution is Unreal’s Enhanced Input system. This system abstracts the physical hardware away from the gameplay logic. The workflow is as follows:
This way, you can simply switch the active Input Mapping Context based on the platform or user preference, and your core logic remains completely unchanged.
Inevitably, you will need to execute code that is unique to one platform. This could be for integrating a platform’s online services (like Steam, Xbox Live, or Game Center) or for displaying a specific UI element. In Blueprints, the Platform Switch node is your best friend. This simple node provides different execution pins for various platforms (Windows, iOS, Android, etc.), allowing you to cleanly branch your logic. For more complex or performance-critical scenarios in C++, you can use preprocessor directives (e.g., #if PLATFORM_WINDOWS ... #elif PLATFORM_IOS ... #endif) to compile code specifically for a given target, ensuring that platform-specific code doesn’t even exist in the executable for another.
Unreal Motion Graphics (UMG) is the engine’s UI design framework. To ensure your UI looks good and is usable on everything from a 4K monitor to a small phone screen, you must utilize its scaling features. The most important tool is the DPI Scale Curve found in your Project Settings. This allows you to define a curve that automatically scales all your UI elements based on the screen resolution of the device. For example, you can set it to apply no scaling at 1080p, but to scale the UI up by 1.5x at 4K and down by 0.8x at 720p. For vastly different experiences, like touch vs. gamepad, it’s often best to create entirely separate widget layouts and use a Platform Switch node to load the appropriate one at runtime.
The final phase of development involves bringing everything together, testing it on real hardware, and packaging it for release. This stage is where your careful planning and scalable design choices truly pay off, transforming a potentially chaotic process into a streamlined workflow.
Device Profiles are one of Unreal Engine’s most powerful tools for cross-platform optimization. Located in Project Settings > Platforms, they allow you to create profiles that override a wide range of settings for specific devices or device families. For example, you can create an “Android_LowEnd” profile that sets specific console variables (Cvars) to reduce quality, such as r.Mobile.MaxCSMCount=1 to limit cascade shadow maps, and sets a texture LOD bias to use lower-resolution textures. You can create another profile for “iPhone_HighEnd” that uses much higher settings. The engine will automatically apply the correct profile when the application launches on a matching device.
There is no substitute for testing on actual hardware. Emulators and in-editor previews are useful for rapid iteration, but they cannot accurately replicate the performance characteristics, thermal throttling, and input latency of real devices. Establish a testing matrix covering your target platforms and a range of devices within each tier. Use Unreal Engine’s built-in profiling tools to diagnose issues:
stat unit and stat gpu provide a real-time overview of performance bottlenecks.Regularly capture profiling data from your target devices to track performance over time and catch regressions early.
Packaging your project is the final step in creating a distributable application. Unreal’s packaging wizard (Platforms > [Select Platform] > Package Project) simplifies this process, but it relies on having the correct SDKs installed on your development machine (e.g., Visual Studio for Windows, Xcode for iOS/macOS, Android Studio with its NDK/SDK for Android). For larger teams and more complex projects, setting up an automated build system using Unreal’s Automation Tool or a CI/CD service like Jenkins is highly recommended. This allows you to automatically generate builds for all your target platforms nightly, ensuring that platform-specific bugs are caught quickly. For in-depth guidance on setting up these toolchains, the official Unreal Engine documentation at https://dev.epicgames.com/community/unreal-engine/learning serves as an invaluable and authoritative resource.
Successfully developing a cross-platform project with Unreal Engine is a testament to disciplined engineering and smart design. It begins not with flashy features, but with a solid foundation of planning, establishing clear performance tiers, and adopting a scalable mindset from the outset. By building a flexible asset pipeline with robust LODs, leveraging a layered rendering strategy that uses both Lumen and baked lighting, writing abstracted input logic, and committing to rigorous testing on real hardware, you can deliver a consistent and compelling experience to all your users, regardless of their device.
The journey from a high-end PC to a handheld mobile device is complex, but it is not insurmountable. The tools and workflows within Unreal Engine are designed to facilitate this exact challenge. By embracing these principles, you can broaden your audience, maximize your project’s reach, and truly master the art of cross-platform development. Starting this process with high-quality, optimization-ready assets, like the detailed game assets available on platforms such as 88cars3d.com, can provide a significant head start, streamlining your asset pipeline and freeing up invaluable time to focus on the platform-specific polish that makes an application truly shine.

Texture: Yes
Material: Yes
Download the Moto Guzzi Classic Motorcycle 2024 3D Model featuring clean geometry, realistic detailing, and a fully modeled interior. Includes .blend, .fbx, .obj, .glb, .stl, .ply, .unreal, and .max formats for rendering, simulation, and game development.
Price: $10

Texture: Yes
Material: Yes
Download the Horch 853 Sport Cabriolet 1937 3D Model featuring clean geometry, realistic detailing, and a fully modeled interior. Includes .blend, .fbx, .obj, .glb, .stl, .ply, .unreal, and .max formats for rendering, simulation, and game development.
Price: $10
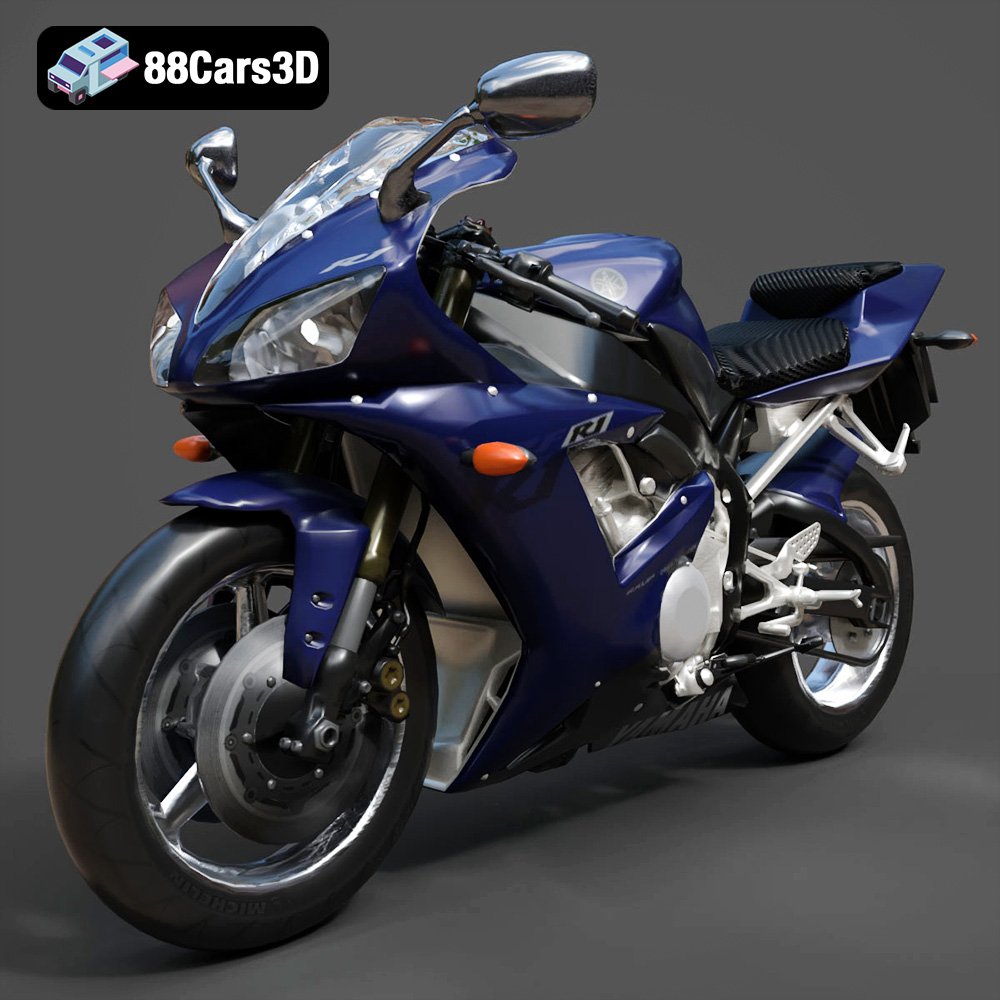
Texture: Yes
Material: Yes
Download the Yamaha YZF-R1 Motorcycle 3D Model featuring clean geometry, realistic detailing, and a fully modeled interior. Includes .blend, .fbx, .obj, .glb, .stl, .ply, .unreal, and .max formats for rendering, simulation, and game development.
Price: $10

Texture: Yes
Material: Yes
Download the Mercedes Benz G63 AMG 2019 3D Model featuring clean geometry, realistic detailing, and a fully modeled interior. Includes .blend, .fbx, .obj, .glb, .stl, .ply, .unreal, and .max formats for rendering, simulation, and game development.
Price: $90

Texture: Yes
Material: Yes
Download the Daewoo Damas Mk2 2012 3D Model featuring clean geometry, realistic detailing, and a fully modeled interior. Includes .blend, .fbx, .obj, .glb, .stl, .ply, .unreal, and .max formats for rendering, simulation, and game development.
Price: $10
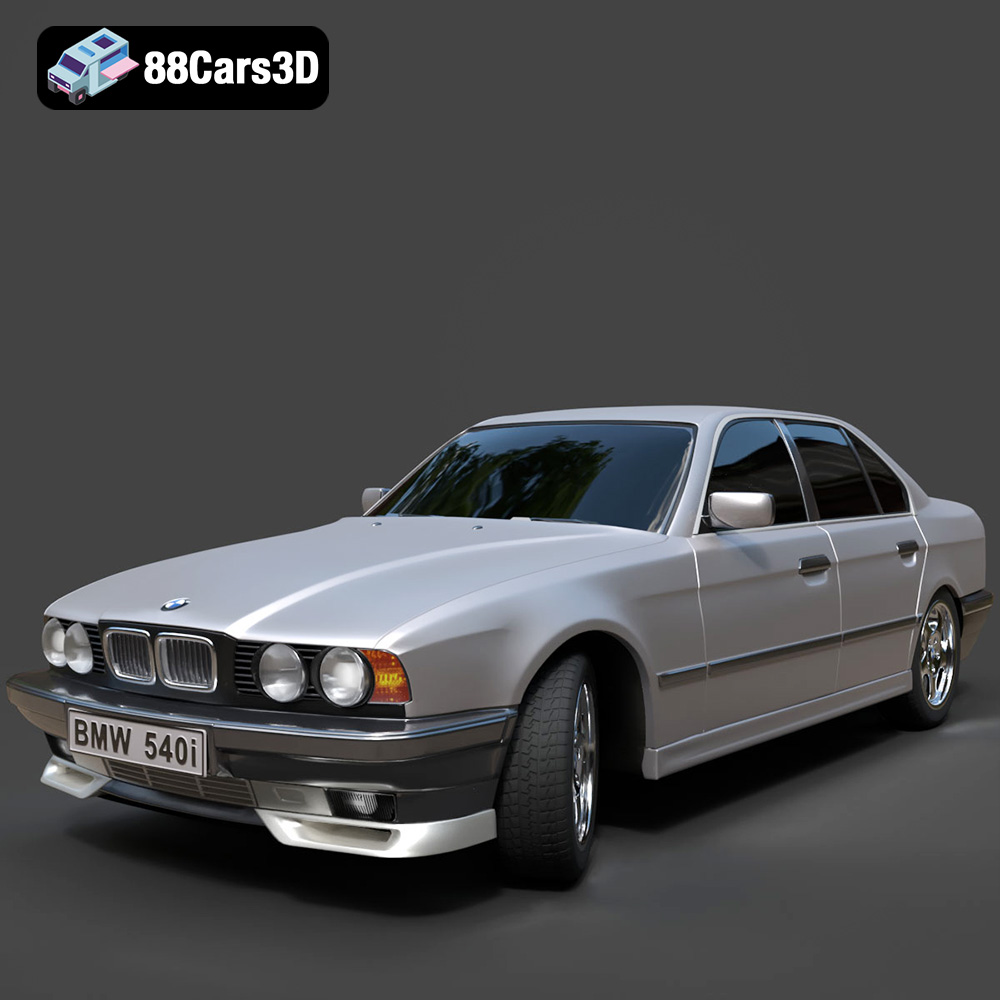
Texture: Yes
Material: Yes
Download the BMW 540 E34 3D Model featuring clean geometry, realistic detailing, and a fully modeled interior. Includes .blend, .fbx, .obj, .glb, .stl, .ply, .unreal, and .max formats for rendering, simulation, and game development.
Price: $10

Texture: Yes
Material: Yes
Download the BMW 8 Series Coupe 2020 3D Model featuring clean geometry, realistic detailing, and a fully modeled interior. Includes .blend, .fbx, .obj, .glb, .stl, .ply, .unreal, and .max formats for rendering, simulation, and game development.
Price: $10

Texture: Yes
Material: Yes
Download the Mercedes-Benz CLA45 AMG 2017 3D Model featuring clean geometry, realistic detailing, and a fully modeled interior. Includes .blend, .fbx, .obj, .glb, .stl, .ply, .unreal, and .max formats for rendering, simulation, and game development.
Price: $21.99

Texture: Yes
Material: Yes
Download the Dodge Charger Car-004 3D Model featuring clean geometry, realistic detailing, and a fully modeled interior. Includes .blend, .fbx, .obj, .glb, .stl, .ply, .unreal, and .max formats for rendering, simulation, and game development.
Price: $10

Texture: Yes
Material: Yes
Download the Austin Mini Cooper S 1965 3D Model featuring clean geometry, realistic detailing, and a fully modeled interior. Includes .blend, .fbx, .obj, .glb, .stl, .ply, .unreal, and .max formats for rendering, simulation, and game development.
Price: $10

