Get 50% OFF All Premium 3D & STL Models!

“`html
The allure of a perfectly smooth, showroom-ready finish on a 3D printed car model is a goal many enthusiasts and makers strive for. From the sleek curves of a classic sports car to the intricate details of a modern hypercar, achieving a flawless surface can elevate your prints from mere prototypes to display-worthy masterpieces. Whether you’re a seasoned hobbyist or just embarking on your 3D printing journey with downloadable STL files, understanding the technical nuances that contribute to surface finish is paramount. This comprehensive guide will delve deep into the critical factors, from slicing strategies and printer calibration to material selection and post-processing techniques, ensuring your next printable car model project from platforms like 88cars3d.com boasts an impeccable surface quality. We’ll explore the science behind layer lines, discuss advanced slicer settings, and provide actionable advice to overcome common printing challenges, transforming your vision into a tangible, smooth-surfaced reality.
Before your 3D printer even whirs to life, the journey to a smooth surface begins with the STL file itself. This ubiquitous file format, representing a 3D model as a collection of triangular facets, dictates the fundamental geometry and resolution of your print. The way these triangles are arranged, known as mesh topology, profoundly impacts the achievable surface smoothness. A well-designed model will have a dense mesh with small, uniformly oriented triangles that closely follow the intended curves of the car. Conversely, a low-resolution mesh with large, irregularly shaped triangles will inherently lead to a stepped or faceted surface, even with the most optimized printing settings. When downloading models from marketplaces such as 88cars3d.com, look for descriptions that highlight clean geometry and high-resolution meshes, as these are crucial starting points.
The quality of an STL file is directly tied to its export settings from 3D modeling software like Blender, Fusion 360, or dedicated CAD programs. Key parameters include angular deviation and vertex normal tolerance. A lower angular deviation value means the software will use more triangles to approximate curves, resulting in a smoother surface representation within the file. Vertex normal tolerance influences how closely the exported triangles match the original surface normals. For intricate automotive models, aiming for an angular deviation of 0.01 degrees or less is a good starting point. It’s also vital to ensure the mesh is “manifold,” meaning it’s a watertight solid with no holes, self-intersections, or inverted faces. Non-manifold meshes can cause significant issues during slicing and printing, leading to errors and compromised surface quality.
Even well-exported STLs can sometimes contain minor imperfections. Software like Meshmixer, Netfabb, or even built-in tools within slicers like Cura and PrusaSlicer can help identify and repair these issues. Look for tools that can detect non-manifold edges, holes, and surface defects. Simple hole-filling operations can often resolve minor gaps. For more complex issues, such as self-intersecting faces, a “Make Solid” or “Remesh” operation might be necessary, though these can sometimes alter the fine details of the model. Understanding these repair workflows is essential for ensuring a clean input for your slicer, directly impacting the final print’s surface finish.
The slicer software is where you translate the 3D model into layer-by-layer instructions for your 3D printer. The settings you choose here have a profound impact on surface quality. The most intuitive setting affecting smoothness is layer height. A smaller layer height means each printed layer is thinner, resulting in a less pronounced “stair-step” effect on curved surfaces. However, this comes at the cost of significantly increased print times. Balancing layer height with print duration is a key optimization challenge for achieving smooth surfaces on detailed car models.
For FDM printing, layer heights typically range from 0.05mm for highly detailed prints to 0.3mm for faster, less detailed prints. To achieve a truly smooth finish on automotive curves, layer heights between 0.08mm and 0.12mm are often recommended. For resin printers (SLA/DLP/MSLA), layer heights are even finer, often between 0.025mm and 0.05mm, naturally yielding superior surface detail. When printing on FDM printers, consider using adaptive or variable layer height features available in slicers like Cura and PrusaSlicer. This allows for smaller layer heights on detailed curves and larger layer heights on flat or less critical areas, optimizing print time without sacrificing surface quality where it matters most.
The number of perimeters (or walls) you print for your model also influences surface smoothness and part strength. More perimeters mean a thicker, more robust outer shell. While primarily for strength, a sufficient number of perimeters (typically 3-4 for standard models, potentially more for thin-walled sections) can help mask minor imperfections from infill patterns and create a more uniform outer surface. Ensure your wall thickness is set to a multiple of your nozzle diameter (e.g., if you have a 0.4mm nozzle, a wall thickness of 1.2mm or 1.6mm is ideal for consistent extrusion). For exceptionally smooth outer surfaces, consider enabling features like “Ironing” in some slicers. Ironing performs a final, light pass over the top surfaces with the nozzle at a slightly lower temperature, helping to flatten any remaining extrusion inconsistencies.
Stringing and blobs can mar an otherwise smooth surface. Fine-tuning retraction settings (distance and speed) and enabling features like “Coasting” can significantly reduce these artifacts. Coasting works by stopping filament extrusion slightly before the end of a travel move, allowing any remaining pressure to bleed off. This minimizes the amount of molten plastic that can ooze out, leading to cleaner travel moves and fewer surface blemishes. Experiment with small coasting values (e.g., 0.1-0.3mm) and adjust retraction settings iteratively to find the sweet spot for your filament and printer combination.
How you orient your printable car model on the print bed is a strategic decision that impacts surface finish, support requirements, and print success. For car models, there’s often a primary orientation that maximizes the appearance of the most visible surfaces. Typically, printing a car model upright, with the wheels on the build plate, is common. However, this can lead to significant support material on the underside, which can be challenging to remove cleanly and may leave marks. Sometimes, printing in multiple parts and assembling them later allows for optimal orientation of each component, minimizing supports on critical visual surfaces.
Consider printing your car model at an angle (e.g., 45 degrees) to break up the “stairstepping” effect on curves, especially for FDM printers. This can distribute the layer lines more evenly and make them less visually apparent. However, this often increases the overall print time and complexity of support structures. Analyze the model: identify which surfaces are most critical for visual appeal. Orient the model so these surfaces are either facing upwards (requiring minimal or easily removable supports) or are oriented in a way that minimizes overhangs. For complex shapes, splitting the model into logical components (body, chassis, wheels, interior) can allow for perfect orientation of each piece.
A print that detaches from the bed mid-print is not only a waste of time and material but can also result in significant surface defects if it shifts. Proper bed adhesion is crucial, especially for larger models like cars that have a significant footprint. Ensure your build surface is clean (using isopropyl alcohol is recommended) and level. For materials like ABS or PETG, consider using an enclosure to maintain stable temperatures and prevent warping. Adhesives like glue stick, hairspray, or specialized bed surfaces (PEI, glass with coatings) can also greatly improve adhesion. For smaller parts or those with a minimal contact area, a brim or raft can be employed in your slicer settings to increase the surface area in contact with the build plate.
Supports are indispensable for printing overhangs and bridges found on most car models (e.g., wheel arches, spoilers, undercarriages). However, the interface between the support and the model can leave witness marks. Slicer settings for supports are critical. Experiment with support density, Z-distance (the gap between the support and the model), and support pattern. A slightly larger Z-distance makes supports easier to remove but can increase surface roughness where they attach. Using “tree” or “organic” supports, available in newer slicer versions, can sometimes provide better surface contact and easier removal compared to traditional supports. Consider using dissolvable supports (if your printer has dual extruders) for the ultimate clean finish on complex geometries.
The choice of filament or resin, coupled with a well-calibrated printer, forms the bedrock of print quality. Different materials have inherent properties that affect surface finish, and a properly tuned printer ensures these properties are realized. For FDM printing, materials like PLA are known for their ease of printing and good surface finish, making them ideal for beginners and many car models. PETG offers more durability and temperature resistance but can be prone to stringing, which requires careful tuning. ABS provides excellent strength and can be smoothed with acetone vapor, but it requires higher print temperatures and can warp significantly.
Resin printing (SLA/DLP/MSLA) inherently offers a higher resolution and smoother surface finish compared to most FDM prints due to its much finer layer heights and the curing process. This makes it exceptionally well-suited for highly detailed automotive models where intricate details and a glass-like finish are desired straight off the printer. However, resin printers typically have smaller build volumes, require more safety precautions (ventilation, gloves), and involve more post-processing steps (washing and curing). FDM printing, on the other hand, offers larger build volumes, a wider material selection, and is generally more accessible. With careful tuning and potentially post-processing, excellent surface finishes are achievable on FDM printers, especially with high-qualitySTL files.
A meticulously calibrated printer is non-negotiable for achieving smooth surfaces. Key calibration steps include:
Regularly performing these calibrations, especially when changing filaments or after significant use, will pay dividends in print quality and surface smoothness.
While a standard 0.4mm nozzle is common for FDM printers, using a smaller nozzle (e.g., 0.2mm or 0.25mm) can significantly improve surface smoothness on curved areas by allowing for finer detail and less pronounced layer lines. However, this also dramatically increases print times and can be more prone to clogging. When selecting filament, consider brands known for consistency and quality. Some filaments are specifically formulated for smoother finishes or offer better layer adhesion. For resin printers, the choice of resin type (standard, tough, flexible) will influence the final surface characteristics, with standard resins often providing the smoothest finish.
Even with the best printing practices, achieving a truly flawless, professional finish often requires post-processing. This stage transforms a good print into a great one, bringing out the true beauty of your printable car model. The techniques employed range from simple manual methods to more involved chemical and mechanical processes. The goal is to smooth out the visible layer lines and imperfections, preparing the model for painting or display.
For FDM prints, sanding is the most common method for achieving smoothness. Start with a coarser grit sandpaper (e.g., 120-220 grit) to remove obvious layer lines and any support marks, working your way up to finer grits (e.g., 400, 800, 1000, and even higher for a mirror finish). Wet sanding (using sandpaper with water) can help reduce dust and produce a smoother result. For deeper imperfections or gaps, use modeling putty or a filler primer. Apply thin layers, allow them to dry completely, and then sand smooth. This iterative process of filling and sanding is key to building up a perfectly smooth surface, especially on complex curves found on car models.
For ABS filament, acetone vapor smoothing can create an incredibly smooth, almost injection-molded finish. This involves carefully exposing the print to acetone vapor, which melts and smooths the outer surface. **This process requires significant caution due to the flammability of acetone and potential health hazards.** It must be performed in a well-ventilated area with appropriate safety gear. Other chemicals can be used for different materials, but research is crucial. For resin prints, isopropyl alcohol (IPA) is used for cleaning, and some specialized smoothing agents are available, though sanding is often sufficient. Remember that chemical smoothing can also reduce fine details, so it’s a trade-off.
Once the surface is physically smoothed, a primer is essential. A good quality primer will fill in any remaining microscopic imperfections, provide a uniform surface for paint adhesion, and reveal any areas that still need attention. Apply primer in thin, even coats. After priming, inspect the model carefully under good lighting. Address any remaining blemishes with more spot-filling and sanding. Finally, apply your chosen paint. Airbrushing can offer the smoothest finish for automotive models, allowing for thin, even coats and professional-looking results. Multiple thin coats are always better than one thick coat.
Even with the best preparation, printing issues can arise. Understanding common surface defects and their causes is vital for effective troubleshooting and achieving that smooth, professional finish on your car models.
These imperfections are often caused by over-extrusion, issues with retraction settings, or filament quality.
Achieving a perfectly smooth surface finish on your 3D printed car models is a multi-faceted process that demands attention to detail at every stage. It begins with selecting high-quality, well-structured STL files and extends through meticulous slicer configuration, strategic print orientation, appropriate material selection, and thorough printer calibration. The journey doesn’t end there; often, a degree of post-processing, from sanding and filling to priming and painting, is necessary to achieve that truly professional, display-worthy result. By understanding the technical underpinnings of each step and applying the techniques discussed—optimizing layer height, fine-tuning supports, ensuring robust bed adhesion, and troubleshooting common defects—you can significantly elevate the surface quality of your 3D printed automotive creations. Embrace the iterative nature of 3D printing; experiment with settings, learn from each print, and soon you’ll be producing printable car models with finishes that rival the real vehicles they represent. Happy printing!
“`
Texture: Yes
Material: Yes
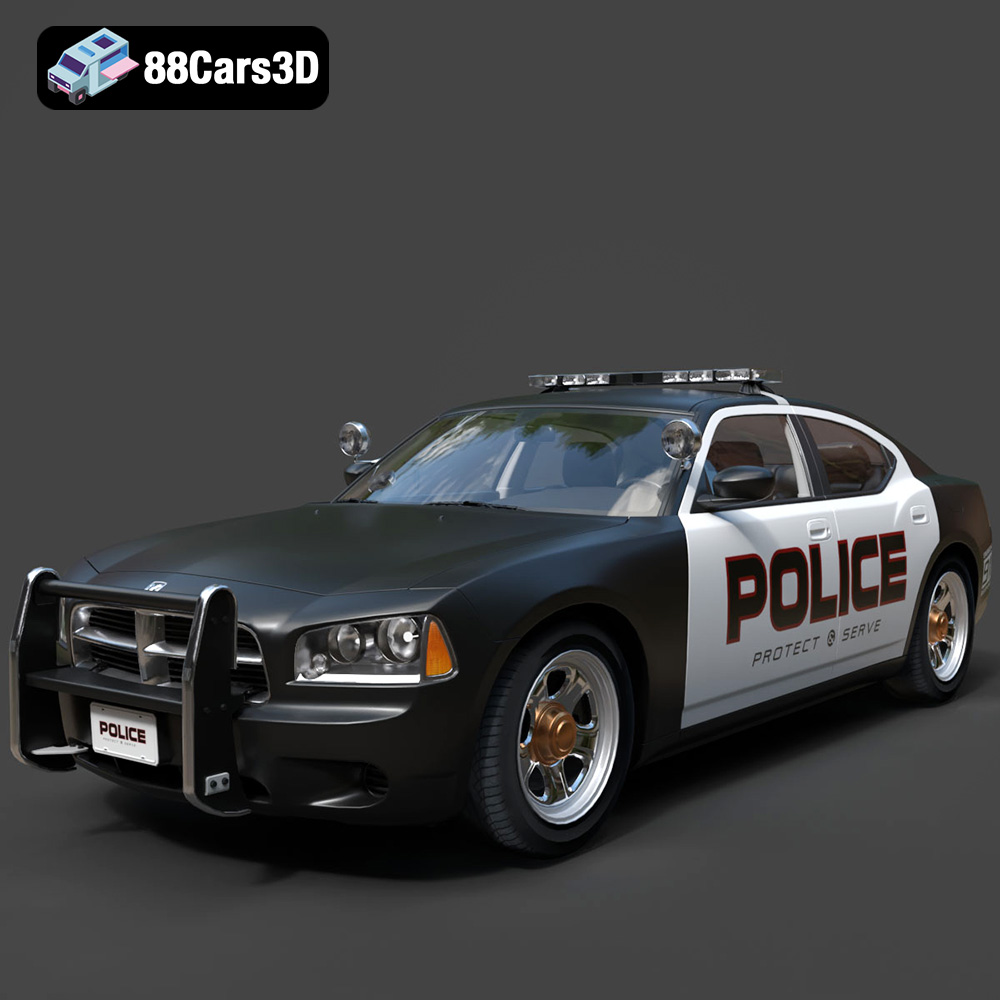
Download the Aston Martin Police US 911 -005 3D Model featuring a high-fidelity exterior with police livery, detailed interior, and accurate proportions. Includes .blend, .fbx, .obj, .glb, .stl, .ply, .unreal, and .max formats for rendering, simulation, and game development.
Price: $10.79

Texture: Yes
Material: Yes
Download the Toyota MRS-007 3D Model featuring clean geometry, realistic detailing, and a fully modeled interior. Includes .blend, .fbx, .obj, .glb, .stl, .ply, .unreal, and .max formats for rendering, simulation, and game development.
Price: $10

Texture: Yes
Material: Yes
Download the Porsche 911 Turbo S 2024 3D Model featuring clean geometry, realistic detailing, and a fully modeled interior. Includes .blend, .fbx, .obj, .glb, .stl, .ply, .unreal, and .max formats for rendering, simulation, and game development.
Price: $20

Texture: Yes
Material: Yes
Download the Pontiac Solstice 2009 3D Model featuring clean geometry, realistic detailing, and a fully modeled interior. Includes .blend, .fbx, .obj, .glb, .stl, .ply, .unreal, and .max formats for rendering, simulation, and game development.
Price: $10

Texture: Yes
Material: Yes
Download the Mini Cooper Countryman 2025 3D Model featuring clean geometry, realistic detailing, and a fully modeled interior. Includes .blend, .fbx, .obj, .glb, .stl, .ply, .unreal, and .max formats for rendering, simulation, and game development.
Price: $29.9

Texture: Yes
Material: Yes
Download the Mercedes C Classe 2012 3D Model featuring clean geometry, realistic detailing, and a fully modeled interior. Includes .blend, .fbx, .obj, .glb, .stl, .ply, .unreal, and .max formats for rendering, simulation, and game development.
Price: $19.9

Texture: Yes
Material: Yes
Download the Mercedes-Benz S65 AMG 2018 3D Model featuring clean geometry, realistic detailing, and a fully modeled interior. Includes .blend, .fbx, .obj, .glb, .stl, .ply, .unreal, and .max formats for rendering, simulation, and game development.
Price: $19.9

Texture: Yes
Material: Yes
Download the Mazda 3 Sedan 2004 3D Model featuring clean geometry, realistic detailing, and a fully modeled interior. Includes .blend, .fbx, .obj, .glb, .stl, .ply, .unreal, and .max formats for rendering, simulation, and game development.
Price: $10

Texture: Yes
Material: Yes
Download the Martin Rapide 2011 3D Model featuring clean geometry, realistic detailing, and a fully modeled interior. Includes .blend, .fbx, .obj, .glb, .stl, .ply, .unreal, and .max formats for rendering, simulation, and game development.
Price: $20.9

Texture: Yes
Material: Yes
Download the Car Tasergal 005 3D Model featuring clean geometry, realistic detailing, and a fully modeled interior. Includes .blend, .fbx, .obj, .glb, .stl, .ply, .unreal, and .max formats for rendering, simulation, and game development.
Price: $10

