Get 50% OFF All Premium 3D & STL Models!

In the high-stakes world of automotive visualization and real-time rendering, stunning visuals are paramount. Whether you’re crafting an interactive configurator, a cinematic marketing piece, or a compelling virtual reality experience, the demand for photorealism is unwavering. However, achieving this fidelity with incredibly detailed 3D car models in a real-time engine like Unreal Engine presents a significant challenge: performance. A beautiful car model with millions of polygons and dozens of 4K textures can quickly bring even the most powerful hardware to its knees, leading to stuttering frame rates, unresponsive interactions, and a frustrating user experience.
This is where intelligent Level of Detail (LOD) management and comprehensive optimization strategies become not just beneficial, but absolutely essential. By strategically reducing complexity where it’s not visually critical, we can maintain breathtaking visual quality up close while ensuring smooth, responsive performance across a variety of devices and applications. This comprehensive guide will delve deep into the art and science of optimizing 3D car models for Unreal Engine, covering everything from the foundational principles of LODs to the revolutionary capabilities of Nanite, advanced material optimization, and crucial real-time rendering techniques. You’ll learn how to transform demanding automotive assets into performant, visually spectacular elements ready for game development, virtual production, AR/VR, and beyond. We’ll empower you with the knowledge to make your automotive projects shine without compromising on speed or stability.
Automotive 3D models are arguably some of the most complex assets to manage in a real-time engine. A single modern vehicle can easily consist of several million polygons, dozens of intricate PBR (Physically Based Rendering) material sets, and high-resolution textures covering everything from the paintwork to the tiniest interior stitching. This immense detail, while visually captivating, places enormous strain on a game engine’s rendering pipeline. Each polygon, each texture lookup, each shader instruction contributes to the overall processing cost, impacting frame rate, memory footprint, and CPU/GPU utilization.
To deliver a truly immersive and smooth experience, especially in applications like interactive configurators or virtual production environments, a holistic approach to optimization is critical. It’s not just about reducing poly counts; it’s about intelligently managing every aspect of the asset’s data from geometry to materials and lighting. This includes understanding the fundamental bottlenecks that high-fidelity assets introduce and proactively addressing them. Without careful optimization, even a single unoptimized car model can cause significant performance degradation, leading to a choppy visual experience that detracts from the realism and professionalism of your project.
At the heart of real-time rendering performance lie polygons and draw calls. Every vertex and triangle in your 3D model needs to be processed by the GPU, and the more there are, the longer it takes. Modern car models, especially those designed for offline rendering or high-end visualization, can easily exceed 5-10 million polygons. While technologies like Nanite have dramatically shifted the paradigm for static meshes, understanding traditional polygon budgets is still crucial for many use cases, particularly for transparent elements or older Unreal Engine versions. Excessive polygon counts directly translate to higher vertex processing times and increased memory usage.
Equally critical are draw calls. A draw call is an instruction from the CPU to the GPU to render a set of primitives (like triangles). Each material, each mesh, and often each section of a mesh with a unique material assigned will typically generate its own draw call. Automotive models, with their multitude of components (body, wheels, calipers, interior elements, lights, emblems), often end up with many unique materials. Even if poly counts are optimized, a scene with hundreds or thousands of draw calls can quickly become CPU-bound, meaning the CPU is bottlenecked trying to send rendering commands to the GPU faster than it can process them. Efficient asset management involves not just reducing polygons but also consolidating materials and meshes where possible to minimize draw calls, especially for objects that will be frequently rendered.
Beyond geometry, textures and materials represent another significant performance challenge. Photorealistic car models rely heavily on high-resolution textures (4K, 8K, or even 16K) for intricate details like carbon fiber weaves, leather grains, metallic flakes, and decal intricacies. While these large textures contribute immensely to visual fidelity, they consume vast amounts of GPU memory. In a scene with multiple high-resolution textures per material channel (Albedo, Normal, Roughness, Metallic, Ambient Occlusion, etc.) across numerous vehicle components, memory consumption can quickly become prohibitive, leading to texture streaming issues or even crashes, especially on less powerful hardware or in AR/VR contexts.
Furthermore, PBR materials themselves involve complex shader calculations. Each material applied to your car model executes a series of instructions on the GPU to determine how light interacts with its surface. Advanced materials often incorporate features like clear coat layers, anisotropic reflections, subsurface scattering, or complex fresnel effects, all of which add to shader complexity. While Unreal Engine’s Material Editor offers incredible flexibility, inefficiently constructed materials or excessive use of complex nodes can lead to significant GPU overhead. Best practices involve using material instances to reuse common base materials with adjustable parameters, optimizing texture sizes and compression, and auditing shader complexity using Unreal Engine’s built-in visualization tools to identify and address bottlenecks.
Level of Detail (LOD) is a fundamental optimization technique in real-time rendering that dramatically improves performance by reducing the complexity of 3D objects as they move further away from the camera. For intricate assets like 3D car models, which demand high fidelity up close but contribute less detail from a distance, LODs are absolutely crucial. Instead of rendering the full-resolution, multi-million polygon model regardless of its screen size, LODs allow the engine to swap in simplified versions of the mesh. This ensures that GPU resources are allocated efficiently, focusing detail where it’s visible and reducing processing where it’s not.
The core concept is simple: as an object occupies less screen space (e.g., a car driving into the distance), a lower-polygon, less detailed version (LOD1, LOD2, etc.) is used. This can involve significant reductions in polygon count, simplification of materials, and even the use of billboard imposters for extreme distances. For automotive visualization, where the camera might zoom in for close-ups or pan out for wide shots, a well-implemented LOD system is the key to maintaining consistently high frame rates and a smooth user experience across all viewing distances.
Unreal Engine provides robust tools for managing LODs, offering both automatic generation and support for custom, manually created LOD meshes. For many static meshes, Unreal Engine’s Mesh Editor can generate LODs directly. You can specify the ‘Number of LODs’ you want, and for each subsequent LOD, define ‘Reduction Settings’ such as the percentage of triangles to preserve (e.g., LOD1 at 50%, LOD2 at 25%, LOD3 at 12.5%). You can also set properties like ‘Max Texture Size’ for each LOD to further optimize memory usage.
While automatic generation is convenient, for highly detailed and visually critical assets like car models, manual LOD creation often yields superior results. This involves creating distinct lower-poly versions of your model in your 3D modeling software (e.g., Maya, Blender, 3ds Max), ensuring that details like sharp edges, silhouette, and UV mapping are preserved as much as possible, then importing them separately. Once imported, you can manually assign these meshes to specific LOD slots within the Static Mesh Editor. Crucially, each LOD level has a ‘Screen Size’ threshold. This value, measured as a percentage of the screen, dictates when Unreal Engine will switch to that particular LOD. For example, if LOD1 has a screen size of 0.5, it will be used when the object covers 50% or less of the screen. Experimenting with these values is essential to find the right balance between visual quality and performance for your specific project. For detailed guidance on utilizing the Mesh Editor and its various settings, Epic Games provides comprehensive documentation at dev.epicgames.com/community/unreal-engine/learning.
Effective LOD creation goes beyond simply reducing polygons; it requires careful consideration to maintain visual consistency and prevent jarring “popping” as LODs switch. A common strategy for car models involves creating at least three to four LOD levels:
When creating LODs, ensure that UV mapping is consistent or remapped efficiently to reuse texture space. Material IDs should generally remain the same across LODs to avoid material reassignments. Validate your LOD transitions frequently using Unreal Engine’s viewport controls (View Mode > LOD > LOD Coloration or specific LOD levels). This allows you to visually inspect for noticeable pops or drastic changes in shading and silhouette. Sometimes, it’s beneficial to set ‘LOD Fade Mode’ to ‘Dithered’ in the Static Mesh Editor to create a smoother, less abrupt transition between LOD levels. For complex car assemblies, consider applying LOD settings on a per-component basis, allowing critical elements like the main body to retain higher detail longer, while less important parts like undercarriage components switch to lower LODs more aggressively.
Unreal Engine 5 introduced Nanite, a revolutionary virtualized geometry system that has profoundly changed how developers approach high-fidelity assets. For 3D car models, Nanite is a game-changer, allowing artists to import and render cinematic-quality assets with millions or even billions of polygons without experiencing performance degradation traditionally associated with such complex geometry. Nanite intelligently streams and processes only the necessary detail, eliminating the need for manual LOD creation for the base mesh and dramatically simplifying the artist’s workflow.
The core benefit for automotive visualization is immense: you can now work with CAD-level detail directly in Unreal Engine, preserving every curve, panel gap, and intricate component without having to meticulously decimate geometry or bake normal maps from high-poly sources. Nanite automatically handles the complexity, allowing unprecedented visual fidelity in real-time, which is critical for demanding applications like automotive design reviews, photorealistic marketing renders, and high-end virtual production. This paradigm shift means less time spent on optimization chores and more time on creative iteration and achieving the perfect aesthetic.
Enabling Nanite for a static mesh in Unreal Engine is remarkably straightforward. Simply open the Static Mesh Editor for your car component and check the ‘Enable Nanite’ box. Once enabled, Nanite takes over the geometry management, efficiently handling culling and detail streaming. While Nanite largely automates the LOD process, there are still a few settings to consider for optimal performance and quality. The ‘Preserve Area’ setting ensures that smaller, critical details are retained even when the mesh is heavily simplified. The ‘Fallback Mesh’ allows you to specify a traditional, non-Nanite mesh to be used in scenarios where Nanite is not supported (e.g., for certain translucency effects or mobile platforms). You can also control the ‘Max Triangles per Cluster’ to fine-tune how Nanite processes geometry, although default settings are often sufficient.
It’s important to understand Nanite’s current limitations. As of Unreal Engine 5.3, Nanite does not support dynamic mesh deformations (like skeletal animation or World Position Offset), masked materials, or complex translucent materials that involve custom depth or per-pixel effects. For car models, this means the main body, interior hard surfaces, engine components, and chassis are excellent candidates for Nanite. However, transparent elements like glass, animated parts (like opening doors or spinning wheels if physics is involved), and certain visual effects might still require traditional, non-Nanite meshes and their own manual LODs. A common strategy is to use Nanite for the vast majority of the static geometry, and then carefully optimize the remaining non-Nanite components using traditional LOD and material techniques. This hybrid approach allows you to harness Nanite’s power while gracefully handling its current constraints. For the latest on Nanite and its capabilities, consult the official Unreal Engine documentation at dev.epicgames.com/community/unreal-engine/learning.
The synergy between Nanite and Unreal Engine’s other cutting-edge rendering features, particularly Lumen (the software-based Global Illumination and Reflections system), is transformative for automotive visualization. By enabling Nanite, you’re feeding Lumen an incredibly detailed geometric representation of your car, leading to far more accurate and nuanced global illumination bounces and reflections. This translates to hyper-realistic lighting scenarios where the car’s surfaces beautifully reflect its environment and self-illuminate based on ambient light. The intricate details of a car’s metallic paint, chrome trim, or interior materials truly come to life, reflecting light with a fidelity previously only achievable with offline ray tracing.
Furthermore, Nanite’s efficient handling of geometry indirectly benefits overall scene performance, allowing for more budget to be allocated to other demanding features like Lumen and Virtual Shadow Maps. While Nanite meshes are highly optimized, it’s still crucial to be mindful of the total scene complexity when combining it with other high-end rendering features. For instance, an exceedingly complex Nanite car model in an equally complex Lumen-lit environment with many dynamic lights and reflections can still push performance limits. Careful material setup, texture streaming, and judicious use of rendering features remain vital. Nanite provides the foundation for unparalleled geometric detail, but a balanced approach is key to achieving optimal real-time performance and breathtaking visual output.
While LODs and Nanite are powerful tools for managing geometric complexity, a truly optimized automotive scene in Unreal Engine requires a multi-faceted approach. Performance bottlenecks can arise from various sources, including inefficient materials, excessive draw calls, and unmanaged scene complexity. By combining geometric optimization with smart material practices, effective culling techniques, and even Blueprint scripting, developers can achieve stunning visual quality alongside smooth, responsive real-time performance.
This holistic optimization strategy ensures that every aspect of your 3D car model, from its fundamental mesh to its intricate PBR materials and environmental interactions, contributes positively to the overall experience. It’s about finding the balance between visual fidelity and rendering cost, making informed decisions that cater to your target platform and application requirements. Even with advanced features like Nanite, a deep understanding of these additional optimization layers is crucial for pushing the boundaries of real-time automotive visualization.
Materials are often a hidden source of performance issues. While Nanite handles geometry, materials still process every pixel on the screen, and complex shaders can quickly become a bottleneck. The most fundamental optimization for PBR materials in Unreal Engine is the extensive use of Material Instances. Instead of creating a unique material for every slightly different surface (e.g., various paint colors, different leather trims), create a single, well-structured Master Material. This Master Material exposes parameters (like color, roughness values, texture switches) that can then be overridden in numerous Material Instances. This drastically reduces shader compile times and draw calls, as many instances can share the same compiled shader code. Platforms like 88cars3d.com often provide their car models with intelligently set up PBR materials, ready for instancing.
Texture optimization is equally important. Ensure textures are imported at appropriate resolutions for their visual impact and distance from the camera. Use Unreal Engine’s texture compression settings effectively (e.g., BC7 for Albedo, BC5 for Normal maps) and enable texture streaming where possible to reduce memory footprint. Avoid using uncompressed textures unless absolutely necessary. Finally, utilize Unreal Engine’s ‘Shader Complexity’ view mode (Alt+8) to visualize the computational cost of your materials. Areas that appear red or white indicate highly complex shaders that might need simplification. Common culprits include excessive math operations, too many texture samples, or complex translucency calculations. Consider baking certain effects into simpler textures or using simpler blend modes where high fidelity isn’t strictly required.
Even with optimized assets, rendering objects that are not visible to the camera is a waste of resources. Unreal Engine employs various culling techniques to prevent this. Frustum Culling automatically stops rendering objects outside the camera’s view frustum. Occlusion Culling prevents objects from being rendered if they are hidden behind other opaque objects. While these are mostly automatic, you can manually influence rendering visibility through settings like ‘View Distance Scale’ on individual Static Mesh Components. Lowering this value for less important objects (e.g., small interior details, engine components) will cause them to disappear sooner as the camera moves away.
For large-scale automotive environments or open-world driving simulations, Unreal Engine 5’s World Partition system is indispensable. It automatically manages streaming of content based on the camera’s position, ensuring that only relevant parts of the world are loaded into memory and rendered. This is crucial for maintaining performance in vast scenes that would otherwise overwhelm memory and CPU resources. Combined with distance culling and effective LODs on non-Nanite assets, World Partition allows you to build expansive and highly detailed automotive environments without the need for manual streaming volumes or level management.
Unreal Engine’s Blueprint visual scripting system offers powerful capabilities for dynamic, context-aware optimization. For instance, in an interactive automotive configurator, you might want to dynamically swap out a high-resolution wheel model for a simpler one if the user navigates away from the wheel customization menu. Blueprint can be used to script custom visibility logic, enabling or disabling components based on camera distance, user interaction, or even pre-defined “performance modes.”
Consider a scenario where a user selects a “performance mode” option. A Blueprint script could:
This dynamic control allows you to provide a tailored experience, ensuring optimal performance for every user and hardware configuration while preserving maximum visual fidelity when desired. Blueprint empowers artists and designers to implement complex optimization logic without writing a single line of C++ code, making it an invaluable tool in the automotive visualization pipeline.
Integrating optimized 3D car models into various industry applications requires a robust workflow that begins with asset acquisition and extends through specialized rendering techniques. The strategies discussed—LODs, Nanite, material optimization, and culling—are not isolated techniques but interconnected components of a cohesive pipeline. Understanding how these elements come together to support different use cases, from interactive configurators to virtual production and AR/VR, is crucial for maximizing your investment in high-quality automotive assets and Unreal Engine.
A streamlined workflow ensures that the visual integrity of the vehicle is maintained across all platforms and interactive experiences while adhering to strict performance budgets. This section explores how to best prepare and deploy your 3D car models for the most demanding real-time applications, emphasizing the importance of starting with well-structured assets and leveraging Unreal Engine’s powerful toolset.
The foundation of any successful automotive project in Unreal Engine starts with high-quality, production-ready 3D car models. Marketplaces like 88cars3d.com specialize in providing meticulously crafted assets featuring clean topology, realistic PBR materials, proper UV mapping, and often, pre-configured LODs. When sourcing automotive assets from platforms such as 88cars3d.com, look for models supplied in multiple industry-standard file formats like FBX and USD (Universal Scene Description).
The import process into Unreal Engine requires attention to detail:
Starting with a clean, well-structured asset from a reputable source significantly reduces the time and effort required for optimization, allowing you to focus on developing the interactive experience or cinematic presentation.
Optimized 3D car models are the backbone of modern automotive configurators. These interactive applications demand fluid performance, allowing users to freely explore vehicle exteriors and interiors, switch colors, change wheels, and customize options in real-time. Each variant and component must be performance-budgeted, with LODs, material instances, and dynamic visibility rules (often controlled via Blueprint) working in concert to ensure a smooth 60+ FPS experience. The ability to swap materials instantly (e.g., changing paint colors) relies heavily on efficient PBR material setups with parameterizable instances.
In virtual production, particularly for LED wall stages, extreme real-time performance is paramount. Here, the vehicle model acts as a key visual element within a dynamically lit and reflected environment. Nanite shines in this context, allowing the car model to contribute unprecedented geometric detail to the virtual world and accurately reflect on the LED wall. Unreal Engine’s Sequencer is then used to orchestrate camera movements, vehicle animations, and lighting changes, all rendered in real-time for immediate feedback and final output. Optimized assets ensure that the entire virtual production pipeline runs smoothly, enabling directors and artists to make creative decisions on the fly without waiting for lengthy renders.
Augmented Reality (AR) and Virtual Reality (VR) applications represent the pinnacle of real-time performance demands. For automotive AR/VR experiences, frame rates of 90 FPS or higher are often required to prevent motion sickness, even on mobile devices (AR) or standalone VR headsets. This necessitates an even more aggressive approach to optimization.
While Nanite is incredibly powerful, its current limitations with certain transparency and specific AR/VR rendering paths mean traditional LODs and meticulous manual optimization remain critically important for achieving high frame rates on these constrained platforms. The goal is to deliver an immersive experience that feels responsive and visually compelling, even with significant technical limitations.
Even with a solid understanding of optimization strategies, unexpected performance bottlenecks can arise in complex Unreal Engine projects. Troubleshooting these issues requires a systematic approach, utilizing Unreal Engine’s powerful profiling tools to pinpoint the exact source of the slowdown. Addressing performance problems is an ongoing process throughout development, as new assets, features, and interactions are added.
The key is to not only fix the immediate problem but also to understand the underlying cause to prevent similar issues in the future. This section will guide you through identifying common culprits behind frame drops and stuttering, equipping you with the knowledge to diagnose and resolve them effectively, ensuring your automotive visualizations maintain a professional and fluid performance profile.
Unreal Engine provides a suite of profiling tools that are indispensable for identifying performance bottlenecks. Mastering these tools is crucial for any developer aiming for optimal performance:
Stat FPS: Displays current frames per second and frame time.Stat Unit: Shows CPU game thread, render thread, and GPU times, helping to identify if you’re CPU or GPU bound.Stat RHI: Provides detailed information on draw calls, triangles, and shader complexity.Stat GPU: Offers a breakdown of GPU rendering passes and their costs.Stat InitViews: Critical for culling metrics, showing how many objects are visible and how culling is performing.By regularly profiling your scene and focusing on the highest cost areas identified by these tools, you can strategically apply optimization techniques where they will have the most impact.
Once you’ve identified a bottleneck, applying the right optimization strategy is key. Here are common issues and their solutions:
Consistent profiling and iterative optimization are the hallmarks of a performant Unreal Engine project. By addressing these common challenges head-on, you can ensure your automotive visualizations run smoothly and look stunning.
The journey to creating breathtaking, high-performance automotive visualizations in Unreal Engine is a delicate balance between artistic vision and technical prowess. As we’ve explored, achieving photorealism with complex 3D car models in a real-time environment demands a multifaceted approach to optimization. From the foundational principles of Level of Detail (LOD) management to the revolutionary capabilities of Nanite, and from meticulous material optimization to advanced culling and dynamic Blueprint scripting, every technique plays a vital role in ensuring your projects run smoothly while looking spectacular.
By intelligently managing geometric complexity, streamlining your PBR material workflows, and leveraging Unreal Engine’s powerful rendering features, you can transform demanding automotive assets into highly performant components ready for any application. Remember that starting with high-quality, pre-optimized 3D car models, such as those available on platforms like 88cars3d.com, provides an invaluable head start, freeing you to focus on creative development rather than extensive asset cleanup. The ongoing pursuit of optimization is not a one-time task but a continuous process of profiling, refinement, and iteration.
Embrace the strategies outlined in this guide, apply them diligently, and watch your automotive visualizations come alive with unparalleled fidelity and buttery-smooth frame rates. Whether you’re crafting an immersive interactive configurator, producing a cinematic virtual production sequence, or designing an engaging AR/VR experience, mastering these optimization techniques will empower you to push the boundaries of real-time rendering. Dive in, experiment, and let the power of Unreal Engine bring your automotive dreams to vivid, performant reality.
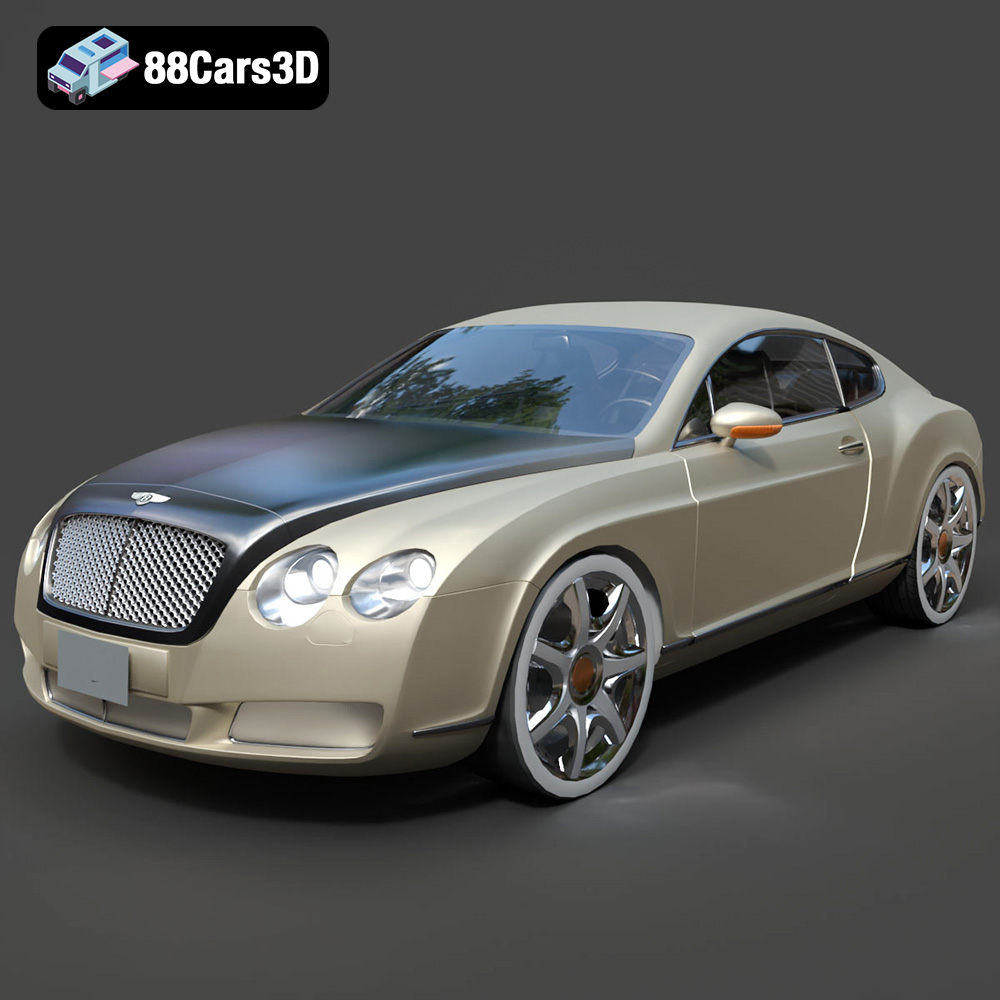
Texture: Yes
Material: Yes
Download the Bentley Continental GT-002 3D Model featuring a luxurious grand touring design and high-quality details. Includes .blend, .fbx, .obj, .glb, .stl, .ply, .unreal, and .max formats for rendering, simulation, and game development.
Price: $20.79

Texture: Yes
Material: Yes
Download the Audi R8 2006 3D Model featuring a sleek sports car design with detailed exterior and interior. Includes .blend, .fbx, .obj, .glb, .stl, .ply, .unreal, and .max formats for rendering, simulation, and game development.
Price: $20.79
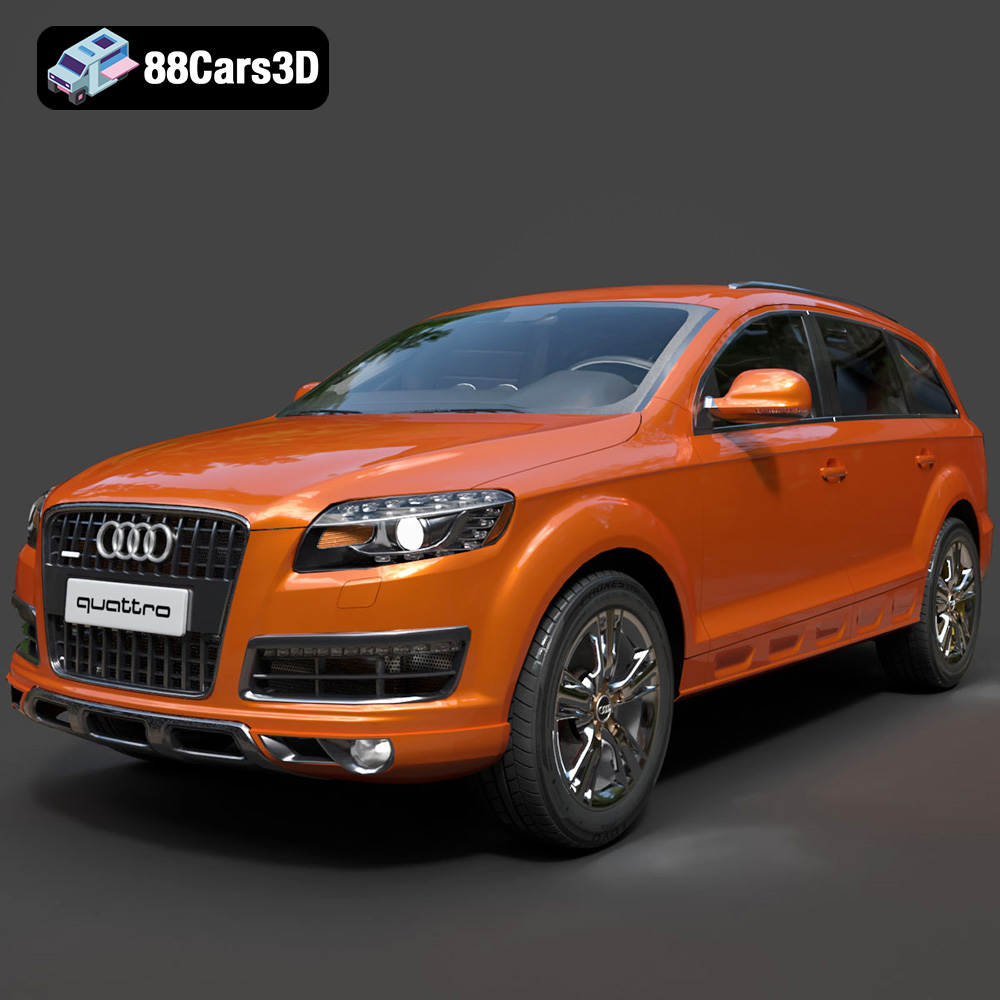
Texture: Yes
Material: Yes
Download the Audi Q7 3D Model featuring a detailed exterior and a refined interior. Includes .blend, .fbx, .obj, .glb, .stl, .ply, .unreal, and .max formats for rendering, simulation, and game development.
Price: $20.79
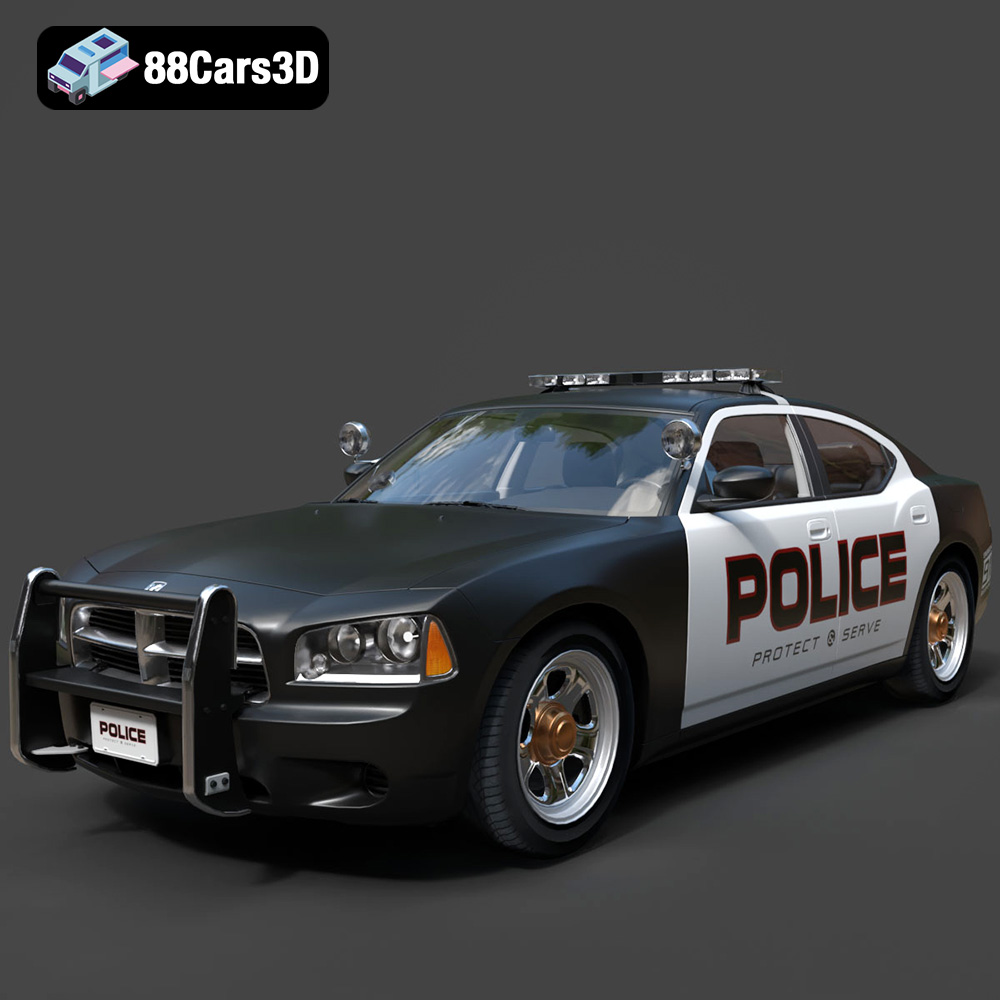
Texture: Yes
Material: Yes
Download the Aston Martin Police US 911 -005 3D Model featuring a high-fidelity exterior with police livery, detailed interior, and accurate proportions. Includes .blend, .fbx, .obj, .glb, .stl, .ply, .unreal, and .max formats for rendering, simulation, and game development.
Price: $10.79

Texture: Yes
Material: Yes
Download the Toyota MRS-007 3D Model featuring clean geometry, realistic detailing, and a fully modeled interior. Includes .blend, .fbx, .obj, .glb, .stl, .ply, .unreal, and .max formats for rendering, simulation, and game development.
Price: $10

Texture: Yes
Material: Yes
Download the Porsche 911 Turbo S 2024 3D Model featuring clean geometry, realistic detailing, and a fully modeled interior. Includes .blend, .fbx, .obj, .glb, .stl, .ply, .unreal, and .max formats for rendering, simulation, and game development.
Price: $20

Texture: Yes
Material: Yes
Download the Pontiac Solstice 2009 3D Model featuring clean geometry, realistic detailing, and a fully modeled interior. Includes .blend, .fbx, .obj, .glb, .stl, .ply, .unreal, and .max formats for rendering, simulation, and game development.
Price: $10

Texture: Yes
Material: Yes
Download the Mini Cooper Countryman 2025 3D Model featuring clean geometry, realistic detailing, and a fully modeled interior. Includes .blend, .fbx, .obj, .glb, .stl, .ply, .unreal, and .max formats for rendering, simulation, and game development.
Price: $29.9

Texture: Yes
Material: Yes
Download the Mercedes C Classe 2012 3D Model featuring clean geometry, realistic detailing, and a fully modeled interior. Includes .blend, .fbx, .obj, .glb, .stl, .ply, .unreal, and .max formats for rendering, simulation, and game development.
Price: $19.9

Texture: Yes
Material: Yes
Download the Mercedes-Benz S65 AMG 2018 3D Model featuring clean geometry, realistic detailing, and a fully modeled interior. Includes .blend, .fbx, .obj, .glb, .stl, .ply, .unreal, and .max formats for rendering, simulation, and game development.
Price: $19.9

