Get 50% OFF All Premium 3D & STL Models!

“`html
The world of 3D printing, particularly when it comes to intricate models like those found on 88cars3d.com, offers a thrilling blend of digital design and tangible creation. For enthusiasts looking to bring detailed automotive replicas to life, understanding the nuances of working with STL files is paramount. While the allure of instant gratification is strong, beginners often stumble over a few common pitfalls that can turn a promising print into a disheartening failure. From slicing mishaps to fundamental printer setup issues, these mistakes can lead to wasted filament, lost time, and frustration. This comprehensive guide will dissect the top ten common errors beginners make when printing STL car models and provide expert solutions, transforming your printing journey from a trial-and-error process into a more predictable and rewarding experience. We’ll delve into the critical aspects of file preparation, slicer settings, printer calibration, and post-processing, empowering you to achieve stunning results with your next automotive build.
The STL file is the cornerstone of any 3D printing project. It represents the 3D model as a collection of triangular facets. However, not all STL files are created equal, and beginners often overlook critical mesh errors. A “non-manifold” mesh, for instance, is like a surface with holes or impossible geometries (e.g., edges shared by more than two triangles, or internal faces). These imperfections can confuse the slicing software, leading to gaps, missing sections, or incorrect toolpath generation. A common scenario is a car model with a hollow chassis where the internal surfaces intersect, creating non-manifold geometry. Without proper repair, the slicer might interpret these as solid areas, leading to internal voids or print failures.
Beyond obvious holes, other subtle mesh issues can cause significant problems. Imagine a car door that is modeled with infinitely thin walls – it might not register as a solid surface to the slicer. Similarly, inverted normals (where the outward-facing direction of a triangle is flipped inwards) can lead to the slicer not recognizing a surface as being part of the exterior. For downloadable models from platforms like 88cars3d.com, the creators usually ensure clean geometry, but if you’re working with scanned models or designs from less reputable sources, these issues are more prevalent. A quick inspection in software like Meshmixer or Blender can reveal these problems. Look for warnings about non-manifold edges, holes, or intersecting faces. Simple repair tools within these programs can often fix these automatically, or you can manually patch holes and correct inverted normals.
The ultimate goal is a “watertight” or “manifold” mesh, meaning it forms a single, continuous, closed surface with no holes. This ensures that the slicing software can accurately determine the interior and exterior of the model, allowing it to generate toolpaths for walls, infill, and shells. When you slice a non-watertight model, you might observe strange behavior: infill appearing on the outside, missing layers, or the model not being recognized as solid. The print might then fail partway through as the nozzle tries to print in an undefined space. Always perform a mesh integrity check before slicing, especially with complex models like detailed car parts.
The slicing software (like Cura, PrusaSlicer, or Simplify3D) is your translator, converting the STL file into layer-by-layer instructions for your 3D printer. Beginners often use default profiles or make random adjustments without understanding their impact. This can lead to prints that are weak, inaccurate, or aesthetically displeasing. For instance, choosing a high layer height (e.g., 0.3mm) will result in a faster print but visible layer lines, which can detract from the smooth finish of a car model. Conversely, an extremely low layer height (e.g., 0.05mm) might offer incredible detail but drastically increase print time, potentially leading to more opportunities for failure over long prints.
For detailed automotive models, a balance is key. A layer height between 0.1mm and 0.15mm often provides a good compromise between detail and print duration for FDM printers. Resin printers, on the other hand, excel at fine details with layer heights often at 0.05mm or even lower. Understanding this trade-off is crucial for managing expectations and achieving the desired outcome. For instance, printing a small, highly detailed component like a wheel rim might warrant a lower layer height than printing the main body of a larger car model.
The infill percentage and pattern significantly impact the model’s strength, weight, and the amount of material used. For display models, a low infill (e.g., 5-15%) is often sufficient. Patterns like “grid” or “lines” are efficient for this purpose. However, if you intend for your printed car model to withstand some handling or functional testing, a higher infill (20-40%) with a stronger pattern like “gyroid” or “cubic” might be necessary. Beginners often default to 100% infill, assuming it means better quality, but this is wasteful and unnecessary for most decorative prints.
Pushing the printer to its maximum speed can lead to ringing (ghosting) artifacts, poor layer adhesion, and dimensional inaccuracies. For detailed car models, slowing down the print speed is often beneficial. A common starting point for outer walls is around 30-40 mm/s, with inner walls and infill printed slightly faster. Retraction settings are also vital to prevent stringing, especially when printing intricate details with many travel moves between them, common in car models with complex shapes.
Many car models feature complex geometries with overhangs and bridges – think of spoilers, wing mirrors, or the underside of the chassis. Without proper support structures, these features will droop, sag, or fail entirely during the printing process. Beginners often make the mistake of either not enabling supports at all, or generating supports that are too weak, too dense, or impossible to remove cleanly.
Most slicers offer different support types: normal, tree (or organic), and custom. Tree supports are often excellent for organic shapes and can be easier to remove, while normal supports provide a more robust structure. Beginners should experiment with these. Crucially, support placement needs careful consideration. Sometimes, specific features benefit from direct support contact, while others are better left with a small gap to ease removal. For car models, you might want to support under the spoiler lip, the wheel arches, or any significant overhangs on the bodywork. Avoid placing supports where they will be difficult to reach or will mar critical visible surfaces.
Key support settings include density (how much material is used to build the support), pattern, and the support interface. A support interface creates a denser, often smoother layer at the top of the support, which contacts the model. This can improve the surface quality of the overhang but can also make removal more challenging. Beginners should experiment with support density – a lower density makes them easier to break away, but too low and they won’t be effective. Finding the right balance is crucial. Also, consider enabling “Support Roof” and “Support Floor” for better contact with the model and easier removal of the support material itself.
Even with well-generated supports, removal requires patience. Rushing this process is a common mistake that can damage the printed model. Use appropriate tools like flush cutters, hobby knives, or needle-nose pliers. For FDM prints, gently rocking the support structure back and forth can help break the adhesion. For resin prints, supports are typically removed before final curing. Taking your time and removing supports in small sections will yield cleaner results. If the support interface leaves marks, gentle sanding or filing can often clean them up.
A print failing to stick to the build plate is perhaps the most disheartening and frequent issue for beginners. If the first layer doesn’t adhere properly, the entire print is doomed to fail, often detaching partway through and creating a tangled mess of plastic or resin. This is a critical step, especially for larger car models that require a stable base throughout a long print.
Several factors contribute to poor bed adhesion. The build surface might be dirty (fingerprints, grease, or old adhesive residue). The nozzle could be too far from the build plate, leading to a thin, weak first layer that doesn’t grip. Conversely, the nozzle being too close can cause the filament to bunch up or scrape the bed. An uneven build plate (not properly leveled) is another major culprit, causing the nozzle to be too close in some areas and too far in others. Temperature is also vital: the bed temperature needs to be appropriate for the material being used (e.g., 50-60°C for PLA, 70-80°C for PETG) to keep the plastic warm and pliable.
Start with a clean build plate. For most FDM printers, wiping down the build surface with isopropyl alcohol (IPA) before each print is essential. Leveling the bed is paramount. Many printers have auto-leveling features, but manual bed leveling (using a piece of paper to check the nozzle gap at several points) is still often necessary. Calibrate your Z-offset precisely. The first layer should be slightly “squished” onto the build plate, creating a smooth, continuous surface with no gaps between extrusion lines. Use a “skirt” or “brim” in your slicer settings. A skirt is a few outlines around the model that helps prime the nozzle and check extrusion before printing the actual model. A brim is a single layer of extrusion attached to the base of the model, increasing the surface area in contact with the bed, which is excellent for smaller base-area models or those prone to warping.
Different materials require different approaches. PLA generally adheres well to standard surfaces like glass or PEI. PETG can be more challenging and may stick *too* well to some surfaces, requiring a release agent like glue stick or hairspray. ABS is notorious for warping due to thermal contraction, often requiring an enclosed printer and higher bed temperatures, sometimes with specialized build surfaces like Garolite or ABS slurry.
The vast array of 3D printing materials can be overwhelming. Beginners often grab the cheapest or most readily available filament (usually PLA) without considering if it’s the best choice for their specific car model or application. Using the wrong material can lead to print failures, poor aesthetics, or a model that doesn’t meet expectations.
PLA (Polylactic Acid) is popular for its ease of printing, low warping, and wide range of colors. It’s a great starting point for display car models. However, PLA has a relatively low glass transition temperature, meaning it can soften and deform in warm environments (like a car interior on a hot day). It’s also brittle and can snap if dropped.
PETG offers better temperature resistance and durability than PLA, making it suitable for models that might experience slightly more stress or varying temperatures. It’s slightly more challenging to print, with a tendency to string, but many slicer settings can mitigate this. For functional parts or models that need to be more robust, PETG is often a better choice.
ABS (Acrylonitrile Butadiene Styrene) is known for its strength, temperature resistance, and toughness, often used for injection-molded parts. However, it’s significantly harder to print than PLA or PETG. It requires higher print temperatures, a heated bed, and often an enclosed printer to manage warping and toxic fumes (requiring good ventilation). Beginners attempting ABS often struggle with delamination and warping.
For incredibly detailed printable car models where fine lines, sharp edges, and smooth surfaces are paramount (think 1:18 scale replicas), resin printing (SLA/DLP/MSLA) is often superior. Different resin types exist, each with unique properties: standard resins for general use, tough resins for durability, flexible resins, and even castable resins. Beginners transitioning to resin printing must understand the safety protocols (gloves, ventilation, eye protection) and the post-processing steps (washing and curing).
A well-calibrated 3D printer is essential for consistent, high-quality prints. Beginners often neglect calibration, leading to a cascade of printing problems. This isn’t a one-time task; it requires periodic checks and adjustments.
The E-steps (extruder steps per millimeter) calibration ensures that when your printer is told to extrude 100mm of filament, it actually extrudes 100mm. If this is off, your prints will be either under-extruded (weak, gappy) or over-extruded (blobs, inaccurate dimensions). This is a fundamental calibration that requires measuring filament extruded and adjusting the setting in your printer’s firmware or via G-code commands. Many online guides provide step-by-step instructions for this crucial process.
PID (Proportional-Integral-Derivative) tuning stabilizes the temperature of your hotend and heated bed. Without it, temperatures can fluctuate significantly, leading to inconsistent extrusion and adhesion. Most modern printer firmware has a PID auto-tune function that can be run to find the optimal settings for your printer’s thermistors and heaters. This is particularly important for long prints where minor temperature variations can compound over time.
Even with calibrated E-steps, the actual amount of filament extruded can vary slightly due to filament diameter inconsistencies or extruder inconsistencies. The “Flow Rate” or “Extrusion Multiplier” setting in your slicer allows you to fine-tune this. Printing a calibration cube with thin walls and measuring the wall thickness can help you dial in this setting for perfect extrusion. For a 0.4mm nozzle, a wall thickness of 0.8mm (two extrusion widths) is a common target for properly calibrated flow.
How you orient a 3D model on the build plate can dramatically affect its printability, strength, and the quality of its visible surfaces. Beginners often just place the model flat on its base without considering the implications. This is especially true for car models where aesthetics are crucial.
As discussed with support structures, orientation directly influences the number and complexity of overhangs. Placing a car model with its roof facing upwards will create significant overhangs for the wheel wells and undercarriage. Rotating it to minimize steep overhangs or to place critical details in orientations that require fewer, more manageable supports can save time and improve quality. For example, printing a car body at a slight angle might reduce the need for extensive supports on the underside.
FDM prints have inherent anisotropy – they are weaker along the Z-axis (between layers) than along the X and Y axes (within a layer). This means the orientation of your print affects its structural integrity. If you need a strong car model, orienting critical load-bearing parts so the layers are perpendicular to the primary stress direction can enhance strength. Furthermore, layer lines are more visible on vertical surfaces. Orienting a model to place the smoothest, most detailed surfaces on the XY plane (i.e., facing upwards or downwards) can result in a visually superior finish, even if it requires more supports.
Consider which surfaces of the car model will be most visible. Are you aiming for a smooth, flawless finish on the hood and roof? Orienting the model so these surfaces are parallel to the build plate generally yields the best results, as they benefit from the potentially smoother surface of the first layer or require minimal support contact. If a surface will be hidden (e.g., the underside), it can tolerate more support scarring.
The accessibility of modern 3D printers and slicing software sometimes creates an illusion of simplicity. Beginners often expect perfect prints straight out of the box without understanding the learning curve involved. They may download a complex STL car model from a site like 88cars3d.com and assume the default slicer settings will produce a flawless replica.
Mastering 3D printing takes time, practice, and a willingness to troubleshoot. Each printer, material, and even filament spool can behave slightly differently. Relying solely on default profiles is a recipe for disappointment. Beginners need to invest time in understanding what each slicer setting does, how it impacts the print, and how to adjust it based on the specific model and material. Printing calibration tests (cubes, towers, overhang tests) is invaluable for understanding your printer’s capabilities and limitations.
It’s rare for a complex model to print perfectly on the first attempt. Expect to iterate. If a print fails, don’t just discard it. Analyze the failure: Was it bed adhesion? A clogged nozzle? A failed overhang? Use that information to adjust your settings and try again. This iterative process of printing, analyzing, and adjusting is fundamental to becoming a skilled 3D printer operator. Online communities and forums are excellent resources for seeking advice when you encounter specific problems.
Some STL files are inherently more challenging to print than others due to their detail level, thin walls, or intricate overhangs. Beginners should start with simpler models or models specifically designed for ease of printing (often indicated by the provider). As you gain experience, you can tackle more complex automotive designs.
The printing process doesn’t end when the printer finishes. Post-processing is crucial for achieving a professional-looking final product, especially for detailed car models. Beginners often skip or rush these steps, leaving their prints with visible layer lines, support marks, or unfinished details.
For FDM prints, sanding is essential to smooth out layer lines. Start with a coarser grit sandpaper (e.g., 150-220 grit) to remove significant imperfections and level surfaces, then progressively move to finer grits (e.g., 400, 800, 1000, 2000+). Wet sanding can help prevent clogging and produce a smoother finish. For resin prints, sanding is also important, but the surfaces are often smoother to begin with. For extreme smoothness, vapor smoothing (using acetone for ABS or specialized chemicals for other materials) can be employed, but this requires extreme caution and is not recommended for beginners due to safety risks.
Gaps or minor imperfections can be filled using modeling putty, Bondo, or specialized 3D print fillers. After filling, priming the model with a spray primer is a vital step. Primer reveals surface imperfections you might have missed, helps unify the surface texture, and provides an excellent base for paint adhesion. Multiple light coats of primer are better than one heavy coat.
Painting is where a printed car model truly comes to life. Beginners might simply spray paint directly onto the plastic. However, using acrylic model paints, airbrushing, or even brush painting techniques with proper layering can yield far superior results. Consider masking techniques for two-tone paint jobs or details. Clear coats (gloss, satin, or matte) provide protection and the final desired finish. For extremely detailed parts like dashboards or intricate engine components, hand-painting small details can add a significant level of realism.
Finally, a critical oversight for many beginners is neglecting safety. 3D printers involve hot components, moving parts, and sometimes fumes, while materials like resin have specific handling requirements.
The nozzle and heated bed operate at high temperatures. Always be aware of these hot zones and avoid touching them during operation or immediately after. Ensure that loose clothing, hair, or tools do not come into contact with moving parts like belts, gears, or the print head carriage, which can cause damage or injury.
While PLA produces relatively benign fumes, other materials like ABS, PETG, and especially some resins can release volatile organic compounds (VOCs) and ultrafine particles. Printing in a well-ventilated area is crucial. For materials like ABS, an enclosed printer with an air filtration system or direct venting to the outside is highly recommended. Resin printing absolutely requires good ventilation and personal protective equipment (PPE).
Resin requires careful handling. Always wear nitrile gloves when handling uncured resin or cleaning components. Avoid skin contact, and if contact occurs, wash thoroughly with soap and water. Dispose of uncured resin and cleaning solvents responsibly, as they are often considered hazardous waste. Similarly, spent supports and failed prints should be disposed of according to local regulations.
By understanding and actively avoiding these ten common mistakes, you’ll be well on your way to mastering the art of printing STL car models. The journey requires patience, learning, and a methodical approach. Platforms like 88cars3d.com provide excellent models, but the success of your print ultimately lies in your preparation, settings, and execution. Embrace the learning process, troubleshoot diligently, and enjoy the rewarding experience of bringing these incredible automotive designs to life through 3D printing.
“`
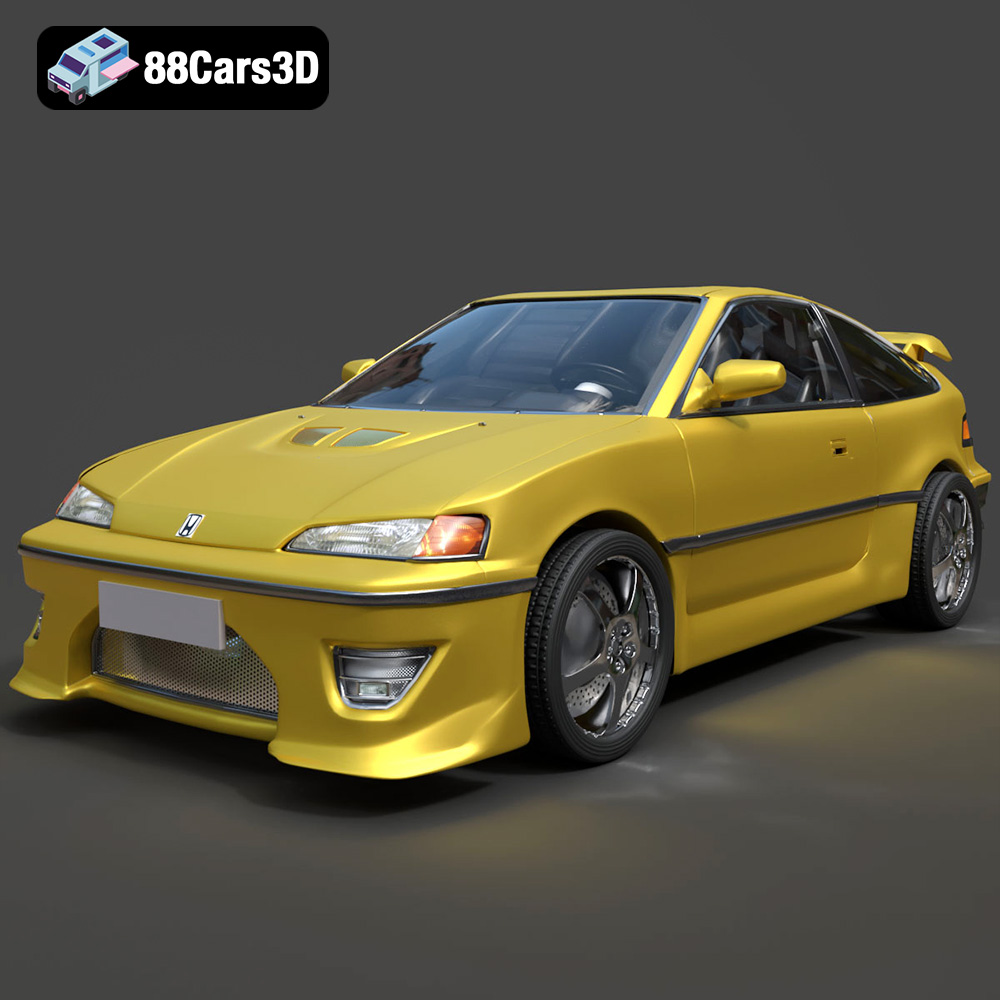
Texture: Yes
Material: Yes
Download the Honda CRX 1980 3D Model featuring clean geometry, realistic detailing, and a fully modeled interior. Includes .blend, .fbx, .obj, .glb, .stl, .ply, .unreal, and .max formats for rendering, simulation, and game development.
Price: $11.99
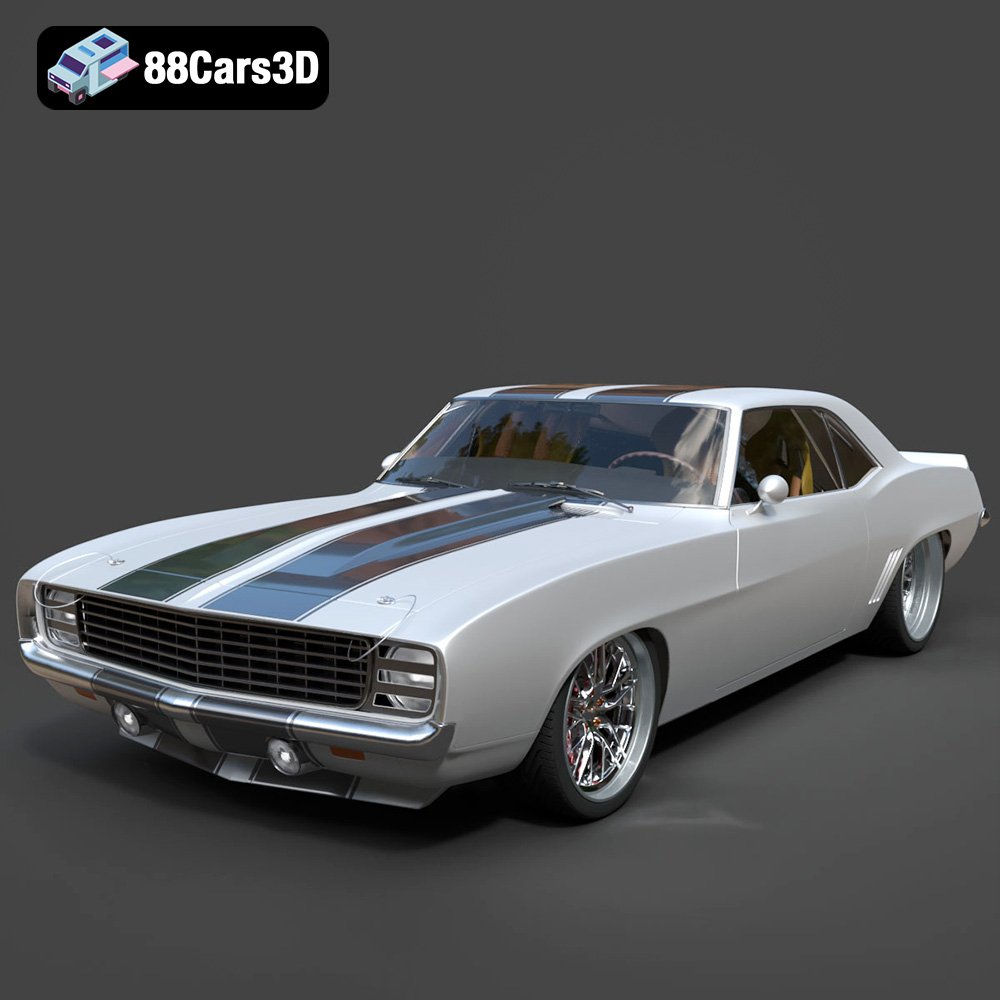
Texture: Yes
Material: Yes
Download the Chevrolet Camaro 69 Pro-007 3D Model featuring classic muscle car design and custom performance aesthetics. Includes .blend, .fbx, .obj, .glb, .stl, .ply, .unreal, and .max formats for rendering, simulation, and game development.
Price: $20.79

Texture: Yes
Material: Yes
Download the Honda Fit 2008 3D Model featuring a compact, versatile design with detailed exterior and interior components. Includes .blend, .fbx, .obj, .glb, .stl, .ply, .unreal, and .max formats for rendering, simulation, and game development.
Price: $10.79
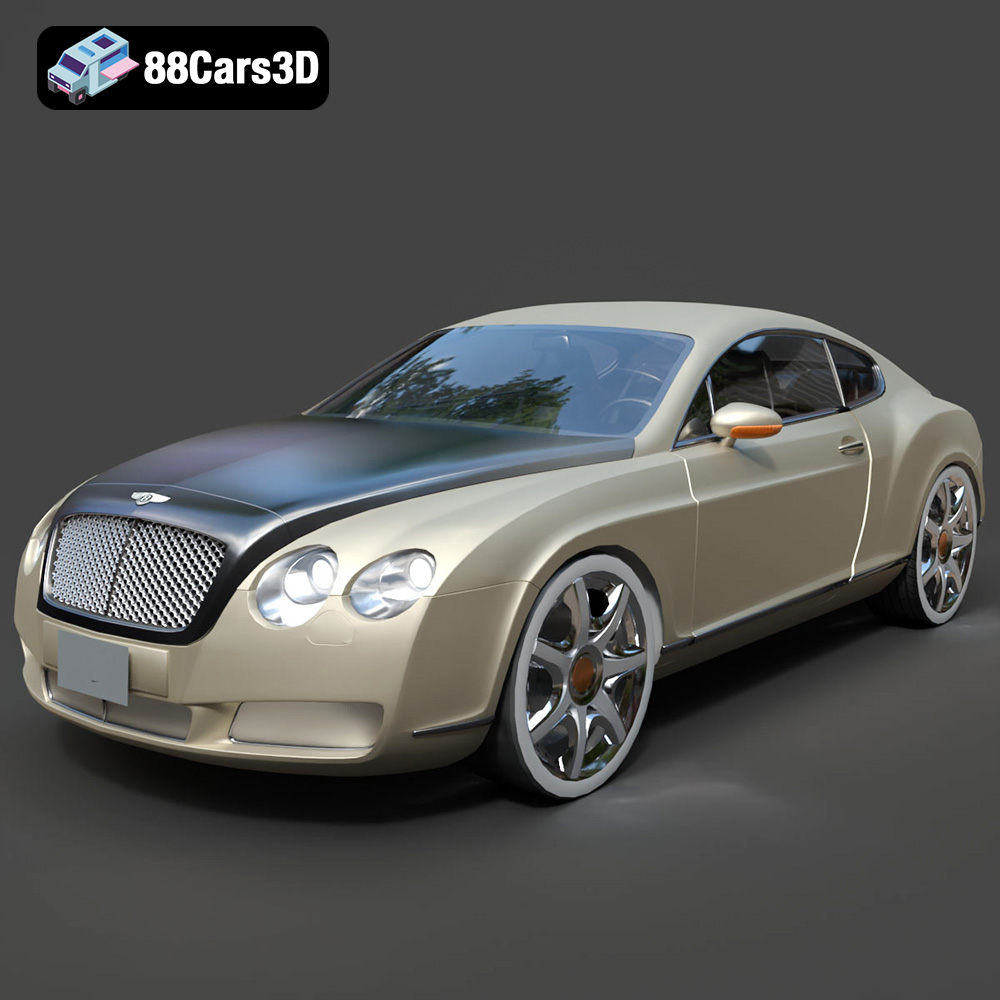
Texture: Yes
Material: Yes
Download the Bentley Continental GT-002 3D Model featuring a luxurious grand touring design and high-quality details. Includes .blend, .fbx, .obj, .glb, .stl, .ply, .unreal, and .max formats for rendering, simulation, and game development.
Price: $20.79

Texture: Yes
Material: Yes
Download the Audi R8 2006 3D Model featuring a sleek sports car design with detailed exterior and interior. Includes .blend, .fbx, .obj, .glb, .stl, .ply, .unreal, and .max formats for rendering, simulation, and game development.
Price: $20.79

Texture: Yes
Material: Yes
Download the Audi Q7 3D Model featuring a detailed exterior and a refined interior. Includes .blend, .fbx, .obj, .glb, .stl, .ply, .unreal, and .max formats for rendering, simulation, and game development.
Price: $20.79
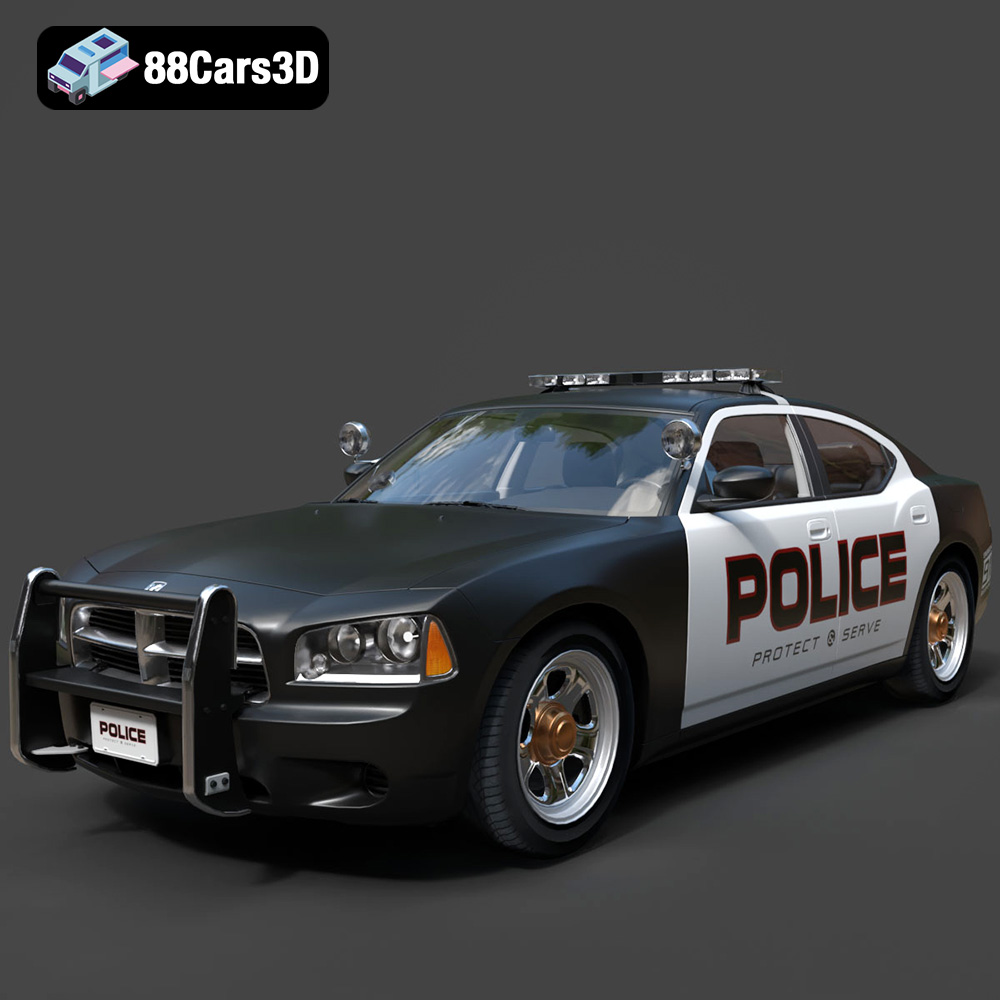
Texture: Yes
Material: Yes
Download the Aston Martin Police US 911 -005 3D Model featuring a high-fidelity exterior with police livery, detailed interior, and accurate proportions. Includes .blend, .fbx, .obj, .glb, .stl, .ply, .unreal, and .max formats for rendering, simulation, and game development.
Price: $10.79

Texture: Yes
Material: Yes
Download the Toyota MRS-007 3D Model featuring clean geometry, realistic detailing, and a fully modeled interior. Includes .blend, .fbx, .obj, .glb, .stl, .ply, .unreal, and .max formats for rendering, simulation, and game development.
Price: $10

Texture: Yes
Material: Yes
Download the Porsche 911 Turbo S 2024 3D Model featuring clean geometry, realistic detailing, and a fully modeled interior. Includes .blend, .fbx, .obj, .glb, .stl, .ply, .unreal, and .max formats for rendering, simulation, and game development.
Price: $20

Texture: Yes
Material: Yes
Download the Pontiac Solstice 2009 3D Model featuring clean geometry, realistic detailing, and a fully modeled interior. Includes .blend, .fbx, .obj, .glb, .stl, .ply, .unreal, and .max formats for rendering, simulation, and game development.
Price: $10

