Get 50% OFF All Premium 3D & STL Models!

The automotive industry is in a constant state of evolution, driven by innovation in design, engineering, and manufacturing. With this rapid pace comes an increasing demand for effective training solutions that can keep pace. Traditional methods, while valuable, often fall short in delivering the immersive, hands-on experience needed to master complex procedures, vehicle systems, and advanced technologies. This is where Unreal Engine steps in, offering an unparalleled platform for creating highly realistic, interactive automotive training simulations that redefine how professionals learn and interact with vehicles.
Unreal Engine’s robust rendering capabilities, powerful Blueprint visual scripting, and advanced features like Nanite and Lumen provide an ideal environment for crafting simulations that are not only visually stunning but also deeply engaging and functionally accurate. From virtual assembly lines and maintenance procedures to advanced driver training and interactive configurators, the possibilities are limitless. This comprehensive guide will walk you through the essential steps, technical insights, and best practices for leveraging Unreal Engine to develop cutting-edge automotive training simulations, drawing on high-quality 3D car models available from platforms like 88cars3d.com to ensure visual fidelity and technical precision. Prepare to unlock a new dimension of interactive learning and elevate your training programs to an unprecedented level of realism and effectiveness.
The success of any training simulation hinges on its foundational elements: a well-configured Unreal Engine project and meticulously prepared 3D assets. Starting strong ensures a smooth development pipeline and ultimately, a more performant and realistic final product. Sourcing high-quality 3D car models is paramount, and marketplaces such as 88cars3d.com specialize in providing assets optimized for Unreal Engine, featuring clean topology, proper UV mapping, and PBR-ready materials, which significantly streamlines the integration process.
Begin by launching Unreal Engine and selecting a suitable template. For automotive visualization and training, the “Blank” or “Architectural Visualization” templates often provide a clean slate with necessary rendering features enabled by default. However, for vehicle physics, ensure you activate the “Chaos Vehicles” plugin via `Edit > Plugins > Physics`. If you’ll be importing CAD data or complex assemblies, the “Datasmith” plugin (often enabled by default in newer UE versions) is indispensable. Datasmith facilitates the robust transfer of scene data, including geometry, materials, hierarchies, and metadata, from various DCC applications and CAD software directly into Unreal Engine, maintaining the integrity of your original assets. Configure your project settings by navigating to `Edit > Project Settings`. Here, you’ll want to review settings such as `Engine > Rendering` to enable features like Lumen Global Illumination and Reflections, and potentially Nanite for high-fidelity meshes, which we’ll discuss later. Proper initial setup prevents headaches down the line and ensures you have access to Unreal Engine’s most powerful rendering tools. For detailed documentation on project settings, refer to the official Unreal Engine learning resources: https://dev.epicgames.com/community/unreal-engine/learning.
Once your project is set up, the next critical step is importing your 3D car models. When sourcing automotive assets from marketplaces like 88cars3d.com, you often receive models in formats like FBX or USD, which are ideal for Unreal Engine.
1. **Datasmith Workflow (Recommended):** For complex models or scenes, Datasmith is the preferred method. In the Content Browser, click `Add (+) > Datasmith > Datasmith Import File`. Select your FBX or USD file. Datasmith will intelligently import the mesh, UVs, materials (creating basic PBR material instances), and preserve the scene hierarchy, which is crucial for animating individual car parts (doors, wheels, hood). It can also convert CAD data, making it a powerful tool for working with original design files.
2. **Standard FBX Import:** Alternatively, you can drag and drop your FBX file directly into the Content Browser. During import, ensure `Static Mesh` is selected, `Combine Meshes` is typically unchecked if you need individual components, and `Generate Missing Collision` is often useful for basic interaction.
3. **Optimization Post-Import:** Even with high-quality models, post-import optimization is vital.
* **Scale:** Verify the imported model’s scale in Unreal Engine matches real-world dimensions (1 unit = 1 cm by default). Adjust the `Import Uniform Scale` during import or manually resize the Static Mesh actor in the editor.
* **Pivot Points:** For interactive elements like doors or wheels, ensure their pivot points are correctly placed at the hinge or axle center. You may need to adjust these in your 3D modeling software before import or use Unreal’s modeling tools for minor tweaks.
* **Collision:** Generate accurate collision meshes. Complex shapes benefit from `Use Complex Collision As Simple` or manually creating simplified collision hulls (e.g., `UBX_` prefixed meshes) in your 3D software for better performance, especially for physics simulations. For performance-critical applications, aim for low-polygon collision meshes that accurately represent the primary shape of the object.
A well-organized project is essential for maintainability and collaboration, especially in larger training simulations. Establish a consistent folder structure from the outset. A common approach is to create top-level folders for `Blueprints`, `Environments`, `Materials`, `Meshes`, `Textures`, `UI`, and `Vehicles`. Within the `Vehicles` folder, create a sub-folder for each car model (e.g., `Vehicles/SportsCar_01`) containing all its associated assets. Use clear and consistent naming conventions (e.g., `SM_CarBody`, `M_CarPaint`, `T_CarPaint_BaseColor`, `BP_SportsCar`). This discipline not only makes it easier to navigate your project but also improves asset management and reduces the risk of errors, crucial for large-scale development efforts.
The visual fidelity of your automotive training simulation is largely determined by the quality of its materials and textures. Unreal Engine’s Physically Based Rendering (PBR) system is designed to create photorealistic surfaces that react accurately to light, mirroring real-world physics. Mastering PBR material creation is key to making your 3D car models look genuinely convincing.
PBR is a collection of rendering and lighting techniques that more accurately simulate how light behaves in the real world compared to older methods. In Unreal Engine, this translates into materials that rely on a set of texture maps to define their surface properties. The core PBR maps include:
* **Base Color (Albedo):** Defines the diffuse color of the surface without any lighting information. For metals, this map might represent the color of the reflected light.
* **Metallic:** A grayscale map (0 to 1) indicating how “metallic” a surface is. 0 (black) is dielectric (non-metal), 1 (white) is metallic. Values in between are generally avoided as materials are either metal or not.
* **Roughness:** A grayscale map (0 to 1) indicating the microscopic surface imperfections that scatter light. 0 (black) is perfectly smooth and highly reflective (like a mirror), 1 (white) is extremely rough and scatters light broadly.
* **Normal:** A tangent-space normal map that simulates fine surface details (bumps, scratches, seams) without adding actual geometry, greatly enhancing visual detail without significant performance cost.
* **Ambient Occlusion (AO):** A grayscale map that simulates subtle self-shadowing in crevices and corners, adding depth and realism to the material.
* **Emissive:** Defines parts of the material that emit light, often used for headlights, taillights, or illuminated dashboards.
By carefully crafting these maps, you can simulate a vast range of real-world materials, from polished chrome to matte plastics and textured fabrics, ensuring your 3D car models from 88cars3d.com truly shine.
Automotive materials are notoriously challenging due to their highly reflective and often layered nature, such as car paint.
* **Car Paint Shaders:** A realistic car paint material in Unreal Engine often requires a layered approach.
1. **Base Layer:** Start with standard PBR values for the primary color, metallic, and roughness.
2. **Clear Coat:** Use the dedicated “Clear Coat” input in the Material Editor. This input allows you to add a secondary, transparent reflective layer on top of your base material, mimicking the clear coat on real car paint. Adjust `Clear Coat Roughness` for varying levels of polish and `Clear Coat Normal` for minor imperfections.
3. **Flakes (Optional):** For metallic or pearl paints, you might integrate a shader that simulates paint flakes. This usually involves custom node setups in the Material Editor, using noise textures and Fresnel effects to create subtle sparkling effects at grazing angles.
* **Tire Rubber:** A dark, low-metallic, high-roughness material with a strong normal map for tread detail. Consider adding subtle variations in roughness to simulate wear and tear.
* **Glass:** Typically a translucent material with low roughness and high metallic (or specific refraction settings). Use `Thin Translucency` for realistic car windows and `Refraction` if you need to simulate distortion through thicker glass. Ensure you consider performance implications for complex transparent materials.
* **Interior Fabrics and Plastics:** Utilize texture maps for diffuse color, normal details (stitching, grain), and roughness variations to simulate different tactile qualities. Material instances are crucial here: create a master car paint material and then create instances for different colors, allowing rapid iteration without recompiling the entire shader.
Efficient texture management is vital for performance, especially when dealing with multiple high-quality 3D car models and detailed environments.
* **Resolution:** Use appropriate texture resolutions. While 4K (4096×4096) or even 8K textures offer incredible detail, use them judiciously for hero assets like the car body. For less prominent parts or distant objects, 2K or 1K textures are often sufficient. Over-resourcing textures can quickly consume GPU memory.
* **Compression:** Unreal Engine automatically compresses textures upon import. Ensure the correct compression settings are applied (e.g., `Default` for color, `Normal Map` for normals, `Masks (no SRGB)` for roughness/metallic/AO maps bundled into one texture).
* **Mipmaps:** Mipmaps are automatically generated by Unreal Engine, providing lower-resolution versions of textures for objects viewed at a distance, saving memory and improving rendering performance. Ensure they are enabled.
* **UV Unwrapping:** Proper UV unwrapping in your 3D modeling software is non-negotiable. Overlapping UVs can cause lighting and artifact issues, especially with baked lighting or advanced effects. Ensure adequate texture space is given to important areas of the car. For lightmaps, a second UV channel (UV Channel 1) is often required with non-overlapping islands. Using dedicated automotive models from 88cars3d.com ensures these best practices are already incorporated, saving significant development time.
Photorealistic visuals are only one half of an immersive training simulation; the other is interactivity. Unreal Engine’s Blueprint visual scripting system is a powerful, node-based interface that allows developers, even those without extensive coding knowledge, to create complex gameplay mechanics, interactive elements, and sophisticated training scenarios.
Blueprint empowers you to define the behavior of actors in your scene. At its core, Blueprint relies on:
* **Event Graphs:** These are the primary canvas where you define the sequence of actions in response to events (e.g., player input, component overlap, timer expiration).
* **Functions:** Reusable blocks of logic that perform a specific task, helping to keep your Event Graphs clean and modular.
* **Variables:** Containers for storing data (numbers, text, references to other actors), which are essential for managing states and passing information between different parts of your simulation.
* **User Interface (UMG):** Unreal Motion Graphics (UMG) is Unreal Engine’s UI designer, allowing you to create interactive menus, heads-up displays (HUDs), and on-screen instructions for your training modules. For instance, you can use UMG to display a step-by-step checklist for a maintenance procedure or to provide real-time feedback on a user’s actions. Widgets are built with a hierarchy of panels, buttons, text blocks, and images, and their behavior is defined in their own Blueprint graphs.
To begin creating interactivity, you’ll typically start by converting your Static Mesh actor of the car model into a Blueprint Actor (`Right-click on Static Mesh in Content Browser > Asset Actions > Create Blueprint Class using This`). This allows you to add scriptable logic directly to your car model.
With Blueprint, you can replicate almost any real-world vehicle function, making your training simulation highly practical.
* **Opening Doors and Components:**
* Attach hinge meshes (e.g., a door) to the main car body component.
* On a `Left Mouse Click` event (or any interaction event) on the door component, use a `Timeline` node in Blueprint to interpolate the door’s `Relative Rotation` over time, creating a smooth opening animation.
* Add logic to check if the door is already open or closed to toggle its state.
* For more complex component interactions, such as removing a tire or lifting a hood, you can use a combination of skeletal meshes (if animated in a DCC tool) or simply parenting and moving/rotating static meshes via Blueprint.
* **Turning On Lights and Dashboard Elements:**
* Add `Spot Light` or `Point Light` components to your car Blueprint for headlights and taillights.
* Create a Material Instance for emissive materials (e.g., dashboard lights, brake lights) and expose a scalar parameter in the material that controls their brightness.
* On a `Toggle Lights` event (e.g., keyboard input `L`), use Blueprint to set the `Visibility` of the light components and set the `Scalar Parameter Value` on your material instance to illuminate the dashboard.
* **Engine Start/Stop and Sound Effects:**
* Attach `Audio Component` nodes to your car Blueprint for engine sounds (idle, acceleration, start, stop).
* Use Blueprint events (e.g., `Start Engine` button press) to play specific sound cues and toggle engine state variables.
* For vehicle dynamics, Unreal Engine’s **Chaos Vehicles** plugin provides a robust physics simulation framework. You can configure engine torque curves, transmission settings, tire properties, and suspension directly within the `Vehicle Movement Component` attached to your car Blueprint. This allows for highly realistic driving simulations where trainees can experience the vehicle’s physics firsthand.
The true power of an interactive training simulation lies in its ability to guide users and provide feedback.
* **Step-by-Step Guides:** Create an `Array` of `Text` variables in Blueprint, each representing a step in a procedure (e.g., “1. Open the hood,” “2. Locate the oil dipstick”). Use UMG to display the current step. When a user correctly performs an action (e.g., opening the hood), trigger the next step in the array.
* **Progress Tracking:** Use `Integer` variables to track `CurrentStep` and `TotalSteps`. Update a progress bar in UMG.
* **Objective Systems:** Define clear objectives for each training module. Use Blueprint to detect when these objectives are met. For example, if the training is to change a tire, detect when the old tire is “removed” and the new one “attached.”
* **Visual/Audio Cues:** Provide immediate feedback. Play a success sound and show a green checkmark in UMG for correct actions. For incorrect actions, play an error sound, display a red ‘X’, and highlight the correct component to interact with using a temporary emissive material or a pulsating outline shader. You can achieve component highlighting by dynamically setting a Material Parameter Collection value that affects a post-process material or by swapping to an emissive material instance on the target component. These explicit feedback mechanisms are essential for effective learning and reinforcement.
To truly immerse users in a training simulation, cutting-edge visuals are indispensable. Unreal Engine provides powerful tools and next-generation features that allow you to achieve photorealistic lighting and render incredibly detailed 3D car models without crippling performance.
Lumen is Unreal Engine 5’s fully dynamic global illumination and reflections system, providing real-time bounce lighting and specular reflections without needing to pre-bake lightmaps. This is transformative for automotive visualization and training, as it allows for incredibly realistic lighting changes based on time of day, environment modifications, or opening car doors.
* **Enabling Lumen:** Ensure Lumen is enabled in `Project Settings > Engine > Rendering > Global Illumination > Dynamic Global Illumination Method` (set to `Lumen`) and `Reflections > Reflection Method` (set to `Lumen`).
* **Lumen Scene Elements:** Lumen works by analyzing the geometry in your scene. Ensure your car models and environments have sufficient geometric detail and proper UVs for Lumen to accurately calculate light bounces. Large, flat surfaces benefit from additional tessellation or detail for better light interaction.
* **Lights and Shadows:** Place `Directional Lights` (for sunlight), `Sky Lights` (for ambient sky contribution), and `Rect Lights`/`Spot Lights` (for studio lighting or specific functional lights like headlights). Lumen will dynamically calculate how light from these sources bounces off surfaces, creating soft, realistic indirect lighting and colored light bounces (color bleeding) that enhance realism.
* **Reflections:** Lumen also handles real-time reflections, which are crucial for rendering the glossy surfaces of a car. Reflections will accurately show the environment and other objects, updating dynamically as the car moves or the environment changes. For highly polished surfaces, consider combining Lumen reflections with `Screen Space Reflections` (SSR) and strategically placed `Planar Reflections` for ultimate fidelity on key surfaces, though planar reflections are performance-intensive.
Nanite is Unreal Engine 5’s virtualized geometry system, allowing artists to import and render incredibly detailed models with millions or even billions of polygons without performance degradation. This is a game-changer for automotive visualization, where high-fidelity car models are paramount.
* **Importing Nanite Meshes:** When importing your 3D car models (e.g., from 88cars3d.com, which often provides high-detail meshes), you can enable Nanite support directly in the Static Mesh Editor. `Double-click your Static Mesh > Details panel > Nanite > Enable Nanite Support`.
* **Performance Benefits:** Nanite intelligently streams and processes only the necessary detail for pixels on screen, drastically reducing draw calls and memory footprint compared to traditional meshes. This means you can use models with millions of polygons for the car body, interior, and engine components, capturing every subtle curve and detail, all while maintaining smooth frame rates.
* **Limitations:** While powerful, Nanite has a few considerations:
* **Transparency:** Nanite currently does not support transparent or masked materials. For car windows or grilles with masked patterns, you’ll need to use traditional Static Meshes.
* **Deformation:** Nanite is primarily for static geometry. Skeletal Meshes (for animated parts like car doors if using bones) and dynamic mesh deformation (like soft body physics) are not fully supported. You might need to split your car into Nanite-enabled static parts and traditional skeletal meshes for animated components.
* **Collision:** While Nanite generates simplified collision, for precise interactions, you might still need custom collision meshes.
By judiciously applying Nanite to the core, high-detail elements of your 3D car models, you can achieve unparalleled visual quality in your training simulations.
For structured training scenarios, guided tours, or showcasing specific vehicle features, Unreal Engine’s Sequencer tool is invaluable. Sequencer is a powerful non-linear editor that allows you to create cinematic sequences within your simulation.
* **Creating Cinematic Walkthroughs:** Use Sequencer to choreograph camera movements, animate car components (e.g., doors opening in sequence), trigger events (e.g., highlighting an engine part), and overlay UI elements or voiceovers.
* **Keyframing and Tracks:** In Sequencer, you can add `Actor Tracks` for your car Blueprint, `Camera Tracks` for dynamic camera angles, and `Audio Tracks` for narration or sound effects. You keyframe properties like `Location`, `Rotation`, `Scale`, material parameters, or Blueprint events over time.
* **Guided Training Modules:** Imagine a module that visually guides a trainee through an engine inspection. Sequencer can move the camera, point out specific components with UI overlays, animate a specific part, and pause for user interaction, resuming the sequence once the user performs the correct action via Blueprint integration. This combination of cinematic presentation and interactive checkpoints provides a highly effective learning experience. For more on Sequencer, check the official Unreal Engine documentation.
Even with cutting-edge visuals, an interactive training simulation is only effective if it runs smoothly across target hardware. Optimizing performance is a continuous process that involves strategic asset management, profiling, and careful consideration of deployment platforms.
Level of Detail (LOD) is a critical optimization technique that swaps out high-polygon meshes for simpler ones as an object moves further from the camera. This reduces the geometric load on the GPU without a noticeable loss of detail.
* **Automatic LOD Generation:** Unreal Engine can automatically generate LODs for Static Meshes. In the Static Mesh Editor, navigate to `Details > LOD Settings > Num LODs`. Unreal can generate up to 8 LODs, simplifying the mesh geometry progressively. For a car model, it’s common to have 3-5 LODs. For example, LOD0 (full detail, ~100k-300k+ polys), LOD1 (~50k-100k polys), LOD2 (~20k-50k polys), LOD3 (~5k-10k polys), and LOD4 (~1k-5k polys) for extreme distances.
* **Manual LOD Creation:** For complex car models, especially from 88cars3d.com, manual LODs created in your 3D modeling software offer superior control over topology and detail preservation. Import these as separate meshes and assign them to specific LOD slots in Unreal.
* **Instancing:** For repetitive objects (e.g., multiple identical screws, rivets, or even multiple cars in a scene for a car park simulation), use `Instanced Static Meshes` or `Hierarchical Instanced Static Meshes` (HISM). Instancing allows the GPU to draw multiple identical objects with a single draw call, significantly reducing CPU overhead. While individual car models are less likely to be instanced, small components within the car (like lug nuts on a wheel) are prime candidates.
Identifying performance bottlenecks is crucial. Unreal Engine provides several powerful console commands and tools for profiling:
* **`Stat FPS`:** Displays current frames per second and frame time.
* **`Stat Unit`:** Shows CPU game thread, draw thread, GPU, and RHI times, helping identify if you’re CPU-bound or GPU-bound.
* **`Stat Engine`:** Provides an overview of various engine systems, including rendering, physics, and AI.
* **`ProfileGPU`:** Brings up a detailed breakdown of GPU rendering passes, showing where your GPU time is being spent (e.g., Lumen, post-processing, specific materials).
* **`DumpGPU`:** Dumps detailed GPU timings to a log file.
* **`r.ScreenPercentage [value]`:** Temporarily reduces rendering resolution for quick performance checks, useful if your GPU is the bottleneck.
* **`ShowFlag.PostProcessing 0`:** Disables all post-processing effects to see their performance impact.
By systematically using these tools, you can pinpoint specific assets (high-poly meshes, complex materials, excessive lights) or engine features that are consuming too many resources and address them through optimization techniques.
Once optimized, your training simulation needs to be packaged for deployment. Unreal Engine supports a wide array of target platforms.
* **Windows (Standalone):** The most common deployment target. Configure packaging settings in `Project Settings > Packaging` to optimize for distribution (e.g., selecting `Shipping` build configuration for best performance, excluding editor content).
* **Virtual Reality (VR):** For truly immersive training, VR is an excellent choice. Unreal Engine has robust VR support.
* **Optimization:** VR demands very high frame rates (e.g., 90 FPS per eye), making optimization paramount. Lowering resolution scaling, simplifying geometry, reducing draw calls, and optimizing materials are even more critical here.
* **AR/VR Specifics:** Ensure your UI is VR-friendly (World Space UI or Canvas-based HUDs). Implement VR-specific locomotion and interaction methods.
* **Web (Pixel Streaming):** Unreal Engine’s Pixel Streaming allows you to stream your interactive simulation directly from a cloud server to a web browser, eliminating the need for users to download large files or have powerful local hardware. This is ideal for broad accessibility in corporate training environments, enabling users to access the simulation on virtually any device with a browser, whether it’s a desktop, tablet, or even a smartphone. This method streams rendered frames and accepts user input back, making it a powerful solution for remote training.
The capabilities of Unreal Engine extend far beyond basic visualization, enabling a spectrum of real-world applications for automotive training and interaction. As technology evolves, so too do the possibilities for immersive learning experiences.
One of the most immediate and impactful applications is the creation of interactive automotive configurators. Using high-quality 3D car models from 88cars3d.com, businesses can build applications where prospective buyers or trainees can:
* **Customize Vehicles:** Change exterior paint colors, wheel designs, interior upholstery, trim options, and add accessories in real-time.
* **Explore Features:** Interactively open doors, turn on lights, view engine components, and experience different driving modes.
* **Dynamic Pricing:** Integrate a UI (UMG) to display real-time pricing updates as options are selected, much like an actual car configurator on a manufacturer’s website.
* **Virtual Showrooms:** Create entire virtual environments where users can walk around, inspect, and customize multiple car models, providing an engaging experience akin to a physical dealership visit, but accessible globally. These configurators are not just for sales; they serve as invaluable training tools for sales teams and product specialists to deeply understand all vehicle variants and options.
For technicians, engineers, and assembly line workers, Unreal Engine simulations offer a safe, repeatable, and highly effective environment to learn complex procedures.
* **Step-by-Step Disassembly/Assembly:** Trainees can virtually dismantle and reassemble vehicle components (engine, transmission, braking system, interior panels). Blueprint scripting can enforce the correct sequence of actions, highlight necessary tools, and provide immediate feedback on errors. For instance, a trainee might need to “unbolt” a specific component, and the simulation verifies the correct bolt is selected and “removed” before allowing the next step.
* **Safety Training:** Simulate hazardous situations or operations requiring specific safety protocols without any real-world risk. This includes working with high-voltage electric vehicle components, heavy machinery, or dangerous chemicals.
* **Parts Recognition:** Implement interactive quizzes where trainees identify specific components, their functions, and their locations within the vehicle. Using the detailed 3D car models from 88cars3d.com, every nut, bolt, and sensor can be accurately represented for precise learning.
* **Virtual Production (VFX for Training Videos):** While not direct interactive training, Sequencer, combined with Unreal Engine’s virtual production capabilities (e.g., using LED walls or chroma key for virtual backgrounds), can produce stunningly realistic training videos. Imagine producing a video where a virtual car is shown in various configurations or being disassembled, all rendered in-engine with real-time directors controlling virtual cameras, saving immense costs compared to traditional film production.
For driver education, particularly for commercial vehicles, emergency services, or autonomous vehicle development, Unreal Engine provides a powerful simulation platform.
* **Realistic Physics:** Leveraging the Chaos Vehicles plugin, developers can simulate vehicle dynamics with high fidelity, accounting for factors like tire grip, suspension, weight distribution, and engine performance. This allows trainees to experience realistic handling characteristics.
* **Environmental Conditions:** Simulate diverse driving conditions – rain, snow, fog, night driving, various road surfaces – to train drivers in hazard recognition and adaptation. Niagara particle system can create dynamic weather effects, and Lumen ensures realistic lighting for all scenarios.
* **Hazard Recognition and Emergency Scenarios:** Create scenarios involving unexpected obstacles, sudden braking, evasive maneuvers, or system failures, preparing drivers for real-world emergencies in a safe, controlled environment.
* **Autonomous Vehicle Testing:** Developers can integrate AI drivers, sensor simulations (Lidar, Radar, Camera), and perception algorithms into the Unreal Engine environment, using it as a synthetic data generation platform for training and testing autonomous driving systems.
The journey of creating interactive automotive training simulations with Unreal Engine is one of innovation and immense potential. By combining high-quality 3D car models from trusted sources like 88cars3d.com with Unreal Engine’s powerful toolset – including Datasmith for seamless import, PBR materials for photorealism, Blueprint for dynamic interactivity, Lumen for cutting-edge lighting, and Nanite for unparalleled geometric detail – developers can craft immersive learning experiences that are both visually stunning and incredibly effective.
From configuring a dream car to mastering complex maintenance procedures or navigating challenging driving scenarios, Unreal Engine empowers the automotive industry to push the boundaries of training and development. The methodologies outlined in this guide provide a solid framework for embarking on your own simulation projects, ensuring performance, visual fidelity, and a truly engaging user experience. As the industry continues to advance, the demand for sophisticated real-time simulations will only grow, positioning Unreal Engine and high-quality 3D assets at the forefront of this transformative educational revolution. Embrace these tools, and revolutionize how the world learns about cars.
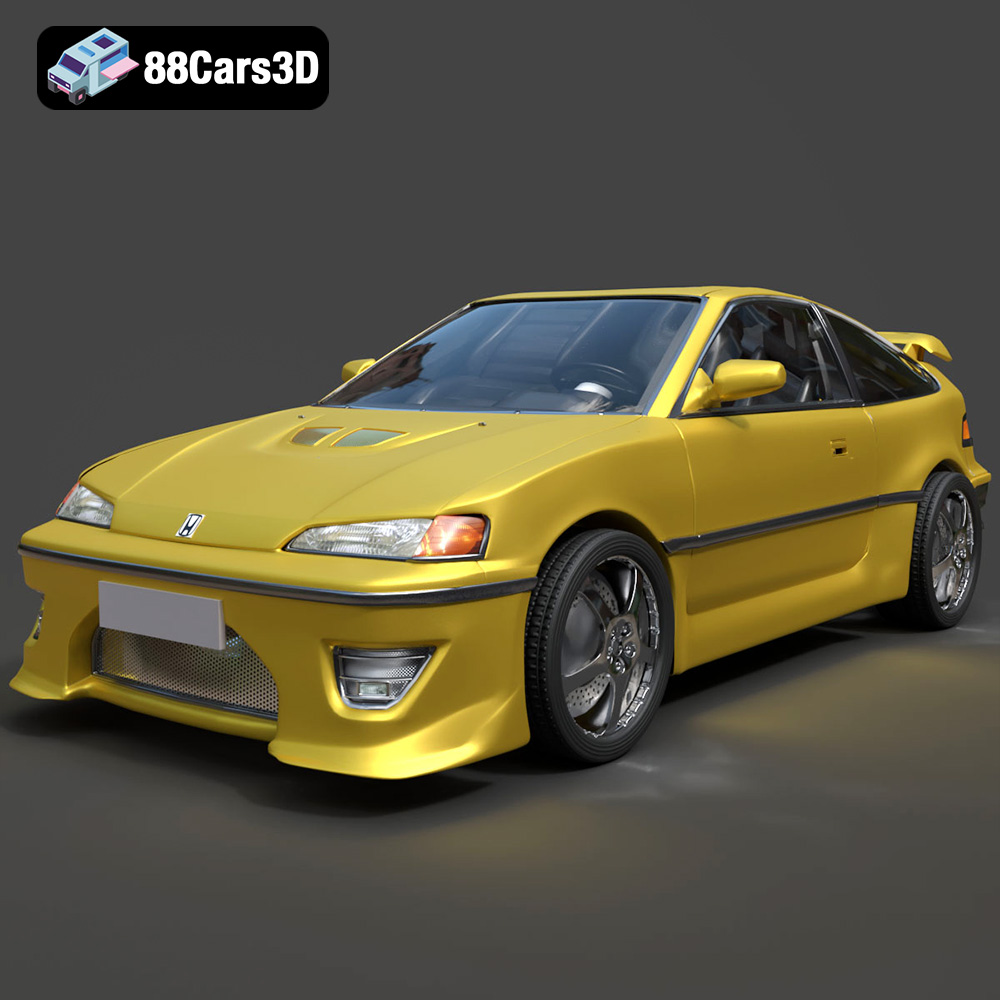
Texture: Yes
Material: Yes
Download the Honda CRX 1980 3D Model featuring clean geometry, realistic detailing, and a fully modeled interior. Includes .blend, .fbx, .obj, .glb, .stl, .ply, .unreal, and .max formats for rendering, simulation, and game development.
Price: $11.99
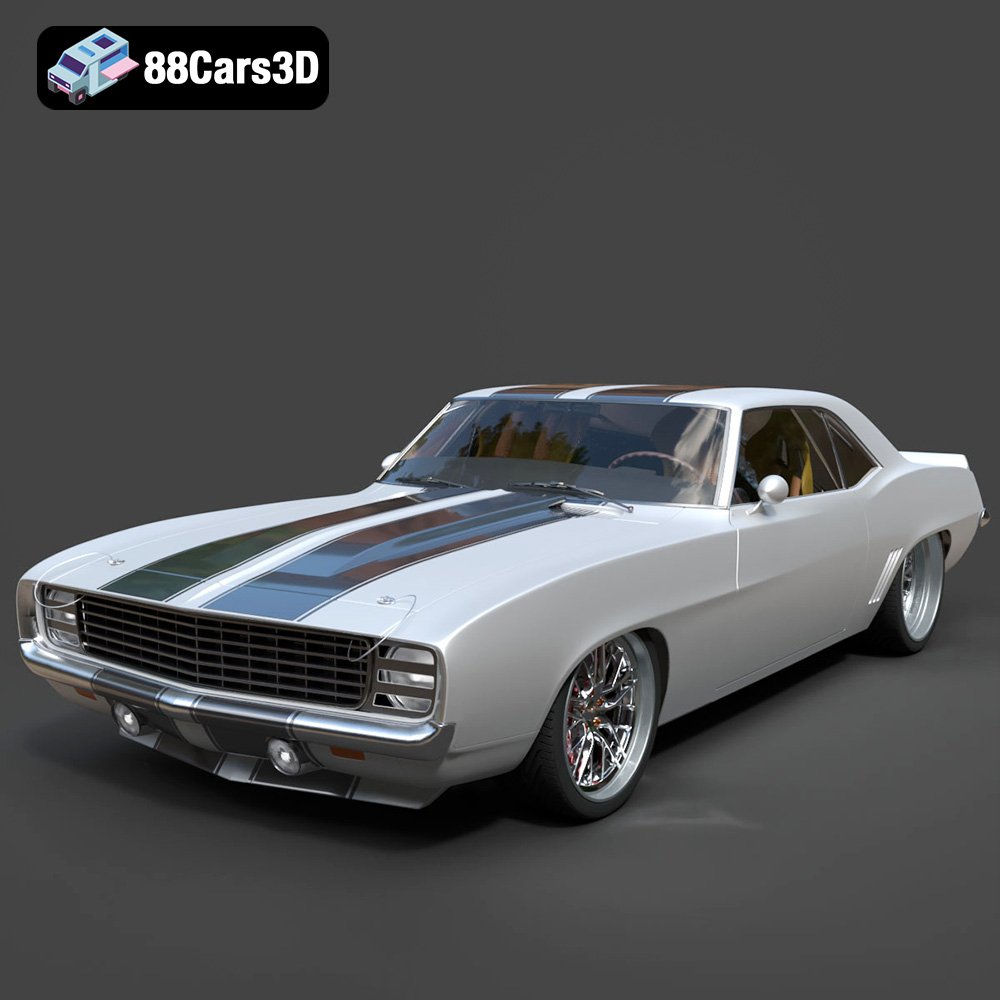
Texture: Yes
Material: Yes
Download the Chevrolet Camaro 69 Pro-007 3D Model featuring classic muscle car design and custom performance aesthetics. Includes .blend, .fbx, .obj, .glb, .stl, .ply, .unreal, and .max formats for rendering, simulation, and game development.
Price: $20.79

Texture: Yes
Material: Yes
Download the Honda Fit 2008 3D Model featuring a compact, versatile design with detailed exterior and interior components. Includes .blend, .fbx, .obj, .glb, .stl, .ply, .unreal, and .max formats for rendering, simulation, and game development.
Price: $10.79
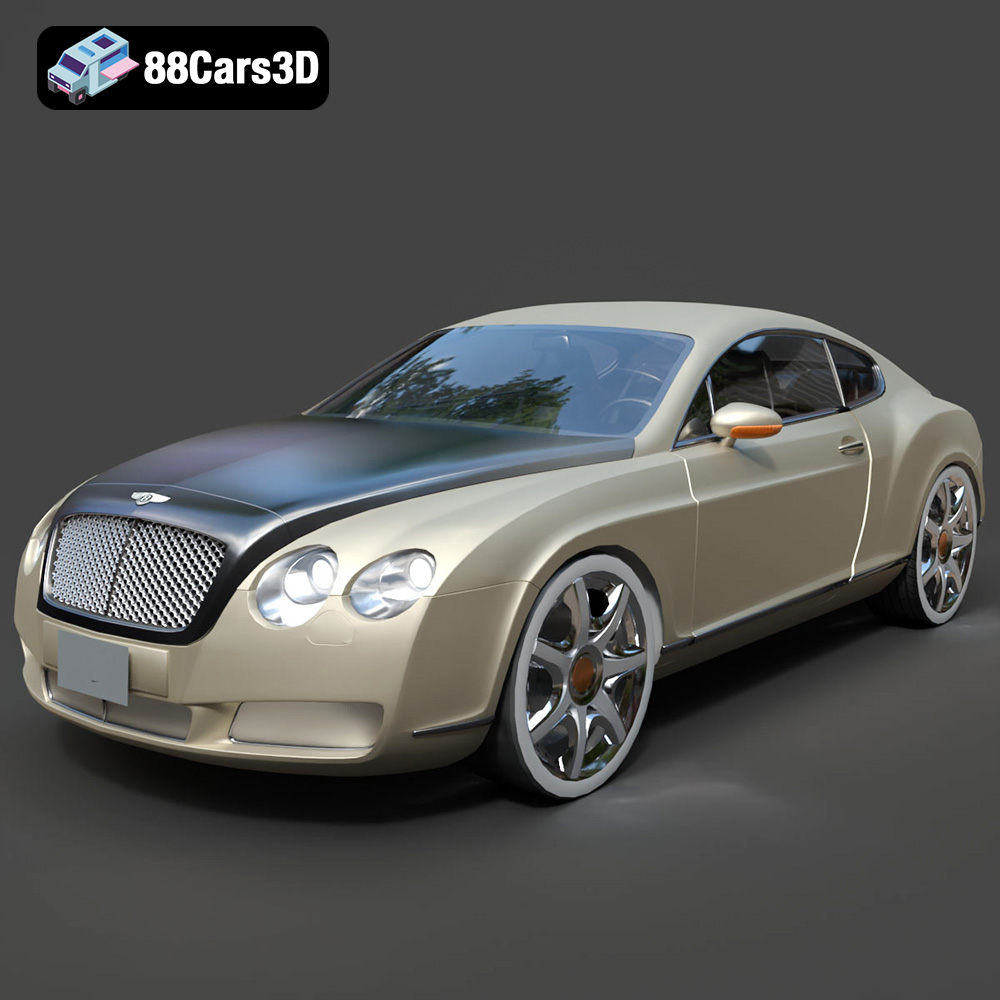
Texture: Yes
Material: Yes
Download the Bentley Continental GT-002 3D Model featuring a luxurious grand touring design and high-quality details. Includes .blend, .fbx, .obj, .glb, .stl, .ply, .unreal, and .max formats for rendering, simulation, and game development.
Price: $20.79

Texture: Yes
Material: Yes
Download the Audi R8 2006 3D Model featuring a sleek sports car design with detailed exterior and interior. Includes .blend, .fbx, .obj, .glb, .stl, .ply, .unreal, and .max formats for rendering, simulation, and game development.
Price: $20.79
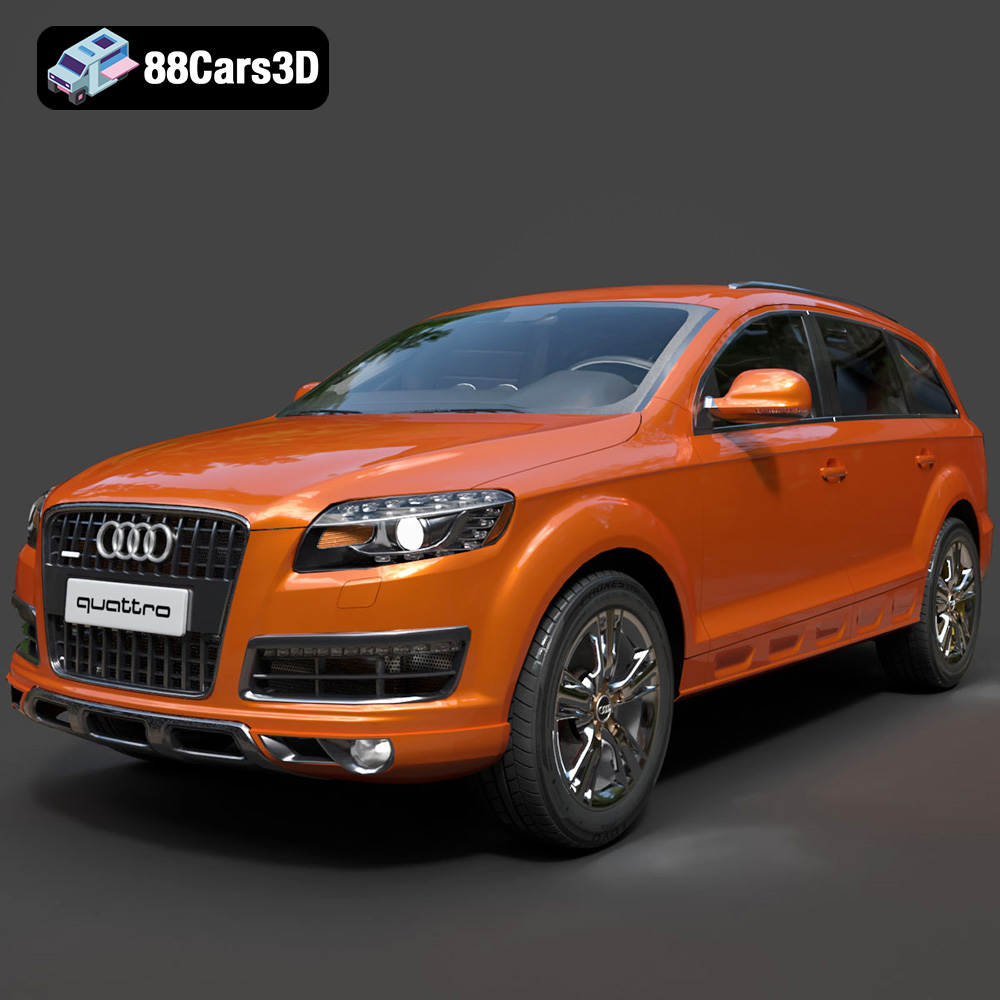
Texture: Yes
Material: Yes
Download the Audi Q7 3D Model featuring a detailed exterior and a refined interior. Includes .blend, .fbx, .obj, .glb, .stl, .ply, .unreal, and .max formats for rendering, simulation, and game development.
Price: $20.79
Texture: Yes
Material: Yes
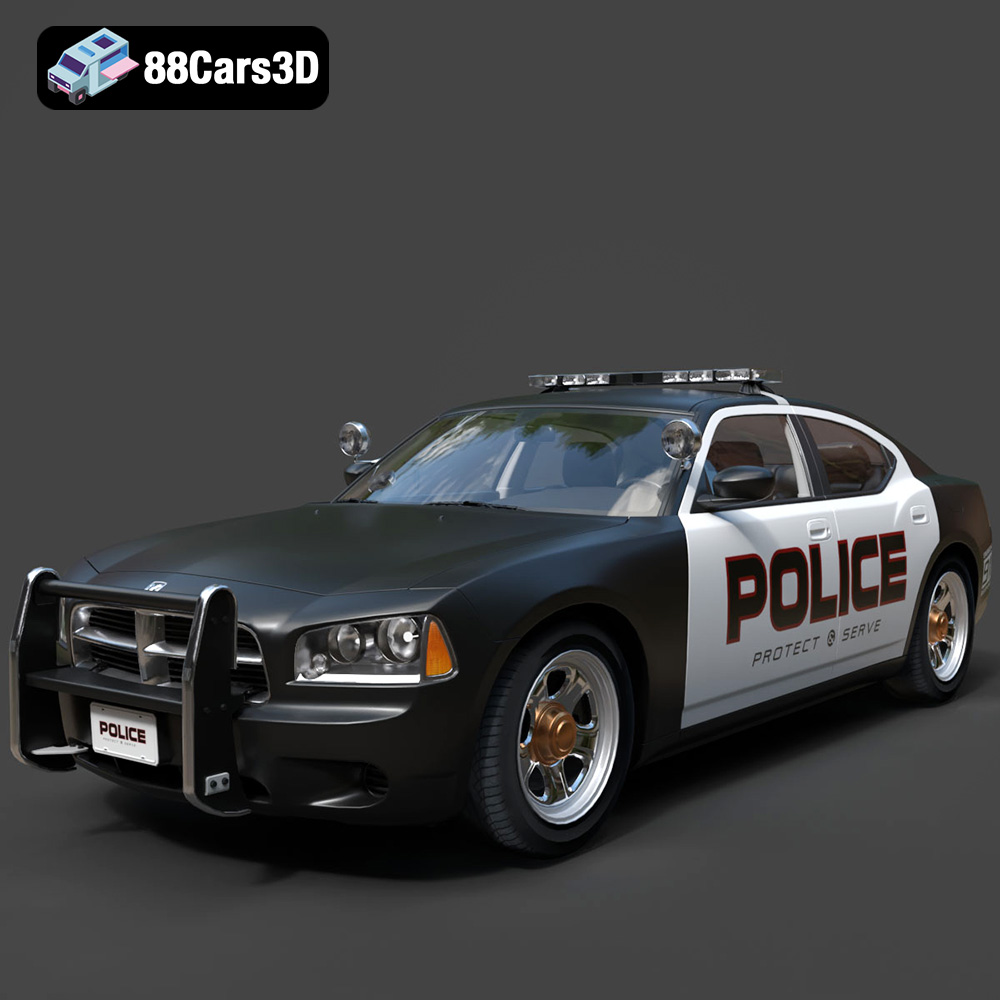
Download the Aston Martin Police US 911 -005 3D Model featuring a high-fidelity exterior with police livery, detailed interior, and accurate proportions. Includes .blend, .fbx, .obj, .glb, .stl, .ply, .unreal, and .max formats for rendering, simulation, and game development.
Price: $10.79

Texture: Yes
Material: Yes
Download the Toyota MRS-007 3D Model featuring clean geometry, realistic detailing, and a fully modeled interior. Includes .blend, .fbx, .obj, .glb, .stl, .ply, .unreal, and .max formats for rendering, simulation, and game development.
Price: $10

Texture: Yes
Material: Yes
Download the Porsche 911 Turbo S 2024 3D Model featuring clean geometry, realistic detailing, and a fully modeled interior. Includes .blend, .fbx, .obj, .glb, .stl, .ply, .unreal, and .max formats for rendering, simulation, and game development.
Price: $20

Texture: Yes
Material: Yes
Download the Pontiac Solstice 2009 3D Model featuring clean geometry, realistic detailing, and a fully modeled interior. Includes .blend, .fbx, .obj, .glb, .stl, .ply, .unreal, and .max formats for rendering, simulation, and game development.
Price: $10

