Get 50% OFF All Premium 3D & STL Models!

Embarking on the journey of 3D printing, especially with detailed automotive models, is an exhilarating experience. The ability to hold a miniature replica of a classic car or a futuristic concept vehicle in your hands, fresh off your 3D printer, is incredibly rewarding. However, this journey is often paved with unforeseen challenges, particularly for beginners grappling with the intricacies of STL files and printer settings. Many aspiring makers find themselves frustrated by failed prints, warped parts, or models that simply don’t match their expectations. This comprehensive guide is designed to illuminate the path ahead, dissecting the most common mistakes beginners make when printing STL files, particularly those sourced for collectible automotive models. We’ll delve into file preparation, slicing strategies, printer calibration, and crucial post-processing steps, equipping you with the knowledge to transform digital designs into tangible triumphs. By understanding and avoiding these pitfalls, you’ll significantly increase your success rate and unlock the full potential of your 3D printer for projects from platforms like 88cars3d.com.
The STL (STereoLithography) file format is the lingua franca of 3D printing. While seemingly straightforward, its underlying structure can be a source of beginner confusion, leading to print failures before the printer even begins its work. A common misconception is that an STL file is a perfect, solid representation of an object. In reality, it’s a mesh composed of interconnected triangles (or sometimes quadrilaterals) that approximate the surface geometry of the model. The quality and integrity of this mesh are paramount for successful printing.
Beginners often overlook the internal consistency of the STL mesh. Problems like non-manifold edges (where more than two triangles share an edge), inverted normals (triangles facing inward instead of outward), holes in the mesh, or self-intersecting surfaces can cause slicer software to misinterpret the model, leading to printing errors or corrupted slices. These errors essentially tell the printer that the object has no “inside” or “outside,” rendering it unprintable.
* **Non-Manifold Geometry:** Imagine a bridge where the road connects to the pillars at an angle that doesn’t allow for a continuous surface. In 3D printing, this is a non-manifold edge. Slicers struggle to determine which side of this “edge” is solid material.
* **Inverted Normals:** Normals are vectors that define the outward direction of a triangle’s surface. If a normal is pointing inward, the slicer (and thus the printer) thinks that face is part of the interior of the object, not its exterior.
* **Holes and Gaps:** Any opening in the mesh where there shouldn’t be one will prevent the slicer from creating a watertight model. This is akin to trying to fill a bucket with a hole in the bottom.
Fortunately, robust software tools exist to identify and repair these mesh issues. Before even thinking about print settings, it’s crucial to validate your STL file.
* **Meshmixer:** This free software is a powerhouse for mesh repair. Its “Analyze” feature can highlight errors, and its “Make Solid” or “Fix non-manifold edges” tools can often automatically correct common problems. For more complex issues, manual editing might be required.
* **Blender:** A professional 3D modeling suite, Blender also offers powerful mesh analysis and repair tools. The “3D-Print Toolbox” add-on, once enabled, provides functions to check for non-manifold geometry, flipped normals, and other common errors.
* **Netfabb (Autodesk):** While more commercially focused, Netfabb offers advanced automated repair capabilities that can be invaluable for intricate models. Many online services and some slicers even have integrated repair functionalities.
When downloading print-ready STL files from marketplaces such as 88cars3d.com, the files are typically pre-checked and repaired. However, understanding these potential issues and knowing how to check them yourself is a vital skill for any serious 3D printing hobbyist.
The slicer is the bridge between your digital STL file and your physical 3D printer. It converts the 3D model’s geometry into a series of thin layers and generates G-code, the machine instructions that dictate every movement of the printer’s head and bed. Incorrect slicing parameters are arguably the most frequent cause of beginner print failures.
One of the most significant decisions in slicing is layer height. This setting determines the thickness of each individual layer deposited by the printer.
* **Lower Layer Heights (e.g., 0.1mm or 0.08mm):** Result in significantly finer detail, smoother curves, and a more polished surface finish. This is ideal for highly detailed automotive models where intricate lines and curves are crucial for aesthetic appeal. However, printing with lower layer heights drastically increases print time. A model that takes 4 hours at 0.2mm might take 12-16 hours at 0.1mm.
* **Higher Layer Heights (e.g., 0.2mm or 0.3mm):** Lead to faster print times but sacrifice surface quality. Layer lines become more pronounced, and fine details may be lost or appear “chunky.”
**Beginner Mistake:** Choosing too low a layer height for a large, complex model, leading to impractically long print times or premature print abandonment. Conversely, using too high a layer height on a detailed car model will result in a loss of definition.
**Pro Tip:** For most automotive models from 88cars3d.com, a layer height between 0.1mm and 0.15mm offers a good balance between detail and print time on FDM printers. For resin printers, layer heights of 0.025mm to 0.05mm are common and produce exceptional detail.
Infill refers to the internal support structure printed within the hollow shell of your model. It affects the model’s strength, weight, and print time.
* **Infill Density:** Typically expressed as a percentage (e.g., 10-20% for most decorative models). Higher density means more internal material, leading to a stronger but heavier and longer print.
* **Infill Patterns:** Various patterns exist (grid, cubic, gyroid, honeycomb). Some are stronger, some are faster to print, and some are more material-efficient. The gyroid pattern is popular for its strength and minimal internal support requirements.
**Beginner Mistake:** Setting infill density too high (e.g., 50-100%) for decorative models, wasting filament and print time unnecessarily. Or, setting it too low (e.g., 0-5%) on parts that require some structural integrity.
**Recommendation:** For most car models intended for display, 10-15% infill density with a pattern like gyroid or cubic is usually sufficient. If you plan on assembling multiple parts or handling the model frequently, consider increasing to 20%.
Many 3D printable car models feature overhangs – parts of the model that extend horizontally beyond the layer below. Without support, these overhangs will droop, warp, or fail entirely. Generating and managing support structures is a critical skill, and a common area where beginners stumble.
3D printers have limits on how far they can print in mid-air.
* **Overhangs:** Angles greater than 45-60 degrees from the vertical typically require support. The exact angle depends on your printer, material, and cooling.
* **Bridging:** Printing a horizontal line between two points. Printers can bridge short distances effectively, but longer bridges will sag.
**Beginner Mistake:** Disabling supports entirely, especially for models with significant overhangs (like spoilers, chassis components, or aerodynamic bodywork). This inevitably leads to failed prints.
Slicer software offers various support options:
* **Standard/Grid Supports:** Traditional supports that form a dense grid. Can be difficult to remove and leave significant marks.
* **Tree/Branching Supports:** More organic, branching structures that touch the model at fewer points. Generally easier to remove and cause less surface damage, but can sometimes be less stable. (Common in Cura as “Tree” supports).
* **Support Interface:** A denser layer printed just below the model’s overhangs, providing a smoother surface for the overhang to form on. This makes removal easier and improves the surface finish of the supported area.
**Key Settings to Tweak:**
* **Support Density:** Controls how dense the support material is. Lower density is easier to remove but less stable.
* **Support Z Distance:** The gap between the support and the model along the Z-axis. A larger distance makes removal easier but can lead to sagging. A common starting point is 1-2 layer heights (e.g., 0.2mm – 0.4mm for 0.2mm layer height).
* **Support X/Y Distance:** The horizontal gap between the support and the model. A small gap (e.g., 0.7-1mm) helps them connect securely, while a larger gap aids removal.
* **Support Placement:** “Touching Buildplate” restricts supports only to areas directly above the print bed. “Everywhere” allows supports to be generated under overhangs that are also supported by other parts of the model.
**Beginner Mistake:** Setting a Z-distance too large, causing significant sagging and poor underside quality. Or setting it too small, making supports almost impossible to remove without damaging the model.
**88cars3d.com Advantage:** Many models on 88cars3d.com are designed with printability in mind, often incorporating optimized overhang angles or split into multiple parts to minimize the need for difficult supports. However, understanding these settings is still crucial for fine-tuning.
How you orient your model on the print bed and ensuring it sticks properly are foundational to a successful print. A model that detaches mid-print is a complete loss.
The orientation of your model on the print bed affects several factors:
* **Support Requirements:** As discussed, orientation significantly impacts where supports are needed.
* **Print Strength:** Layer lines represent lines of weakness. Orienting a part so that stress is applied perpendicular to the layer lines can lead to failure. For car models, this might mean orienting chassis components with the Z-axis aligned with the longest dimension for better stiffness.
* **Surface Finish:** The side of the model facing upwards during printing will generally have the best surface finish, as it’s not in contact with supports. Placing the most visually important surfaces downwards can be beneficial if supports can be managed cleanly.
**Beginner Mistake:** Printing a model flat on its side when printing it upright would have required minimal supports and resulted in a superior finish on the most visible surfaces. For example, printing a car body shell upright minimizes supports on the main body panels, which are typically the most visible.
**Recommendation:** Always analyze the model from all angles in your slicer before committing to an orientation. Consider which surfaces are most important for detail and finish, and which orientations minimize the need for supports on those critical areas.
Bed adhesion is the first few layers sticking firmly to the print bed. Without it, prints can shift, warp, or detach entirely.
* **Leveling the Print Bed:** This is non-negotiable. The nozzle must be the correct distance from the bed across its entire surface. Most printers require manual or automatic bed leveling.
* **First Layer Settings:** Slowing down the first layer print speed (e.g., 15-20mm/s) and slightly increasing the extrusion width (e.g., 120%) helps the filament squish and adhere better.
* **Bed Temperature:** Different materials require different bed temperatures (e.g., PLA: 50-60°C, PETG: 70-85°C, ABS: 90-110°C).
* **Adhesion Aids:** For difficult-to-print materials or large models, adhesion aids can be invaluable:
* **Brim:** Adds a single layer of material around the base of the print, increasing the contact area with the bed. Excellent for preventing warping.
* **Raft:** Prints a solid platform underneath the model, which the model then prints on top of. Consumes more material and can leave a rougher bottom surface but provides excellent adhesion.
* **Adhesive Sprays/Sticks:** Hairspray, glue stick, or specialized 3D printing adhesives can significantly improve adhesion.
**Beginner Mistake:** Relying on default settings without ensuring the bed is properly leveled, or using insufficient bed temperature for the chosen material. This often results in the print detaching midway, creating a mess and wasting hours of print time.
The choice of filament and the proper calibration of your 3D printer are often overlooked by beginners but are fundamental to print quality and success.
Different filaments offer different properties, influencing printability, durability, and finish.
* **PLA (Polylactic Acid):** The go-to for beginners. Easy to print, low warping, minimal fumes, and available in a vast array of colors and finishes (including metallic ones perfect for car models). It is, however, relatively brittle.
* **PETG (Polyethylene Terephthalate Glycol):** More durable and temperature-resistant than PLA. Offers good layer adhesion and is less brittle. Can be trickier to print, prone to stringing, and requires higher temperatures.
* **ABS (Acrylonitrile Butadiene Styrene):** Strong, impact-resistant, and temperature-resistant. However, it’s prone to significant warping, requires a heated bed (often above 100°C), and emits fumes that necessitate good ventilation or an enclosure.
* **Resin (SLA/DLP/MSLA):** For incredibly high detail, resin printing is superior. Automotive models with tiny panel lines, intricate grilles, or small emblems benefit immensely from the resolution of resin printers. However, resin printing involves messy post-processing (washing and curing) and requires careful handling due to its toxicity.
**Beginner Mistake:** Attempting to print ABS without an enclosure or proper ventilation, leading to failed prints due to warping and unpleasant fumes. Or, using PLA for a functional part that needs impact resistance.
**Recommendation:** Start with PLA for most display car models. If you need more durability or heat resistance, move to PETG. For show-stopping detail on small parts or entire models, consider a resin printer.
A well-calibrated printer is essential for consistent, high-quality prints.
* **E-Steps Calibration:** Ensures that the extruder pushes the correct amount of filament. Incorrect E-steps can lead to under-extrusion (gaps in layers) or over-extrusion (blobs and poor detail).
* **Flow Rate/Extrusion Multiplier:** Fine-tunes extrusion on a print-by-print basis, compensating for filament variations.
* **Temperature Towers:** Printing temperature towers helps identify the optimal printing temperature for a specific filament spool, improving layer adhesion and surface quality.
* **Retraction Settings:** Crucial for preventing stringing, especially with materials like PETG. Fine-tuning retraction distance and speed minimizes those fine wisps of filament between printed parts.
* **PID Tuning:** Ensures stable nozzle and bed temperatures, preventing fluctuations that can affect print quality.
**Beginner Mistake:** Never calibrating the printer or performing only basic leveling. This leads to inconsistent results, under-extrusion, over-extrusion, and stringing, which are particularly noticeable on the smooth surfaces of car models.
**Actionable Tip:** Follow established calibration guides for your specific printer model (e.g., Teaching Tech’s calibration guides are excellent resources). Make calibration a routine part of your printing process, especially when changing filament types or brands.
Many beginners believe the print is finished the moment it comes off the build plate. However, for automotive models, post-processing is where raw prints are transformed into show-quality replicas. Neglecting this stage is a common oversight.
Removing support structures cleanly requires patience and the right tools.
* **Tools:** Flush cutters, needle-nose pliers, hobby knives (X-Acto), files, and sometimes even small Dremel bits are essential.
* **Technique:** Remove larger sections of support first, then carefully work on smaller, more intricate areas. For resin prints, supports are often thinner and easier to snip off, but care must be taken not to damage delicate details.
* **Support Interface:** If you used a support interface, it should peel away more cleanly, often leaving a smoother surface.
**Beginner Mistake:** Rushing the support removal process, resulting in gouges, broken details, or torn surfaces on the model. Forcing supports can lead to significant damage.
**Tip:** If supports are proving very difficult, consider lightly heating the area with a heat gun (carefully!) to make the plastic slightly more pliable. For very stubborn supports on PLA, a quick dip in isopropyl alcohol can sometimes help.
This is where the magic happens.
* **Sanding:** Start with coarser grit sandpaper (e.g., 120-220 grit) to remove layer lines and support marks, progressing to finer grits (e.g., 400, 600, 1000, and even higher) for a smooth finish. Wet sanding (using sandpaper with water) can produce exceptionally smooth surfaces and reduce dust.
* **Filling:** Small gaps or imperfections can be filled with modeling putty, Bondo, or even specialized 3D print fillers. Sand the filler smooth once cured.
* **Priming:** A primer coat seals the surface, reveals any remaining imperfections, and provides an even base for paint. Use a spray primer designed for plastics.
* **Painting:** Acrylic paints are common for hobbyists. Airbrushing can achieve very smooth, even finishes, while hand-brushing is suitable for smaller details. Metallic paints, gloss coats for bodywork, and matte finishes for tires and interior components add realism.
* **Clear Coats:** A final clear coat (gloss, satin, or matte) protects the paint job and provides the desired final sheen.
**Beginner Mistake:** Attempting to paint directly onto a raw print without sanding or priming, resulting in a rough finish where layer lines are still visible and paint doesn’t adhere well. Or, using incompatible paints that melt or damage the plastic.
**Conclusion: Your Path to Flawless 3D Printed Automotive Models**
The world of 3D printing, particularly when bringing intricately designed automotive models to life from STL files, is a rewarding blend of art and science. By understanding and proactively avoiding the common pitfalls discussed – from ensuring STL mesh integrity and mastering slicer settings to optimizing print orientation, selecting the right materials, performing crucial printer calibrations, and executing meticulous post-processing – you lay the foundation for consistent, high-quality results. Remember that patience and attention to detail are your greatest allies. Platforms like 88cars3d.com provide excellent starting points with their print-ready STL files, but the final success hinges on your ability to navigate the printing process effectively. Embrace the learning curve, experiment with settings, and don’t be discouraged by the occasional failed print; each one is a valuable lesson. With this knowledge, you’re well-equipped to move beyond beginner mistakes and create stunning, detailed 3D printed car models that you can be proud of. Happy printing!

Texture: Yes
Material: Yes
Download the Mercedes Benz Joaquin-007 3D Model featuring clean geometry, realistic detailing, and a fully modeled interior. Includes .blend, .fbx, .obj, .glb, .stl, .ply, .unreal, and .max formats for rendering, simulation, and game development.
Price: $19.99
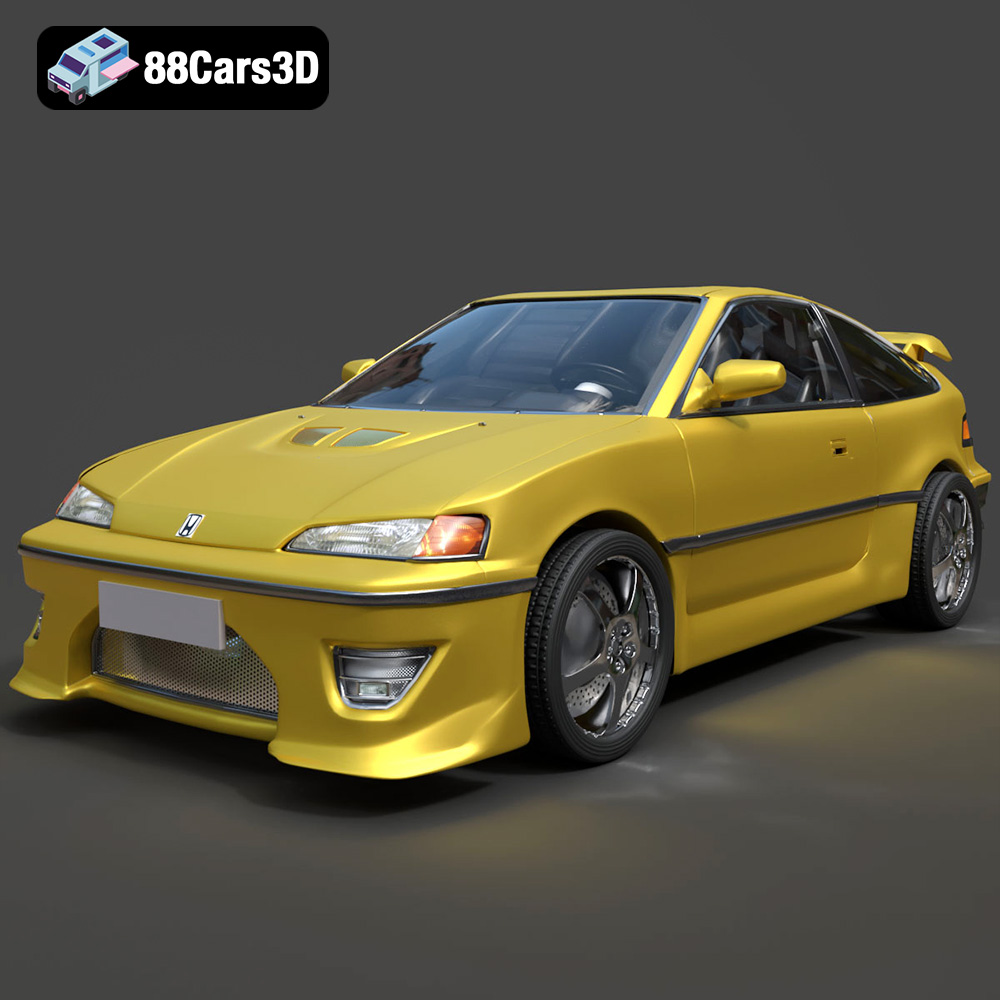
Texture: Yes
Material: Yes
Download the Honda CRX 1980 3D Model featuring clean geometry, realistic detailing, and a fully modeled interior. Includes .blend, .fbx, .obj, .glb, .stl, .ply, .unreal, and .max formats for rendering, simulation, and game development.
Price: $11.99
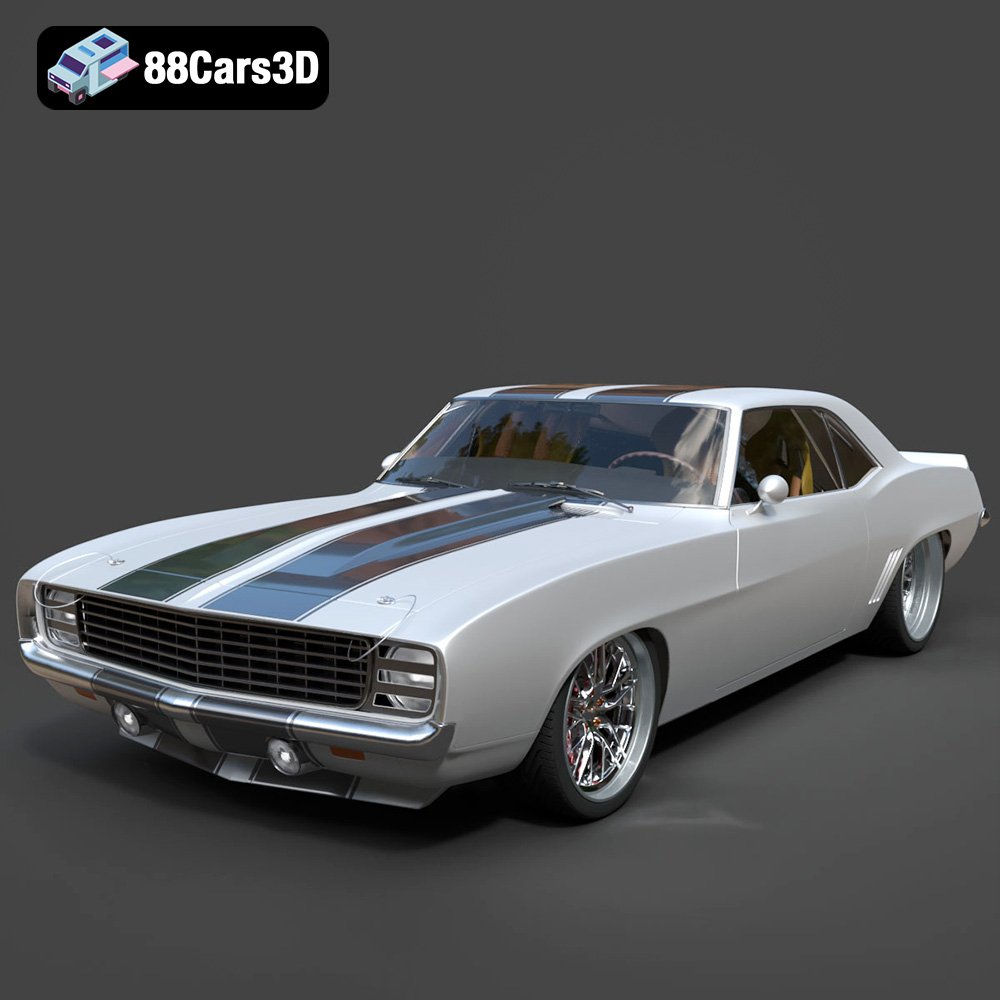
Texture: Yes
Material: Yes
Download the Chevrolet Camaro 69 Pro-007 3D Model featuring classic muscle car design and custom performance aesthetics. Includes .blend, .fbx, .obj, .glb, .stl, .ply, .unreal, and .max formats for rendering, simulation, and game development.
Price: $20.79

Texture: Yes
Material: Yes
Download the Honda Fit 2008 3D Model featuring a compact, versatile design with detailed exterior and interior components. Includes .blend, .fbx, .obj, .glb, .stl, .ply, .unreal, and .max formats for rendering, simulation, and game development.
Price: $10.79
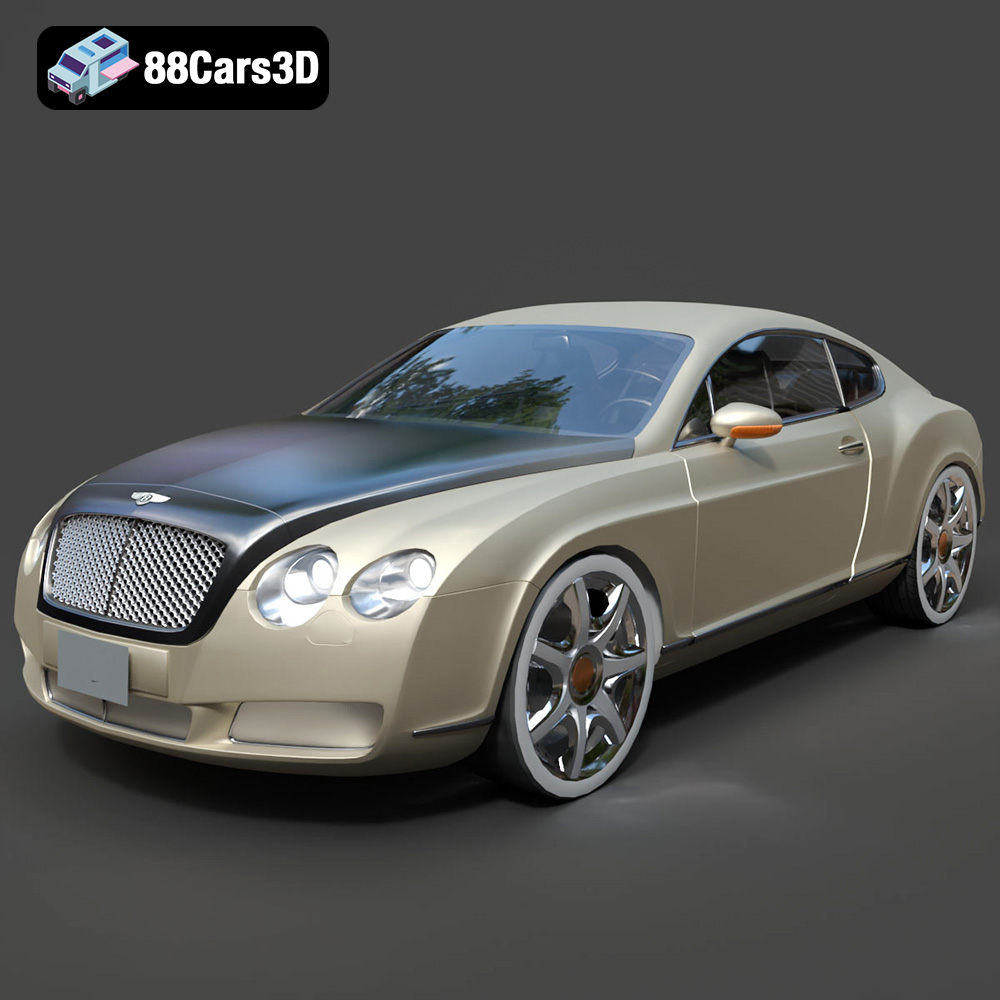
Texture: Yes
Material: Yes
Download the Bentley Continental GT-002 3D Model featuring a luxurious grand touring design and high-quality details. Includes .blend, .fbx, .obj, .glb, .stl, .ply, .unreal, and .max formats for rendering, simulation, and game development.
Price: $20.79

Texture: Yes
Material: Yes
Download the Audi R8 2006 3D Model featuring a sleek sports car design with detailed exterior and interior. Includes .blend, .fbx, .obj, .glb, .stl, .ply, .unreal, and .max formats for rendering, simulation, and game development.
Price: $20.79

Texture: Yes
Material: Yes
Download the Audi Q7 3D Model featuring a detailed exterior and a refined interior. Includes .blend, .fbx, .obj, .glb, .stl, .ply, .unreal, and .max formats for rendering, simulation, and game development.
Price: $20.79
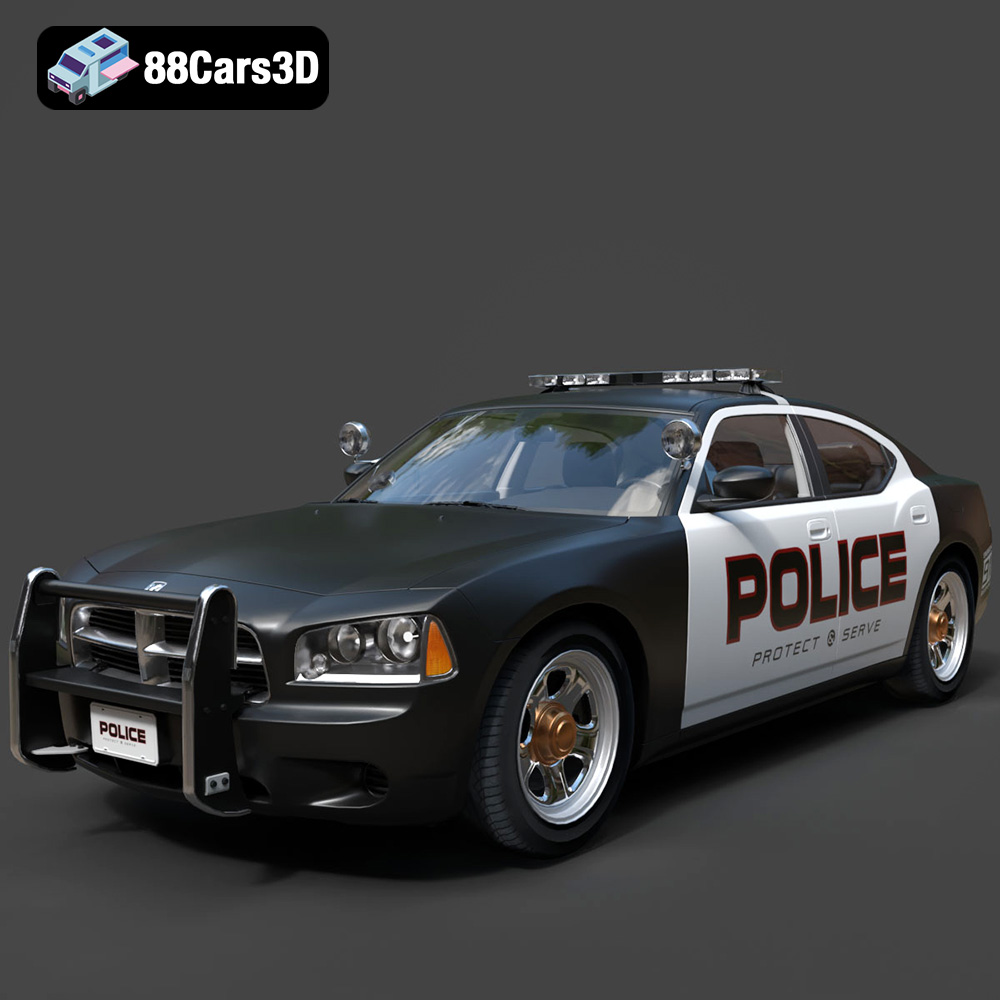
Texture: Yes
Material: Yes
Download the Aston Martin Police US 911 -005 3D Model featuring a high-fidelity exterior with police livery, detailed interior, and accurate proportions. Includes .blend, .fbx, .obj, .glb, .stl, .ply, .unreal, and .max formats for rendering, simulation, and game development.
Price: $10.79

Texture: Yes
Material: Yes
Download the Toyota MRS-007 3D Model featuring clean geometry, realistic detailing, and a fully modeled interior. Includes .blend, .fbx, .obj, .glb, .stl, .ply, .unreal, and .max formats for rendering, simulation, and game development.
Price: $10

Texture: Yes
Material: Yes
Download the Porsche 911 Turbo S 2024 3D Model featuring clean geometry, realistic detailing, and a fully modeled interior. Includes .blend, .fbx, .obj, .glb, .stl, .ply, .unreal, and .max formats for rendering, simulation, and game development.
Price: $20

