Get 50% OFF All Premium 3D & STL Models!

In the rapidly evolving world of real-time rendering, achieving breathtaking photorealism in automotive visualization is no longer a luxury—it’s an expectation. For Unreal Engine developers, 3D artists, and game designers, mastering Physically Based Rendering (PBR) workflows is the cornerstone of creating visually stunning and highly immersive automotive experiences. From showroom-quality renders to interactive configurators and high-fidelity game environments, the quality of your materials can make or break the illusion of reality.
This comprehensive guide dives deep into advanced PBR techniques within Unreal Engine’s powerful Material Editor, specifically tailored for bringing 3D car models to life. We’ll explore everything from fundamental PBR principles to intricate multi-layered car paints, realistic glass, and optimized materials for real-time performance. Whether you’re working on a cutting-edge automotive configurator, a next-gen racing game, or a virtual production sequence, understanding these workflows is paramount. Platforms like 88cars3d.com offer an excellent starting point with high-quality, pre-optimized Unreal Engine-ready game assets, but knowing how to fine-tune their materials is where true artistry meets technical prowess. By the end of this post, you’ll possess the knowledge to push the boundaries of automotive visualization and deliver unparalleled visual fidelity in your projects.
Before diving into complex shaders, a solid understanding of PBR fundamentals is essential. PBR materials simulate how light interacts with surfaces in the real world, providing a consistent and physically accurate look regardless of lighting conditions. For automotive visualization, this consistency is crucial, as vehicles are often viewed under diverse lighting setups and environments. Unreal Engine primarily utilizes the Metallic/Roughness workflow, where materials are defined by properties like Base Color, Metallic, Roughness, Specular, Normal, and Ambient Occlusion.
When working with 3D car models, each component — from the glossy paintwork to the textured tires and reflective chrome — requires a unique PBR approach. Base Color (also known as Albedo) represents the inherent color of the surface without any lighting information. Metallic determines how metallic a surface is (0 for non-metal, 1 for metal). Roughness dictates how diffused or sharp reflections appear, ranging from 0 (perfectly smooth, mirror-like) to 1 (extremely rough, diffuse). Specular, while often less critical in Metallic/Roughness, controls the intensity of non-metallic reflections. Normal maps add fine surface detail without increasing polygon count, crucial for subtle scratches or panel lines. Ambient Occlusion simulates contact shadows, adding depth and realism.
Applying PBR correctly to vehicles means understanding the specific properties of automotive materials. For instance, car paint is a complex non-metal with a clear coat, requiring careful handling of roughness and specular. Chrome, on the other hand, is a metal with extremely low roughness. Glass is a transparent dielectric with specific refraction properties. Tires are rough non-metals with unique textures. Each of these surfaces translates directly to specific PBR map values and shader logic within the Unreal Engine Material Editor. A common mistake is to introduce lighting information into the Base Color, which should be diffuse color only. Metallic values should be binary (0 or 1) for most materials, with very few exceptions. Roughness maps are perhaps the most influential in defining a material’s character, as they control how light scatters across the surface. Artists must meticulously craft these maps, often leveraging real-world references, to achieve believable results. For a deeper dive into PBR theory, Epic Games provides excellent resources on their Unreal Engine learning portal.
The journey begins with importing your 3D car models into Unreal Engine. Models sourced from marketplaces like 88cars3d.com are typically optimized and provided in formats like FBX or USD, which are ideal for Unreal Engine. When importing, ensure that tangent space is correctly computed, and UV mapping is preserved. Clean topology is paramount, as it directly impacts both visual quality and performance. High-quality assets will feature well-structured geometry, which simplifies the texturing and shading process. Upon import, Unreal Engine will often create initial materials. These serve as placeholders, and your primary task is to replace or enhance them with custom PBR setups. It’s crucial to verify that all mesh parts have appropriate material slots assigned. For instance, a car body should have distinct slots for paint, windows, tires, and interior components. This separation allows for highly granular control over each material’s properties, enabling you to apply advanced shaders to specific parts without affecting others. Always inspect the imported asset for proper scaling and orientation to match Unreal Engine’s coordinate system (Z-up).
Automotive paint is arguably the most complex and visually striking material on a car. It’s not just a single color; it’s a multi-layered system designed to reflect light in specific ways, often containing metallic flakes, pearlescent pigments, and a high-gloss clear coat. Replicating this complexity accurately in real-time rendering is a true test of a material artist’s skill within the Unreal Engine Material Editor.
A basic car paint shader typically starts with a Base Color for the primary pigment. The Metallic input is usually set to 0, as car paint is a non-metal, but this is where the clear coat simulation comes in. The Roughness map defines the gloss level, with very low values for a shiny finish. The challenge lies in simulating the clear coat, which adds depth and secondary reflections, and the metallic flakes embedded within the base layer that catch the light from different angles. Achieving this requires clever use of Unreal Engine’s shader nodes and potentially layered material blends.
To simulate a standard metallic car paint with a clear coat, we begin by setting up the base layer. The Base Color is usually a solid color or a subtle gradient. The Metallic input is generally 0. For Roughness, you’ll want a very low value (e.g., 0.1 to 0.2) to simulate the smooth clear coat. The key to the clear coat effect is using the ‘Clear Coat’ and ‘Clear Coat Roughness’ inputs available in the material’s details panel (ensure ‘Clear Coat’ is enabled under the ‘Shading Model’). The Clear Coat input should be set to 1 for full effect, and Clear Coat Roughness should be a very low value, often lower than the base roughness, to represent the ultra-smooth top layer. This provides an additional layer of specular reflection over the base material. For the metallic flakes, a common technique is to blend a secondary normal map, often generated from a noise texture or a dedicated flake map, using a ‘BlendAngleCorrectedNormals’ node. This secondary normal map is typically plugged into the ‘Normal’ input, while the base body normal map (if any) is also blended. The strength of this flake normal map can be controlled by a scalar parameter, allowing artists to adjust the flake intensity. Combining this with a subtle Fresnel effect on the clear coat helps enhance the perception of depth and reflectivity. Using Material Attributes can help organize complex graphs by encapsulating common properties into a single node, making your shader more readable and manageable.
Pushing realism further requires simulating more advanced paint effects like pearlescent or iridescent finishes. These paints often exhibit color shifts depending on the viewing angle. For metallic flakes, beyond a simple normal map, you might incorporate a procedural texture or a custom flake map that scatters light more accurately. This could involve using a ‘Dot Product’ node with the camera vector and surface normal to drive color or intensity changes of the flakes, making them sparkle when viewed head-on or at specific angles. Pearlescent paints can be achieved by blending two or more Base Colors based on a Fresnel effect or a ‘Dot Product’ with the camera vector, creating a subtle color shift as the viewing angle changes. The ‘Fresnel’ node outputs a value between 0 and 1 based on the angle between the camera and the surface normal, which is perfect for driving such blends.
Iridescence, which simulates a rainbow-like effect (like oil on water), is even more complex. This often involves custom functions or nodes that modulate hue or saturation based on the dot product of the camera vector, normal, and a specific light vector, mimicking thin-film interference. This level of complexity might benefit from encapsulating logic within custom Material Functions, allowing for reusability across multiple car models. Experimenting with different blending modes and using multiple layers of clear coat (using creative blending techniques with two ‘Clear Coat’ shading models or through custom material logic) can also enhance the depth and realism of these advanced paint types. Remember to balance visual fidelity with performance, especially for real-time rendering applications like games or AR/VR.
Beyond the impressive car paint, the realism of a 3D car model hinges on the accurate depiction of all its components. Glass, tires, and interior elements each present unique material challenges that, when overcome, significantly elevate the overall visual quality in Unreal Engine. These materials demand meticulous attention to PBR properties, as their nuances contribute heavily to the believability of the vehicle.
Glass, with its transparency and refractive properties, requires careful consideration to avoid visual artifacts and maintain performance. Tires, being a non-metal with distinct texture and roughness variations, need detailed maps to convey their grip and wear. Interior materials range from leathers and fabrics to plastics and metals, each with its own PBR characteristics and often requiring more subtle effects like subsurface scattering or anisotropy.
Creating believable glass in Unreal Engine involves more than just setting the Opacity. For true realism, you need to account for refraction (the bending of light as it passes through the material), reflections, and subtle surface imperfections. In Unreal Engine, use a ‘Translucent’ or ‘Surface Forward Shading’ (for better lighting interaction and clear coat simulation) shading model. The ‘Refraction’ input is key, driven by the Index of Refraction (IOR) of glass (typically around 1.5-1.6). A ‘Desaturation’ of the Base Color and adjusting the ‘Roughness’ for smudges and imperfections (using a detailed roughness map) will significantly enhance realism. You can also apply a subtle tint to the Base Color if the glass is colored. For rain effects, create a separate material layer or a material function that adds transparent water droplets with their own normal and roughness maps, blending them over the base glass material. Optimizing transparent materials is crucial for performance. Avoid overdraw by carefully modeling your glass and ensuring that only necessary areas are rendered with transparency. Consider using a masked material for distant objects if absolute transparency isn’t required.
Tire rubber, while seemingly simple, requires detailed attention to convey its texture and wear. It’s a non-metal, so Metallic is 0. The Base Color should be a dark gray, and the Roughness map is paramount. This map needs to be highly detailed, showing the subtle variations in roughness between the tread and sidewalls, simulating grip, wear patterns, and manufacturing textures. A high-resolution Normal map is also essential for capturing the intricate details of the tread pattern, sidewall text, and any scuffs or deformations. Consider adding a subtle amount of ‘Subsurface Scattering’ (SSS) for the sidewalls if you want to mimic the slight absorption and scattering of light through thick rubber, giving it a softer, more realistic look. For interior fabrics and leathers, SSS is often more prominent. Leather, for example, benefits from a low SSS radius to simulate light subtly penetrating the surface. Fabric materials might require ‘Anisotropy’ to simulate the way light reflects differently depending on the orientation of the fibers (e.g., brushed metals, certain types of cloth). This can be achieved by enabling the ‘Anisotropic’ shading model and providing an ‘Anisotropy’ and ‘Anisotropy Direction’ map. Furthermore, detailed Normal and Roughness maps are vital for showcasing fabric weaves and textures. For optimal performance, especially in environments like AR/VR, texture resolutions should be managed carefully, using appropriate compression settings, and material instances should be utilized extensively to reduce draw calls.
As Unreal Engine projects grow in complexity, especially with detailed 3D car models in high-fidelity environments, simply creating individual PBR materials isn’t enough. Advanced shading techniques and robust optimization strategies become critical for maintaining performance without sacrificing visual quality. This is where tools like Material Functions, Layered Materials, and Unreal Engine’s built-in optimization features truly shine. Mastery of these techniques allows artists to create more versatile, organized, and performant material libraries, essential for large-scale production pipelines.
The goal is to streamline workflows, reduce redundant work, and ensure that every pixel rendered contributes meaningfully to the overall visual experience. Balancing complex visual effects with the demands of real-time rendering, particularly for demanding applications like interactive configurators or virtual production, is a constant challenge that these advanced methods help address. Understanding shader complexity and draw calls is fundamental to building efficient materials.
Material Functions are powerful modular components that encapsulate chunks of material graph logic. Instead of recreating the same complex node network for, say, a custom clear coat blend or a carbon fiber pattern every time, you can package it into a Material Function. This function can then be dragged and dropped into any parent material, promoting reusability, reducing graph clutter, and making updates across multiple materials much easier. For instance, you could create a Material Function for a “Smart Rust Generator” that procedurally adds rust based on mesh curvature and world position, then apply it to various metal parts of a car. Material Attributes further enhance this modularity by allowing functions to output a full set of PBR attributes, which can then be blended or modified by other functions.
Layered Materials take this concept further, allowing you to blend multiple complex material layers (e.g., paint, decals, dirt, scratches) onto a single mesh using masks. This non-destructive workflow is incredibly powerful for adding variations, wear, and tear to your 3D car models without baking everything into a single texture set. You could have a base car paint layer, a dirt layer driven by an ambient occlusion mask, and a scratch layer driven by a damage mask. Each layer is its own PBR material, giving you immense control. This approach is excellent for creating highly customizable car skins or simulating damage in game assets, as layers can be turned on/off or blended dynamically via Blueprint.
Optimization is not an afterthought; it’s an integral part of material creation, especially for real-time rendering and particularly for high-fidelity assets like 3D car models. Unreal Engine offers several tools and best practices to ensure your materials run efficiently. First, always utilize proper texture compression and streaming. High-resolution textures are fantastic for detail but can quickly exhaust VRAM if not managed. Use appropriate compression settings (e.g., DXT1/5 for color, BC5 for normal maps, and BC4 for single-channel masks) and enable texture streaming. Secondly, leverage Material Instancing. Instead of creating a new base material for every slight variation (e.g., different car colors), create a master material with exposed parameters and then create instances of that material. This drastically reduces draw calls and shader complexity, as the engine only compiles the master shader once. Unreal Engine’s ‘Shader Complexity’ and ‘Draw Call’ visualization modes are indispensable for identifying performance bottlenecks. Access these via the ‘Show’ menu in the viewport -> ‘Visualize’. Aim for green or light blue areas; red indicates high complexity. Avoid overly complex material graphs, especially in base materials. Combine textures into RGB channels where possible (e.g., Roughness, Metallic, Ambient Occlusion into separate channels of one texture) to reduce texture lookups. Finally, understand the impact of different shading models. Opaque materials are the cheapest, followed by Masked, and then Translucent. Use Masked materials for cutouts (e.g., grilles) instead of complex opaque geometry where possible, and minimize transparent surfaces, especially for distant objects. For detailed guidelines, refer to the Unreal Engine optimization documentation.
The true power of Unreal Engine lies in its interconnected ecosystem of features. While the Material Editor creates the visual foundation, integrating these materials with other core systems like Lumen, Nanite, Blueprint, and Sequencer unlocks dynamic, interactive, and cinematic possibilities for automotive visualization and game development. This integration transforms static 3D car models into dynamic, responsive, and visually stunning interactive experiences.
Understanding how your PBR materials interact with these advanced engine features is crucial for maximizing their impact. For instance, materials not correctly set up for Lumen might lead to inaccurate global illumination, while inefficient materials can hinder Nanite’s performance benefits. By leveraging these features in tandem, developers can create truly next-generation automotive content.
Lumen and Nanite are two of Unreal Engine 5’s most transformative features, revolutionizing real-time rendering. Lumen provides fully dynamic global illumination and reflections, meaning your PBR materials will react realistically to changes in lighting, time of day, and environment. For automotive materials, this is critical: imagine a car reflecting a vibrant cityscape, with interior reflections bouncing off leather seats, all in real-time. To ensure your materials benefit fully from Lumen, verify that their PBR values (Base Color, Metallic, Roughness) are physically accurate. Emissive materials, even subtle ones like dashboard lights, will now contribute to scene lighting. Lumen also interacts with material properties like opacity and two-sidedness, so ensuring accurate setups for glass and transparent elements is vital. Nanite, Unreal Engine’s virtualized geometry system, handles incredibly high-polygon meshes (like those found in high-fidelity 3D car models from 88cars3d.com) without traditional LODs or significant performance penalties. This means you can import highly detailed CAD data directly. While Nanite primarily focuses on geometry, it significantly impacts materials by allowing for far greater geometric detail without relying on normal maps for fine forms. However, Nanite objects still require efficient materials. Overly complex pixel shaders can still be a bottleneck, even with Nanite’s geometric efficiency. Therefore, the optimization strategies discussed earlier remain crucial. The synergy means you get both incredibly detailed geometry and highly realistic, dynamically lit materials, creating an unparalleled visual experience for automotive visualization.
Blueprint visual scripting is a game-changer for creating interactive experiences with your PBR materials. By exposing material parameters (such as Base Color, Roughness, or a custom flake intensity) as dynamic variables in your material graph, you can then control these parameters directly from Blueprint. This enables powerful features like dynamic car paint color pickers in an interactive configurator. A user could select a new color from a UI, and Blueprint would instantly update the ‘Vector Parameter’ for the car paint’s Base Color. You can also use Blueprint to drive material changes based on gameplay events, such as applying a ‘damage shader’ when the car crashes, or activating an ’emission material’ for headlights when the engine starts. Furthermore, ‘Material Parameter Collections’ (MPCs) allow you to define global parameters that can be accessed and modified by multiple materials simultaneously from Blueprint. This is incredibly useful for driving global effects like environmental dust layers, rain intensity, or even dynamic weather effects that influence roughness and wetness across all surfaces in a scene, including your 3D car models. The ability to dynamically alter PBR material properties empowers developers to create truly engaging and responsive automotive simulations and games.
For cinematic content, virtual production, and high-quality marketing renders, Sequencer is Unreal Engine’s non-linear editor that allows for animating virtually any property within your scene, including material parameters. This means you can create stunning visual effects where material properties evolve over time. Imagine a car reveal where the paint color subtly shifts, or a futuristic vehicle whose panels light up in sequence. You can animate scalar parameters (like roughness to simulate a car becoming wet from rain) or vector parameters (like Base Color for a dynamic color change) directly within Sequencer. You can also blend between different materials or activate material functions at specific points in a timeline. This is invaluable for showcasing different finishes, highlighting specific design elements, or creating dramatic visual storytelling. For instance, in a virtual production workflow using LED walls, you could use Sequencer to animate the material properties of a digital car interacting with the live-action environment, ensuring seamless integration. The ability to precisely keyframe and control material effects adds another layer of polish and sophistication to your automotive visualization projects, allowing for highly curated and impactful visual narratives.
Mastering advanced PBR workflows in Unreal Engine is an indispensable skill for anyone serious about pushing the boundaries of automotive visualization, game development, and real-time rendering. We’ve journeyed from the foundational principles of PBR to crafting intricate multi-layered car paints, achieving hyper-realistic glass and tire materials, and optimizing these assets for peak performance. We also explored how to harness the full power of Unreal Engine’s ecosystem, integrating your meticulously designed materials with features like Nanite, Lumen, Blueprint, and Sequencer to create dynamic, interactive, and breathtaking cinematic experiences.
The journey to photorealism is continuous, demanding attention to detail, a keen eye for physical accuracy, and a commitment to optimization. High-quality base assets, like the meticulously crafted 3D car models available on 88cars3d.com, provide an excellent foundation, but it’s your mastery of the Unreal Engine Material Editor that truly unlocks their full potential. By understanding how light interacts with surfaces and leveraging the powerful tools at your disposal, you can transform static models into living, breathing digital automobiles that captivate and immerse your audience.
Now, it’s time to apply these advanced techniques. Experiment with different PBR values, build complex material functions, and integrate your materials with interactive Blueprint logic. The possibilities are limitless. Continue to explore the vast resources provided by Epic Games on their Unreal Engine learning portal and engage with the vibrant community. Your next stunning automotive visualization project awaits!

Texture: Yes
Material: Yes
Download the Mercedes Benz Joaquin-007 3D Model featuring clean geometry, realistic detailing, and a fully modeled interior. Includes .blend, .fbx, .obj, .glb, .stl, .ply, .unreal, and .max formats for rendering, simulation, and game development.
Price: $19.99
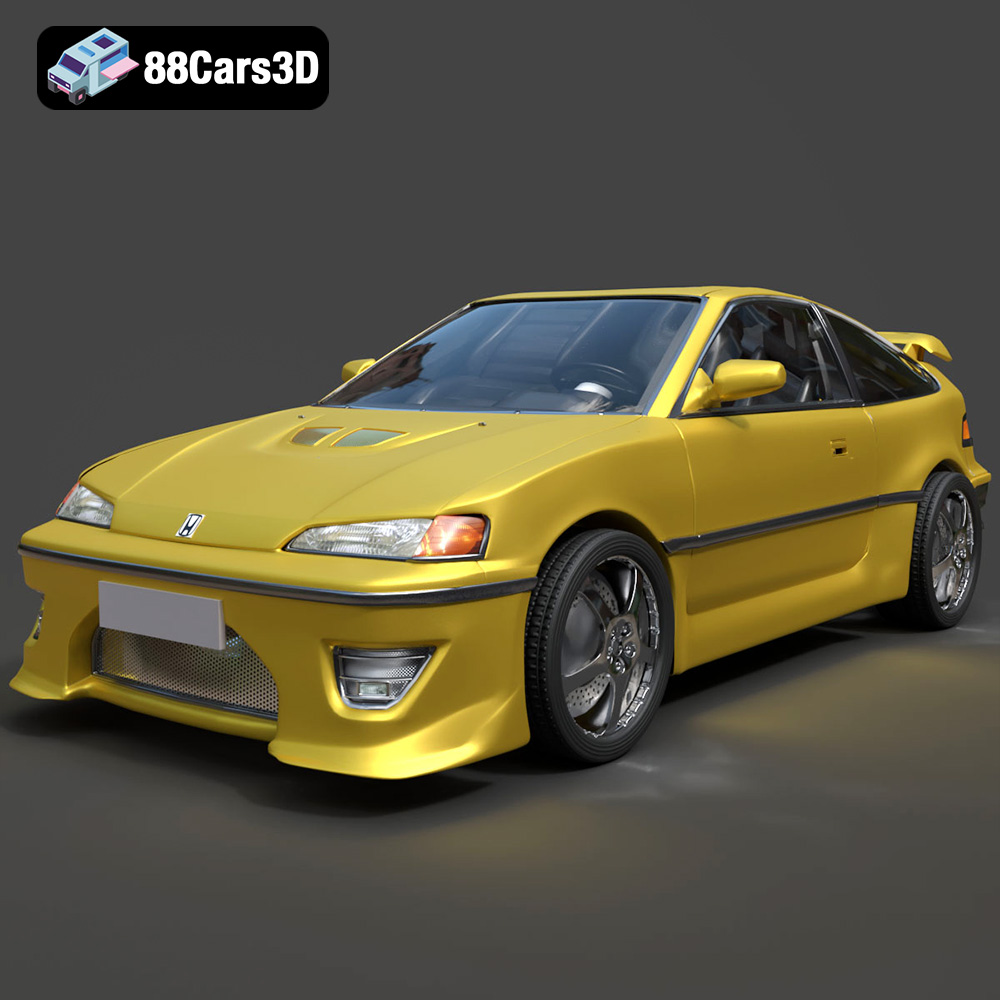
Texture: Yes
Material: Yes
Download the Honda CRX 1980 3D Model featuring clean geometry, realistic detailing, and a fully modeled interior. Includes .blend, .fbx, .obj, .glb, .stl, .ply, .unreal, and .max formats for rendering, simulation, and game development.
Price: $11.99
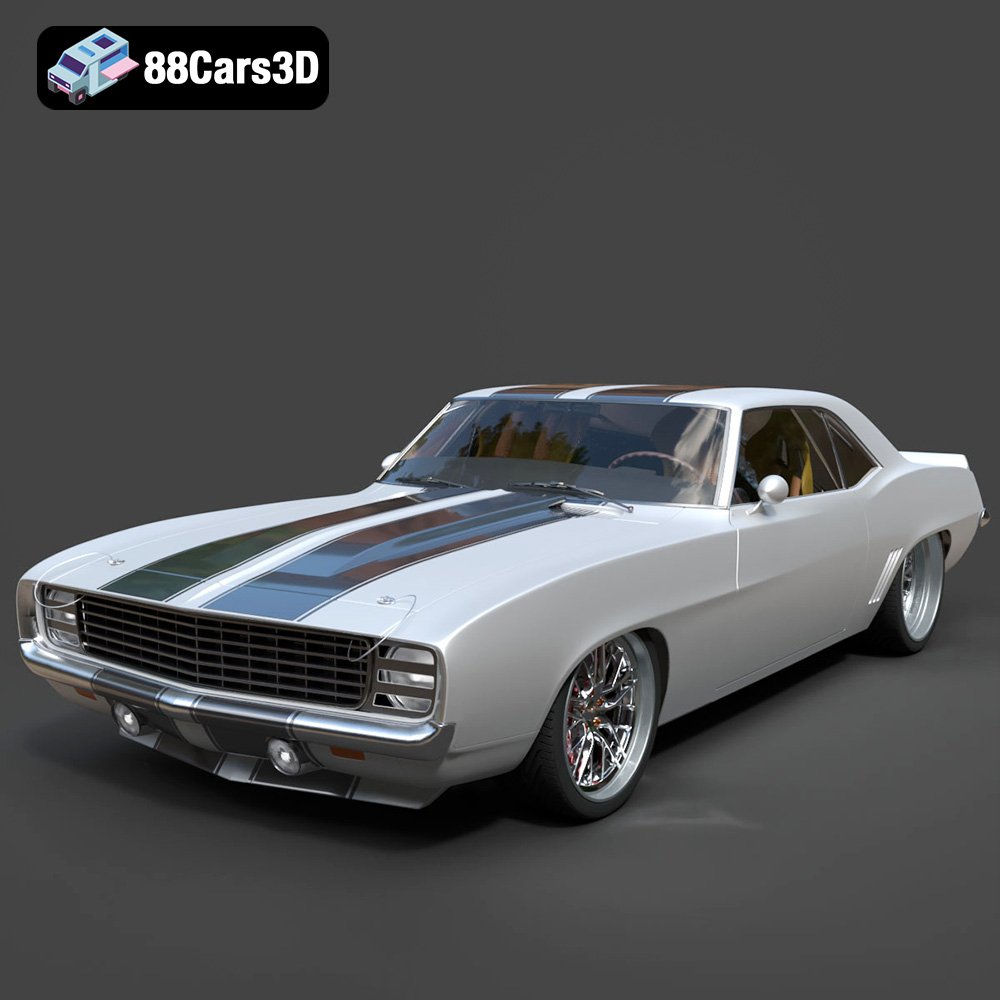
Texture: Yes
Material: Yes
Download the Chevrolet Camaro 69 Pro-007 3D Model featuring classic muscle car design and custom performance aesthetics. Includes .blend, .fbx, .obj, .glb, .stl, .ply, .unreal, and .max formats for rendering, simulation, and game development.
Price: $20.79

Texture: Yes
Material: Yes
Download the Honda Fit 2008 3D Model featuring a compact, versatile design with detailed exterior and interior components. Includes .blend, .fbx, .obj, .glb, .stl, .ply, .unreal, and .max formats for rendering, simulation, and game development.
Price: $10.79
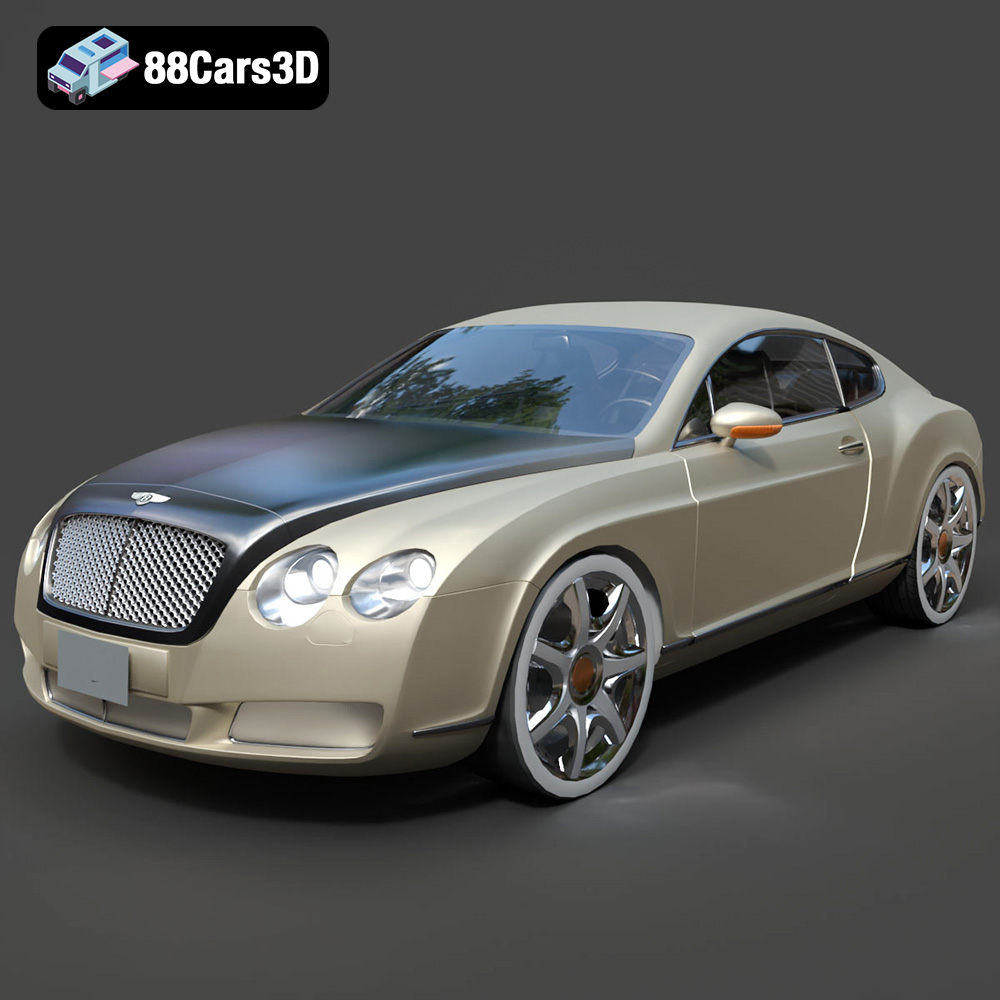
Texture: Yes
Material: Yes
Download the Bentley Continental GT-002 3D Model featuring a luxurious grand touring design and high-quality details. Includes .blend, .fbx, .obj, .glb, .stl, .ply, .unreal, and .max formats for rendering, simulation, and game development.
Price: $20.79

Texture: Yes
Material: Yes
Download the Audi R8 2006 3D Model featuring a sleek sports car design with detailed exterior and interior. Includes .blend, .fbx, .obj, .glb, .stl, .ply, .unreal, and .max formats for rendering, simulation, and game development.
Price: $20.79
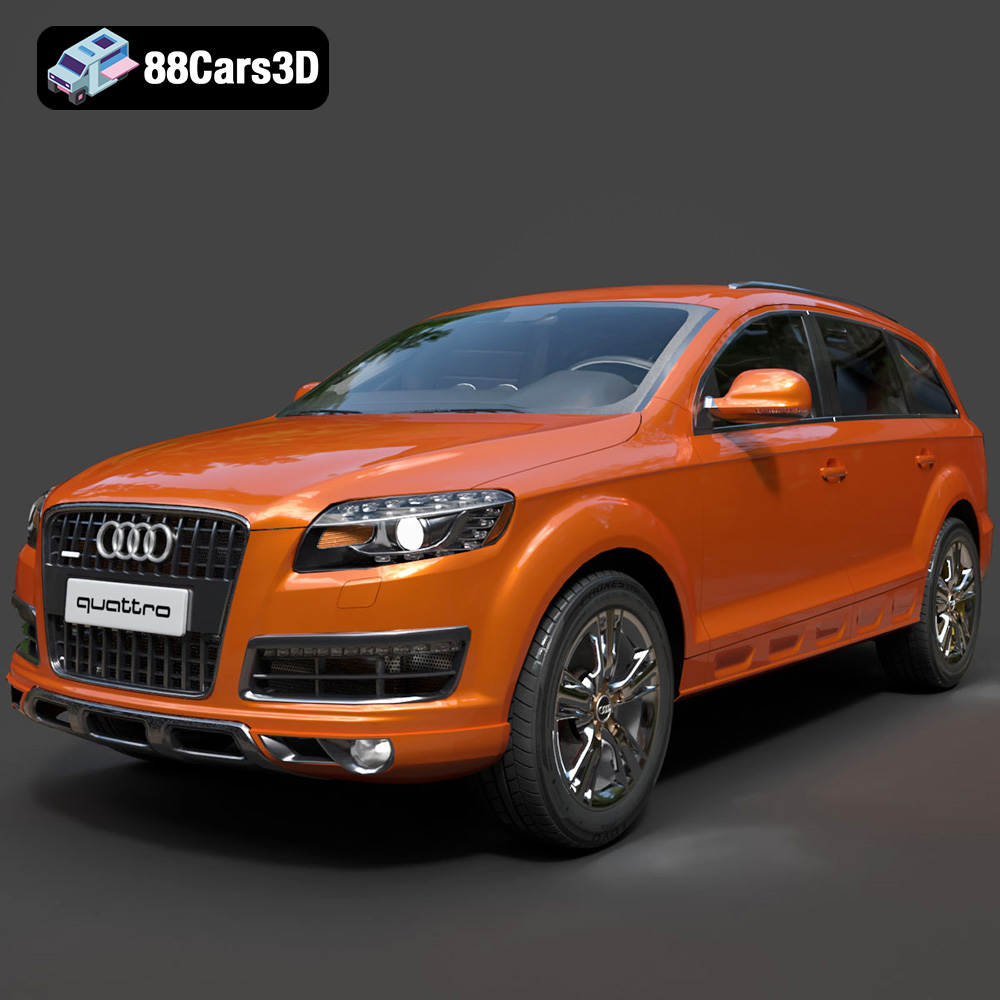
Texture: Yes
Material: Yes
Download the Audi Q7 3D Model featuring a detailed exterior and a refined interior. Includes .blend, .fbx, .obj, .glb, .stl, .ply, .unreal, and .max formats for rendering, simulation, and game development.
Price: $20.79
Texture: Yes
Material: Yes
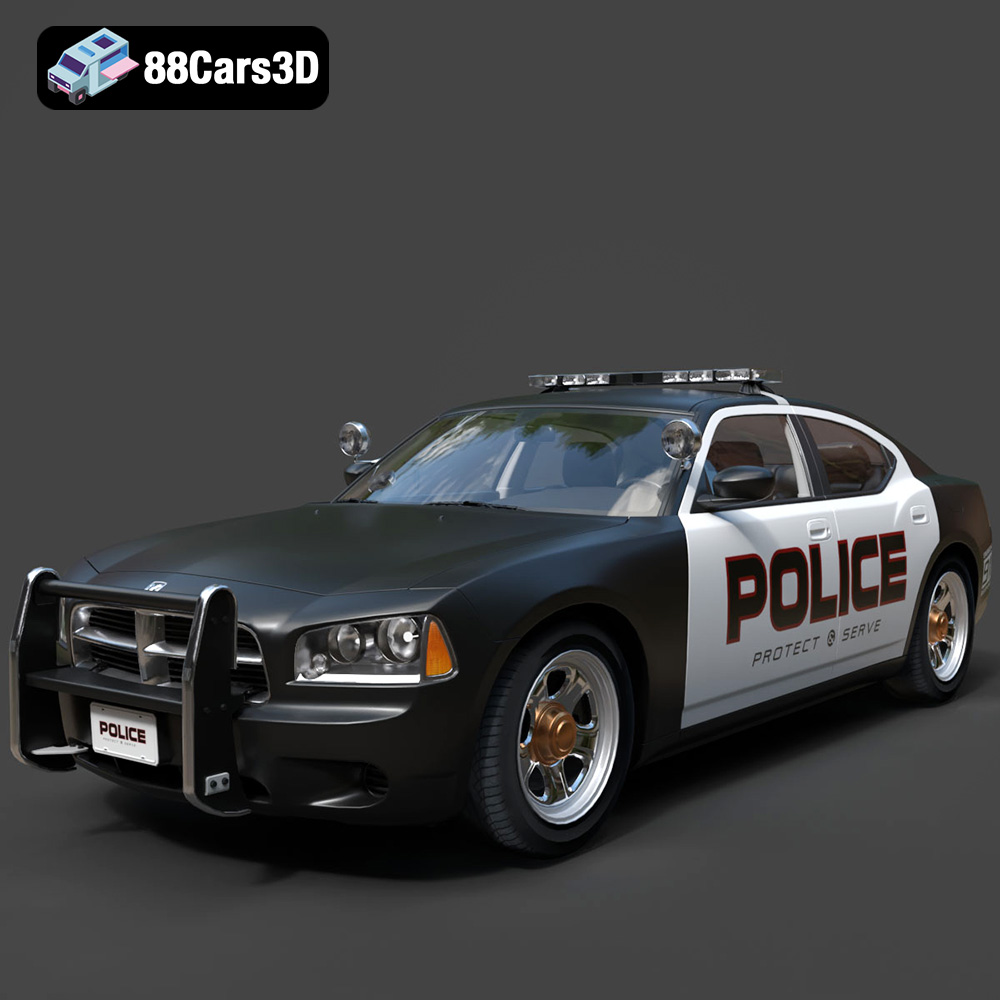
Download the Aston Martin Police US 911 -005 3D Model featuring a high-fidelity exterior with police livery, detailed interior, and accurate proportions. Includes .blend, .fbx, .obj, .glb, .stl, .ply, .unreal, and .max formats for rendering, simulation, and game development.
Price: $10.79

Texture: Yes
Material: Yes
Download the Toyota MRS-007 3D Model featuring clean geometry, realistic detailing, and a fully modeled interior. Includes .blend, .fbx, .obj, .glb, .stl, .ply, .unreal, and .max formats for rendering, simulation, and game development.
Price: $10

Texture: Yes
Material: Yes
Download the Porsche 911 Turbo S 2024 3D Model featuring clean geometry, realistic detailing, and a fully modeled interior. Includes .blend, .fbx, .obj, .glb, .stl, .ply, .unreal, and .max formats for rendering, simulation, and game development.
Price: $20

