⚡ FLASH SALE: Get 60% OFF All Premium 3D & STL Models! ⚡
In the expansive realm of real-time rendering and interactive experiences, the environment plays a pivotal role in captivating an audience. For industries like automotive visualization and game development, showcasing high-fidelity 3D car models requires an equally stunning and believable world. Unreal Engine stands as a powerhouse for creating these immersive environments, offering a comprehensive suite of tools for world-building, particularly its robust Landscape system. This article delves deep into Unreal Engine’s Landscape Tools, guiding you through the intricate process of terrain creation and sculpting to craft breathtaking backdrops for your projects, be it a realistic automotive showcase or an expansive open-world game.
From laying down the foundational grid to intricate sculpting, seamless texturing, and crucial optimization, we will explore the techniques that professionals employ to breathe life into their digital worlds. You’ll learn how to leverage Unreal Engine’s native features to create diverse topographies, integrate stunning PBR materials, and ensure your environments perform flawlessly. Whether you’re an Unreal Engine developer, a 3D artist, or an automotive designer seeking to place premium 3D car models from marketplaces like 88cars3d.com into their perfect setting, mastering these tools is essential. Get ready to sculpt your vision into a high-performance, visually rich reality.
Creating a realistic and performance-friendly terrain in Unreal Engine begins with understanding the core principles of its Landscape system. A Landscape is not just a mesh; it’s a specialized actor designed for efficient rendering of vast outdoor environments. It’s fundamentally a grid-based heightmap, where each vertex stores a height value, allowing for immense detail and dynamic deformation. When you initiate a new landscape, you’re not just adding geometry; you’re setting up a scalable, optimized foundation for your entire world.
The process starts by navigating to the Modes panel, selecting Landscape mode (Shift+2). Here, you’ll be presented with options to either create a new landscape from scratch or import a heightmap. For initial learning and iteration, creating a new landscape is ideal. Key parameters to consider at this stage are the overall resolution and the size of its components. These settings dictate both the visual fidelity and the performance characteristics of your terrain. A common mistake is to create an excessively large or dense landscape from the outset, leading to unnecessary performance overhead. Understanding the balance between detail and efficiency is crucial for successful real-time rendering.
When creating a new landscape, Unreal Engine presents several critical parameters. The Section Size (e.g., 63×63 or 127×127 quads) and Number of Components determine the total resolution. A landscape is composed of multiple components, each a mesh tile. Smaller components mean more efficient culling, as parts of the landscape can be rendered or hidden independently. The Overall Resolution is calculated based on these, impacting the precision of your sculpting and texturing. For instance, a 127×127 section size with 8×8 components would result in a total resolution of 1009×1009 vertices, covering a significant area while maintaining a reasonable level of detail for most automotive visualization or game development projects. Always aim for a resolution that provides enough detail for the player’s proximity to the ground while remaining optimized for performance, especially when integrating high-fidelity assets like those found on 88cars3d.com.
The technical specifications of your landscape directly influence its visual quality and runtime performance. Landscape resolution is not just about the total number of vertices; it’s intricately tied to its component structure. A landscape is composed of ‘components’, which are then subdivided into ‘sections’, and finally into ‘quads’. The standard recommended section sizes (e.g., 63×63 or 127×127 quads) are chosen because they align with optimal GPU tessellation and rendering pipelines, particularly for streaming and culling. Using these sizes ensures that Unreal Engine can efficiently manage the terrain’s geometry and draw calls.
For a small, focused automotive showcase environment, you might opt for fewer, higher-resolution components. For an expansive open-world game, a larger number of smaller components might be preferred to leverage World Partition and efficient level streaming. The Quad Size (e.g., 1m or 2m) in world units also plays a role in how much detail each vertex can represent. A smaller quad size means more vertices per world unit, offering finer detail but at the cost of higher polygon counts. Conversely, larger quad sizes reduce polygon density but might introduce visual artifacts like jagged edges on slopes if not carefully managed. It’s a balance: for close-up vehicle shots, finer detail might be paramount, while distant vistas can tolerate larger quads. Consult the official Unreal Engine documentation at https://dev.epicgames.com/community/unreal-engine/learning for a deeper dive into optimal landscape sizing.
Upon creating a new landscape, it’s crucial to assign a basic material to it immediately. This initial material doesn’t need to be final, but it provides visual feedback during the sculpting process. Without a material, your landscape will appear as a flat, unlit grey surface, making it difficult to judge height variations and forms. A simple PBR (Physically Based Rendering) material with a placeholder texture, such as a tiled grass or dirt texture, is often sufficient. This involves creating a new Material in the Content Browser and assigning it in the Landscape creation dialog.
The most basic landscape material setup involves a few key nodes: a Texture Sample for the Albedo (base color), a Normal Map for surface detail, and potentially a Roughness Map. You’ll want to connect these to a Landscape Layer Blend node, even if you only have one layer initially. This node is fundamental for painting different textures onto your terrain later. Setting up a basic material ensures that as you sculpt, you can immediately see how light interacts with your newly formed hills and valleys, helping you make informed decisions about shape and scale. As you progress, this placeholder material will evolve into a sophisticated, multi-layered PBR material capable of representing diverse terrain types.
Once your landscape is established, the real artistry begins: sculpting. Unreal Engine’s Landscape Sculpting Mode (Shift+2, then Sculpt tab) provides a powerful and intuitive set of tools to mold your terrain from a flat plane into a dynamic and naturalistic environment. Each tool serves a specific purpose, allowing for a wide range of geological formations, from rolling hills to jagged mountains and winding riverbeds. Understanding how to effectively wield these tools and their various settings is key to creating compelling outdoor scenes, perfect for showcasing the intricate details of 3D car models.
The core sculpting tools include Sculpt, which raises or lowers the terrain; Smooth, which averages out height differences to create gentle slopes; and Flatten, which brings terrain to a uniform height, ideal for creating plateaus or building sites. More advanced tools like Ramp allow for quick creation of linear slopes between two points, excellent for roads or steep inclines. Erosion and Hydro Erosion are invaluable for adding natural wear and tear to your terrain, simulating the effects of wind and water to create realistic gullies, ridges, and sediment deposits. The Noise tool is perfect for breaking up unnaturally smooth surfaces and adding organic irregularities, making your terrain look less procedural. Mastering the combination of these tools, along with precise control over brush size, falloff, and strength, enables artists to sculpt highly detailed and believable landforms.
Professional tips often involve a non-destructive workflow: start with large-scale forms using broad strokes and a high falloff, then progressively refine details with smaller brushes and different tools. For instance, you might use Sculpt to create a mountain range, then Smooth to soften its peaks, followed by Erosion to carve out natural channels, and finally Noise to add micro-surface variations. This iterative approach allows for greater control and flexibility. Remember to utilize the Undo functionality liberally (Ctrl+Z) and periodically save your work. The goal is to make the terrain feel organic, as if shaped by natural forces over millennia, providing a compelling backdrop for high-fidelity assets.
Beyond the basic operations, advanced sculpting techniques elevate terrain realism significantly. One powerful method is layered sculpting. Instead of directly modifying the base heightmap, you can work with alpha brushes. These custom grayscale images define the shape and intensity of your brush stroke, allowing for highly specific and intricate details like rock formations, tire tracks, or specific ground patterns. Importing custom alpha masks (e.g., from Photoshop or Substance Designer) provides an unparalleled level of control over the finer details of your landscape.
Another technique involves combining the effects of different tools strategically. For example, to create a natural-looking riverbed, you might start by using the Sculpt tool with a negative strength to carve out a basic channel. Then, switch to the Flatten tool with a low strength and a wide brush to smooth the riverbed’s floor. Follow this with Hydro Erosion to add natural curves and sediment buildup along the banks. Finally, use the Noise tool with a very small brush and low strength to add fine-grain texture to the banks, making them appear more organic. This iterative, multi-tool approach is essential for achieving professional-grade results, ensuring your automotive environments have the detail necessary to complement sophisticated 3D car models.
When preparing environments for automotive visualization, specific sculpting considerations come into play. Creating realistic road networks, rally tracks, or off-road trails requires precision and an understanding of vehicle dynamics. For paved roads, the Flatten and Ramp tools are indispensable. You can define a spline path and use the Flatten tool along it to create a perfectly level and even surface for asphalt. The Ramp tool can then be used to create smooth transitions between elevation changes or to design realistic inclines and declines for bridges or mountainous passes.
For off-road or rally environments, the Noise and Erosion tools become your best friends. Generate bumpy, uneven surfaces, subtle ruts, and naturalistic slopes that challenge a vehicle’s suspension. You can even simulate specific features like berms, jumps, or rock gardens. Consider the scale of the vehicle; a small detail might be insignificant on a wide landscape, but when viewed from a car’s perspective, it could become a prominent feature. The ability to sculpt precise, drivable surfaces directly within Unreal Engine allows designers to test vehicle physics and visualize premium car models from platforms like 88cars3d.com in dynamic, engaging scenarios, bringing a new dimension to automotive configurators and virtual driving experiences.
A sculpted terrain, no matter how intricate, remains incomplete without a rich and believable material system. Unreal Engine’s PBR (Physically Based Rendering) workflow, combined with its powerful Landscape Material Editor, allows artists to paint diverse textures across their terrains, creating lush forests, rocky mountains, sandy deserts, or bustling cityscapes. The goal is to achieve visual fidelity that stands up to close inspection, especially when pairing with high-resolution assets like those on 88cars3d.com.
The foundation of a multi-layered landscape material lies in the Landscape Layer Blend node. This node allows you to define multiple texture layers (e.g., grass, dirt, rock, gravel) and blend them together based on weight maps. Each layer typically consists of several PBR texture maps: Albedo (base color), Normal (for surface detail), Roughness (for material shininess), Ambient Occlusion (for subtle shading), and sometimes Height or Displacement maps for finer surface deformation. These textures should be tileable and ideally authored in a consistent PBR workflow (e.g., using Substance Designer or Quixel Mixer) to ensure consistency and realism.
To paint these layers onto your landscape, you switch to the Paint tab within Landscape mode. Here, for each layer you defined in your material, you’ll need to create a Landscape Layer Info asset. There are two types: Weight-Blended Layers and Non-Weight-Blended Layers. Weight-blended layers are most common, allowing for smooth transitions between materials. Once created, you can select a layer and paint it directly onto your terrain using brushes, much like sculpting. You can control the brush size, falloff, and strength to achieve organic blending and precise detailing. For large areas, using the fill tool can quickly cover vast sections, which can then be refined with more targeted brush strokes.
Effective landscape texturing also involves meticulous attention to detail. Avoid obvious tiling patterns by using larger texture scales for distant areas and smaller scales for closer details, perhaps using a secondary detail texture overlay. Incorporate variation through different texture sets or procedural masks. The synergy between your sculpted forms and your painted textures is what ultimately defines the realism of your environment, providing the perfect visual context for 3D car models.
One of the challenges in large-scale environment texturing is managing texture tiling, detail, and seamless blending, especially between the landscape and static meshes (like rocks or cliff faces). Runtime Virtual Textures (RVT) offer an elegant solution. RVTs are essentially textures rendered at runtime into a cache, representing the landscape’s material output (color, normal, roughness) in a specific area. This allows static meshes placed on the landscape to sample the landscape’s texture data, creating a seamless blend between the ground and the prop.
Setting up RVTs involves creating an RVT Volume that encompasses your landscape and then configuring your landscape and static mesh materials to sample from it. For the landscape material, you’ll add an Output Virtual Texture node to write its PBR data to the RVT. For static meshes, you’ll use a Virtual Texture Sample node to read from the RVT and blend it with the static mesh’s own material, effectively ‘projecting’ the ground texture onto the base of the mesh. This technique not only solves blending issues but also offers performance benefits by reducing the number of texture samples and improving rendering efficiency, especially crucial for detailed automotive environments where every visual nuance counts. Learning more about RVTs can significantly enhance the visual quality of your automotive environments, allowing premium 3D models to integrate flawlessly.
While visual richness is paramount, performance cannot be ignored, especially in real-time applications like games or interactive automotive configurators. Landscape materials can quickly become complex and resource-intensive due to the number of layers and texture samples. Optimization is key. One of the primary strategies is to use Material Instances. Create a master landscape material with all your blending logic and parameters exposed, then create child material instances for variations. This reduces shader compilation times and memory usage.
Another technique is to use Material Parameter Collections for global parameters like overall tiling or tint, allowing changes across multiple materials from a single source. Texture resolution management is also vital; use appropriate resolutions (e.g., 2K or 4K for detail textures) and ensure textures are set to stream. Utilize the Shader Complexity view mode (Alt+8) to identify and optimize areas with high shader cost. Consider consolidating similar textures into texture atlases where appropriate. By reducing the number of texture samples per pixel and simplifying complex calculations within the material graph, you can significantly improve rendering performance without sacrificing the visual quality necessary for showcasing high-fidelity 3D car models.
A beautifully sculpted and textured landscape forms the canvas, but it’s the added details that bring it to life. Populating your environment with foliage, water, and interactive elements transforms a static scene into a dynamic, believable world. For automotive visualization, these elements create context, realism, and a sense of place for the featured vehicles, whether they’re cruising through dense forests, along a riverbank, or parked beside a dynamic waterfall.
Unreal Engine’s Foliage Tool is indispensable for scattering vast amounts of vegetation across your terrain. You can paint individual instances of trees, bushes, rocks, or grass, or use it to procedurally fill areas based on terrain slope, height, or material layer. Crucially, every piece of foliage should be optimized with Levels of Detail (LODs). LODs allow the engine to swap out high-polygon models for lower-polygon versions as the camera moves further away, drastically improving performance. Setting up proper culling distances and cluster sizes within the Foliage tool’s settings further refines performance, ensuring that only visible foliage is rendered.
Water bodies are another critical element. Unreal Engine 4.26 introduced a powerful Water System that simplifies the creation of oceans, rivers, and lakes with realistic wave simulations, reflections, and foam. This system allows for custom spline-based rivers and procedural oceans, complete with configurable depth, color, and flow. For more bespoke water features like waterfalls or small ponds, you might combine custom shaders with particle systems (Niagara) for splashes and mist, and perhaps even basic physics volumes to simulate water currents affecting floating objects or vehicle interaction.
Interactive elements can further enhance an automotive scene. Using Blueprint visual scripting, you can add dynamic features such as opening gates, changing weather conditions, or triggering environmental animations (e.g., wind rustling leaves) as a vehicle approaches. These small details contribute significantly to immersion and can be leveraged for interactive configurators or virtual showrooms. Integrating high-quality assets like those found on 88cars3d.com into such dynamic environments creates truly captivating experiences.
To truly elevate the realism of your sculpted landscapes, integrating dynamic environmental effects using Unreal Engine’s Niagara particle system is a game-changer. Niagara allows for the creation of highly complex and performant particle effects, far surpassing older systems. Imagine dust trails kicked up by a rallying car, mist rising from a valley at dawn, falling leaves in an autumn scene, or even heavy rain and snow to demonstrate a vehicle’s all-weather capabilities.
For automotive environments, Niagara can be used to simulate:
These effects are not just eye candy; they contribute to the narrative and atmosphere of your scene, making the car models feel more integrated into their environment. Learn more about Niagara on the official Unreal Engine documentation at https://dev.epicgames.com/community/unreal-engine/learning.
Populating vast landscapes with countless assets can quickly become a performance bottleneck. Unreal Engine offers several advanced features to manage this. World Partition is a revolutionary system designed for creating massive open worlds by automatically streaming parts of the world in and out of memory based on the player’s proximity. This eliminates the need for manual level streaming and significantly improves editor performance for large projects, enabling artists to work on truly enormous automotive environments without performance degradation.
Hierarchical Levels of Detail (HLODs) are crucial for static meshes, including large rock formations, buildings, or clusters of trees. HLODs automatically generate simplified mesh representations for groups of objects, which are then swapped in at a distance. This drastically reduces draw calls and vertex counts for distant geometry. Combining HLODs with aggressive Culling settings for foliage and other assets (e.g., frustum culling, occlusion culling) ensures that only what’s visible to the camera is rendered. Effective use of these optimization strategies is paramount for maintaining high frame rates, which is essential for smooth real-time rendering of high-fidelity 3D car models.
The ultimate goal of creating a detailed landscape and populating it with assets is to achieve stunning real-time renders, especially for high-fidelity automotive visualization. Unreal Engine offers an unparalleled suite of rendering features, including cutting-edge global illumination and post-processing tools, to make your scenes look photorealistic. However, achieving visual excellence while maintaining optimal performance requires careful planning and strategic optimization.
Lighting is arguably the most critical component for visual realism. Unreal Engine’s Lumen Global Illumination system provides dynamic, real-time indirect lighting and reflections, transforming how light interacts with your sculpted terrain and 3D car models. Lumen accurately simulates bounced light, adding incredible depth and realism to crevices, under overhangs, and within foliage. Alongside Lumen, a powerful Directional Light simulates the sun, casting realistic shadows. A Sky Atmosphere component or an HDRI (High Dynamic Range Image) Backdrop provides ambient light and environmental reflections, crucial for making vehicle paintwork shine accurately.
After establishing your lighting, Post-Process Volumes are your canvas for the final visual polish. These volumes allow you to apply cinematic effects like Exposure, Color Grading (adjusting contrast, saturation, tint), Depth of Field (blurring background elements to focus on the car), Bloom (simulating lens flares), Vignette, and Chromatic Aberration. They are essential for setting the mood and achieving a professional, photographic look. Each setting can be tweaked to enhance the specific visual qualities of your automotive scene, making your vehicles stand out against a perfectly tuned environment.
While Unreal Engine’s native Landscape system is not directly a Nanite mesh, the integration of Nanite virtualized geometry profoundly impacts how you can enhance your landscapes. Nanite allows for importing incredibly high-polygon static meshes (e.g., 100 million triangles or more) without the traditional performance costs. This means you can sculpt a base terrain and then scatter highly detailed static meshes like photogrammetry-scanned rocks, cliffs, or custom sculpted boulders across it, all benefiting from Nanite’s efficient rendering pipeline.
Instead of manually retopologizing and generating LODs for these dense assets, Nanite handles it automatically, allowing you to focus on artistic detail. These Nanite-enabled static meshes can seamlessly blend with your sculpted terrain using techniques like Runtime Virtual Textures (RVT), creating an environment with unparalleled geometric detail close to the camera, ideal for showcasing the intricate designs of 3D car models. This hybrid approach—sculpted landscape for the expansive ground and Nanite meshes for geological features—provides the best of both worlds in terms of performance and visual fidelity.
Maintaining high frame rates is non-negotiable for interactive automotive visualization. Here are key optimization strategies:
By diligently applying these practices, you can create breathtaking automotive environments that run smoothly, allowing the true beauty and detail of premium 3D car models from 88cars3d.com to shine.
Unreal Engine’s Landscape tools are not limited to simple scene creation; they are integral to advanced workflows and diverse applications, ranging from large-scale game environments to high-end cinematic productions and interactive configurators. Professional artists often integrate external tools and leverage Unreal Engine’s comprehensive feature set to push the boundaries of real-time world-building, creating unparalleled realism and dynamic experiences.
One common advanced workflow involves using external heightmap generators like World Machine or Gaea. These specialized terrain generation software packages allow for complex procedural creation of realistic landscapes, simulating geological processes to produce incredibly naturalistic mountains, rivers, and erosion patterns. Artists can then export these high-resolution heightmaps (typically as 16-bit grayscale PNGs) and import them directly into Unreal Engine’s Landscape mode. This approach provides a foundational terrain that is far more organic and detailed than what can typically be sculpted by hand, serving as an excellent starting point for further refinement with Unreal Engine’s native sculpting and texturing tools.
For truly massive open worlds, Unreal Engine’s World Partition system is indispensable. Introduced in Unreal Engine 5, World Partition intelligently streams parts of the world based on proximity, allowing developers to build environments of unprecedented scale without hitting memory or performance limits. This is particularly beneficial for large automotive open-world games or expansive architectural visualizations where a user might drive a premium 3D car model through hundreds of square kilometers of terrain. For cinematic content, Sequencer, Unreal Engine’s non-linear cinematic editor, integrates seamlessly with landscapes. You can animate camera paths, dynamic lighting changes (like a time-lapse of the sun moving across your terrain), and vehicle movements across your sculpted environments, producing high-quality automotive commercials or virtual production sequences.
Custom sculpted terrains serve as dynamic and immersive backdrops for interactive automotive configurators. Instead of generic studio environments, imagine a customer visualizing their chosen car model (sourced from a marketplace like 88cars3d.com) in a sun-drenched desert, a snowy mountain pass, or an urban landscape with dynamic weather. This level of environmental realism significantly enhances the configurator experience, making the vehicle more desirable and the customization process more engaging.
Using Unreal Engine’s Landscape tools, designers can sculpt specific areas that highlight different features of the vehicle. For instance, a rugged off-road track might emphasize a vehicle’s suspension and ground clearance, while a smooth, scenic highway might showcase its aerodynamic lines and speed. Blueprint scripting can then be used to allow users to instantly switch between these custom environments or dynamically adjust environmental parameters like time of day or weather conditions. This provides a compelling and personalized visualization experience, allowing potential buyers to see how various car models perform and appear in diverse real-world contexts.
Bringing sculpted landscapes into Augmented Reality (AR) and Virtual Reality (VR) environments, especially for mobile platforms, presents unique optimization challenges. The demand for high frame rates (typically 90 FPS or higher for comfortable VR) is stringent, requiring significant sacrifices in complexity and detail compared to desktop rendering. For AR/VR automotive applications, the goal is often to create a convincing sense of scale and presence for 3D car models while minimizing performance overhead.
Key strategies for AR/VR landscape optimization include:
By meticulously optimizing every aspect of the landscape, you can deliver fluid and immersive AR/VR experiences that effectively showcase premium automotive assets, even on less powerful hardware. For further detailed optimization strategies, Epic Games’ official documentation at https://dev.epicgames.com/community/unreal-engine/learning is an invaluable resource.
Unreal Engine’s Landscape Tools offer an unparalleled creative playground for building immersive and expansive environments. From the initial layout and intricate sculpting of geological forms to the nuanced texturing with PBR materials and the critical process of optimization, mastering these tools is fundamental for anyone looking to create compelling real-time experiences. We’ve explored how to establish your terrain’s foundations, wield the sculpting brush to craft naturalistic forms, leverage advanced texturing techniques like Runtime Virtual Textures, and populate your world with lifelike foliage and dynamic effects using Niagara.
Moreover, we’ve emphasized the critical role of performance optimization, integrating cutting-edge features like Nanite and Lumen, and adapting workflows for specialized applications like automotive configurators and AR/VR. The iterative nature of world-building in Unreal Engine encourages experimentation and refinement, allowing you to continually push the boundaries of realism and immersion. A truly captivating environment is the perfect stage for showcasing high-fidelity assets, elevating the perceived quality and impact of your entire project.
Now, armed with this knowledge, it’s time to put these techniques into practice. Start experimenting with Unreal Engine’s Landscape tools, sculpt your vision, and build the worlds you’ve always imagined. When you’re ready to populate these stunning environments with the finest vehicles, remember that platforms like 88cars3d.com offer a curated selection of high-quality 3D car models, perfectly optimized for Unreal Engine, ready to drive into your meticulously crafted scenes. The journey to creating breathtaking automotive visualizations and immersive game worlds begins with a single sculpted peak, and the possibilities are limitless.

Texture: Yes
Material: Yes
Download the Buick LeSabre 1998 3D Model featuring a classic American full-size sedan design. Includes .blend, .fbx, .obj, .glb, .stl, .ply, .unreal, and .max formats for rendering, simulation, and game development.
Price: $10.79
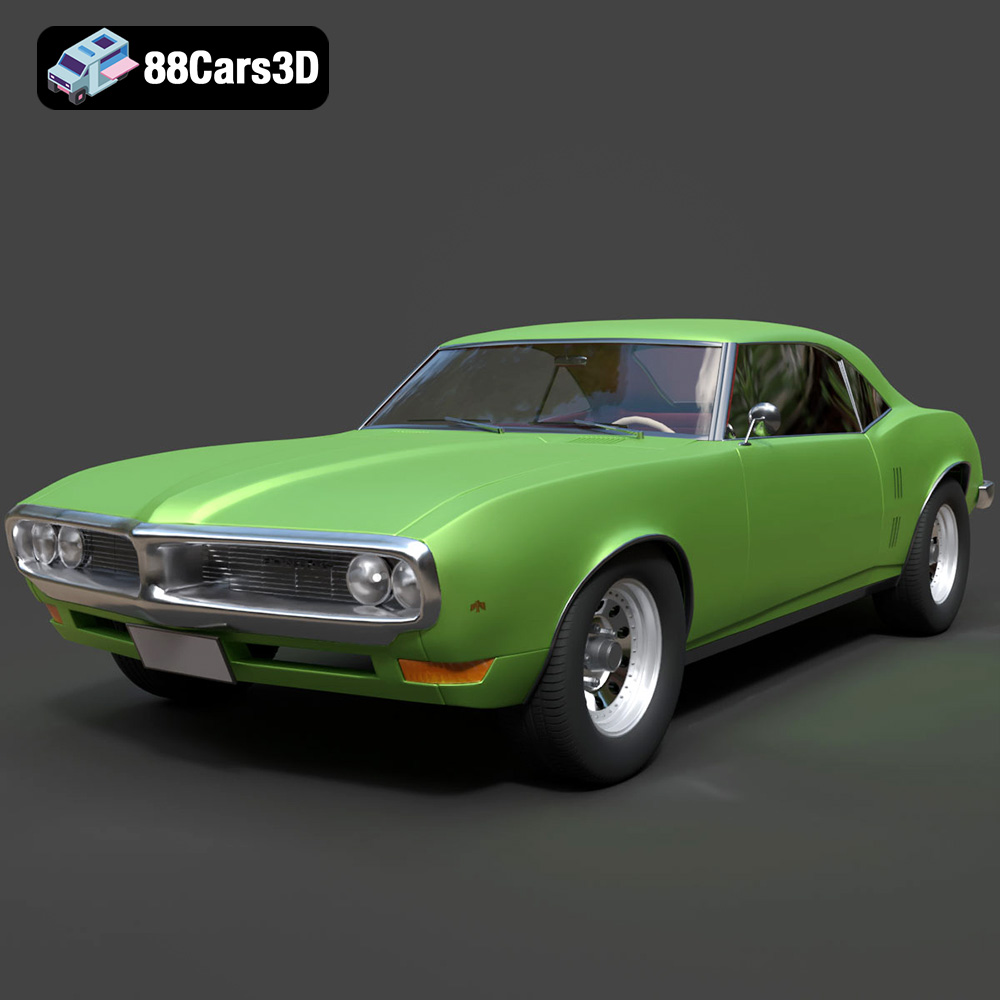
Texture: Yes
Material: Yes
Download the Pontiac Firebird 1998 3D Model featuring clean geometry, realistic detailing, and a fully modeled interior. Includes .blend, .fbx, .obj, .glb, .stl, .ply, .unreal, and .max formats for rendering, simulation, and game development.
Price: $10

Texture: Yes
Material: Yes
Download the Opel Astra 2008 3D Model featuring clean geometry, realistic detailing, and a fully modeled interior. Includes .blend, .fbx, .obj, .glb, .stl, .ply, .unreal, and .max formats for rendering, simulation, and game development.
Price: $10

Texture: Yes
Material: Yes
Download the Mercedes Benz Joaquin-007 3D Model featuring clean geometry, realistic detailing, and a fully modeled interior. Includes .blend, .fbx, .obj, .glb, .stl, .ply, .unreal, and .max formats for rendering, simulation, and game development.
Price: $19.99
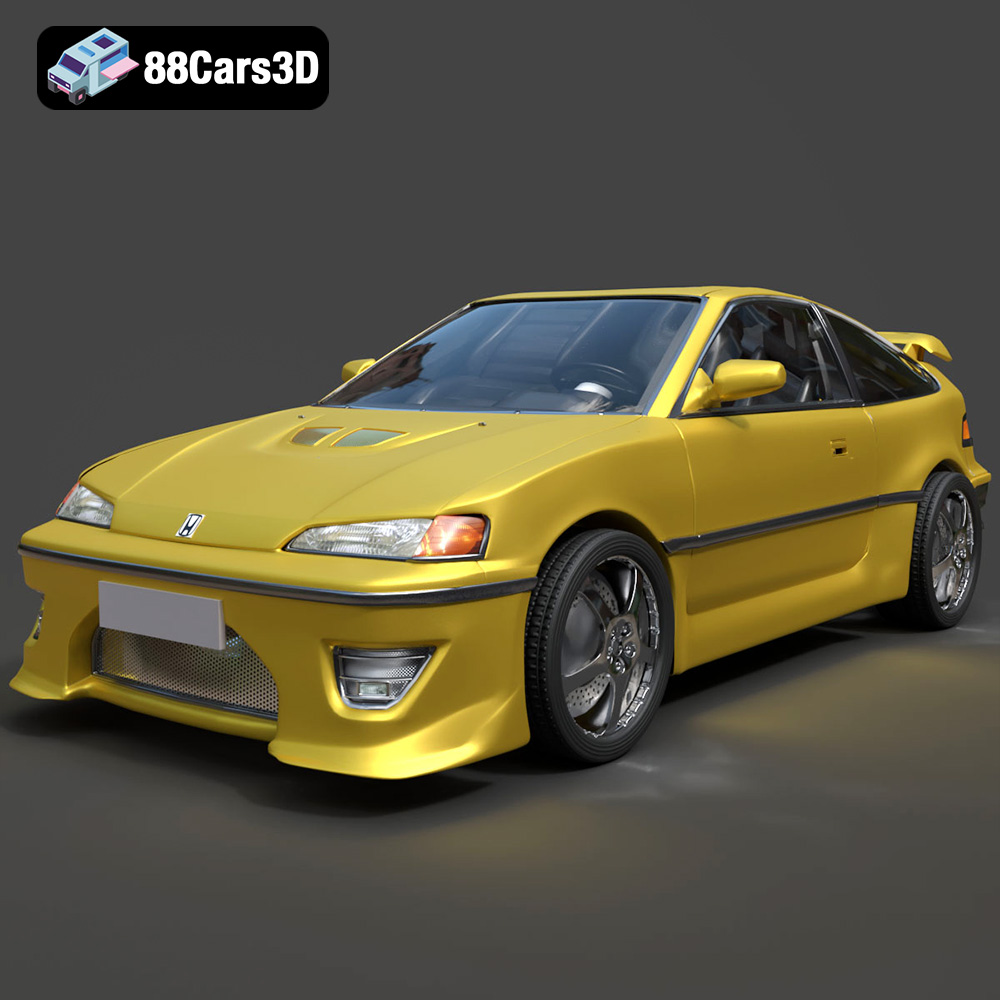
Texture: Yes
Material: Yes
Download the Honda CRX 1980 3D Model featuring clean geometry, realistic detailing, and a fully modeled interior. Includes .blend, .fbx, .obj, .glb, .stl, .ply, .unreal, and .max formats for rendering, simulation, and game development.
Price: $11.99
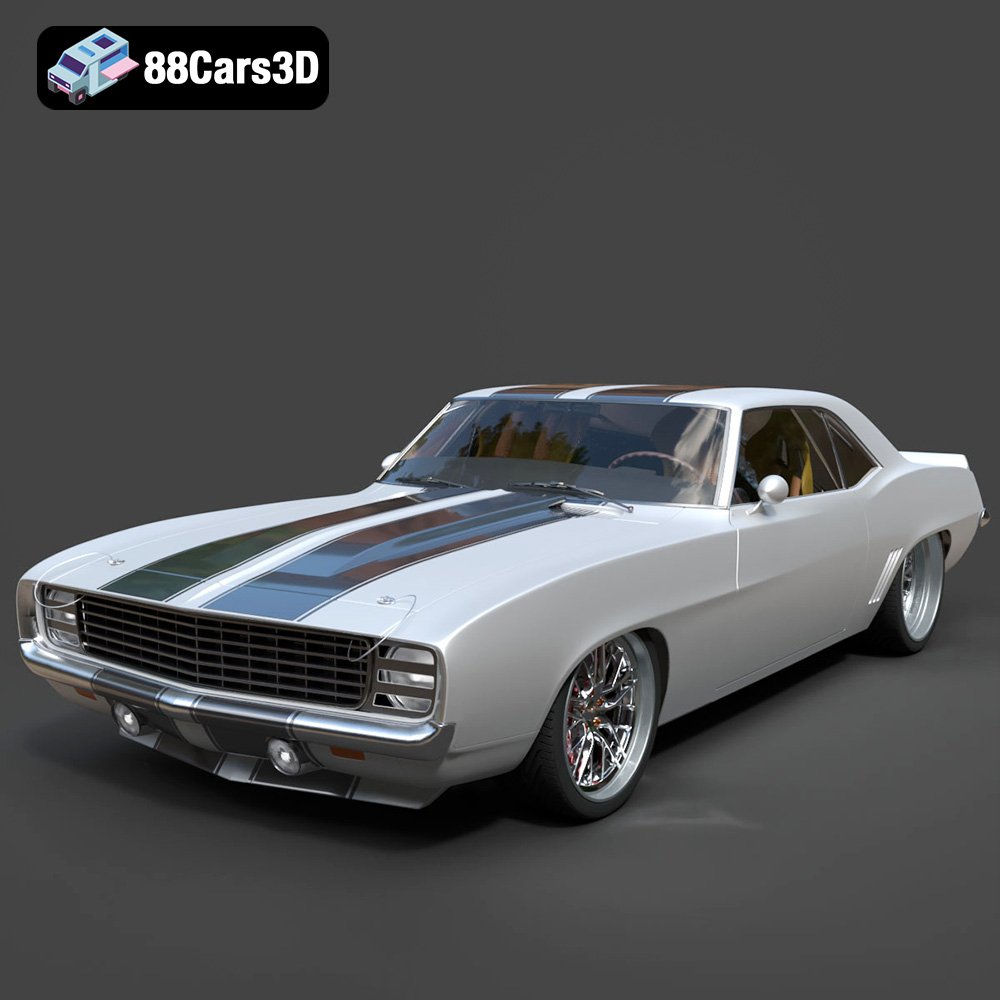
Texture: Yes
Material: Yes
Download the Chevrolet Camaro 69 Pro-007 3D Model featuring classic muscle car design and custom performance aesthetics. Includes .blend, .fbx, .obj, .glb, .stl, .ply, .unreal, and .max formats for rendering, simulation, and game development.
Price: $20.79

Texture: Yes
Material: Yes
Download the Honda Fit 2008 3D Model featuring a compact, versatile design with detailed exterior and interior components. Includes .blend, .fbx, .obj, .glb, .stl, .ply, .unreal, and .max formats for rendering, simulation, and game development.
Price: $10.79
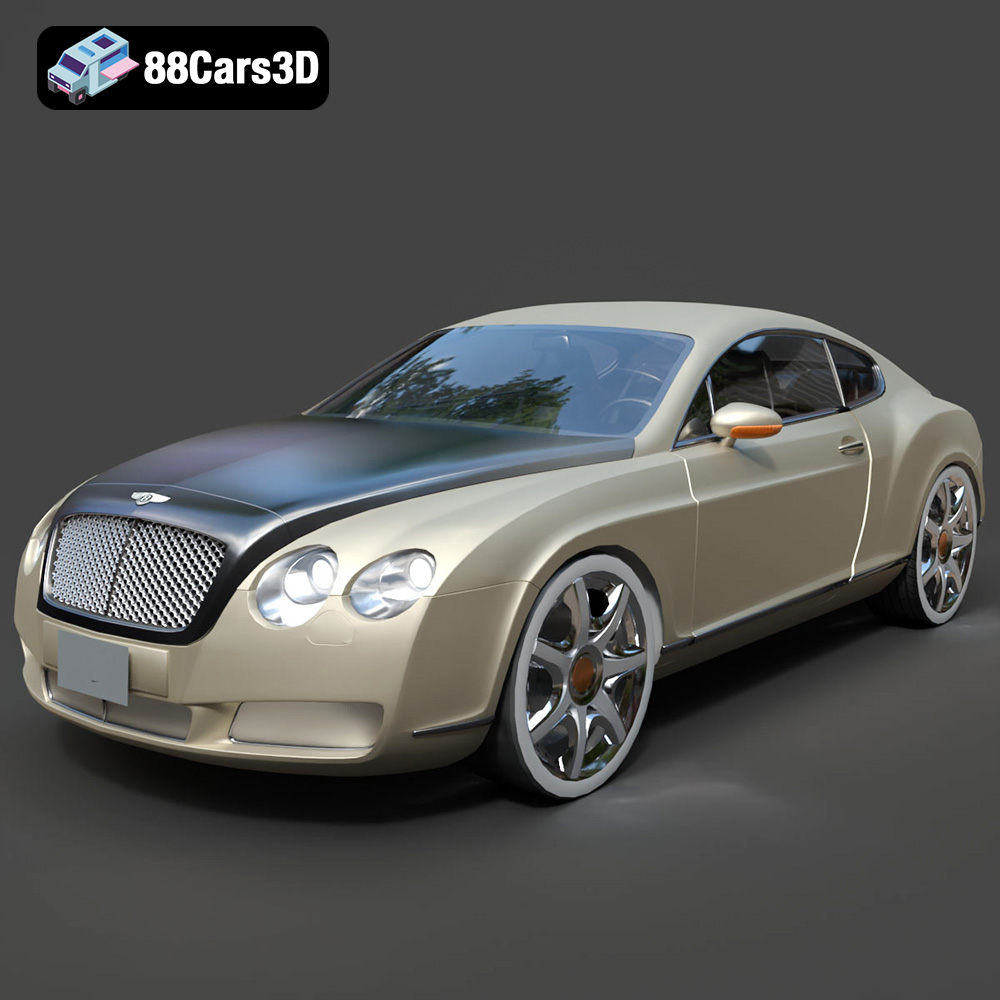
Texture: Yes
Material: Yes
Download the Bentley Continental GT-002 3D Model featuring a luxurious grand touring design and high-quality details. Includes .blend, .fbx, .obj, .glb, .stl, .ply, .unreal, and .max formats for rendering, simulation, and game development.
Price: $20.79

Texture: Yes
Material: Yes
Download the Audi R8 2006 3D Model featuring a sleek sports car design with detailed exterior and interior. Includes .blend, .fbx, .obj, .glb, .stl, .ply, .unreal, and .max formats for rendering, simulation, and game development.
Price: $20.79
Texture: Yes
Material: Yes
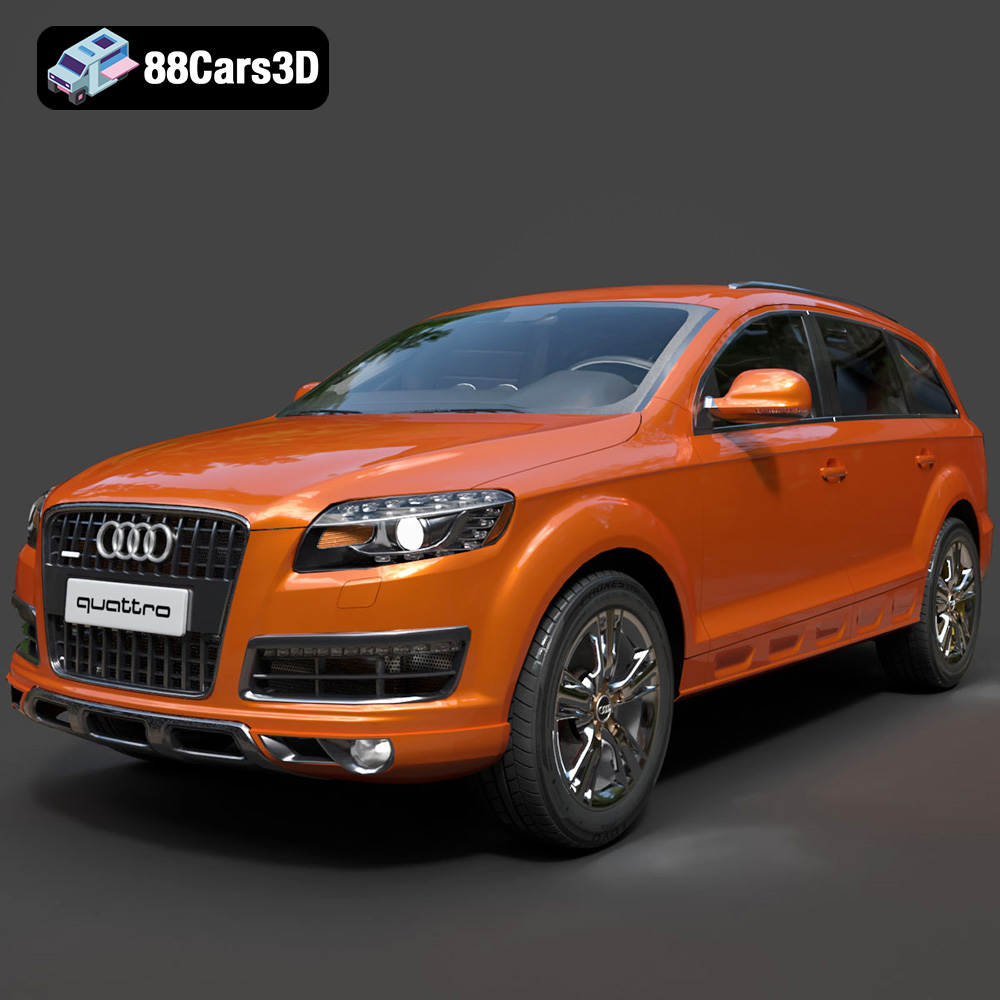
Download the Audi Q7 3D Model featuring a detailed exterior and a refined interior. Includes .blend, .fbx, .obj, .glb, .stl, .ply, .unreal, and .max formats for rendering, simulation, and game development.
Price: $20.79