Get 50% OFF All Premium 3D & STL Models!

“`html
The world of 3D printing, especially when delving into intricate automotive replicas, is a nuanced one. Achieving the breathtaking detail and perfect finish that separates a good print from a great one often hinges on mastering the fundamentals. Among the most crucial, yet sometimes overlooked, aspects are the selection and configuration of your 3D printer’s nozzle and print bed. These two components are your primary interface with the physical world, dictating the level of detail, print speed, and overall success of your project. Whether you’re printing a sleek supercar from 88cars3d.com or a complex mechanical part, understanding how your nozzle and bed size influence the outcome is paramount. In this comprehensive guide, we’ll explore the technical intricacies of selecting the optimal nozzle diameter and leveraging your print bed’s capabilities to bring your 3D printable car models to life with precision and efficiency.
The nozzle is where the magic happens – it’s the aperture through which molten filament is precisely deposited onto the build plate. The diameter of this opening is arguably the single most impactful setting for controlling print resolution and speed. A smaller nozzle allows for finer details and sharper edges, crucial for capturing the delicate lines and intricate components of a car model, while a larger nozzle enables faster printing by extruding more material in a single pass. This section will delve into the technical considerations and practical implications of choosing between standard and specialized nozzle sizes.
The general rule of thumb is that your nozzle diameter dictates the minimum feature size and the line width of your extruded plastic. For highly detailed automotive models, especially those with delicate spoilers, intricate grilles, or tiny interior components, a smaller nozzle is often preferred. Nozzles like 0.2mm or 0.25mm can produce incredibly fine lines, allowing you to resolve details that would be lost with larger nozzles. This increased resolution comes at a cost: print time. Printing a model with a 0.2mm nozzle will invariably take significantly longer than with a 0.4mm nozzle because the printer has to lay down many more individual lines to fill the same area. Conversely, a larger nozzle, such as a 0.6mm or 0.8mm, dramatically speeds up printing. If you’re printing larger, less detailed parts, or simply need to churn out multiple copies quickly, a larger nozzle is a sensible choice. However, using a large nozzle for highly detailed models will result in visible layer lines and a loss of fine geometry, potentially making elements like badges or emblems look blobby.
While standard brass nozzles are common and affordable, they are not ideal for all materials. Highly abrasive filaments, such as those containing carbon fiber, metal particles, or wood, will rapidly wear down a brass nozzle. The abrasive particles act like sandpaper, eroding the nozzle’s opening and altering its diameter. This wear leads to inconsistent extrusion, rougher surfaces, and a loss of print quality over time. For printing with these advanced materials, it’s essential to use hardened steel, ruby, or other wear-resistant nozzles. These specialized nozzles offer significantly longer lifespans when printing abrasive filaments, ensuring consistent extrusion and preserving print quality. While more expensive upfront, they are a necessary investment for anyone frequently working with such materials. The material of the nozzle also affects heat transfer; hardened steel, for instance, is less conductive than brass, which might require slight adjustments to temperature settings.
Changing a nozzle on a 3D printer requires care and precision. It’s a maintenance task that should ideally be performed when the nozzle and heater block are hot (around 200-240°C, depending on your filament) to ensure the old nozzle can be removed without stripping the threads. Crucially, never overtighten a new nozzle. Tighten it until it’s snug against the heat break, then give it a slight additional turn (about a quarter turn) once it’s heated up. This seals the nozzle against the heat break, preventing filament leaks. Always follow the manufacturer’s specific instructions for your printer. After changing a nozzle, it is imperative to re-level your print bed and perform a “Z-offset calibration”. The new nozzle, even if of the same stated diameter, might sit at a slightly different height. Incorrect Z-offset will lead to either the nozzle scraping the bed (causing damage and poor adhesion) or the filament not adhering properly (leading to print failures). For models downloaded from platforms like 88cars3d.com, which are often optimized for detail, start with a smaller nozzle and ensure your slicer settings (line width, extrusion multiplier) are updated to match the new nozzle size.
The print bed, or build plate, is the foundation upon which your 3D print is constructed. Its size directly limits the maximum dimensions of a single-piece print you can achieve. For hobbyists and collectors of 3D printable car models, understanding how to best utilize your build volume is key to efficient printing, whether you’re printing a single, large-scale replica or multiple smaller components simultaneously. This section will explore the implications of bed size on print strategy and efficiency.
A larger print bed offers the obvious advantage of being able to print larger objects in one piece. This is particularly relevant if you’re aiming for a large-scale, highly detailed car model. For instance, printing a 1:10 scale replica of a classic car might require a build volume of at least 300x300mm, or even larger, depending on the car’s dimensions. However, many 3D printers have smaller beds, typically around 220x220mm. This doesn’t mean you can’t print large models; it simply necessitates a multi-part assembly strategy. Excellent models from marketplaces like 88cars3d.com are often designed with assembly in mind, featuring interlocking parts or designated seams for easier gluing. This approach allows you to print complex, large-scale models on smaller printers by breaking them down into manageable sections. The key here is accurate slicing and careful planning. Ensuring that mating surfaces are perfectly flat and that tolerances are accounted for during the slicing process is vital for a seamless assembly later.
Even if your desired model fits comfortably on your build plate, a larger bed size allows for more efficient batch printing. Instead of printing one car model at a time, you can arrange multiple models, or multiple components of a single model, onto the build plate simultaneously. This significantly reduces the overall print time for a collection or a complex project. However, there are caveats. Printing multiple objects increases the risk of print failure affecting the entire batch. If one part fails due to poor adhesion or a clog, the whole print is often ruined. Furthermore, longer prints with multiple parts mean more time spent at elevated temperatures, which can sometimes lead to heat creep issues in the extruder. It’s also important to consider the “dead zones” on some print beds, areas near the edges where adhesion might be less reliable or extrusion less consistent. When batch printing, place your most critical or complex parts closer to the center of the bed.
The material and surface of your print bed play a critical role in successful prints, especially for larger models or those with small footprints. Common build surfaces include glass, PEI (Polyetherimide) sheets, BuildTak, and textured powder-coated steel. Each has its pros and cons regarding adhesion, durability, and ease of use. Glass beds offer a perfectly flat surface but often require adhesion aids like glue stick, hairspray, or specialized adhesives for materials like PETG and ABS. PEI sheets, particularly smooth or textured variants, generally offer excellent adhesion for PLA and PETG with minimal or no adhesion aids once properly conditioned. Textured powder-coated sheets are fantastic for hiding layer lines on the bottom surface of prints and provide great adhesion for a wide range of materials. Regardless of the surface, ensuring it is scrupulously clean before each print is non-negotiable. Fingerprints, dust, or residual oils will drastically compromise adhesion. For large car models, ensuring robust bed adhesion is paramount to prevent warping, especially with materials like ABS, which have higher shrinkage rates.
Beyond the fundamental choices of nozzle size and bed capacity, several advanced techniques can further refine your printing process for automotive models. These involve specific software settings, material considerations, and meticulous preparation that can elevate your prints from good to exceptional. Mastering these techniques ensures you get the most out of your hardware and the high-quality STL files available from sources like 88cars3d.com.
Your slicer software (e.g., Cura, PrusaSlicer, Simplify3D) is where you translate the 3D model into machine instructions. When printing detailed car models, several settings are critical:
The choice of filament directly impacts the final look, feel, and durability of your printed car models.
When downloading models from 88cars3d.com, consider the intended application. A display model might be perfect in PLA, while a model intended for remote control modification might benefit from PETG or ABS. Always check the recommended material for highly detailed prints.
Proper support generation and print orientation are crucial for minimizing print failures and achieving clean surfaces on complex automotive geometries.
Careful orientation can drastically reduce the amount of support material used and the time spent on post-processing, leading to a more satisfying printing experience.
Choosing the right nozzle and understanding your print bed’s capabilities are foundational steps for anyone serious about 3D printing, especially when working with detailed models like those found on 88cars3d.com. A smaller nozzle paired with meticulous slicer settings unlocks unparalleled detail, perfect for capturing the essence of your favorite automotive designs. Conversely, understanding your bed size allows for strategic planning, whether you’re printing large-scale masterpieces in sections or efficiently batching smaller components. Remember that successful 3D printing is an iterative process. Don’t be afraid to experiment with different nozzle sizes, filament types, and slicer settings. Each print is a learning opportunity, and by applying the technical insights discussed here—from nozzle wear and material compatibility to build volume utilization and advanced slicing techniques—you’ll be well on your way to producing flawless, professional-quality 3D printed car models.
“`

Meta Description:
Texture: Yes
Material: Yes
Download the Cadillac CTS-V Coupe 3D Model featuring detailed exterior styling and realistic interior structure. Includes .blend, .fbx, .obj, .glb, .stl, .ply, .unreal, and .max formats for rendering, simulation, AR VR, and game development.
Price: $13.9

Texture: Yes
Material: Yes
Download the Cadillac DTS-005 3D Model featuring its iconic luxury design, detailed interior, and realistic exterior. Includes .blend, .fbx, .obj, .glb, .stl, .ply, .unreal, and .max formats for rendering, simulation, and game development.
Price: $10.79

Texture: Yes
Material: Yes
Download the Buick LeSabre 1998 3D Model featuring a classic American full-size sedan design. Includes .blend, .fbx, .obj, .glb, .stl, .ply, .unreal, and .max formats for rendering, simulation, and game development.
Price: $10.79
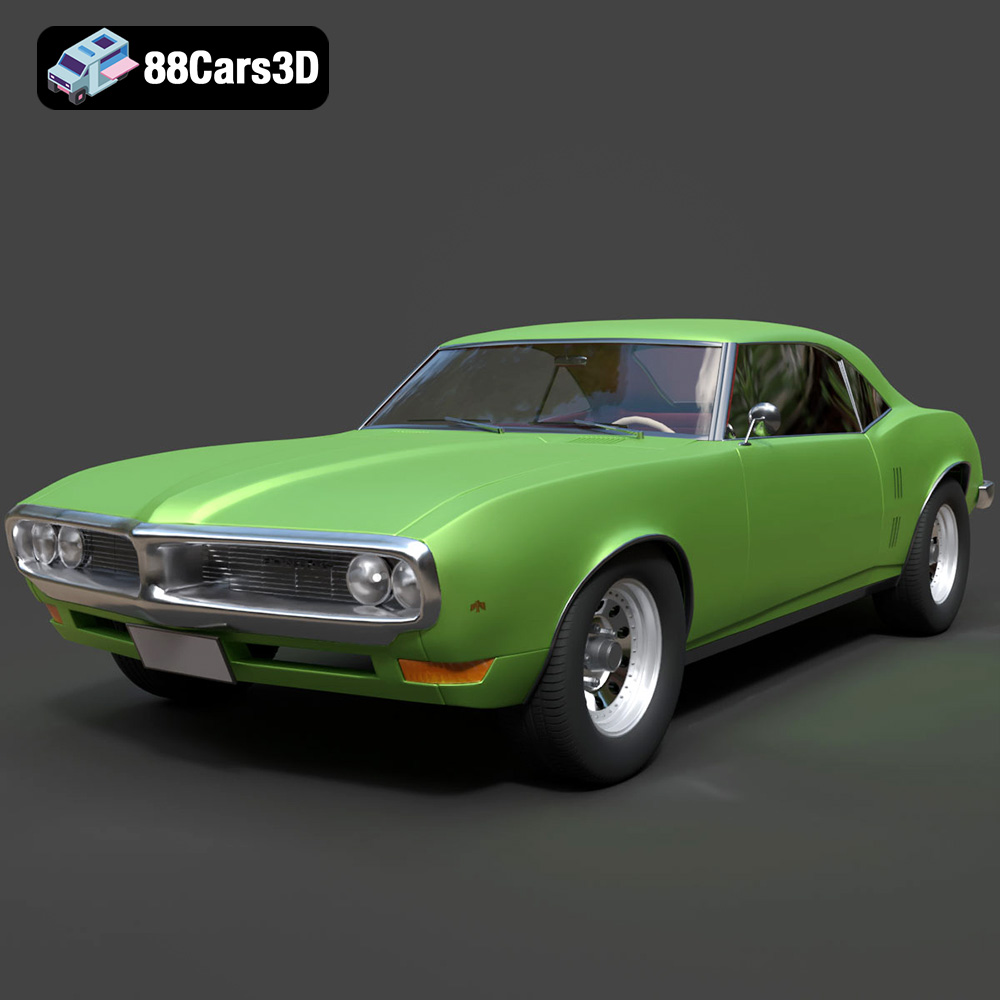
Texture: Yes
Material: Yes
Download the Pontiac Firebird 1998 3D Model featuring clean geometry, realistic detailing, and a fully modeled interior. Includes .blend, .fbx, .obj, .glb, .stl, .ply, .unreal, and .max formats for rendering, simulation, and game development.
Price: $10

Texture: Yes
Material: Yes
Download the Opel Astra 2008 3D Model featuring clean geometry, realistic detailing, and a fully modeled interior. Includes .blend, .fbx, .obj, .glb, .stl, .ply, .unreal, and .max formats for rendering, simulation, and game development.
Price: $10

Texture: Yes
Material: Yes
Download the Mercedes Benz Joaquin-007 3D Model featuring clean geometry, realistic detailing, and a fully modeled interior. Includes .blend, .fbx, .obj, .glb, .stl, .ply, .unreal, and .max formats for rendering, simulation, and game development.
Price: $19.99
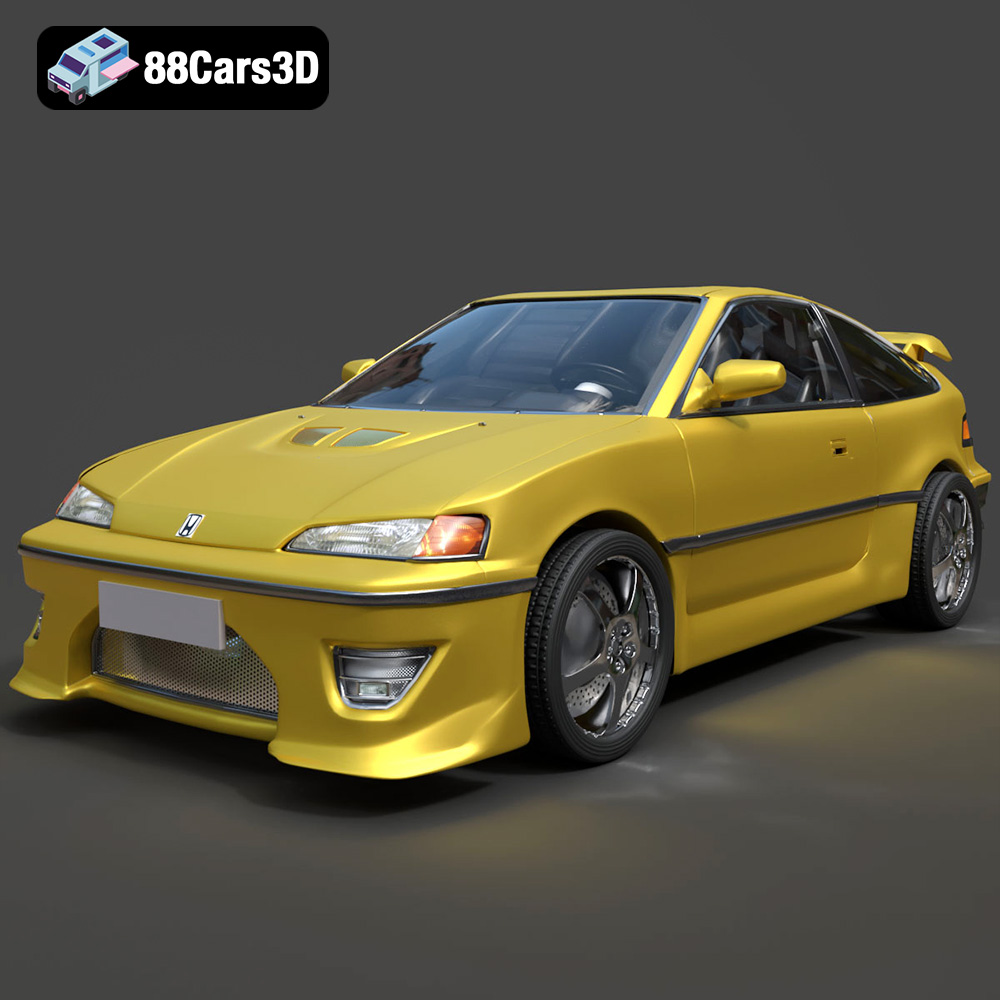
Texture: Yes
Material: Yes
Download the Honda CRX 1980 3D Model featuring clean geometry, realistic detailing, and a fully modeled interior. Includes .blend, .fbx, .obj, .glb, .stl, .ply, .unreal, and .max formats for rendering, simulation, and game development.
Price: $11.99
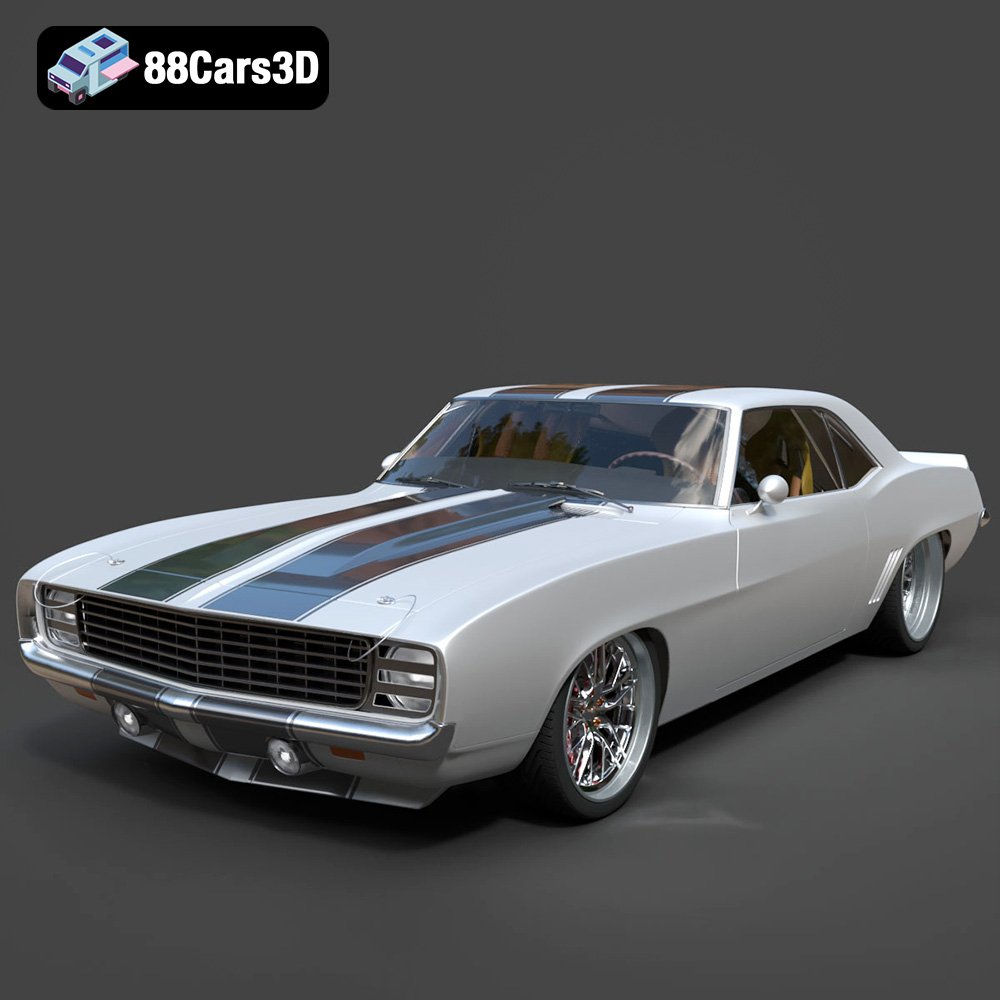
Texture: Yes
Material: Yes
Download the Chevrolet Camaro 69 Pro-007 3D Model featuring classic muscle car design and custom performance aesthetics. Includes .blend, .fbx, .obj, .glb, .stl, .ply, .unreal, and .max formats for rendering, simulation, and game development.
Price: $20.79

Texture: Yes
Material: Yes
Download the Honda Fit 2008 3D Model featuring a compact, versatile design with detailed exterior and interior components. Includes .blend, .fbx, .obj, .glb, .stl, .ply, .unreal, and .max formats for rendering, simulation, and game development.
Price: $10.79
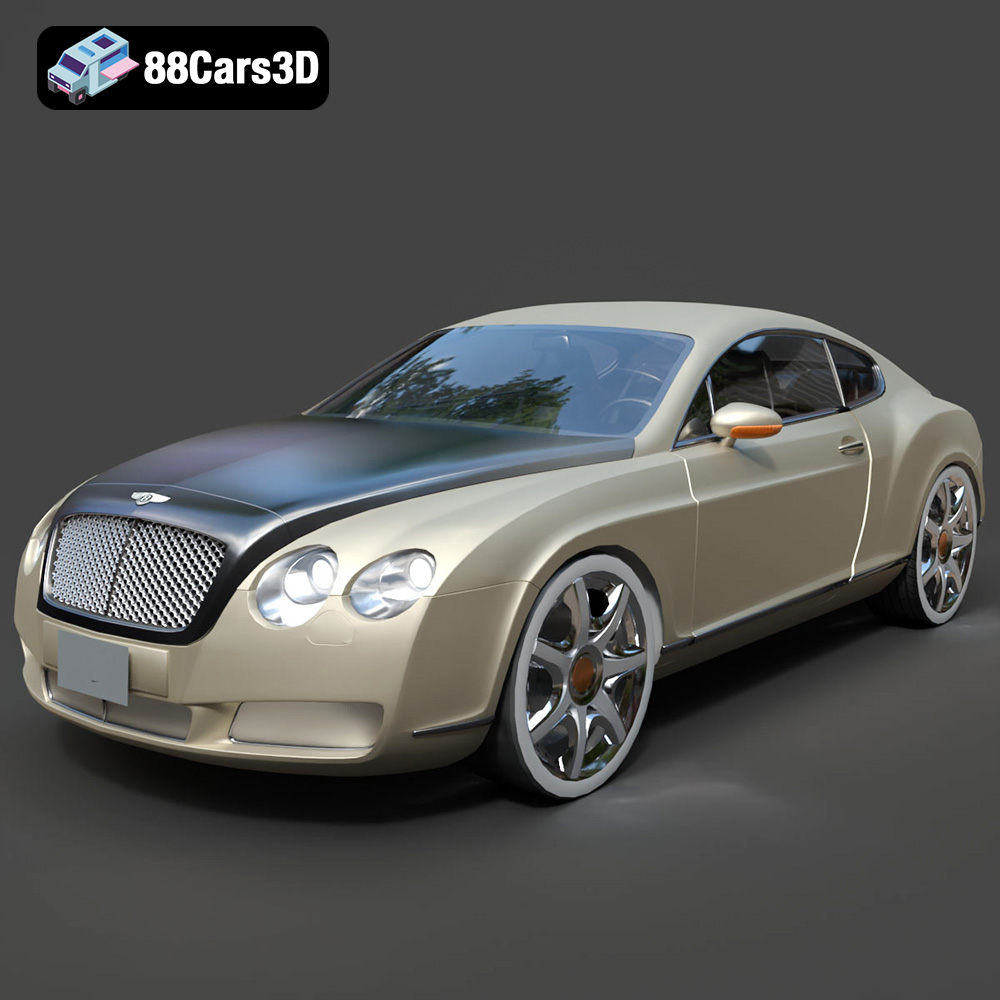
Texture: Yes
Material: Yes
Download the Bentley Continental GT-002 3D Model featuring a luxurious grand touring design and high-quality details. Includes .blend, .fbx, .obj, .glb, .stl, .ply, .unreal, and .max formats for rendering, simulation, and game development.
Price: $20.79

