Get 50% OFF All Premium 3D & STL Models!

The pursuit of photorealism in real-time applications has never been more intense, especially within the demanding world of automotive visualization, game development, and virtual production. High-fidelity 3D car models, with their intricate details, reflective surfaces, and complex geometries, are often the centerpiece of these experiences. However, achieving breathtaking visual quality without compromising real-time performance presents a significant challenge. Unoptimized assets can quickly bring even the most powerful hardware to its knees, leading to stuttering frame rates, extended loading times, and a diminished user experience.
This comprehensive guide delves deep into the essential strategies and Unreal Engine features that empower developers and artists to tackle these performance hurdles head-on. We’ll explore the critical role of Level of Detail (LOD) management, the revolutionary power of Nanite, smart material and lighting practices, and performance-conscious Blueprint scripting. Whether you’re crafting an interactive car configurator, a cinematic automotive sequence, or a next-generation racing game, mastering these optimization techniques is paramount. By the end of this article, you’ll have a robust toolkit to ensure your stunning 3D car models shine brilliantly while running smoothly in any Unreal Engine project.
The journey to an optimized 3D car model in Unreal Engine begins long before the import process. The quality and structure of your source assets directly dictate the ease and efficiency of subsequent optimization steps. For professional automotive visualizations and games, it’s crucial to start with models that boast clean topology, proper UV mapping, and a logical material breakdown. Sourcing high-quality, pre-optimized 3D car models from reputable marketplaces like 88cars3d.com can significantly streamline this initial phase, providing a solid foundation to build upon.
Before bringing any 3D car model into Unreal Engine, several critical checks and preparations should be made. Firstly, **topology cleanliness** is non-negotiable. Models should ideally consist of quads, avoiding ngons and excessive triangles where possible, and feature manifold geometry to prevent rendering artifacts. This ensures predictable deformation and simplifies any potential retopology or decimation tasks. Secondly, **UV mapping** must be pristine. Each unique part of the car model (body, wheels, interior, glass) should have dedicated UV sets, ensuring no overlapping UVs, sufficient padding between islands, and consistent texel density for optimal texture quality. For high-quality results, PBR (Physically Based Rendering) texture sets – typically including Albedo (Base Color), Normal, Roughness, Metallic, and Ambient Occlusion maps – should be prepared at appropriate resolutions (e.g., 4K for the main body, 2K for wheels, 1K for smaller details).
When exporting from your 3D modeling software, the **FBX file format** remains the industry standard due to its robust support for mesh data, materials, skeletal animations, and LODs. However, consider the rising importance of **USD (Universal Scene Description)** for its capabilities in scene assembly, non-destructive workflows, and scalability. Ensure your model is scaled correctly – Unreal Engine uses centimeters (cm) as its default unit. A typical car model might be around 400-500 units long in Unreal. Platforms like 88cars3d.com often provide models specifically prepared with these standards in mind, saving valuable development time.
Once your 3D car model is ready, importing it into Unreal Engine is straightforward but requires attention to detail. Drag and drop your FBX or USD file into the Content Browser, or use the “Import” button. In the import dialog, key settings include:
* **Skeletal Mesh vs. Static Mesh:** Most static 3D car models will be imported as Static Meshes. Only if you have complex, bone-driven animations for specific parts (e.g., advanced suspension systems) would you consider a Skeletal Mesh, though even then, many car animations can be done with simple transforms via Blueprints or Sequencer.
* **LOD Group:** This setting is crucial for LOD management. You can choose to automatically generate LODs during import (though manual control is usually preferred for complex assets like cars) or assign a pre-existing LOD Group. We’ll delve deeper into LODs shortly.
* **Collision Settings:** For a high-poly car, generating “Complex Collision as Simple” can be performance-intensive. It’s often better to create simplified custom collision meshes (e.g., a convex hull or a few primitive shapes) in your 3D software and assign them, or use Unreal’s “Auto Convex Collision” with limited hull count.
* **Normals and Tangents:** Ensure “Import Normals” and “Import Tangents” are enabled to correctly apply normal maps and ensure proper shading.
After import, immediately perform an initial performance check using Unreal Engine’s built-in stat commands. Open the console (tilde key `~`) and type `Stat FPS` for framerate, `Stat GPU` for GPU performance, and `Stat RHI` for rendering hardware interface statistics. These will provide a baseline for your unoptimized asset. For more detailed insights, refer to the official Unreal Engine documentation on performance profiling: https://dev.epicgames.com/community/unreal-engine/learning/5090a2a472c206b10705f17173e6ebcf
Level of Detail (LOD) is a fundamental optimization technique that swaps out high-resolution models for progressively simpler versions as an object moves further away from the camera. For detailed assets like 3D car models, which can easily exceed hundreds of thousands or even millions of triangles, intelligent LOD management is absolutely essential for maintaining playable frame rates, especially in large environments or when multiple cars are present.
Unreal Engine provides robust tools for managing LODs, offering both automatic generation and comprehensive manual control.
**Automatic LOD Generation** can be a quick solution for simpler assets. When importing a Static Mesh, you can choose to “Generate LODs” in the import options. Post-import, within the Static Mesh Editor, you can configure the number of LODs and their **Triangle Percentage** reduction. For example, LOD1 might be 50% of LOD0’s triangles, LOD2 at 25%, and so on. While convenient, this method might not always produce the cleanest or most visually appealing results for complex meshes like cars, where specific details (grilles, emblems, lights) are crucial. The automatic decimation might introduce visual artifacts or destroy important edge loops.
For high-fidelity 3D car models, **Manual LOD Control** is often the preferred approach. This involves creating simplified versions of your mesh in your 3D modeling software (e.g., Blender, Maya, ZBrush, 3ds Max). You export these as separate FBX files and import them into Unreal Engine, assigning them to the correct LOD slot in the Static Mesh Editor. This gives you precise control over which details are removed or simplified at each LOD level. For instance, at LOD1, you might remove interior details not visible from a distance. At LOD2, you might simplify wheel geometry or mirrors. At LOD3, the entire car might become a single simplified hull with basic textures. This approach allows artists to manually optimize the mesh, ensuring visual integrity while drastically reducing polygon counts. Many professional automotive assets, including those found on 88cars3d.com, often come with pre-made LODs, simplifying this process.
When designing LODs, consider using external **decimation tools** in your 3D software that allow for intelligent polygon reduction based on visual importance or curvature. Tools like ZBrush’s ZRemesher or Maya’s Reduce tool offer more control than generic percentage-based decimation.
The effectiveness of LODs hinges not just on the quality of each individual mesh, but also on how smoothly transitions occur and how they impact performance.
**Screen Size** is the primary metric Unreal Engine uses to determine when to switch between LOD levels. This value represents the percentage of the screen space the object occupies. For example, a `Screen Size` of 0.5 means the object takes up 50% of the screen. You define thresholds for each LOD: when the object’s screen size falls below a certain threshold, it switches to the next lower LOD. Careful tuning of these values is essential to prevent jarring visual “pops.” To mitigate visible transitions, Unreal Engine offers **Dithered LOD Transitions**, which fade between LOD levels rather than abruptly switching. This feature can be enabled per-mesh in the Static Mesh Editor under the LOD settings.
In terms of **performance metrics**, your goal with LODs is to significantly reduce **triangle count** and **draw calls**. A typical high-fidelity car model (LOD0) might range from 150,000 to 500,000 triangles or more. Target reductions might look like this:
* **LOD0:** 100% (e.g., 250,000 triangles)
* **LOD1:** 30-50% (e.g., 75,000 – 125,000 triangles) for medium distance
* **LOD2:** 10-20% (e.g., 25,000 – 50,000 triangles) for far distance
* **LOD3:** 1-5% (e.g., 2,500 – 12,500 triangles) for very far distance or shadow casters
* **LOD4 (Optional):** A simple proxy mesh (e.g., <1,000 triangles) or even a billboard for extreme distances.
Each distinct material or mesh component contributes to **draw calls**. Consolidating materials where possible, especially for lower LODs, can reduce render overhead. Be mindful of **overdraw**, which occurs when pixels are rendered multiple times. This is particularly relevant for transparent materials (glass, decals) and can be visualized using the "Shader Complexity" view mode in Unreal Engine, highlighting areas with high overdraw.
While traditional LODs are powerful, they demand significant manual effort and can still lead to visual compromises. Enter Nanite, Unreal Engine 5’s groundbreaking virtualized geometry system. Nanite revolutionizes how incredibly high-polygon meshes are handled, allowing artists to import film-quality assets directly into the engine without needing to manually generate LODs or worry about polygon budgets for individual objects. For the intricate details of a 3D car model, Nanite is a game-changer.
Nanite works by intelligently streaming and rendering only the necessary triangle data at an pixel-accurate level of detail, making its performance almost entirely independent of the source mesh’s complexity. This means you can import 3D car models with millions of triangles and still achieve excellent real-time performance.
To enable Nanite for a Static Mesh, simply open the Static Mesh Editor, navigate to the “Details” panel, and check the “Enable Nanite” checkbox. You can also enable it in the import dialog for new meshes. Once enabled, Unreal Engine will automatically convert and optimize the mesh for Nanite rendering. There are very few configuration parameters needed, as Nanite handles the LOD-like scaling of detail automatically. For meshes that are part of a larger scene or are particularly performance-critical, you might adjust the **Fallback Relative Error** and **Position Precision** settings, though for most automotive assets, the defaults work exceptionally well.
The primary advantages of Nanite for 3D car models are immense:
* **Unprecedented Geometric Detail:** Import CAD-level data or highly sculpted meshes directly.
* **Automatic LOD Management:** Say goodbye to manual LOD creation for geometry. Nanite handles it seamlessly.
* **Reduced Draw Calls:** Nanite drastically reduces draw calls by bundling geometry.
* **Efficient Streaming:** Only the necessary data streams into memory based on screen resolution and distance.
Currently, Nanite has a few limitations: it primarily supports Static Meshes, meaning skeletal meshes (like animated characters or complex car deformation physics) do not yet benefit directly. Transparent materials, though compatible, are handled through a separate rendering path, so intricate glass models might still require traditional optimization for transparency. However, for the solid body, wheels, interior elements, and other core components of a 3D car model, Nanite offers an unparalleled solution.
Nanite is not a standalone feature; it integrates deeply with other cutting-edge Unreal Engine 5 technologies, enhancing the overall visual fidelity and performance of automotive scenes.
* **Lumen Global Illumination and Reflections:** Nanite meshes seamlessly interact with Lumen, Unreal Engine’s fully dynamic global illumination and reflections system. The incredibly detailed geometry provided by Nanite contributes to highly accurate bounce light and realistic reflections on the car’s surfaces and environment, creating truly immersive visuals. When paired with Lumen, the visual quality of an automotive scene reaches new heights.
* **Virtual Shadow Maps (VSM):** Complementing Nanite’s high-fidelity geometry, Virtual Shadow Maps deliver incredibly detailed, high-resolution shadows for all objects in the scene, regardless of distance. VSMs resolve the aliasing and resolution limitations of traditional shadow maps, ensuring that the crisp edges and subtle forms of a Nanite-enabled car cast perfectly sharp shadows.
While Nanite effectively manages geometry, it’s still crucial to optimize **material complexity** and **texture resolution**. Nanite handles the vertices and triangles, but expensive shaders or oversized textures can still impact GPU performance. VRAM usage can also be higher with Nanite due to the sheer amount of geometric data it manages, even if it’s streamed efficiently. For scenes with many Nanite-enabled cars, profiling VRAM usage (using `Stat GPU` and checking texture memory) is important. For more detailed information on Nanite, consult the official Unreal Engine documentation: https://dev.epicgames.com/community/unreal-engine/learning/5091a13e2f5ff57a9f7e7f6c38210f9e
Even with perfectly optimized geometry through LODs or Nanite, a 3D car model won’t look its best or perform efficiently without carefully crafted materials and intelligent lighting. PBR materials are essential for realism, but their complexity and the way they interact with lighting can introduce significant performance bottlenecks if not managed correctly.
Creating stunning **PBR materials** for automotive surfaces involves a delicate balance of visual fidelity and performance. A common pitfall is creating unique, complex master materials for every single surface. Instead, focus on building a few **master materials** that are highly parameterized, allowing you to create numerous **material instances** with different textures, colors, and property values without recompiling shaders. For example, one master material can drive all car paints, another for interior plastics, another for metals, and another for glass.
Key optimization tips for PBR materials:
* **Texture Resolution:** Use resolutions appropriate for the object’s screen size and visual importance. A 4K texture might be suitable for the main car body, but 2K or even 1K might suffice for wheels, and 512×512 for interior buttons or emblems. Unreal Engine’s texture streamer can help manage memory, but starting with sensible resolutions is always better.
* **Texture Packing:** Combine grayscale maps into a single texture to reduce sampling overhead. A common practice is to pack Occlusion (Red), Roughness (Green), and Metallic (Blue) into a single ORM texture. This reduces the number of texture lookups in the shader, improving performance.
* **Material Complexity:** Avoid overly complex shader graphs. Use **static switches** to compile different code paths based on material instance parameters. This allows you to disable features (e.g., clear coat, additional normal layers) when they are not needed, reducing shader instruction count.
* **Parameter Usage:** Instead of using fixed values in your master material, expose parameters for color, roughness, metallic, normal strength, etc., so they can be tweaked in material instances.
* **Decals:** Use decals sparingly and optimize their material to avoid overdraw, especially for details like badges, stripes, or scratches.
Lighting is the cornerstone of realism, but it can be one of the most expensive aspects of real-time rendering. Unreal Engine 5’s **Lumen global illumination and reflections** offer unparalleled quality, but understanding its settings and how to combine it with other lighting features is vital for performance.
* **Lumen Configuration:** For automotive scenes, ensure your Lumen settings are tuned for quality without excessive overhead. The “Lumen Scene” view mode helps visualize the Lumen probe coverage. Adjust the **Final Gather Quality** and **Surface Cache Resolution** in the Post Process Volume to find the right balance between visual quality and performance. Lumen relies on geometric detail for accurate bounce light, making Nanite-enabled car models especially effective.
* **Reflections:** While Lumen handles global reflections, supplementary reflection methods are still important. **Screen Space Reflections (SSR)** provide high-quality reflections for visible parts of the screen but disappear when objects move off-screen. For critical surfaces like mirrors or highly reflective floors in showrooms, **Planar Reflections** offer perfect, localized reflections at a higher cost. For general environmental reflections, **Reflection Capture Actors** (Sphere and Box) provide pre-baked reflection probes, offering a cheaper alternative, though less dynamic. Use a combination of these strategically.
* **Shadows:** **Virtual Shadow Maps (VSM)** are the recommended shadow solution for Nanite-enabled scenes, providing highly detailed, scalable shadows. For non-Nanite geometry or specific scenarios, traditional **Cascade Shadow Maps** from directional lights are still an option. Optimize shadow settings by adjusting cascade count, shadow distance, and resolution.
* **Light Types and Count:** Be mindful of the number and type of lights. **Movable lights** are the most expensive as they contribute to dynamic shadows and GI every frame. **Stationary lights** have baked shadows but dynamic specular and diffuse, offering a good balance. **Static lights** are fully baked and the cheapest, ideal for static environments or background elements. For more on Unreal Engine’s lighting options, see the documentation: https://dev.epicgames.com/community/unreal-engine/learning/0193a027e3663a8a9a469733c77d404c
A static 3D car model, no matter how beautiful, often needs interactivity to truly engage users. Unreal Engine’s Blueprint visual scripting system is incredibly powerful for adding dynamic elements like car configurators, door animations, or even full driving mechanics. However, poorly optimized Blueprints can quickly negate all your geometry and material optimizations, making performance-conscious scripting a critical skill.
Interactive car configurators are a prime example of where Blueprint shines. Users expect to change paint colors, swap wheels, or open doors seamlessly.
* **Changing Materials:** To change a car’s paint color or wheel material, you’ll typically create a **Dynamic Material Instance (DMI)** from your master material. In Blueprint, you can expose parameters in your master material (e.g., `PaintColor`, `RoughnessScalar`, `MetallicScalar`). Then, using the “Set Vector Parameter Value” or “Set Scalar Parameter Value” nodes on your DMI, you can dynamically adjust these properties. For an array of predefined options (e.g., “Red Paint,” “Blue Paint”), you can store material instances in an array and swap them using “Set Material” on the mesh.
* **Swapping Meshes:** To change components like wheels, spoilers, or body kits, you can pre-import different mesh variations. In Blueprint, you would typically have an array of Static Mesh references. When a user selects a new wheel, you use “Set Static Mesh” on the relevant component to swap it out. Alternatively, for simpler changes, you can toggle the visibility of different mesh components (e.g., hiding one set of wheels and showing another).
* **Basic Animations:** Opening doors, hoods, or trunks can be achieved using **Timeline nodes** in Blueprint. A Timeline allows you to animate a value (like a rotation or translation) over time. You connect the output of the Timeline to a “Set Relative Rotation” or “Set Relative Location” node for the respective car part. This offers smooth, controlled animations without needing complex skeletal setups.
* **UI Integration:** User interaction for configurators is typically handled via **UMG (Unreal Motion Graphics)** widgets. Buttons, sliders, and dropdown menus in UMG can trigger Blueprint events that then modify the car model. Ensure your UMG widgets are efficient, avoiding excessive use of complex shaders or many overlapping transparent elements, which can cause significant overdraw.
While easy to use, Blueprints can introduce performance overhead if not written efficiently.
* **Event Tick Optimization:** The **Event Tick** node executes every frame and is a common source of performance issues. Avoid placing heavy calculations or complex loops directly on Tick. Instead, use **timers** (e.g., “Set Timer by Event”) to run logic at specific intervals (e.g., every 0.1 seconds), or use **Custom Events** triggered only when necessary (e.g., on user input, or when a specific condition is met).
* **Nativization:** For critical Blueprints that are central to your application’s performance (e.g., core vehicle logic), consider **Blueprint Nativization**. This process converts Blueprints into C++ code during packaging, offering a significant performance boost. While not a magic bullet for all performance issues, it can be a valuable tool for heavily used Blueprints.
* **Physics Simulation (Chaos Vehicle System):** For driving simulations, Unreal Engine’s **Chaos Vehicle system** is the go-to. Setting up vehicles involves configuring wheel properties, engine curves, suspension, and tire friction within a specialized Vehicle Blueprint. Optimizing this involves:
* **Simplified Collision Meshes:** Use simple, convex collision shapes for the car body and wheels for physics interactions rather than complex per-poly collisions.
* **Physics Substepping:** Enable physics substepping in project settings to ensure consistent physics results regardless of frame rate.
* **Replication:** For multiplayer games, carefully consider what physics data needs to be replicated to avoid network overhead.
* **Line Traces and Overlaps:** Minimize the number of expensive line traces, sphere traces, or overlap checks, especially on Tick. Group them where possible or only perform them when an event truly requires it.
By adopting a performance-first mindset when scripting, you can ensure that your interactive automotive experiences remain fluid and responsive.
Optimizing 3D car models for Unreal Engine extends beyond individual assets and into how they integrate within larger workflows and serve diverse industry applications. The strategies discussed – from LODs and Nanite to PBR materials and efficient Blueprints – are foundational for professional use cases like virtual production, AR/VR, and cinematic rendering.
The demand for high-quality 3D car models in real-time environments is exploding across various sectors:
* **Virtual Production (LED Walls):** In-camera VFX setups using LED volumes are revolutionizing film and broadcast. For these environments, real-time performance is paramount, often requiring frame rates of 60 FPS or higher at extremely high resolutions (e.g., multiple 4K displays). Nanite and Lumen are critical enablers here, allowing incredibly detailed automotive assets to be rendered seamlessly in the virtual background, interacting dynamically with physical props and actors. Aggressive optimization, including efficient LODs for background assets, optimized lighting passes, and careful profiling, is non-negotiable.
* **AR/VR Optimization:** Augmented and Virtual Reality applications for automotive design reviews, training, or interactive showrooms demand exceptionally high and consistent frame rates (e.g., 90 FPS or 120 FPS per eye) to prevent motion sickness. This often necessitates even more aggressive LODs, texture streaming settings, and potentially using Unreal Engine’s **Forward Renderer** for mobile VR, which can be more performant than the Deferred Renderer but has fewer features. Techniques like **Foveated Rendering** (rendering the center of the viewport at higher quality than the periphery) are also vital.
* **Cinematic Rendering (Sequencer):** While cinematic rendering with **Sequencer** allows for offline rendering where real-time frame rates are less critical, efficient assets still lead to faster render times and less memory consumption. High-quality 3D car models, often sourced from platforms like 88cars3d.com, provide an excellent base for creating stunning automotive commercials, product reveals, and animated sequences. Here, you can push quality settings higher, utilize advanced post-processing, and leverage render passes for compositing.
The high-quality 3D car models available on platforms such as 88cars3d.com are designed with these diverse applications in mind, offering clean geometry and PBR materials that serve as excellent starting points for any of these demanding workflows.
Optimization is an iterative process, and you will inevitably encounter challenges. Understanding how to diagnose and resolve performance bottlenecks is crucial.
* **Debugging Tools:** Unreal Engine offers an extensive suite of debugging tools. Beyond `Stat FPS`, `Stat GPU`, and `Stat RHI`, explore `Stat Unit` (CPU, GPU, Draw, Game threads), `Stat Engine` (memory, physics, navigation), and the powerful **Profile GPU** tool (Ctrl + Shift + ,) which provides a detailed breakdown of GPU render passes and their timings. The **Shader Complexity** view mode (Alt + 8) helps visualize material cost and overdraw. The **Wireframe** view (Alt + 2) is invaluable for checking polygon counts and LOD transitions.
* **Memory Usage:** Large texture sizes, excessive unique materials, and unoptimized meshes can quickly consume VRAM and system RAM. Use the **Audit Asset** tool (right-click on an asset in Content Browser) to inspect memory footprint. Ensure texture streaming is enabled and correctly configured.
* **Iterative Process:** Optimization is rarely a one-time fix. Follow a process of: **Profile -> Identify Bottleneck -> Implement Solution -> Re-Profile.** Focus on the biggest performance sinks first, as they will yield the most significant improvements.
* **Build Validation and Packaging:** Always test your optimized project in a packaged build, as editor performance can differ significantly from runtime performance. Ensure all your optimizations carry over and that no new issues arise during the packaging process.
By embracing a proactive, data-driven approach to optimization and leveraging Unreal Engine’s powerful toolset, you can consistently achieve stunning visual fidelity and rock-solid performance for your automotive projects.
The journey to mastering high-fidelity 3D car models in Unreal Engine is a continuous process of balancing visual ambition with technical prowess. We’ve traversed the essential landscapes of pre-import preparation, the nuanced world of traditional Level of Detail (LOD) management, and the groundbreaking advancements brought by Nanite virtualized geometry. We’ve also delved into the intricacies of crafting performant PBR materials, setting up dynamic real-time lighting with Lumen and Virtual Shadow Maps, and developing interactive experiences through optimized Blueprint scripting.
The key takeaway is that achieving breathtaking realism and fluid performance is not mutually exclusive. By diligently applying these strategies—from sourcing clean assets (perhaps from platforms like 88cars3d.com that specialize in high-quality 3D car models) to meticulously managing polygon budgets and shader complexity—you empower your projects to shine in any real-time application. Whether you’re targeting cinematic virtual production, immersive AR/VR experiences, or visually rich games, a deep understanding of Unreal Engine’s optimization toolkit is your most valuable asset.
Now, armed with this knowledge, we encourage you to apply these techniques to your own projects. Experiment with Nanite, fine-tune your LODs, and profile your scenes relentlessly. The dynamic world of real-time rendering is constantly evolving, and by staying ahead with these advanced optimization strategies, you’ll be well-equipped to create the next generation of stunning automotive visualizations and interactive experiences.

Meta Description:
Texture: Yes
Material: Yes
Download the Cadillac CTS-V Coupe 3D Model featuring detailed exterior styling and realistic interior structure. Includes .blend, .fbx, .obj, .glb, .stl, .ply, .unreal, and .max formats for rendering, simulation, AR VR, and game development.
Price: $13.9

Texture: Yes
Material: Yes
Download the Cadillac DTS-005 3D Model featuring its iconic luxury design, detailed interior, and realistic exterior. Includes .blend, .fbx, .obj, .glb, .stl, .ply, .unreal, and .max formats for rendering, simulation, and game development.
Price: $10.79

Texture: Yes
Material: Yes
Download the Buick LeSabre 1998 3D Model featuring a classic American full-size sedan design. Includes .blend, .fbx, .obj, .glb, .stl, .ply, .unreal, and .max formats for rendering, simulation, and game development.
Price: $10.79
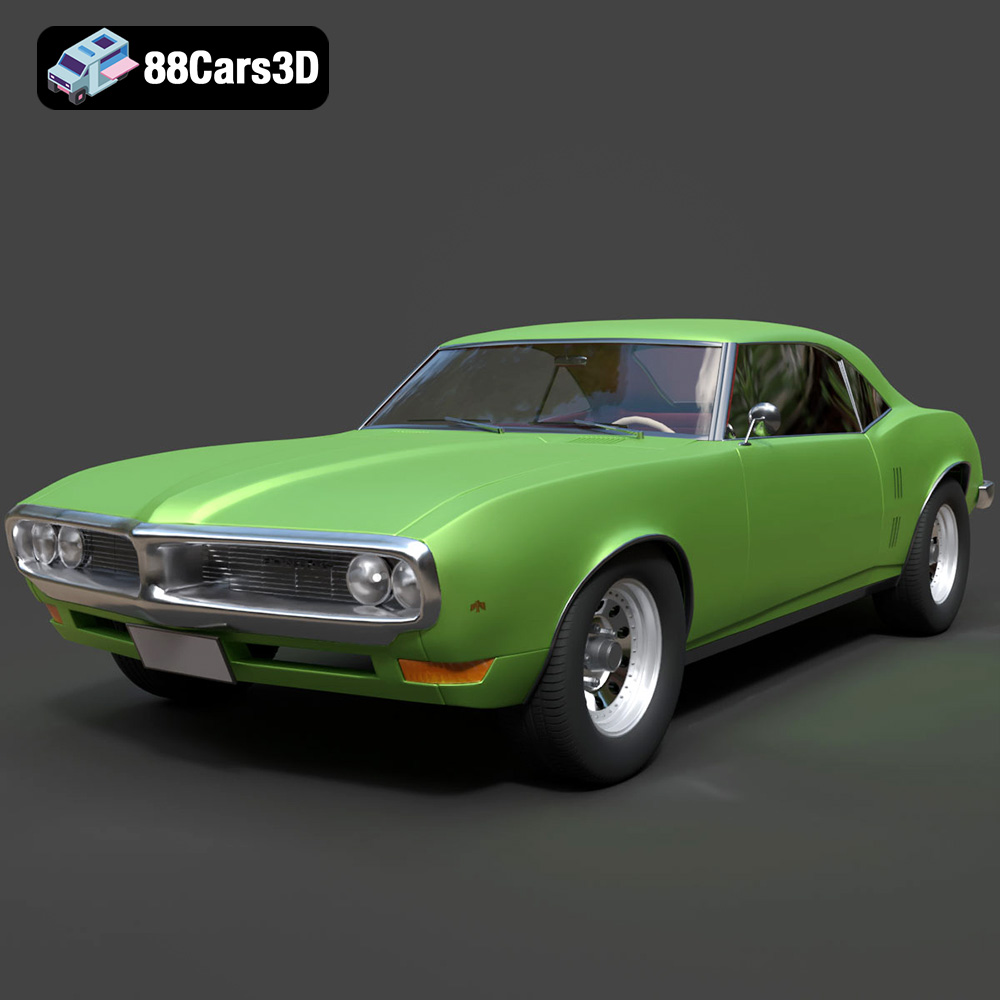
Texture: Yes
Material: Yes
Download the Pontiac Firebird 1998 3D Model featuring clean geometry, realistic detailing, and a fully modeled interior. Includes .blend, .fbx, .obj, .glb, .stl, .ply, .unreal, and .max formats for rendering, simulation, and game development.
Price: $10

Texture: Yes
Material: Yes
Download the Opel Astra 2008 3D Model featuring clean geometry, realistic detailing, and a fully modeled interior. Includes .blend, .fbx, .obj, .glb, .stl, .ply, .unreal, and .max formats for rendering, simulation, and game development.
Price: $10

Texture: Yes
Material: Yes
Download the Mercedes Benz Joaquin-007 3D Model featuring clean geometry, realistic detailing, and a fully modeled interior. Includes .blend, .fbx, .obj, .glb, .stl, .ply, .unreal, and .max formats for rendering, simulation, and game development.
Price: $19.99
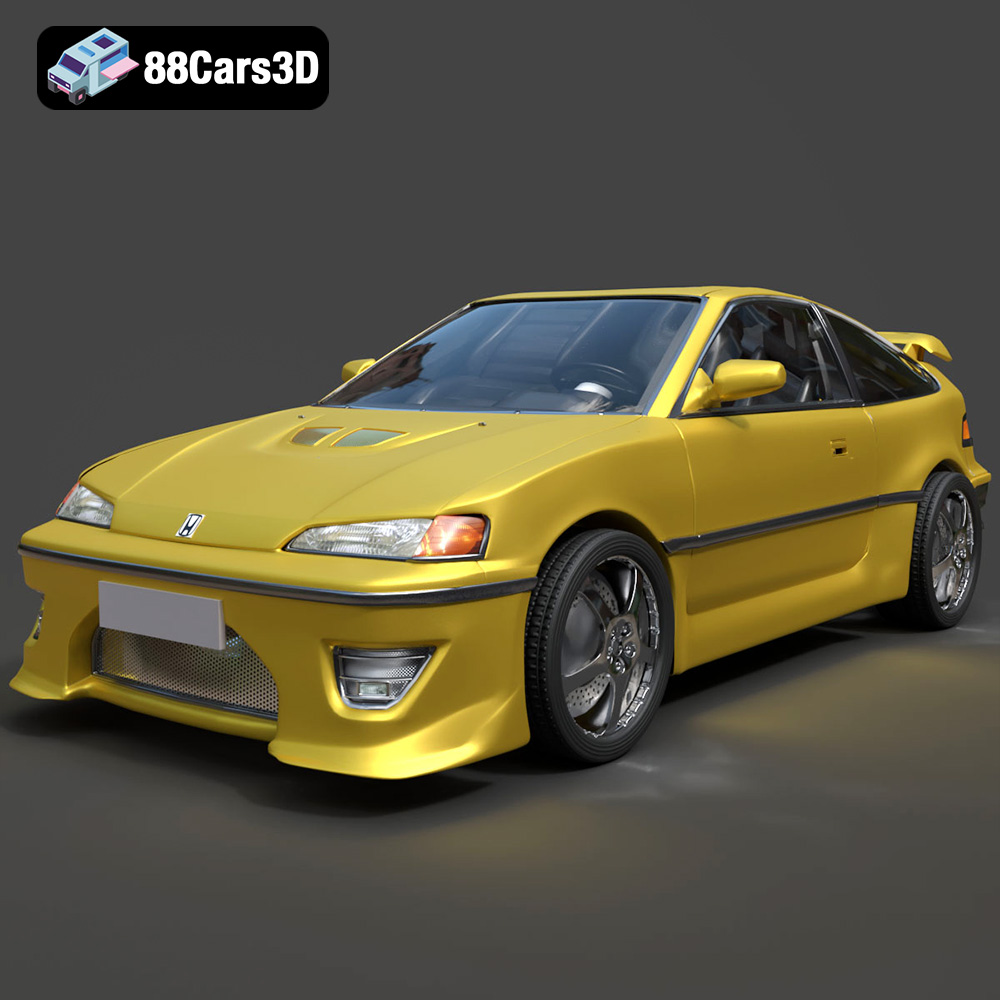
Texture: Yes
Material: Yes
Download the Honda CRX 1980 3D Model featuring clean geometry, realistic detailing, and a fully modeled interior. Includes .blend, .fbx, .obj, .glb, .stl, .ply, .unreal, and .max formats for rendering, simulation, and game development.
Price: $11.99
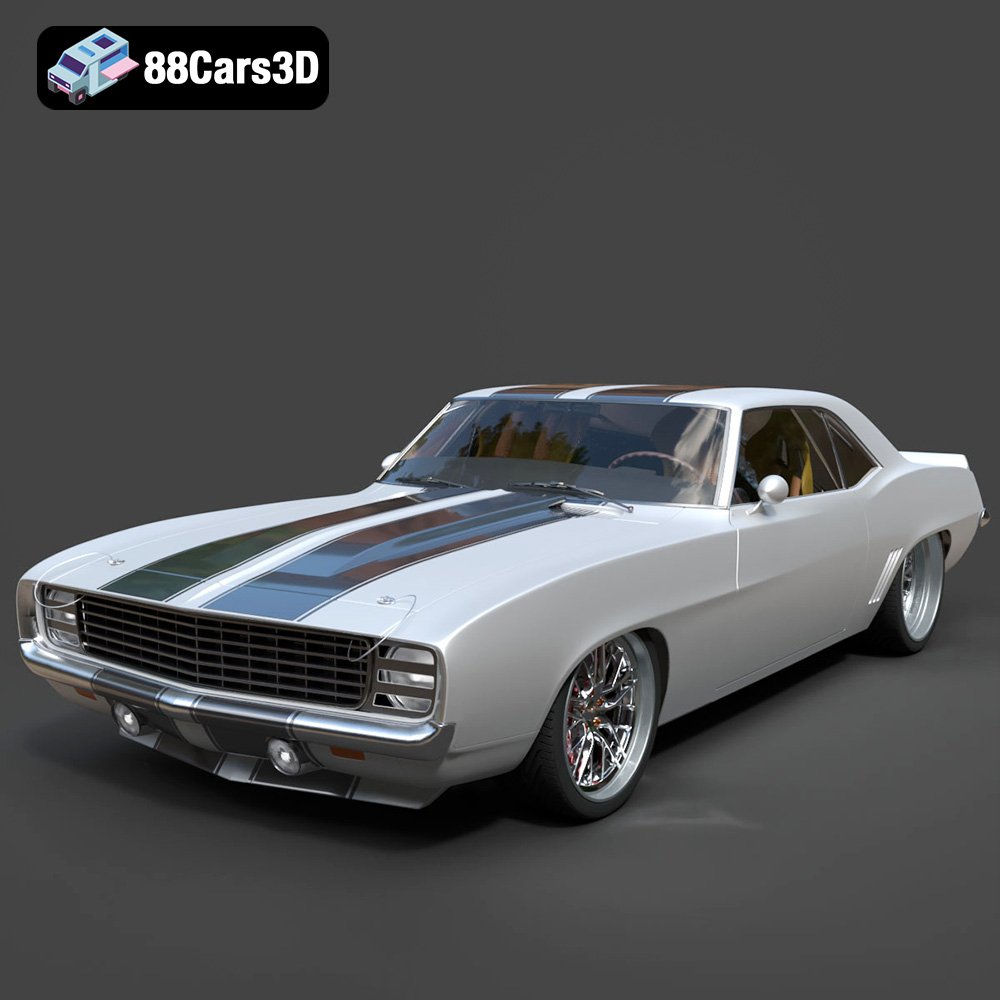
Texture: Yes
Material: Yes
Download the Chevrolet Camaro 69 Pro-007 3D Model featuring classic muscle car design and custom performance aesthetics. Includes .blend, .fbx, .obj, .glb, .stl, .ply, .unreal, and .max formats for rendering, simulation, and game development.
Price: $20.79

Texture: Yes
Material: Yes
Download the Honda Fit 2008 3D Model featuring a compact, versatile design with detailed exterior and interior components. Includes .blend, .fbx, .obj, .glb, .stl, .ply, .unreal, and .max formats for rendering, simulation, and game development.
Price: $10.79
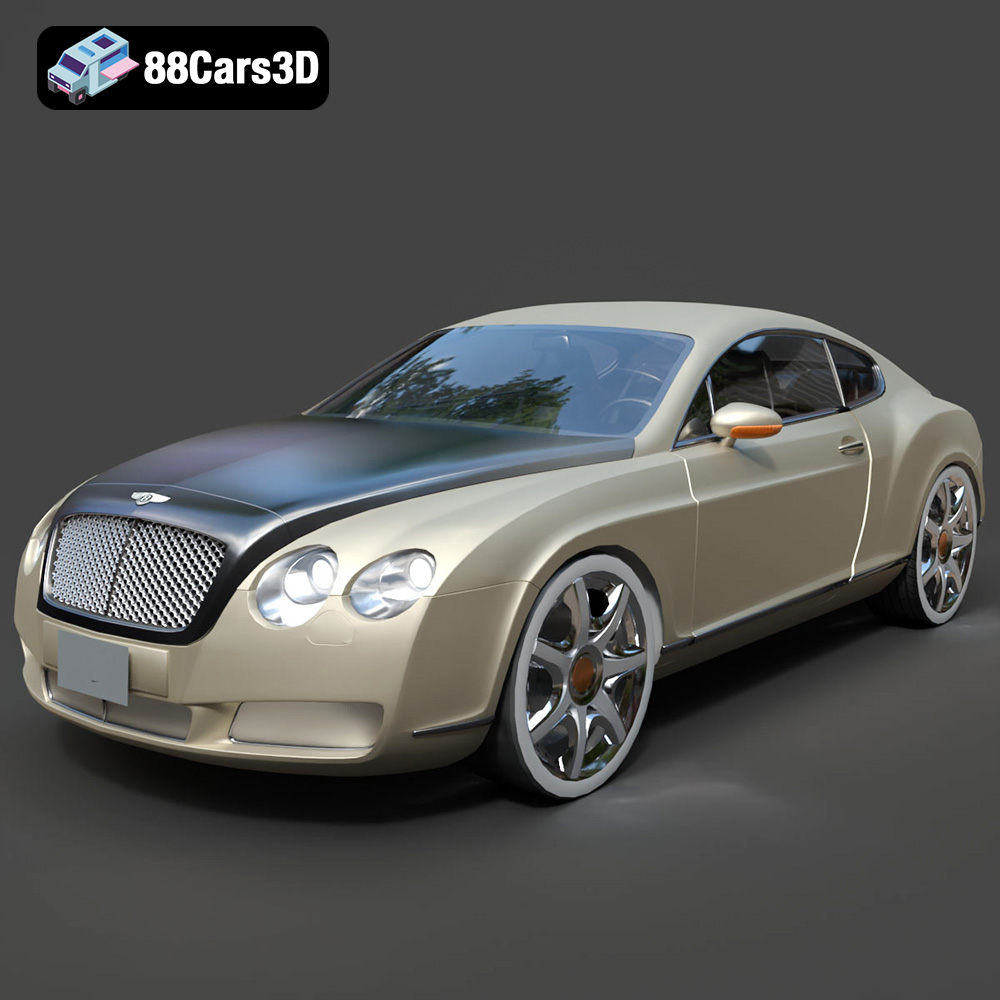
Texture: Yes
Material: Yes
Download the Bentley Continental GT-002 3D Model featuring a luxurious grand touring design and high-quality details. Includes .blend, .fbx, .obj, .glb, .stl, .ply, .unreal, and .max formats for rendering, simulation, and game development.
Price: $20.79

