Get 20% OFF All Premium 3D & STL Models!

“`html
The allure of 3D printing a full-scale classic car or a highly detailed replica might seem like a distant dream, but with additive manufacturing, it’s becoming an increasingly tangible reality. However, the sheer size of such ambitious projects presents a significant hurdle: most 3D printers have build volumes that are minuscule compared to a life-sized vehicle. Even detailed 1:18 scale models can exceed typical print bed dimensions. This is where the art and science of splitting large 3D models into manageable parts come into play. This comprehensive guide will walk you through the essential techniques, software considerations, and best practices for successfully dividing complex 3D car models into printable sections, ensuring a smooth workflow from digital design to a physically stunning finished product. We’ll delve into the intricacies of mesh preparation, segmentation strategies, and the crucial step of preparing these individual parts for successful slicing and printing, ultimately enabling you to tackle larger-than-life automotive creations.
Whether you’re aiming for a desktop display piece or a truly impressive, large-format replica, mastering the art of model splitting is a fundamental skill. We’ll cover everything from understanding the underlying principles of 3D model geometry to practical tips for ensuring seamless assembly of your printed components. Get ready to transform dauntingly large digital assets into a series of achievable, high-quality prints, and discover how readily available resources, such as the meticulously prepared STL files on 88cars3d.com, can serve as excellent starting points for your cutting-edge projects.
The primary reason for splitting large 3D car models is driven by the physical limitations of 3D printers. Standard desktop FDM (Fused Deposition Modeling) printers typically offer build volumes ranging from 200x200x200 mm to 400x400x400 mm, while resin printers often have even smaller build platforms, especially for high-resolution printing. A full-size car model, even at a significantly reduced scale like 1:18, can easily measure over 500 mm in length. Attempting to print such a model as a single piece would be impossible without specialized, industrial-scale machinery.
Beyond mere size constraints, splitting offers several other critical advantages:
When you download a detailed car model, especially one designed for larger prints or even conceptualized as a full-size replica, its dimensions are often far beyond what a consumer-grade 3D printer can handle. Imagine trying to print a 1:10 scale Lamborghini Aventador, which can be around 4.6 meters long in real life. Even scaled down to 1:10, it’s still 460 mm in length. Most printers cannot accommodate this in a single print. Splitting the model into sections—perhaps the hood, doors, fenders, roof, and chassis—allows each component to fit within the printer’s build volume. This segmentation strategy is the cornerstone of making large-scale 3D printing projects feasible and cost-effective.
Printing a massive object in one go can also lead to significant print failures. Long print times increase the risk of power outages, filament run-outs, nozzle clogs, or print bed adhesion issues. If a failure occurs midway through a multi-day print, the entire object is lost. By splitting the model, you create smaller, more manageable prints. A failure on a smaller part is less catastrophic and easier to reprint. Furthermore, splitting allows for strategic orientation of individual parts on the print bed to minimize support material, optimize layer line visibility, and reduce overall print time and material consumption for each component.
Even if a printer *could* theoretically print a large model in one piece, the resulting object might be fragile, difficult to handle, and incredibly challenging to post-process. Sanding, filling, and painting a monolithic, large print can be cumbersome. By splitting the model, you can print individual components with specific orientations that make sanding and achieving smooth surfaces easier. You can also prime and paint sections separately before final assembly, leading to a much cleaner and more professional finish. Think of building with LEGOs; small, manageable bricks are assembled into a larger structure. Model splitting follows a similar, albeit more sophisticated, principle.
The process of splitting a 3D model requires specialized software capable of manipulating complex mesh data. While many 3D modeling programs can perform this task, some are more user-friendly and efficient for mesh-based operations. The choice of software often depends on your existing skill set and the complexity of the model.
Autodesk Meshmixer is a powerful, free tool specifically designed for working with 3D meshes. It excels at tasks like cutting, slicing, and repairing models. Its “Inspector” tool can automatically detect and fix errors, while the “Slice” and “Plane Cut” tools allow for precise segmentation. You can define cutting planes, add alignment pins or interlocking joints, and even sculpt surfaces where cuts are made. Meshmixer is an indispensable tool for preparing models for printing.
Autodesk Netfabb, while more professional and often a paid software, offers advanced capabilities for slicing, analysis, and preparation of models for additive manufacturing. Its automated slicing and segmentation features can be incredibly efficient for complex geometries. For users working with extremely large or intricate models, Netfabb provides robust tools for managing the segmentation process, including complex parting lines and integrated assembly planning.
Blender is a free, open-source 3D creation suite with extensive modeling, sculpting, and rendering capabilities. While not solely a mesh editor, it offers powerful tools for manipulating meshes. You can use boolean operations (difference, union, intersect) with primitive shapes or custom cutting meshes to divide your car model. The “Bisect” tool is particularly useful for straight cuts. Blender’s flexibility makes it a great option if you’re already familiar with its interface or need to perform additional modifications before or after splitting.
Fusion 360, a powerful CAD/CAM software, is also capable of handling this task, especially if the original model was created in a CAD environment. You can use its “Split Body” command or create sketches and extrude them as cutting tools. Fusion 360 is particularly useful for engineering-minded users who may want to add precise interlocking features or ensure watertightness for complex assemblies.
Many modern slicer programs, such as Ultimaker Cura and PrusaSlicer, now include basic model splitting and cutting functionalities. These tools are often simpler and more accessible for users who primarily work within their slicer environment. You can typically select a model, choose a cutting plane (often aligned with the build plate or freely movable), and slice the model into two or more parts. While these tools may lack the advanced features of dedicated mesh editors (like automatic hole filling or complex surface sculpting), they are perfectly adequate for simple, planar cuts. For complex splits or models requiring intricate joining mechanisms, it’s often best to use a dedicated mesh editor first and then import the resulting parts into your slicer.
Successfully splitting a complex 3D car model involves a methodical workflow. It’s not just about cutting; it’s about ensuring the resulting parts are printable, printable, and seamlessly re-assemblable. This process typically involves several key stages, from initial assessment to final file preparation.
Before you even open your chosen software, take time to analyze the 3D model. Identify the natural break points of the car. Doors, hood, trunk, roof, fenders, bumpers, and chassis sections are common candidates. Consider the scale of your final print and the dimensions of your 3D printer’s build plate. Think about how the parts will connect. Will they simply butt together? Will you need to design in alignment pins, slots, or mounting points? This planning phase prevents wasted time and ensures a more cohesive final assembly. For example, splitting a classic muscle car might involve separating the body panels from the chassis, then further dividing the body into sections like the roof, fenders, and doors.
Using your chosen software (e.g., Meshmixer, Blender), the core of the process is making the actual cuts. A common method is using a “plane cut.” This involves defining a flat plane that intersects the model. The software then splits the mesh along this plane. For cleaner cuts, especially on curved surfaces, you might need to perform additional mesh smoothing or sculpting around the cut area afterward. If you’re using software like Blender or Fusion 360, boolean operations can be employed. This involves creating a separate object (often a cube or plane) and using it to subtract material from the car model, effectively “cutting” it. Ensure that after each cut, the newly created surfaces are “watertight” – meaning they form a closed volume with no holes.
Simply cutting a model often leaves flat, mating surfaces that can be difficult to align accurately during assembly. To address this, consider adding features that facilitate precise alignment and joining. Common methods include:
These features should be designed with your printer’s capabilities in mind, considering minimum feature sizes and overhang angles.
After cutting and adding assembly features, it’s crucial to ensure that each resulting part is a “manifold” or “watertight” mesh. This means it has no holes, inverted faces, or non-manifold edges, which are common issues after boolean operations or complex cuts. Use the “Inspector” tool in Meshmixer or similar repair functions in other software to identify and fix these errors. Once each part is confirmed as watertight and printable, export each component as a separate STL file. Name them logically (e.g., `car_model_hood.stl`, `car_model_door_left.stl`). Platforms like 88cars3d.com provide meticulously prepared STL files that are often already optimized for splitting and printing, saving you significant preparation time.
Once your large car model has been successfully split into individual, printable parts, the next critical step is preparing each component for printing using your slicer software. This involves optimizing settings to achieve the best possible print quality, strength, and surface finish, while also considering the unique challenges of assembling multiple pieces.
The orientation of each part on the print bed is arguably the most important setting. For car models, aim to orient parts to:
Experiment with different orientations. Sometimes a slight tilt can dramatically reduce the need for supports while maintaining good adhesion.
When printing multiple parts for a larger assembly, you might need to balance detail, strength, and print time. For exterior body panels where aesthetics are paramount, a smaller layer height (e.g., 0.1 mm to 0.15 mm) will yield smoother surfaces with less visible layer lines. However, this will significantly increase print time.
For internal chassis components or parts that require more structural integrity, you can opt for a larger layer height (e.g., 0.2 mm to 0.3 mm) to speed up printing. Infill density and pattern also play a crucial role. For most car model parts, 10-20% infill with a standard pattern like grid or gyroid is sufficient for display models. For structural parts, you might increase infill density to 30-50% or use stronger patterns like cubic. Print speed should be adjusted based on your material and printer. For detailed parts with small features, printing slower (e.g., 40-50 mm/s) is recommended. For larger, less detailed parts, you might be able to print faster (e.g., 60-80 mm/s) without sacrificing quality.
Supports are essential for printing overhangs and bridges. For split car model parts, strategic support generation is key to achieving clean surfaces and easy post-processing.
After printing, carefully remove supports using pliers, flush cutters, or hobby knives. Be patient, especially around delicate areas.
The journey doesn’t end once the parts are off the print bed. The post-processing and assembly stages are critical for transforming a collection of 3D printed components into a cohesive, high-quality model. This is where the planning during the segmentation phase truly pays off.
Begin by removing all support material. Use flush cutters for clean breaks and a hobby knife or small files for tidying up any remaining nubs or rough patches. For FDM prints, layer lines are often the most prominent imperfection. Sanding is the primary method for smoothing these out. Start with a coarse grit sandpaper (e.g., 150-220 grit) to remove major imperfections and quickly reduce layer lines. Progress to finer grits (e.g., 400, 800, 1200, and even higher) to achieve a smooth, paint-ready surface. For resin prints, you’ll typically need less sanding, perhaps just a light pass with fine-grit sandpaper or a quick wash with isopropyl alcohol (IPA) to remove any uncured resin.
Filling is often necessary to hide layer lines or small gaps. Use modeling putty, Bondo, or even 3D printing-specific fillers. Apply thinly, let it cure, and then sand again. Repeat this process until you achieve the desired level of smoothness. For an ultra-smooth finish, consider using automotive filler primers, which can be sanded repeatedly to reveal low spots.
The method you use to join the parts depends on the scale, material, and desired durability of your model. For PLA and PETG, cyanoacrylate (super glue) is a popular choice for its fast bonding time. Two-part epoxy adhesives provide a stronger, more durable bond and offer more working time for precise alignment. For larger models or structural components, consider using the built-in screw bosses or designing channels for metal rods or dowels to reinforce the joints.
If you designed alignment pins and slots, ensure they fit snugly. You might need to sand them slightly for a perfect fit. Apply adhesive to the mating surfaces and carefully join the parts, using clamps or tape to hold them in place while the adhesive cures. For complex assemblies, it’s often best to assemble in sub-assemblies (e.g., build the entire chassis first, then attach the body panels) rather than trying to join everything at once.
Painting is where your split car model truly comes to life. After all parts are joined and surfaces are perfectly smooth, apply a primer. This helps the paint adhere better and reveals any imperfections you might have missed. For automotive models, using acrylic paints or automotive spray paints will yield the best results. Apply multiple thin coats rather than one thick one to avoid drips and ensure even coverage.
Consider masking off different sections for multi-color paint schemes (e.g., body color, trim, windows). For windows, you can paint them black or a dark tint, or use clear materials like clear PETG or acrylic sheets cut to size and glued in place. Decals and weathering can add the final layer of realism. With careful planning, segmentation, printing, and post-processing, you can create breathtakingly detailed and large-scale 3D printed car models that would be impossible to achieve otherwise.
The ability to split large 3D car models into printable parts is a transformative skill for any enthusiast or professional in the additive manufacturing space. It liberates you from the constraints of build volume, opening up a world of possibilities for creating impressively scaled replicas, functional prototypes, or even artistic installations. By understanding the necessity of segmentation, mastering the use of appropriate software tools like Meshmixer or Blender, and meticulously planning your cuts and assembly features, you lay the groundwork for success. The detailed workflow, from initial assessment and strategic cutting to adding alignment aids and ensuring mesh integrity, is crucial for a seamless transition from digital file to physical components.
Furthermore, effective slicing strategies—optimizing part orientation, carefully managing layer heights, infill, and support structures—ensure that each individual piece prints flawlessly and contributes to the overall quality of the final assembly. The post-processing and assembly stages, involving diligent sanding, precise joining with appropriate adhesives, and skilled painting, are where your vision truly materializes. Whether you are downloading high-quality, print-ready STL files from specialized marketplaces like 88cars3d.com or working with your own designs, the principles of splitting and preparing models remain paramount. Embrace these techniques, experiment with your tools, and don’t shy away from complex projects. The satisfaction of assembling a large, detailed 3D printed car model, piece by carefully printed piece, is an unparalleled reward that pushes the boundaries of what’s achievable with 3D printing.
“`

Meta Description:
Texture: Yes
Material: Yes
Download the Cadillac CTS-V Coupe 3D Model featuring detailed exterior styling and realistic interior structure. Includes .blend, .fbx, .obj, .glb, .stl, .ply, .unreal, and .max formats for rendering, simulation, AR VR, and game development.
Price: $13.9
Texture: Yes
Material: Yes
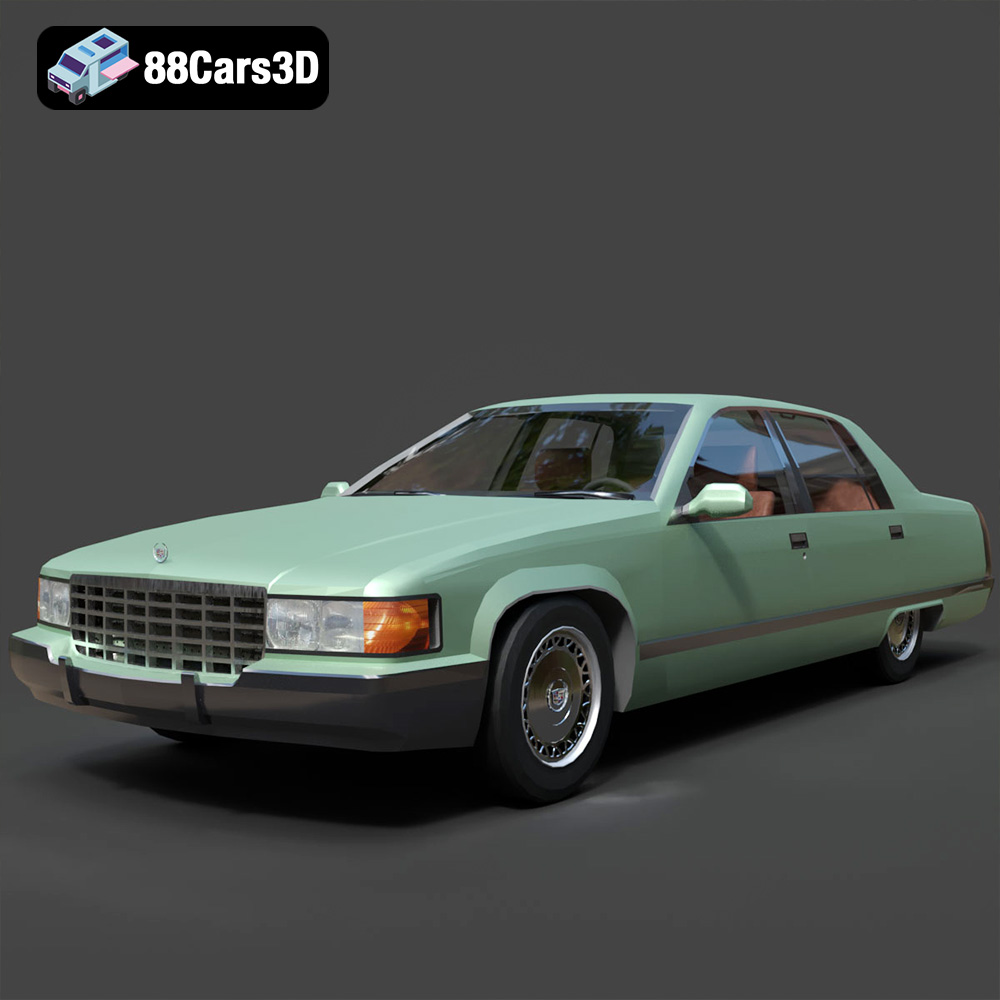
Download the Cadillac Fleetwood Brougham 3D Model featuring its iconic classic luxury design and detailed exterior and interior. Includes .blend, .fbx, .obj, .glb, .stl, .ply, .unreal, and .max formats for rendering, simulation, and game development.
Price: $10.79
Texture: Yes
Material: Yes
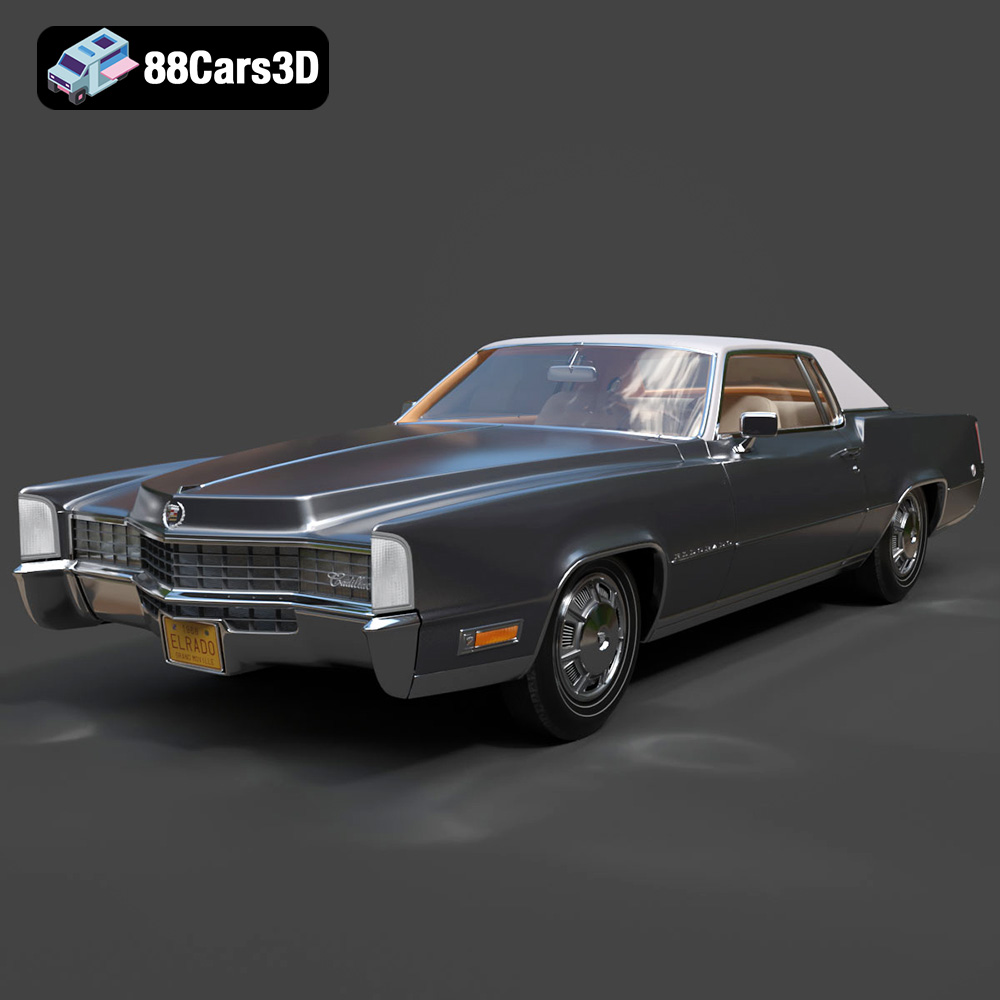
Download the Cadillac Eldorado 1968 3D Model featuring its iconic elongated body, distinctive chrome accents, and luxurious interior. Includes .blend, .fbx, .obj, .glb, .stl, .ply, .unreal, and .max formats for rendering, simulation, and game development.
Price: $20.79

Texture: Yes
Material: Yes
Download the Cadillac CTS SW 2010 3D Model featuring a detailed exterior, functional interior elements, and realistic materials. Includes .blend, .fbx, .obj, .glb, .stl, .ply, .unreal, and .max formats for rendering, simulation, and game development.
Price: $10.79
Texture: Yes
Material: Yes
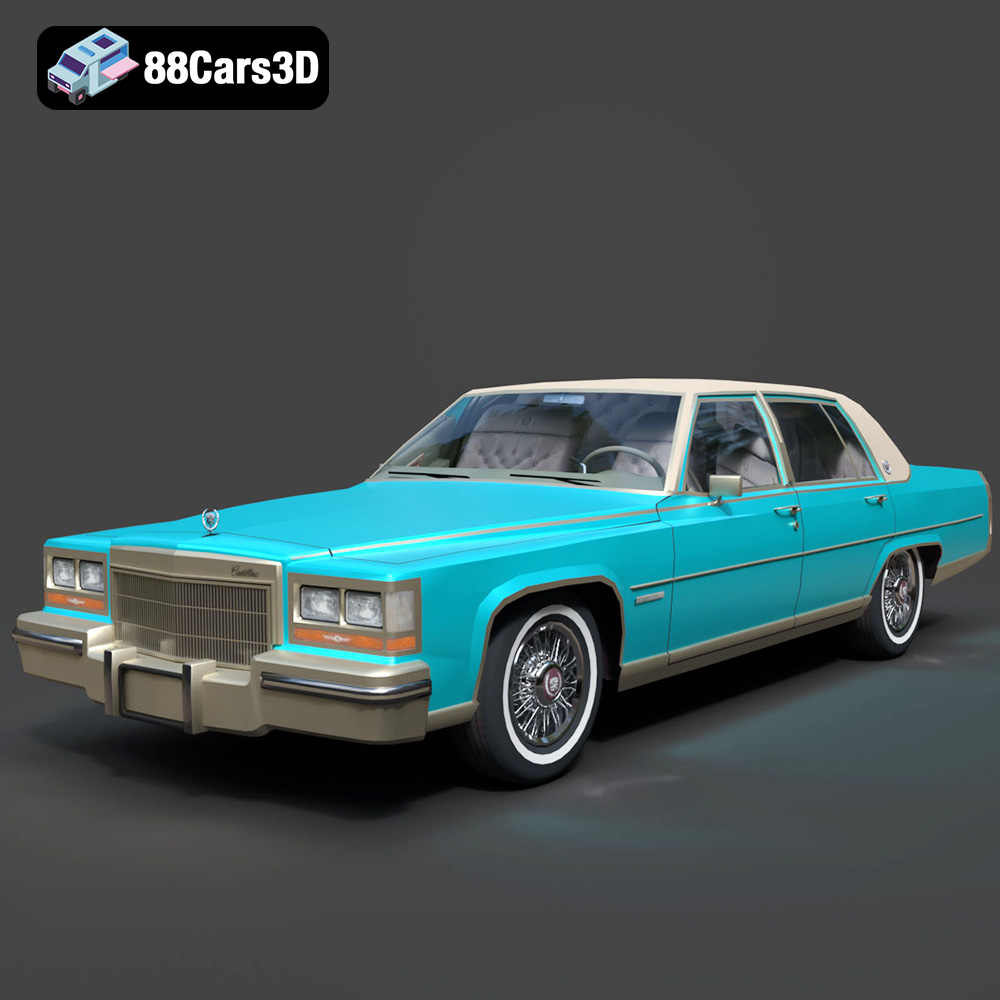
Download the Cadillac Fleetwood Brougham 1985 3D Model featuring its iconic classic luxury design and detailed craftsmanship. Includes .blend, .fbx, .obj, .glb, .stl, .ply, .unreal, and .max formats for rendering, simulation, and game development.
Price: $10.79
Texture: Yes
Material: Yes
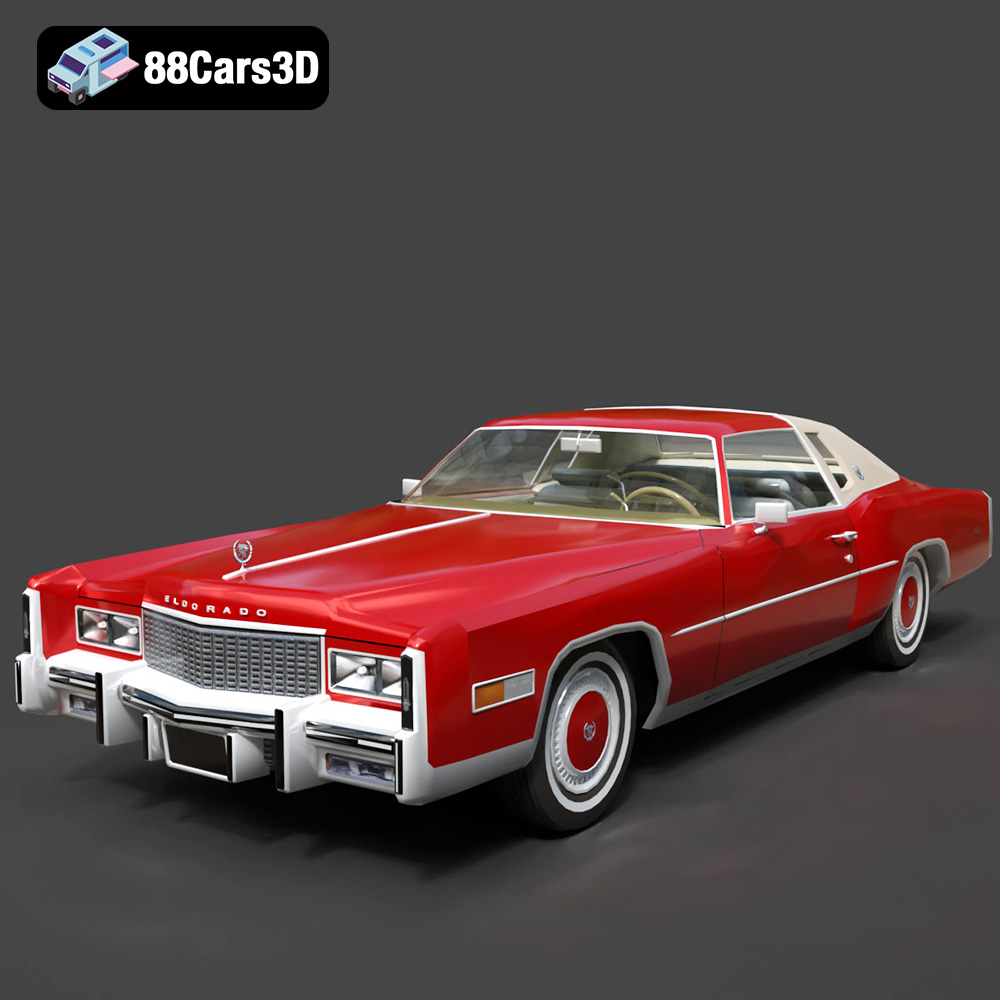
Download the Cadillac Eldorado 1978 3D Model featuring accurately modeled exterior, detailed interior, and period-correct aesthetics. Includes .blend, .fbx, .obj, .glb, .stl, .ply, .unreal, and .max formats for rendering, simulation, and game development.
Price: $10.79
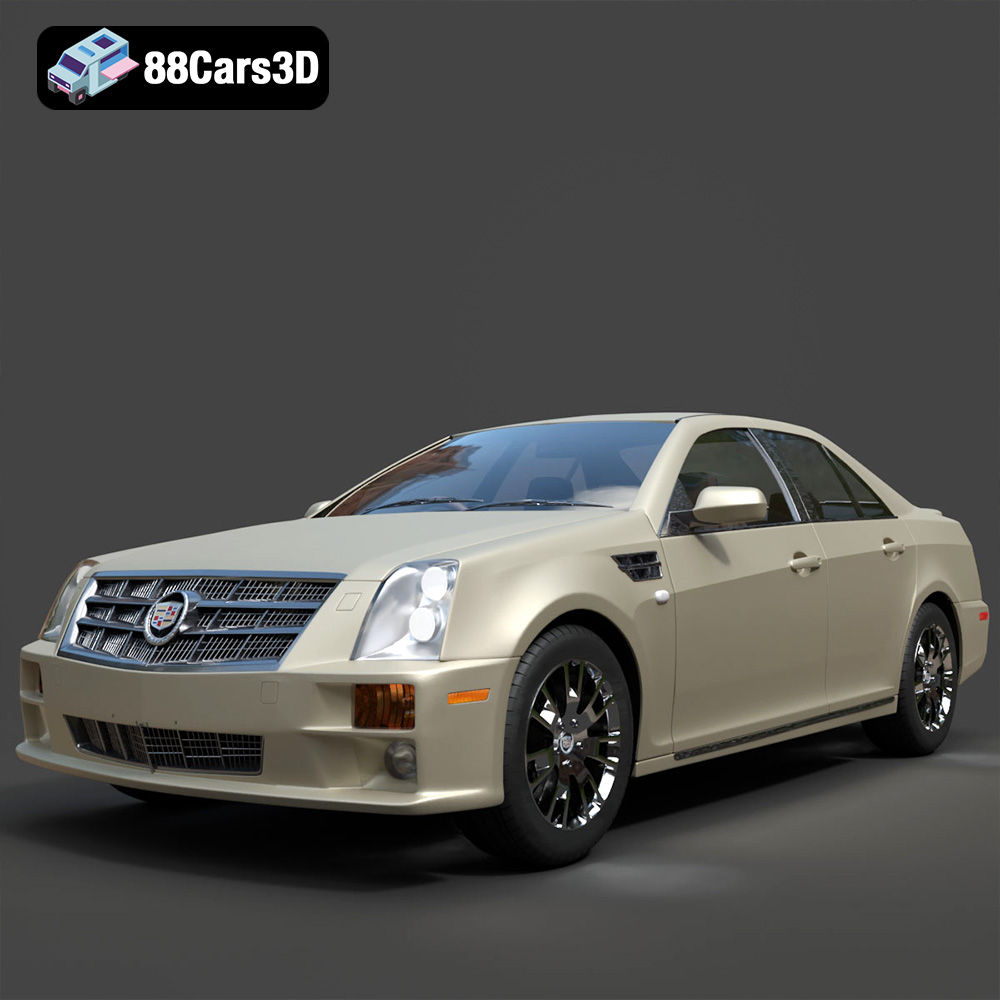
Texture: Yes
Material: Yes
Download the Cadillac STS-005 3D Model featuring a detailed exterior and interior. Includes .blend, .fbx, .obj, .glb, .stl, .ply, .unreal, and .max formats for rendering, simulation, and game development.
Price: $22.79
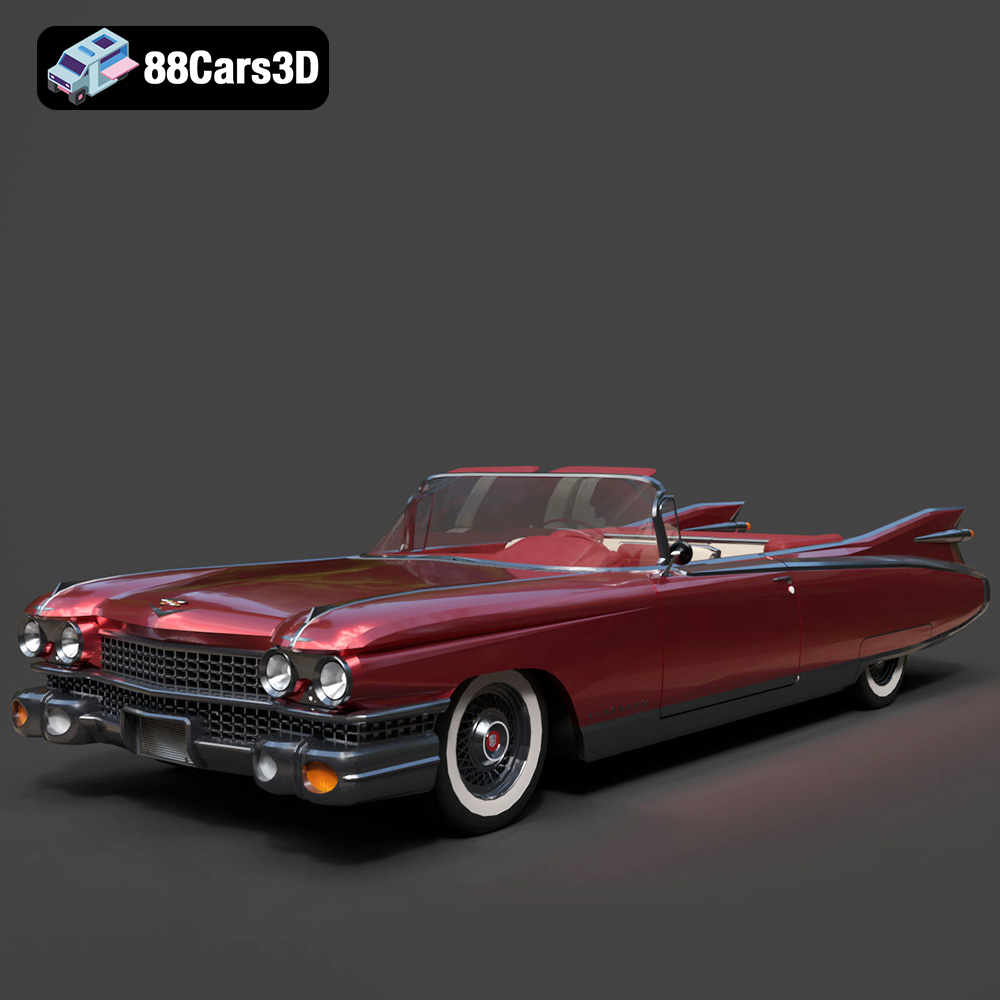
Texture: Yes
Material: Yes
Download the Cadillac Eldorado Convertible (1959) 3D Model featuring iconic fins, luxurious chrome details, and a classic vintage design. Includes .blend, .fbx, .obj, .glb, .stl, .ply, .unreal, and .max formats for rendering, simulation, and game development.
Price: $20.79

Texture: Yes
Material: Yes
Download the Cadillac DTS-005 3D Model featuring its iconic luxury design, detailed interior, and realistic exterior. Includes .blend, .fbx, .obj, .glb, .stl, .ply, .unreal, and .max formats for rendering, simulation, and game development.
Price: $10.79

Texture: Yes
Material: Yes
Download the Buick LeSabre 1998 3D Model featuring a classic American full-size sedan design. Includes .blend, .fbx, .obj, .glb, .stl, .ply, .unreal, and .max formats for rendering, simulation, and game development.
Price: $10.79

