Get 20% OFF All Premium 3D & STL Models!

In the realm of real-time rendering, nothing enhances immersion quite like convincingly simulated natural elements. For automotive visualization, game development, and architectural walkthroughs, the presence of dynamic, realistic water can transform a static scene into a living, breathing environment. From the subtle ripples of a tranquil lake reflecting a showroom vehicle to the dramatic splashes of a rally car traversing a flooded track, water plays a pivotal role in visual storytelling.
Unreal Engine’s Water System provides a robust and highly customizable framework for creating breathtaking aquatic environments with remarkable ease and performance. Designed to integrate seamlessly with the engine’s powerful rendering features like Lumen and Nanite, this system empowers artists and developers to achieve Hollywood-level fidelity without sacrificing real-time interactivity. Whether you’re crafting an open-world game, a high-fidelity automotive configurator, or a stunning cinematic sequence, mastering the Water System is essential for elevating your projects.
This comprehensive guide will dive deep into Unreal Engine’s Water System, exploring its foundational components, advanced material creation, dynamic interactions, and crucial optimization techniques. We’ll cover everything from initial setup and material customization to integrating with vehicle physics and leveraging the system for virtual production. By the end, you’ll possess the knowledge to infuse your Unreal Engine scenes with stunningly realistic water that captivates your audience and brings your automotive visions to life.
Unreal Engine’s Water System, introduced in version 4.26, represents a significant leap forward in generating complex water bodies. Prior to this, developers often relied on custom shader networks or third-party plugins, which could be challenging to optimize and integrate. The built-in Water System offers a unified, performance-oriented solution, making it a cornerstone for creating realistic aquatic environments. It’s built around a series of Water Body Actors that automatically generate a customizable water mesh, complete with physics, buoyancy, and dynamic rendering features.
The system is designed for scalability, allowing you to create anything from small puddles and winding rivers to vast oceans. Its core strength lies in its procedural generation and spline-based editing, which enables artists to quickly shape water bodies to fit complex terrains. This drastically reduces the manual effort required for level design and ensures that water seamlessly conforms to your landscape. Furthermore, the Water System integrates deeply with Unreal Engine’s lighting and rendering pipelines, particularly with Lumen for stunning real-time global illumination and reflections, making it indispensable for high-fidelity visualizations.
To begin using the Water System, you first need to enable the “Water” plugin in your Unreal Engine project (Edit > Plugins > Search “Water” > Enable). After restarting the editor, you’ll gain access to several powerful Water Body Actors. The primary actors include:
Once placed, these actors automatically generate a water mesh. You can then sculpt the water’s shape and interaction with the surrounding environment using their spline points (for rivers and lakes) or by painting landscape layers that interact with the water. The material applied to these water bodies is a highly optimized, procedural PBR material instance that exposes numerous parameters for fine-tuning its appearance.
A crucial aspect of creating believable water scenes is ensuring the water interacts realistically with your environment. The Water System simplifies this significantly by offering robust landscape integration. When you place a Water Body Actor, it automatically attempts to “carve” into the landscape or conform to its contours. For Water Body Rivers and Lakes, the spline points allow you to not only define the path but also influence the depth and width of the water body. Moving these points in Z-axis will adjust the water level, and the system dynamically updates the landscape to create a natural shoreline.
You can also use the Landscape editor’s “Water” brush mode (accessible when the Water plugin is active) to manually paint areas where you want the water to interact with the landscape. This allows for precise control over features like riverbeds, shorelines, and underwater terrain, ensuring a seamless blend between your water and terrestrial elements. The system generates a specialized mesh for the water surface and often a separate mesh for the underwater volume, allowing for distinct visual effects both above and below the surface. This tight integration ensures that your automotive visualization scenes, whether a car is driving by a scenic lake or parked on a damp riverside, feature consistently realistic environments.
The visual fidelity of your water largely hinges on its material properties. Unreal Engine’s Water System comes with highly advanced, pre-configured PBR materials that simulate complex optical phenomena like reflection, refraction, absorption, and foam. These materials are not just static textures; they are dynamic, procedural shaders that respond to various environmental factors, including wind direction, wave height, and depth. Achieving realism requires a deep understanding of these parameters and how to leverage them within the Material Editor.
For artists working with assets from platforms like 88cars3d.com, ensuring that your automotive models interact convincingly with water means paying close attention to these material details. A glossy car finish will reflect the water differently than a matte one, and the realism of the water itself directly impacts the perceived realism of the reflections. The Water System’s default material instances provide a wealth of exposed parameters, allowing you to customize everything from water color and turbidity to wave frequency, foam intensity, and caustic projections, all without diving into complex shader code initially.
The default water material instances provided by the Water System are incredibly versatile. You can find these by selecting your Water Body Actor and navigating to its Details panel, under the “Water Material” section. Here, you’ll encounter a myriad of parameters to tweak:
For more advanced users, you can duplicate the default water material and open it in the Material Editor. Here, you can delve into the node network, introducing custom textures, modifying calculations, or even integrating your own physics-driven material effects. This allows for truly unique water surfaces, perhaps a magical, glowing river or a highly stylized water body for specific artistic visions.
Real-time global illumination and reflections are paramount for realistic water, and Unreal Engine’s Lumen system is a game-changer in this regard. Lumen accurately calculates indirect lighting and reflections, meaning your water surfaces will dynamically reflect the surrounding environment, sky, and even distant objects with stunning fidelity. When Lumen is enabled (Project Settings > Rendering > Global Illumination & Reflections), the Water System automatically benefits from its capabilities.
For water, Lumen provides:
To maximize Lumen’s impact on your water, ensure your scene includes a Sky Light (set to “Stationary” or “Movable” for real-time updates) and a Directional Light representing the sun. Adjusting the “Source Angle” of your Directional Light can create softer or sharper specular highlights on the water, greatly affecting its visual punch. Furthermore, ensuring your scene’s post-processing volume includes appropriate settings for reflections and global illumination will further enhance the water’s appearance, making every ripple and wave a testament to the power of real-time rendering.
Realistic water isn’t just about its static appearance; it’s about its dynamic interaction with the environment and any objects within it. Unreal Engine provides powerful tools like Niagara for particle effects and a built-in Buoyancy Component to simulate these interactions. When a vehicle from 88cars3d.com drives through water, or a character steps into a puddle, the resulting splashes, ripples, and surface disturbances are crucial for convincing realism, especially in automotive visualization.
Niagara, Unreal Engine’s advanced particle system, is the go-to solution for generating these dynamic visual effects. It allows for highly customizable and performant particle simulations, from subtle mist over a lake to dramatic splashes created by a high-speed vehicle. Coupled with the Water System’s native Buoyancy Component, you can create a truly interactive aquatic experience, making your virtual environments feel alive and responsive.
Creating interactive water effects involves a combination of Blueprint visual scripting and Niagara particle systems. The goal is often to generate ripples, splashes, and foam where objects interact with the water surface. Here’s a common workflow:
To ensure optimal performance, especially for scenarios with multiple interactive elements or large water bodies, manage the lifespan of your Niagara emitters and optimize their particle counts. Utilizing GPU particles where appropriate can significantly improve performance for dense particle effects. For further technical details on Niagara, refer to the official Unreal Engine documentation at https://dev.epicgames.com/community/unreal-engine/learning.
For automotive visualization, having vehicles realistically float, drift, and create wakes in water is a major step towards believability. The Water System provides a ‘Buoyancy’ component that can be added to any actor, including vehicles utilizing Unreal Engine’s Chaos Vehicle system.
To implement realistic buoyancy:
When combined with the Chaos Vehicle system, the Buoyancy Component will apply forces to the vehicle’s physics body, causing it to float, bob, and react to waves. This is vital for scenes involving off-road vehicles crossing rivers or showcasing amphibious concepts. Experiment with pontoon placement and density to achieve the desired floating behavior and stability, keeping in mind the actual weight distribution and design of your 3D car models.
While Unreal Engine’s Water System is highly optimized, realistic water is inherently complex and can be resource-intensive due to its transparent nature, dynamic reflections, and refraction calculations. For high-fidelity automotive visualization and interactive applications, maintaining a smooth frame rate is critical. This necessitates a strategic approach to performance optimization, balancing visual quality with computational efficiency.
Overdraw, shader complexity, and the sheer number of elements contributing to water’s appearance can quickly impact performance. Especially when integrating high-detail 3D car models from a marketplace like 88cars3d.com, you want to ensure that the water doesn’t become a bottleneck, allowing the vehicles to shine. Understanding how to manage LODs, simplify shaders, and leverage Unreal Engine’s culling mechanisms is paramount for delivering a polished, performant experience across various platforms.
The Water System automatically generates a tessellated mesh for the water surface, and this mesh needs to be optimized based on its distance from the camera. The system inherently supports Levels of Detail (LODs) for its water meshes, but you can further fine-tune these settings:
r.Water.TessellationFactor) to scale with these settings.By carefully managing LODs, you ensure that the highest detail is only rendered where it’s most visible and impactful, minimizing unnecessary computations for distant or less important water surfaces. This approach is fundamental for maintaining a high frame rate without drastically compromising visual quality.
Transparency, a defining characteristic of water, is also one of its biggest performance killers due to overdraw. Overdraw occurs when multiple translucent surfaces are rendered on top of each other, requiring the GPU to process pixels multiple times. For water, this means every layer of refraction, reflection, and foam adds to the computational burden.
Strategies to combat overdraw and shader complexity for water include:
Effective optimization of water materials and rendering techniques is crucial for interactive experiences, especially when combining detailed automotive models with dynamic water. A well-optimized water system ensures that your scene remains performant, allowing artists to showcase the intricate details of vehicles from 88cars3d.com without performance hitches.
The integration of realistic water elevates automotive visualization beyond static renders, bringing dynamic environments to life. Whether showcasing a vehicle’s performance in challenging conditions or creating aesthetically pleasing backdrops for cinematic advertisements, the Unreal Engine Water System offers unparalleled opportunities. In virtual production workflows, water can be a critical element for creating immersive backgrounds on LED walls, demanding both visual fidelity and real-time performance.
For an automotive configurator, realistic wet surfaces can demonstrate how a car looks in different weather conditions. In a virtual showroom, a subtle water feature can add a touch of luxury. The versatility of the Water System makes it a powerful tool for automotive designers, marketing professionals, and virtual production teams alike, allowing them to craft compelling narratives and experiences around vehicles.
Dynamic water can dramatically enhance automotive scenes in several ways:
The key is to consider how water can tell a story about the vehicle, whether it’s through dynamic interaction or simply providing a beautiful, reflective environment.
For high-quality automotive cinematics, Unreal Engine’s Sequencer is indispensable. It allows you to orchestrate complex camera movements, character animations, and environmental changes, including dynamic water effects. The Water System integrates seamlessly with Sequencer:
In Virtual Production, especially with LED walls, realistic water is critical for creating convincing digital extensions of physical sets. Water rendered on an LED volume must seamlessly blend with foreground elements and respond accurately to virtual lighting. The Water System’s real-time capabilities and Lumen integration ensure that reflections and refractions on the digital water match the virtual camera’s perspective, minimizing visual discrepancies. This allows for immersive automotive shoots where a car can appear to be driving by a digital ocean or through a simulated rainstorm, all captured in-camera without extensive post-production.
Mastering the Unreal Engine Water System involves not just understanding its core features but also tackling more complex scenarios and effectively troubleshooting common issues. From creating intricate underwater environments to ensuring compatibility with various engine features and asset pipelines, advanced knowledge empowers you to push the boundaries of realism in your projects. Whether you’re developing an expansive open-world game or a highly detailed automotive experience, overcoming these challenges is key to delivering a polished final product.
Even with highly optimized assets from marketplaces like 88cars3d.com, integrating them into complex water scenes requires careful consideration. The interaction between vehicles, water physics, visual effects, and environmental rendering can present unique challenges. Addressing these proactively will save significant development time and ensure a smoother, more realistic user experience, allowing your detailed automotive models to interact flawlessly with dynamic water elements.
Beyond the surface, the Water System can also facilitate immersive underwater experiences. Achieving a convincing underwater look requires a combination of specialized materials, lighting, and post-processing:
Combining these elements effectively creates a cohesive and believable underwater world, enhancing the scope and realism of any scene where objects, including submerged parts of automotive models, interact with water.
Despite its robustness, the Water System can present several challenges:
r.Water.FixTransparentSorting).By understanding these common pitfalls and their solutions, you can efficiently troubleshoot and maintain the visual integrity and performance of your water-infused Unreal Engine projects.
The Unreal Engine Water System stands as a testament to the power of real-time rendering, offering artists and developers an incredibly robust and flexible toolset for creating visually stunning and dynamically interactive aquatic environments. From the tranquil reflections of a calm lake to the turbulent churn of a raging river, the system provides the means to infuse your scenes with a level of realism that was once confined to pre-rendered cinematics. Its seamless integration with core engine features like Lumen for global illumination, Niagara for dynamic effects, and the built-in Buoyancy Component for realistic physics interactions makes it an indispensable asset for any project.
Whether you’re developing an immersive open-world game, a high-fidelity automotive visualization, or a cutting-edge virtual production experience, mastering the Water System will significantly elevate your craft. We’ve explored everything from the foundational Water Body Actors and advanced PBR material customization to the critical aspects of performance optimization and tackling complex underwater scenarios. By leveraging these techniques, you can ensure that your water not only looks incredible but also runs efficiently, providing a smooth and captivating experience for your audience.
Experimentation is key. Dive into the various parameters, blend different techniques, and don’t be afraid to push the boundaries of what’s possible. Remember that realistic water complements high-quality assets. When sourcing automotive assets, platforms like 88cars3d.com offer optimized models that will truly shine in your dynamically lit and watery Unreal Engine scenes. So go forth, create mesmerizing water, and watch your Unreal Engine projects come to life with unparalleled realism.

Meta Description:
Texture: Yes
Material: Yes
Download the Cadillac CTS-V Coupe 3D Model featuring detailed exterior styling and realistic interior structure. Includes .blend, .fbx, .obj, .glb, .stl, .ply, .unreal, and .max formats for rendering, simulation, AR VR, and game development.
Price: $13.9
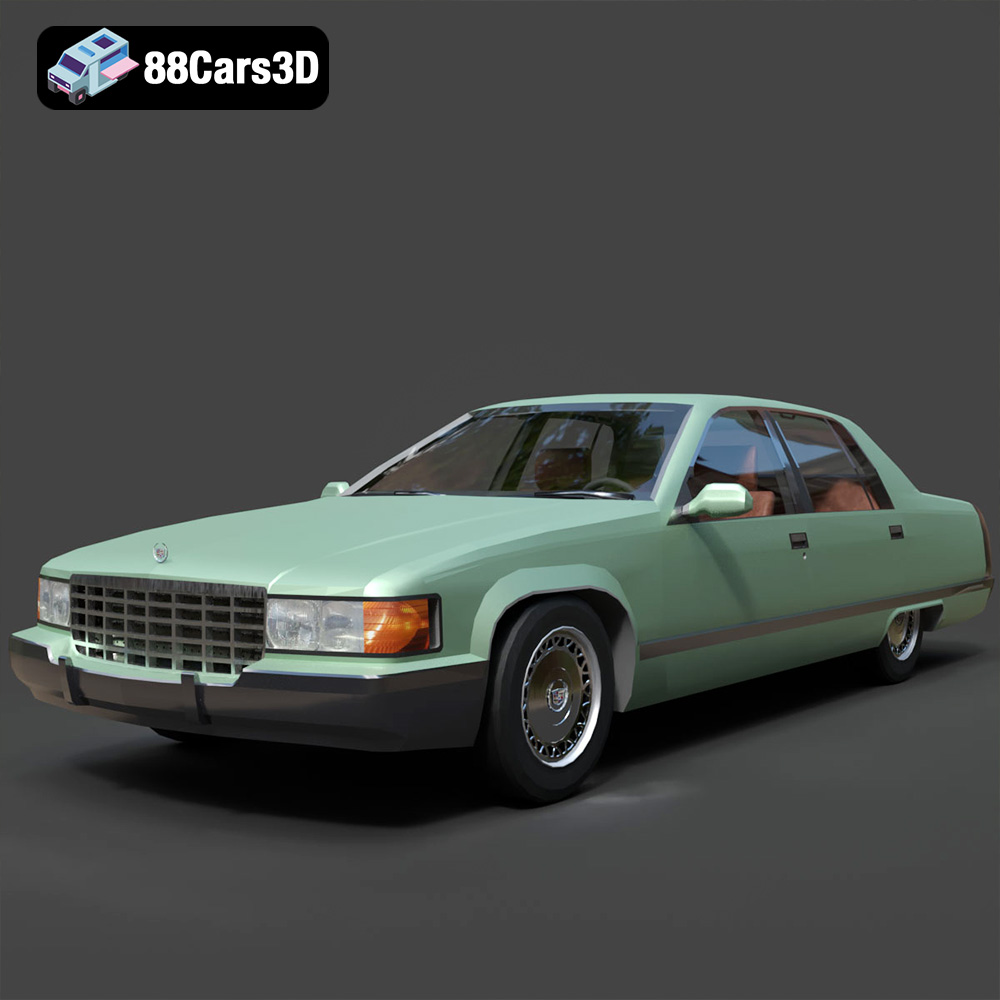
Texture: Yes
Material: Yes
Download the Cadillac Fleetwood Brougham 3D Model featuring its iconic classic luxury design and detailed exterior and interior. Includes .blend, .fbx, .obj, .glb, .stl, .ply, .unreal, and .max formats for rendering, simulation, and game development.
Price: $10.79
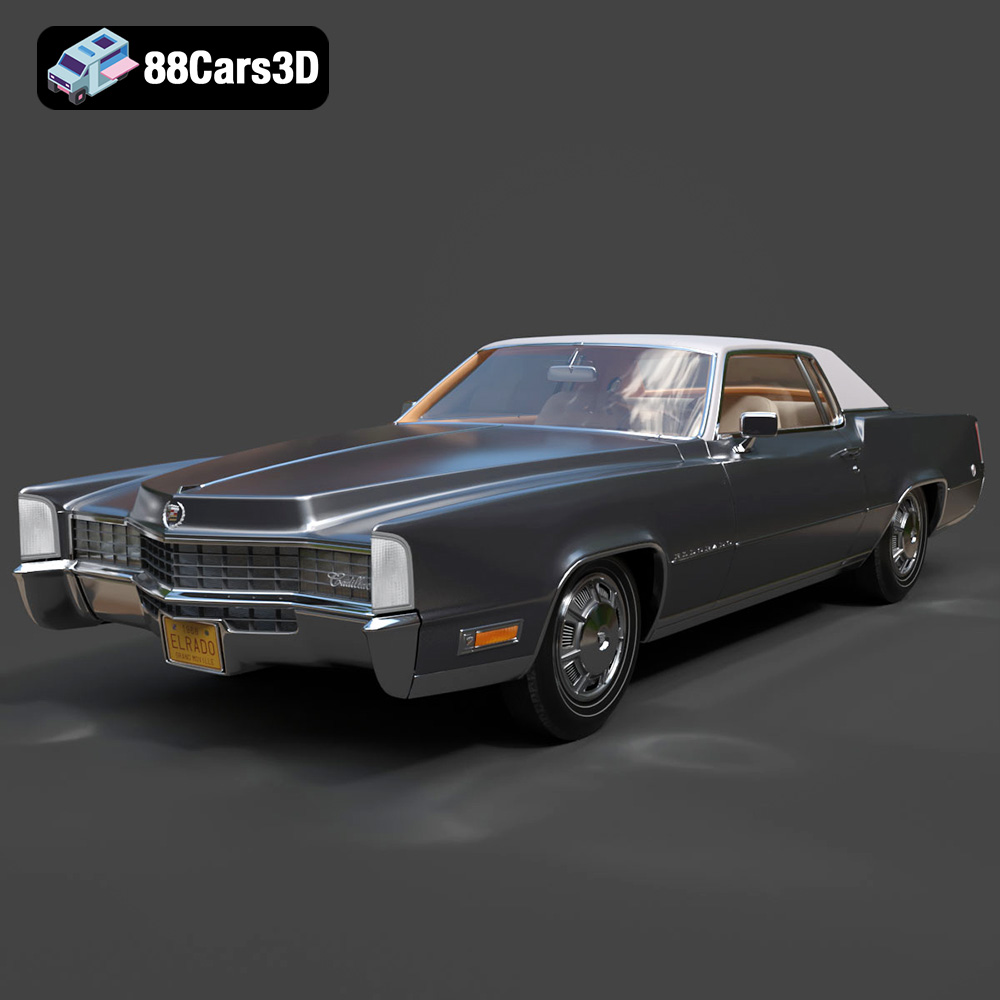
Texture: Yes
Material: Yes
Download the Cadillac Eldorado 1968 3D Model featuring its iconic elongated body, distinctive chrome accents, and luxurious interior. Includes .blend, .fbx, .obj, .glb, .stl, .ply, .unreal, and .max formats for rendering, simulation, and game development.
Price: $20.79

Texture: Yes
Material: Yes
Download the Cadillac CTS SW 2010 3D Model featuring a detailed exterior, functional interior elements, and realistic materials. Includes .blend, .fbx, .obj, .glb, .stl, .ply, .unreal, and .max formats for rendering, simulation, and game development.
Price: $10.79
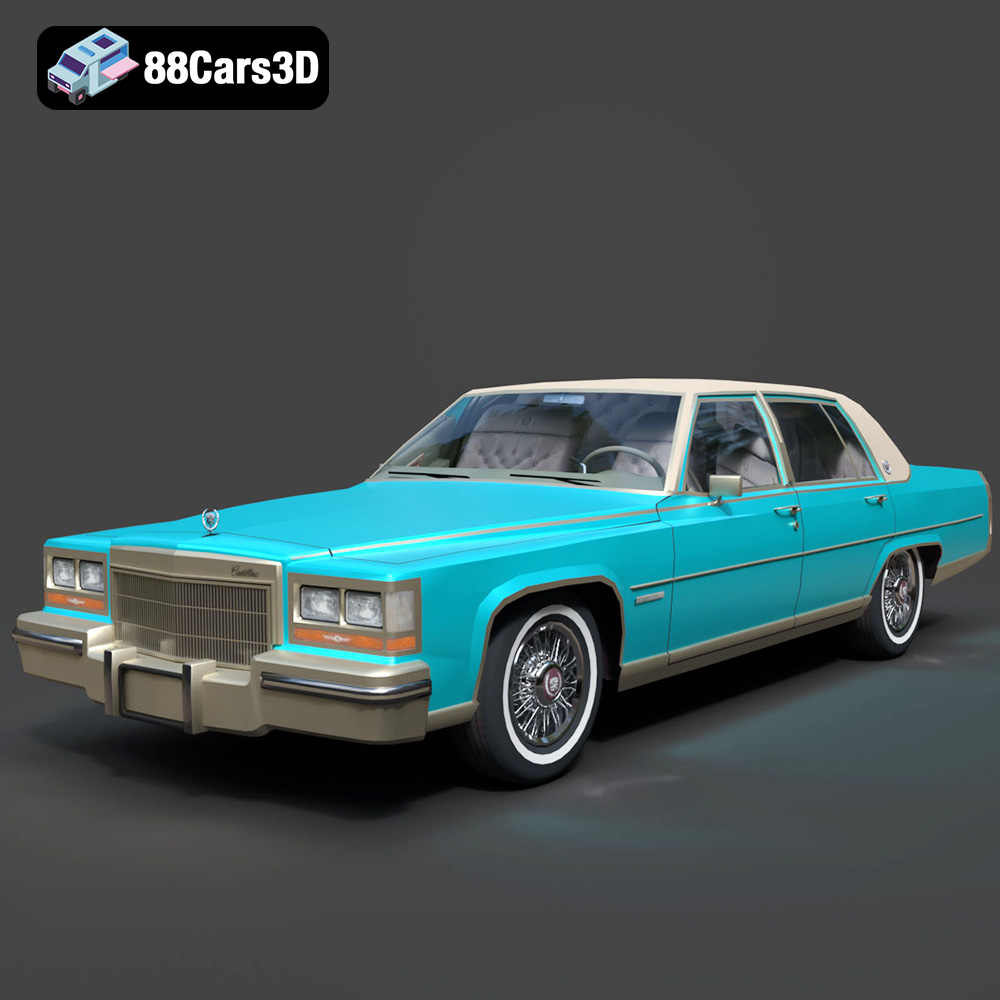
Texture: Yes
Material: Yes
Download the Cadillac Fleetwood Brougham 1985 3D Model featuring its iconic classic luxury design and detailed craftsmanship. Includes .blend, .fbx, .obj, .glb, .stl, .ply, .unreal, and .max formats for rendering, simulation, and game development.
Price: $10.79
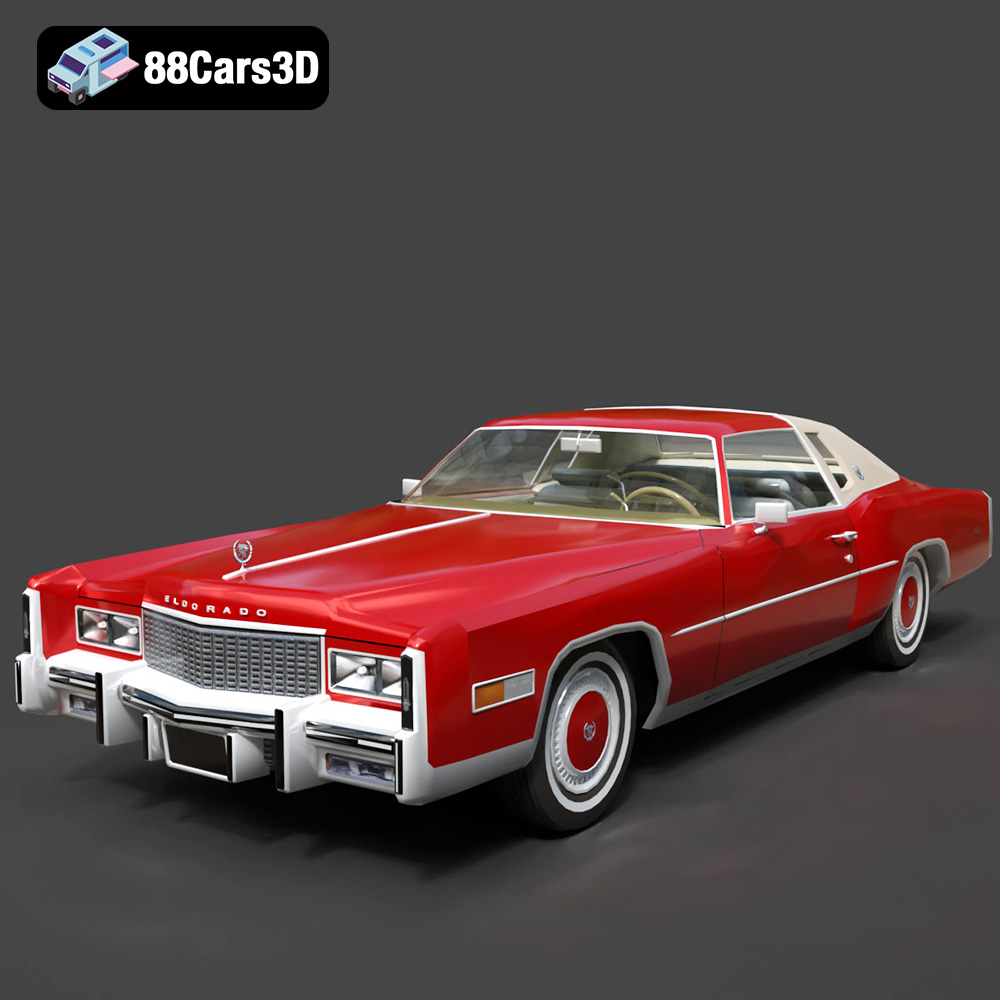
Texture: Yes
Material: Yes
Download the Cadillac Eldorado 1978 3D Model featuring accurately modeled exterior, detailed interior, and period-correct aesthetics. Includes .blend, .fbx, .obj, .glb, .stl, .ply, .unreal, and .max formats for rendering, simulation, and game development.
Price: $10.79
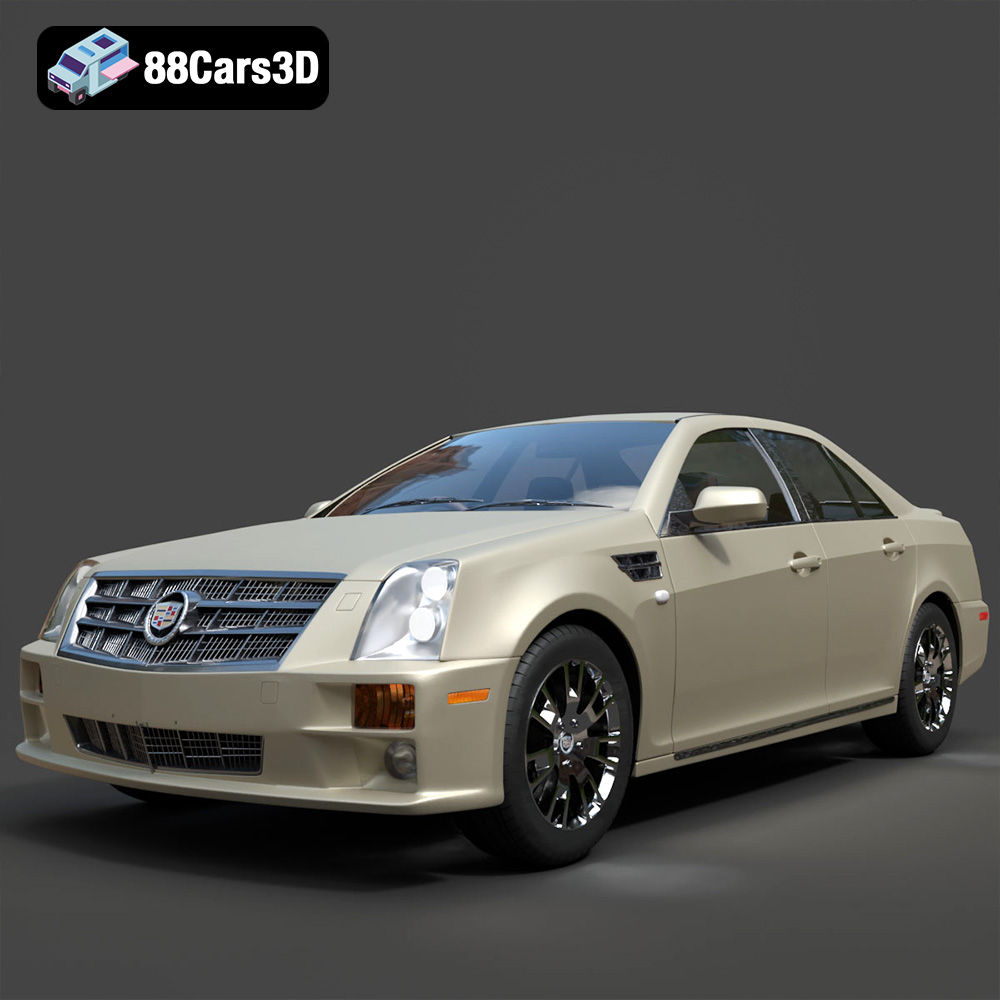
Texture: Yes
Material: Yes
Download the Cadillac STS-005 3D Model featuring a detailed exterior and interior. Includes .blend, .fbx, .obj, .glb, .stl, .ply, .unreal, and .max formats for rendering, simulation, and game development.
Price: $22.79
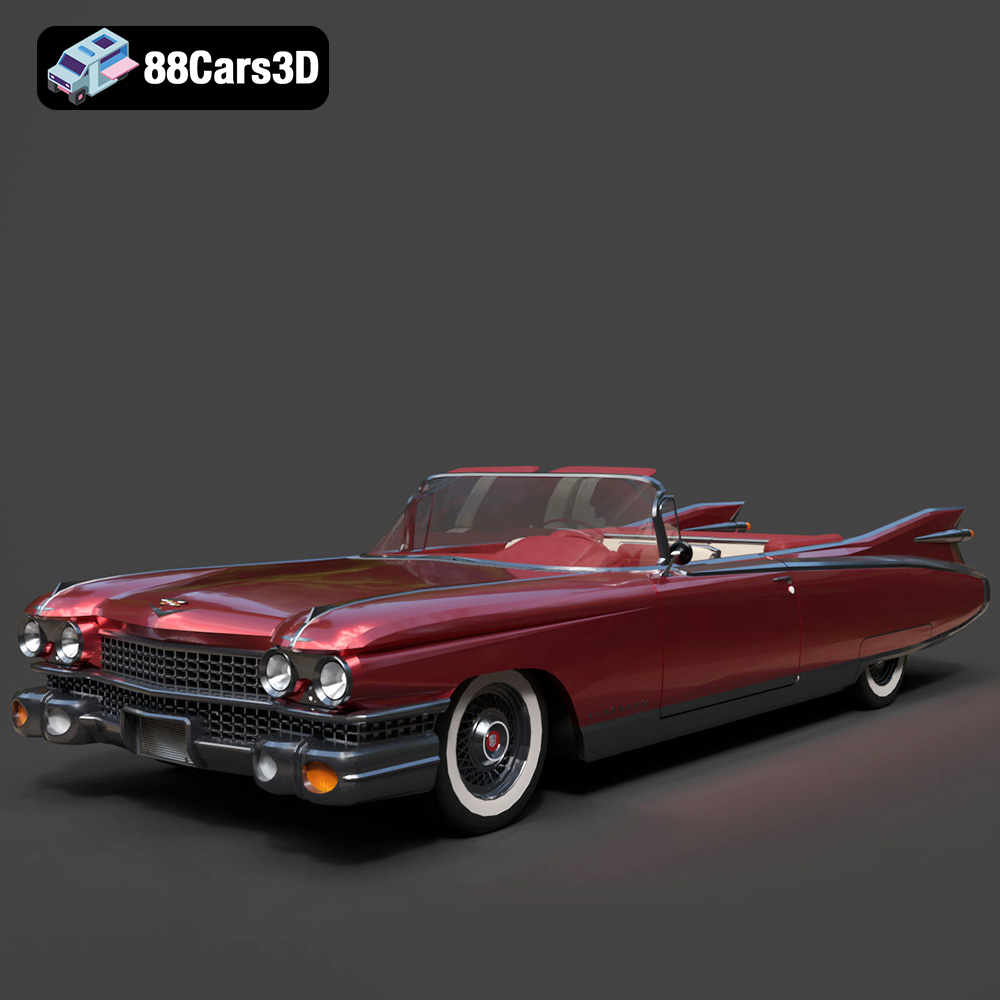
Texture: Yes
Material: Yes
Download the Cadillac Eldorado Convertible (1959) 3D Model featuring iconic fins, luxurious chrome details, and a classic vintage design. Includes .blend, .fbx, .obj, .glb, .stl, .ply, .unreal, and .max formats for rendering, simulation, and game development.
Price: $20.79

Texture: Yes
Material: Yes
Download the Cadillac DTS-005 3D Model featuring its iconic luxury design, detailed interior, and realistic exterior. Includes .blend, .fbx, .obj, .glb, .stl, .ply, .unreal, and .max formats for rendering, simulation, and game development.
Price: $10.79

Texture: Yes
Material: Yes
Download the Buick LeSabre 1998 3D Model featuring a classic American full-size sedan design. Includes .blend, .fbx, .obj, .glb, .stl, .ply, .unreal, and .max formats for rendering, simulation, and game development.
Price: $10.79

