Get 20% OFF All Premium 3D & STL Models!

“`html
The allure of classic cars, futuristic concepts, and powerful performance machines is undeniable, and for automotive enthusiasts and makers, bringing these icons to life in miniature form is a deeply satisfying endeavor. 3D printing has revolutionized the hobbyist model-making landscape, offering an unprecedented level of detail and customization. However, transforming a digital 3D model, often provided as an STL file, into a tangible, realistic car requires more than just hitting the ‘print’ button. It involves a meticulous process of file preparation, understanding 3D printer settings, mastering slicing techniques, and executing precise printing and post-processing. This guide will delve deep into the technical intricacies of 3D printing realistic car models, from selecting the right STL files to achieving showroom-quality finishes. We’ll cover everything from mesh topology and slicer configurations to support strategies and material choices, empowering you to create stunning 3D printed automotive masterpieces.
The journey to a realistic 3D printed car begins with the digital model itself, typically in the STL file format. While ubiquitous, understanding its structure is crucial for successful printing. An STL file represents a 3D surface geometry using a collection of triangular facets. Each triangle is defined by its three vertices and a normal vector, indicating the outward-facing direction. For 3D printing, especially for intricate models like cars, the integrity of this mesh is paramount.
A “watertight” or “manifold” mesh is essential for 3D printing. This means the surface of the model is completely enclosed, with no holes, gaps, or internal faces. Think of it like a solid object that could theoretically hold water. Non-manifold geometry can arise from various issues: intersecting faces, edges shared by more than two faces, or stray vertices. Most slicer software will attempt to repair minor issues, but significant problems can lead to print failures, incorrect dimensions, or incomplete models. Specialized software like Meshmixer, Blender, or Netfabb are invaluable tools for inspecting and repairing mesh topology. When downloading models from marketplaces such as 88cars3d.com, look for descriptions that emphasize clean geometry and print-ready files, as this significantly reduces preparation time.
The resolution of an STL file directly impacts the level of detail that can be captured. A higher-resolution STL file contains more triangles, allowing for smoother curves and finer details like panel lines, emblems, and interior features. However, excessively high polygon counts can lead to massive file sizes, potentially overwhelming slicer software and increasing processing times. Conversely, a low-resolution STL might appear blocky or lack the crispness required for a realistic model. For intricate car models, aim for a balance. Platforms like 88cars3d.com often provide models optimized for 3D printing, offering a good balance between detail and file size. If you’re working with raw CAD data, exporting to STL often involves a “deviation” or “angle tolerance” setting – lower values yield more triangles and detail but larger files.
The slicer is the bridge between your digital STL file and your 3D printer. It translates the 3D model into a series of thin, horizontal layers, generating the G-code commands that guide the printer’s movements. Optimizing slicer settings is perhaps the most critical step in achieving high-quality, realistic car models. These settings dictate everything from the smoothness of curves to the strength and appearance of the final print.
Layer height is a fundamental setting that determines the vertical resolution of your print. For detailed car models, a smaller layer height is crucial for capturing subtle curves and features. Common layer heights range from 0.1mm to 0.3mm for FDM printers. Using a 0.1mm or 0.12mm layer height will result in significantly smoother surfaces and finer detail, but it will also dramatically increase print time. A common trade-off is to use a smaller layer height for the main body of the car and potentially a slightly larger one for less visible areas if time is a constraint. For resin printers (SLA/DLP), layer heights are typically much smaller, often ranging from 0.025mm to 0.1mm, leading to exceptionally high detail right out of the printer.
While car models are often printed solid for weight and appearance, infill still plays a role, especially for larger or structural parts. Infill density refers to the percentage of the internal volume that is filled with plastic. For most display car models, an infill density of 10-20% is usually sufficient. Higher densities increase print time and material consumption but provide greater strength. The infill pattern also matters. Patterns like ‘gyroid’ or ‘cubic’ offer good strength in multiple directions and are often preferred over simpler patterns like ‘grid’ or ‘lines’ for complex geometries. For very delicate parts or models requiring extreme detail, you might even consider ‘lightning’ infill, which uses minimal material and prints quickly while providing support to the top surfaces.
High print speeds can lead to artifacts like ringing (ghosting), poor layer adhesion, and reduced detail. For realistic car models, it’s often best to prioritize quality over speed. Start with conservative print speeds. For outer walls, speeds as low as 20-40 mm/s are recommended to ensure smooth surfaces. Inner walls can be printed slightly faster, perhaps 40-60 mm/s. Travel speeds can be higher (100-150 mm/s) to minimize stringing. Acceleration and jerk settings in your slicer (or printer firmware) also significantly impact print quality, especially on curves. Lowering these values can reduce vibrations and improve surface smoothness.
Car models are rife with overhangs and bridges – features that extend horizontally without any underlying support. Think of spoilers, side mirrors, wheel arches, and the undersides of car bodies. Without adequate support, these features will sag, droop, or fail entirely during printing. Generating and managing support structures effectively is a critical skill for producing clean, detailed models.
Slicers offer various support types. Normal supports (often tree-like or grid structures) are generated from the build plate or other parts of the model. Tree supports, available in slicers like Cura and PrusaSlicer, are often preferred for organic shapes and complex models as they can be more material-efficient and easier to remove, contacting the model only where absolutely necessary. When printing car bodies, you’ll often need supports for the undercarriage, wheel wells, and any protruding elements. For parts like mirrors or spoilers that are printed separately, supports might be needed internally or on specific overhangs.
The key to successful supports is strategic placement and ensuring they are removable without damaging the model. Use slicer settings to control the support overhang angle (e.g., 45-60 degrees is common) – any angle steeper than this will require support. Adjust the support interface settings to create a denser, flatter surface where supports meet the model. This interface layer makes removal easier and leaves a cleaner surface finish. The support Z distance (the gap between the support and the model) is crucial; too small and it’s impossible to remove, too large and the overhang will be poorly supported. Experimentation is often needed. After printing, carefully remove supports using pliers, hobby knives, or specialized tools. For very difficult-to-reach areas, consider using dissolvable support materials (like PVA or BVOH) if your printer has dual extrusion capabilities.
How you position your car model on the print bed (orientation) and ensuring it sticks firmly (bed adhesion) are foundational elements that influence the success of the entire print. The right orientation can minimize the need for supports, improve surface quality, and increase print stability.
For car models, there’s rarely a single “best” orientation. Often, printing the car body upright on its wheels offers the most straightforward approach, but this can lead to significant support needs for the wheel wells and undercarriage. Printing the car upside down on its roof can reduce supports for the main body but introduces challenges for detailing the underside and may require supports for the roofline. Consider printing the car in multiple parts – body, chassis, wheels, etc. – and assembling them later. This allows for optimal orientation of each component, minimizing supports and maximizing detail. For example, wheels can be printed lying flat on their side, and the chassis can be oriented to minimize overhangs on its visible surfaces. Carefully examine your model in the slicer and anticipate where supports will be needed based on different orientations.
A strong first layer is critical for preventing print failures like warping or detachment from the build plate. Ensure your printer’s build surface is clean (use isopropyl alcohol for removal of oils and dust). Your bed leveling must be precise; an uneven bed is a common cause of first-layer problems. Many FDM printers benefit from adhesion aids like a brim or a raft. A brim is a single layer of material printed around the base of your model, increasing the contact area with the bed. A raft is a thicker base structure printed beneath your model, providing a very stable foundation but consuming more material and potentially leaving a rougher surface on the model’s bottom. For car models with small contact points (like individual wheels), a brim is often sufficient. ABS and other high-temperature materials often require an enclosure and higher bed temperatures (e.g., 90-110°C) to prevent warping, whereas PLA typically performs well with bed temperatures around 50-60°C.
The choice of filament or resin, coupled with diligent post-processing, transforms a raw 3D print into a realistic and polished model. Each material has unique properties, and various techniques can enhance the visual appeal and detail of your printed car.
For FDM printing, PLA is the most popular choice due to its ease of printing, low warping, and wide availability of colors. It’s excellent for most display models. PETG offers increased durability and temperature resistance over PLA, making it suitable for parts that might experience more handling or higher temperatures. ABS provides excellent strength and a smoother surface finish when printed correctly (often requiring a heated enclosure and good ventilation due to fumes), but it’s prone to warping. For incredibly fine detail, especially for smaller components or intricate interior elements, resin printing (SLA/DLP) is often superior. Standard resins offer good detail, while tougher or flexible resins can be used for specific applications. When sourcing STL files, consider the material properties and choose accordingly. For example, a highly detailed vintage car model might benefit greatly from the high resolution of resin printing.
Raw 3D prints, especially from FDM printers, often show visible layer lines. To achieve a smooth, realistic finish, post-processing is essential. Start by carefully removing all support material. Then, begin sanding. Use progressively finer grits of sandpaper (e.g., starting at 120-220 grit and moving up to 400, 800, or even 2000 grit). For FDM prints with prominent layer lines, filler primers or putty can be used to fill gaps before sanding. Multiple thin coats of primer are often better than one thick coat. Once the surface is smooth, painting can begin. Use hobby acrylic paints, spray paints, or an airbrush for professional results. Masking tape is invaluable for achieving clean lines between different paint colors (e.g., body color, trim, windows). Clear coats can add protection and a desired sheen (matte, satin, or gloss).
Many complex car models are best printed in multiple parts. This allows for easier printing, support removal, and post-processing. Design or select models that are intended for assembly. Use strong adhesives like cyanoacrylate (super glue) or specialized plastic cement. For added realism, consider adding small details not present in the original STL. This could include adding small photo-etched parts for grilles or emblems, creating custom decals for logos and interior details, or even adding small LEDs for headlights and taillights. The careful assembly and attention to these fine details are what elevate a good 3D print into a truly realistic car model.
In conclusion, creating breathtakingly realistic 3D printed car models from STL files is an achievable goal for makers and hobbyists alike. It requires a deep understanding of the entire workflow, from the fundamental structure of STL files and mesh integrity to the nuanced settings within your slicer software. Mastering print orientation, optimizing support generation, selecting appropriate materials, and dedicating time to meticulous post-processing are all crucial steps. By applying these technical insights and best practices, you can overcome common printing challenges and transform digital designs into tangible automotive masterpieces. Remember that platforms like 88cars3d.com offer a curated selection of high-quality, print-ready car models designed with these printing considerations in mind, providing an excellent starting point for your projects. Embrace the process, experiment with settings, and enjoy bringing your favorite vehicles to life, one layer at a time.
“`

Meta Description:
Texture: Yes
Material: Yes
Download the Cadillac CTS-V Coupe 3D Model featuring detailed exterior styling and realistic interior structure. Includes .blend, .fbx, .obj, .glb, .stl, .ply, .unreal, and .max formats for rendering, simulation, AR VR, and game development.
Price: $13.9
Texture: Yes
Material: Yes
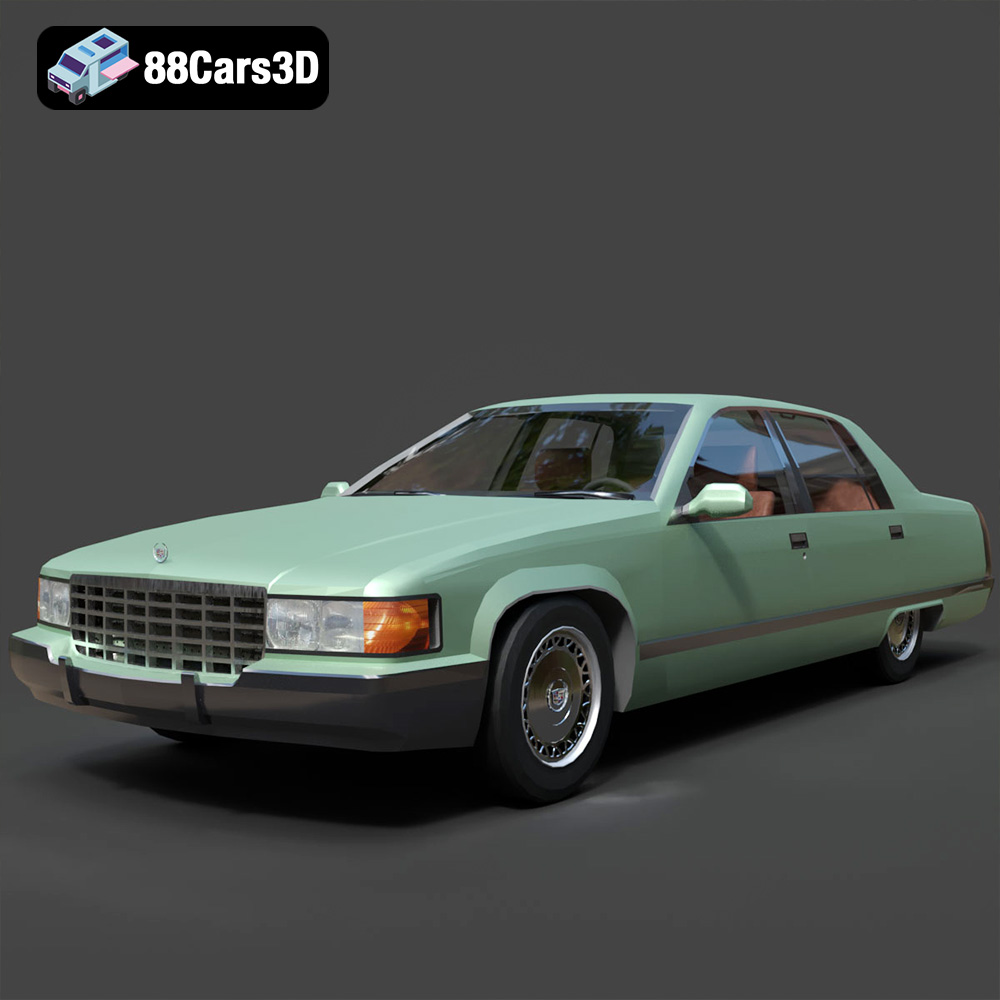
Download the Cadillac Fleetwood Brougham 3D Model featuring its iconic classic luxury design and detailed exterior and interior. Includes .blend, .fbx, .obj, .glb, .stl, .ply, .unreal, and .max formats for rendering, simulation, and game development.
Price: $10.79
Texture: Yes
Material: Yes
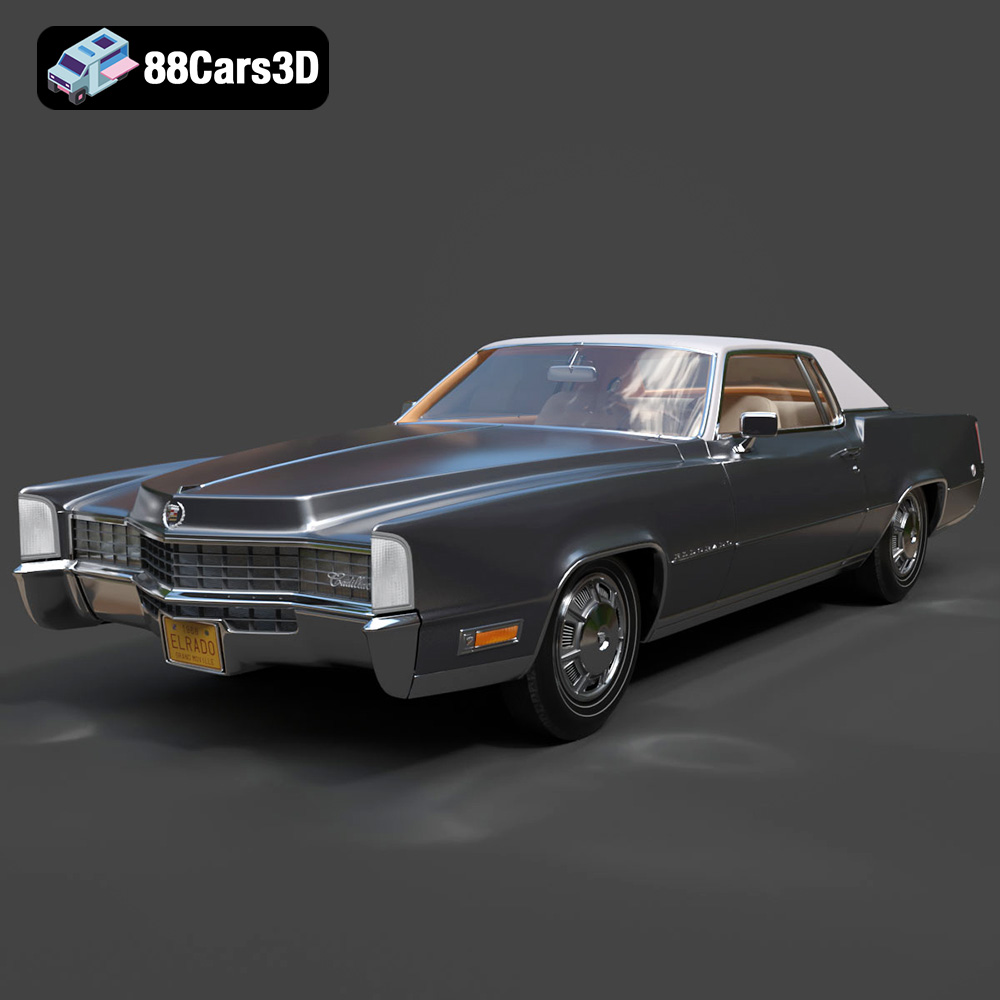
Download the Cadillac Eldorado 1968 3D Model featuring its iconic elongated body, distinctive chrome accents, and luxurious interior. Includes .blend, .fbx, .obj, .glb, .stl, .ply, .unreal, and .max formats for rendering, simulation, and game development.
Price: $20.79

Texture: Yes
Material: Yes
Download the Cadillac CTS SW 2010 3D Model featuring a detailed exterior, functional interior elements, and realistic materials. Includes .blend, .fbx, .obj, .glb, .stl, .ply, .unreal, and .max formats for rendering, simulation, and game development.
Price: $10.79
Texture: Yes
Material: Yes
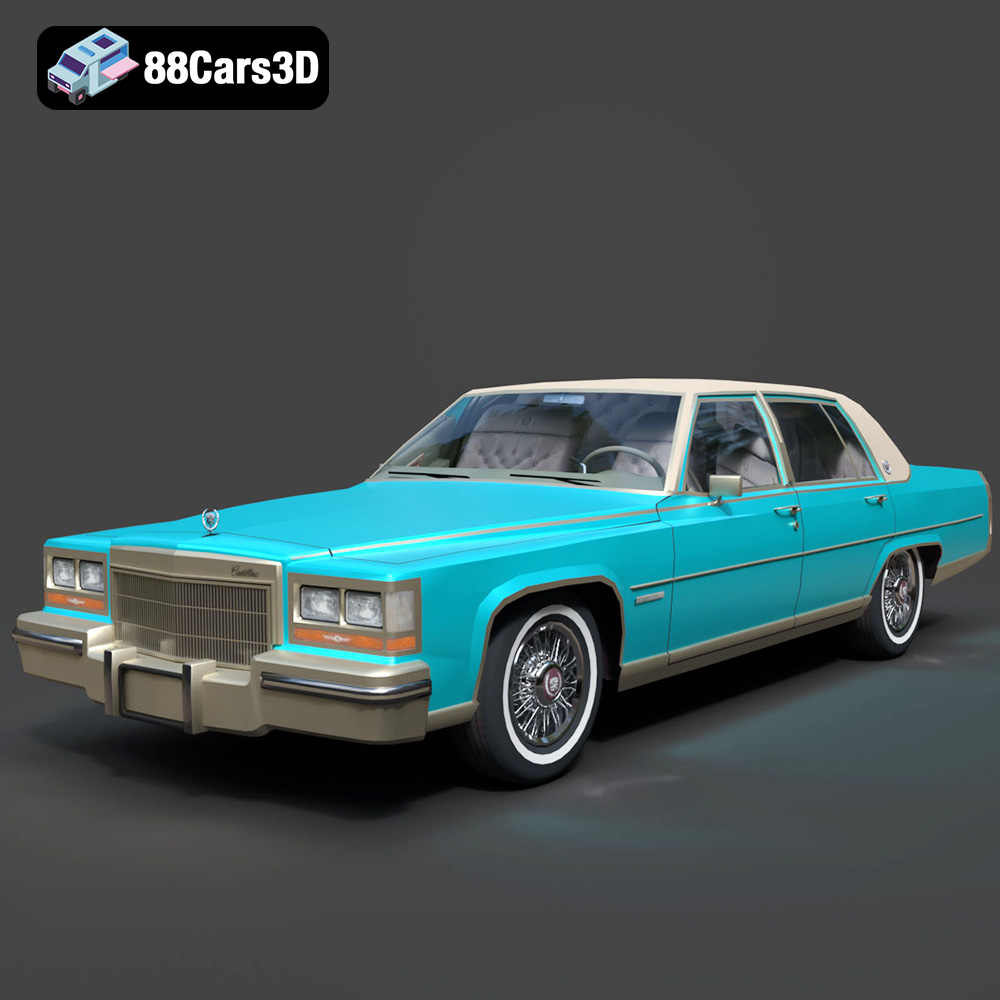
Download the Cadillac Fleetwood Brougham 1985 3D Model featuring its iconic classic luxury design and detailed craftsmanship. Includes .blend, .fbx, .obj, .glb, .stl, .ply, .unreal, and .max formats for rendering, simulation, and game development.
Price: $10.79
Texture: Yes
Material: Yes
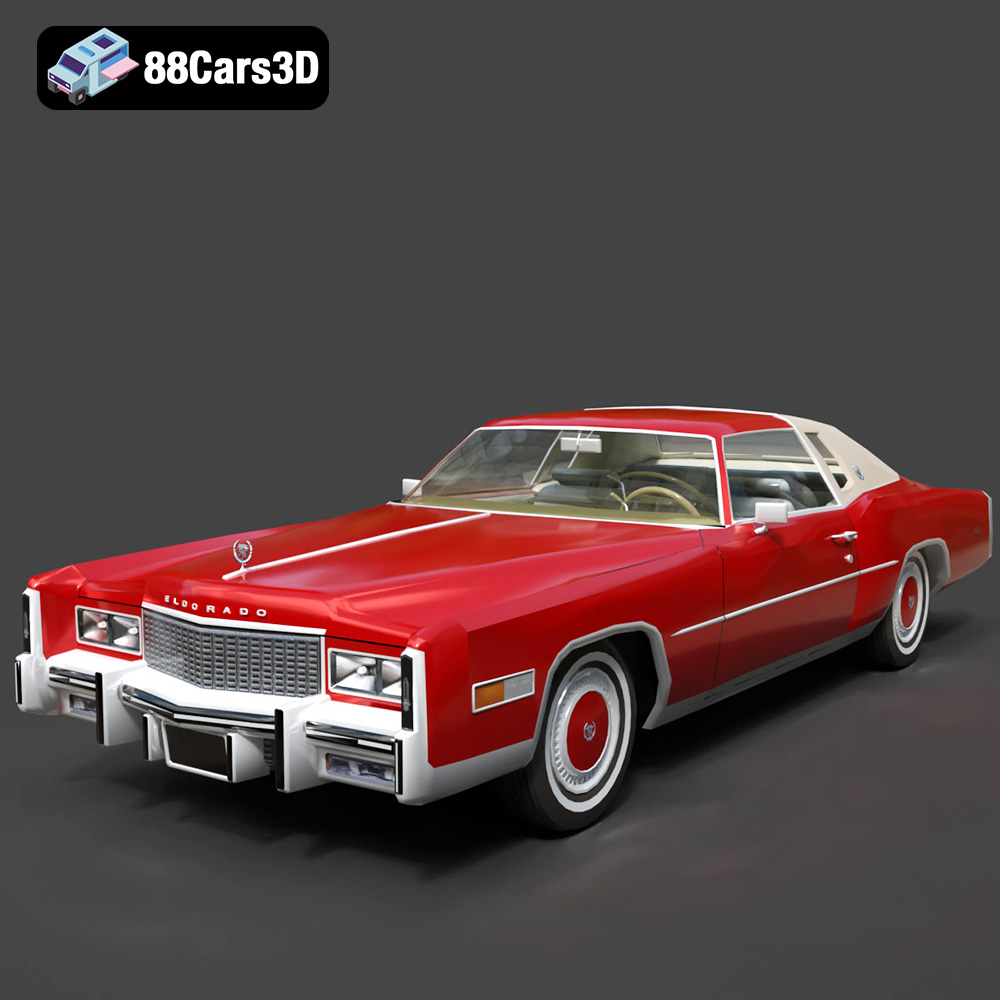
Download the Cadillac Eldorado 1978 3D Model featuring accurately modeled exterior, detailed interior, and period-correct aesthetics. Includes .blend, .fbx, .obj, .glb, .stl, .ply, .unreal, and .max formats for rendering, simulation, and game development.
Price: $10.79
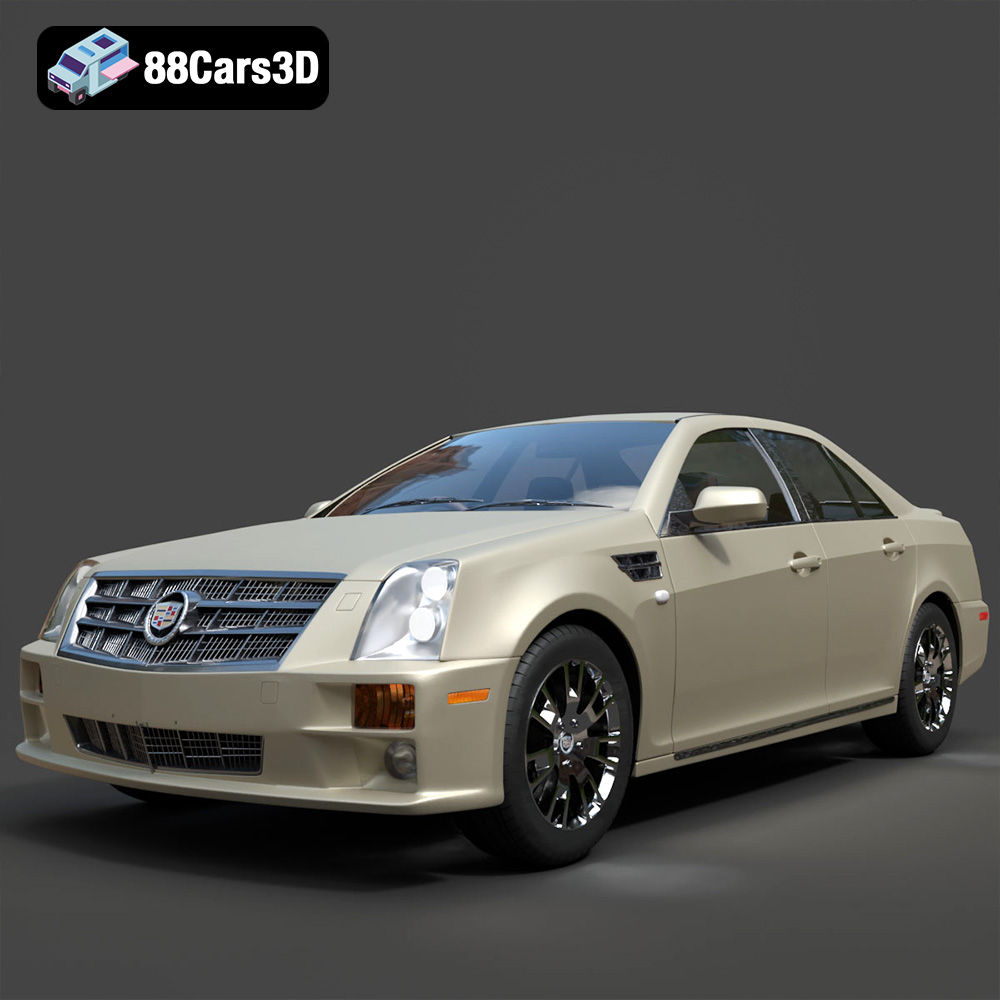
Texture: Yes
Material: Yes
Download the Cadillac STS-005 3D Model featuring a detailed exterior and interior. Includes .blend, .fbx, .obj, .glb, .stl, .ply, .unreal, and .max formats for rendering, simulation, and game development.
Price: $22.79
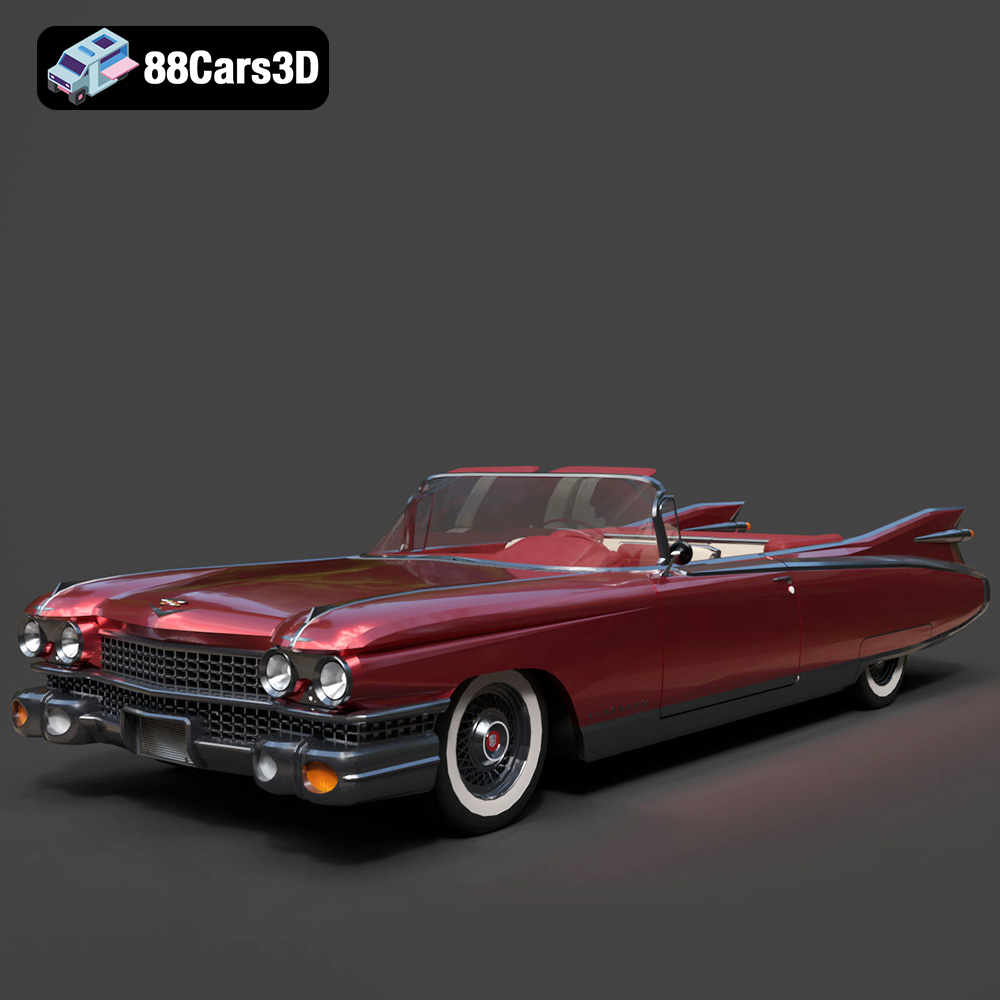
Texture: Yes
Material: Yes
Download the Cadillac Eldorado Convertible (1959) 3D Model featuring iconic fins, luxurious chrome details, and a classic vintage design. Includes .blend, .fbx, .obj, .glb, .stl, .ply, .unreal, and .max formats for rendering, simulation, and game development.
Price: $20.79

Texture: Yes
Material: Yes
Download the Cadillac DTS-005 3D Model featuring its iconic luxury design, detailed interior, and realistic exterior. Includes .blend, .fbx, .obj, .glb, .stl, .ply, .unreal, and .max formats for rendering, simulation, and game development.
Price: $10.79

Texture: Yes
Material: Yes
Download the Buick LeSabre 1998 3D Model featuring a classic American full-size sedan design. Includes .blend, .fbx, .obj, .glb, .stl, .ply, .unreal, and .max formats for rendering, simulation, and game development.
Price: $10.79

