

Welcome to the exciting world where cutting-edge real-time technology meets the art of automotive design. Unreal Engine has revolutionized how we visualize, interact with, and experience vehicles, moving far beyond traditional offline rendering. Whether you’re a seasoned 3D artist, a game developer, or an automotive professional looking to elevate your presentations, this comprehensive guide will equip you with the foundational knowledge to master Unreal Engine for automotive visualization. We’ll embark on a journey from setting up your first project to leveraging advanced features like Nanite and Lumen, ensuring your 3D car models from platforms like 88cars3d.com shine with unparalleled realism and performance. Prepare to unlock the full potential of real-time rendering and transform your creative vision into immersive, interactive experiences.
Setting Up Your Unreal Engine Project for Automotive Excellence
The first step in any Unreal Engine journey is laying a solid foundation. For automotive visualization, choosing the right project template and configuring essential settings from the outset can significantly streamline your workflow and optimize performance. Unreal Engine offers a powerful toolkit, but understanding which tools to prioritize for vehicle projects is crucial.
When starting a new project, you’re presented with several templates. For automotive work, the “Automotive” template is an excellent starting point, as it includes pre-configured settings for ray tracing, high-quality rendering, and some relevant assets. However, a “Blank” project combined with a meticulous manual setup can offer greater control and a leaner project file if you prefer to build from scratch. Regardless of your choice, key project settings must be adjusted immediately.
Navigate to Edit > Project Settings. Under the “Engine” section, explore “Rendering.” Here, you’ll enable vital features like Lumen Global Illumination and Reflections for dynamic, realistic lighting. Ensure Hardware Ray Tracing is enabled if your hardware supports it, as this unlocks superior quality for shadows, reflections, and ambient occlusion. For shadows, consider Virtual Shadow Maps (VSM) for high-resolution, performant shadows, especially with large, detailed automotive scenes. Finally, for optimized performance on various platforms, check the “Platforms” section to configure default RHI (Rendering Hardware Interface) settings for DirectX 12 or Vulkan, depending on your target. These initial configurations dictate the visual fidelity and performance ceiling of your automotive project.
Choosing the Right Template and Initial Project Settings
While the “Automotive” template provides a good baseline, a “Blank” project offers maximum flexibility. If you opt for “Blank,” ensure you enable the following core settings under Edit > Project Settings > Engine > Rendering:
- Lumen Global Illumination and Lumen Reflections: Crucial for realistic indirect lighting and reflections on car surfaces.
- Hardware Ray Tracing: Enable this to leverage your GPU for physically accurate shadows, reflections, and ambient occlusion, drastically improving visual quality.
- Virtual Shadow Maps (Beta): Provides high-resolution, consistent shadows that scale well with large scenes and detailed models, a significant upgrade over traditional shadow maps.
- High Dynamic Range (HDR) Display Output: If you’re targeting HDR displays, enable this for a wider color gamut and brighter highlights.
For more specific guidance on these settings and their impact, consult the official Unreal Engine documentation on rendering features. These initial steps are foundational for achieving the photorealistic results expected in automotive visualization.
Essential Plugins and Initial Configurations
Unreal Engine’s modularity shines through its plugin system. For automotive workflows, several plugins are indispensable. Access them via Edit > Plugins:
- Datasmith Importer: This is paramount for importing complex CAD data and scene hierarchies from various DCC applications. It maintains scene structure, material assignments, and metadata, making the import of intricate car models much smoother.
- Modeling Tools Editor Mode: Provides in-engine mesh editing capabilities, useful for minor adjustments or optimizing assets directly within Unreal.
- Bridge (Quixel Megascans): Offers access to a vast library of high-quality PBR materials and assets, invaluable for creating realistic environments around your vehicles.
- Variant Manager: Essential for building interactive configurators, allowing you to easily manage different car variants (color, rims, interior options) and switch between them at runtime.
After enabling these, restart the engine. Beyond plugins, consider your Engine Scalability Settings (found under the ‘Settings’ icon in the viewport). Start with ‘Epic’ for development, but be prepared to adjust to ‘High’ or ‘Medium’ during optimization phases, especially if targeting lower-spec hardware or VR. Configuring your default input controls for comfortable scene navigation (WASD for movement, mouse for rotation) is also a small but impactful quality-of-life improvement.
Importing and Optimizing 3D Car Models from 88cars3d.com
Once your project is set up, the next critical step is bringing your high-quality 3D car models into Unreal Engine. Sourcing well-optimized assets, such as those available on 88cars3d.com, is paramount. These models are typically designed with clean topology, proper UV mapping, and optimized material slots, which significantly reduces the workload in Unreal Engine. Understanding the various import methods and subsequent optimization techniques is key to maintaining visual fidelity while ensuring real-time performance.
The choice of import method largely depends on the complexity of your model and its source. For intricate automotive assemblies, Datasmith is the gold standard. It’s designed to handle large datasets, preserving scene hierarchy, metadata, and even simple material assignments, making it ideal for converting CAD or DCC software scenes into Unreal Engine assets. When using Datasmith, ensure your source file (e.g., from 3ds Max, Maya, or CAD software via a plugin) is prepared with a clean hierarchy and appropriate naming conventions. For simpler, single-mesh models or game-ready assets, direct FBX import remains a viable and efficient option. Regardless of the method, proper pre-import preparation and post-import optimization are non-negotiable for achieving professional results.
Understanding Model Preparation and File Formats
High-quality 3D car models, like those offered by 88cars3d.com, typically come in standard formats like FBX, USD, or glTF. Each format has its strengths:
- FBX: The most common interchange format for 3D assets, widely supported and versatile for meshes, animations, and basic materials.
- USD (Universal Scene Description): An increasingly popular format, especially for collaborative pipelines and complex scene assembly. USD can encapsulate entire scenes, including variations and animations, making it powerful for large-scale automotive projects.
- glTF: Gaining traction for its efficiency and web-friendliness, suitable for more lightweight, real-time applications.
Before importing, always check the model’s technical specifications:
* Topology: Clean quad-based geometry is ideal.
* UV Mapping: Crucial for texture application without stretching. Ensure multiple UV channels exist for diffuse, lightmaps, and potential custom masks.
* Scale: Models should be authored at real-world scale (e.g., 1 unit = 1cm) to avoid scaling issues in Unreal Engine.
* Pivot Point: The origin of the model should be logically placed (e.g., center of the car, or at the base for an actor).
* Normals: Verify that face normals are consistent and pointing outwards to prevent rendering artifacts.
88cars3d.com provides models that are generally pre-optimized for these factors, saving you significant time in preparation.
The Import Process and Initial Scene Setup
For complex car models, the Datasmith workflow is highly recommended. To import using Datasmith:
- Export your model from your DCC application (or directly use the Datasmith-prepared files) as a
.udatasmithfile. - In Unreal Engine, click the “Datasmith” icon on the toolbar (or File > Import into Level).
- Select your
.udatasmithfile and choose a folder for your assets. Datasmith will import meshes, basic materials, and the scene hierarchy, creating Static Mesh assets and a Datasmith Scene Actor in your level.
For simpler FBX imports (File > Import into Level), ensure you choose appropriate settings:
- Combine Meshes: Generally uncheck this for cars to maintain individual parts (doors, wheels, chassis) for interactivity.
- Auto Generate Collision: Enable this for basic collision, but consider custom collision meshes for precise physics.
- Normal Import Method: Select “Import Normals and Tangents” if your model has them pre-calculated.
Once imported, drag your car model into the viewport. Ensure its scale is correct (usually 1:1 with real-world dimensions) and position it at the world origin (0,0,0) for best performance and physics simulation. Create an empty Actor and attach all car components to it to manage the vehicle as a single entity in the Outliner. This initial organization sets the stage for everything from material assignments to Blueprint scripting.
Crafting Realistic PBR Materials and Textures
Achieving photorealism in Unreal Engine heavily relies on physically based rendering (PBR) materials. PBR materials simulate how light interacts with surfaces in the real world, producing consistent and accurate results under various lighting conditions. For automotive visualization, crafting realistic car paint, glass, rubber, and metal materials is paramount to convincing your audience.
Unreal Engine’s Material Editor is a node-based interface that allows artists to build complex shaders visually. Understanding the core PBR channels – Base Color, Metallic, Roughness, Normal, and Emissive – is fundamental. The quality of your input textures (provided with 88cars3d.com models or sourced from libraries like Quixel Megascans) directly impacts the realism of your materials. Beyond these basic channels, advanced automotive materials often require intricate layering, clear coat effects, and detailed procedural masks to accurately represent surfaces like multi-layered car paint or intricate interior finishes. Mastering these techniques transforms a simple 3D model into a believable, visually stunning vehicle.
Demystifying PBR Principles in Unreal Engine
At its heart, PBR defines how materials reflect and absorb light. The primary PBR channels in Unreal Engine’s Material Editor are:
- Base Color: This texture defines the diffuse color of a dielectric (non-metallic) surface and the primary color of a metallic surface. For car paint, this might be a solid color or a gradient.
- Metallic: A grayscale texture (0 to 1) indicating if a surface is metallic (1) or non-metallic (0). Metallic surfaces absorb very little light and have colored reflections.
- Roughness: A grayscale texture (0 to 1) that controls the micro-surface detail, influencing how sharp or blurry reflections appear. A low roughness value (close to 0) creates highly reflective, smooth surfaces (like polished chrome), while a high value (close to 1) produces dull, matte surfaces.
- Normal Map: This texture fakes surface detail by manipulating how light is bounced off the surface, making it appear bumpy or indented without adding actual geometry. Essential for tire treads, leather grain, or subtle body imperfections.
- Ambient Occlusion (AO): A grayscale map that simulates contact shadows where surfaces are close together, enhancing perceived depth and realism. Usually multiplied with the Base Color.
- Emissive Color: For surfaces that emit light, like headlights or dashboard displays.
When working with texture maps, using Material Instances is a powerful workflow. Create a master material with common parameters, then create instances for each unique material variation (e.g., different paint colors, wheel finishes). This allows for quick iteration and reduces draw calls, optimizing performance. Texture resolutions commonly range from 2K (2048×2048) for smaller details to 4K or 8K for large, prominent surfaces like the car body, depending on the required fidelity and target platform.
Building Complex Automotive Materials
Achieving realistic automotive materials requires a deeper dive into Unreal Engine’s Material Editor:
- Car Paint Shader: This is arguably the most complex. It often involves a base metallic layer (using Metallic and Roughness maps), topped with a clear coat effect. The clear coat can be simulated using a Layered Material or by blending a second specular lobe with a higher roughness value and a Fresnel node to control reflection intensity at glancing angles. Metallic flakes can be added via a detailed normal map or a procedural noise texture.
- Glass Materials: For windows, headlights, and mirrors. Use a translucent material with appropriate Refraction and Opacity settings. Tint can be added via the Base Color. For mirrors, a Planar Reflection actor in the scene can provide accurate reflections, though it’s performance-intensive.
- Tire Rubber: Typically a dark, low-metallic, high-roughness material. A detailed normal map is crucial for tire tread patterns and sidewall text. The Clear Coat input can also be used subtly to simulate a slight sheen on new tires.
- Interior Fabrics/Leather: Utilize detailed normal maps for fabric weaves or leather grain. The Base Color and Roughness will vary significantly based on the specific material.
Nodes like Lerp (Linear Interpolate) for blending, Multiply for combining textures (e.g., AO with Base Color), Power for adjusting values, and Fresnel for edge reflections are indispensable. Always compile your shaders frequently to see changes and ensure performance. A robust material setup for an 88cars3d.com model might involve a master car paint material, master glass material, and then numerous instances for specific parts and variations.
Illuminating Your Scene: Real-time Lighting with Lumen and Ray Tracing
Lighting is the soul of any visualization, and in Unreal Engine, it’s where your 3D car models truly come to life. The engine’s advanced real-time lighting solutions, particularly Lumen and hardware-accelerated Ray Tracing, offer unparalleled realism and dynamism, allowing for stunning automotive showcases that respond instantly to changes in light and environment. Gone are the days of baking static lightmaps for every scenario; with Lumen, your scenes glow with dynamic global illumination, and with Ray Tracing, reflections and shadows achieve physical accuracy.
Achieving a professional look involves more than just dropping lights into a scene. It requires a strategic approach to light sources, understanding how they interact with surfaces, and fine-tuning post-processing effects. For automotive visualization, the goal is often to emulate professional studio lighting or realistic outdoor environments, highlighting the car’s design, curves, and material finishes. This section will delve into leveraging Lumen for dynamic indirect lighting, setting up various light types, and using post-processing volumes to refine your scene’s aesthetic.
Harnessing Lumen for Dynamic Global Illumination
Lumen is Unreal Engine’s real-time global illumination and reflections system, providing incredibly realistic indirect lighting and reflections without the need for pre-baked lightmaps. For automotive scenes, Lumen is a game-changer, allowing you to:
- Dynamic Environments: Easily change time of day, move vehicles, or open doors, and the lighting will instantly update with realistic bounced light.
- Accurate Reflections: Lumen Global Illumination also drives Lumen Reflections, providing high-quality reflections for most surfaces, dynamically updating as objects move or lights change.
- Emissive Lighting: Lights from emissive materials (e.g., car headlights, dashboard displays) will contribute to the scene’s global illumination, making them feel like real light sources.
To ensure Lumen is active, verify Edit > Project Settings > Engine > Rendering > Global Illumination > Lumen and Reflections > Lumen are selected. For optimal visual quality, enable Hardware Ray Tracing in the rendering settings, as Lumen can use it for more accurate traces (Software Ray Tracing is the fallback). You can adjust Lumen’s quality settings within the Post Process Volume (covered next) to balance visual fidelity and performance, such as ‘Lumen Scene Quality’ and ‘Lumen Final Gather Quality’. Be mindful that Lumen can be performance-intensive, so monitor your framerate, especially with complex scenes or on lower-end hardware.
Strategic Lighting for Automotive Visualization
Creating compelling automotive renders involves a blend of different light types and thoughtful placement:
- Directional Light: Simulates the sun. Use it with a Sky Light for natural outdoor lighting. Adjust its rotation to control shadow direction and intensity.
- Sky Light: Captures the distant environment’s lighting information (often from an HDRI sky dome texture), providing ambient fill light and realistic reflections. Place an HDRI Backdrop Actor in your scene for a complete, realistic environment and lighting solution.
- Spotlights & Rect Lights: Essential for studio setups. Spotlights are great for accentuating specific parts of the car or creating focused highlights. Rect Lights (Area Lights) provide soft, even illumination, perfect for simulating large studio softboxes or window light. Use them to highlight curves and surface details on the vehicle.
- Post Process Volume: This is where you fine-tune the final look. Add one to your scene (uncheck ‘Infinite Extent’ and scale it to encompass your car, or check ‘Infinite Extent’ to apply globally). Key settings to adjust:
- Exposure: Auto Exposure min/max brightness, compensation.
- Color Grading: Adjust saturation, contrast, white balance, tint.
- Bloom: Adds a glow around bright areas (headlights, reflections).
- Vignette: Darkens scene edges for a cinematic feel.
- Depth of Field: Blurs foreground/background, focusing attention on the car.
- Screen Space Reflections (SSR): Provides accurate reflections for elements visible on screen, complementing Lumen reflections.
- Planar Reflections: For perfectly accurate reflections on flat surfaces (e.g., a showroom floor), though expensive.
Experimentation is key. Try three-point lighting setups, backlighting to emphasize contours, or using large, soft area lights for a luxurious studio look. Always remember that good lighting complements the high-quality 88cars3d.com models, bringing out their meticulously crafted details.
Bringing Cars to Life: Interactivity, Cinematics, and Performance
Unreal Engine’s strength lies not just in visual fidelity but also in its ability to create interactive experiences and cinematic sequences. For automotive applications, this translates into dynamic configurators, immersive virtual showrooms, and breathtaking promotional videos. To achieve this, we harness the power of Blueprint visual scripting, optimize performance with Nanite and LODs, and choreograph stunning visuals with Sequencer.
The journey from a static 3D model to an interactive, performant automotive experience involves several specialized tools. Blueprint empowers artists and designers to add complex logic without writing a single line of code, while Nanite revolutionizes how high-polygon models are rendered, making incredibly detailed 88cars3d.com models feasible in real-time. Finally, Sequencer provides a professional non-linear editor for crafting polished cinematics, perfect for showcasing your vehicle’s best features. Understanding how these tools interconnect is fundamental to building compelling automotive applications.
Introduction to Blueprint for Interactive Experiences
Blueprint Visual Scripting is Unreal Engine’s powerful, node-based scripting system that allows you to add complex interactivity and game logic without writing C++ code. For automotive projects, Blueprint is indispensable for creating dynamic experiences:
- Interactive Configurators: Easily swap out car colors, rim designs, interior trims, or even engine types. You can create a Blueprint for your car, exposing material parameters (e.g., paint color) and mesh references (e.g., wheel variations) as variables that can be modified at runtime.
- Door and Hood Animation: Create simple timelines in Blueprint to smoothly open and close car doors, the trunk, or the hood with a mouse click or button press.
- Light Control: Toggle headlights, taillights, and interior lights on/off using events and visibility toggles.
- Camera Control: Set up custom camera angles, orbits, or even a virtual test drive path controlled by the user.
A basic car configurator might involve a “CarMaster_Blueprint” with variables for PaintMaterial (Material Instance), WheelMesh (Static Mesh), and InteriorColor (Vector Parameter for material). UI buttons (created with UMG) can then call functions within this Blueprint to set these variables, instantly updating the car’s appearance in the scene. This modularity makes iteration and expansion incredibly efficient.
Mastering Nanite and LODs for Scalable Performance
Unreal Engine 5 introduced Nanite, a virtualized geometry system that allows artists to import and render film-quality source art with millions of polygons directly into Unreal Engine without significant performance degradation. For highly detailed 3D car models, like those found on 88cars3d.com, Nanite is revolutionary:
- High Fidelity: Enables the rendering of extreme geometric detail, even at close-up distances, maintaining cinematic quality.
- To enable Nanite on a static mesh, double-click the mesh asset, scroll down to the ‘Nanite’ section, and check ‘Enable Nanite’. You can also set a ‘Preserve Area Percent’ to control detail.
- Performance: Nanite intelligently streams and processes only the necessary detail, drastically reducing memory footprint and draw calls. This means you can have multiple high-poly cars in a scene without performance concerns typically associated with complex geometry.
- Automatic LOD: Nanite effectively replaces the need for traditional manual LODs for static meshes, as it dynamically adjusts detail based on screen size.
While Nanite is excellent for static meshes, LODs (Level of Detail) are still crucial for skeletal meshes (if your car has complex animated parts or destructible elements) and for platforms not yet supporting Nanite (e.g., mobile, some VR headsets). Manual LODs involve creating simplified versions of your mesh for different distances, ensuring optimal performance. You can set up automatic LOD generation within Unreal Engine’s Static Mesh Editor or import pre-made LODs. Aim for a significant polygon reduction (e.g., 50-75% for LOD1, 75-90% for LOD2) at further distances.
Cinematic Storytelling with Sequencer
Sequencer is Unreal Engine’s powerful, non-linear cinematic editor, allowing you to create stunning in-engine videos, animations, and interactive sequences. For showcasing automotive designs, Sequencer is essential:
- Camera Animation: Create smooth, professional camera movements, dollies, tracks, and orbital shots around your car. Use the Cine Camera Actor for realistic camera properties.
- Object Animation: Animate car doors opening, wheels spinning, lights turning on, or even the environment around the car.
- Lighting and Material Changes: Keyframe changes to light intensity, color, or material parameters (e.g., a car paint color transition) over time.
- Visual Effects (Niagara): Integrate particle effects like exhaust fumes, dust, or rain using Niagara for added realism.
- Audio Tracks: Add sound effects (engine roar, door close) and background music to enhance the emotional impact.
- Virtual Production: Sequencer is integral to virtual production workflows, where real-time scenes are displayed on LED walls for live-action filming. This allows designers to see their vehicles within dynamic environments, making immediate design decisions.
To use Sequencer, simply add a “Level Sequence” asset to your project, then drag your car and camera actors into its track editor. You can keyframe properties by clicking the ‘+’ icon next to any property in the details panel. Rendering high-quality video is done via the “Render Movie” function, allowing you to export stunning 4K or even 8K cinematics directly from your project.
Advanced Automotive Applications & Optimization Strategies
Beyond static renders and simple cinematics, Unreal Engine empowers developers to create truly advanced automotive applications. From fully interactive vehicle configurators to immersive AR/VR experiences, the engine offers the tools to push boundaries. However, as complexity increases, so does the need for meticulous optimization. Balancing visual fidelity with real-time performance is a constant challenge, especially when targeting diverse platforms like high-end PCs, mobile devices, or virtual reality headsets.
This final section delves into building sophisticated interactive experiences and provides crucial strategies for optimizing your automotive projects. We’ll explore how to leverage Unreal Engine’s UI system (UMG) for configurators and discuss specific performance considerations and techniques for deploying your car models into demanding AR/VR and mobile environments. The goal is to ensure your meticulously crafted 3D car models, particularly those sourced from 88cars3d.com, not only look incredible but also perform flawlessly across a spectrum of applications.
Building Interactive Automotive Configurators and Showrooms
Interactive automotive configurators are a cornerstone of modern vehicle marketing and design review. Unreal Engine, combined with Blueprint and UMG (Unreal Motion Graphics), provides a robust framework for building them:
- UMG for User Interfaces: Design a user-friendly interface with buttons, sliders, and dropdowns. Each UI element can trigger Blueprint events that modify the car’s properties. For example, a button click can swap a Material Instance to change paint color or switch Static Mesh components to change rim styles.
- Data-Driven Configurations: Instead of hardcoding every option, consider using Data Tables or Data Assets to store vehicle specifications, available colors, and part variations. This allows for easier updates and expansion without altering core Blueprint logic.
- Virtual Test Drives and Guided Tours: Implement basic vehicle physics using Unreal Engine’s Chaos Vehicles plugin (or custom Blueprint logic) to allow users to drive the car in a virtual environment. For guided tours, use Sequencer with camera and object animations that can be triggered by UI buttons or proximity.
- Virtual Showrooms: Create richly detailed environments around your vehicles using Quixel Megascans assets. Implement dynamic lighting scenarios, allowing users to switch between day, night, or studio lighting presets. The key here is to provide a seamless, engaging experience that highlights the vehicle’s aesthetics and features.
When creating configurators, efficiency is critical. Use Material Instances extensively to manage material variations (e.g., hundreds of paint colors) without creating hundreds of unique master materials. This reduces compile times and memory footprint.
Optimizing for AR/VR and Mobile Deployments
Deploying automotive visualizations to AR/VR and mobile platforms introduces strict performance budgets. While Unreal Engine’s high-fidelity features are impressive, they need careful management for these demanding environments:
- Target Framerate: Aim for 90 FPS for comfortable VR, 60 FPS for smooth mobile. Consistent framerate is more important than absolute highest quality.
- Polygon Count: Even with Nanite, aggressive optimization for non-Nanite platforms is vital. For mobile, target 100k-300k triangles for an entire car. Platforms like 88cars3d.com often provide optimized mesh versions or LODs suitable for lower-end deployments.
- Draw Calls: Minimize draw calls by merging static meshes where possible (e.g., smaller interior components into larger logical groups) and using efficient material setups (Material Instances).
- Texture Resolution & Streaming: Use smaller texture resolutions (e.g., 1K or 512px) for less prominent details. Enable texture streaming to only load textures as needed, reducing memory usage.
- Lighting:
- Baked Lighting: For static scenes, bake lighting with Lightmass for superior performance on mobile/VR, as it replaces expensive real-time global illumination.
- Forward Shading Renderer: Enable this under Project Settings > Rendering > Default Settings for better performance on mobile and VR, as it simplifies lighting calculations.
- Disable Lumen/Ray Tracing: These features are too performance-intensive for most mobile and standalone VR platforms.
- Static Shadow Maps: Use these instead of Virtual Shadow Maps for baked lighting scenarios.
- Post-Processing: Be conservative with post-processing effects. Disable or simplify Bloom, Anti-Aliasing (use MSAA for mobile VR), and reduce the quality of Depth of Field.
- Occlusion Culling: Ensure effective occlusion culling to prevent rendering objects that are hidden behind others.
- AR-Specific Optimizations: For AR, consider using the Mobile HDR rendering path, and optimize for the specific AR frameworks (ARKit/ARCore) to minimize tracking overhead.
Regular profiling with the Unreal Engine Profiler and GPU Visualizer tools is indispensable. They help identify performance bottlenecks, allowing you to make targeted optimizations and ensure your automotive assets deliver a smooth, immersive experience on any platform.
Mastering Unreal Engine for automotive visualization is a continuous journey of learning and refinement. From the initial project setup to the intricate details of material creation, lighting, and performance optimization, each step contributes to the final impact of your work. We’ve explored how to harness powerful features like Lumen for dynamic global illumination, Nanite for unprecedented geometric detail, and Blueprint for rich interactivity, all while emphasizing the importance of high-quality assets like those found on 88cars3d.com.
The real-time revolution in automotive design and marketing is here, and Unreal Engine is at its forefront. By applying the workflows and techniques outlined in this guide, you’re now equipped to create stunning, interactive experiences that push the boundaries of realism and engagement. The next step is to dive in, experiment, and bring your automotive visions to life. The tools are powerful, the assets are available, and the potential is limitless. Start building your next masterpiece today!
Featured 3D Car Models

Cadillac CTS-V Coupe 3D Model
Meta Description:
Texture: Yes
Material: Yes
Download the Cadillac CTS-V Coupe 3D Model featuring detailed exterior styling and realistic interior structure. Includes .blend, .fbx, .obj, .glb, .stl, .ply, .unreal, and .max formats for rendering, simulation, AR VR, and game development.
Price: $13.9
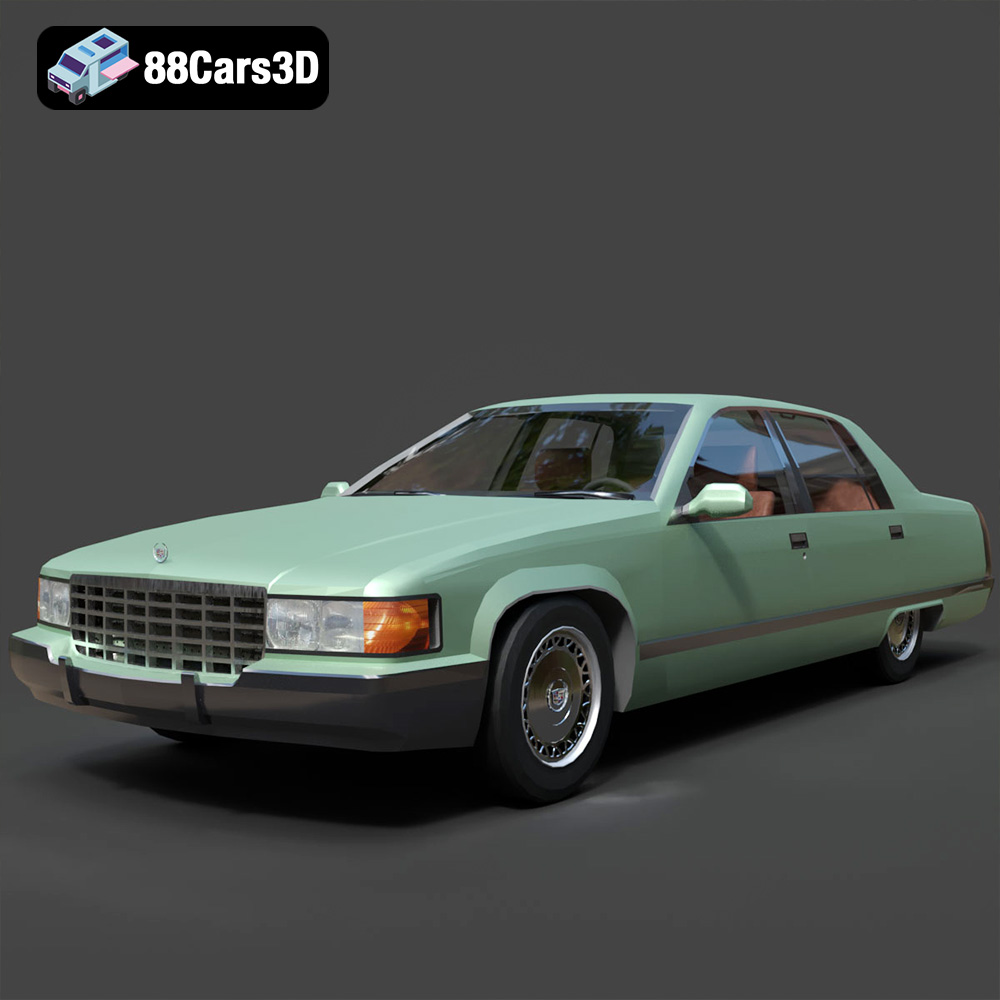
Cadillac Fleetwood Brougham 3D Model
Texture: Yes
Material: Yes
Download the Cadillac Fleetwood Brougham 3D Model featuring its iconic classic luxury design and detailed exterior and interior. Includes .blend, .fbx, .obj, .glb, .stl, .ply, .unreal, and .max formats for rendering, simulation, and game development.
Price: $10.79
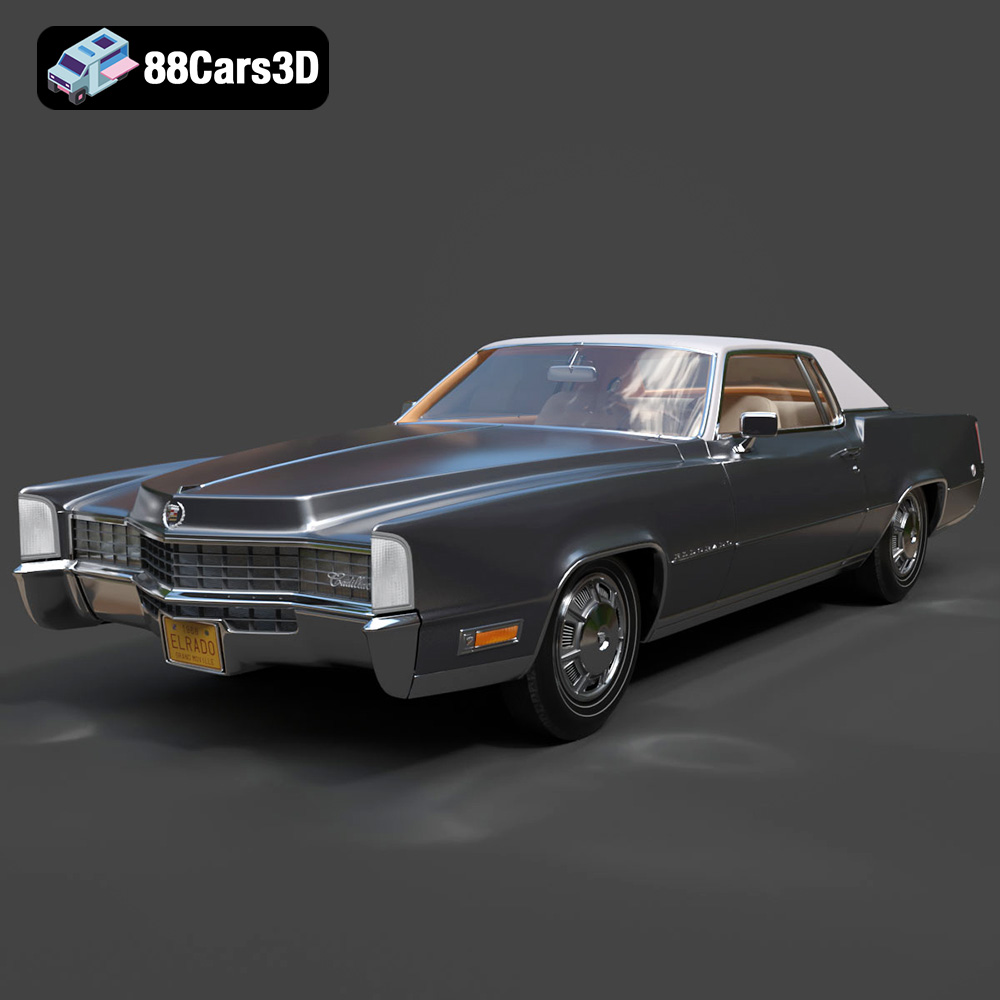
Cadillac Eldorado 1968 3D Model
Texture: Yes
Material: Yes
Download the Cadillac Eldorado 1968 3D Model featuring its iconic elongated body, distinctive chrome accents, and luxurious interior. Includes .blend, .fbx, .obj, .glb, .stl, .ply, .unreal, and .max formats for rendering, simulation, and game development.
Price: $20.79

Cadillac CTS SW 2010 3D Model
Texture: Yes
Material: Yes
Download the Cadillac CTS SW 2010 3D Model featuring a detailed exterior, functional interior elements, and realistic materials. Includes .blend, .fbx, .obj, .glb, .stl, .ply, .unreal, and .max formats for rendering, simulation, and game development.
Price: $10.79
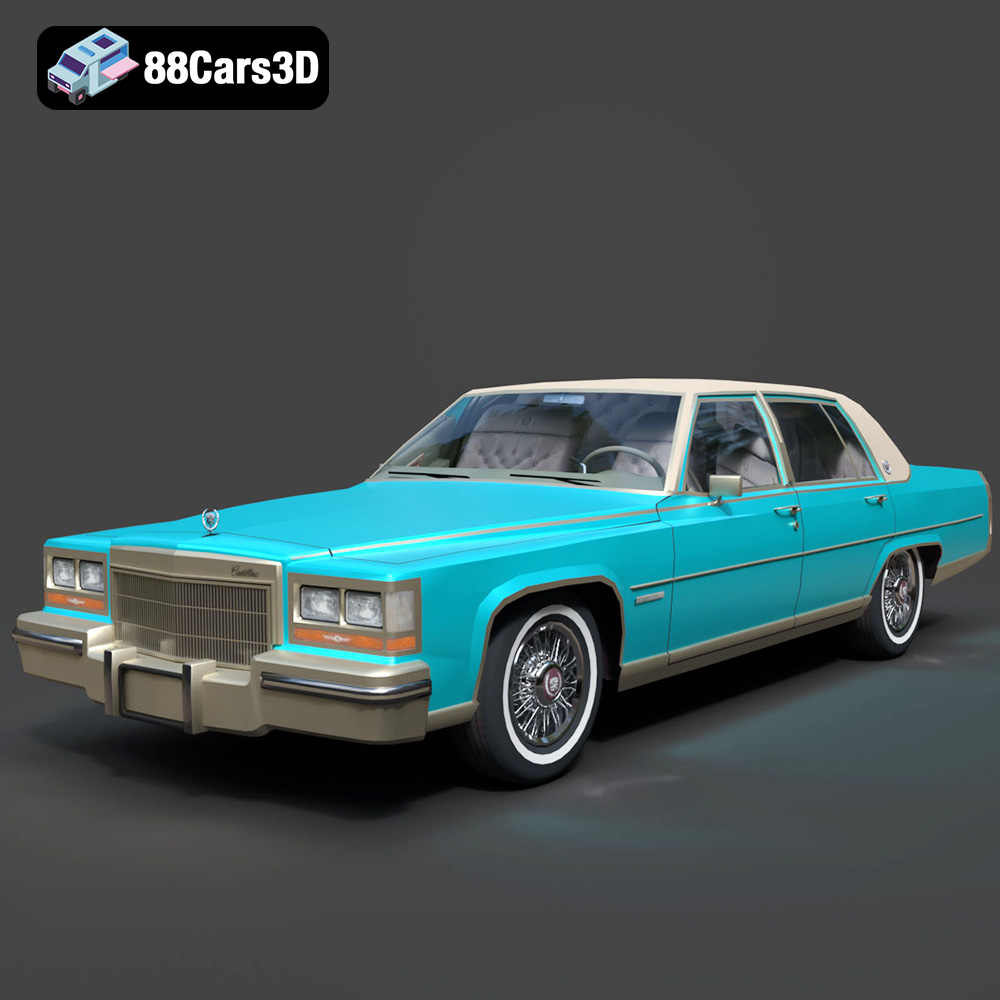
Cadillac Fleetwood Brougham 1985 3D Model
Texture: Yes
Material: Yes
Download the Cadillac Fleetwood Brougham 1985 3D Model featuring its iconic classic luxury design and detailed craftsmanship. Includes .blend, .fbx, .obj, .glb, .stl, .ply, .unreal, and .max formats for rendering, simulation, and game development.
Price: $10.79
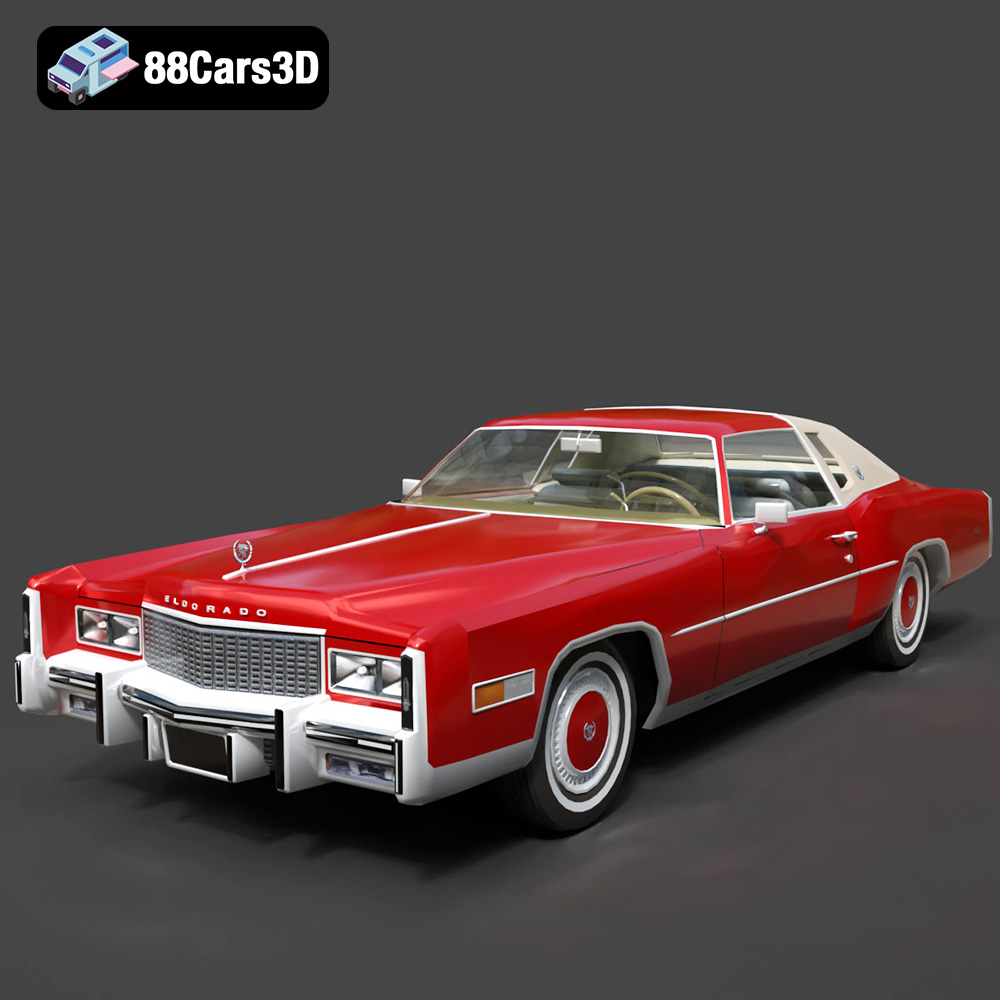
Cadillac Eldorado 1978 3D Model
Texture: Yes
Material: Yes
Download the Cadillac Eldorado 1978 3D Model featuring accurately modeled exterior, detailed interior, and period-correct aesthetics. Includes .blend, .fbx, .obj, .glb, .stl, .ply, .unreal, and .max formats for rendering, simulation, and game development.
Price: $10.79
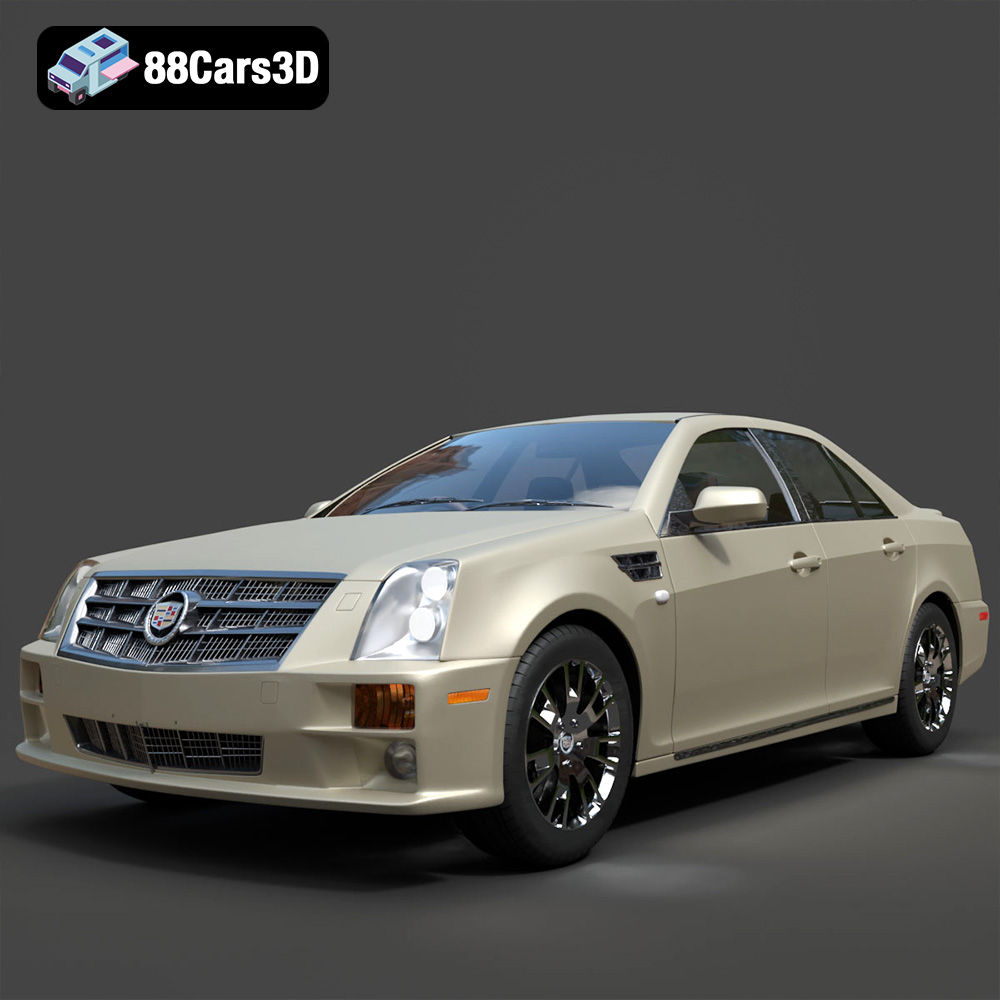
Cadillac STS-005 3D Model
Texture: Yes
Material: Yes
Download the Cadillac STS-005 3D Model featuring a detailed exterior and interior. Includes .blend, .fbx, .obj, .glb, .stl, .ply, .unreal, and .max formats for rendering, simulation, and game development.
Price: $22.79
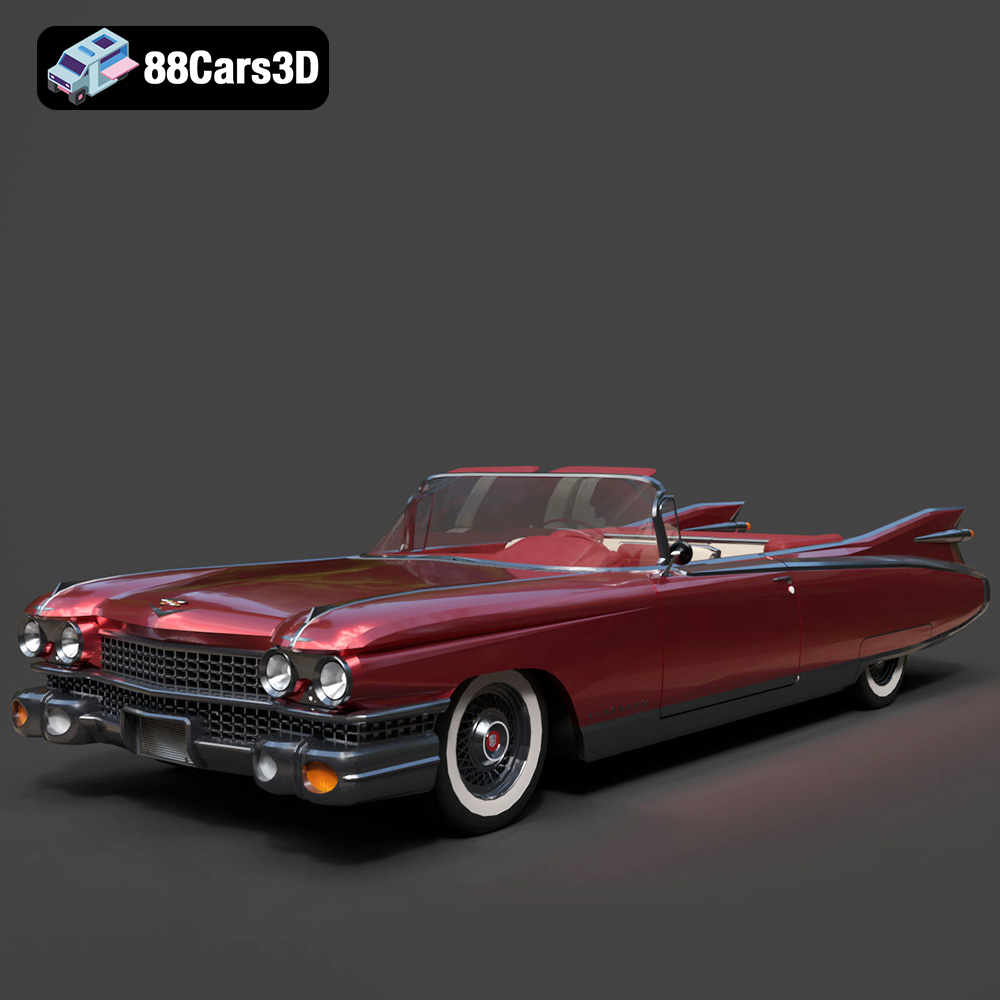
Cadillac Eldorado Convertible (1959) 3D Model
Texture: Yes
Material: Yes
Download the Cadillac Eldorado Convertible (1959) 3D Model featuring iconic fins, luxurious chrome details, and a classic vintage design. Includes .blend, .fbx, .obj, .glb, .stl, .ply, .unreal, and .max formats for rendering, simulation, and game development.
Price: $20.79

Cadillac DTS-005 3D Model
Texture: Yes
Material: Yes
Download the Cadillac DTS-005 3D Model featuring its iconic luxury design, detailed interior, and realistic exterior. Includes .blend, .fbx, .obj, .glb, .stl, .ply, .unreal, and .max formats for rendering, simulation, and game development.
Price: $10.79

Buick LeSabre 1998 3D Model
Texture: Yes
Material: Yes
Download the Buick LeSabre 1998 3D Model featuring a classic American full-size sedan design. Includes .blend, .fbx, .obj, .glb, .stl, .ply, .unreal, and .max formats for rendering, simulation, and game development.
Price: $10.79
