

In the visually demanding world of real-time automotive visualization and game development, achieving photorealistic results often requires pushing the boundaries of standard tools. While Unreal Engine’s powerful Material Editor offers incredible flexibility and a vast array of nodes, there are moments when artists and developers yearn for a deeper level of control—the kind that only direct shader programming can provide. This is where HLSL (High-Level Shading Language) steps in, offering a direct conduit to the GPU and unlocking unparalleled creative freedom.
For professionals working with high-fidelity 3D car models, whether for an interactive configurator, a cinematic automotive advertisement, or an immersive AR/VR experience, HLSL is a game-changer. It allows you to craft bespoke rendering algorithms, simulate complex physical properties that are difficult to achieve with standard material nodes, and optimize performance with surgical precision. Imagine perfectly replicating the anisotropic sheen of clear coat on a supercar, the subtle metallic flakes shimmering within a paint finish, or advanced headlight refractors—these are the realms where custom HLSL shaders truly shine. This comprehensive guide will take you on a journey through the fundamentals and advanced applications of HLSL within Unreal Engine, empowering you to elevate your automotive visualization projects to new heights of realism and interactivity.
The Unseen Power: Why HLSL is Crucial for Automotive Realism in Unreal Engine
Unreal Engine’s Material Editor is an incredibly robust visual scripting tool, allowing artists to create stunning PBR materials without writing a single line of code. For most common scenarios, it’s more than sufficient. However, for the exacting demands of automotive visualization, especially when dealing with the nuanced interplay of light on complex surfaces like car paint, glass, and chrome, HLSL offers a level of granularity and control that the Material Editor simply cannot match natively. Consider the intricate layering of automotive clear coat, the unique specular highlights of brushed metal, or the procedural generation of subtle imperfections—these are areas where a custom HLSL shader can provide a superior, often more performant, solution.
By integrating HLSL, developers can directly manipulate how vertices are transformed and how pixels are shaded, leading to highly optimized and visually distinctive effects. This direct access translates into the ability to implement unique lighting models, custom physically-based rendering (PBR) equations tailored to specific material types, or even advanced computational tasks like simulating fluid dynamics or complex reflections. For instance, achieving a truly convincing multi-layer car paint shader, complete with distinct base color, metallic flake layer, and a top clear coat, often benefits immensely from a custom HLSL implementation that can handle these layers more efficiently and accurately than a stack of blend nodes in the Material Editor. When sourcing high-quality automotive assets, platforms like 88cars3d.com provide models that are ready for these advanced shader treatments, offering clean topology and UVs that are essential for custom effects.
Bridging the Gap: Material Editor and Custom HLSL
Unreal Engine doesn’t force an “either/or” choice between the Material Editor and HLSL. Instead, it offers a powerful bridge: the Custom node within the Material Editor. This node allows you to embed raw HLSL code directly into your material graph. This hybrid approach is incredibly powerful. You can leverage the Material Editor for the majority of your material’s logic (texture sampling, basic PBR parameters) and then use Custom nodes for specific, complex calculations where HLSL excels. This might involve custom normal mapping, unique blending operations, or a specialized reflection model. It provides the best of both worlds: the visual clarity of the Material Editor for overarching structure, combined with the precision and performance of HLSL for critical components.
When to Leverage Custom HLSL Shaders
Deciding when to transition from pure Material Editor work to incorporating HLSL is a critical skill. Here are some key indicators:
- Unique Visual Effects: When you need a visual effect that isn’t directly supported by Unreal Engine’s standard material nodes, such as highly specific fabric weaves, advanced subsurface scattering beyond default implementations, or procedural pattern generation.
- Performance Optimization: For extremely complex calculations that need to run efficiently on the GPU. Hand-written HLSL can often be more performant than an equivalent node network in the Material Editor, especially for highly iterative or conditional logic.
- Custom Lighting Models: If your project requires a lighting model different from Unreal’s standard physically-based deferred renderer, such as cartoon shading (cel-shading), non-photorealistic rendering, or highly stylized real-time reflections.
- Advanced PBR Interpretations: For highly specialized materials like multi-layered car paints, iridescent surfaces, or complex metallic flake shaders that require specific mathematical models for accurate light interaction.
- Procedural Content Generation: When you need to generate textures, masks, or geometric data procedurally on the GPU.
Understanding these scenarios will help you make informed decisions, balancing development time with visual fidelity and performance for your 3D car models.
Getting Started: Integrating HLSL into Your Unreal Engine Project
The journey into custom shader development with HLSL in Unreal Engine begins with understanding the core workflow. While direct plugin development for custom rendering passes is an advanced topic, the most accessible entry point is through the Custom node in the Material Editor. This node acts as a gateway, allowing you to inject HLSL snippets that operate within the existing material graph. Setting up a basic custom shader involves defining inputs, writing your HLSL logic, and specifying the output. It’s a straightforward process that grants immediate results, making it ideal for experimentation and targeted problem-solving.
To begin, open your Material Editor and right-click to search for “Custom.” Add the node to your graph. This node comes with several default input pins (Input_0, Input_1, etc.) and an ‘Output Type’ setting that determines the data type of the result (e.g., Float1 for a single float, Float3 for a vector, Float4 for color/vector with alpha). Inside the node, you’ll find a text editor where you write your HLSL code. The inputs you connect to the Custom node are accessible within this code as variables with the same names (e.g., `Input_0`). The final result is returned via the `return` keyword. For more complex custom shaders that reside in `.usf` files (Unreal Shader Files), you’ll need to explore the Unreal Engine Shader Development documentation, which often involves C++ plugin development to register new shader types with the engine.
A Basic Custom Node Implementation
Let’s consider a simple example: a custom HLSL node that inverts the color of a texture.
- Create a new Material in Unreal Engine.
- Add a Texture Sample node and connect a texture (e.g., a base color texture from your 3D car model).
- Add a Custom node.
- Connect the ‘RGB’ output of the Texture Sample to `Input_0` of the Custom node.
- Set the ‘Output Type’ of the Custom node to ‘Float3’.
- In the Custom node’s code editor, enter the following HLSL:
float3 InvertedColor = 1.0 - Input_0; return InvertedColor; - Connect the output of the Custom node to the ‘Base Color’ input of your Material’s main output node.
This simple setup demonstrates how `Input_0` directly receives the color from the texture, the HLSL performs a basic subtraction, and the result is returned as a `Float3` to the material. This illustrates the fundamental mechanism of passing data into and out of your custom shader snippets.
Passing Data to Your HLSL Shader
Beyond simple float values or texture samples, HLSL offers various ways to pass complex data.
- Scalar and Vector Inputs: These are the most common, directly connecting to Material Editor pins. You can pass floats, vectors (Float2, Float3, Float4), and even integers.
- Texture Samples: You can sample textures directly within HLSL using Unreal’s built-in texture sampling functions (e.g., `Texture2DSample`). The Material Editor will convert a `Texture Sample` node’s output into a `float4` for your `Input_X` pin.
- Engine Parameters: Unreal Engine exposes numerous built-in parameters (like `PixelPosition`, `ScreenPosition`, `Time`, `CameraPosition`, `ObjectWorldPosition`, `VertexNormal`, `TangentSpaceNormal`, `PerInstanceRandom`) that can be accessed directly in Custom nodes without explicit inputs. These are invaluable for creating dynamic and context-aware effects. For instance, `float4 ScreenPosition = GetScreenPosition();` allows you to retrieve the screen-space coordinates of the current pixel.
- Custom Uniform Buffers (Advanced): For more complex scenarios, especially when developing custom rendering passes or plugins, you might define your own uniform buffers in C++ to pass structured data directly to your HLSL shaders. This is typically beyond the scope of a single Custom node and involves a deeper dive into Unreal’s rendering architecture as described in the official Unreal Engine documentation.
Understanding these data passing mechanisms is crucial for building sophisticated and interactive custom materials for your automotive visualization needs.
Crafting Hyper-Realistic Automotive Materials with HLSL
Automotive visualization demands an extremely high level of material fidelity. The way light interacts with car paint, glass, chrome, and rubber defines much of the visual realism. While Unreal Engine’s default PBR shaders are excellent, HLSL allows for the implementation of advanced material models that cater specifically to the unique properties of vehicle components. This is where you can truly differentiate your 3D car models.
For example, standard car paint is not a single material but a complex layered structure: a base coat (color), often a metallic flake layer, and a clear protective top coat. Each layer has distinct optical properties. The base coat contributes diffuse and some specular reflection, metallic flakes add glinting specular highlights that often exhibit anisotropy, and the clear coat provides a glossy, highly reflective outer shell with its own Fresnel effect and index of refraction (IOR). Replicating this accurately in real-time requires a nuanced approach, and HLSL provides the tools to build these multi-layered shaders efficiently and precisely. Similarly, materials like brushed aluminum or carbon fiber benefit immensely from custom anisotropic reflection models that account for the microscopic grooves on their surfaces, scattering light predominantly in one direction.
Advanced Car Paint Shaders: Clear Coat and Anisotropy
Implementing a sophisticated car paint shader often involves handling a clear coat layer. A clear coat typically has a higher index of refraction (IOR) than the underlying paint and exhibits strong Fresnel reflection, meaning it reflects more light at grazing angles. In HLSL, you can model this by blending two distinct PBR layers: one for the base paint and another for the clear coat. The clear coat layer would have its own normal (often smoothed from the base mesh), roughness, and IOR. The blending factor can be derived from a Fresnel term calculated based on the view direction and the clear coat’s normal. This ensures that the car paint realistically reflects its environment, with a strong, glossy sheen and accurate highlights.
Furthermore, anisotropic reflections are crucial for materials like brushed metals or car paints with directional metallic flakes. Anisotropy means that the specular highlight stretches along a specific direction, rather than appearing as a perfectly circular blob. In HLSL, you achieve this by manipulating the normal distribution function (NDF) within your PBR lighting model, typically by introducing a ‘tangent’ or ‘bitangent’ vector that defines the direction of anisotropy and modifying the roughness parameters along these axes. This subtle detail significantly enhances the realism of many automotive surfaces.
Simulating Complex Metallic Flakes
The metallic flake layer within car paint is notoriously difficult to replicate convincingly. These tiny, reflective particles randomly oriented within the paint matrix catch and reflect light, creating a sparkling effect. A basic approach in HLSL might involve generating procedural noise patterns to represent individual flakes and then applying a microfacet BRDF (Bidirectional Reflectance Distribution Function) with varying normals and roughness values for each “flake.” More advanced techniques involve using screen-space reflections (SSR) or even ray tracing for these microfacets, though these are more computationally intensive.
An HLSL shader can achieve convincing flakes by:
- Generating a noise pattern in UV space or screen space to represent flake distribution.
- Modulating the roughness and metallic values based on this noise and the view angle.
- Potentially perturbing the surface normal slightly for each “flake” to simulate different orientations.
- Applying a Fresnel effect to each flake to control reflectivity based on view angle.
This level of detail, especially when combined with realistic lighting from features like Lumen, transforms a good 3D car model into a truly spectacular one.
Dynamic Effects and Procedural Textures
HLSL is also invaluable for creating dynamic and procedural effects. Imagine a car getting progressively dirtier over time, accumulating dust, mud, or even scratches. Instead of relying on pre-rendered textures or complex blending operations in the Material Editor, an HLSL shader can procedurally generate these effects. For instance, a dirt accumulation shader could sample ambient occlusion, world-space position, and normal information to determine where dirt would naturally settle. Similarly, a rust shader could grow procedurally based on exposed metal or areas prone to moisture. This approach ensures scalability and flexibility, allowing for infinite variations without needing unique texture maps for every state. Unreal Engine’s powerful rendering capabilities combined with custom HLSL open up endless possibilities for making your automotive scenes come alive, providing a dynamic experience whether for games or interactive configurators.
Performance Optimization and Debugging HLSL Shaders in Unreal Engine
While HLSL provides immense control for visual fidelity, it also places the responsibility of performance squarely on the developer. In real-time rendering, especially for demanding applications like automotive visualization where high frame rates are critical for immersion, an unoptimized shader can quickly become a bottleneck. The goal is always to achieve the desired visual quality with the minimum possible GPU cost. This involves understanding shader complexity, leveraging Unreal Engine’s profiling tools, and adhering to best practices for writing efficient HLSL code.
For high-polygon 3D car models, every millisecond counts. A complex car paint shader running on millions of pixels can significantly impact performance. Common pitfalls include excessive texture fetches, complex mathematical operations that can be simplified, and branching logic within the pixel shader. Debugging these issues requires a systematic approach, often involving inspecting intermediate results and utilizing the profiling tools built into Unreal Engine to identify specific performance hot spots within your custom HLSL code.
Profiling Your Custom Shaders in Unreal Engine
Unreal Engine offers several powerful tools to analyze shader performance:
- Shader Complexity Viewmode: Accessible in the viewport, this mode visually represents the instruction count of your shaders. Brighter (often pink/white) areas indicate higher instruction counts and potential performance issues. For custom HLSL, a complex Custom node will show up as a higher instruction count.
- GPU Visualizer (Ctrl + Shift + ,): This tool provides a detailed breakdown of GPU frame time, allowing you to see exactly which rendering passes and shaders are consuming the most resources. You can drill down to individual draw calls and identify specific materials or Custom nodes that are contributing heavily to frame time.
- Stat GPU Command: Typing `stat gpu` in the console will display real-time GPU performance statistics, including shader time.
- HLSL Code Analysis Tools: While not directly in Unreal, external tools or even the Visual Studio Graphics Debugger can be used to step through HLSL code, inspect variables, and profile individual shader stages when developing custom rendering passes via C++ plugins.
Regularly profiling your custom shaders during development is crucial. A simple optimization in a frequently executed shader can yield significant performance gains, especially across many frames or in projects with numerous high-quality 3D car models.
Best Practices for Performance-Critical HLSL
When writing HLSL for performance, consider these best practices:
- Minimize Instructions: Every arithmetic operation, texture fetch, or branch adds to the instruction count. Look for ways to simplify mathematical expressions and reduce redundant calculations.
- Texture Optimization:
- Minimize texture fetches, especially in the pixel shader. Cache results if possible.
- Use appropriate texture formats (e.g., BC1/DXT1 for diffuse, BC5/DXT5 for normals).
- Utilize texture samplers with correct filtering and MipMap settings.
- Avoid Dynamic Branching: Conditional statements (
if/else) in pixel shaders can lead to divergent execution paths on the GPU, where different pixels within the same warp/wave take different branches. This often forces all threads to execute all branches, leading to performance loss. Where possible, use `lerp` (linear interpolation) or mathematical equivalents instead of `if/else` for conditional logic. - Use Swizzling and Vector Operations: GPUs are highly optimized for vector operations. Use swizzling (e.g., `myVector.rgb`) and operate on vectors (e.g., `float3 result = A * B;`) rather than individual components where possible.
- Precision Selection: Use `half` (16-bit float) instead of `float` (32-bit float) for values that don’t require high precision (e.g., colors, UVs). This can significantly reduce memory bandwidth and instruction cost. Unreal’s Material Editor often promotes `half` to `float` internally, but explicit `half` usage in HLSL can still offer benefits.
- Pre-calculate Where Possible: If a value is constant per-object or per-frame, calculate it on the CPU or in the vertex shader and pass it to the pixel shader, rather than re-calculating it for every pixel.
- Output Only What’s Needed: In the Custom node, ensure your `Output Type` is the smallest necessary (e.g., `Float3` instead of `Float4` if you don’t need alpha).
By diligently applying these principles, you can develop custom HLSL shaders that deliver stunning visuals without compromising the real-time performance essential for modern automotive visualization and game development. When you work with optimized assets from sources like 88cars3d.com, combining them with efficient custom shaders creates a truly high-performance, high-fidelity experience.
Advanced HLSL Applications and Integration in Unreal Engine
Beyond material customization, HLSL opens doors to deeply integrated and specialized rendering techniques within Unreal Engine. This ranges from custom post-processing effects that alter the entire scene to compute shaders that perform data-parallel operations for procedural content generation. For developers pushing the boundaries of automotive visualization, understanding these advanced integrations is key to achieving truly unique visual styles and complex simulations that go beyond the capabilities of standard material graphs. These techniques are often fundamental in creating cutting-edge virtual production pipelines, real-time cinematics with Sequencer, or highly optimized AR/VR experiences.
When you delve into these advanced areas, the Custom node within the Material Editor often becomes insufficient. You’ll typically be working with Unreal Shader Files (`.usf` files) and developing C++ plugins to register your custom shaders with Unreal’s rendering pipeline. This allows for direct access to rendering stages, input textures, and output targets that are not exposed through the Material Editor. For instance, creating a custom global illumination solution or a highly specific screen-space reflection technique would require this deeper integration. Leveraging the official Unreal Engine documentation on custom rendering and plugins is essential for these tasks.
Beyond Materials: Post-Processing and Compute Shaders
Custom Post-Processing Effects: HLSL is the backbone of most post-processing effects. Instead of applying effects directly to a material, post-process shaders operate on the entire rendered scene, often after all opaque and transparent geometry has been drawn. This allows for global effects like custom color grading, unique bloom algorithms, advanced depth-of-field, film grain, or stylized effects. In Unreal Engine, you can create custom post-process materials by setting their ‘Material Domain’ to ‘Post Process.’ Within these materials, you can again use Custom nodes to write HLSL that manipulates the scene color, depth, or other G-buffer attributes. For example, a custom sharpening filter or a unique artistic render pass can be implemented with a few lines of HLSL.
Compute Shaders: A compute shader is a powerful type of shader that doesn’t directly render pixels to the screen. Instead, it’s used for general-purpose parallel computing on the GPU. This is incredibly useful for tasks like:
- Procedural Generation: Generating complex textures (e.g., advanced noise patterns, fractals), height maps, or even entire mesh data on the GPU.
- Physics Simulations: Simulating particle systems (like Niagara particle effects often use compute shaders), fluid dynamics, or cloth simulations.
- Data Processing: Performing complex calculations on large datasets, such as image processing, voxelization, or pathfinding algorithms.
Integrating compute shaders in Unreal Engine typically involves C++ code to dispatch them and manage their input/output buffers (UAVs – Unordered Access Views). This opens up possibilities for highly dynamic and interactive environments, where elements like dust on a car, or even minor deformations, could be procedurally simulated at runtime with minimal CPU overhead.
Customizing the Rendering Pipeline with HLSL Plugins
For the most extensive control over Unreal Engine’s rendering, developers can create C++ plugins that register new rendering features and integrate custom HLSL shaders directly into the engine’s rendering pipeline. This is where truly groundbreaking features can be implemented:
- Custom Global Illumination: Implementing a proprietary global illumination technique that complements or replaces Lumen in specific scenarios.
- Unique Reflection Systems: Developing specialized reflection systems for automotive use, perhaps ray-traced reflections that are tailored for specific car surfaces, or custom screen-space techniques.
- Volumetric Effects: Creating highly optimized volumetric fog, smoke, or light shafts that leverage custom HLSL for performance and visual quality.
- Non-Photorealistic Rendering (NPR): For stylized games or visualizations, custom shading models can be integrated to achieve cel-shading, comic book styles, or painterly effects.
This level of integration requires a deep understanding of Unreal Engine’s rendering architecture and C++ development. It enables the creation of highly specialized solutions that are perfectly optimized for specific project needs, making it possible to achieve visual feats that would be impossible with the Material Editor alone. For high-end automotive visualization and virtual production, this capability is invaluable, offering the ultimate flexibility in how 3D car models are rendered and presented.
Conclusion: Mastering HLSL for Unrivaled Automotive Visualization
The journey into HLSL shader development within Unreal Engine is a testament to the pursuit of ultimate control and visual fidelity. While Unreal Engine’s Material Editor is an incredibly powerful tool for creating stunning materials, HLSL offers the discerning developer and artist an unparalleled ability to craft bespoke rendering solutions. For automotive visualization, where the nuances of light, reflection, and surface properties define realism, this deeper dive into custom shaders is not just an advantage—it’s often a necessity.
From implementing advanced multi-layered car paints with accurate clear coat and metallic flake simulations, to creating dynamic procedural effects like dirt accumulation or specific scratch patterns, HLSL empowers you to achieve a level of realism and customization that truly sets your projects apart. We’ve explored how to integrate HLSL using the Custom node, delved into crafting complex automotive materials, discussed critical performance optimization strategies, and touched upon advanced applications like post-processing and compute shaders. The ability to directly communicate with the GPU, combined with Unreal Engine’s robust features like Nanite, Lumen, and Sequencer, provides a formidable toolkit for creating next-generation real-time experiences.
Mastering HLSL within Unreal Engine requires dedication and experimentation, but the rewards are profound: unparalleled visual quality, optimized performance, and the freedom to bring virtually any creative vision to life. As you continue your artistic and technical explorations, remember that a strong foundation in high-quality assets is just as crucial. For top-tier 3D car models optimized for Unreal Engine and ready for your custom shader masterpieces, be sure to explore the extensive collection available at 88cars3d.com. Start experimenting with HLSL today, push the boundaries of real-time rendering, and transform your automotive visualizations from excellent to extraordinary.
Featured 3D Car Models
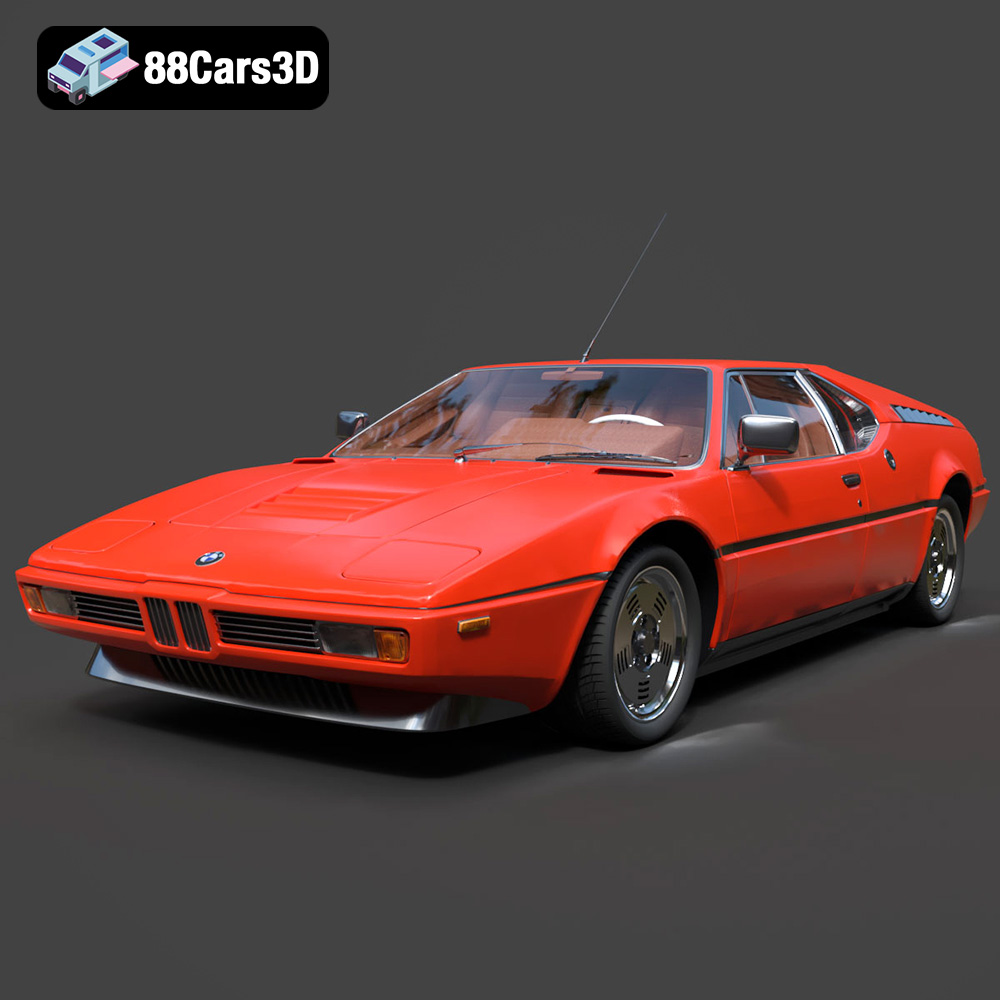
BMW Motorsport M1 E26 1981 3D Model
Texture: Yes
Material: Yes
Download the BMW Motorsport M1 E26 1981 3D Model featuring its iconic design, race-bred aerodynamics, and meticulously crafted details. Includes .blend, .fbx, .obj, .glb, .stl, .ply, .unreal, and .max formats for rendering, simulation, and game development.
Price: $20.79

Cadillac CTS-V Coupe 3D Model
Meta Description:
Texture: Yes
Material: Yes
Download the Cadillac CTS-V Coupe 3D Model featuring detailed exterior styling and realistic interior structure. Includes .blend, .fbx, .obj, .glb, .stl, .ply, .unreal, and .max formats for rendering, simulation, AR VR, and game development.
Price: $13.9
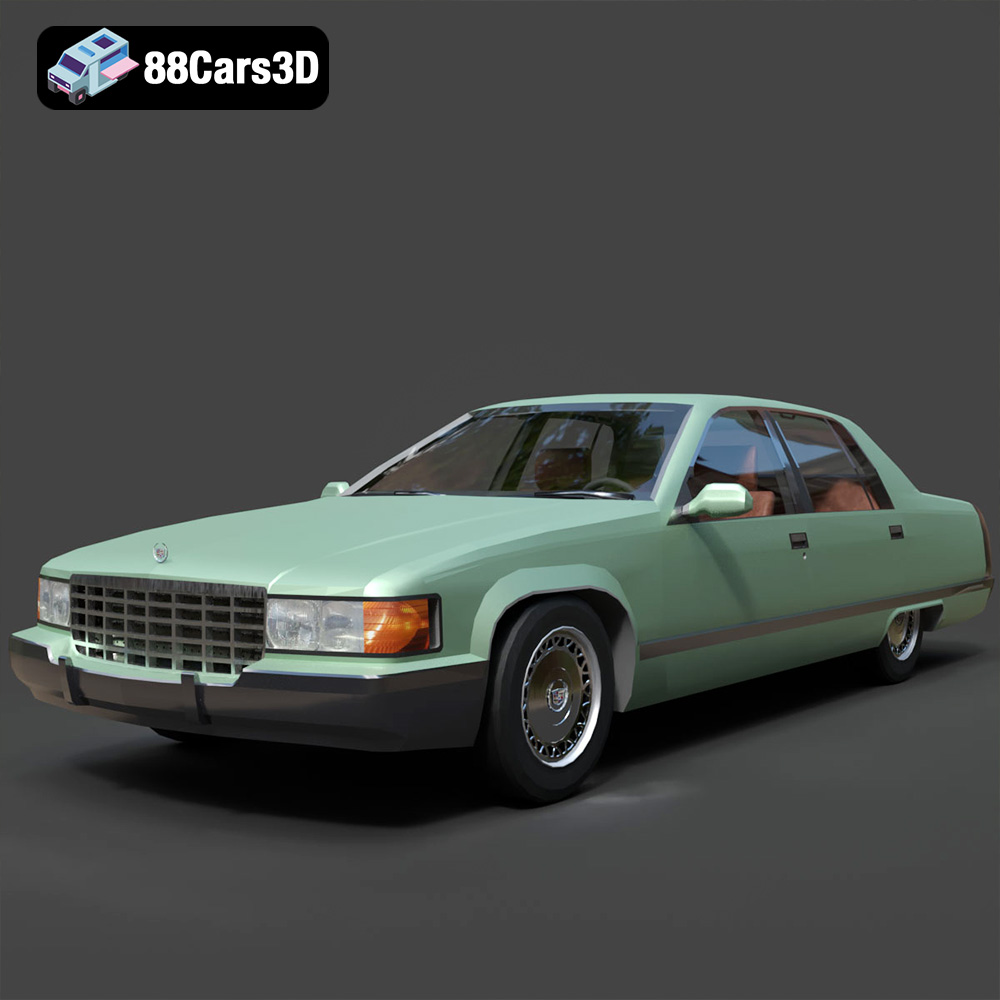
Cadillac Fleetwood Brougham 3D Model
Texture: Yes
Material: Yes
Download the Cadillac Fleetwood Brougham 3D Model featuring its iconic classic luxury design and detailed exterior and interior. Includes .blend, .fbx, .obj, .glb, .stl, .ply, .unreal, and .max formats for rendering, simulation, and game development.
Price: $10.79
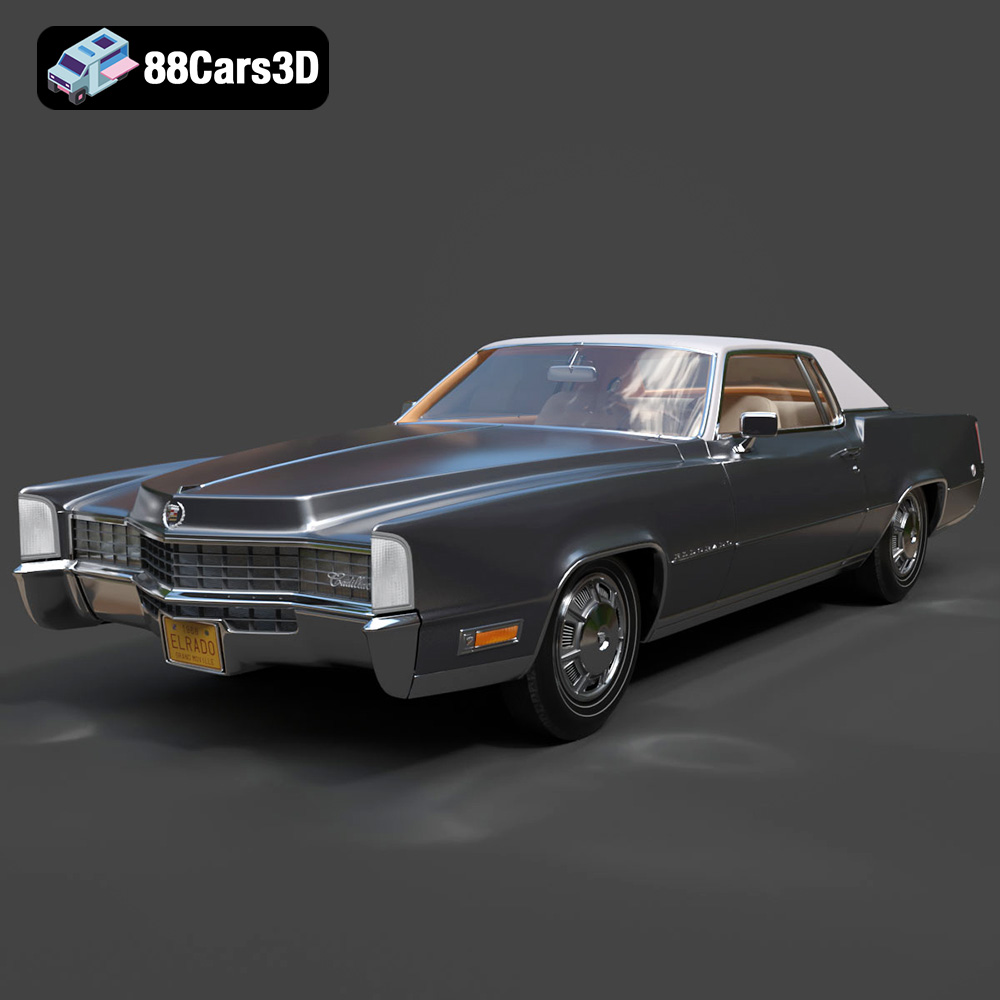
Cadillac Eldorado 1968 3D Model
Texture: Yes
Material: Yes
Download the Cadillac Eldorado 1968 3D Model featuring its iconic elongated body, distinctive chrome accents, and luxurious interior. Includes .blend, .fbx, .obj, .glb, .stl, .ply, .unreal, and .max formats for rendering, simulation, and game development.
Price: $20.79

Cadillac CTS SW 2010 3D Model
Texture: Yes
Material: Yes
Download the Cadillac CTS SW 2010 3D Model featuring a detailed exterior, functional interior elements, and realistic materials. Includes .blend, .fbx, .obj, .glb, .stl, .ply, .unreal, and .max formats for rendering, simulation, and game development.
Price: $10.79
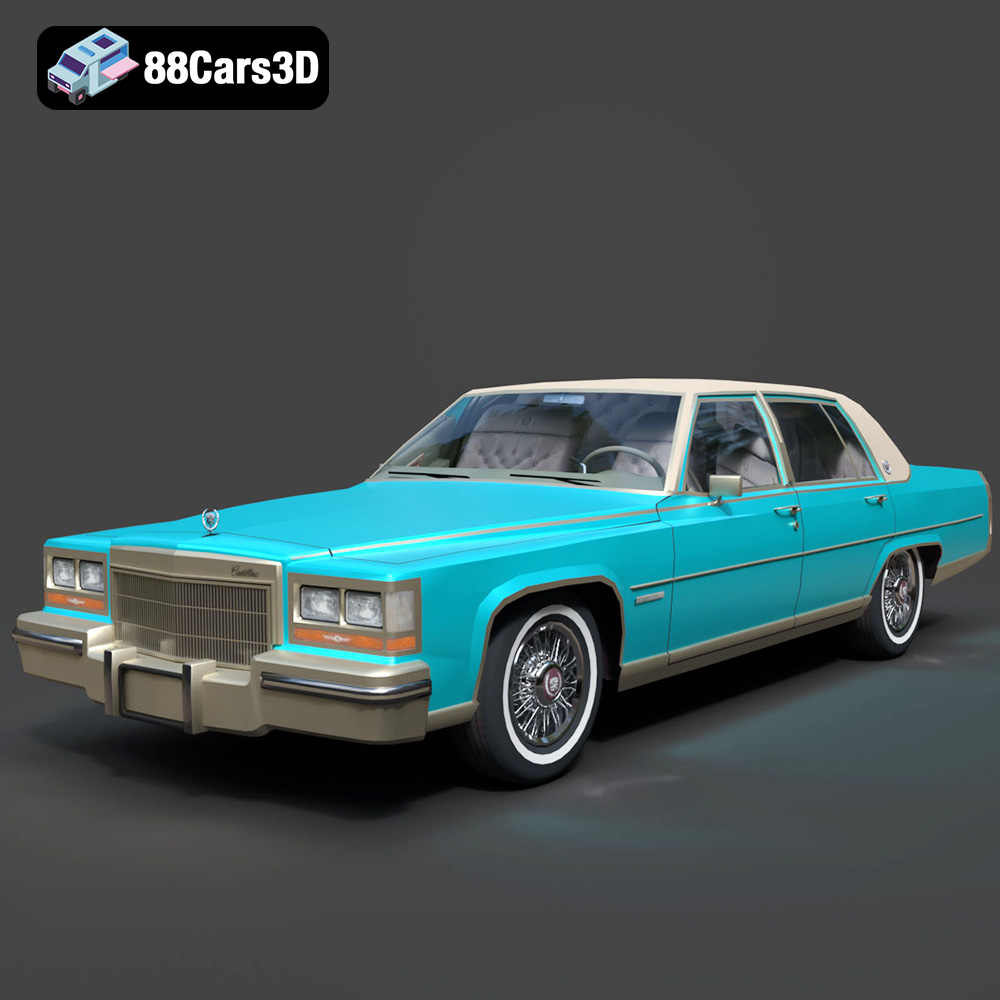
Cadillac Fleetwood Brougham 1985 3D Model
Texture: Yes
Material: Yes
Download the Cadillac Fleetwood Brougham 1985 3D Model featuring its iconic classic luxury design and detailed craftsmanship. Includes .blend, .fbx, .obj, .glb, .stl, .ply, .unreal, and .max formats for rendering, simulation, and game development.
Price: $10.79
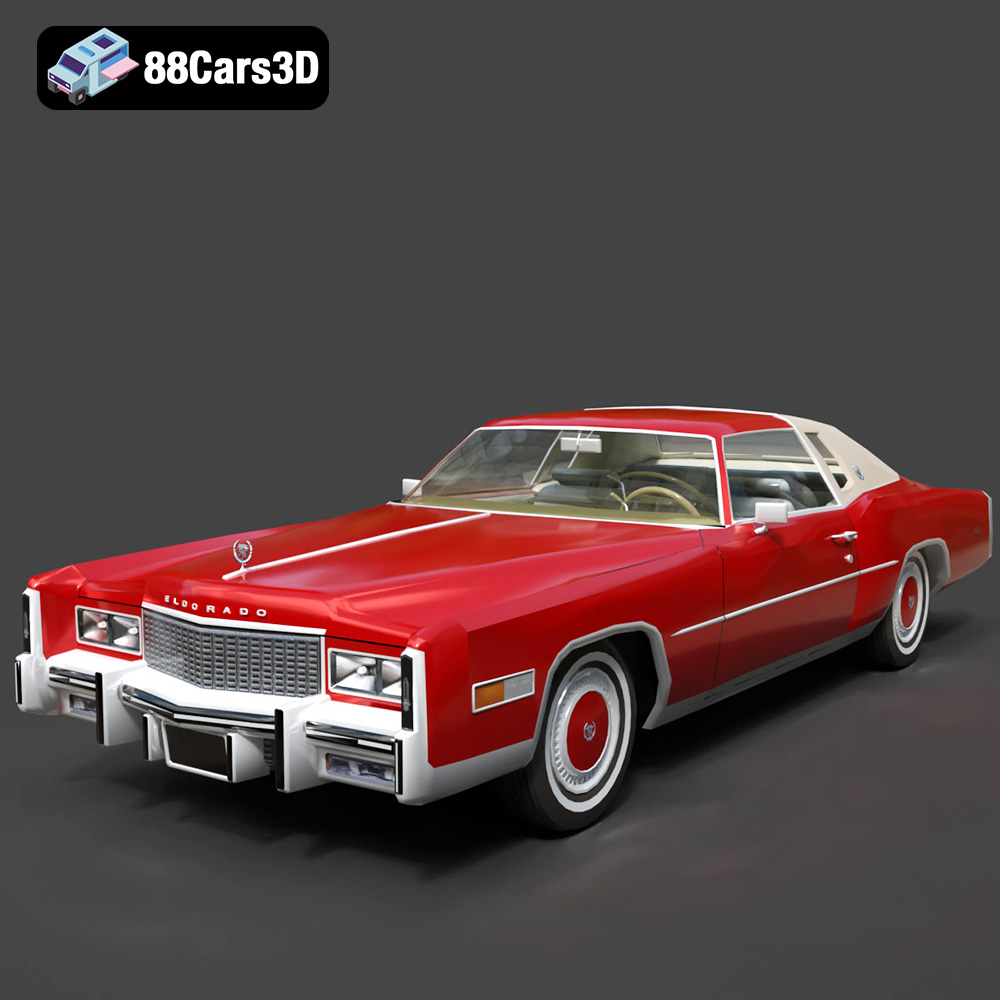
Cadillac Eldorado 1978 3D Model
Texture: Yes
Material: Yes
Download the Cadillac Eldorado 1978 3D Model featuring accurately modeled exterior, detailed interior, and period-correct aesthetics. Includes .blend, .fbx, .obj, .glb, .stl, .ply, .unreal, and .max formats for rendering, simulation, and game development.
Price: $10.79
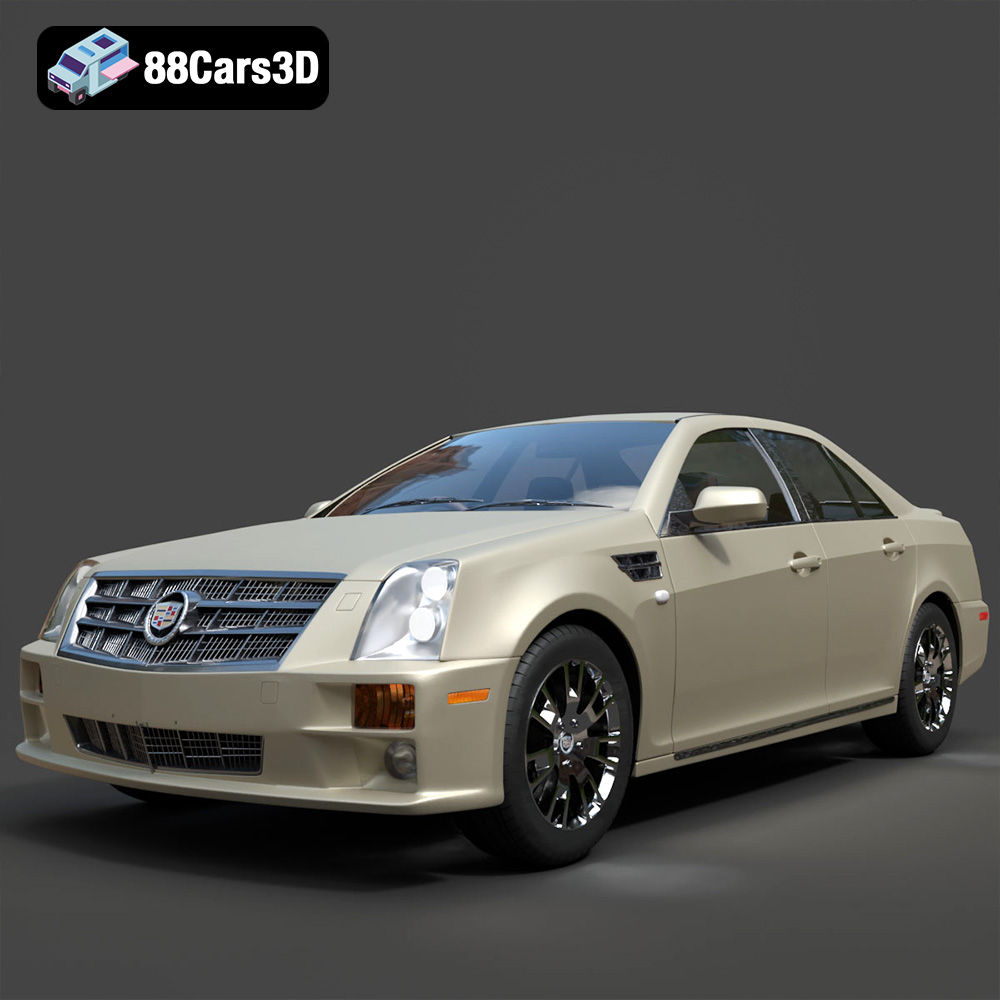
Cadillac STS-005 3D Model
Texture: Yes
Material: Yes
Download the Cadillac STS-005 3D Model featuring a detailed exterior and interior. Includes .blend, .fbx, .obj, .glb, .stl, .ply, .unreal, and .max formats for rendering, simulation, and game development.
Price: $22.79
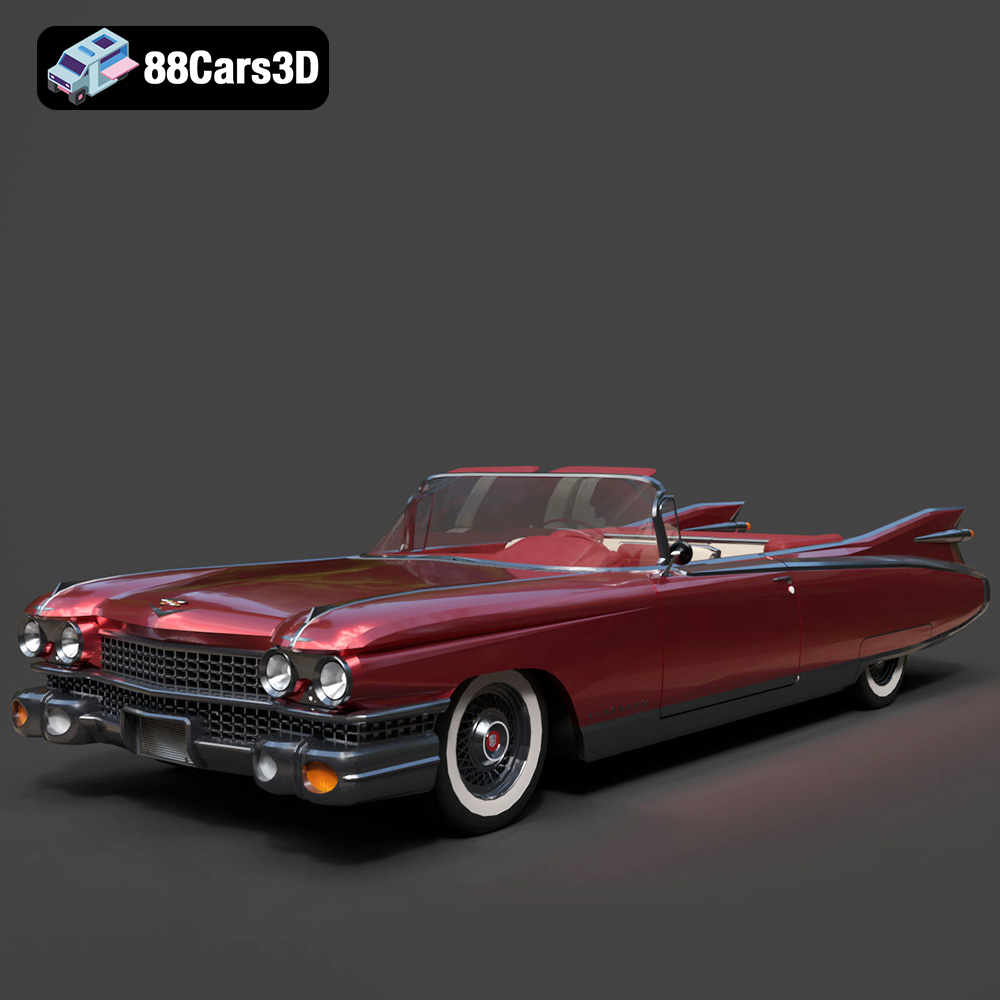
Cadillac Eldorado Convertible (1959) 3D Model
Texture: Yes
Material: Yes
Download the Cadillac Eldorado Convertible (1959) 3D Model featuring iconic fins, luxurious chrome details, and a classic vintage design. Includes .blend, .fbx, .obj, .glb, .stl, .ply, .unreal, and .max formats for rendering, simulation, and game development.
Price: $20.79

Cadillac DTS-005 3D Model
Texture: Yes
Material: Yes
Download the Cadillac DTS-005 3D Model featuring its iconic luxury design, detailed interior, and realistic exterior. Includes .blend, .fbx, .obj, .glb, .stl, .ply, .unreal, and .max formats for rendering, simulation, and game development.
Price: $10.79
