

In the dynamic world of 3D game development and real-time visualization, the pursuit of photorealism often clashes with the immutable laws of performance. Players demand stunning visuals, intricate details, and expansive environments, while developers grapple with the technical limitations of hardware and the need for smooth, consistent frame rates. This delicate balance is particularly pronounced when dealing with complex assets like high-fidelity 3D car models, which, by their very nature, feature numerous intricate components, smooth surfaces, and demanding material setups. How do studios achieve breathtaking automotive realism without bringing a game engine to its knees?
The answer lies in a fundamental optimization technique known as Levels of Detail (LODs). LODs are an indispensable tool in the arsenal of any 3D artist or game developer, allowing for intelligent asset management that tailors visual complexity to viewing distance. For automotive assets, which are often central to the player experience and need to look impeccable up close, a well-implemented LOD strategy is not just beneficial; it’s absolutely critical. This comprehensive guide will deep dive into the concept of LODs, explore best practices for their creation and implementation with 3D car models, and arm you with the technical knowledge to strike that perfect balance between visual fidelity and real-time performance.
Understanding Levels of Detail (LODs): The Core Concept
At its heart, Levels of Detail is a technique where multiple versions of the same 3D asset, each with varying levels of geometric complexity, are created and swapped out dynamically based on the object’s distance from the camera. The highest detail model, often referred to as LOD0, is displayed when the object is close to the viewer, showcasing every rivet and curve. As the object recedes into the distance, progressively lower detail versions (LOD1, LOD2, etc.) are rendered, featuring significantly fewer polygons but maintaining a visually convincing silhouette and overall form. This intelligent culling of unnecessary polygons dramatically reduces the computational load on the CPU and GPU, ensuring a smoother gameplay experience.
The Performance-Fidelity Trade-off
The fundamental principle behind LODs is to make an informed trade-off: sacrifice polygon count for performance when the visual impact of those polygons is minimal. A car model positioned directly in front of the player needs to look pristine, demanding a high-polygon mesh and detailed textures. However, that same car, barely visible on the horizon, only requires a basic representation. Rendering the full-detail model for every distant object would quickly overwhelm a game engine, leading to plummeting frame rates, increased memory consumption, and a surge in draw calls – the instructions sent from the CPU to the GPU to draw objects. By reducing geometry, LODs directly mitigate these performance bottlenecks, freeing up resources for other critical game systems or allowing for more objects to be rendered simultaneously without performance degradation. The goal is to achieve an optimal balance where the visual difference between LODs is imperceptible to the player during typical gameplay.
LOD Groups and Transitions
Game engines manage these multiple versions of an asset through what are typically called “LOD Groups” or similar mechanisms. An LOD Group for a car model would contain all its different detail levels. The engine continuously evaluates the distance of the object to the camera and switches to the appropriate LOD mesh when a predefined threshold is crossed. Critical to a seamless player experience are smooth transitions between these LOD levels. Abrupt changes, often referred to as “popping,” can be highly jarring and break immersion. Modern game engines employ various techniques to minimize popping, such as cross-fading textures or smoothly interpolating between mesh vertices during the transition. Understanding these systems is key to implementing LODs effectively, ensuring that the visual integrity of your automotive models is maintained across all viewing distances. These groups often also allow for different material and shader complexities for each LOD, further enhancing performance for distant objects.
Crafting LODs for Automotive 3D Models: A Workflow Deep Dive
Creating effective LODs for complex automotive 3D models requires a systematic approach, beginning with a meticulously crafted high-polygon base mesh. The workflow typically involves starting with the highest detail model (LOD0) and progressively creating simplified versions. This iterative process demands both artistic judgment and technical precision to ensure that visual quality is preserved while polygon counts are drastically reduced. For automotive assets, where smooth curves and intricate details define their aesthetics, careful consideration must be given to how geometry is removed without compromising the vehicle’s recognizable silhouette.
Manual Decimation vs. Automated Tools
When it comes to reducing polygon count, artists have two primary avenues: manual decimation and automated tools. Manual decimation involves an artist selectively removing edges and vertices, re-topologizing areas, and optimizing geometry by hand. This method offers unparalleled control over the resulting mesh, allowing artists to preserve critical silhouette edges, maintain clean topology around details like headlights and grilles, and ensure optimal UV mapping. It’s often preferred for LOD1 and LOD2, where visual integrity is still paramount. However, manual decimation is time-consuming and requires significant skill. For example, in Blender, artists might use the Decimate Modifier in an un-subdivide or planar mode, followed by manual cleanup, or even retopologize parts of the mesh from scratch for optimal results. Conversely, automated tools like ProOptimizer in 3ds Max, the Decimate Modifier in Blender, or similar features in Maya offer rapid polygon reduction based on various algorithms. These tools are excellent for quickly generating lower LODs (e.g., LOD2, LOD3, and beyond) or for components where absolute precision isn’t as critical. While fast, automated decimation can sometimes introduce undesirable triangulation, distort UVs, or simplify crucial details too aggressively, necessitating post-reduction cleanup. The best approach often involves a hybrid strategy: meticulous manual optimization for key visible areas and automated tools for less critical or very distant components.
Strategic Polygon Reduction
The art of polygon reduction for automotive models lies in strategic simplification. Not all polygons are created equal in terms of visual contribution. Flat surfaces, such as large panels on the side of a car, can have a significant number of polygons removed with minimal visual impact. Conversely, areas that define the car’s silhouette – like the fenders, roofline, or intricate elements like alloy wheels – require careful attention to maintain their curvature and visual fidelity. Hidden geometry, such as the underside of the chassis that is rarely seen, can be aggressively reduced or even entirely removed in lower LODs. A typical polygon budget breakdown for a high-quality 3D car model might look like this:
- LOD0 (High-Detail): 150,000 – 300,000+ polygons. Used for close-ups, cinematics, and primary gameplay vehicles.
- LOD1 (Medium-Detail): 50,000 – 100,000 polygons. For cars at medium distances, still showing good detail.
- LOD2 (Low-Detail): 15,000 – 30,000 polygons. For cars at a significant distance, where general shape is key.
- LOD3 (Very Low-Detail): 5,000 – 10,000 polygons. For cars on the horizon or in large crowds, maintaining basic silhouette.
- LOD4 (Impostor/Billboards): Sometimes a single plane with a texture for extremely distant objects, reducing count to just 2 triangles.
These are general guidelines; specific requirements will vary based on the game engine, target platform, and artistic direction. The key is to constantly evaluate the visual impact of each reduction, prioritizing areas that contribute most to the car’s identity and visual appeal.
Optimizing Visuals Across LODs: Textures, Materials, and UVs
While geometric reduction is a cornerstone of LOD implementation, maintaining visual integrity across different detail levels also heavily relies on intelligent handling of textures, materials, and UV maps. A common misconception is that simply reducing the mesh is enough; in reality, the visual quality of a 3D car model, even at lower polygon counts, is significantly influenced by its shading and texturing. Proper management in these areas ensures that transitions between LODs are smooth and that the asset retains its characteristic look.
UV Mapping Consistency and Atlas Creation
A crucial aspect of creating LODs is ensuring UV mapping consistency. When you decimate or re-topologize a mesh, its UV coordinates can become distorted or invalidated. For this reason, it’s often best to perform the UV unwrapping process on the highest detail model (LOD0) first. Then, as you create lower LODs, you can project or transfer these UVs to the new, simplified meshes. Tools like ‘Transfer Attributes’ in Maya or ‘Data Transfer Modifier’ in Blender can help project existing UVs from a high-poly mesh to a lower-poly version, ensuring that textures map correctly across all LODs. This consistency is vital for baking high-resolution details like normal maps, ambient occlusion, and curvature maps from LOD0 onto the lower LODs. Without consistent UVs, textures will appear stretched, misaligned, or completely broken, destroying the visual fidelity.
Furthermore, for optimal game performance, utilizing texture atlases is a highly recommended practice. Instead of having multiple small texture files for different parts of a car (e.g., body, wheels, interior), an atlas combines these into a single, larger texture sheet. This reduces the number of draw calls, as the GPU only needs to bind one texture instead of many. For automotive models, creating atlases that consolidate textures for different components across all LODs can significantly boost performance. Platforms like 88cars3d.com often provide professional-grade 3D car models that already feature clean UV mapping and well-organized texture sets, simplifying the process of creating consistent LODs and integrating them into an atlas.
PBR Material Adaptations and Shader Complexity
Physically Based Rendering (PBR) materials are the industry standard for achieving photorealistic results, but they can be computationally intensive due to the multiple texture maps (Albedo, Normal, Roughness, Metallic, AO) and complex shader calculations involved. For lower LODs, it’s often necessary to adapt or simplify these PBR materials to reduce rendering overhead. This can involve:
- Baking details: High-frequency details from the LOD0 normal map can be baked down to lower LODs. Ambient occlusion maps generated from the high-poly mesh can also be baked onto the simplified geometry, adding crucial depth without extra polygons.
- Reducing texture resolution: For distant LODs, lower resolution versions of the PBR texture maps can be used. A 4K albedo map for LOD0 might become a 2K for LOD1, and a 1K for LOD2, significantly saving VRAM.
- Simplifying shader networks: Complex shader effects, such as elaborate car paint shaders with multiple clear coat layers or intricate metallic flakes, might be simplified for lower LODs. This could mean reducing the number of texture samples, removing less noticeable effects, or even switching to a more basic PBR shader.
- Consolidating materials: If LOD0 has many different material IDs (e.g., separate materials for body, glass, tires, emblems), lower LODs might consolidate these into fewer materials, further reducing draw calls.
The goal is to provide a visually convincing material appearance without the full computational cost required for close-up views. Careful iteration and testing are essential to ensure these material adaptations don’t result in noticeable visual degradation during gameplay.
Game Engine Implementation and Best Practices
Once you’ve meticulously crafted your LOD meshes, UVs, and material adaptations, the next critical step is to integrate them effectively into your chosen game engine. Both Unity and Unreal Engine provide robust systems for managing LODs, allowing developers to define thresholds, customize transitions, and optimize performance. Understanding these engine-specific workflows is crucial for unlocking the full potential of your 3D car models.
Unity’s LOD Group Component
In Unity, LODs are managed through the LOD Group component, which can be added to any GameObject containing renderers. Here’s a typical workflow:
- Prepare your models: Ensure each LOD mesh is a separate GameObject with its own Mesh Filter and Mesh Renderer, and that their pivots are aligned.
- Create an LOD Group: Select your highest detail car model (LOD0) and go to
Component > Rendering > LOD Group. - Assign LODs: The LOD Group component displays a series of LOD levels. Drag and drop your different car meshes (LOD0, LOD1, LOD2, etc.) into their respective slots. The order is crucial: highest detail first.
- Set Transition Distances: Adjust the sliders in the LOD Group editor to define the screen percentage at which each LOD level will be activated. For example, LOD0 might be active when the car occupies 50% or more of the screen, LOD1 from 20-50%, LOD2 from 5-20%, and so on. Unity also provides a “Culled” state for extremely distant objects, which simply stops rendering them altogether.
- Choose Fade Mode: Unity offers different fade modes (e.g., Cross Fade, Speed Tree) to smooth transitions between LODs, preventing abrupt “popping.” Cross Fade is generally suitable for most automotive assets, blending the textures and alpha of the outgoing and incoming LODs.
- Test and Profile: Use Unity’s Profiler to monitor CPU and GPU performance while moving the camera around your car models. Adjust LOD distances and settings based on performance bottlenecks and visual quality feedback. Pay attention to batching and draw calls.
Unity’s LOD system is intuitive and highly effective for managing the complexity of individual assets like 3D cars.
Unreal Engine’s Static Mesh Editor LOD System
Unreal Engine offers a comprehensive LOD system primarily integrated within the Static Mesh Editor. When you import a 3D model, Unreal can automatically generate LODs, but for complex assets like high-quality car models, custom-made LODs are almost always preferred. Here’s how to set it up:
- Import your models: Import each LOD mesh (e.g., Car_LOD0, Car_LOD1) as separate static meshes into Unreal Engine.
- Combine into a single Static Mesh: Open your highest detail mesh (e.g., Car_LOD0) in the Static Mesh Editor.
- Add LODs Manually: In the Details panel, under the “LOD Settings” section, you’ll see options to add LODs. Click “Add LOD” and specify “Custom.” Then, in the “Source Mesh” field for the new LOD, select your imported lower LOD mesh (e.g., Car_LOD1). Repeat for all LOD levels.
- Define Screen Size: For each LOD, set a “Screen Size” value. This value represents the percentage of the screen the object needs to occupy before that specific LOD is displayed. For instance, LOD0 might be active at 1.0 (100% screen coverage) down to 0.5 (50%), LOD1 from 0.5 to 0.2, and so on.
- Material Slots: Ensure that the material slots are correctly assigned for each LOD. You might want to simplify materials for lower LODs here by assigning a less complex material instance.
- Build/Apply Changes: Apply the changes within the Static Mesh Editor.
- Test and Profile: Utilize Unreal Engine’s profiling tools (e.g., Stat Unit, Stat RHI) to analyze performance in-game. Adjust screen size thresholds as needed to achieve optimal performance without noticeable visual degradation. Unreal also offers tools like ‘LOD Coloration’ in viewport debug modes to visualize which LOD is currently active.
Unreal’s system provides deep control, especially when combined with its powerful material editor, allowing for very precise optimization strategies for automotive assets sourced from platforms like 88cars3d.com.
Advanced LOD Strategies and Specialized Applications
Beyond the fundamental principles of mesh decimation and texture optimization, advanced LOD strategies and their specific applications cater to complex scenarios and emerging technologies. These techniques further push the boundaries of performance and visual fidelity, especially critical for expansive environments or highly demanding real-time experiences.
Hierarchical LODs (HLODs) and Impostors
For truly massive open-world environments featuring hundreds or thousands of objects, a standard per-object LOD system can still be overwhelmed. This is where Hierarchical LODs (HLODs) come into play. HLODs group multiple static meshes together and treat them as a single, combined LOD asset at far distances. Imagine an entire car dealership lot, packed with various vehicles. Instead of each car having its own LOD group, an HLOD system might combine all the cars and the building itself into a single, highly optimized mesh or even an impostor for extreme distances. When the player is far away, the engine renders this single, simple HLOD mesh, drastically reducing draw calls and rendering complexity. As the player approaches, the HLOD system breaks down, and individual car LODs (or even LOD0 for the building) become active. Unreal Engine has a robust HLOD system, allowing for the generation of simplified clusters of geometry.
Impostors take the concept of LODs to its extreme for very distant objects. Instead of a 3D mesh, an impostor is a simple 2D plane (a billboard) onto which a pre-rendered image of the object is projected. This image captures the object’s appearance from multiple angles, giving the illusion of 3D depth while being incredibly cheap to render (just two triangles). For an entire fleet of cars on a distant highway, using impostors for those barely visible vehicles can save immense computational power. While impostors work best for objects with less complex silhouettes or those truly at the fringe of the view frustum, their performance gains are undeniable.
LODs for AR/VR and Real-Time Visualization
The burgeoning fields of Augmented Reality (AR) and Virtual Reality (VR) introduce unique and even more stringent performance requirements, making LODs absolutely essential. In AR/VR, maintaining a rock-solid, high frame rate (e.g., 90 FPS or more) is paramount to prevent motion sickness and ensure user comfort and immersion. Even minor performance dips can be jarring. This means that LOD strategies for AR/VR applications need to be much more aggressive:
- Higher Polygon Reduction: Lower LODs will typically have significantly fewer polygons than their desktop game counterparts.
- Aggressive Culling: Objects that are not directly in the user’s field of view need to be culled quickly.
- Streamlined Materials: Shader complexity must be kept to an absolute minimum.
- Focus on Critical Detail: Only the most critical details should be preserved in higher LODs, with less important elements being simplified or removed at closer distances than in traditional games.
For example, visualizing an automotive concept in an AR application demands that the model appears flawless when the user walks around it up close, but the environment around it, or other background elements, will need very aggressive LODs to maintain performance. Similarly, in high-end real-time visualization for automotive design reviews, where the focus is on a single car model, aggressive LODs for the surrounding studio environment can free up resources to render the hero vehicle with stunning accuracy. While 3D printing does not use LODs in the traditional sense, preparing models for 3D printing often involves mesh repair and optimization to ensure watertight geometry and manageable file sizes, a process that shares some similarities with LOD creation’s focus on mesh integrity.
Troubleshooting Common LOD Issues and Maintaining Quality
Implementing LODs, especially for intricate assets like 3D car models, is not without its challenges. Visual artifacts, performance fluctuations, and subtle quality degradations can arise if the LOD strategy isn’t carefully executed. Addressing these common issues and establishing a robust quality assurance pipeline is crucial to delivering a polished and performant final product.
Visual Popping and Shadow Artifacts
One of the most noticeable and immersion-breaking issues with LODs is visual popping. This occurs when the transition between two LOD levels is too abrupt, causing the object’s shape or texture to suddenly “pop” into a different form. This can be mitigated by:
- Smooth Transition Settings: Utilize your game engine’s fade or cross-dissolve options for LOD transitions. Unity and Unreal Engine provide these functionalities to blend between the outgoing and incoming LODs over a short period.
- Careful Screen Size Thresholds: Set the screen percentage thresholds for LOD switches such that the visual difference between adjacent LODs is minimal at the point of transition. Extensive testing with various camera distances is essential.
- Consistent Textures and Materials: Ensure that your texture maps (especially normal maps) and material properties are as consistent as possible across LODs. Drastic changes in texture resolution or material complexity at a transition point will be very noticeable.
Another common problem is shadow artifacts. Lower polygon LODs can have simpler silhouettes, leading to blocky or incorrect shadows compared to the high-detail model. This is particularly problematic for automotive models, where crisp shadows are vital for grounding the vehicle in the scene. To address this:
- Use High-Poly for Shadows: In many engines, you can specify that only the highest detail mesh (LOD0) casts shadows, even when a lower LOD is rendered. This is computationally more expensive for shadow rendering but ensures visual consistency.
- Optimize Shadow Meshes: Alternatively, create a dedicated “shadow mesh” for each LOD that is optimized specifically for shadow casting, retaining key silhouette details with a minimal polygon count.
Iteration, Profiling, and Quality Assurance
Successful LOD implementation is an iterative process that demands continuous testing and refinement. Profiling tools within game engines (e.g., Unity Profiler, Unreal Engine Stat commands) are indispensable. They provide real-time data on CPU and GPU performance, draw calls, memory usage, and frame rates. Regularly profiling your game with the automotive assets in various scenarios (close-ups, distant views, crowded scenes) will highlight performance bottlenecks and areas where LODs can be further optimized.
Quality Assurance (QA) plays a critical role in identifying subtle LOD-related bugs or visual inconsistencies that might be missed during development. QA testers should be specifically tasked with scrutinizing LOD transitions, checking for popping, texture artifacts, and shadow discrepancies across different lighting conditions and viewing angles. Establishing clear performance targets (e.g., maintaining 60 FPS on target hardware) and visual quality benchmarks for each LOD level will guide the optimization process. Balancing visual integrity with these performance targets requires a keen eye and a commitment to detail. Starting with high-quality, well-optimized base models, such as those available on 88cars3d.com, can significantly streamline the entire LOD creation and QA process, allowing artists to focus on fine-tuning rather than fundamental mesh repair.
Conclusion
The journey of creating compelling 3D car models for real-time applications is a delicate dance between achieving breathtaking visual fidelity and ensuring uncompromised performance. Levels of Detail (LODs) stand as the cornerstone technique that bridges this gap, allowing artists and developers to deliver stunning automotive experiences without sacrificing frame rates or pushing hardware to its limits. From the initial meticulous modeling of a high-polygon vehicle to the strategic decimation of lower detail versions, and from careful UV mapping to intelligent material adaptations, every step in the LOD workflow contributes to a smoother, more immersive final product.
We’ve explored the fundamental concepts of LODs, delved into practical workflows for their creation, highlighted the importance of consistent textures and PBR material adaptations, and walked through their implementation in leading game engines like Unity and Unreal. Furthermore, we touched upon advanced strategies like HLODs and impostors, as well as the unique demands of AR/VR environments. The key takeaways are clear: plan your LODs early, prioritize strategic polygon reduction over brute-force decimation, ensure UV consistency, adapt your materials intelligently, and continuously profile and iterate. Mastering LODs transforms a static 3D model into a dynamic, performance-friendly game asset, allowing your players to fully appreciate the intricate beauty of your automotive creations.
For artists and developers seeking to integrate high-quality 3D car models into their projects, understanding and applying these LOD principles is paramount. By sourcing expertly crafted models from platforms like 88cars3d.com, which prioritize clean topology and production-ready assets, you gain a significant head start in the optimization process. Embrace LODs, and unlock the full potential of your automotive visions in the thrilling world of real-time rendering and interactive experiences.
Featured 3D Car Models
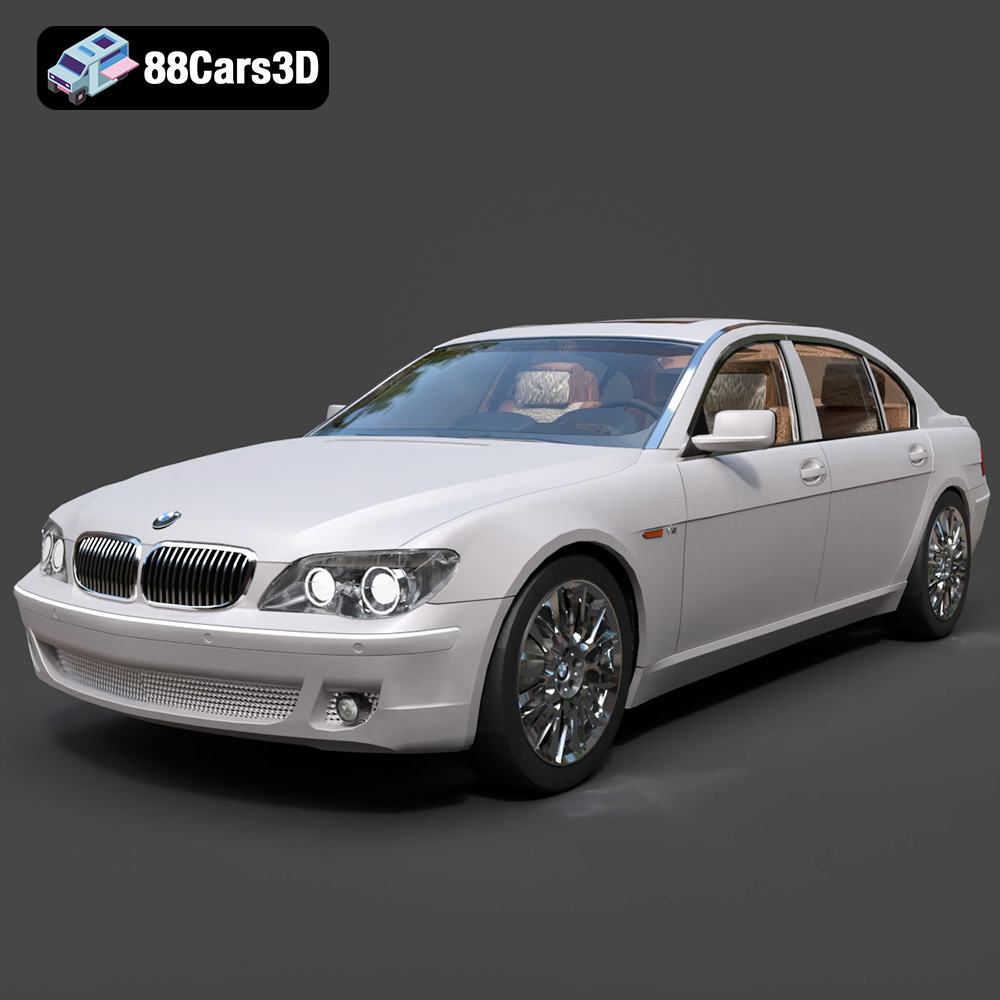
BMW 760Li E66 2005 3D Model
Texture: Yes
Material: Yes
Download the BMW 760Li E66 2005 3D Model featuring a detailed exterior, refined interior, and robust chassis. Includes .blend, .fbx, .obj, .glb, .stl, .ply, .unreal, and .max formats for rendering, simulation, and game development.
Price: $10.79
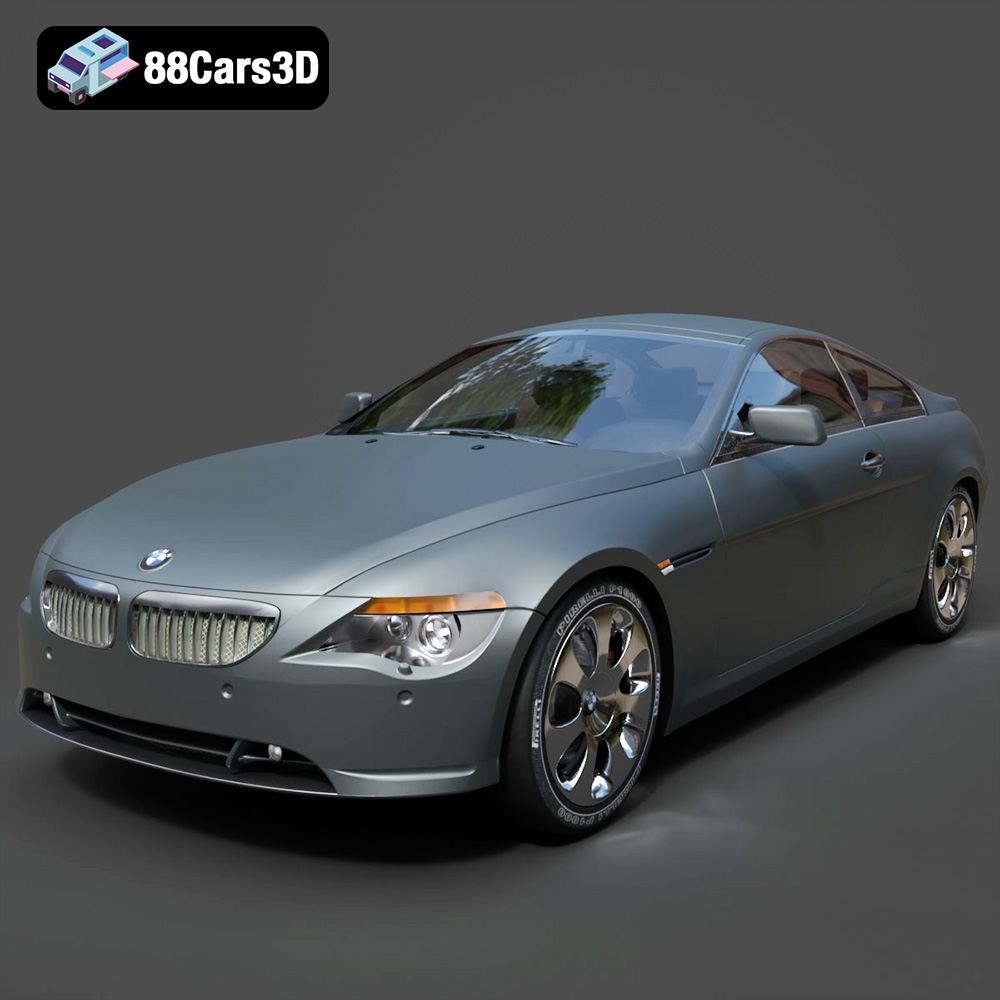
BMW 6 Series 3D Model
Texture: Yes
Material: Yes
Download the BMW 6 Series 3D Model featuring precisely modeled body panels, detailed interior, and authentic wheels. Includes .blend, .fbx, .obj, .glb, .stl, .ply, .unreal, and .max formats for rendering, simulation, and game development.
Price: $10.79

BMW M6 Coupe (F12) 3D Model
Texture: Yes
Material: Yes
Download the BMW M6 Coupe (F12) 3D Model featuring its iconic sporty design and luxurious details. Includes .blend, .fbx, .obj, .glb, .stl, .ply, .unreal, and .max formats for rendering, simulation, and game development.
Price: $10.79
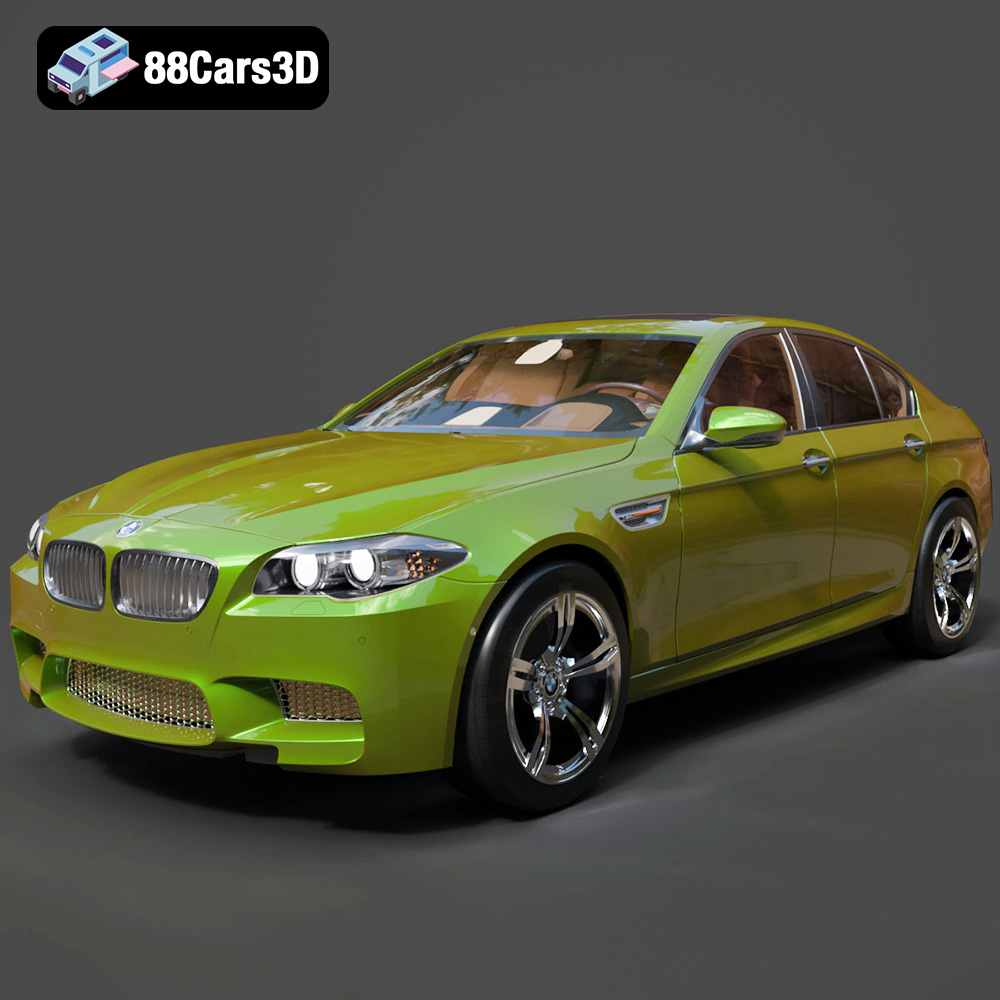
BMW M5 F10 3D Model
Texture: Yes
Material: Yes
Download the BMW M5 F10 3D Model featuring high-performance luxury sedan design, detailed interior, and realistic PBR textures. Includes .blend, .fbx, .obj, .glb, .stl, .ply, .unreal, and .max formats for rendering, simulation, and game development.
Price: $10.79
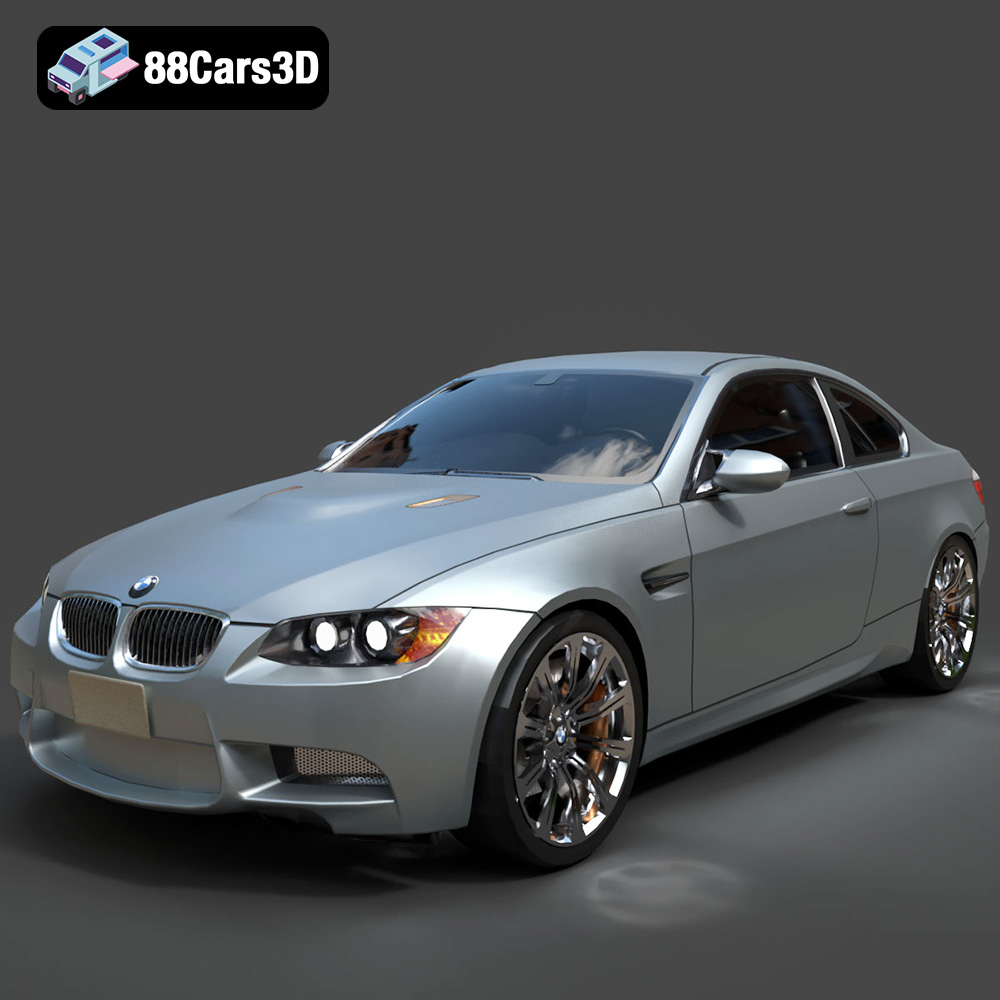
BMW M3 Coupe E92-002 3D Model
Texture: Yes
Material: Yes
Download the BMW M3 Coupe E92-002 3D Model featuring authentic styling, detailed exterior, and a faithful interior. Includes .blend, .fbx, .obj, .glb, .stl, .ply, .unreal, and .max formats for rendering, simulation, and game development.
Price: $10.79
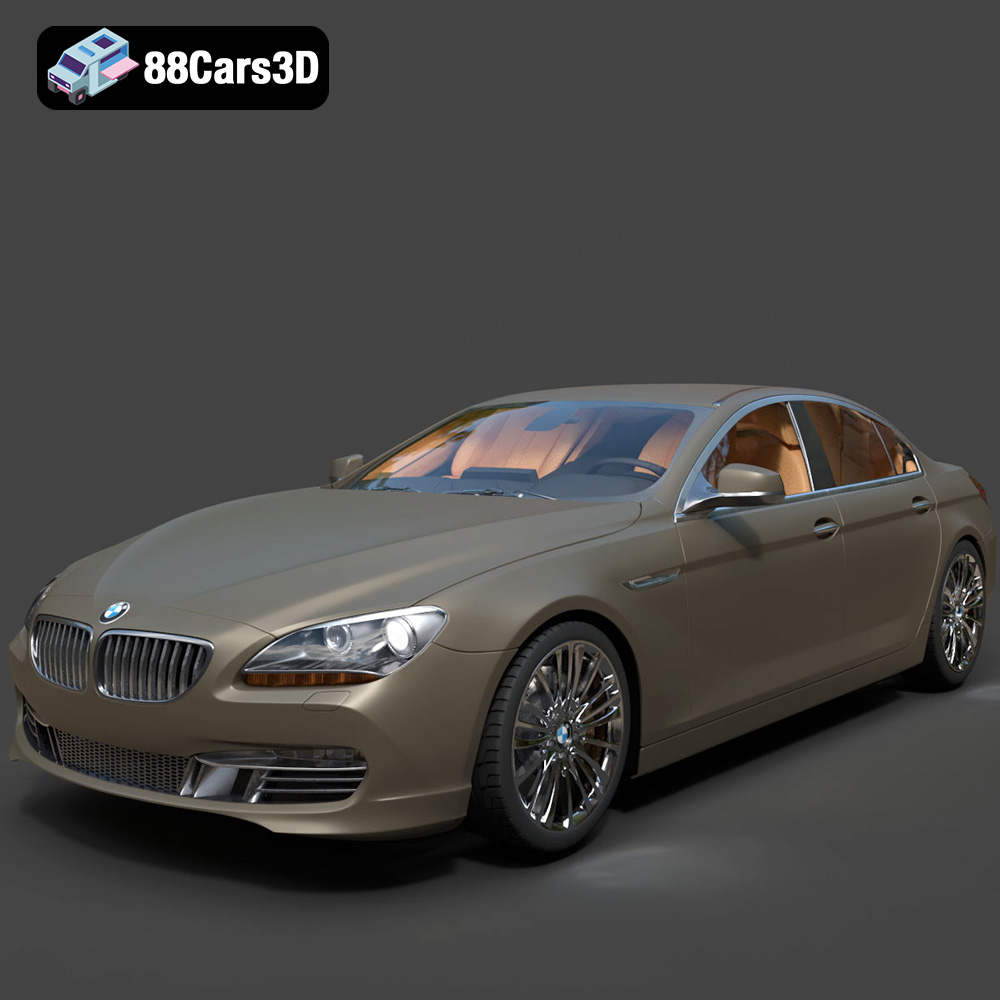
BMW 6 Series Gran Coupe 2013 3D Model
Texture: Yes
Material: Yes
Download the BMW 6 Series Gran Coupe 2013 3D Model featuring a sophisticated design, detailed exterior, and well-appointed interior. Includes .blend, .fbx, .obj, .glb, .stl, .ply, .unreal, and .max formats for rendering, simulation, and game development.
Price: $20.79
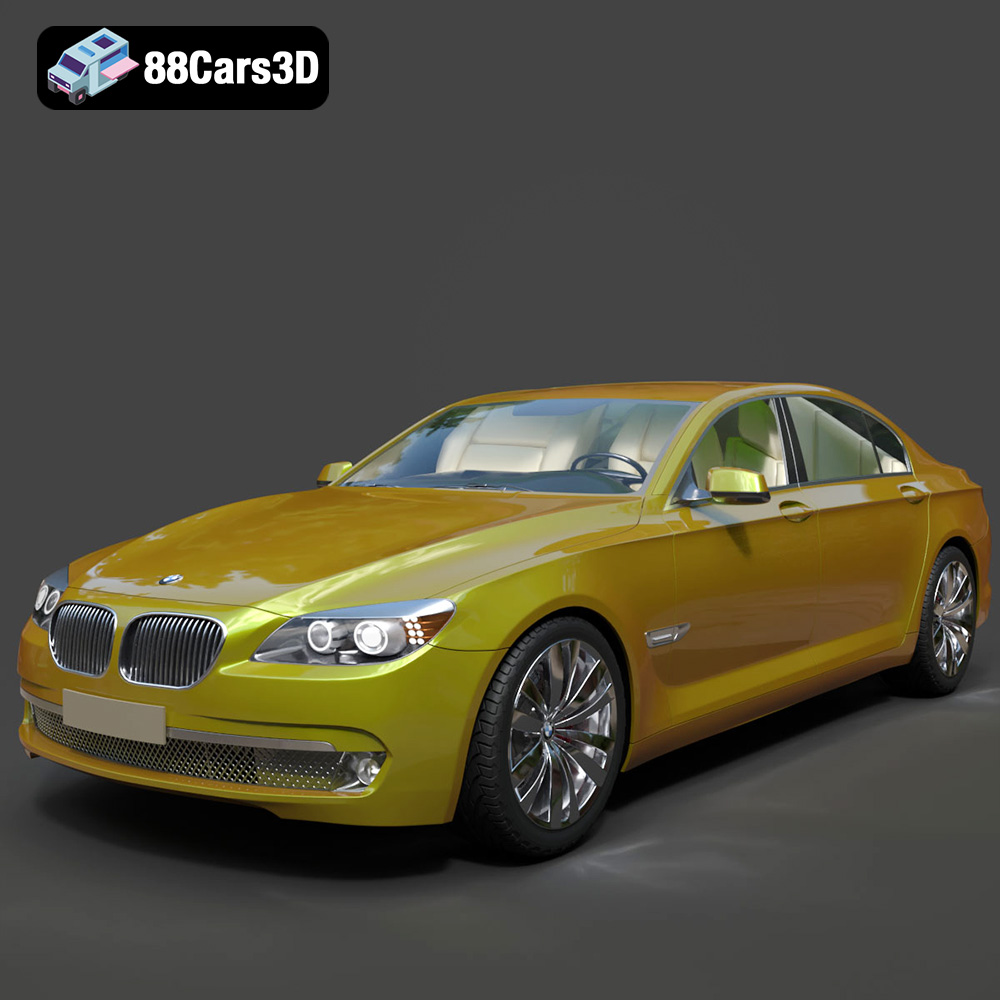
BMW 7 Series 750 F01 3D Model
Texture: Yes
Material: Yes
Download the BMW 7 Series 750 F01 3D Model featuring a detailed exterior and a luxurious interior. Includes .blend, .fbx, .obj, .glb, .stl, .ply, .unreal, and .max formats for rendering, simulation, and game development.
Price: $10.79
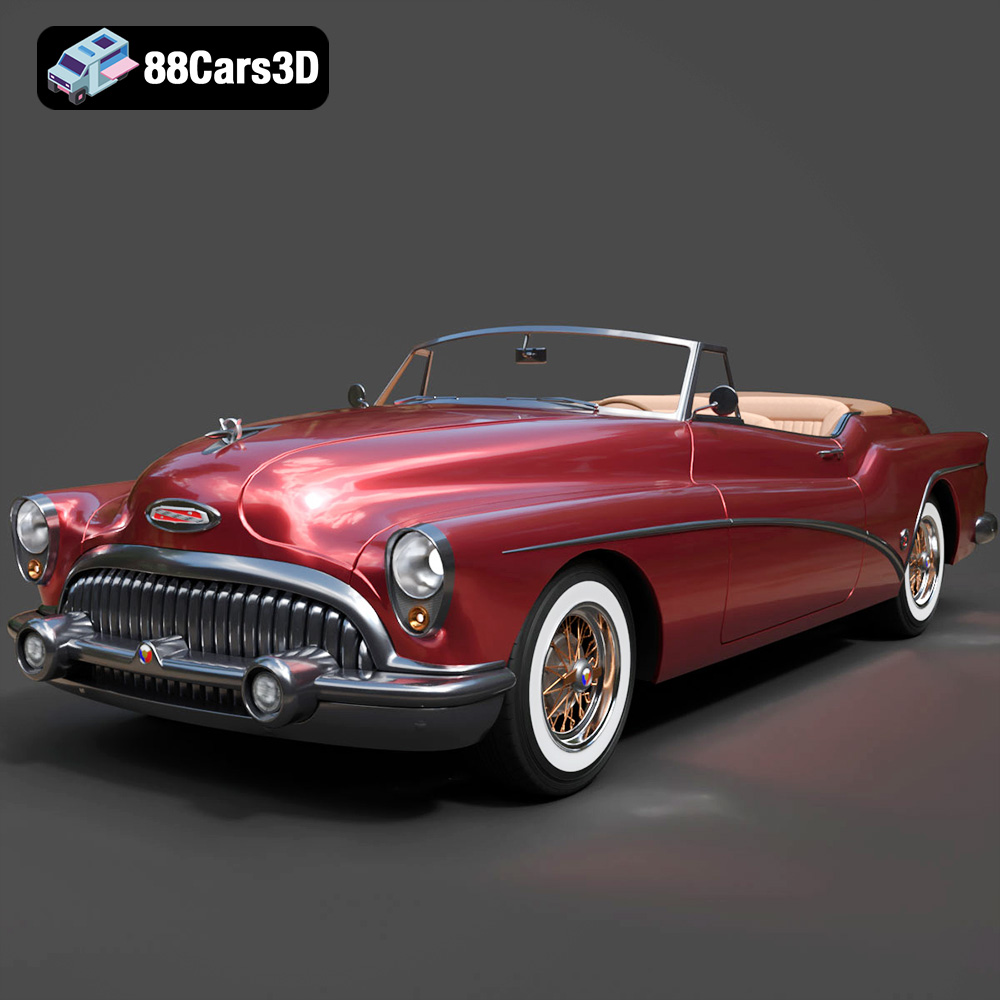
Buick Skylark Convertible 1953 3D Model
Texture: Yes
Material: Yes
Download the Buick Skylark Convertible 1953 3D Model featuring iconic 1950s styling, a detailed exterior with chrome accents, and an accurately modeled interior. Includes .blend, .fbx, .obj, .glb, .stl, .ply, .unreal, and .max formats for rendering, simulation, and game development.
Price: $10.79

Buick Roadmaster Hardtop Coupe 1957 3D Model
Texture: Yes
Material: Yes
Download the Buick Roadmaster Hardtop Coupe 1957 3D Model featuring a classic American design with detailed exterior and interior. Includes .blend, .fbx, .obj, .glb, .stl, .ply, .unreal, and .max formats for rendering, simulation, and game development.
Price: $10.79
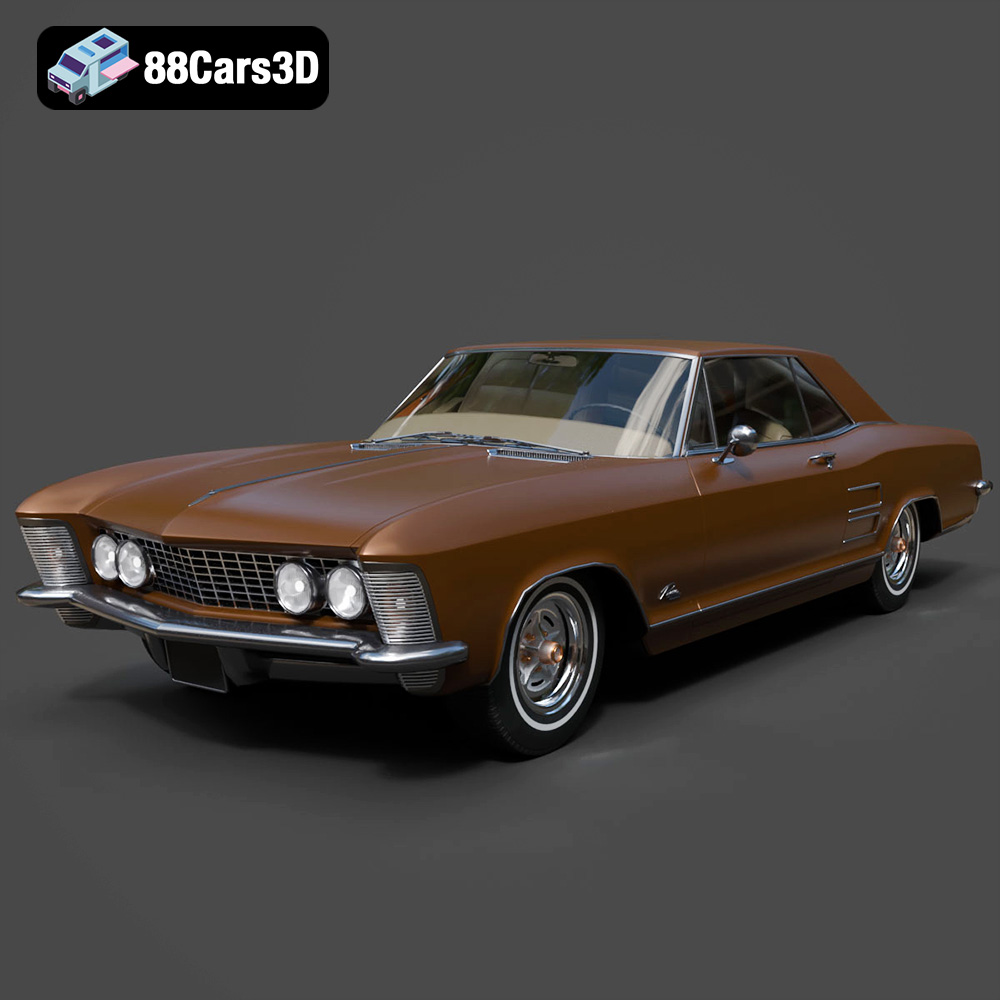
Buick Riviera 1963 3D Model
Texture: Yes
Material: Yes
Download the Buick Riviera 1963 3D Model featuring classic American muscle car design and iconic styling. Includes .blend, .fbx, .obj, .glb, .stl, .ply, .unreal, and .max formats for rendering, simulation, and game development.
Price: $10.79
