

“`html
Unlock Your Desktop Garage: Mastering the Art of Printing 3D Car Models
The roar of a classic engine, the sleek lines of a modern supercar, the rugged charm of an off-road legend – for many of us, cars are more than just transportation; they are rolling sculptures, engineering marvels, and passion projects. Now, thanks to the incredible advancements in 3D printing technology, you can bring these automotive dreams right to your workbench. Whether you’re a seasoned 3D printing enthusiast looking to expand your collection, a budding automotive fan eager to build your first model, or an educator seeking engaging teaching tools, the world of printable car STL files offers an exciting gateway. However, achieving that perfect, showroom-quality print isn’t always as simple as hitting ‘start’. It involves a nuanced understanding of file preparation, printer settings, material science, and post-processing techniques. This comprehensive guide will take you deep into the technicalities of selecting, preparing, and printing the best car STL files, transforming digital designs into tangible masterpieces. We’ll cover everything from the intricacies of STL file structure to advanced slicing strategies and the critical art of support generation, ensuring your desktop garage is filled with stunning, print-ready models.
Deconstructing the Digital Diecast: Understanding STL Files for Automotive Models
At the heart of every 3D printable model lies the STL (STereoLithography) file. This ubiquitous file format is the industry standard for communicating 3D geometry to printers. For car models, the quality and integrity of the STL file are paramount to achieving a successful print. Unlike simple geometric shapes, car models often feature complex curves, intricate details like grilles, spoilers, and interior components, all of which must be accurately represented by the STL’s underlying data structure.
The Fabric of Form: STL Meshes and Topology
An STL file represents a 3D surface as a collection of interconnected triangles, forming a mesh. Each triangle is defined by three vertices and a normal vector, which dictates the outward-facing direction of the surface. For automotive models, a well-constructed mesh is characterized by:
- High Triangle Count: More triangles allow for smoother curves and finer details, crucial for capturing the aerodynamic lines of a sports car or the panel gaps on a vintage vehicle.
- Manifold Geometry: The mesh must be “watertight,” meaning it has no holes, gaps, or self-intersections. Every edge should connect exactly two triangles. Non-manifold geometry will cause slicing errors and print failures.
- Consistent Normals: All normal vectors should point consistently outwards from the model’s volume. Inward-facing normals can confuse the slicer, leading to inverted surfaces or missing parts in the final print.
- Clean Edges: Edges should be shared by only two faces. Overlapping or “naked” edges indicate mesh errors that need correction.
Platforms like 88cars3d.com prioritize providing STL files with clean, manifold geometry, significantly reducing the need for complex mesh repair for hobbyists.
Beyond Triangles: Exploring File Formats for Complexity
While STL is dominant, other formats like OBJ and FBX can sometimes offer richer data, including color and texture information, though these are typically not utilized by standard FDM or resin printers for geometry. For highly detailed car models, especially those with pre-designed supports or multi-part assemblies, these formats might be used in the design phase. However, when preparing for slicing, the final geometry is almost always exported as an STL. Understanding the limitations of STL – its inability to represent curves mathematically and its potential for large file sizes with high detail – is key to anticipating slicing challenges.
The Foundation of Detail: Resolution and Scale
The scale at which a car model is designed and printed significantly impacts the required STL resolution. A 1:18 scale model will require a much finer mesh than a 1:64 scale model to retain similar levels of detail. Designers often create high-resolution source files and then decimate them (reduce triangle count) for different scales. When downloading files, consider the intended print size. A low-resolution STL intended for a small print might appear blocky or lack detail when scaled up significantly for a larger model.
Slicing for Speed and Shine: Optimizing Your 3D Printer Settings
The slicer is your digital workshop, translating the 3D geometry of an STL file into layer-by-layer instructions (G-code) that your 3D printer can understand. For complex car models, selecting the right slicing parameters is a delicate balancing act between print speed, surface quality, structural integrity, and ease of support removal. This is where the magic (and sometimes the frustration) happens, transforming a raw STL into a printable object.
Layer Height: The Crucial Trade-off
Layer height dictates the vertical resolution of your print. It’s one of the most impactful settings for car models:
- Lower Layer Heights (e.g., 0.08mm – 0.12mm): Produce incredibly smooth surfaces, minimizing visible layer lines. This is ideal for the glossy paintwork and flowing curves of car bodies. However, it dramatically increases print time. A 1:18 scale car might take 24-48 hours or more with very low layer heights.
- Higher Layer Heights (e.g., 0.2mm – 0.3mm): Significantly reduce print time, often by 50% or more compared to lower settings. This is a good starting point for less detailed parts or if speed is a priority. However, layer lines will be more pronounced, requiring more post-processing to achieve a smooth finish.
For collector-grade automotive models, aim for layer heights between 0.1mm and 0.15mm as a good compromise between detail and reasonable print times. When downloading models from marketplaces such as 88cars3d.com, you often get files optimized for common scales and detail levels, allowing for easier selection of layer height.
Infill: Strength, Weight, and Material Savings
Infill provides internal support for the model’s outer walls and top surfaces. For car models, consider:
- Infill Density: Typically, 10-20% infill is sufficient for display models. Higher densities (e.g., 50-100%) are needed for functional parts or models that will undergo stress, but they add significant print time and material usage.
- Infill Patterns:
- Grid/Lines: Fast and efficient for basic support.
- Cubic/Gyroid: Offer better support in multiple directions and can be stronger for their density, useful for curved surfaces.
- Concentric: Can be excellent for curved outer surfaces, following the model’s contour.
For display car models, a simple Grid or Cubic pattern at 15% density is often a good balance.
Print Speed: Balancing Velocity and Quality
Print speed directly affects print time but also influences surface quality and mechanical strength. For detailed car models:
- Outer Walls/Perimeters: Print these slower (e.g., 30-50 mm/s) to ensure good layer adhesion and a smooth, detailed surface finish.
- Inner Walls: Can be printed slightly faster (e.g., 50-70 mm/s).
- Infill: Can be printed fastest (e.g., 60-100 mm/s).
- Travel Speed: High travel speeds (e.g., 150-200 mm/s) reduce print time by moving the print head quickly between sections, but ensure retraction settings are dialed in to prevent stringing.
Always perform calibration prints (like a Benchy or a retraction test tower) to fine-tune your speed settings for your specific printer and filament.
The Art of Support: Enabling Intricate Details and Overhangs
Automotive models are rarely simple blocks; they feature complex overhangs, bridges, and undercuts – from the concave shape of a fender to the delicate spoiler on a race car. Effective support generation and removal are critical for a clean, successful print. Improper supports can lead to surface scarring, failed prints, or immense difficulty in post-processing.
Choosing the Right Support Structure Type
Most slicers offer various support types:
- Normal/Grid Supports: Standard, widely applicable supports. Can be dense and difficult to remove from detailed surfaces.
- Tree/Organic Supports: Branching structures that target only necessary areas and often make less contact with the model surface, leading to easier removal and cleaner finishes. Highly recommended for intricate car models. Many slicers (like Cura’s Tree supports or PrusaSlicer’s Organic supports) offer advanced customization.
When downloading models from platforms like 88cars3d.com, designers sometimes pre-engineer them with built-in supports or design them to minimize the need for extensive external support structures.
Support Settings: Fine-Tuning for Success
Fine-tuning support settings is crucial:
- Support Density: Lower density (e.g., 5-10%) makes removal easier but might not be strong enough. Higher density offers better support but is harder to remove. For tree supports, focus on contact points and density settings that ensure stability without excessive material.
- Support Interface: Enabling a denser “support roof” and “support floor” creates a smoother surface where the support touches the model, making removal cleaner and the model’s surface finish better. Experiment with a single layer for the roof.
- Support Z Distance: This is the gap between the model and the support structure along the Z-axis. A slightly larger Z distance (e.g., 0.2mm for a 0.4mm nozzle) makes removal easier. Too large, and the overhang will sag.
- Support XY Distance: The horizontal gap between the model and the support. A small XY distance (e.g., 0.6-0.8mm) ensures good contact, while a larger distance aids removal.
Experimentation is key. Print small test sections with different support settings to find what works best for your specific model and printer.
Manual Support Placement and Removal Strategies
For highly critical areas, manually adding or removing supports within the slicer can be beneficial. If a model has a particularly delicate or exposed detail, you can often instruct the slicer to only add supports directly beneath it. Support removal requires patience. Use flush cutters, hobby knives, and sometimes pliers to carefully break away the support material. Work slowly, especially around fine details. For resin prints, supports are often much finer and require different tools like precision tweezers and specialized tools for cutting and prying.
Material Matters: Choosing the Right Filament or Resin
The material you choose profoundly impacts the look, feel, and durability of your printed car model. Both Fused Deposition Modeling (FDM) and Stereolithography (SLA/DLP) printing offer distinct advantages for automotive applications.
FDM Filaments: Versatility and Accessibility
FDM printing uses spools of thermoplastic filament. Key options for car models include:
- PLA (Polylactic Acid): The most popular choice for beginners. It’s easy to print, available in a vast array of colors (including metallic finishes), and relatively rigid. However, it has low heat resistance and can become brittle over time. Ideal for display models.
- PETG (Polyethylene Terephthalate Glycol): Offers better temperature resistance and durability than PLA, with good layer adhesion. It can be slightly stringier and harder to print perfectly smooth surfaces without fine-tuning. A good choice for models that might see occasional handling or require slightly more robust parts.
- ABS (Acrylonitrile Butadiene Styrene): Known for its toughness and temperature resistance, ABS is often used for functional parts. However, it requires higher print temperatures, a heated enclosure to prevent warping, and emits fumes, making it more challenging for hobbyists. Post-processing with acetone vapor smoothing can create incredibly glossy finishes.
For most hobbyist automotive models, PLA or PETG will be the preferred choices due to ease of use and availability of finishes. Always ensure your filament is dry, as moisture can significantly degrade print quality.
Resin (SLA/DLP): Unmatched Detail and Smoothness
Resin printing uses UV-curable liquid resins. It excels at:
- Microscopic Detail: Resin printers have much higher resolutions than FDM, capable of reproducing incredibly fine details like badges, intricate grilles, and subtle panel lines that are often lost on FDM prints.
- Surface Finish: Resin prints typically have a glass-smooth surface finish straight off the printer, minimizing the need for extensive sanding and painting to achieve a professional look.
Common resin types include standard photopolymers (good for general-purpose prints), tough resins (more durable), and flexible resins. However, resin printing involves more post-processing steps (washing and curing), requires careful handling due to the chemicals involved, and can be more expensive per print volume than FDM. For hyper-realistic, small-scale car models where extreme detail is paramount, resin printing is often the superior choice.
Material Color and Post-Processing Compatibility
Consider the final appearance. Metallic PLA or PETG can look stunning right off the printer. For solid colors, darker filaments often hide layer lines better. If you plan extensive painting, primer is essential, regardless of the material. Resin prints can be painted directly after proper cleaning and curing, often yielding superior results for detailed finishes.
From Raw Print to Ready Model: Essential Post-Processing Techniques
The journey doesn’t end when the print is finished. Post-processing is where a raw 3D print is transformed into a polished, collectible model. This stage requires patience, the right tools, and a good understanding of techniques.
Support Removal and Surface Preparation
As discussed, careful support removal is the first step. Once removed:
- Sanding: This is crucial for FDM prints to smooth out layer lines. Start with coarse-grit sandpaper (e.g., 150-220 grit) to remove major imperfections and support marks, then progressively move to finer grits (e.g., 400, 800, 1000, 2000+ grit) for a smooth finish. Sanding blocks and wet sanding (using water to lubricate and reduce dust) can yield excellent results.
- Filling: Small gaps or imperfections can be filled with modeling putty, Bondo, or even 3D printing filler primers. Apply, let dry, and sand smooth.
- Priming: A good quality primer is essential before painting. It reveals any remaining imperfections, provides a uniform surface for paint adhesion, and helps seal the print.
For resin prints, support removal is often easier, and sanding might only be needed on the contact points. Ensure resin prints are thoroughly washed and cured before any filling or painting.
Painting and Finishing Touches
Painting is where the model truly comes to life:
- Airbrushing: Offers the most professional and even finish, especially for automotive paints. You can achieve subtle gradients, metallic flakes, and gloss coats.
- Hand Brushing: Suitable for smaller details like trim, lights, or interiors. Use high-quality model paints and fine brushes.
- Masking: Use painter’s tape (Tamiya tape is excellent for sharp lines) to mask off areas for different colors, like window trim or two-tone paint schemes.
- Clear Coats: A final clear coat (gloss, satin, or matte) protects the paint job and provides the desired finish. High-gloss coats are perfect for simulating automotive paint.
Consider adding details like clear plastic for windows (often requires careful gluing and masking), small decals for badges or racing stripes, and weathering effects for a more realistic appearance.
Assembly of Multi-Part Models
Many complex car models are designed as multi-part assemblies. This allows for:
- Easier Printing: Parts can be oriented optimally for printing without supports, and smaller parts are less prone to failure.
- Higher Detail: Separate components like wheels, spoilers, or interior modules can be printed with different settings or colors.
- Painting Convenience: Individual parts can be painted before assembly, making it easier to reach intricate areas.
Use appropriate adhesives like super glue (cyanoacrylate) for most plastics, or specific plastic cements for certain materials. Ensure good fitment before applying glue, as 3D printed parts often require minor adjustments.
Troubleshooting Common Printing Pitfalls
Even with the best settings and files, printing challenges can arise. Understanding common issues and their solutions is part of mastering the craft.
Warping and Bed Adhesion Issues
Problem: The edges or corners of the print lift off the build plate during printing, causing deformation.
Solutions:
- Ensure the build plate is clean and level.
- Use a bed adhesion aid like a glue stick, hairspray, or specialized bed adhesive sheets.
- Increase bed temperature slightly (5-10°C).
- Add a brim or raft in your slicer settings.
- Use an enclosure for materials prone to warping (ABS, Nylon).
- Check ambient temperature – drafts can cause rapid cooling.
Stringing and Oozing
Problem: Fine strands of filament are left between separate parts of the print, or filament leaks from the nozzle when it’s not extruding.
Solutions:
- Increase retraction distance and/or speed.
- Decrease nozzle temperature slightly.
- Ensure filament is dry.
- Increase travel speed.
- Perform a retraction calibration test.
Layer Shifting
Problem: Layers are misaligned horizontally, often appearing as a sudden “jump” in the print.
Solutions:
- Check belt tension on X and Y axes – they should be snug but not overly tight.
- Ensure the printer’s frame is rigid and stable.
- Reduce print speed and acceleration settings.
- Verify stepper motor drivers aren’t overheating.
- Ensure no physical obstructions are preventing smooth axis movement.
Under-Extrusion or Gaps in Walls
Problem: Thin walls, gaps between layers, or incomplete extrusion.
Solutions:
- Check for nozzle clogs.
- Ensure filament is feeding correctly and not tangled.
- Calibrate E-steps for accurate filament extrusion.
- Verify extruder gear tension.
- Lower print temperature if it’s too low for the filament.
- Ensure filament diameter setting in slicer matches the filament.
Mastering 3D printed car models is a rewarding journey that combines digital design, precise printing, and artistic finishing. By understanding the intricacies of STL files, carefully tuning your slicer settings, mastering support generation, choosing the right materials, and dedicating time to post-processing, you can create stunning replicas that rival traditional models. Whether you’re printing a vintage cruiser or a futuristic concept car, the satisfaction of holding your own finely crafted automotive masterpiece is immense. Explore the vast libraries available, experiment with different techniques, and build your own extraordinary collection, one layer at a time.
“`
Featured 3D Car Models
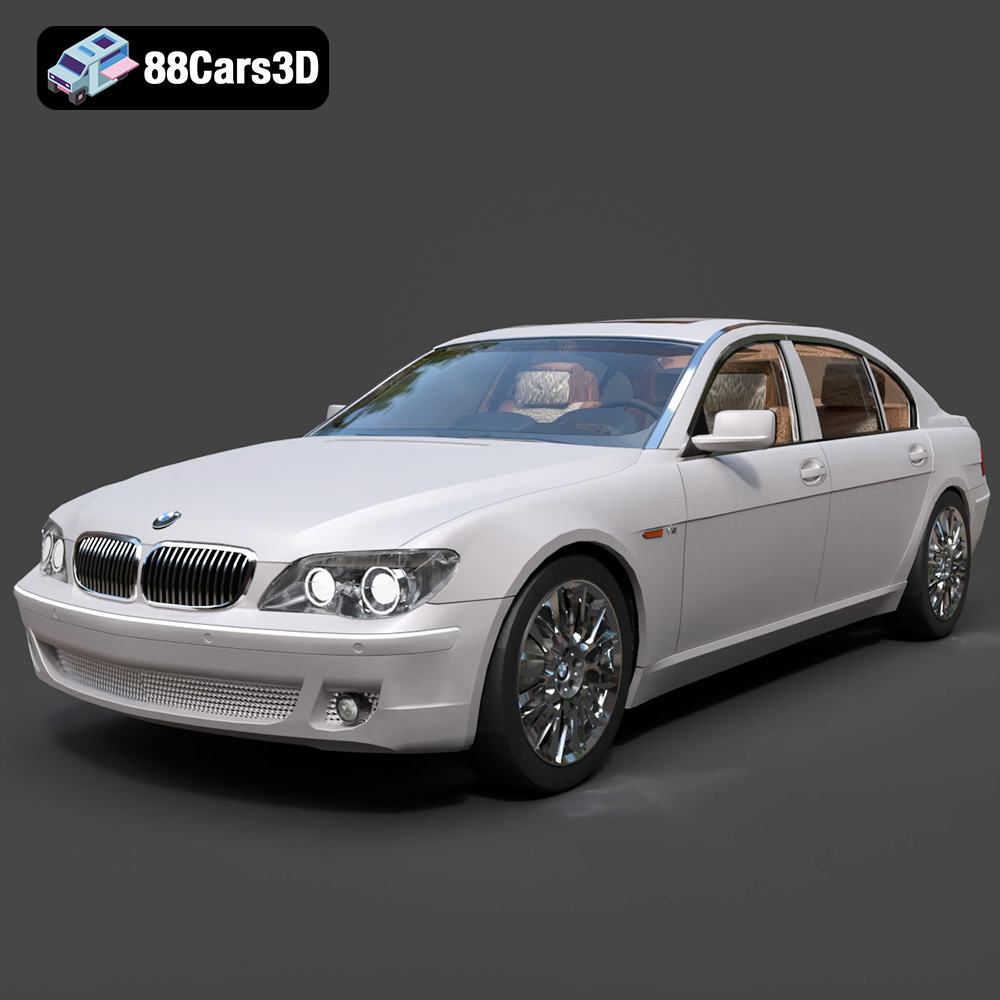
BMW 760Li E66 2005 3D Model
Texture: Yes
Material: Yes
Download the BMW 760Li E66 2005 3D Model featuring a detailed exterior, refined interior, and robust chassis. Includes .blend, .fbx, .obj, .glb, .stl, .ply, .unreal, and .max formats for rendering, simulation, and game development.
Price: $10.79
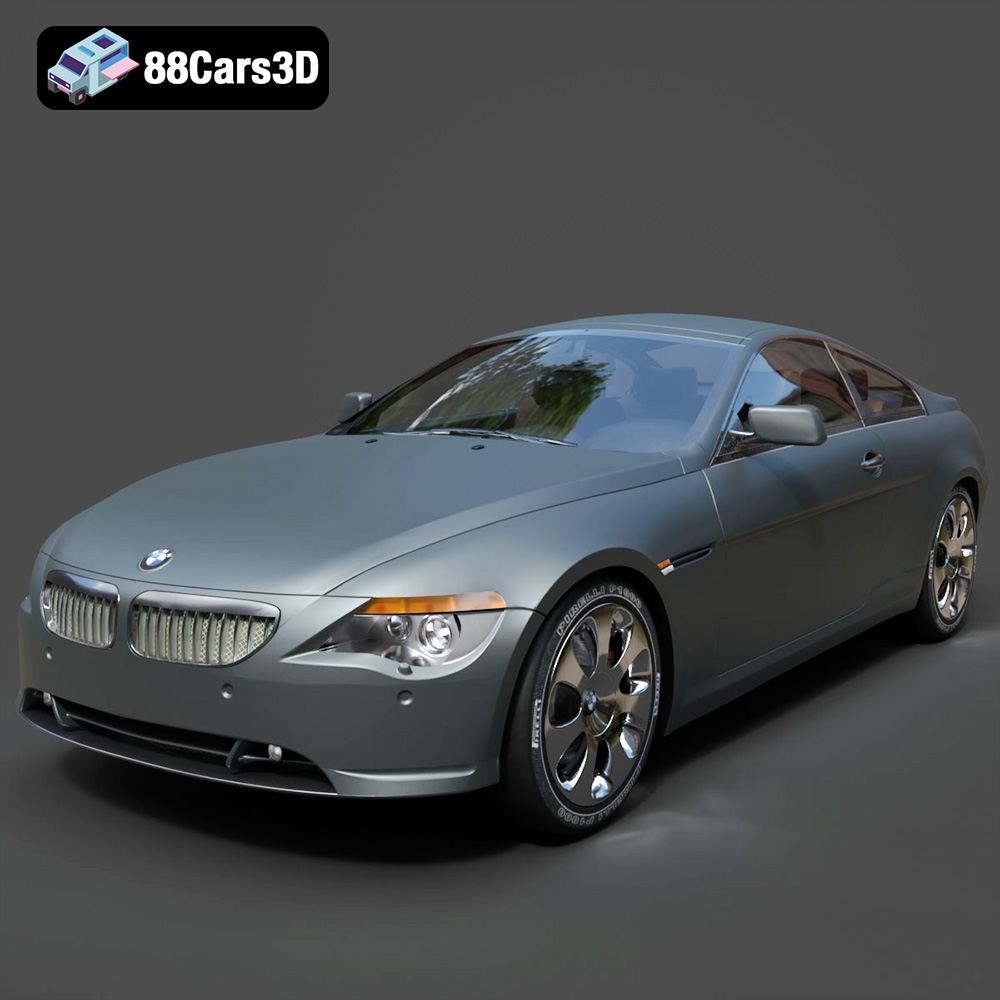
BMW 6 Series 3D Model
Texture: Yes
Material: Yes
Download the BMW 6 Series 3D Model featuring precisely modeled body panels, detailed interior, and authentic wheels. Includes .blend, .fbx, .obj, .glb, .stl, .ply, .unreal, and .max formats for rendering, simulation, and game development.
Price: $10.79
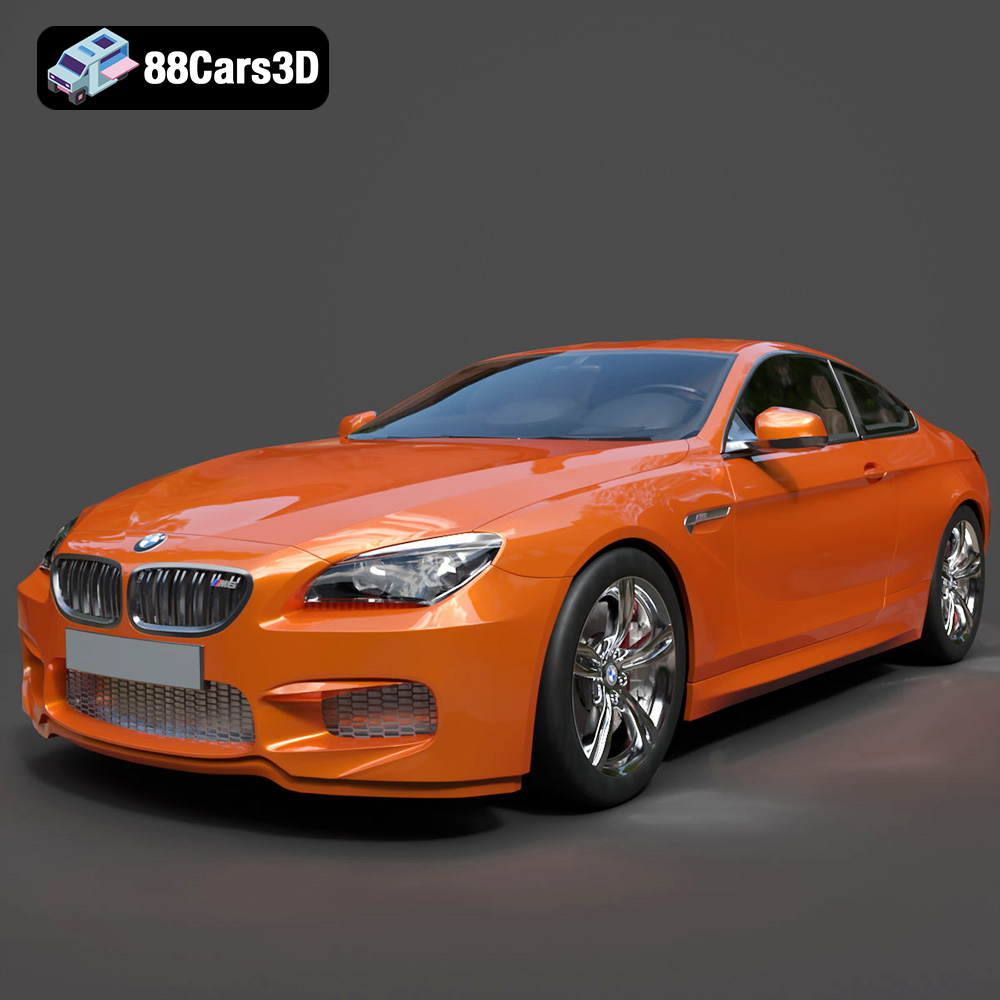
BMW M6 Coupe (F12) 3D Model
Texture: Yes
Material: Yes
Download the BMW M6 Coupe (F12) 3D Model featuring its iconic sporty design and luxurious details. Includes .blend, .fbx, .obj, .glb, .stl, .ply, .unreal, and .max formats for rendering, simulation, and game development.
Price: $10.79
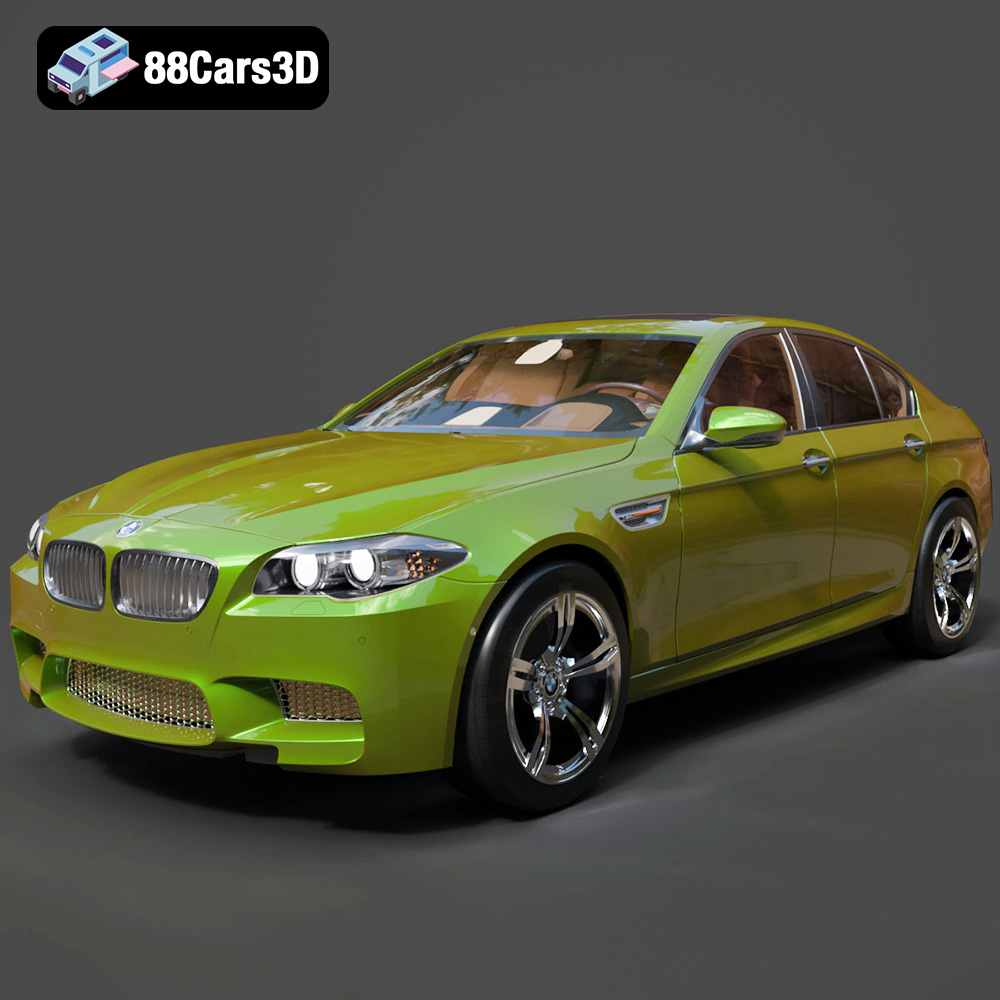
BMW M5 F10 3D Model
Texture: Yes
Material: Yes
Download the BMW M5 F10 3D Model featuring high-performance luxury sedan design, detailed interior, and realistic PBR textures. Includes .blend, .fbx, .obj, .glb, .stl, .ply, .unreal, and .max formats for rendering, simulation, and game development.
Price: $10.79
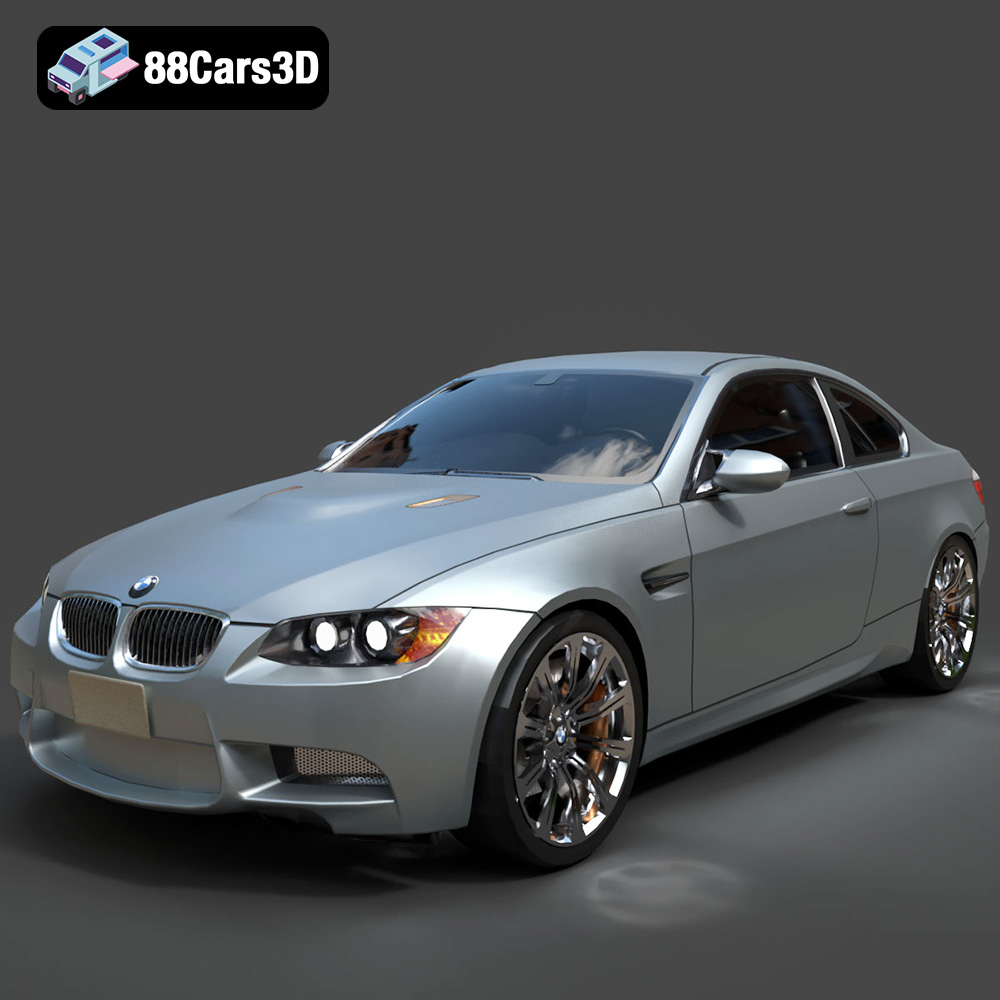
BMW M3 Coupe E92-002 3D Model
Texture: Yes
Material: Yes
Download the BMW M3 Coupe E92-002 3D Model featuring authentic styling, detailed exterior, and a faithful interior. Includes .blend, .fbx, .obj, .glb, .stl, .ply, .unreal, and .max formats for rendering, simulation, and game development.
Price: $10.79
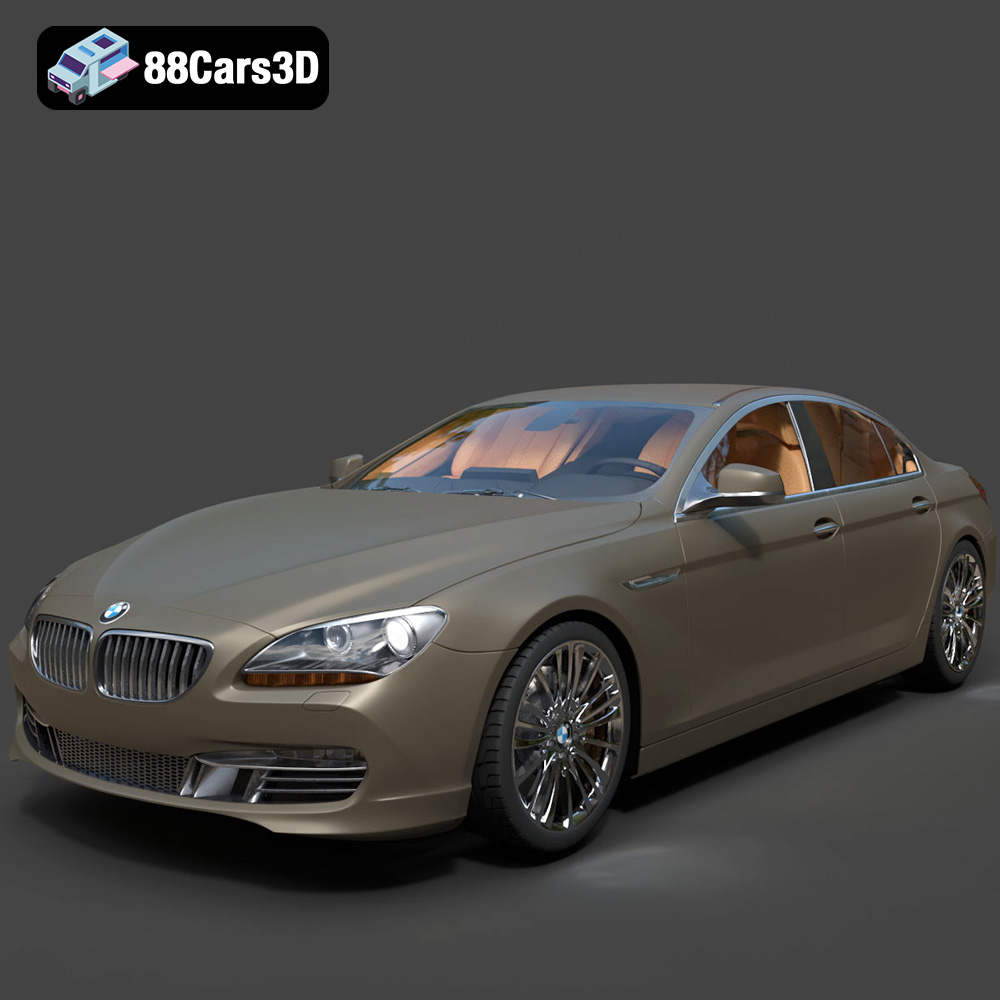
BMW 6 Series Gran Coupe 2013 3D Model
Texture: Yes
Material: Yes
Download the BMW 6 Series Gran Coupe 2013 3D Model featuring a sophisticated design, detailed exterior, and well-appointed interior. Includes .blend, .fbx, .obj, .glb, .stl, .ply, .unreal, and .max formats for rendering, simulation, and game development.
Price: $20.79
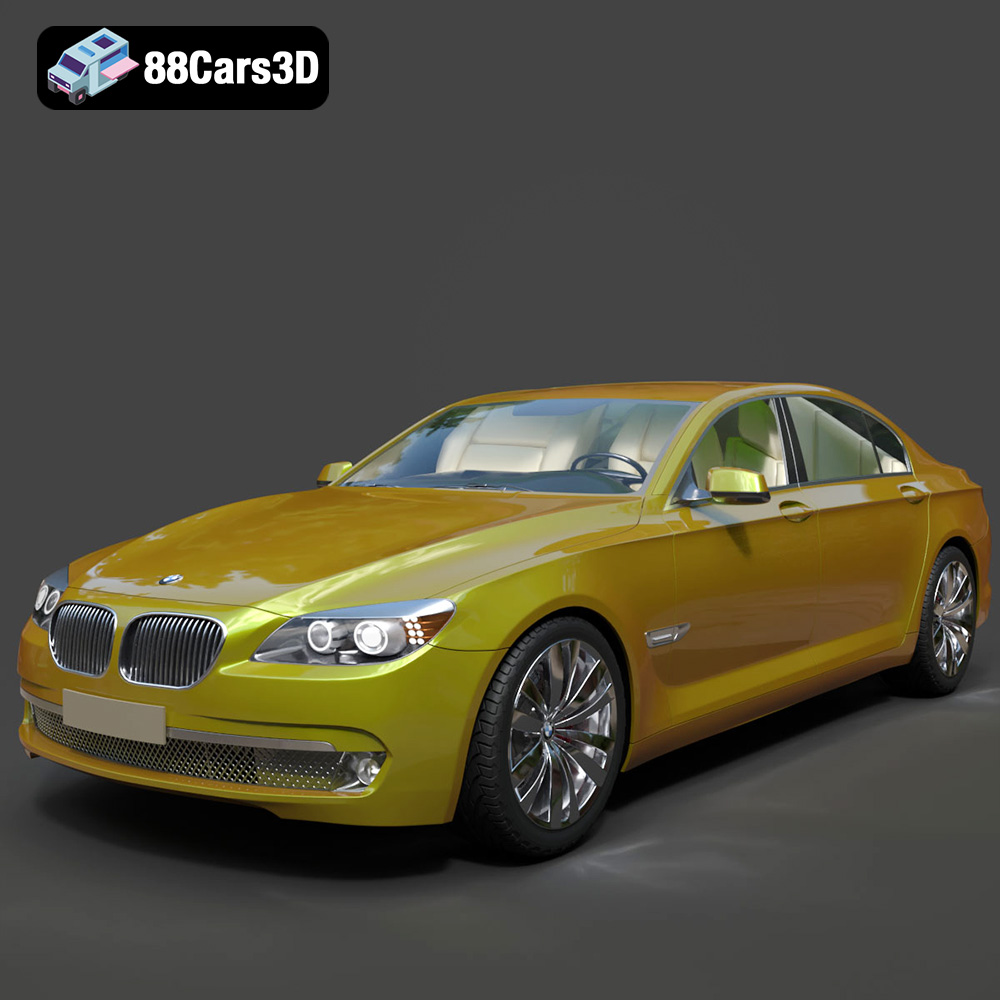
BMW 7 Series 750 F01 3D Model
Texture: Yes
Material: Yes
Download the BMW 7 Series 750 F01 3D Model featuring a detailed exterior and a luxurious interior. Includes .blend, .fbx, .obj, .glb, .stl, .ply, .unreal, and .max formats for rendering, simulation, and game development.
Price: $10.79
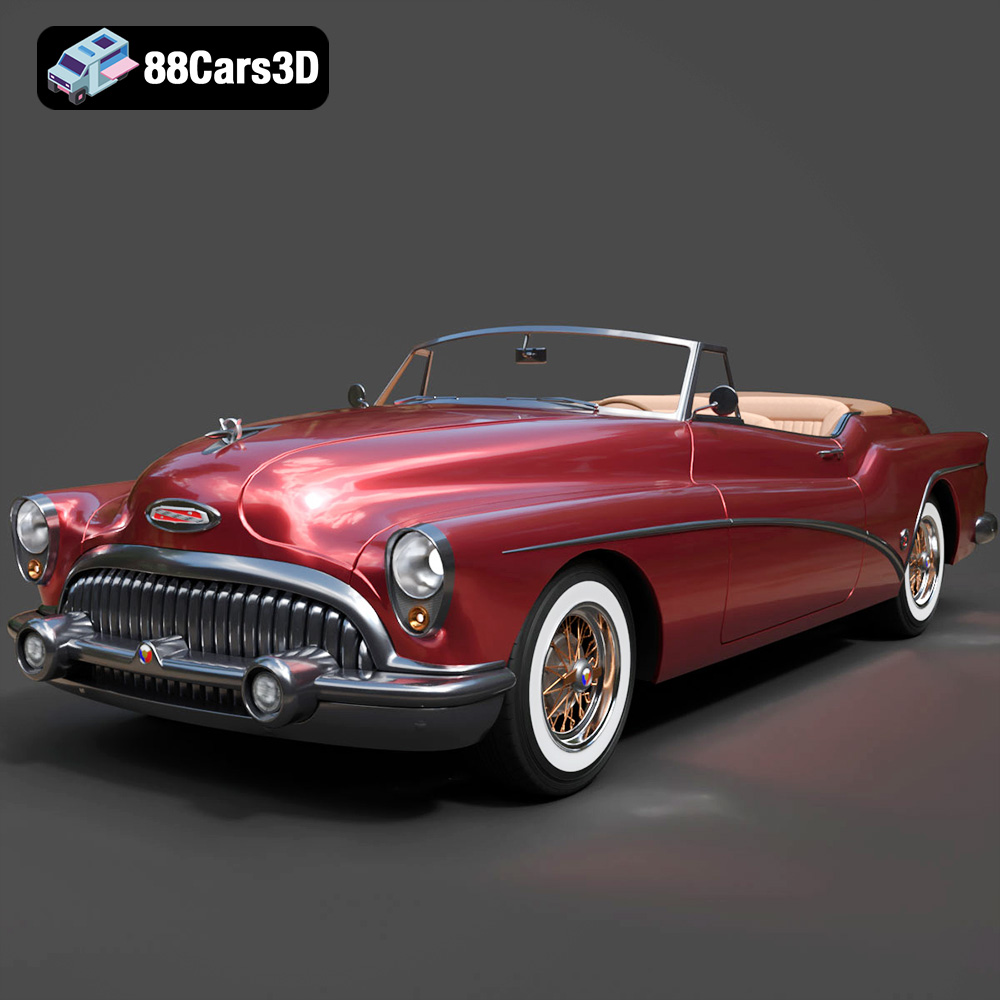
Buick Skylark Convertible 1953 3D Model
Texture: Yes
Material: Yes
Download the Buick Skylark Convertible 1953 3D Model featuring iconic 1950s styling, a detailed exterior with chrome accents, and an accurately modeled interior. Includes .blend, .fbx, .obj, .glb, .stl, .ply, .unreal, and .max formats for rendering, simulation, and game development.
Price: $10.79

Buick Roadmaster Hardtop Coupe 1957 3D Model
Texture: Yes
Material: Yes
Download the Buick Roadmaster Hardtop Coupe 1957 3D Model featuring a classic American design with detailed exterior and interior. Includes .blend, .fbx, .obj, .glb, .stl, .ply, .unreal, and .max formats for rendering, simulation, and game development.
Price: $10.79
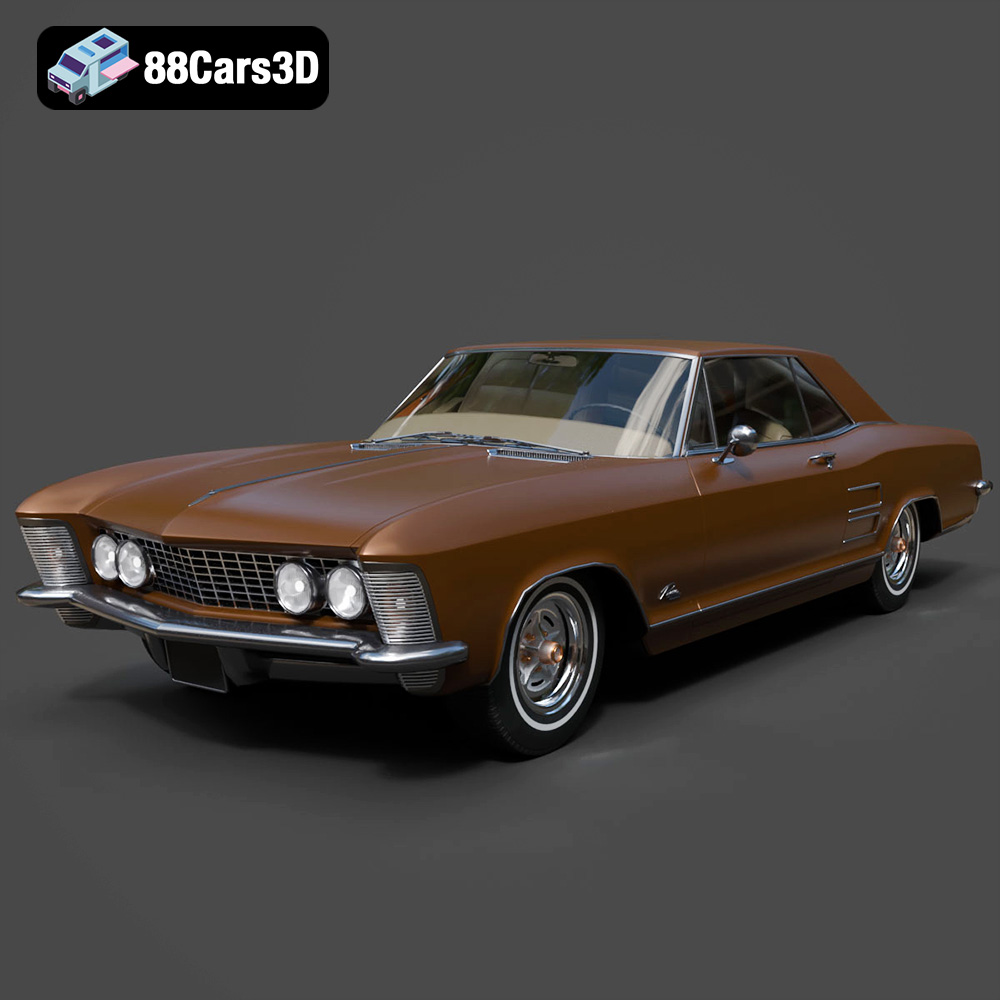
Buick Riviera 1963 3D Model
Texture: Yes
Material: Yes
Download the Buick Riviera 1963 3D Model featuring classic American muscle car design and iconic styling. Includes .blend, .fbx, .obj, .glb, .stl, .ply, .unreal, and .max formats for rendering, simulation, and game development.
Price: $10.79
