

In the rapidly evolving landscape of product marketing and design, static images and pre-rendered videos are quickly becoming relics of the past. Today’s consumers and professionals demand immersive, interactive experiences that allow them to explore products in unprecedented detail. This shift is particularly pronounced in the automotive industry, where the intricate beauty and engineering of a vehicle deserve to be showcased dynamically. Enter Unreal Engine – a powerful real-time rendering platform that is revolutionizing how we create and interact with 3D car models.
Unreal Engine’s advanced capabilities, from its photorealistic rendering to its robust interactivity features, make it the ultimate tool for developing compelling automotive product demos, configurators, and virtual showrooms. Whether you’re an Unreal Engine developer, a 3D artist, an automotive designer, or a visualization professional, understanding how to leverage this technology is key to delivering cutting-edge experiences. This comprehensive guide will walk you through the essential steps, features, and best practices for creating stunning, interactive automotive product demos with Unreal Engine, ensuring your projects stand out and engage your audience like never before. We’ll explore everything from project setup and asset import to advanced lighting, interactivity, and optimization strategies, empowering you to unlock the full potential of real-time visualization.
Foundation: Project Setup and Importing High-Quality Car Models
The journey to an immersive interactive automotive demo begins with a solid foundation: properly configuring your Unreal Engine project and efficiently importing your 3D car models. This initial phase sets the stage for performance, visual fidelity, and ease of development down the line. Choosing the right project template and understanding the nuances of asset ingestion are critical steps.
Unreal Engine Project Configuration for Automotive Visualization
When starting a new project in Unreal Engine for automotive visualization, selecting the correct template and configuring initial settings is paramount. While various templates exist, beginning with a “Blank” or “Games – Blank” project often provides the most control, allowing you to add only the necessary features and plugins. For high-fidelity automotive work, consider enabling several crucial plugins immediately:
- Datasmith Importer: Essential for importing complex CAD data or scenes from DCC applications with proper hierarchies, materials, and metadata.
- Ray Tracing: While Lumen provides excellent real-time global illumination, hardware-accelerated ray tracing can deliver unparalleled reflections, shadows, and ambient occlusion, especially for cinematic shots. Ensure your project settings and GPU support it.
- Alembic Groom: If your car models include detailed hair or fur (e.g., interior carpet, fabric), this plugin facilitates their import and rendering.
- Substance Plugin (if using Substance materials): For advanced material creation and iteration.
Beyond plugins, adjust your project settings for optimal visual quality. Navigate to Edit > Project Settings > Engine > Rendering. Here, set the “Default Post Process Settings” to “Cinematic” for higher quality anti-aliasing, ambient occlusion, and motion blur. Enable “Lumen Global Illumination” and “Lumen Reflections” for physically accurate lighting and reflections, as these are critical for achieving realistic car visuals. For ray tracing, activate “Hardware Ray Tracing” and related features. Properly configuring these settings from the outset ensures that all subsequently imported assets and lighting setups benefit from Unreal Engine’s most advanced rendering capabilities.
Importing and Optimizing 3D Car Models from 88cars3d.com
Sourcing high-quality 3D car models from marketplaces like 88cars3d.com is the crucial first step. These platforms offer pre-optimized models with clean topology, realistic UV mapping, and PBR-ready materials, which significantly streamline the import process. When importing your chosen 3D car models into Unreal Engine, several considerations ensure optimal performance and visual fidelity:
- File Formats: FBX is the most common and robust format for static meshes. For more complex scenes or CAD data, USD (Universal Scene Description) or Datasmith files are excellent choices, preserving scene hierarchy, instances, and material assignments more effectively. USDZ is generally for AR export rather than direct UE import, but USD itself is gaining traction.
- Import Settings: When importing an FBX file, pay attention to the import dialogue box.
- Combine Meshes: Decide whether to combine all meshes into one (can simplify scene but lose individual control) or import them as separate static meshes (recommended for modularity, material assignment, and interactivity). For a car, individual parts like body, wheels, interior components should be separate.
- Auto Generate Lightmap UVs: Essential for proper baked lighting, though less critical with dynamic lighting solutions like Lumen. Still good practice.
- Import Materials: Enable this to bring in basic material setups, which you’ll then refine using Unreal’s Material Editor.
- Normal Import Method: Tangent space is usually appropriate.
- Scale: Ensure your model is imported at the correct scale. Unreal Engine uses 1 Unreal Unit = 1 cm. Most professional 3D models from platforms like 88cars3d.com are built to real-world scale, minimizing issues here.
- Pivot Points: Verify that pivot points for interactive parts (e.g., doors, wheels) are correctly positioned in your 3D modeling software before export. This simplifies animation and Blueprint interaction later.
After import, perform an initial check. Look for any geometry errors, flipped normals (visible as black faces), or incorrect scaling. Address these issues in your 3D modeling software and re-import if necessary. Proper import of well-structured models saves immense time and effort in subsequent stages of development.
Crafting Realistic Visuals: PBR Materials and Advanced Lighting
Once your car model is accurately imported, the next critical step is to infuse it with lifelike visuals. This involves mastering Physically Based Rendering (PBR) materials and establishing a sophisticated real-time lighting environment, leveraging Unreal Engine’s advanced capabilities like Lumen to achieve stunning realism. The goal is to replicate how light interacts with surfaces in the real world, creating believable textures and reflections.
Mastering PBR Material Creation in Unreal Engine
PBR materials are the cornerstone of photorealistic rendering in Unreal Engine. They simulate the physical properties of surfaces, ensuring that how a material looks is consistent under various lighting conditions. For automotive visualization, creating accurate car paint, metallic trims, glass, and rubber materials is crucial. Unreal Engine’s Material Editor offers a node-based system for building these complex shaders:
- Core PBR Parameters:
- Base Color: Defines the diffuse color of the surface. For car paint, this might be a solid color or a texture.
- Metallic: A value between 0 (dielectric/non-metal) and 1 (metal). Car bodies are metallic (1), while tires are non-metallic (0).
- Roughness: Controls the microscopic surface irregularities, determining how sharp or blurry reflections are. A polished car body will have a very low roughness (e.g., 0.05-0.15), while matte plastic or rubber will have higher values (e.g., 0.6-0.8).
- Specular: Generally left at default (0.5) for most PBR workflows, but can be tweaked for specific effects.
- Normal Map: Adds surface detail without increasing polygon count, simulating bumps and grooves. Crucial for realistic tire treads, interior stitching, and subtle body imperfections.
- Ambient Occlusion (AO): Defines areas that receive less ambient light, adding depth. Often baked into a texture map.
- Advanced Car Paint Shaders: Replicating car paint requires more than just basic PBR.
- Clear Coat: Unreal Engine has a dedicated ‘Clear Coat’ input on the material node, allowing you to simulate the layered look of automotive clear coats over a base paint. This adds an extra layer of specular reflection and roughness control.
- Flakes: For metallic or pearlescent paints, use a procedural flake texture (e.g., a ‘Noise’ node or custom texture with fine normal map detail) combined with careful control over roughness and metallic properties to simulate tiny metallic flakes embedded in the paint.
- Glass Materials: Create realistic glass using translucency (often ‘Alpha Composite’ blend mode), controlling refraction (IOR), and adding subtle tint or dirt via textures. The ‘Thin Translucency’ shading model is often a good starting point for car windows, combined with a low roughness value for reflections.
Remember that materials from 88cars3d.com often come with pre-made textures for Base Color, Normal, Roughness, and Metallic, significantly accelerating this process. For a deeper dive into Unreal Engine’s PBR material system, consult the official documentation at https://dev.epicgames.com/community/unreal-engine/learning.
Real-Time Global Illumination with Lumen and Traditional Lighting Strategies
Lumen, Unreal Engine’s revolutionary real-time global illumination and reflections system, is a game-changer for automotive visualization. It dynamically calculates bounced light and reflections, bringing unprecedented realism to your scenes without the need for time-consuming light baking.
- Lumen Setup: Ensure Lumen is enabled in your project settings and Post Process Volume. Adjust settings like ‘Lumen Scene Detail’ and ‘Lumen Final Gather Quality’ for optimal balance between performance and visual quality. Lumen works best with emissive materials and dynamic lights.
- Key Lighting Elements:
- Directional Light: Represents the sun, providing direct light and sharp shadows. Configure its intensity, color, and angle to set the time of day and mood.
- Sky Light: Captures the ambient light from the sky. Pair this with a High Dynamic Range Image (HDRI) texture for realistic environment lighting and reflections. A high-quality HDRI of an outdoor environment or studio setup can instantly elevate realism.
- Rect Lights / Spot Lights: Use these as fill lights, accent lights, or to simulate studio lighting setups. For vehicle interiors, small rect lights can simulate interior dome lights or dashboard glows.
- Light Functions: Apply textures to project patterns onto surfaces, useful for creating interesting shadow effects or simulating projector lights.
- IES Profiles: Import real-world light distribution data (IES profiles) for accurate light falloff and patterns from specific light fixtures, crucial for architectural visualization or showroom settings.
- Exposure Control: Use a Post Process Volume to control exposure, auto-exposure, and white balance. This helps balance the brightness of your scene and ensures consistent visual presentation. Lumen’s dynamic range can be vast, so proper exposure management is key.
By combining expertly crafted PBR materials with a robust real-time lighting setup leveraging Lumen, you can create interactive automotive demos that are indistinguishable from reality, inviting users to experience every detail of your 3D car models.
Driving Performance: Nanite, LODs, and Optimization Strategies
Achieving photorealistic visuals in real-time, especially with complex automotive models, requires a keen understanding of performance optimization. Unreal Engine offers powerful tools like Nanite for handling high-fidelity geometry and traditional Level of Detail (LOD) systems, which, when combined with smart optimization strategies, ensure your interactive demos run smoothly across target platforms.
Leveraging Nanite for High-Fidelity Geometry
Nanite, Unreal Engine’s virtualized geometry system, is a revolutionary feature that allows artists to import and render incredibly high-polygon models with minimal performance impact. For 3D car models, which often feature intricate details and smooth surfaces requiring millions of polygons, Nanite is a game-changer. It effectively eliminates traditional polygon budget constraints, allowing you to use film-quality assets directly in real-time applications.
- How Nanite Works: Nanite intelligently streams and renders only the necessary detail at the pixel level. It converts dense mesh data into a highly optimized internal format, allowing for automatic LOD generation and culling, making traditional manual LOD setup largely obsolete for Nanite-enabled meshes. This means you can import high-detail car bodies, complex engine components, and detailed interiors without worrying about crippling frame rates.
- Enabling Nanite: To enable Nanite on a Static Mesh, simply open the Static Mesh Editor, navigate to the ‘Details’ panel, and check the ‘Enable Nanite’ box. You can adjust the ‘Fallback Relative Error’ to control the detail level of the Nanite mesh, which influences its streaming behavior.
- Benefits for Automotive:
- Unprecedented Detail: Render every curve, panel gap, and rivet with immaculate precision, vital for automotive accuracy.
- Simplified Workflow: Spend less time on polygon reduction and manual LODs, focusing more on artistic quality.
- Performance: Maintain high frame rates even with multiple high-poly vehicles in a scene, as Nanite only processes visible detail.
- Limitations: While powerful, Nanite has some limitations. It currently does not support certain features like World Position Offset (WPO), pre-computed global illumination (Lightmass), tessellation, or some complex translucent materials. For such cases, traditional optimization methods or specific material setups are still required. For example, transparent car windows or headlights might need to remain non-Nanite.
Strategic LOD Management and Data Streaming for Automotive Assets
Even with Nanite handling the primary car body, other assets in your scene—such as environments, smaller props, or transparent car parts—might still benefit from traditional Level of Detail (LOD) management and smart data streaming to maintain optimal performance.
- Level of Detail (LODs): LODs are simplified versions of a mesh that are swapped in and out based on the camera’s distance. This ensures that distant objects render with fewer polygons, saving GPU resources.
- Automatic LOD Generation: Unreal Engine can automatically generate LODs for Static Meshes. In the Static Mesh Editor, under ‘LOD Settings’, you can specify the number of LODs and criteria for their generation (e.g., screen size).
- Manual LOD Creation: For critical assets where precise control is needed (e.g., intricate parts of the car interior that might be seen up close but need to be optimized when viewed from afar), you can manually import simplified meshes for specific LOD levels from your 3D modeling software.
- Cull Distances: Adjust the ‘Min Draw Distance’ and ‘Max Draw Distance’ for individual Static Mesh components in your scene to completely hide objects when they are too far away to be meaningfully seen.
- Texture Optimization: Textures often consume significant memory.
- Texture Resolution: Use appropriate resolutions (e.g., 4K for hero car elements, 2K for environment, 512/1K for distant props).
- Texture Compression: Ensure textures are compressed correctly within Unreal Engine (e.g., DXT1/5 for diffuse, BC5 for normal maps, uncompressed for mask textures if artifacting is an issue).
- MipMaps: Enable MipMaps for all textures to allow the engine to use lower-resolution versions for distant objects, reducing memory and bandwidth.
- Data Streaming: For large environments or interactive scenes with many assets, optimize how data is loaded:
- World Partition: For extremely large open worlds or virtual showrooms, World Partition automatically streams portions of the world in and out based on proximity, rather than loading everything at once.
- Asset Instancing: Use Instanced Static Mesh Components for repetitive elements (e.g., screws, environmental foliage) to drastically reduce draw calls and improve performance.
- Visibility Culling: Implement Blueprint logic to hide or destroy assets that are not currently visible or relevant to the player’s immediate experience, dynamically reducing the rendering load.
By judiciously applying Nanite where appropriate and employing traditional LOD management and streaming for other assets, you can create high-fidelity automotive demos that run smoothly and deliver an exceptional user experience on various hardware configurations.
Bringing it to Life: Blueprint Scripting for Interactivity
Visual fidelity is only one part of an interactive demo. The true magic lies in allowing users to manipulate the product, explore its features, and personalize their experience. Unreal Engine’s Blueprint visual scripting system empowers artists and designers to create complex interactive functionalities without writing a single line of code, making it incredibly accessible for creating engaging automotive configurators and interactive showcases.
Building Interactive Configurators with Blueprint
Blueprint is a powerful node-based interface that allows you to define game logic, create events, and manipulate scene elements. For an automotive configurator, Blueprint is the backbone for functionalities like changing car colors, swapping wheel designs, opening doors, or toggling interior lights.
- Core Blueprint Concepts:
- Event Graph: This is where you define the flow of your logic. Events (e.g., “OnClicked” for a button, “BeginPlay” for scene initialization) trigger a sequence of actions.
- Variables: Store data like current car color, selected wheel type, or door open/closed state.
- Functions: Reusable blocks of logic. For instance, a “ChangeCarColor” function could take a new color as input and apply it to the car body material.
- Nodes: Represent specific actions or data manipulations (e.g., “Set Material,” “Add Static Mesh Component,” “Branch” for conditional logic).
- Implementing a Color Changer:
- Material Instances: First, create a “Material Instance Dynamic” (MID) of your car paint material. This allows you to modify material parameters (like Base Color) at runtime without creating new materials.
- User Interface (UMG): Create a simple UI widget (User Widget Blueprint) with buttons for different colors. Each button will have an “OnClicked” event.
- Blueprint Logic: On button click, get a reference to your car mesh, cast to the appropriate MID, and use the “Set Vector Parameter Value” node to change the ‘Base Color’ parameter of the MID to the desired color.
- Swapping Components (Wheels, Body Kits):
- Use Blueprint to hide/show different Static Mesh Components or even swap them out entirely. For example, on a “Change Wheels” button click, you could hide the currently visible wheel meshes and make a new set of wheel meshes visible.
- Ensure all interchangeable parts (e.g., different wheel types) are imported as separate Static Meshes or components within your car Blueprint.
- Door Open/Close Animation:
- Create a simple animation in your 3D software for a door opening, or use a “Set Relative Rotation/Location” node in Blueprint over time (using a Timeline or Lerp) to animate the door’s movement.
- Use a “FlipFlop” node or a Boolean variable to toggle between open and closed states when the user clicks on the door or a UI button.
Enhancing User Experience with UI/UX and Camera Controls
Beyond core configurator functions, a polished User Interface (UI) and intuitive camera controls are essential for a professional and user-friendly interactive demo. Unreal Engine’s UMG (Unreal Motion Graphics) UI Designer and Blueprint work hand-in-hand to achieve this.
- UMG UI Designer:
- Canvas Panel: The foundation for your UI, allowing you to position elements.
- Widgets: Drag and drop common UI elements like Buttons, Sliders, Text Blocks, Image Widgets, and Combo Boxes.
- Anchors: Use anchors to ensure your UI scales correctly across different screen resolutions.
- Styling: Customize the appearance of your widgets with images, colors, and fonts to match your brand.
- Integrating UI with Game Logic:
- In your User Widget Blueprint, you can implement the “OnClicked” events for buttons, then cast to your main car Blueprint or Game Mode to execute the desired interaction logic.
- Use “Event Dispatchers” to create a clean communication pipeline between your UI and the car logic, promoting modularity.
- Interactive Camera Controls:
- Orbit Camera: A common and intuitive way to explore a car. Implement this using Blueprint by getting mouse input (e.g., “InputAxis Mouse X”, “InputAxis Mouse Y”) and applying rotations to a spring arm and camera attached to the car’s pivot point.
- Fixed Camera Views: Allow users to jump to specific pre-defined camera angles (e.g., front, side, interior). Create multiple Camera Actors in your scene, then use Blueprint to “Set View Target with Blend” to smoothly transition between them.
- Zoom: Implement zoom functionality by adjusting the camera’s FOV (Field of View) or by moving the camera along its forward vector using mouse wheel input.
- Input Management: Use “Input Actions” and “Input Mappings” in your Project Settings to define keyboard, mouse, or gamepad inputs for your camera controls and interactions, making it easy to remap them if needed.
With a thoughtful combination of robust Blueprint logic and a well-designed UI, your interactive automotive product demo will not only look stunning but also provide a seamless and engaging user experience, allowing potential customers and collaborators to truly connect with the 3D car models.
Cinematic Flair and Advanced Experiences: Sequencer and Virtual Production
Beyond interactive exploration, often you need to present your automotive models with a polished, cinematic touch or integrate them into cutting-edge virtual production workflows. Unreal Engine’s Sequencer and its capabilities for virtual production open up a realm of possibilities for creating stunning videos, advertisements, and real-time studio experiences that leverage the power of your 3D car models.
Crafting Engaging Cinematics with Sequencer
Sequencer is Unreal Engine’s non-linear cinematic editor, designed for creating high-quality, pre-rendered or real-time sequences. It’s an invaluable tool for producing marketing videos, showcasing car features, or even creating entire short films featuring your automotive assets.
- Sequencer Basics:
- Creating a Level Sequence: Right-click in the Content Browser > Animation > Level Sequence. Open it to access the Sequencer editor.
- Tracks: Add tracks for actors in your scene (e.g., your car model, cameras, lights) to control their properties over time.
- Spawnables: Actors created specifically for the sequence.
- Possessables: Existing actors in your level that are controlled by the sequence.
- Keyframing: Keyframe properties like location, rotation, scale, material parameters (e.g., car paint color changes), light intensity, and camera settings directly on the timeline.
- Animation Curves: Adjust the interpolation between keyframes using animation curves to create smooth, natural movements.
- Camera Cuts Track: Essential for switching between different cameras during a sequence, allowing for dynamic shot composition.
- Cinematic Camera Actors:
- Use the specialized ‘Cine Camera Actor’ in Sequencer for film-like results. It offers controls for focal length, aperture (depth of field), and filmback settings, mimicking real-world cameras.
- Keyframe camera movements to create elegant tracking shots, dramatic zooms, or sweeping pans around your vehicle.
- Material Parameter Control:
- You can directly keyframe material parameters (e.g., a car paint’s base color or roughness) within Sequencer if you’re using Material Instance Dynamics. This allows for dynamic color changes or material effects as part of your cinematic.
- Post-Process Effects:
- Apply Post Process Volumes within your sequence or keyframe their properties to control cinematic effects like color grading, vignetting, bloom, and lens flares, adding polish and mood to your visuals.
- Render Movie Queue (RMQ):
- For high-quality final output, use the Render Movie Queue (Window > Cinematics > Movie Render Queue). This tool provides advanced rendering options, including anti-aliasing methods (e.g., Temporal Sample Count), output formats (EXR, PNG, MP4), and render passes (e.g., Z-depth, normals, motion vectors), allowing for professional post-production workflows. RMQ ensures consistent, high-fidelity renders, overcoming limitations of legacy render exporters.
Exploring Virtual Production and LED Wall Workflows for Automotive
Virtual production, particularly with LED walls, is transforming automotive marketing and filmmaking. It allows for real-time integration of 3D car models into dynamic virtual environments, displayed on massive LED screens, creating seamless in-camera visual effects. This eliminates the need for expensive location shoots and offers unparalleled creative flexibility.
- The Essence of Virtual Production:
- A physical car (or a placeholder buck) is placed in front of an LED wall displaying a virtual environment rendered in real-time by Unreal Engine.
- A camera with real-time tracking (e.g., using Mo-Sys, Stype, or Vicon systems) tracks its position and orientation in the physical space.
- Unreal Engine uses this tracking data to render the virtual environment from the camera’s perspective, projecting it onto the LED wall. This creates accurate parallax and perspective for the camera.
- Automotive Applications:
- Realistic Backdrops: Place your physical car on a stage, and project any virtual environment – a bustling city street, a scenic mountain pass, or a futuristic showroom – onto the LED wall.
- Interactive Lighting: The LED wall itself acts as a massive light source, casting realistic reflections and soft ambient light onto the physical car, perfectly matching the virtual environment.
- Rapid Iteration: Change environments, time of day, or lighting conditions instantly within Unreal Engine, allowing directors and designers to experiment and iterate on looks in real-time.
- In-Camera VFX: The final composite is achieved directly in-camera, reducing post-production time and ensuring a more integrated look than traditional green screen techniques.
- Unreal Engine for LED Walls:
- Unreal Engine’s nDisplay system is specifically designed for multi-display setups, including LED volumes. It handles rendering different frustums for each LED panel, ensuring correct perspective.
- Achieving accurate reflections on the car often involves configuring reflection capture actors and potentially using ray-traced reflections if performance allows, to ensure the virtual environment accurately reflects on the car’s body.
- Integration with live camera tracking and genlock systems is crucial for a stable, artifact-free image on the LED wall.
By harnessing Sequencer for finely-tuned cinematics and exploring the realm of virtual production, you can elevate your automotive presentations from mere product demos to captivating, high-production-value experiences that truly showcase the artistry and engineering of the vehicles.
Expanding Horizons: Physics, AR/VR, and Next-Gen Demos
The capabilities of Unreal Engine extend far beyond static or even interactive showroom experiences. Integrating realistic physics, optimizing for augmented and virtual reality, and looking towards emerging technologies allows for truly dynamic and immersive automotive demos, pushing the boundaries of what’s possible in real-time visualization.
Implementing Realistic Vehicle Physics and Dynamics
While a simple configurator might not require full vehicle physics, adding realistic driving dynamics can transform an interactive demo into an engaging simulation or a compelling game experience. Unreal Engine’s Chaos Physics engine provides a robust framework for simulating complex vehicle behavior.
- Chaos Vehicle System:
- Unreal Engine offers a dedicated Chaos Vehicle system, which includes components like the ‘Wheeled Vehicle Movement Component (Chaos)’ that simplify the setup of cars, trucks, and other wheeled vehicles.
- This component manages wheel suspension, engine torque, braking, steering, and tire friction, giving you fine-grained control over how your vehicle handles.
- Setting Up a Drivable Car:
- Skeletal Mesh: Your car model will typically need to be a Skeletal Mesh with bones for each wheel, allowing them to rotate and steer independently. Some high-quality 3D car models from marketplaces might already come rigged for this.
- Physics Asset: Create a Physics Asset for your Skeletal Mesh to define collision shapes and constraints for each part of the vehicle, particularly the wheels and chassis.
- Vehicle Blueprint: Create a Blueprint inheriting from ‘Wheeled Vehicle Pawn’. Add your Skeletal Mesh, and configure the ‘Wheeled Vehicle Movement Component (Chaos)’.
- Engine and Transmission: Define engine torque curves, gear ratios, differential types, and clutch settings to control acceleration and speed.
- Suspension and Tires: Adjust spring rates, damping, and tire friction curves to simulate realistic handling on different surfaces. Implement input mapping for throttle, brake, and steering.
- Impact and Damage Simulation:
- Chaos Destruction: For more advanced scenarios, Chaos can simulate destructible geometry. While this might be overkill for a product demo, it offers possibilities for crash testing visualizations or demonstrating vehicle resilience in a simulated environment.
- Blueprint Effects: Use Blueprint to trigger visual effects (Niagara particle systems for smoke/sparks) and sound effects upon collision events or tire skids, enhancing the realism of the driving experience.
Implementing physics transforms a static model into a dynamic, tangible product, allowing users to experience the vehicle’s performance characteristics in a virtual space, whether it’s for training, testing, or entertainment.
Optimizing for AR/VR and Future Interactive Platforms
Augmented Reality (AR) and Virtual Reality (VR) represent the next frontier for interactive automotive visualization. Offering true spatial immersion, AR/VR experiences allow users to view a car in their real environment or step inside a virtual one. However, these platforms demand stringent performance optimization.
- AR Optimization (e.g., for iOS/Android with ARKit/ARCore):
- Poly Count: Even with Nanite, target lower polygon counts for AR, especially for mobile devices. Nanite is currently not available for mobile platforms, so traditional LODs and mesh optimization are crucial. Aim for tens to hundreds of thousands of polygons per car, not millions.
- Texture Resolution: Optimize texture resolutions aggressively (e.g., 1K-2K for critical details, lower for less prominent areas) and ensure efficient compression.
- Draw Calls: Minimize draw calls by combining meshes where possible and using instancing for repetitive elements.
- Lighting: Rely heavily on dynamic lighting and reflections (e.g., Sphere Reflection Captures, Planar Reflections), but be mindful of their performance cost. Baked lighting might be an option for controlled indoor scenes.
- Materials: Keep material complexity low. Avoid overly complex shaders, excessive shader instructions, or multiple clear coat layers if not absolutely necessary.
- Unreal Engine’s AR Frameworks: Utilize Unreal Engine’s built-in ARKit (iOS) and ARCore (Android) support for seamless integration of tracking, plane detection, and light estimation.
- USDZ Export: While not a direct UE runtime, USDZ is an important format for AR. You can create optimized models in UE and export them for use in native AR applications, providing a bridge to broader AR deployment.
- VR Optimization (e.g., for Oculus, Valve Index, Varjo):
- Frame Rate: Maintaining a consistent, high frame rate (e.g., 90 FPS per eye) is paramount to prevent motion sickness. This is the single most critical factor for VR.
- Forward Rendering: Consider using the Forward Renderer (Project Settings > Rendering > Default Settings > Forward Shading) for VR. It often provides better performance for scenes with many translucent objects and can offer superior anti-aliasing.
- Instanced Stereo Rendering/Multi-View: These features render both eyes simultaneously, drastically reducing render time.
- Occlusion Culling: Ensure effective occlusion culling to prevent rendering objects that are hidden behind others.
- Scene Complexity: Streamline your environment and character models. Focus detail on what’s immediately visible to the user.
- LODs and HLODs (Hierarchical LODs): Essential for managing distant geometry in large VR scenes.
- VR Templates and Plugins: Leverage Unreal Engine’s VR templates and XR Interaction Toolkit to quickly set up VR locomotion, interaction, and UI.
- Future Platforms (WebXR, Cloud Streaming):
- Unreal Engine’s Pixel Streaming allows you to stream high-fidelity interactive experiences to any web browser or device, decoupling performance from client hardware. This is a powerful solution for showcasing demanding automotive demos on lower-end devices or in web-based configurators.
- Ongoing developments in WebXR and open metaverse standards will continue to expand the reach and capabilities of these interactive experiences.
By keeping performance at the forefront and leveraging Unreal Engine’s dedicated AR/VR tools and optimization techniques, you can ensure your automotive interactive demos are not only visually stunning but also accessible and performant across a wide spectrum of emerging platforms.
Conclusion
The journey through creating interactive automotive product demos with Unreal Engine reveals a powerful synergy between high-fidelity 3D assets and cutting-edge real-time technology. From the meticulous setup of your project and the strategic import of optimized 3D car models, to the artistry of PBR materials and advanced lighting with Lumen, every step contributes to an immersive visual experience.
We’ve explored how Nanite revolutionizes the handling of high-poly geometry, freeing artists to focus on detail, while traditional LODs and smart streaming keep performance agile. Blueprint visual scripting emerges as the cornerstone of interactivity, enabling dynamic configurators and engaging user interfaces without the complexities of coding. Further, Unreal Engine’s capabilities extend to cinematic storytelling with Sequencer and the cutting edge of virtual production, allowing for unparalleled marketing and design workflows. Finally, the ability to integrate realistic physics and optimize for AR/VR platforms ensures your automotive demos are future-proof and accessible across an ever-expanding range of interactive mediums.
Mastering these techniques in Unreal Engine empowers you to transform static presentations into dynamic, explorable realities. The demand for interactive visualization is only growing, and Unreal Engine provides the robust toolkit necessary to meet and exceed these expectations. By embracing these workflows, you can create automotive experiences that not only showcase design and engineering brilliance but also deeply engage and inform your audience, setting a new standard for product demonstration in the digital age. Continue to experiment, iterate, and push the boundaries of real-time rendering, and you’ll find Unreal Engine an indispensable partner in your creative endeavors.
Featured 3D Car Models
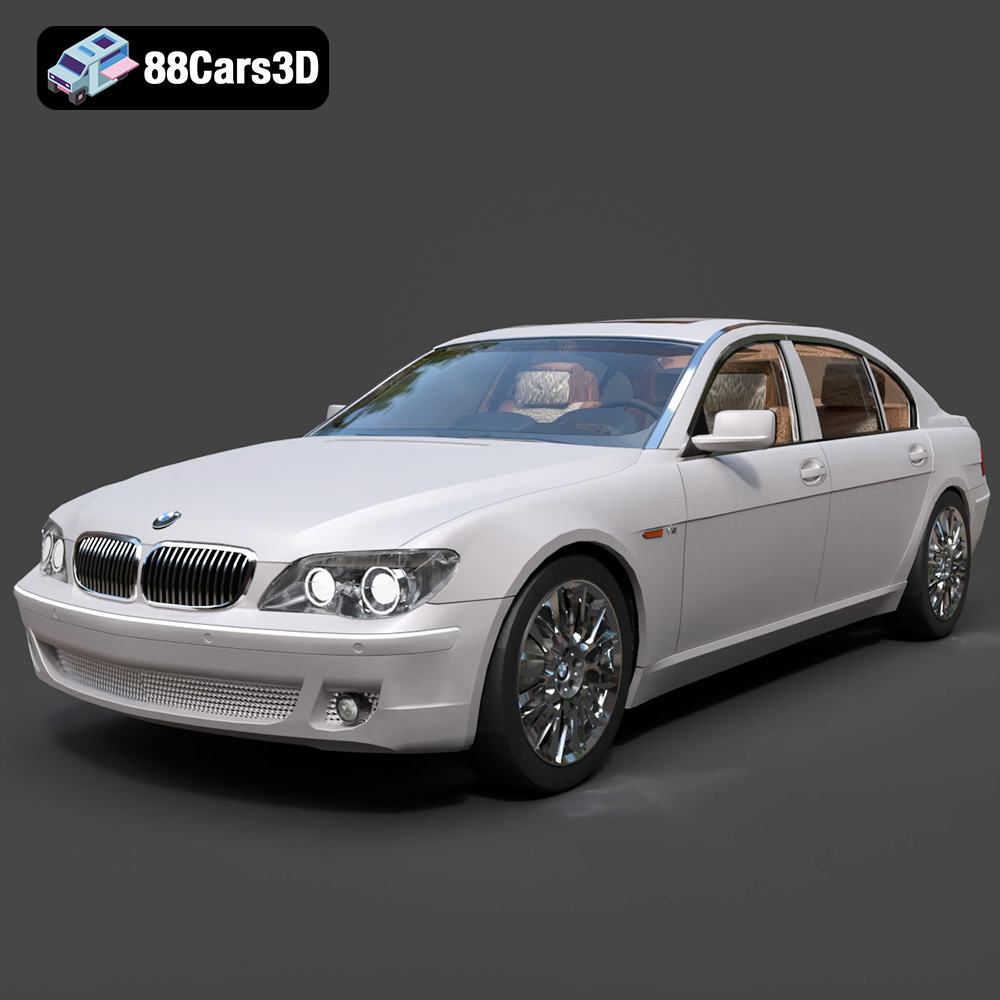
BMW 760Li E66 2005 3D Model
Texture: Yes
Material: Yes
Download the BMW 760Li E66 2005 3D Model featuring a detailed exterior, refined interior, and robust chassis. Includes .blend, .fbx, .obj, .glb, .stl, .ply, .unreal, and .max formats for rendering, simulation, and game development.
Price: $10.79
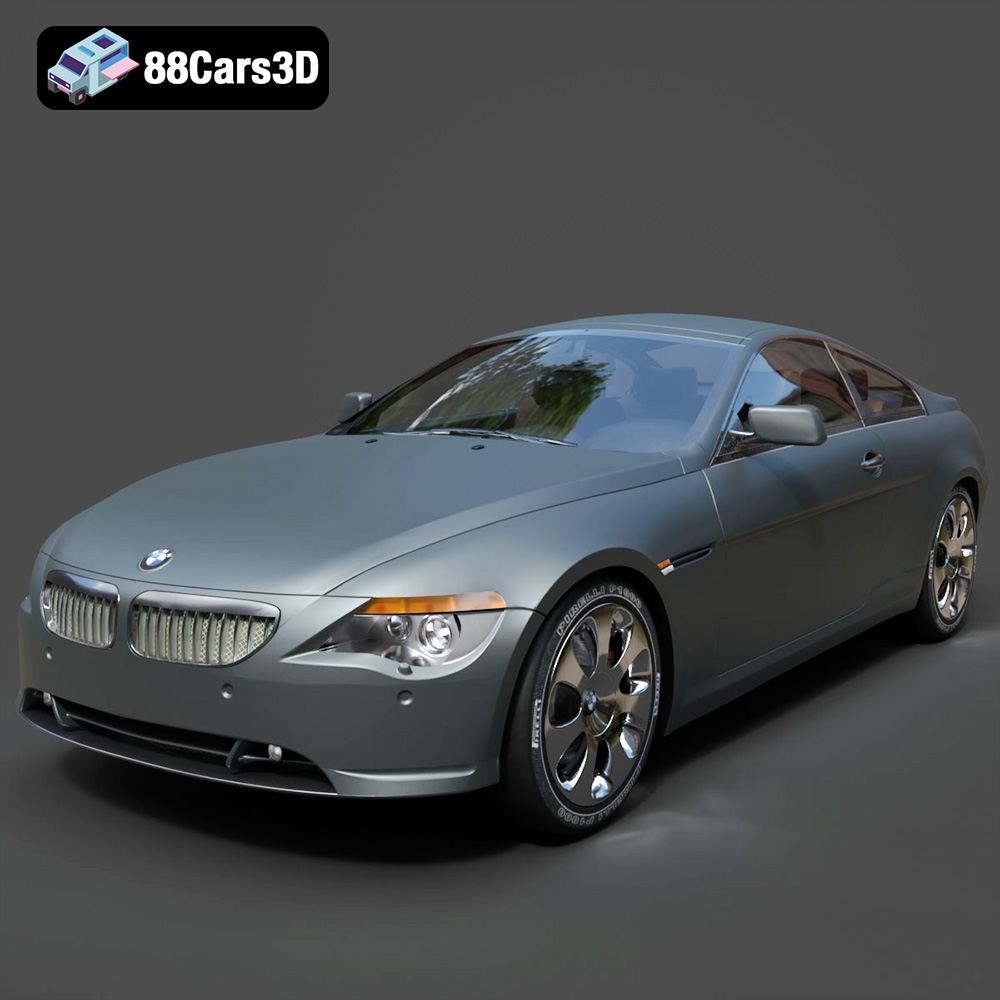
BMW 6 Series 3D Model
Texture: Yes
Material: Yes
Download the BMW 6 Series 3D Model featuring precisely modeled body panels, detailed interior, and authentic wheels. Includes .blend, .fbx, .obj, .glb, .stl, .ply, .unreal, and .max formats for rendering, simulation, and game development.
Price: $10.79
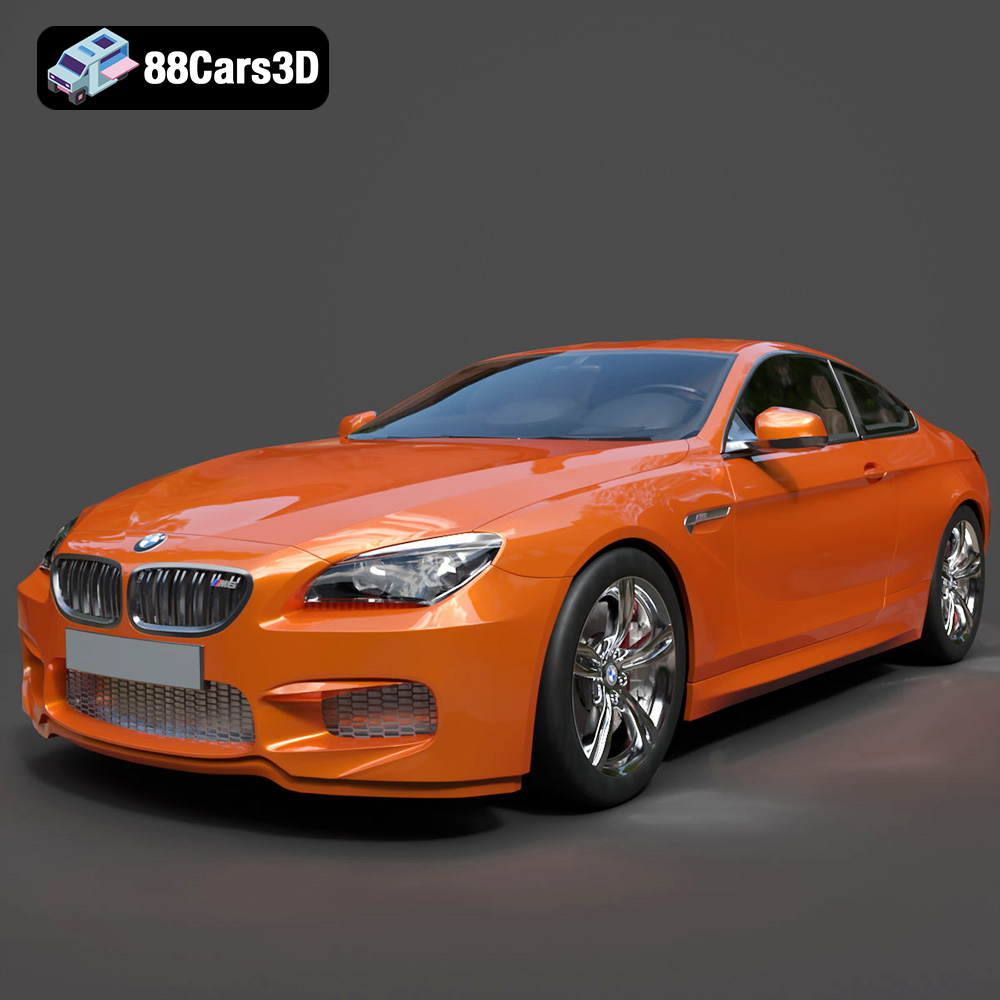
BMW M6 Coupe (F12) 3D Model
Texture: Yes
Material: Yes
Download the BMW M6 Coupe (F12) 3D Model featuring its iconic sporty design and luxurious details. Includes .blend, .fbx, .obj, .glb, .stl, .ply, .unreal, and .max formats for rendering, simulation, and game development.
Price: $10.79
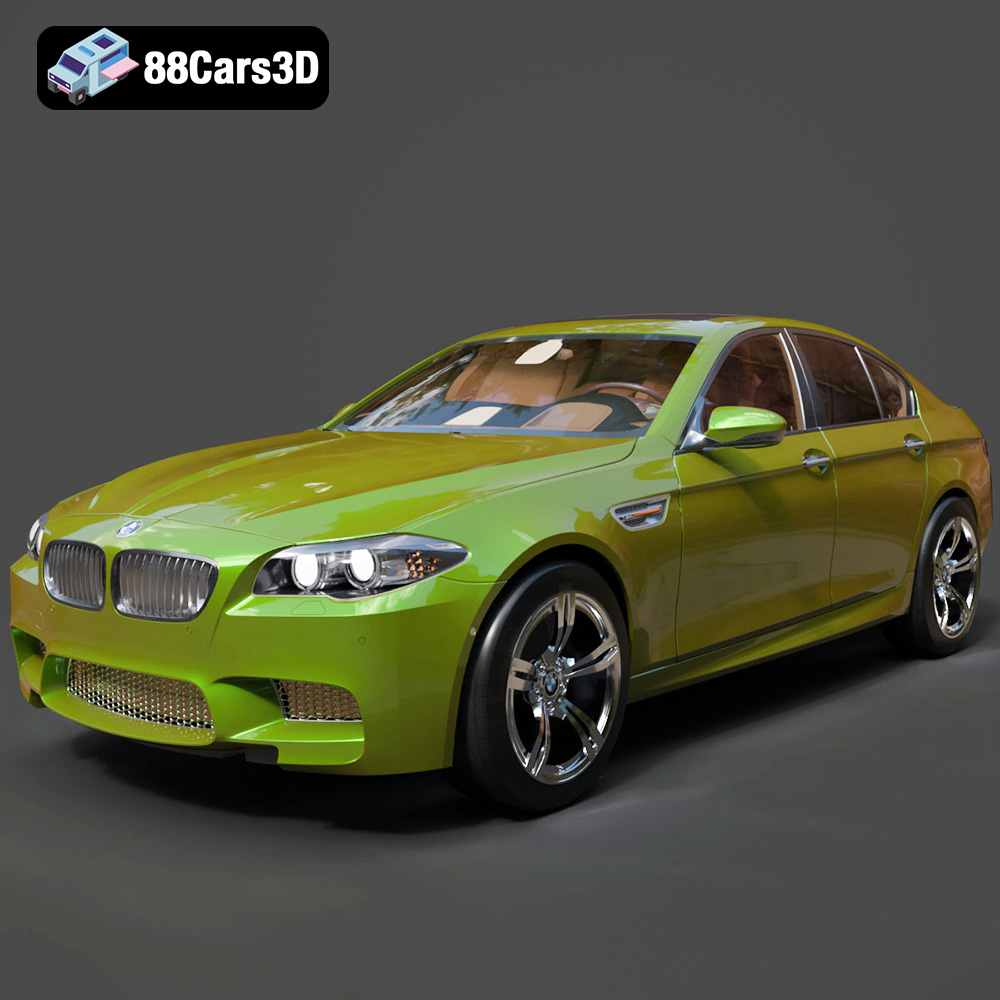
BMW M5 F10 3D Model
Texture: Yes
Material: Yes
Download the BMW M5 F10 3D Model featuring high-performance luxury sedan design, detailed interior, and realistic PBR textures. Includes .blend, .fbx, .obj, .glb, .stl, .ply, .unreal, and .max formats for rendering, simulation, and game development.
Price: $10.79
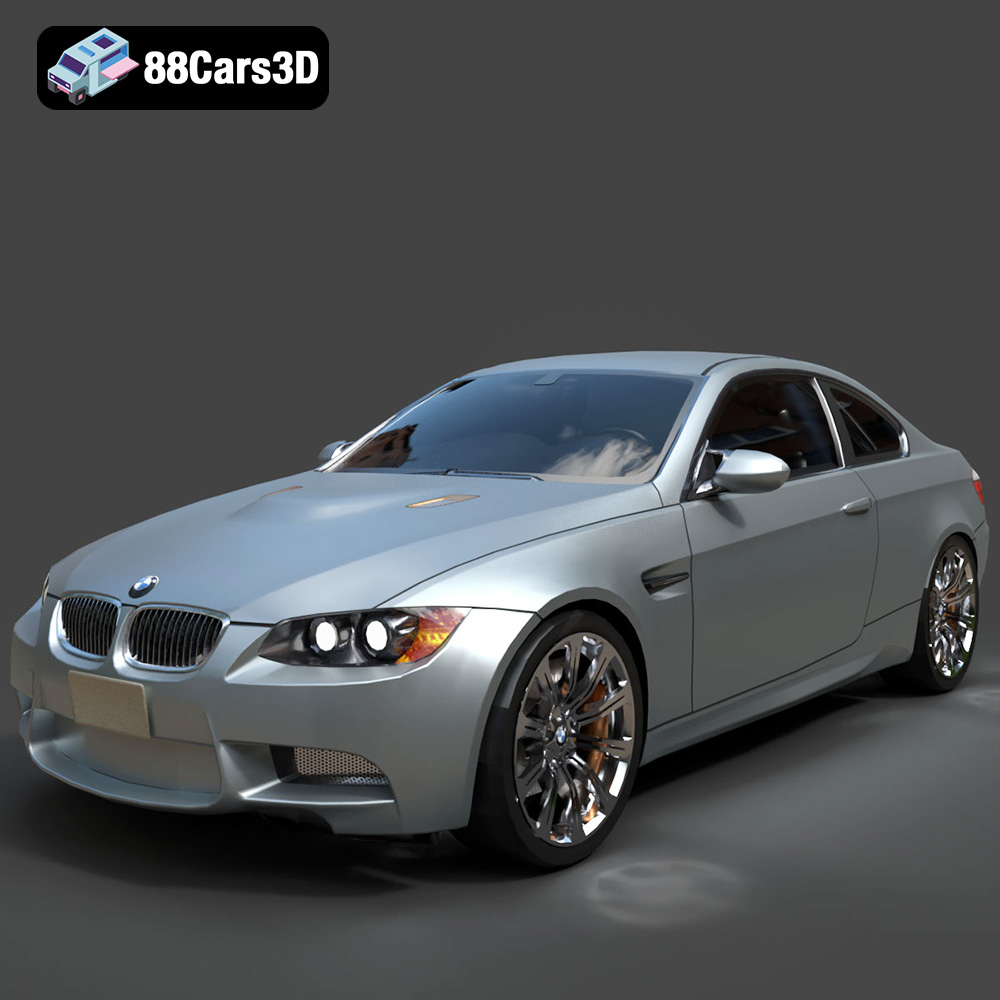
BMW M3 Coupe E92-002 3D Model
Texture: Yes
Material: Yes
Download the BMW M3 Coupe E92-002 3D Model featuring authentic styling, detailed exterior, and a faithful interior. Includes .blend, .fbx, .obj, .glb, .stl, .ply, .unreal, and .max formats for rendering, simulation, and game development.
Price: $10.79
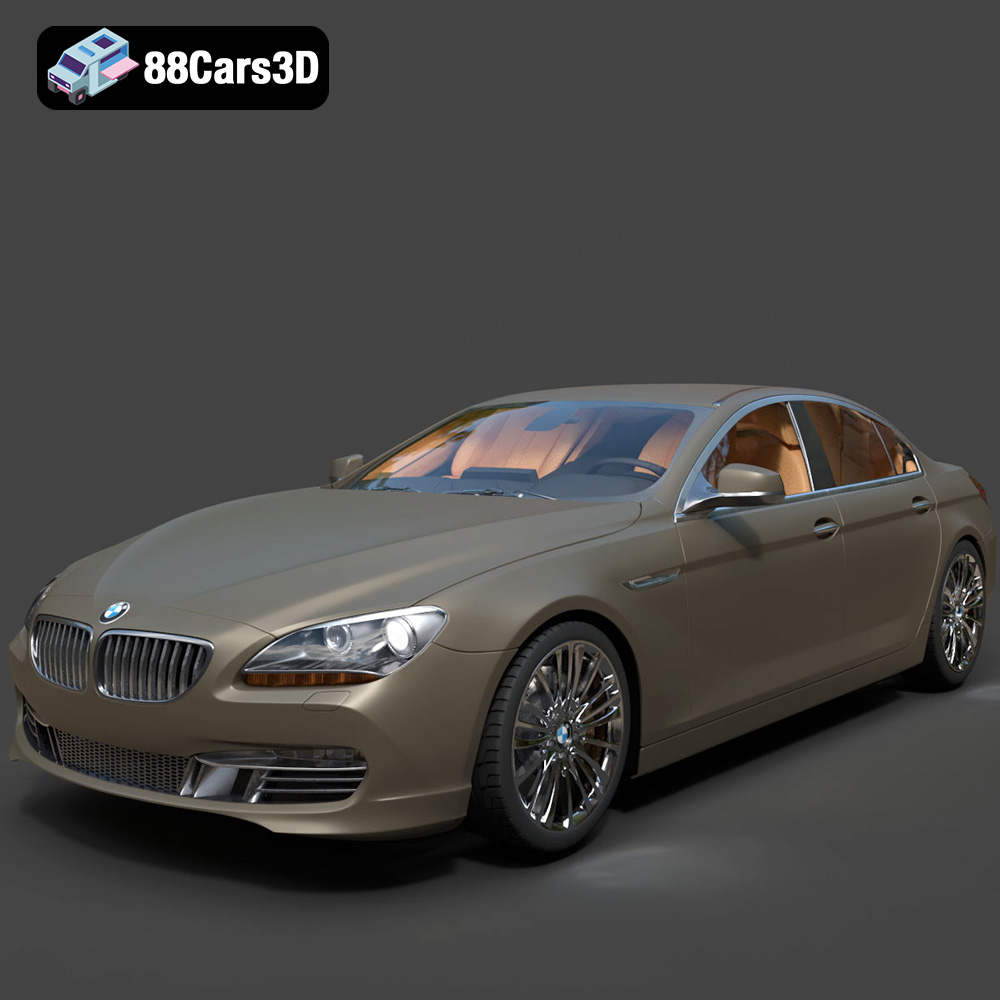
BMW 6 Series Gran Coupe 2013 3D Model
Texture: Yes
Material: Yes
Download the BMW 6 Series Gran Coupe 2013 3D Model featuring a sophisticated design, detailed exterior, and well-appointed interior. Includes .blend, .fbx, .obj, .glb, .stl, .ply, .unreal, and .max formats for rendering, simulation, and game development.
Price: $20.79
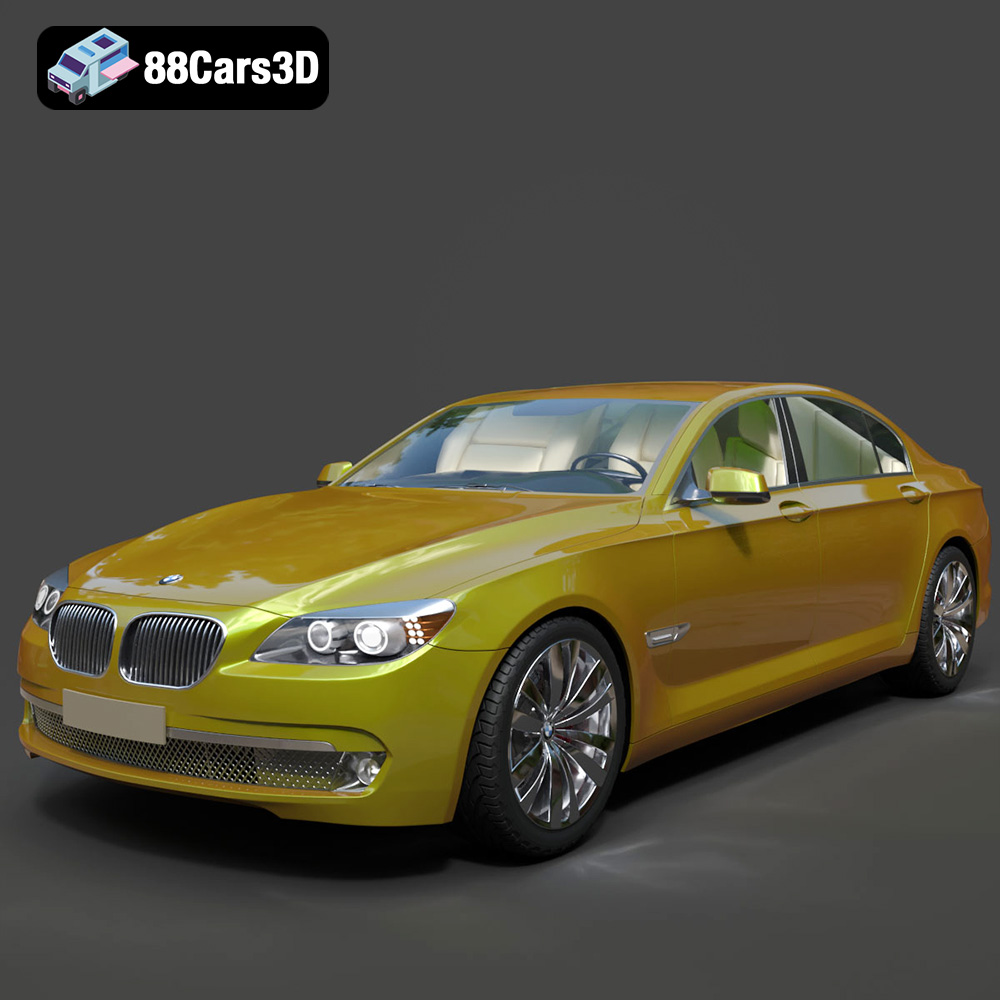
BMW 7 Series 750 F01 3D Model
Texture: Yes
Material: Yes
Download the BMW 7 Series 750 F01 3D Model featuring a detailed exterior and a luxurious interior. Includes .blend, .fbx, .obj, .glb, .stl, .ply, .unreal, and .max formats for rendering, simulation, and game development.
Price: $10.79
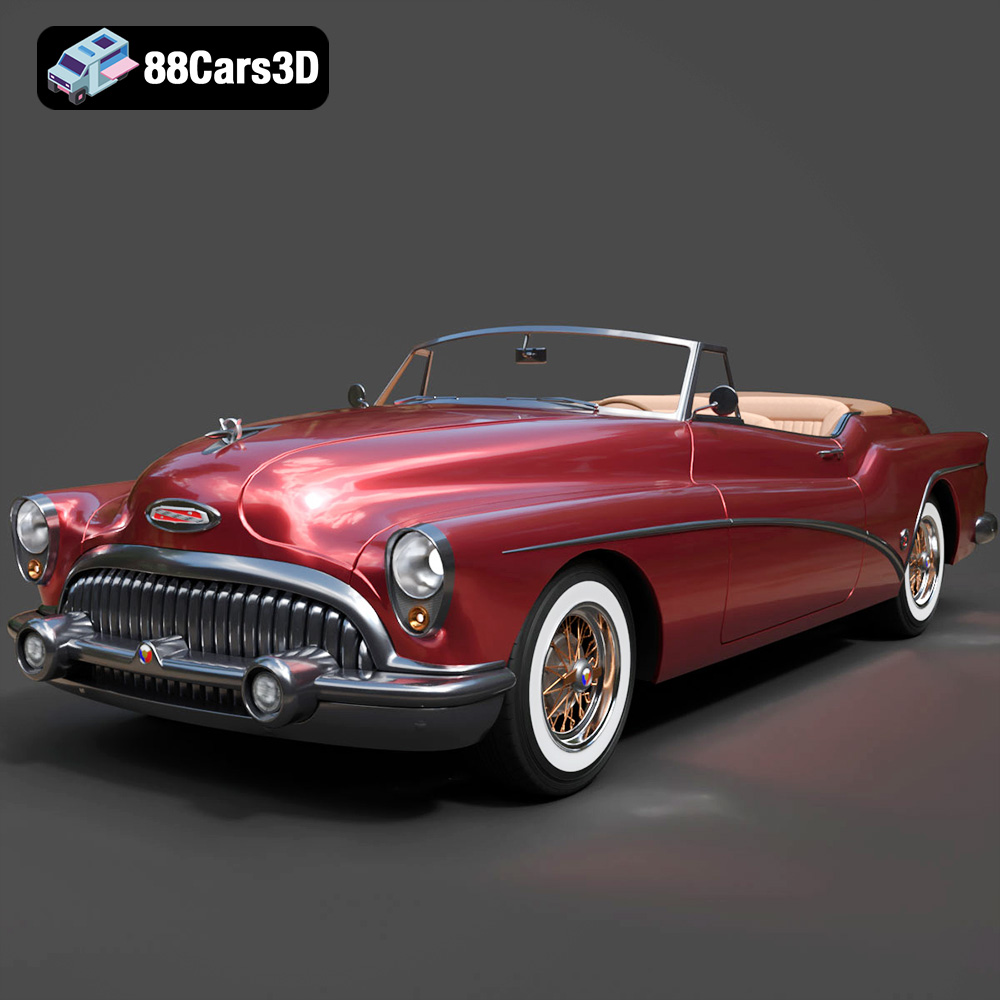
Buick Skylark Convertible 1953 3D Model
Texture: Yes
Material: Yes
Download the Buick Skylark Convertible 1953 3D Model featuring iconic 1950s styling, a detailed exterior with chrome accents, and an accurately modeled interior. Includes .blend, .fbx, .obj, .glb, .stl, .ply, .unreal, and .max formats for rendering, simulation, and game development.
Price: $10.79

Buick Roadmaster Hardtop Coupe 1957 3D Model
Texture: Yes
Material: Yes
Download the Buick Roadmaster Hardtop Coupe 1957 3D Model featuring a classic American design with detailed exterior and interior. Includes .blend, .fbx, .obj, .glb, .stl, .ply, .unreal, and .max formats for rendering, simulation, and game development.
Price: $10.79
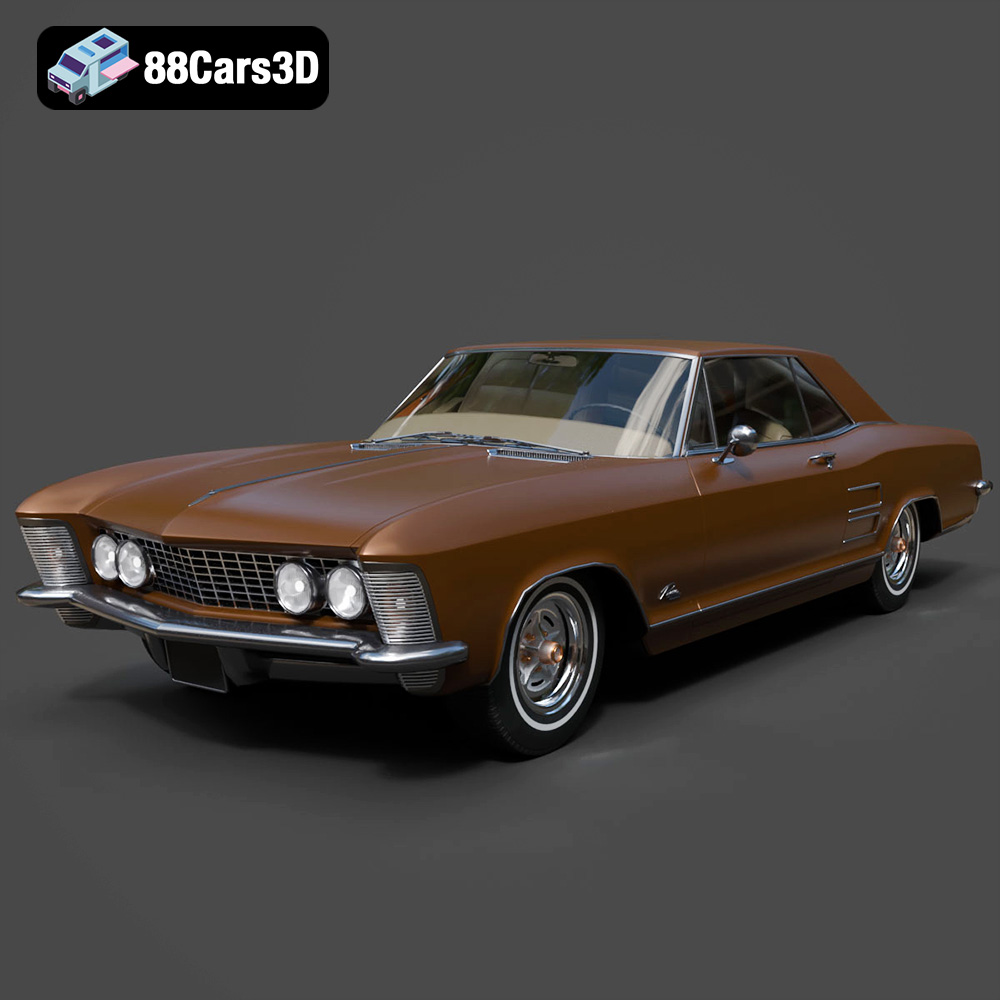
Buick Riviera 1963 3D Model
Texture: Yes
Material: Yes
Download the Buick Riviera 1963 3D Model featuring classic American muscle car design and iconic styling. Includes .blend, .fbx, .obj, .glb, .stl, .ply, .unreal, and .max formats for rendering, simulation, and game development.
Price: $10.79
