

In the highly competitive world of 3D visualization, automotive design, and game asset development, capturing the true essence of a vehicle goes far beyond accurate modeling. It delves into the intricate dance of light, demanding a meticulous understanding of how surfaces reflect and refract their environment. Realistic reflections and refractions are not merely aesthetic enhancements; they are fundamental pillars that elevate a 3D car model from a static object to a lifelike masterpiece, breathing realism and conveying material integrity. Whether you’re a seasoned 3D artist, an aspiring game developer, or an automotive designer pushing the boundaries of virtual prototyping, mastering these phenomena is crucial for producing renders that captivate and convince.
This comprehensive guide from 88cars3d.com will immerse you in the technical intricacies of achieving stunning reflections and refractions in your car renders. We’ll explore the underlying physics, dissect advanced material workflows, delve into environmental lighting setups, and unveil optimization strategies for various rendering engines. Prepare to unlock the secrets behind hyper-realistic car paint, crystal-clear glass, and the subtle interplay of light that truly brings your automotive creations to life. By the end of this journey, you’ll possess the knowledge and actionable techniques to transform your 3D car models into photorealistic visions, ready for high-impact visualization, cutting-edge game engines, and immersive AR/VR experiences.
The Science Behind Realism: Understanding Light Interaction
To truly replicate the appearance of real-world materials, especially those as complex as automotive finishes and glass, we must first grasp the fundamental principles of how light interacts with surfaces. This understanding forms the bedrock of physically based rendering (PBR), a methodology that aims to simulate light behavior accurately rather than simply faking it. Without a solid grasp of these concepts, even the most detailed 3D car models will fall flat, lacking the visual credibility that defines a truly professional render.
Fresnel Effect Explained: The Angle of Incidence
The Fresnel effect is a cornerstone of realistic rendering. In simple terms, it describes how the reflectivity of a surface changes based on the angle at which you view it. Surfaces become more reflective when viewed at grazing (shallow) angles and less reflective when viewed head-on. Think of looking at a car from a distance: the paint often appears highly reflective, mirroring the sky. As you get closer and look directly at the paint, you see more of its inherent color and less of the reflection. This phenomenon is crucial for car paint, as it helps define the car’s silhouette and form through environmental reflections. Implementing Fresnel in your shaders, typically via a Fresnel node or directly within PBR material parameters, ensures that your surfaces respond to light in a physically plausible manner, adding a critical layer of realism to your 3D car models.
Index of Refraction (IOR): Material Specifics
While reflections deal with light bouncing off a surface, refractions concern light passing through transparent or translucent materials and bending in the process. The degree to which light bends is governed by the material’s Index of Refraction (IOR). Every transparent material, from glass to water to diamonds, has a specific IOR value. For standard automotive glass, a common IOR value is around 1.5-1.52. Water is approximately 1.33, and diamond is much higher at 2.417. Using accurate IOR values is paramount for realistic glass, headlights, and taillights in your 3D car models. An incorrect IOR can make glass look flat, thick, or even distorted, breaking the illusion of realism. Modern rendering engines and PBR shaders, like Blender’s Principled BSDF (see Blender 4.4 Manual – Principled BSDF), provide explicit IOR parameters, making it straightforward to input these physically accurate values and achieve convincing refractions.
Mastering Automotive Paint Shaders: Complex Reflections
Automotive paint is a marvel of material science, designed not just for aesthetics but also for durability and protection. Replicating its complex visual properties in 3D is one of the most challenging yet rewarding aspects of car rendering. A truly realistic car paint shader isn’t a single material but a sophisticated stack of layers, each contributing to the final look and feel, heavily relying on accurate reflection models.
Clear Coat and Base Coat Layers: Simulating Depth
Modern car paint typically consists of several layers: a primer, a base coat for color, and a protective clear coat. In 3D, we primarily focus on simulating the base coat and the clear coat. The base coat defines the car’s primary color and often contains metallic or pearlescent pigments. This layer should have a subtle roughness, preventing it from being a perfect mirror. The clear coat, on the other hand, is highly reflective and refractive, acting like a protective glass layer over the base coat. This is where a significant portion of the car’s reflections will originate. To simulate this, you’ll often use a layered material setup in your rendering software. For instance, in 3ds Max or Blender, you would blend a glossy or metallic shader (for the base coat) with a very smooth, reflective, and transparent shader (for the clear coat). The clear coat should have a low roughness value (e.g., 0.0-0.1) and a physically accurate IOR (around 1.5 for automotive clear coat) to ensure reflections and internal refractions are correct. The interaction between these layers creates the depth and luster characteristic of real car paint, contributing significantly to the visual appeal of 3D car models sourced from platforms like 88cars3d.com.
Flakes and Metallic Effects: Micro-surface Detail
Many automotive paints incorporate metallic flakes or pearlescent pigments to give them a distinctive shimmer. These micro-details dramatically enhance the paint’s reflectivity and create captivating glints as light hits the surface from different angles. To simulate this, you can use a procedural noise texture or a dedicated flake texture mapped onto the metallic component of your base coat shader. The key is to ensure these flakes are tiny and numerous, mimicking their real-world scale. Adjusting the size, density, and color of these flakes can yield a wide range of realistic finishes, from subtle metallic sheens to aggressive, glitter-like effects. The orientation of these flakes can also be randomized to avoid obvious patterning. For instance, in Blender’s shader editor, you might use a “Noise Texture” or “Voronoi Texture” node, passed through a “Color Ramp” to define the shape and distribution of flakes, then mixed with the base color using a “Mix Color” node set to ‘Add’ or ‘Screen’ mode. This creates subtle variations in reflectivity that are crucial for high-quality automotive rendering.
Imperfections: Dust, Scratches, and Smudges for Authenticity
Even a brand-new car isn’t perfectly pristine; real-world surfaces accumulate microscopic imperfections that subtly scatter light and break up perfect reflections. Neglecting these details can make a render look sterile and artificial. Incorporating subtle dust, fingerprints, or minor scratches through roughness maps is essential for authenticity. These maps are grayscale textures where darker areas indicate smoother, more reflective surfaces, and lighter areas represent rougher, less reflective regions. For a subtle effect, use a low-opacity grunge texture or a procedural noise pattern (e.g., a “Musgrave Texture” node in Blender) to drive the roughness input of your clear coat shader. For more pronounced scratches, you might paint these directly onto a separate roughness map. The goal isn’t to make the car look damaged, but to introduce microscopic variations that interact with light in a physically plausible way, grounding your 3D car model in reality. These minor details, often overlooked, are critical for convincing automotive rendering.
Glass and Transparent Materials: Crystal Clear Refractions
Car windows, headlights, and taillights are not merely transparent; they are complex optical elements that play a significant role in how light interacts with and defines the vehicle. Achieving crystal-clear refractions and accurate reflections for these components is vital for a convincing render.
Simulating Multi-layered Glass: Windshields and Windows
Automotive glass isn’t a single, thin pane. Windshields, for example, are typically laminated safety glass, consisting of two layers of glass with a polyvinyl butyral (PVB) interlayer. Side windows are often tempered. While you don’t always need to model every microscopic layer, understanding this construction is key to setting up your shaders. For high-fidelity renders, ensure your glass material has a physically accurate IOR (around 1.5-1.52 for glass) and a slight absorption color to simulate the subtle tint of real glass. The thickness of your modeled glass also significantly impacts refraction; simply applying a glass shader to a single plane will yield unrealistic results. Model your glass with actual thickness to allow for proper light bending and internal reflections. In rendering engines like V-Ray, Corona, Cycles, or Arnold, you would typically use a dedicated glass or physically accurate transparent shader. Pay close attention to the number of “refraction bounces” or “transmission depth” settings in your renderer; insufficient bounces can lead to dark or black areas where light should pass through, compromising the realism of your car models.
Headlight and Taillight Optics: Inner Workings and Dispersion
Headlights and taillights are intricate assemblies of lenses, reflectors, and light sources. The glass or plastic covers often have complex geometries designed to distribute light effectively. To replicate this realism, focus on three key aspects: accurate modeling of the internal reflectors and lenses, proper material setup for the outer covers, and the inclusion of light sources. The outer covers, while appearing transparent, often have subtle patterns or textures to diffuse light. For these, use a clear coat shader with a very slight roughness and an appropriate IOR. Consider adding a small amount of volumetric scattering within the glass to simulate internal haze, especially in older or used vehicles. For the internal elements, chrome or highly reflective materials are crucial for the reflectors, while emission shaders or actual light objects should be used for the bulbs or LEDs. Furthermore, for extreme realism, some renderers allow for “chromatic dispersion,” which separates light into its constituent colors as it passes through a prism-like surface. This effect is very subtle in real-world automotive lenses but can add a touch of extra photorealism, especially in close-up renders.
Optimization for Performance: When to Use Thinner Glass
While modeling glass with physical thickness is ideal for realism, it can significantly increase render times due to the complex light path calculations involved in refraction and internal reflections. For background elements, distant shots, or game assets, where extreme optical accuracy isn’t paramount, optimization is necessary. One common technique is using “thin-walled” or “single-sided” glass shaders. Many rendering engines offer this option, which simulates glass without requiring actual geometry thickness. This dramatically reduces computation. Alternatively, for game development or AR/VR applications, you might bake complex refractions into texture maps (e.g., normal maps, reflection maps) to achieve a similar visual effect with minimal performance cost. When purchasing 3D car models from platforms like 88cars3d.com, it’s worth checking if they offer optimized versions or detailed material setups for varying levels of rendering fidelity, helping you strike the right balance between visual quality and performance.
Environmental Setup: The Key to Believable Reflections
Reflections and refractions are not intrinsic properties of an object alone; they are a direct interaction with the surrounding environment. A perfectly crafted 3D car model with an impeccable shader will still look unconvincing if placed in a poorly lit or uninteresting environment. The environment is the canvas upon which light paints the reflections, and its quality directly dictates the realism of your automotive render.
HDRI Workflow: Capturing Real-World Lighting
High Dynamic Range Images (HDRIs) are indispensable for realistic automotive rendering. Unlike standard low dynamic range images, HDRIs capture a vast range of light intensities, from the brightest highlights of the sun to the deepest shadows. When used as environment maps, they provide both realistic lighting and detailed reflections. The workflow is straightforward: acquire high-quality HDRIs (preferably 16K or 32K resolution for automotive work to avoid pixelation in reflections) and load them into your renderer’s environment or world settings. For example, in 3ds Max with Corona or V-Ray, you’d apply an HDRI to an Environment Map slot. In Blender, you’d use an “Environment Texture” node connected to the “Background” node in your World Shader (consult the Blender 4.4 Manual – Environment Texture Node for specifics). The key is to choose an HDRI that matches the desired mood and location of your render. A studio HDRI will give clean, controlled reflections, while an outdoor HDRI will provide natural, dynamic reflections that truly sell the scene. Rotate and adjust the strength of your HDRI to fine-tune the reflections on your car’s surface. Sometimes, combining an HDRI for lighting with a separate, lower-resolution HDRI or even a simple gradient for reflections can offer greater control and efficiency, particularly in game asset scenarios.
Strategic Lighting for Automotive Renders: Area Lights, Spotlights, and Global Illumination
While HDRIs provide excellent ambient and reflected light, they often need to be augmented with deliberate light sources to highlight specific features of the car and create dramatic reflections. This is where area lights and spotlights come into play. Area lights are fantastic for simulating soft, studio-like lighting, producing large, pleasing reflections on the car’s body. Positioning them strategically to define the contours of the car, especially the fenders and doors, is crucial. Spotlights can be used to add sharp highlights, emphasizing badges, wheel details, or intricate design elements. Always consider the principle of “light and shadow” to sculpt the form of the vehicle. Furthermore, ensure your rendering engine has Global Illumination (GI) enabled. GI simulates how light bounces off surfaces, contributing to indirect lighting and enhancing the realism of reflections and refractions. In Corona Renderer or V-Ray, GI is a core component. In Cycles, it’s inherent to the path tracing algorithm. Fine-tuning the balance between direct light sources and ambient light from your HDRI is an art that significantly impacts the final realism and mood of your automotive renders. For game engine applications, pre-baking these complex lighting scenarios into lightmaps can deliver similar visual fidelity at runtime.
Advanced Rendering Techniques & Optimization
Achieving truly photorealistic reflections and refractions requires not only robust material and lighting setups but also a deep understanding of your rendering engine’s capabilities and how to optimize them. High-fidelity rendering can be computationally intensive, so balancing quality with efficient render times is paramount, especially when working with detailed 3D car models.
Ray Tracing and Path Tracing: Balancing Quality and Render Time
Modern rendering engines primarily rely on ray tracing or path tracing to simulate light. Ray tracing explicitly calculates the path of individual light rays as they interact with surfaces, allowing for incredibly accurate reflections, refractions, and shadows. Path tracing, an advanced form of ray tracing, simulates multiple light bounces throughout the scene, producing highly realistic global illumination, which is crucial for convincing environmental reflections. Renderers like V-Ray, Corona, Cycles, and Arnold are all path tracers. While these methods deliver unparalleled visual quality, they can be computationally expensive. You often need to adjust settings such as “samples” or “bounces” to control the trade-off between noise and render time. For instance, in Blender’s Cycles renderer, increasing the “Render Samples” (found in the Render Properties panel, as detailed in the Blender 4.4 Manual – Cycles Sampling) will reduce noise but increase render time. Similarly, managing the “Light Paths” (like Diffuse, Glossy, Transmission bounces) will impact how many times light can reflect or refract, directly affecting the realism of complex materials like car paint and glass. It’s essential to find the sweet spot for your project, often by starting with lower sample counts and gradually increasing them until the desired level of detail and noise reduction is achieved.
Render Passes and AOVs: Control in Post-Production
To gain maximum control over reflections and refractions, especially for fine-tuning in post-production, leverage render passes (also known as Arbitrary Output Variables or AOVs). These separate image layers capture different components of your render, such as diffuse color, raw reflections, raw refractions, specular highlights, and global illumination. By rendering these as separate passes, you can independently adjust their intensity, color, and properties in compositing software like Adobe Photoshop, Nuke, or Blender’s own Compositor. For example, if your reflections are too strong, you can simply reduce the opacity of the reflection pass without re-rendering the entire scene. Essential passes for realistic car renders include:
- Reflection Pass: Isolates all reflections on surfaces.
- Refraction Pass: Captures light bending through transparent objects.
- Specular Pass: Details the direct highlights from light sources.
- Glossy Direct/Indirect: Differentiates reflections from direct light and bounced light.
- Transmission Pass: Shows light passing through transparent objects.
- Normal Pass: Useful for relighting or subtle surface adjustments.
Utilizing these passes provides an invaluable workflow for artists who demand pixel-perfect control and efficient iteration.
GPU vs. CPU Rendering: Choosing the Right Horsepower
The choice between GPU and CPU rendering profoundly impacts render times for complex scenes with numerous reflections and refractions. CPU rendering (e.g., older V-Ray versions, some Arnold configurations) leverages your computer’s main processor. While robust and often offering more comprehensive feature sets, it can be slower for highly detailed, ray-traced scenes. GPU rendering (e.g., NVIDIA Iray, Chaos V-Ray GPU, Redshift, Blender Cycles with CUDA/OptiX, Octane) harnesses the parallel processing power of your graphics card. For scenes heavy on reflections, refractions, and volumetric effects, GPUs often provide significantly faster render times. However, GPU memory (VRAM) can be a limiting factor for extremely high-polygon 3D car models and numerous high-resolution textures. When configuring your renderer, understanding your hardware’s strengths is key. For example, in Blender, you can switch between CPU and GPU compute devices in Edit > Preferences > System, which is critical for maximizing performance, especially with complex PBR materials on high-detail models available from marketplaces like 88cars3d.com.
Post-Processing and Compositing: Enhancing the Visuals
The rendering process doesn’t end when your image is saved. Post-processing and compositing are crucial stages where you can subtly enhance reflections and refractions, correct color, and add atmospheric effects to elevate your render from good to outstanding. This is where the artistry truly comes to fruition, taking raw render data and crafting it into a polished, professional final image.
Utilizing Render Passes: Reflectivity, Refractivity, and Specular
As discussed, render passes (AOVs) are your best friends in compositing. By having separate passes for reflectivity, refractivity, and specular highlights, you gain granular control over each component of light interaction. For example, in a compositing environment like Adobe Photoshop or Blender’s Compositor (see Blender 4.4 Manual – Compositor), you can load your main render layer and then overlay your reflection pass using a "Screen" or "Add" blend mode, adjusting its opacity or color balance to fine-tune the intensity and tint of reflections without affecting the underlying diffuse color. If the car’s glass feels a bit too opaque, you can boost the refraction pass’s brightness or saturation. Similarly, the specular pass allows you to independently control the sharpness and intensity of direct light highlights, which are often crucial for defining metallic surfaces and the crispness of car paint. This non-destructive workflow provides immense flexibility, allowing for creative experimentation and precise adjustments that would be cumbersome and time-consuming to achieve through re-rendering.
Glare, Bloom, and Chromatic Aberration: The Final Polish
Beyond basic adjustments, several post-processing effects can significantly enhance the perceived realism of reflections and refractions.
- Glare and Bloom: These effects simulate the scattering of light from bright areas, creating a soft glow around intense reflections and light sources. A subtle bloom can make headlights appear more luminous and give reflective surfaces a desirable “sheen.” Be cautious not to overdo it, as excessive bloom can quickly lead to an artificial, blown-out look.
- Chromatic Aberration: This optical phenomenon, often seen in real-world photography, occurs when a lens fails to focus all colors to the same convergence point, resulting in color fringing around high-contrast edges. A very subtle amount of chromatic aberration, especially visible in refracted elements like car glass or chrome details, can trick the eye into perceiving photographic realism. Again, subtlety is key to avoiding an unappealing, distorted image.
- Lens Flares and Depth of Field: These photographic effects can further immerse the viewer. Lens flares can simulate light interacting with the camera lens, adding a dynamic element, particularly with bright light sources or reflections. Depth of field, blurring parts of the image outside the focal plane, draws attention to the main subject (your 3D car model) and adds a professional photographic quality.
These effects, when applied judiciously in compositing, contribute to a holistic visual experience, making your 3D car models look like they were captured by a high-end camera rather than digitally created. Experimentation with these effects will help you develop a unique visual style and consistently produce high-quality automotive renders.
Conclusion
Creating truly realistic reflections and refractions in 3D car renders is an art form deeply rooted in technical understanding and a keen eye for detail. From the fundamental physics of light interaction, governed by the Fresnel effect and the precise Index of Refraction, to the intricate layering of automotive paint shaders and the complex optics of glass, every element plays a pivotal role. We’ve explored the importance of detailed PBR material workflows, the strategic use of HDRIs and physical light sources to sculpt breathtaking environments, and the critical balance between quality and performance through advanced rendering techniques like ray tracing and render passes.
The journey to photorealism is iterative, demanding patience and a willingness to refine. Remember that the best renders are often achieved through a combination of solid technical foundations and artistic intuition. Pay attention to the subtle imperfections that define real-world surfaces, and leverage post-processing tools to add that final layer of photographic magic. Whether you’re aiming for a high-impact marketing image, a real-time game asset, or an immersive AR/VR experience, the principles discussed here are universally applicable and will empower you to create stunning automotive visualizations.
As you continue to hone your skills, remember that platforms like 88cars3d.com offer a vast array of high-quality 3D car models, meticulously crafted with clean topology, realistic materials, and UV mapping, providing an excellent foundation for your rendering projects. Continuously experiment with different lighting scenarios, material properties, and post-processing techniques. The digital automotive world is constantly evolving, and by mastering reflections and refractions, you’re not just creating images; you’re crafting experiences. Dive in, experiment, and let your creativity reflect the true beauty of automotive design.
Featured 3D Car Models
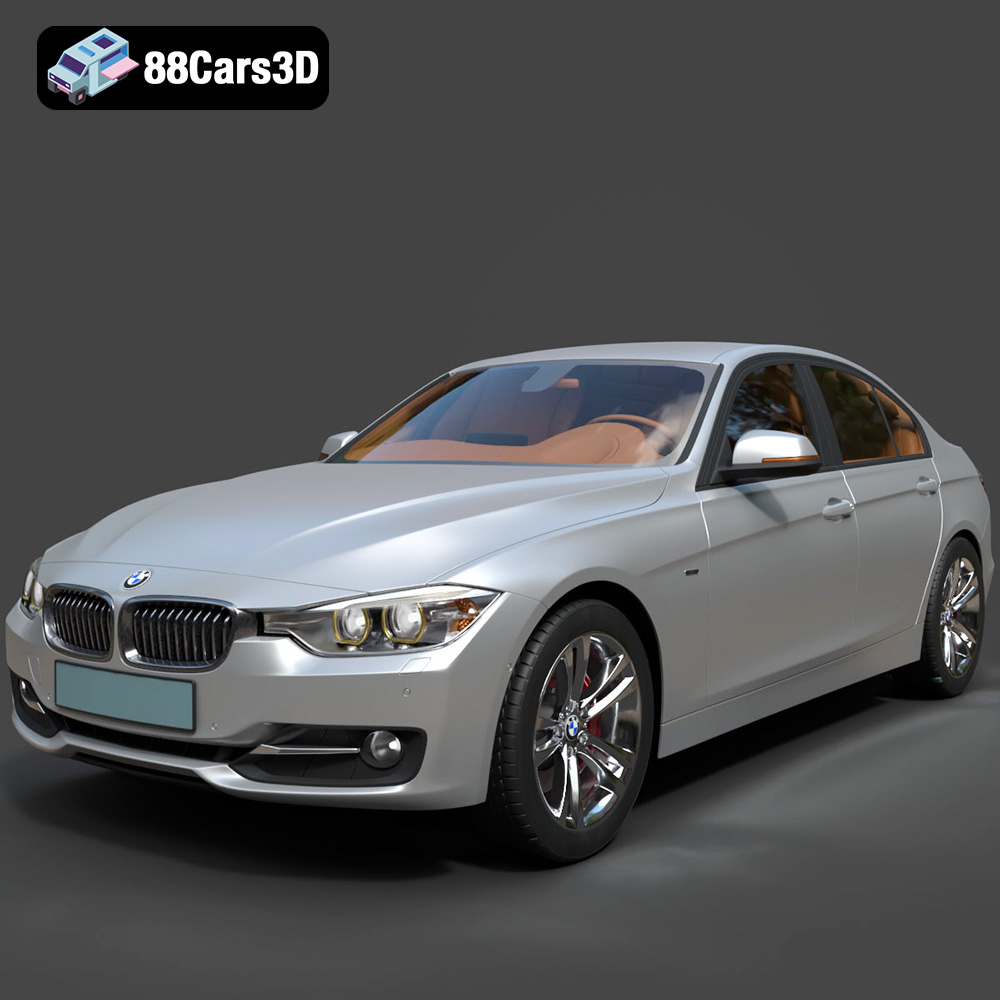
BMW 3 F30 3D Model
Texture: Yes
Material: Yes
Download the BMW 3 F30 3D Model featuring a detailed exterior, realistic interior, and optimized mesh. Includes .blend, .fbx, .obj, .glb, .stl, .ply, .unreal, and .max formats for rendering, simulation, and game development.
Price: $10.79
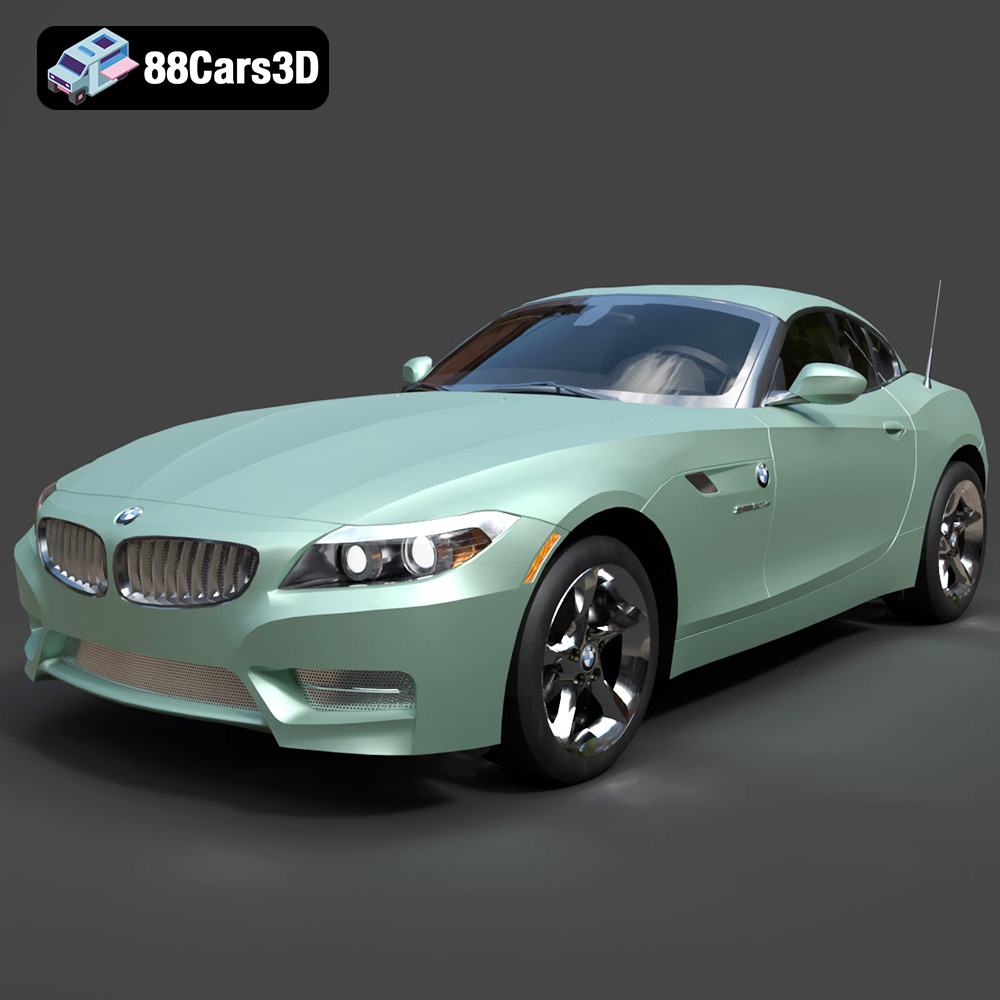
BMW Z4 Roadster E89 2012 3D Model
Texture: Yes
Material: Yes
Download the BMW Z4 Roadster E89 3D Model featuring clean geometry, realistic detailing, and a fully modeled interior. Includes .blend, .fbx, .obj, .glb, .stl, .ply, .unreal, and .max formats for rendering, simulation, and game development.
Price: $13.99

BMW Z4 E85 2005 3D Model
Texture: Yes
Material: Yes
Download the BMW Z4 E85 3D Model featuring clean geometry, realistic detailing, and a fully modeled interior. Includes .blend, .fbx, .obj, .glb, .stl, .ply, .unreal, and .max formats for rendering, simulation, and game development.
Price: $13.99

BMW M3 2024 3D Model
Texture: Yes
Material: Yes
Download the BMW M3 2024 3D Model featuring clean geometry, realistic detailing, and a fully modeled interior. Includes .blend, .fbx, .obj, .glb, .stl, .ply, .unreal, and .max formats for rendering, simulation, and game development.
Price: $13.99
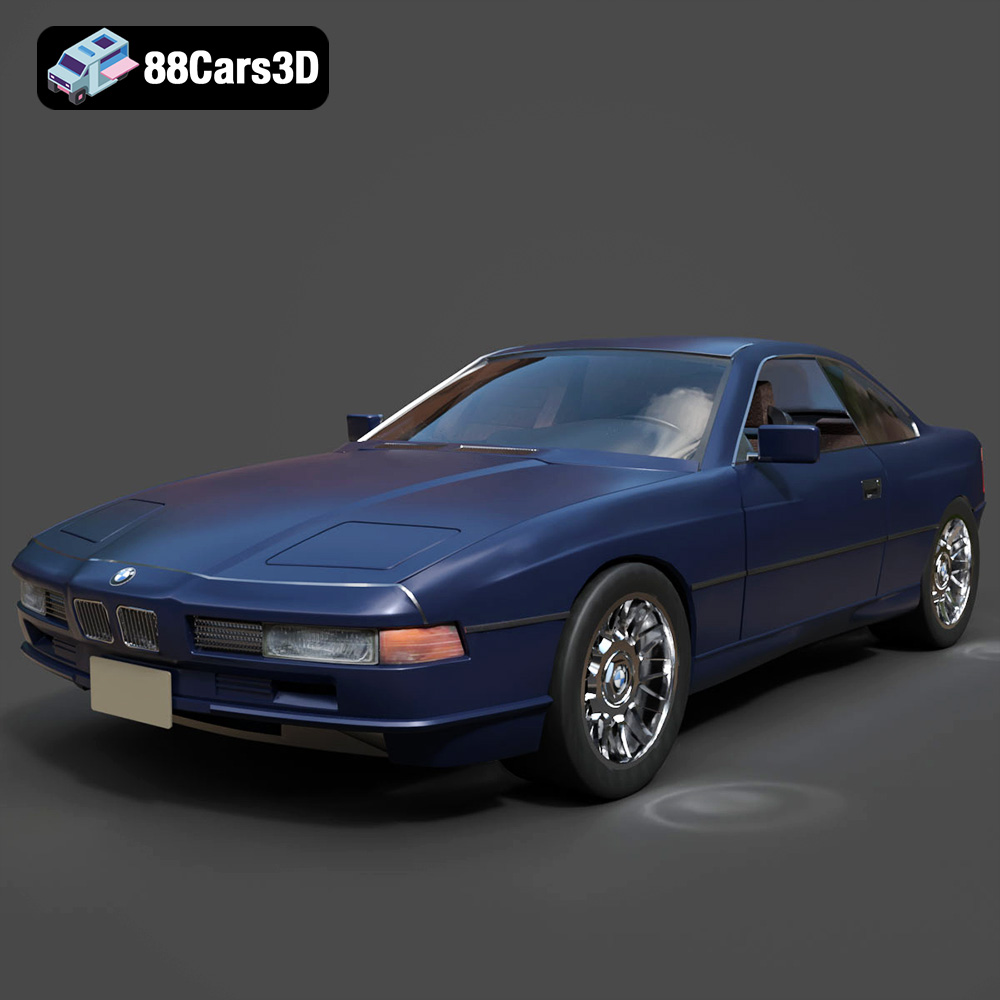
BMW 850i Coupe 1990 3D Model
Texture: Yes
Material: Yes
Download the BMW 850i Coupe 1990 3D Model featuring clean geometry, realistic detailing, and a fully modeled interior. Includes .blend, .fbx, .obj, .glb, .stl, .ply, .unreal, and .max formats for rendering, simulation, and game development.
Price: $13.99
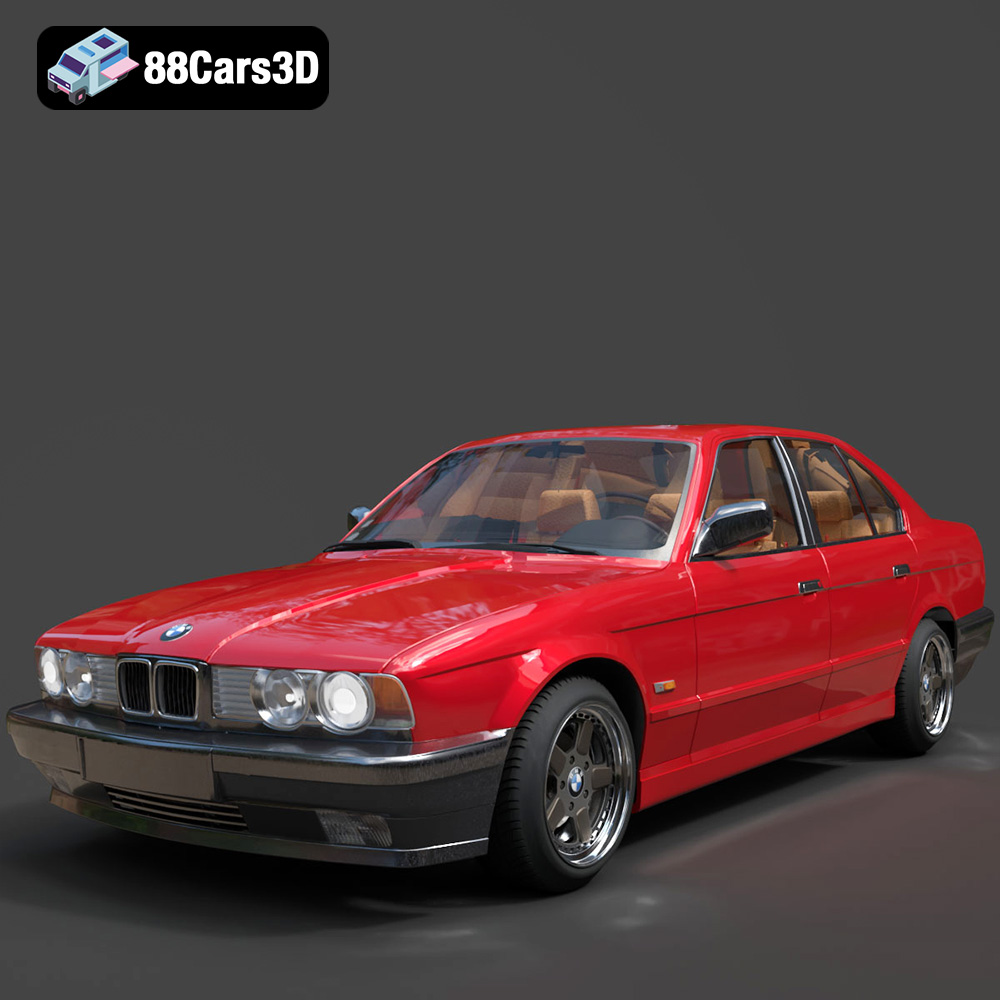
BMW 525i E34 1993 3D Model
Texture: Yes
Material: Yes
Download the BMW 525i E34 1993 3D Model featuring clean geometry, realistic detailing, and a fully modeled interior. Includes .blend, .fbx, .obj, .glb, .stl, .ply, .unreal, and .max formats for rendering, simulation, and game development.
Price: $12.99

BMW 7 Series 2016 3D Model
Texture: Yes
Material: Yes
Download the BMW 7 Series 2016 3D Model featuring luxurious design, detailed interior, and accurate exterior. Includes .blend, .fbx, .obj, .glb, .stl, .ply, .unreal, and .max formats for rendering, simulation, and game development.
Price: $10.79
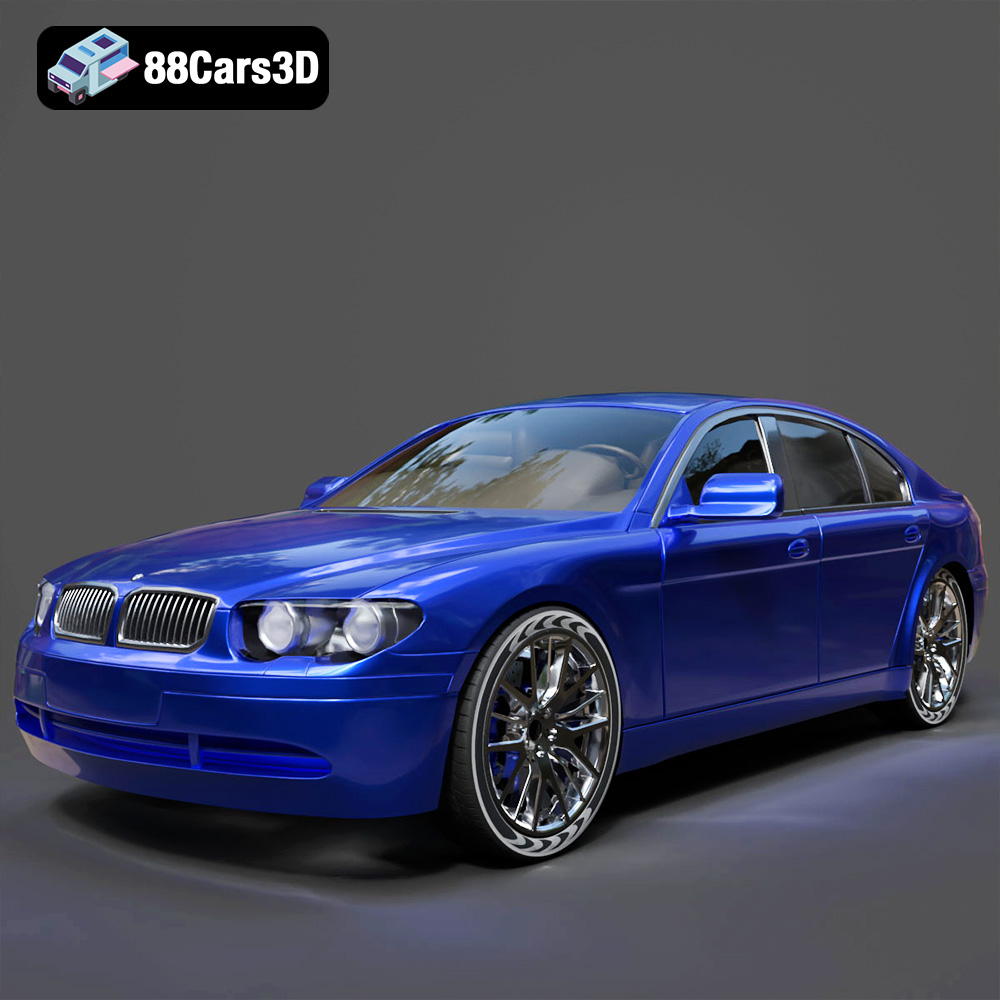
BMW 7 Series 30th Anniversary 3D Model
Texture: Yes
Material: Yes
Download the BMW 7 Series 30th Anniversary 3D Model featuring a meticulously crafted exterior, detailed interior, and realistic wheels. Includes .blend, .fbx, .obj, .glb, .stl, .ply, .unreal, and .max formats for rendering, simulation, and game development.
Price: $35.79

BMW 7-Series F02 3D Model
Texture: Yes
Material: Yes
Download the BMW 7-Series F02 3D Model featuring a detailed exterior and interior, optimized for rendering and animation. Includes .blend, .fbx, .obj, .glb, .stl, .ply, .unreal, and .max formats for rendering, simulation, and game development.
Price: $10.79
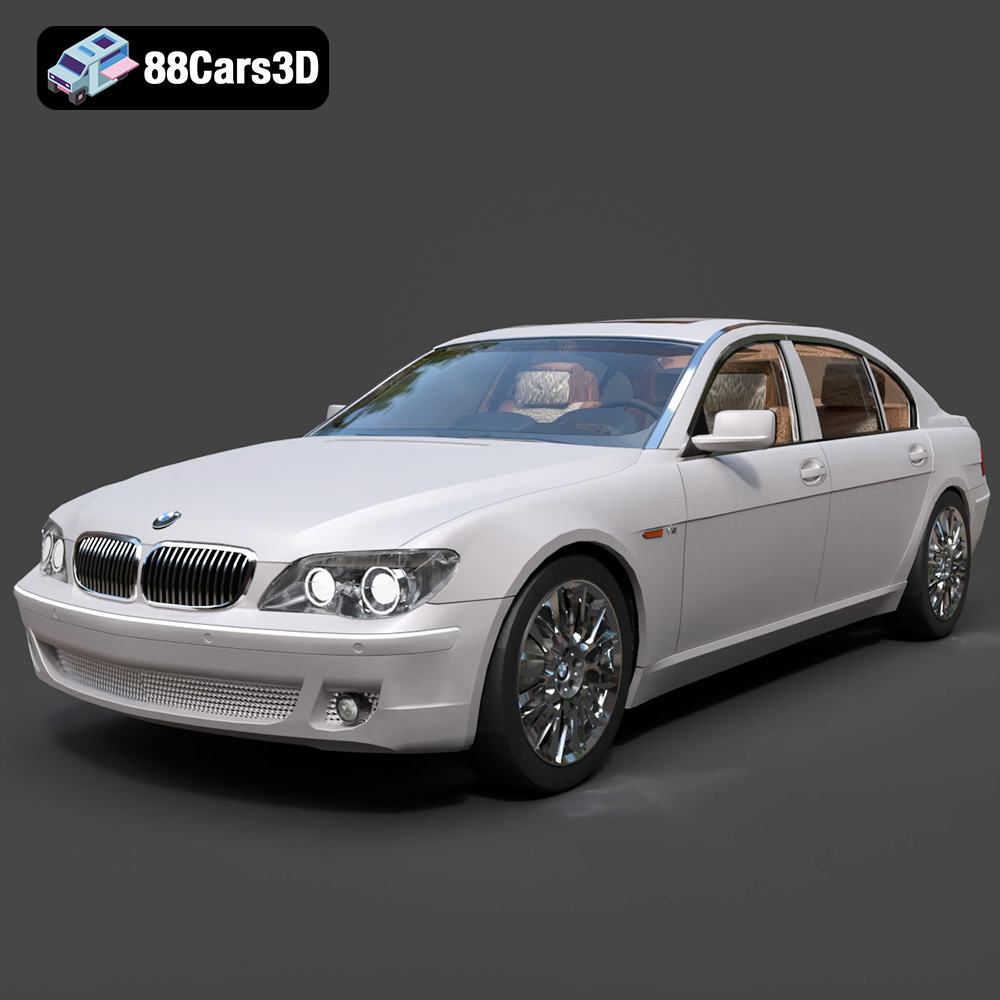
BMW 760Li E66 2005 3D Model
Texture: Yes
Material: Yes
Download the BMW 760Li E66 2005 3D Model featuring a detailed exterior, refined interior, and robust chassis. Includes .blend, .fbx, .obj, .glb, .stl, .ply, .unreal, and .max formats for rendering, simulation, and game development.
Price: $10.79
