

In the fiercely competitive world of automotive design, marketing, and visualization, a stunning 3D render of a car is no longer just a luxury – it’s a necessity. From concept development to advertising campaigns, the ability to showcase a vehicle with photorealistic accuracy can make all the difference. But achieving that coveted, ‘indistinguishable from reality’ look requires more than just a great 3D model; it demands a deep understanding of rendering settings, material science, and lighting techniques. This comprehensive guide will take you on a technical deep dive into the optimal rendering settings and workflows for automotive visualization, empowering you to create breathtaking visuals that capture attention and communicate design intent. Whether you’re a seasoned 3D artist, an aspiring game developer, or an automotive designer, mastering these nuances is crucial. Let’s unlock the secrets to truly cinematic automotive renders.
Understanding the Core of Automotive Rendering: Engines and Methodologies
At the heart of any photorealistic rendering project lies the render engine. For automotive visualization, the choice of engine significantly impacts the final quality, workflow, and render times. Popular choices include V-Ray, Corona Renderer (for 3ds Max, Cinema 4D), Cycles (Blender), and Arnold (for Maya, 3ds Max). Each offers unique strengths, but all share fundamental principles in how they simulate light and materials.
The primary distinction in render engine methodologies is between Path Tracing (also known as Ray Tracing) and Rasterization. Path tracing engines, like Cycles, V-Ray (in its progressive mode), Corona, and Arnold, simulate individual light rays bouncing through a scene, accurately calculating global illumination, reflections, refractions, and caustics. This leads to incredibly realistic results but can be computationally intensive. Rasterization, on the other hand, is a technique primarily used in real-time rendering (like game engines EEVEE in Blender, Unity, Unreal Engine) where 3D models are projected onto a 2D screen. While faster, it relies on various tricks and approximations to simulate global illumination and complex lighting effects, making it less suitable for the highest level of offline photorealism without extensive setup.
Path Tracing vs. Rasterization: Implications for Automotive Scenes
For automotive visualization, where pristine reflections, accurate material responses, and subtle lighting nuances are paramount, Path Tracing is almost always the preferred choice for offline renders. The complex interplay of light on car paint, the subtle distortion through glass, and the detailed shadows cast by intricate components are all handled with superior accuracy by path tracers. For example, Cycles in Blender, as detailed in its official documentation, is a powerful path-tracing engine capable of delivering exceptional quality. Its ‘Light Paths’ settings (found under Render Properties > Light Paths in Blender) allow granular control over how many times light rays bounce, impacting the realism of reflections, refractions, and indirect lighting. Increasing these values, such as ‘Total’, ‘Diffuse’, ‘Glossy’, and ‘Transmission’ bounces, will enhance realism but also increase render times significantly. For automotive exteriors, a minimum of 8-12 glossy bounces is often recommended to capture accurate reflections of the environment and surrounding objects on the car’s body. Conversely, Rasterization excels in speed and is perfect for interactive applications like AR/VR experiences or game development, where real-time performance is critical. Here, techniques like baked lighting, screen-space reflections, and approximated global illumination are employed to achieve visual fidelity within tight performance budgets.
Mastering Materials: The PBR Workflow for Automotive Finishes
The PBR materials workflow is the bedrock of realistic materials in modern 3D rendering, especially for objects with highly reflective and nuanced surfaces like cars. PBR ensures that materials react to light in a physically plausible way, regardless of the lighting environment, leading to consistent and believable results. For automotive models, achieving the perfect paint, glass, and metal is paramount.
The core principle of PBR revolves around distinct maps (textures) that define various material properties: Base Color (Albedo/Diffuse), Metallic, Roughness (or Glossiness), Normal (or Bump), and sometimes Specular and Opacity. High-quality UV mapping is essential to ensure these textures are applied accurately without stretching or seams across the complex curves of a 3D car model. Platforms like 88cars3d.com offer meticulously UV mapped 3D car models, providing an excellent starting point for any project.
Node Networks for Complex Materials: Crafting Car Paint and Glass
Creating car paint shaders is an art form in itself. A typical car paint material in a node-based shader editor (like Blender’s Shader Editor or 3ds Max’s Material Editor) combines several layers: a base metallic paint layer, a clear coat layer, and often subtle metallic flakes. The Blender documentation on Principled BSDF is an excellent resource for understanding the parameters of its universal shader, which is ideal for car paint. You’d typically use a Principled BSDF shader with a high metallic value (around 0.8-1.0), a low roughness value (0.05-0.2) for the base coat. For the clear coat, another layer of glossy or clear coat shader with very low roughness (0.0-0.05) is often mixed on top. The Metallic input of the Principled BSDF dictates how a surface behaves as a metal (0 for dielectric, 1 for metal), while Roughness controls the micro-surface detail and thus the sharpness of reflections. Using a Fresnel node can further enhance realism by controlling the reflectivity based on the viewing angle, making surfaces more reflective at glancing angles. For the subtle metallic flakes, a small-scale procedural noise texture or a dedicated flake normal map can be used to drive a very subtle bump or normal input on the metallic layer. Texture resolutions for these maps should ideally be 4K (4096×4096 pixels) or higher for close-up shots to maintain crisp detail.
Glass materials also demand careful attention. For realistic car glass, ensure proper refraction settings (Index of Refraction, IOR, typically around 1.5-1.6 for glass) and minimal absorption or transmission color, unless simulating tinted glass. Using a clear coat for an additional layer of reflection can add depth. For headlights and taillights, consider using emissive materials or slightly transparent plastics with internal light sources for a truly authentic look, often requiring subsurface scattering for the red plastic of taillights.
Illuminating the Scene: Advanced Lighting Techniques
Lighting is arguably the most critical element in automotive rendering, directly influencing how the car’s sculpted forms and exquisite materials are perceived. The goal is to highlight the contours, reflections, and overall design in the most appealing way. Effective lighting can transform a good 3D car model into a captivating visual narrative.
HDRIs for Realistic Environments: The Foundation of Automotive Lighting
High Dynamic Range Images (HDRIs) are indispensable for automotive rendering. They provide both realistic illumination and stunning reflections simultaneously, mimicking real-world environments with unparalleled accuracy. An HDRI captures a full 360-degree range of light information, from direct sunlight to subtle ambient bounces, projecting this complex light data onto your 3D scene. This results in incredibly convincing reflections on the car’s bodywork, showcasing the environment in perfect detail. In Blender, you can set up an HDRI by going to the World Properties tab, clicking the yellow dot next to “Color” under “Surface,” and selecting “Environment Texture.” Load your desired HDRI file (typically an .exr or .hdr). You can then use a “Texture Coordinate” node and a “Mapping” node in the Shader Editor (for the World) to control the rotation and scale of your HDRI, allowing you to fine-tune the reflections and primary light direction. More details can be found in the Blender documentation under World Settings.
When selecting an HDRI, consider the mood and narrative you want to convey. A bright, sunny outdoor HDRI with a clear sky will produce sharp reflections and strong shadows, ideal for a dynamic, high-energy shot. A cloudy sky HDRI will yield softer, more diffused lighting, often preferred for highlighting surface details without harsh reflections. Studio HDRIs, featuring softbox and light strip setups, are excellent for clean, controlled shots that emphasize the vehicle’s form.
Studio Lighting vs. Natural Lighting: Crafting the Perfect Ambiance
Beyond HDRIs, understanding traditional lighting setups is crucial. For automotive visualization, two main approaches prevail:
- Studio Lighting: This involves controlled artificial light sources, mimicking a professional photography studio. Large area lights or softboxes are typically used to create soft, even illumination and elegant reflections. A classic three-point lighting setup (key light, fill light, back light) is a great starting point, often augmented with additional strip lights to emphasize body lines. The placement and size of these lights are critical to sculpt the car’s form and achieve desired specular highlights. Experiment with different light temperatures to evoke specific moods.
- Natural Lighting: Combining an HDRI with carefully placed directional lights (for sun) and area lights (for subtle bounces) can simulate outdoor environments. Pay attention to the sun’s angle and intensity, and how it interacts with the vehicle’s paintwork and glass. Consider adding subtle rim lights from the environment or a distant light source to help separate the car from the background and add depth.
Accent Lights & Fill Lights: Enhancing Detail and Depth
Don’t underestimate the power of subtle accent and fill lights. These smaller light sources, often with low intensity, are used to:
- Highlight specific design features: A small area light strategically placed can draw attention to a sharp body line, a badge, or an intricate grille detail.
- Mitigate harsh shadows: Fill lights can gently lift shadows, revealing details that might otherwise be lost. They can also prevent completely black areas in reflections.
- Add depth and separation: Subtle rim lights can outline the car’s silhouette, making it pop against the background.
- Illuminate interiors: For shots showcasing the interior, small point lights or area lights can simulate dashboard lights, ambient cabin lighting, or even the glow of infotainment screens.
Consider using IES profiles for spotlights to simulate realistic light distribution patterns from actual light fixtures, adding another layer of authenticity.
Optimizing Render Settings for Speed and Quality
Achieving photorealistic rendering in automotive visualization often comes with the trade-off of increased render times. Effective optimization of render settings is crucial to balance visual fidelity with practical production timelines. This section will delve into the technical aspects of fine-tuning your renderer for efficiency without compromising quality.
Sampling and Noise Reduction: The Art of Clean Renders
The number of samples (or iterations) a path tracing engine uses directly correlates with the final image quality and the presence of noise. More samples generally mean less noise but longer render times. Modern renderers offer advanced sampling techniques and powerful denoising solutions:
- Progressive Rendering: Many engines offer a progressive rendering mode, where the image refines over time. This allows you to visually judge when sufficient samples have been reached.
- Adaptive Sampling: Advanced renderers can intelligently allocate more samples to noisy areas of the image (e.g., reflections, shadowed regions) and fewer to clean areas, significantly speeding up renders without sacrificing quality.
- Denoisers: Tools like NVIDIA OptiX, Intel Open Image Denoise (OIDN), and even render engine-specific denoisers (like Cycles’ built-in denoiser) are invaluable. They use machine learning to remove noise from undersampled images, allowing you to reduce sample counts dramatically (e.g., from 4000 samples to 256 or 512) and still achieve clean results. In Blender 4.4, when using Cycles, you can enable denoising under the “Render Properties” tab, in the “Denoising” panel. Options typically include “OpenImageDenoise” for CPU and “OptiX” for NVIDIA GPUs, offering different trade-offs in speed and quality. This feature, described in the Blender documentation at Reducing Noise, is a game-changer for reducing render times for automotive visuals.
Balancing Quality and Render Time: Strategic Adjustments
Finding the sweet spot between render quality and time requires careful experimentation. Here are some technical tips:
- Light Path Settings: In path tracing engines, control the maximum number of light bounces for different types of rays (Diffuse, Glossy, Transmission, Volume). For glossy car paint, increasing Glossy bounces is critical. For transparent glass, Transmission bounces are key. However, excessively high values can drastically increase render times for minimal visual gain. Start with moderate values (e.g., 4-6 for diffuse, 8-12 for glossy, 8-10 for transmission) and increase only if noise persists in specific areas. Blender’s Cycles engine offers these controls under Render Properties > Light Paths, as outlined in the Blender 4.4 manual.
- Subdivision Surface Levels: High-polygon 3D car models are common. Using subdivision surface modifiers or render-time subdivision can increase geometric detail. Keep viewport subdivision levels lower for interactivity, and only increase render subdivision levels as needed for final output. Be mindful of the impact on memory and render time.
- Texture Resolution and Compression: Use appropriate texture resolutions (e.g., 4K for primary surfaces, 2K for less prominent details). Consider using efficient image formats like .EXR (for HDR data) or .PNG (for LDR) and avoid excessive uncompressed files, which can bloat file sizes and increase loading times.
- Volumetric Effects: Volumetric effects like fog or dust, while adding atmosphere, can be extremely render-heavy. Use them sparingly and optimize their sampling settings (e.g., step rate, density) to find a balance.
Resolution and Output Formats: Preparing for Post-Production
The chosen render resolution directly impacts detail and render time. For professional visualization, 4K (3840×2160 pixels) is often a standard, while 8K (7680×4320 pixels) might be used for large prints or detailed close-ups. Higher resolutions mean significantly longer render times. For output, prefer formats that retain high dynamic range and bit depth for maximum flexibility in post-processing.
- OpenEXR (.exr): The industry standard for high-dynamic-range images. It supports multi-channel passes and preserves color information accurately, crucial for professional compositing.
- TIFF (.tif): A versatile format that supports high bit depths and layers, suitable for images where EXR might be overkill.
- PNG (.png): Good for high-quality images with transparency, but typically limited to 8-bit or 16-bit color depth, which might not be sufficient for extensive color grading.
GPU vs. CPU Rendering: Leveraging Hardware for Speed
Modern render engines often offer both GPU rendering and CPU rendering.
- GPU Rendering: Generally faster for many scenes due to the parallel processing capabilities of graphics cards. NVIDIA CUDA and OptiX, AMD HIP, and Apple Metal are common GPU rendering APIs. If you have a powerful GPU, leverage it. Ensure your GPU drivers are up-to-date for optimal performance.
- CPU Rendering: More universally compatible and can be advantageous for scenes with very high memory requirements or complex procedural textures. Modern multi-core CPUs can still deliver excellent render times, especially in conjunction with powerful denoising.
Most renderers allow you to choose your preferred device in their settings. In Blender, for example, under Edit > Preferences > System, you can select your Cycles Render Devices (CUDA, OptiX, HIP, or CPU).
Post-Processing and Compositing for the Final Polish
No matter how good your raw render looks, post-processing and compositing are indispensable steps to elevate your automotive rendering to a professional standard. This is where you inject artistic flair, correct imperfections, and enhance the overall mood and impact of your visualization. Think of the raw render as a high-quality photograph; post-processing is the darkroom work that truly brings it to life.
Essential Post-Processing Steps: Refining the Visuals
Even with optimal rendering settings, certain enhancements are best handled in a 2D image manipulation environment.
- Color Grading: This is a fundamental step to define the emotional tone and visual style of your image. Adjust hue, saturation, and luminance to achieve a cinematic or dramatic look. Use curves and color wheels to fine-tune specific color ranges.
- Sharpening: While avoiding over-sharpening, a subtle sharpening pass can bring out fine details on the car’s body, especially on edges and textures like tire treads.
- Depth of Field (DoF): Simulating a real camera lens, DoF selectively blurs parts of the image to draw attention to the car. While some renderers allow DoF directly in the 3D scene, rendering a Z-Depth pass and applying DoF in post-production offers greater control and flexibility.
- Motion Blur: For animated sequences or still images implying speed, motion blur is essential. Similar to DoF, rendering a Vector Pass (or Motion Vector pass) allows for accurate motion blur to be added in compositing, avoiding re-renders if the blur intensity needs adjustment.
- Lens Effects: Add subtle lens flares, chromatic aberration, or vignetting to emulate real-world camera optics and add character to the image.
Using Render Passes (AOVs): Unlocking Compositing Power
The power of compositing truly shines when utilizing render passes, also known as Arbitrary Output Variables (AOVs). These are separate image layers generated during rendering that contain specific information about the scene, allowing for non-destructive manipulation in post-production. Instead of re-rendering an entire scene to adjust a single element, you can modify its corresponding pass.
Commonly used passes for automotive rendering include:
- Diffuse Color: The base color of objects without any lighting information.
- Direct/Indirect Diffuse: Direct and indirect contributions of diffuse light.
- Direct/Indirect Specular: Direct and indirect contributions of specular reflections. Critical for refining the glossiness and reflectivity of car paint and chrome.
- Reflection: Pure reflection pass, allowing you to fine-tune reflection intensity and color.
- Refraction: For transparent materials like glass, this pass captures the refracted light.
- Normal: Stores normal direction information, useful for relighting or adding subtle surface details.
- Z-Depth: Distance information from the camera, essential for creating realistic depth of field.
- Object ID/Material ID: Masks for individual objects or materials, allowing for precise selection and adjustment in post-production.
In Blender, you can enable various render passes under the “View Layer Properties” tab, in the “Passes” section (for Cycles). Once rendered, these passes can be accessed and manipulated in the Compositor (Blender’s node-based compositing environment). Here, you connect nodes to combine, color correct, blur, and add effects to your different passes, creating a highly flexible and powerful workflow.
Software Integration: A Seamless Post-Production Pipeline
The choice of compositing software depends on your workflow and project scale:
- Blender Compositor: Excellent for integrated workflows, especially for smaller projects or if you prefer to stay within Blender.
- Adobe Photoshop: Ideal for still images, offering robust image manipulation, retouching, and color grading tools. You’d typically import EXR or TIFF files with layers.
- Blackmagic Design Fusion / The Foundry Nuke: Professional node-based compositing software, best suited for complex animated sequences and visual effects, especially when dealing with many render passes and intricate layering.
A typical workflow involves rendering out multiple EXR passes from your 3D software, importing them into your chosen compositing application, and then using a node-based or layer-based approach to combine and enhance them. This non-destructive process provides immense control and allows for quick iterations and adjustments without re-rendering the entire 3D scene.
Workflow and Best Practices for Professional Automotive Renders
Beyond individual settings, a cohesive and efficient workflow is what separates amateur attempts from professional-grade automotive visualization. It’s about establishing a pipeline that prioritizes quality, efficiency, and iteration.
Model Preparation: The Foundation of Excellence
The quality of your 3D model is the absolute starting point. Even the best rendering settings cannot compensate for a poorly constructed model.
- Clean Topology and Edge Flow: For automotive models, clean, quad-based topology is critical. This ensures smooth subdivision, accurate reflections, and proper deformation if the model is to be animated. Sub-D ready meshes with optimized edge loops are essential, especially around areas like wheel arches, door seams, and vents. This also directly impacts how light interacts with the surface.
- Accurate Scale: Always work in real-world scale. This is vital for physically accurate lighting and material response within your render engine. A light source behaving correctly in real-world units will look dramatically different on a miniature car versus a full-scale one.
- Optimized UV Mapping: Good UVs are non-negotiable for high-quality textures. Ensure UV islands are properly laid out, without overlapping (unless intentional for specific effects), and adequately scaled to optimize texture resolution. For complex automotive surfaces, using multiple UV sets for different material layers (e.g., one for paint, one for decals) can be beneficial.
- Detail Levels (LODs) for Game Assets/AR/VR: If the model is intended for real-time applications, implement multiple Levels of Detail (LODs). This involves creating lower-polygon versions of the model that are swapped in at a distance, reducing the computational load and improving performance. For example, a hero car model might have 300,000 polygons, while an LOD1 might have 50,000, and an LOD2 only 10,000. When sourcing models, look for those designed with clean topology and good UVs, like those available on 88cars3d.com, to save significant time in preparation.
Scene Composition: Crafting a Compelling Narrative
The visual impact of your render is heavily influenced by how you compose the shot.
- Camera Angles and Focal Length: Experiment with classic automotive photography angles – low angles to emphasize power, wide shots to show context, or close-ups to highlight details. A focal length between 85mm and 135mm often works well for automotive shots, compressing the perspective slightly and giving a more flattering look. Avoid overly wide-angle lenses unless specifically aiming for a dramatic, distorted effect.
- Rule of Thirds: Apply this fundamental compositional guideline to place your vehicle or key features within the frame, creating more balanced and engaging images.
- Background and Environment: The environment should complement, not overpower, the car. Use appropriate HDRIs, simple studio backdrops, or subtle environmental elements that enhance the vehicle’s aesthetic. Ensure the background elements are also well-modeled and textured, or at least strategically blurred if they are less detailed.
Iteration and Feedback: The Path to Perfection
Rendering is an iterative process. Don’t expect perfection on the first try.
- Test Renders: Perform numerous small test renders (lower resolution, fewer samples) to check lighting, materials, and composition before committing to a full-quality final render. This saves immense amounts of time.
- Receive and Incorporate Feedback: Share your work with peers or clients early and often. Objective feedback is invaluable for identifying areas for improvement you might have overlooked.
- Experimentation: Don’t be afraid to try new lighting setups, material variations, or camera angles. Sometimes the most compelling visuals come from unexpected experiments.
These practices ensure that the technical precision of your 3D modeling and rendering workflows translates into impactful and persuasive automotive visualization.
Advanced Techniques for Specific Applications
The realm of automotive visualization extends beyond static images and animations, venturing into interactive experiences and physical manifestations. Each application demands specific rendering settings and optimization strategies to ensure optimal performance and visual fidelity.
Game Engine Optimization: Real-time Performance for Interactive Experiences
For game development and other real-time applications like interactive configurators or AR/VR, the focus shifts from pure photorealism (achieved with extensive path tracing) to optimized performance while maintaining visual quality. This involves a different set of rendering considerations.
- Levels of Detail (LODs): As mentioned earlier, LODs are critical. Creating several versions of your 3D car models with decreasing polygon counts is standard practice. For instance, a high-detail model for close-ups (e.g., 100k-300k polygons), a medium-detail for mid-range views (e.g., 20k-50k polygons), and a low-detail for distant views (e.g., 5k-10k polygons). These are dynamically swapped by the game engine based on the camera’s distance to the object, significantly reducing the draw calls and polygon count the GPU needs to render per frame.
- Baked Lighting: Pre-calculating complex lighting information (like global illumination and shadows) and storing it in lightmaps or vertex colors is common. This avoids expensive real-time light calculations, freeing up resources for other visual effects. While it limits dynamic lighting changes, it’s highly efficient for static environments.
- Texture Atlasing: Combining multiple small textures (e.g., for different car interior elements) into a single, larger texture atlas reduces the number of texture calls and increases rendering efficiency. This can also help in reducing draw calls by allowing multiple parts of the model to share a single material.
- PBR Workflow for Real-time: While real-time PBR shaders are approximations of offline path tracing, they follow the same principles. Ensure your Base Color, Metallic, Roughness, Normal, and Occlusion maps are correctly authored and optimized. Use compressed texture formats like .DDS or .TGA for GPU efficiency.
- Occlusion Culling: This technique prevents objects that are hidden from the camera by other objects from being rendered, further optimizing performance.
Game engines like Unity and Unreal Engine provide extensive toolsets for implementing these optimizations, allowing developers to achieve impressive visual fidelity even in real-time. The file formats like FBX and GLB are often preferred for game assets due to their robust support for meshes, materials, and animations, making models from marketplaces like 88cars3d.com highly adaptable.
AR/VR Optimization Techniques: Immersive and Fluid Experiences
AR/VR applications share many optimization needs with game development but often have even stricter performance requirements due to the need for high frame rates (typically 90 FPS or higher) to prevent motion sickness and ensure immersion.
- Aggressive LODs and Culling: Even more aggressive LOD strategies are needed. Objects out of the user’s immediate field of view or beyond a certain distance should be aggressively culled or rendered at very low detail.
- Single Pass Stereo Rendering: For VR, rendering both eyes in a single pass can significantly reduce GPU overhead compared to traditional multi-pass rendering.
- Shader Complexity Reduction: Simplify shader networks, reduce the number of texture samples per pixel, and avoid complex lighting models where possible. Mobile VR, in particular, requires highly optimized shaders.
- Polycount and Draw Call Budget: Keep total polygon counts and draw calls as low as possible for the entire scene. A single high-polygon car might need to be split into multiple, separately optimized parts if it’s a key interaction object.
- Texture Streaming: Load higher-resolution textures only when needed (e.g., when the user gets close to a specific part of the car) to manage memory usage.
For AR/VR, formats like GLB and USDZ are gaining traction due to their ability to encapsulate models, materials, and animations into a single, efficient file, making them ideal for quick deployment across various platforms.
3D Printing Preparation and Mesh Repair: From Digital to Physical
When the goal is a physical 3D printing model of a car, the rendering settings become irrelevant, but the 3D modeling workflow and mesh integrity become paramount.
- Watertight Meshes: The most critical requirement is a “watertight” mesh, meaning there are no holes or unclosed surfaces. Any gaps will cause issues in the slicing software and lead to printing errors. Tools for mesh repair, such as Blender’s 3D Print Toolbox add-on, are essential. It can detect non-manifold edges, open boundaries, and other common issues.
- Manifold Geometry: Ensure all geometry is manifold, meaning every edge is connected to exactly two faces. Non-manifold geometry (e.g., internal faces, zero-thickness walls) will cause printing problems.
- Wall Thickness: Pay close attention to the minimum wall thickness required by your chosen 3D printer and material. Very thin details might not print successfully.
- Scale and Units: Set the correct units in your 3D software (e.g., millimeters, centimeters) and export the model at the desired physical size.
- File Formats for 3D Printing: STL (Stereolithography) and OBJ are the most common formats for 3D printing. STL is a simple triangle-based mesh format, while OBJ can store color and texture information, though for physical printing, the geometry is often the primary concern.
- Detail vs. Printability: While high-resolution models from 88cars3d.com provide excellent detail, some intricate details might be too fine to reproduce accurately on a 3D printer. It’s often necessary to simplify or reinforce certain features for printability.
Conclusion
The journey to creating truly captivating automotive visualization is a blend of technical expertise and artistic vision. We’ve explored the critical role of understanding your chosen render engine, mastering the nuances of PBR materials, and meticulously crafting your lighting and environment setup. From the intricate layers of car paint shaders to the efficiency gains from game engine optimization techniques like LODs and texture atlasing, every setting and decision contributes to the final impact.
Remember that the foundation of any outstanding render starts with a high-quality 3D car model. Ensuring clean topology, precise UV mapping, and accurate scale from the outset will streamline your rendering workflows significantly. Platforms like 88cars3d.com are an invaluable resource for sourcing such meticulously prepared assets, allowing artists and designers to focus on the creative aspects of visualization rather than extensive model cleanup.
Embrace the iterative nature of rendering, utilize render passes for flexible post-processing, and constantly seek to refine your craft. Whether you are aiming for stunning marketing imagery, immersive AR/VR experiences, or preparing for 3D printing, the principles discussed here provide a robust framework. Keep experimenting, keep learning, and push the boundaries of what’s possible. Your next award-winning automotive render is just a few settings away. For more resources and the perfect starting point for your next project, explore the extensive collection of high-quality 3D car models available at 88cars3d.com.
Featured 3D Car Models

BMW 5 Series F10 2014 3D Model
Texture: Yes
Material: Yes
Download the BMW 5 Series F10 3D Model featuring clean geometry, realistic detailing, and a fully modeled interior. Includes .blend, .fbx, .obj, .glb, .stl, .ply, .unreal, and .max formats for rendering, simulation, and game development.
Price: $14.99
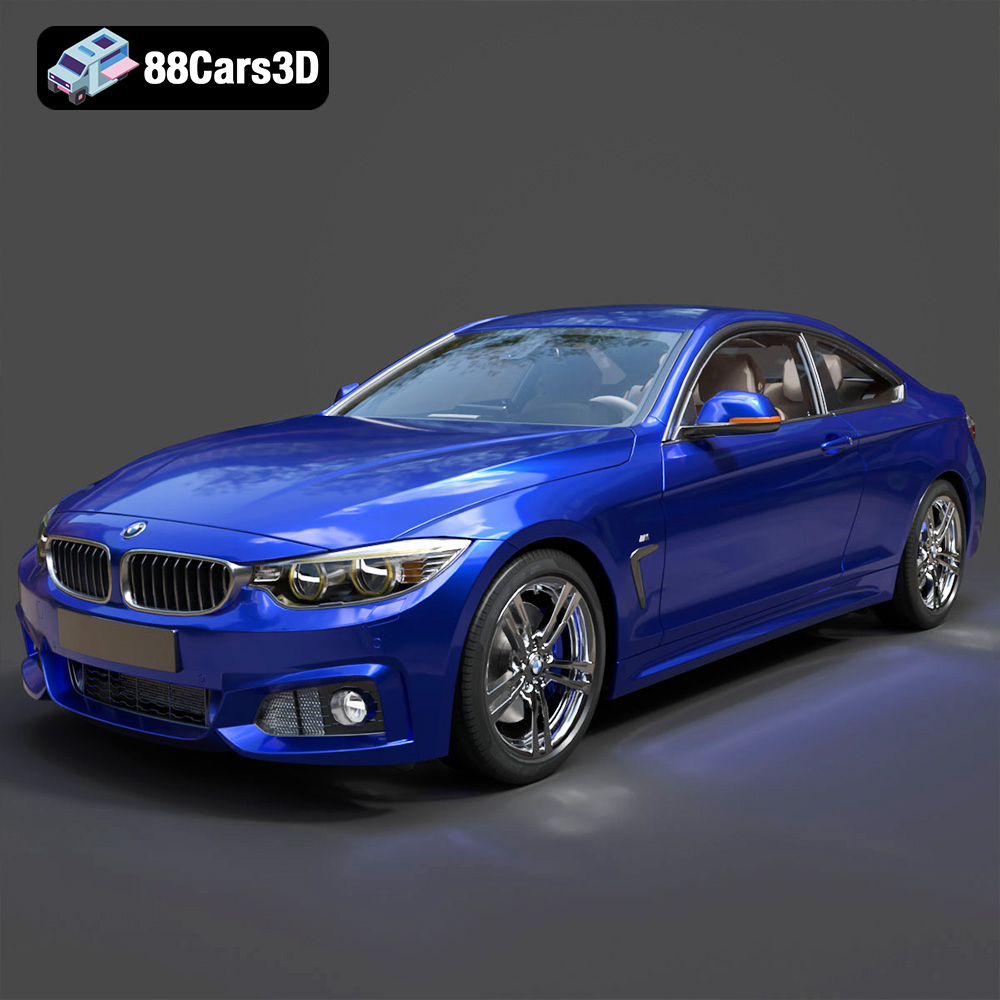
BMW 4 Series Coupe M Sport 2014 3D Model
Texture: Yes
Material: Yes
Download the BMW 4 Series Coupe M Sport 2014 3D Model featuring clean geometry, realistic detailing, and a fully modeled interior. Includes .blend, .fbx, .obj, .glb, .stl, .ply, .unreal, and .max formats for rendering, simulation, and game development.
Price: $14.99

Bentley Brooklands 2008 3D Model
Texture: Yes
Material: Yes
Download the Bentley Brooklands 2008 3D Model featuring clean geometry, realistic detailing, and a fully modeled interior. Includes .blend, .fbx, .obj, .glb, .stl, .ply, .unreal, and .max formats for rendering, simulation, and game development.
Price: $14.99
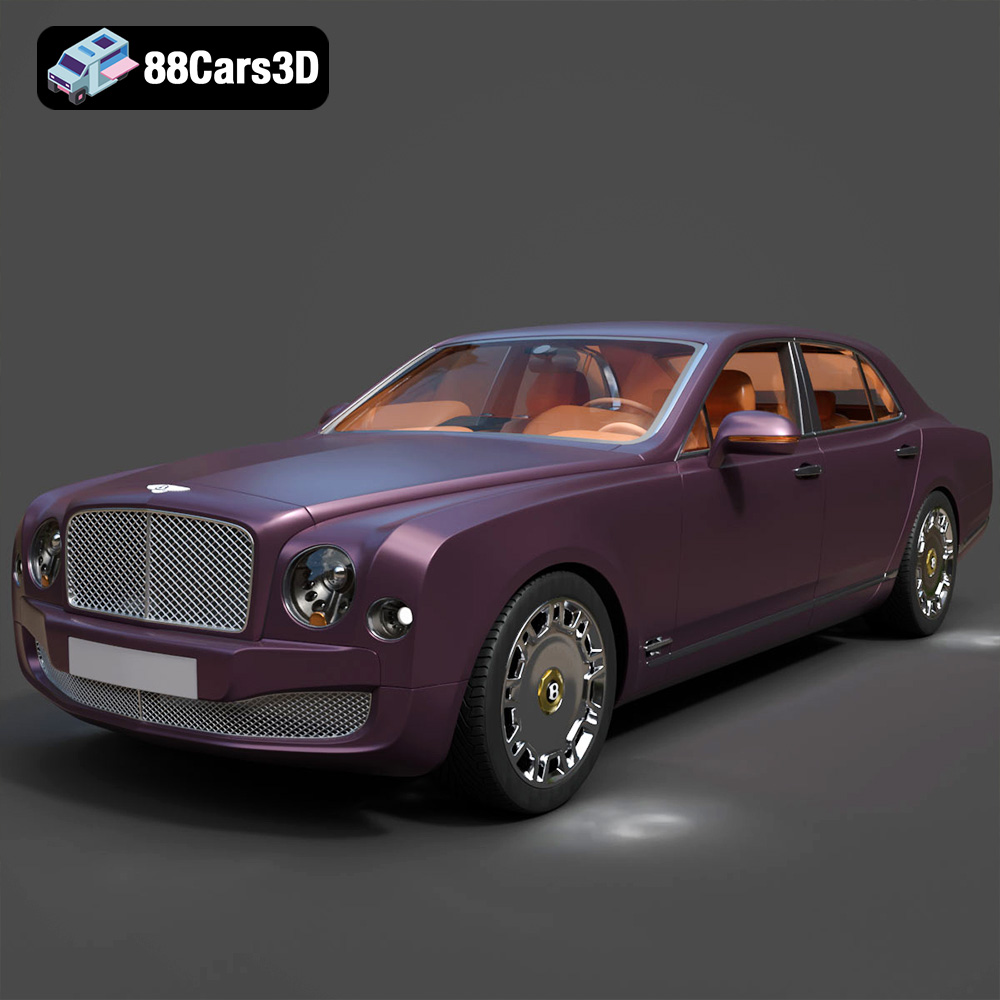
Bentley Mulsanne Luxury Sedan 3D Model
Texture: Yes
Material: Yes
Download the Bentley Mulsanne Luxury Sedan 3D Model featuring clean geometry, realistic detailing, and a fully modeled interior. Includes .blend, .fbx, .obj, .glb, .stl, .ply, .unreal, and .max formats for rendering, simulation, and game development.
Price: $14.99

Bentley Continental GT 2011 3D Model
Texture: Yes
Material: Yes
Download the Bentley Continental GT 2011 3D Model featuring clean geometry, realistic detailing, and a fully modeled interior. Includes .blend, .fbx, .obj, .glb, .stl, .ply, .unreal, and .max formats for rendering, simulation, and game development.
Price: $14.99

Bentley Continental Flying Spur 3D Model
Texture: Yes
Material: Yes
Download the Bentley Continental Flying Spur 3D Model featuring clean geometry, realistic detailing, and a fully modeled interior. Includes .blend, .fbx, .obj, .glb, .stl, .ply, .unreal, and .max formats for rendering, simulation, and game development.
Price: $14.99
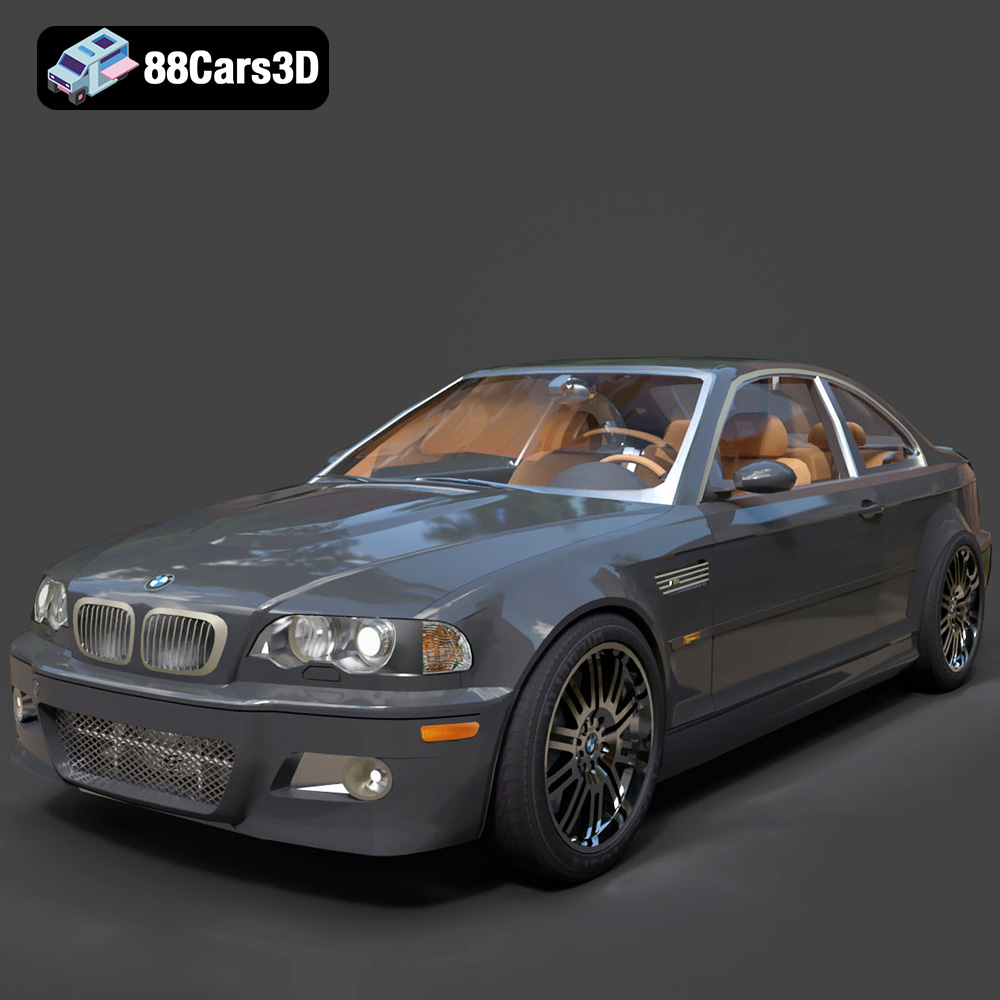
BMW M3 E46 3D Model
Texture: Yes
Material: Yes
Download the BMW M3 E46 3D Model featuring iconic sports car design and detailed interior. Includes .blend, .fbx, .obj, .glb, .stl, .ply, .unreal, and .max formats for rendering, simulation, and game development.
Price: $16.99
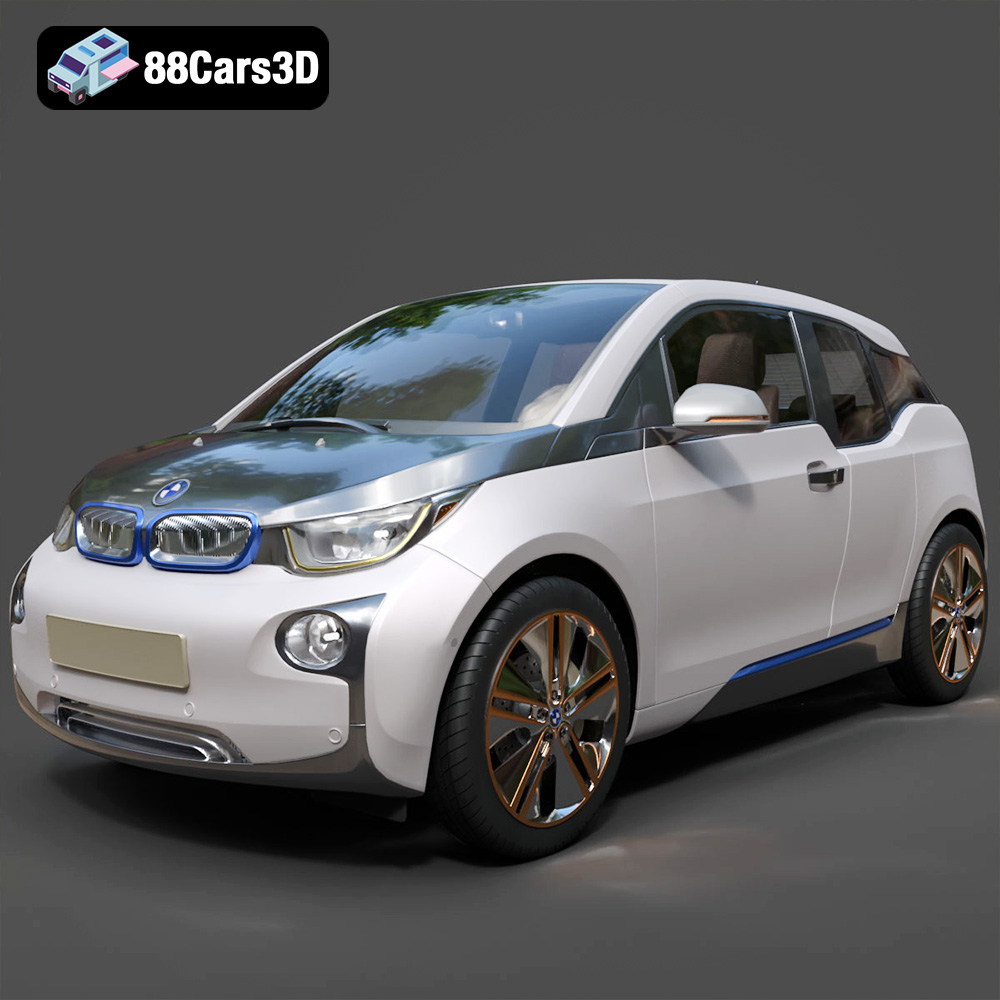
BMW i3 Coupe 3D Model
Texture: Yes
Material: Yes
Download the BMW i3 Coupe 3D Model featuring its iconic electric design and compact urban styling. Includes .blend, .fbx, .obj, .glb, .stl, .ply, .unreal, and .max formats for rendering, simulation, and game development.
Price: $17.99
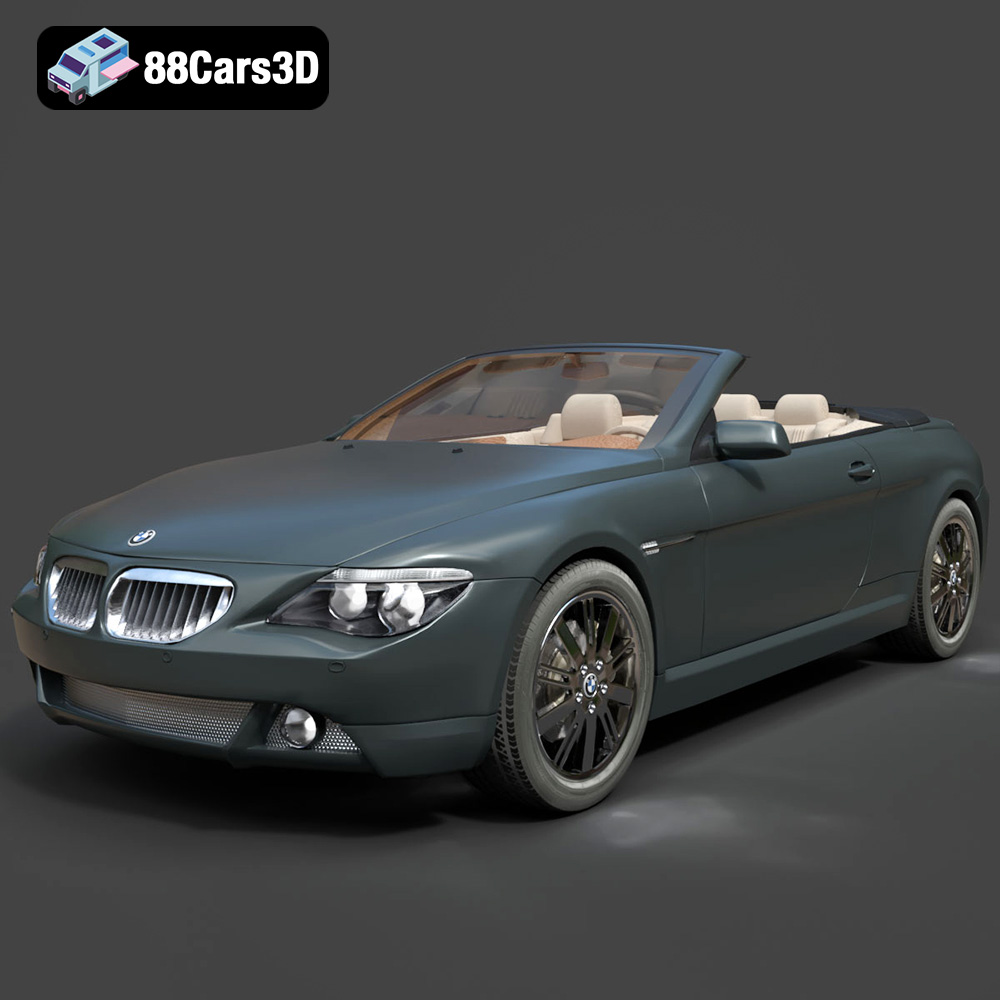
BMW 645ci 2004-2005 3D Model
Texture: Yes
Material: Yes
Download the BMW 645ci 3D Model featuring a sleek, detailed exterior and optimized interior. Includes .blend, .fbx, .obj, .glb, .stl, .ply, .unreal, and .max formats for rendering, simulation, and game development.
Price: $10.79
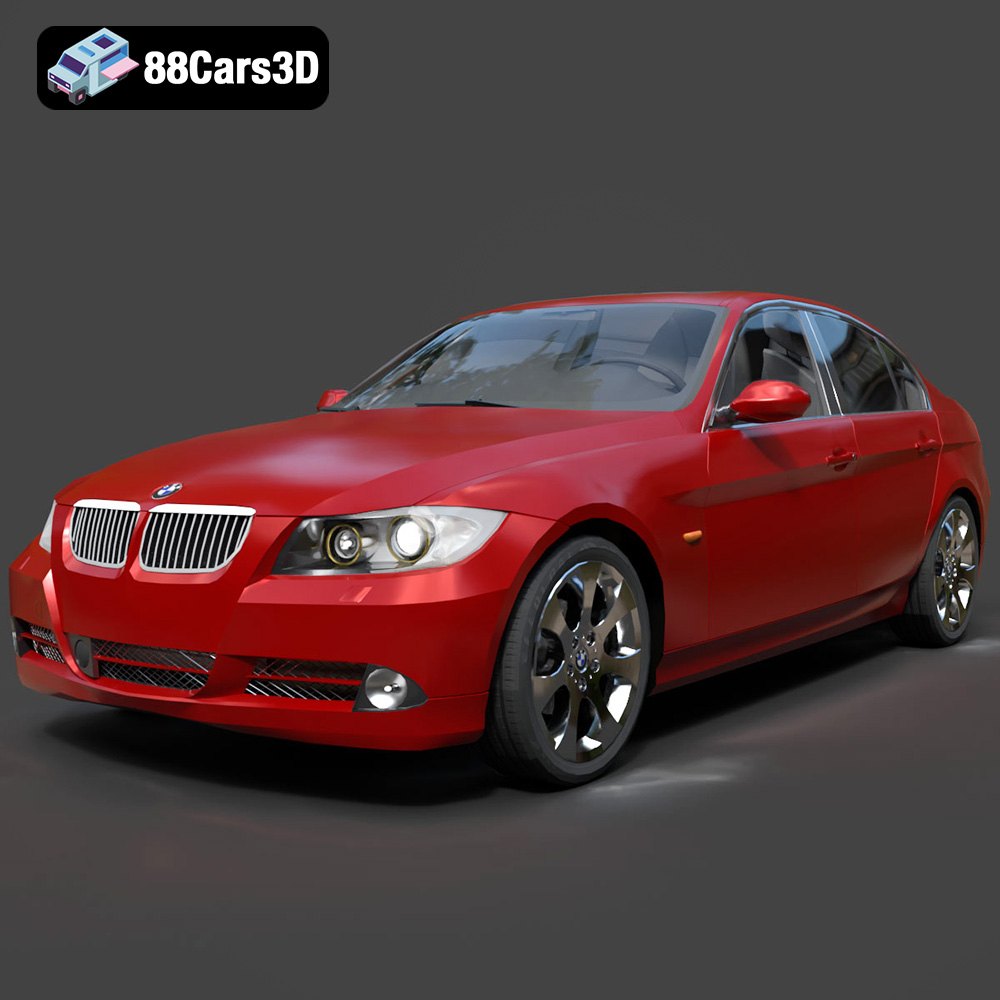
BMW 330i E90 3D Model
Texture: Yes
Material: Yes
Download the BMW 330i E90 3D Model featuring a detailed exterior, an optimized interior, and accurate mechanical components. Includes .blend, .fbx, .obj, .glb, .stl, .ply, .unreal, and .max formats for rendering, simulation, and game development.
Price: $14.79
