

“`html
Beyond the Blueprint: Mastering STL Files for Flawless 3D Printed Car Models
The world of 3D printing is an exciting frontier, transforming how we create everything from intricate prototypes to stunning collectibles. For automotive enthusiasts and model makers, the ability to bring classic cars, futuristic concepts, and detailed replicas to life in physical form is a dream come true. At the heart of this process lies the STL (Stereolithography) file format. While other file formats exist, STL reigns supreme in the 3D printing ecosystem. But why? What makes this seemingly simple format the de facto standard for additive manufacturing? Understanding the nuances of STL files – from their fundamental structure to the art of preparing them for your 3D printer – is crucial for achieving those breathtakingly detailed prints. This comprehensive guide will demystify the STL format, explore its advantages, delve into the technical aspects of file preparation and slicing, and provide actionable strategies to ensure your 3D printed car models from platforms like 88cars3d.com emerge with unparalleled precision and quality. Get ready to unlock the full potential of your 3D printer and elevate your model-making game.
The Enduring Dominance of the STL File Format
When you download a 3D printable car model from a marketplace such as 88cars3d.com, chances are it’s in STL format. This format’s ubiquity isn’t accidental; it stems from its elegant simplicity and direct translation of 3D geometry into a language that 3D printers can understand. Developed by 3D Systems in the mid-1980s, STL was designed to be the native file format for their stereolithography (SLA) 3D printers. The core concept is straightforward: it represents the surface of a three-dimensional object as a collection of connected triangles. Each triangle is defined by its three vertices (points in 3D space) and a normal vector, which indicates the outward-facing direction of the surface. This tessellation approach breaks down complex curves and shapes into manageable, flat facets. For 3D printers, particularly those operating on layer-by-layer additive principles, this triangle-based representation is incredibly efficient. The slicing software can easily analyze these triangles to determine where material needs to be deposited, how supports should be generated, and how to move the print head or laser. While newer formats like 3MF (3D Manufacturing Format) offer more advanced features like color information, material properties, and assembly data, STL’s fundamental compatibility and widespread software support have kept it at the forefront for decades. Its simplicity also means smaller file sizes compared to some other formats, making them easier to store, transfer, and process, which is a significant advantage in the rapidly growing world of downloadable 3D models.
Understanding STL’s Triangle-Based Geometry
The fundamental building block of an STL file is the triangle. A single triangle is defined by three coordinate points (X, Y, Z) representing its vertices. Crucially, each triangle also has a normal vector. This vector is perpendicular to the surface of the triangle and points outwards, indicating which side is “up” or “outside” the model. This seemingly simple piece of information is vital for slicing software. It helps the software determine the orientation of surfaces, identify internal versus external faces, and correctly interpret the model’s geometry. Without these normals, it would be difficult for software to distinguish between a solid object and a hollow shell, or even an inverted surface. The collection of all these triangles, meticulously connected edge-to-edge, forms the complete surface mesh of the 3D object. The quality of the print is directly influenced by the density and accuracy of this triangulation. A model with too few triangles might appear faceted or blocky, especially on curved surfaces. Conversely, an excessive number of triangles, while offering smoother curves, can lead to significantly larger file sizes and longer processing times, potentially overwhelming some slicer software or older computers.
Binary vs. ASCII STL: A Technical Distinction
STL files can exist in two primary formats: ASCII and Binary. The ASCII STL format is human-readable. Each triangle’s data – the normal vector and the three vertex coordinates – is written out as text. This makes it easy to inspect and even edit manually with a text editor, though this is rarely practical for complex models. However, ASCII STLs are significantly larger in file size and can be slower for software to parse. The Binary STL format, on the other hand, is much more compact and efficient. It stores the same geometric data but in a raw binary representation, eliminating text overhead. For a typical car model with thousands or millions of triangles, the file size difference can be substantial, often ranging from 5 to 10 times smaller for binary files compared to their ASCII counterparts. Most 3D printing software defaults to or strongly prefers binary STL files due to their performance advantages. When downloading files, you’ll almost always be getting binary STLs, and for good reason – they offer a better balance of data fidelity and processing efficiency for 3D printing workflows.
The Art and Science of STL File Preparation
Once you’ve acquired a high-quality STL file, whether it’s a meticulously detailed supercar or a classic muscle car from 88cars3d.com, the journey to a perfect print is far from over. The raw STL file, while defining the geometry, often requires preparation before it can be sent to the slicer. This crucial step involves ensuring the mesh is “watertight,” free of errors, and optimized for the specific 3D printing technology you’re using. Issues like holes, inverted faces, non-manifold geometry, and disconnected components can lead to printing failures, such as gaps in the model, incomplete layers, or rafts that detach. Specialized software plays a key role here. Tools like Meshmixer, Blender, Netfabb, or even built-in features within some slicers allow you to inspect, repair, and modify your STL files. Common repairs include automatically closing holes, flipping inverted normals, and decomposing complex intersecting geometry. Beyond error correction, preparation might involve scaling the model to your desired size, orienting it on the virtual build plate for optimal printing, and even hollowing the model to save material and reduce print time for larger pieces.
Ensuring a Watertight Mesh: The Foundation of a Good Print
A “watertight” or “manifold” mesh is a fundamental requirement for successful 3D printing. In simple terms, it means the surface of your model is a closed, continuous shell with no holes, gaps, or self-intersections. Imagine trying to fill a bucket with water – if it has holes, the water will leak out. Similarly, if your STL file isn’t watertight, the slicing software won’t be able to determine where the inside of the model is, leading to errors. Common issues include:
- Holes: Gaps in the mesh where surfaces should connect.
- Non-Manifold Edges: Edges that are shared by more than two triangles, which is geometrically impossible for a solid surface. This can occur when surfaces intersect themselves or when multiple separate surfaces meet at a single edge.
- Interior Faces: Triangles that face inwards, creating enclosed volumes within the model that shouldn’t exist.
- Disconnected Components: Parts of the model that aren’t connected to the main body.
Software like Netfabb or Meshmixer can automatically detect and often repair these issues. The process typically involves analyzing the mesh topology and identifying problematic areas. Automated repair functions will attempt to bridge holes, merge vertices, and flip normals. However, for complex errors, manual intervention using modeling tools might be necessary to ensure the integrity of the mesh before slicing.
Optimizing for Your Printer: Scaling, Orientation, and Supports
Once your STL is watertight, the next step is to prepare it for your specific 3D printer and chosen printing technology (FDM or Resin). Scaling is straightforward: most slicers allow you to adjust the size of the model. For detailed car models, ensure you maintain a scale that allows your printer to accurately reproduce the fine details. Orientation is critical for print quality, strength, and support material usage. Placing a car model on its wheels, for instance, might require extensive supports underneath the chassis and wheels, which can be difficult to remove cleanly and may leave marks. Orienting it at an angle, or even printing parts separately and assembling them, can significantly improve the print outcome. Support structures are generated automatically by slicer software to hold up overhangs and bridges during printing. For intricate models like cars, thoughtful support placement is key. Too many supports can mar the surface finish, while too few can lead to print failures. Many models from reputable sources like 88cars3d.com are designed with printability in mind, often including pre-designed support interfaces or suggesting optimal orientations. Experimentation with support types (tree supports, normal supports), density, and contact Z distances in your slicer is often required to find the sweet spot for your specific model and printer.
Slicing Strategies for Precision and Detail
The slicer is the brain of the 3D printing operation. It takes your prepared STL file and translates it into a series of thin, horizontal layers, generating the G-code instructions that your 3D printer follows. The settings you choose within the slicer have a profound impact on the final print quality, speed, and strength. For detailed car models, achieving crisp lines, smooth curves, and delicate features is paramount. This requires careful consideration of layer height, print speed, infill, and retraction settings. It’s not just about choosing a profile; it’s about understanding how each parameter influences the outcome. For instance, a lower layer height results in a smoother surface finish and better reproduction of fine details, but at the cost of significantly increased print time. Conversely, a higher layer height prints faster but can result in visible layer lines. Finding the optimal balance is key. Moreover, different slicers (Cura, PrusaSlicer, Simplify3D) offer unique features and algorithms for toolpath generation, support creation, and overall slicing quality, each with its own strengths and learning curve.
Layer Height vs. Print Time: The Great Trade-Off
The layer height setting directly determines the thickness of each individual layer deposited by the printer. For most FDM printers, common layer heights range from 0.05mm (for high detail) to 0.3mm (for faster, less detailed prints). For intricate automotive models where capturing fine details like panel gaps, grilles, and emblems is important, a lower layer height is generally preferred. A setting of 0.1mm to 0.15mm often provides a good balance between detail and print time for FDM printing. Resin printers typically offer much finer layer heights, often starting at 0.025mm or 0.05mm, which is why they excel at producing highly detailed miniatures. The impact on print time is exponential. Halving the layer height (e.g., from 0.2mm to 0.1mm) roughly doubles the print time because the printer has to lay down twice as many layers to build the same height object. For a complex car model that might take 20 hours at 0.2mm, it could easily take 40 hours or more at 0.1mm. This trade-off requires careful consideration based on your priorities: speed or detail. Often, strategic orientation and careful support placement can compensate for slightly higher layer heights, making prints faster without sacrificing too much visual fidelity.
Infill Patterns and Density: Strength, Weight, and Material Usage
The infill refers to the internal structure of a 3D printed object. It’s not solid plastic throughout; instead, it’s a pattern of lines, grids, or other shapes printed inside the outer walls. The infill density is the percentage of internal volume that is filled. For purely display models, very low infill densities (5-15%) are often sufficient. This saves material, reduces print time, and keeps the weight down, which is ideal for collectibles. More structurally demanding applications, like functional prototypes or parts that need to withstand stress, would require higher infill densities (30-80%). Different infill patterns also offer varying benefits. A simple grid or lines pattern is fast and uses less filament. A cubic or gyroid pattern provides better strength in multiple directions and is often preferred for slightly higher densities. For display car models, prioritizing speed and material efficiency means choosing a simple pattern with a low density. The outer walls (shells or perimeters) are more critical for surface quality and rigidity than the internal infill for these types of models. Ensuring at least 3-4 shells is recommended.
Print Speed and Retraction: Preventing Stringing and Blobs
Print speed directly affects print time but also influences quality. Printing too fast can lead to poor layer adhesion, ringing artifacts (ghosting), and inaccuracies in detail. For detailed car models, it’s often advisable to print the outer walls at a slower speed than the infill. A good starting point for outer walls might be 30-50 mm/s, while infill could be printed faster at 60-80 mm/s. Travel moves (when the print head moves without extruding) should also be considered. Retraction is a critical setting that prevents “stringing” – thin wisps of plastic that stretch between different parts of the model as the print head moves. When the print head travels over an open area, a small amount of filament is pulled back into the nozzle. Key retraction settings include:
- Retraction Distance: The amount of filament pulled back (e.g., 4-7mm for Bowden setups, 0.5-2mm for direct drive).
- Retraction Speed: How quickly the filament is pulled back (e.g., 25-50 mm/s).
Fine-tuning these settings, often through retraction calibration prints, is essential for achieving clean surfaces on your car models, especially around intricate details like spoilers or mirrors.
Material Selection and Printer Calibration for Automotive Models
The choice of material and the calibration of your 3D printer are foundational to achieving high-quality results. For 3D printed car models, the goal is often visual fidelity, detail, and sometimes structural integrity if parts are to be assembled or handled. Different materials offer distinct properties that can either enhance or detract from your final model. Furthermore, even the best material can’t overcome a poorly calibrated printer. Ensuring your printer is running optimally is a prerequisite for dialing in specific settings for detailed prints.
FDM vs. Resin Printing: Which Technology for Your Car Model?
The two dominant 3D printing technologies for hobbyists are Fused Deposition Modeling (FDM) and Stereolithography (SLA)/Digital Light Processing (DLP). FDM printers build objects by extruding heated thermoplastic filament layer by layer. They are generally more affordable, have a larger build volume, and work with a wider range of materials like PLA, PETG, and ABS. PLA is a popular choice for display models due to its ease of printing and good detail reproduction. PETG offers more durability, while ABS is strong but can be challenging to print without an enclosure. FDM is excellent for larger car models or when cost and material variety are key. Resin printers (SLA/DLP) use UV light to cure liquid photopolymer resin layer by layer. They are renowned for their incredibly high resolution and smooth surface finish, making them ideal for intricate miniatures and highly detailed collectibles where every curve and edge needs to be perfect. However, resin printers typically have smaller build volumes, require more post-processing (washing and curing), and the resins themselves can be more expensive and messier to handle. For small-scale, highly detailed car model kits or miniatures, resin printing often yields superior results in terms of surface finish and fine detail.
Choosing the Right Filament or Resin
For FDM printing of car models, PLA is often the go-to material. It’s easy to print, has low shrinkage, and comes in a vast array of colors. It’s also relatively easy to sand and paint, making it ideal for post-processing. If the model needs to be more durable or withstand slightly higher temperatures, PETG is a good alternative, offering increased toughness and water resistance. For advanced users seeking high-strength parts or those familiar with post-processing techniques like vapor smoothing, ABS can be used, but it requires higher temperatures and often an enclosed printer to prevent warping.
For resin printing, standard “Standard” or “Model” resins are excellent for achieving sharp details and smooth surfaces. They are formulated for general-purpose use and offer a good balance of properties. For stronger, more durable parts, look for “Tough” or “ABS-like” resins. If you’re printing clear parts like windows, specialized “Clear” resins are available, though they often require additional post-processing like sanding and clear coating to achieve optimal transparency. Always refer to the resin manufacturer’s recommendations for optimal exposure times and curing.
Printer Calibration: The Bedrock of Quality Prints
Before printing any detailed model, ensuring your printer is properly calibrated is non-negotiable. This involves several key steps:
- Bed Leveling: For FDM printers, a perfectly level bed is crucial for the first layer to adhere correctly. An uneven first layer can lead to warping, detachment, or elephants foot (a squashed base). Use your slicer’s bed leveling test prints or auto-leveling features.
- E-step Calibration: This ensures that your extruder pushes out the correct amount of filament. Incorrect E-steps can lead to under-extrusion (gaps, weak prints) or over-extrusion (blobs, dimensional inaccuracy).
- Temperature Towers: Printing temperature calibration models helps you find the optimal nozzle temperature for your chosen filament, ensuring good layer adhesion and surface quality.
- Flow Rate/Extrusion Multiplier Calibration: This fine-tunes the amount of filament extruded, compensating for variations in filament diameter and printer mechanics.
- Resin Printer Calibration: For resin printers, this typically involves calibrating exposure times using specific calibration prints to ensure layers adhere properly to the build plate and to each other without over-curing. Ensure the resin vat is clean and the FEP film is in good condition.
A well-calibrated printer provides a stable foundation, allowing you to confidently adjust other settings for optimal results on intricate models.
Post-Processing: Bringing Your 3D Printed Car to Life
The printing process is only the first major hurdle; transforming a raw 3D print into a show-quality model often involves significant post-processing. This stage is where the true artistry comes into play, especially for detailed automotive replicas. Removing supports cleanly, smoothing layer lines, assembling multi-part prints, and applying paint can elevate a good print to an exceptional one. The techniques employed will vary depending on the printing technology (FDM vs. Resin) and the desired finish. For many, the satisfaction of holding a physical representation of a beloved car is amplified by the effort invested in refining its appearance through careful post-processing. This stage also allows for customization and personalization, making each model truly unique.
Support Removal and Surface Smoothing Techniques
Support removal can be one of the most challenging aspects of 3D printing, particularly for intricate models. For FDM prints, a sharp hobby knife, pliers, and sometimes specialized tools like flush cutters or needle-nose pliers are used. Patience is key to avoid damaging the model. For resin prints, supports are typically smaller and more delicate. After washing and curing, they can often be carefully snapped or cut away. Smoothing layer lines on FDM prints is often achieved through sanding. Start with a coarser grit sandpaper (e.g., 120-220 grit) to remove prominent lines, gradually moving to finer grits (400, 800, 1000, and even higher). For very smooth finishes, filler primers or applications of wood filler can be used between sanding steps. Alternatively, for ABS, vapor smoothing with acetone can create an incredibly smooth, glossy finish, but this requires significant safety precautions. Resin prints generally have fewer visible layer lines, but sanding may still be necessary to remove support marks or imperfections. Using primer also helps to reveal imperfections that can then be addressed.
Assembly, Painting, and Finishing Touches
Many complex car models are designed to be printed in multiple parts for easier printing and assembly. This requires careful alignment and adhesion. Cyanoacrylate (super glue) is commonly used for FDM prints, while specialized glues or resins can be used for resin prints. For painting, the model should be thoroughly cleaned and primed. A good quality primer not only helps paint adhere but also highlights any remaining surface imperfections that need addressing. Automotive model paints offer a wide spectrum of colors and finishes. Airbrushing can achieve very professional results, especially for smooth base coats and metallic finishes. Hand-brushing can be used for smaller details. For windows, clear plastic sheets can be cut and glued in place, or clear resin can be used if printed integrally. Decals can add authenticity, and a final clear coat (matte, satin, or gloss) protects the paint job and unifies the finish, bringing your meticulously printed car model to life.
In conclusion, the STL file format, despite its age, remains the backbone of the 3D printing industry due to its simplicity and broad compatibility. Mastering its intricacies, from understanding its tessellated structure to the detailed preparation and slicing required for intricate models, is essential for any serious 3D printing enthusiast. Whether you’re printing a classic from 88cars3d.com or designing your own automotive marvel, investing time in file repair, selecting appropriate slicer settings, choosing the right material, and perfecting your post-processing techniques will yield impressive results. The journey from a digital STL file to a tangible, high-quality 3D printed car model is a rewarding process that combines technical skill with creative passion. By understanding and applying the principles discussed in this guide, you’re well-equipped to tackle even the most complex automotive designs and bring your passion for cars into the physical realm with stunning detail and accuracy.
“`
Featured 3D Car Models

BMW 5 Series F10 2014 3D Model
Texture: Yes
Material: Yes
Download the BMW 5 Series F10 3D Model featuring clean geometry, realistic detailing, and a fully modeled interior. Includes .blend, .fbx, .obj, .glb, .stl, .ply, .unreal, and .max formats for rendering, simulation, and game development.
Price: $14.99

BMW 4 Series Coupe M Sport 2014 3D Model
Texture: Yes
Material: Yes
Download the BMW 4 Series Coupe M Sport 2014 3D Model featuring clean geometry, realistic detailing, and a fully modeled interior. Includes .blend, .fbx, .obj, .glb, .stl, .ply, .unreal, and .max formats for rendering, simulation, and game development.
Price: $14.99

Bentley Brooklands 2008 3D Model
Texture: Yes
Material: Yes
Download the Bentley Brooklands 2008 3D Model featuring clean geometry, realistic detailing, and a fully modeled interior. Includes .blend, .fbx, .obj, .glb, .stl, .ply, .unreal, and .max formats for rendering, simulation, and game development.
Price: $14.99
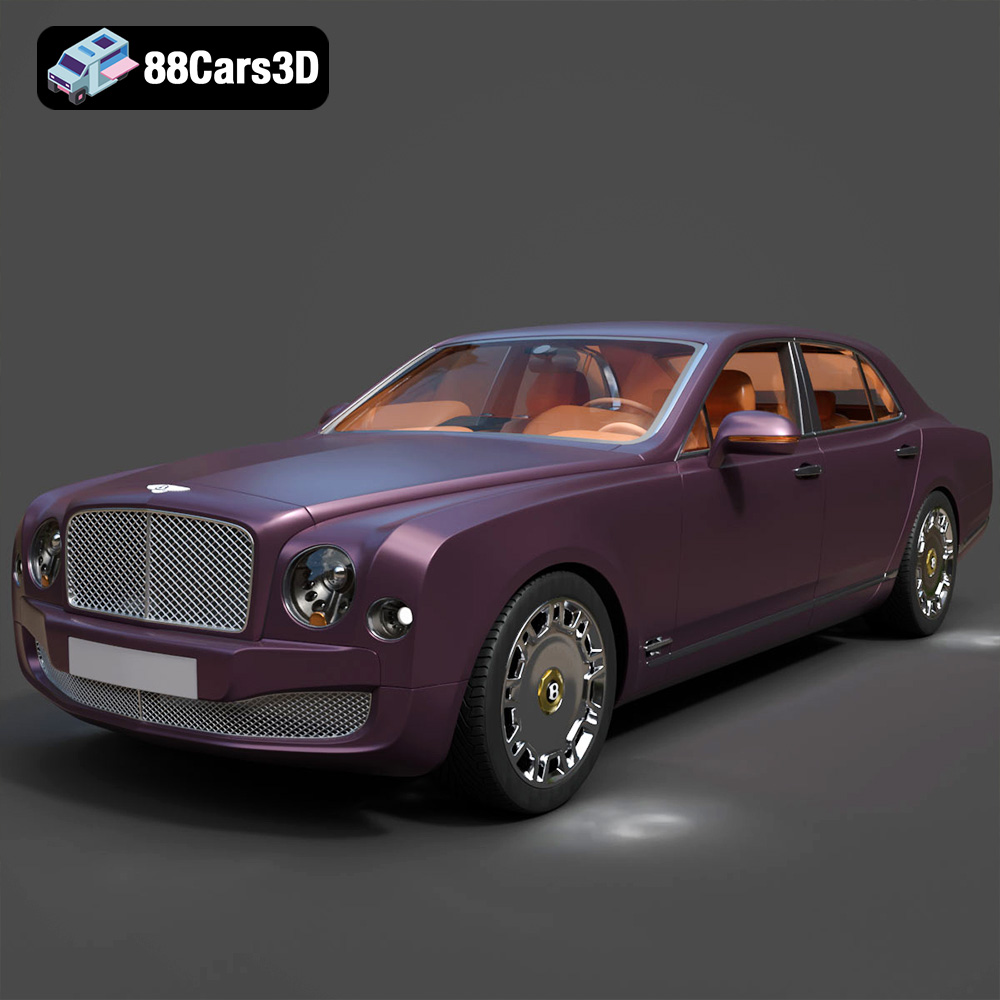
Bentley Mulsanne Luxury Sedan 3D Model
Texture: Yes
Material: Yes
Download the Bentley Mulsanne Luxury Sedan 3D Model featuring clean geometry, realistic detailing, and a fully modeled interior. Includes .blend, .fbx, .obj, .glb, .stl, .ply, .unreal, and .max formats for rendering, simulation, and game development.
Price: $14.99

Bentley Continental GT 2011 3D Model
Texture: Yes
Material: Yes
Download the Bentley Continental GT 2011 3D Model featuring clean geometry, realistic detailing, and a fully modeled interior. Includes .blend, .fbx, .obj, .glb, .stl, .ply, .unreal, and .max formats for rendering, simulation, and game development.
Price: $14.99

Bentley Continental Flying Spur 3D Model
Texture: Yes
Material: Yes
Download the Bentley Continental Flying Spur 3D Model featuring clean geometry, realistic detailing, and a fully modeled interior. Includes .blend, .fbx, .obj, .glb, .stl, .ply, .unreal, and .max formats for rendering, simulation, and game development.
Price: $14.99
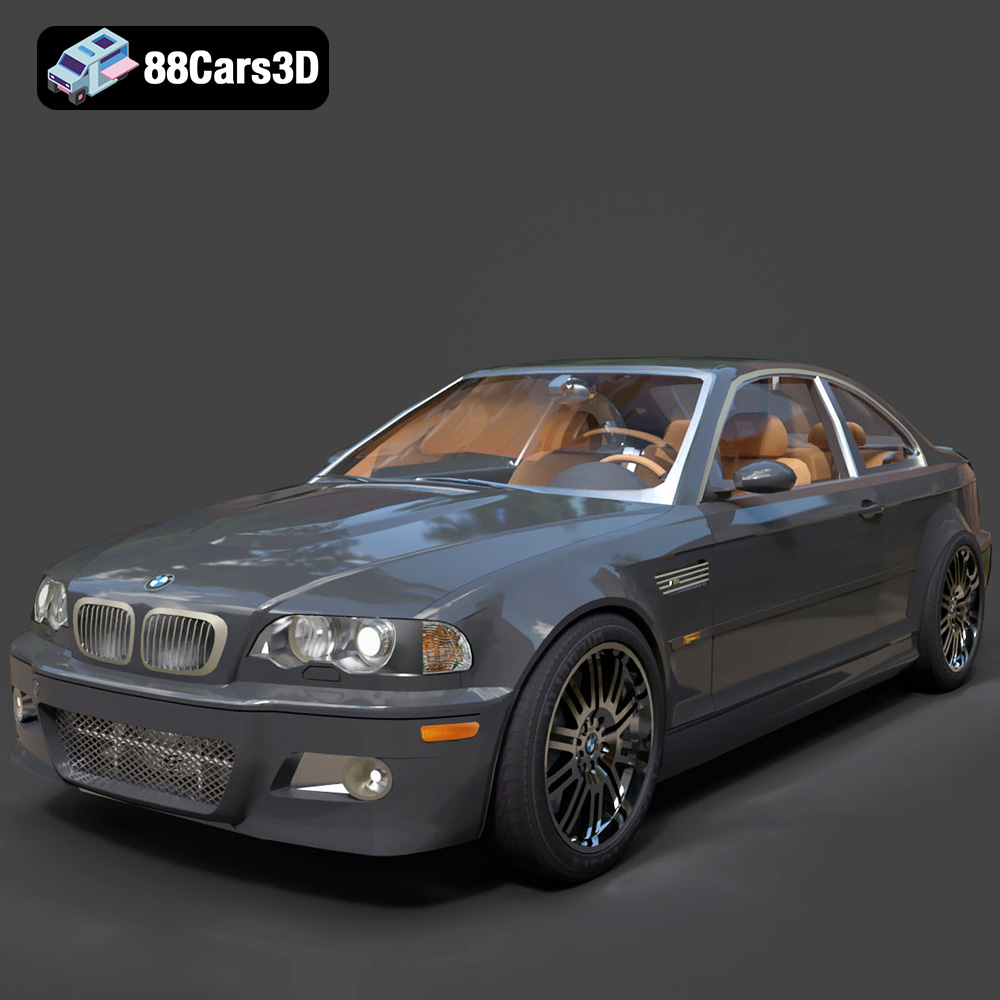
BMW M3 E46 3D Model
Texture: Yes
Material: Yes
Download the BMW M3 E46 3D Model featuring iconic sports car design and detailed interior. Includes .blend, .fbx, .obj, .glb, .stl, .ply, .unreal, and .max formats for rendering, simulation, and game development.
Price: $16.99

BMW i3 Coupe 3D Model
Texture: Yes
Material: Yes
Download the BMW i3 Coupe 3D Model featuring its iconic electric design and compact urban styling. Includes .blend, .fbx, .obj, .glb, .stl, .ply, .unreal, and .max formats for rendering, simulation, and game development.
Price: $17.99

BMW 645ci 2004-2005 3D Model
Texture: Yes
Material: Yes
Download the BMW 645ci 3D Model featuring a sleek, detailed exterior and optimized interior. Includes .blend, .fbx, .obj, .glb, .stl, .ply, .unreal, and .max formats for rendering, simulation, and game development.
Price: $10.79
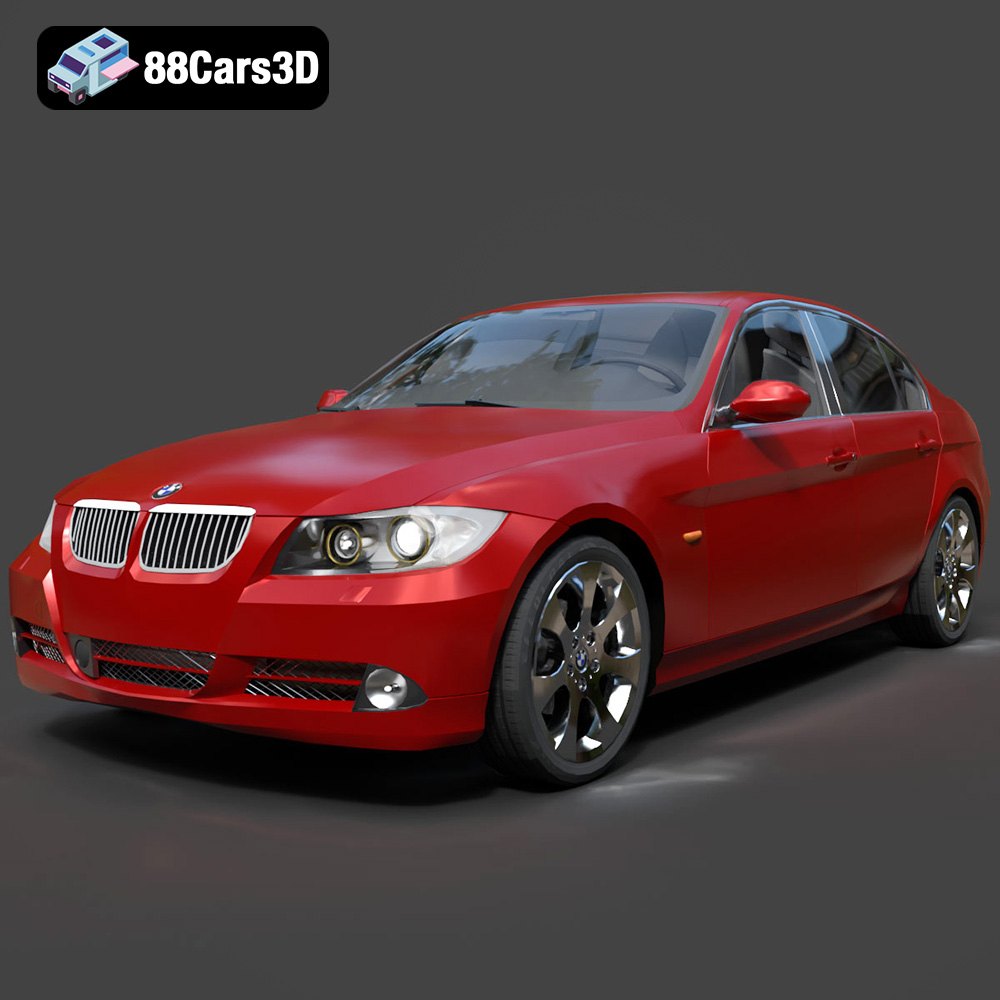
BMW 330i E90 3D Model
Texture: Yes
Material: Yes
Download the BMW 330i E90 3D Model featuring a detailed exterior, an optimized interior, and accurate mechanical components. Includes .blend, .fbx, .obj, .glb, .stl, .ply, .unreal, and .max formats for rendering, simulation, and game development.
Price: $14.79
