

“`html
Mastering the Miniature: A Technical Guide to 3D Printing Detailed Car Interiors from STL Files
The allure of classic cars, the sleek lines of sports cars, and the rugged charm of off-road vehicles are captivating. For many of us, this passion extends beyond admiring them on the road to creating our own miniature replicas. 3D printing has revolutionized the hobbyist and maker scene, transforming the way we can bring these automotive dreams to life. While printing the exterior of a car model is impressive, the true magic often lies in replicating the intricate details of the interior – the dashboard, seats, steering wheel, and center console. This guide will delve deep into the technical nuances of 3D printing highly detailed car interiors using STL files, from understanding the mesh to optimizing your slicer settings for stunning results. Whether you’re using FDM or resin printers, we’ll cover essential workflows, troubleshooting tips, and best practices to elevate your 3D printing projects. Prepare to unlock a new level of realism in your model collection.
Understanding the Anatomy of a Detailed Car Interior STL
The journey to a perfectly printed car interior begins with understanding the STL file itself. This ubiquitous file format represents a 3D model’s surface geometry as a mesh of interconnected triangles. For highly detailed interiors, these triangles become crucial; their size, distribution, and orientation directly impact the fidelity of the printed model. A well-designed printable car model, particularly one intended for detailed interiors, will feature a dense and evenly distributed mesh in areas of high complexity, such as instrument clusters, intricate seat stitching, or textured dashboard panels. Conversely, larger, simpler surfaces like the roof liner might use fewer triangles.
When downloading models from marketplaces such as 88cars3d.com, you’re often getting files optimized for printing. However, a keen eye for mesh quality can still be beneficial. Look for common issues like non-manifold geometry (where edges are shared by more than two faces, creating holes or impossible structures), inverted normals (where the outward-facing direction of a triangle is flipped), or intersecting geometry. These imperfections, while sometimes invisible to the naked eye on a screen, can cause significant problems during slicing and printing, leading to failed prints, support errors, or inaccurate details.
Mesh Resolution and Polygon Count
The resolution of an STL file is directly related to its polygon count. A higher polygon count generally translates to a smoother, more detailed surface but also results in a larger file size and potentially more complex slicing. For intricate car interiors, a balance is key. Too few polygons, and you’ll see faceted surfaces where smooth curves should be. Too many, and your slicer might struggle, and print times could become excessively long. Professional models often strike a good balance, offering sufficient detail without being computationally prohibitive. Many 3D modeling software packages, like Blender or Meshmixer, can analyze and even optimize polygon counts if you plan on significant modifications.
Manifold Geometry and Watertight Models
A critical aspect of any 3D printable file is ensuring it’s “watertight” or manifold. This means the mesh forms a closed volume with no holes or gaps. Imagine trying to fill it with water – if it leaks, it’s not manifold. Slicing software relies on this watertight property to determine the internal structure (like infill) and exterior walls of your model. Non-manifold edges or holes can confuse the slicer, leading to missing sections, incorrect wall thicknesses, or failed support generation. Always check your STL for manifold errors before proceeding to slicing. Software like Netfabb or even built-in tools in Blender and Meshmixer can automatically detect and often repair these issues.
Slicing Strategies for Unveiling Interior Detail
The slicer is your digital workbench, translating the 3D model into layer-by-layer instructions for your 3D printer. For detailed car interiors, slicing parameters need meticulous attention. The goal is to capture the fine features while maintaining structural integrity and printability. This involves a careful dance between layer height, print speed, wall thickness, and support settings. Standard 3D printer settings designed for general models might not suffice for the delicate details found within a car’s cabin.
When you download models from platforms like 88cars3d.com, they are typically designed to be print-ready. However, tailoring your slicer profile to the specific model and your printer’s capabilities is essential. For instance, a model with extremely fine dashboard textures or tiny steering wheel spokes will demand different settings than a simpler seat design. Experimentation is often necessary, but a solid understanding of how each setting impacts the final print will save you time and filament. Remember to save your optimized profiles for future use.
Layer Height: The Foundation of Detail
Layer height is arguably the most impactful setting for capturing fine details. A smaller layer height results in thinner layers, creating a smoother surface finish and allowing for the reproduction of finer features. For highly detailed car interiors, consider using layer heights between 0.05mm and 0.1mm on resin printers, and 0.08mm to 0.15mm on FDM printers. While a 0.1mm layer height on FDM will significantly increase print time compared to a standard 0.2mm, the gain in detail for elements like instrument panel gauges, seat seams, and small interior trim pieces is often worth the wait. For FDM, ensure your printer and nozzle size can consistently produce these fine layers.
Wall Thickness and Infill for Structural Integrity
While you want to capture external details, the interior components need to be robust enough to handle printing and subsequent handling. Wall thickness, often referred to as shell thickness or perimeters, dictates the strength of the printed object. For small, intricate parts like interior mirrors or gear shifters, a minimum of 2-3 walls (or approximately 1.0mm-1.5mm for a 0.4mm nozzle) is recommended. This ensures that thin sections don’t collapse and provide enough material for details to form correctly. Infill provides internal support. For display models, infill density can often be kept low (5-15%) to save material and time. However, consider using more robust infill patterns like gyroid or cubic if the part is particularly fragile or will undergo assembly. Higher infill is generally not needed for decorative interior parts unless they are load-bearing.
Print Speed and Temperature Calibration
Printing fine details requires slower print speeds. Aggressive speeds can lead to ringing artifacts, poor layer adhesion, and missed details, especially on complex geometries. For the detailed sections of a car interior, reduce your print speed significantly, especially for outer walls. A good starting point for outer walls could be 20-30 mm/s, while inner walls and infill can be slightly faster. Similarly, fine-tuning your nozzle and bed temperatures is crucial for optimal material flow and adhesion. Conduct temperature towers and retraction tests with your chosen filament to find the sweet spot that minimizes stringing and ensures clean extrusion, which is vital for delicate features.
Mastering Support Structures for Delicate Interiors
Support structures are the unsung heroes of complex 3D printing. For car interiors, which often feature overhangs, bridges, and delicate protruding elements (like steering columns or dashboard vents), effective support generation and removal are paramount. Poorly placed or overly aggressive supports can damage fine details, leave unsightly marks, or be incredibly difficult to remove. Conversely, insufficient supports will lead to print failures, drooping overhangs, and loss of detail.
The choice between FDM and resin printing significantly impacts your support strategy. Resin printers typically offer finer control over support placement and density, often resulting in cleaner removal with less surface scarring. However, they also require careful consideration of support contact points to avoid damaging delicate features. For FDM, optimizing support settings in your slicer like Cura or PrusaSlicer is key to achieving successful prints of complex interior components.
FDM Support Generation: Trees vs. Standard
For intricate car interiors on FDM printers, consider using tree supports (available in Cura and sometimes as a plugin for PrusaSlicer). Tree supports branch out from a single point and are designed to touch the model only at specific points, minimizing surface contact area. This often leads to easier removal and less scarring compared to standard linear or grid supports, which can cover large areas of the model. Experiment with support density, Z-distance (the gap between the support and the model), and XY-separation (the horizontal gap) to find a balance between support effectiveness and ease of removal. For extremely delicate parts, manually adding support blockers in your slicer can prevent supports from interfering with critical details.
Resin Printing Supports: Contact Points and Density
Resin printing (SLA/DLP/MSLA) offers exceptional detail, making it ideal for car interiors. However, supports are critical and require careful placement. Use lighter supports with smaller contact points where possible, especially on areas that will be difficult to sand or touch up. For fine details like trim pieces or vents, consider using conical supports or carefully placing very fine needle-like supports. Increasing the Z-height of supports can sometimes make them easier to snip off cleanly. Support density is also important; too few and the part may detach or warp, too many and removal becomes a tedious, detail-damaging chore. Many resin slicers allow you to hollow the model, which is highly recommended for larger interior parts to save resin and reduce curing times. Ensure the hollowing creates drainage holes so uncured resin can escape.
Post-Support Removal Techniques
Whether FDM or resin, support removal is a critical post-processing step. For FDM, carefully use flush cutters, hobby knives, or pliers to break away supports. Sometimes gently heating the area with a heat gun (briefly and from a distance) can make the plastic more pliable for easier removal. For resin prints, supports are typically removed after washing and curing. Use sharp flush cutters or a scalpel to carefully snip them away. For stubborn contact points, a quick sanding or a touch of filler can smooth out any remaining marks. Always wear appropriate safety gear, including eye protection and gloves, when working with tools and uncured resin.
Print Orientation and Bed Adhesion for Stability
The way you orient your car interior model on the print bed can significantly impact print quality, structural integrity, and the need for supports. Proper orientation ensures that overhangs are minimized, fine details are presented in their best light, and the model adheres securely to the build plate, preventing warping or detachment during the print.
For car interiors, consider the primary viewing angle. If the dashboard is the most important feature, orient the model so that it’s facing upwards or at a slight angle, minimizing overhangs on critical details like the steering wheel or instrument cluster. Similarly, if the seats are highly detailed, ensure they are positioned for optimal layer deposition. Bed adhesion is the first step to a successful print, especially for detailed parts that may have a small footprint or are prone to warping. Using the right build surface, cleaning it regularly, and applying adhesion aids when necessary are fundamental.
Optimizing Orientation for Overhangs and Details
On FDM printers, overhangs beyond 45-60 degrees typically require support. Analyze your interior model for areas that exceed this threshold. Rotating the model might place these overhangs on flatter surfaces or orient them in a way that reduces the length or complexity of the required support. For example, printing a dashboard section tilted back slightly might turn a severe overhang into a manageable one. For resin printing, while overhangs are less of an issue due to the layer-by-layer curing from the bottom, steep angles can still cause suction forces that may lead to print detachment. Orienting parts to minimize the cross-sectional area exposed to the FEP film at each layer can be beneficial, especially for larger, flatter surfaces.
Build Plate Adhesion Techniques
For FDM printing, securing your detailed interior model to the build plate is non-negotiable. Options range from textured PEI sheets, glass beds with glue stick or hairspray, to specialized build surfaces. Ensure your bed is level and the first layer is perfectly calibrated – this is the foundation of your entire print. Consider using a brim or raft for parts with a small base area or those prone to warping (like ABS). A brim adds a single layer of plastic around the base of the model, increasing surface area contact with the bed. A raft prints a disposable grid beneath the model, providing a stable base for difficult-to-adhere materials or uneven build surfaces. For resin printers, ensure the build plate is clean and level. A slight “baby-stepping” of the Z-axis on the first few layers can sometimes improve adhesion.
Material Selection: Balancing Detail and Durability
Choosing the right filament or resin is as important as selecting the right 3D printer settings. The material directly influences the surface finish, the ability to hold fine details, post-processing capabilities, and the overall durability of your printed car interior. Different materials have unique properties that make them suitable for specific applications within the vast world of 3D printing. For automotive models, particularly those with intricate interiors, the choice often comes down to balancing the need for extreme detail with ease of printing and finishing.
Platforms like 88cars3d.com typically provide STL files suitable for a wide range of materials. However, understanding the characteristics of common filaments and resins will help you select the best option for your project. Consider factors such as shrinkage, temperature resistance, and how well the material takes paint.
FDM Materials: PLA, PETG, and ABS
PLA (Polylactic Acid) is the most common FDM filament, known for its ease of printing, low shrinkage, and excellent detail reproduction. It’s often the go-to for hobbyist printing and is perfect for detailed car interiors where high temperature resistance isn’t critical. However, PLA can be brittle. PETG (Polyethylene Terephthalate Glycol) offers better layer adhesion, impact resistance, and higher temperature resistance than PLA, making it a good choice if the interior parts might be handled more frequently. It can be slightly stringier and requires more careful temperature and retraction tuning. ABS (Acrylonitrile Butadiene Styrene) is known for its durability and higher temperature resistance, often used for functional parts. However, ABS is prone to warping, requires a heated enclosure, and emits fumes, making it more challenging for printing highly detailed, intricate models unless you have specialized equipment and experience.
Resin Materials: Standard, Tough, and Flexible
For FDM users aiming for the highest level of detail, switching to a resin printer is a compelling option. Standard resins are excellent for capturing intricate details like dashboard textures, small buttons, and seat stitching, offering incredibly smooth surfaces. However, they can be brittle. Tough resins are formulated to mimic the properties of ABS, offering increased impact resistance and durability, which is beneficial for parts that might be assembled or handled. Flexible resins are less common for car interiors but could be used for soft-touch elements like rubber seals or seat fabric effects, though they are challenging to print and post-process. Always choose resins with low odor and follow safety guidelines carefully.
Post-Processing: Bringing Your Interior to Life
The print is just the beginning. To truly showcase the intricate details of a 3D printed car interior, post-processing is essential. This stage transforms a raw print into a polished, display-worthy model. It involves cleaning, sanding, filling, priming, and painting – each step requiring patience and a delicate touch, especially when working with fine details.
Whether you’re printing a single component or a full interior assembly, the post-processing workflow shares many similarities. The key is to work methodically, building up layers of refinement. For beginners, starting with simpler interior elements and gradually progressing to more complex assemblies can build confidence and skill. The goal is to enhance the inherent detail of the STL file and the printing process itself.
Sanding and Filling Imperfections
After removing supports, you’ll likely need to address layer lines (especially on FDM prints) and any minor imperfections left by supports. Start with lower grit sandpaper (e.g., 220-400 grit) to remove prominent layer lines and support marks. Progress to finer grits (e.g., 600, 1000, 2000+) to achieve a smooth finish. For FDM, consider using filler primers or modeling putty to fill larger gaps or significant layer lines. Apply in thin layers, sanding between each application. For resin prints, sanding is often less intensive, but small nubs from supports will need smoothing. A light application of primer can reveal imperfections that were missed.
Priming and Painting Techniques
Priming is a crucial step that prepares the surface for paint and reveals any remaining flaws. Use a good quality spray primer (e.g., automotive primer for durability and a smooth finish). Apply in light, even coats. Once primed, you can begin painting. For highly detailed interiors, airbrushing offers the best control and a smooth, even finish. Use acrylic model paints for their versatility and ease of cleanup. Masking tape is essential for achieving sharp lines between different colored interior panels, dashboard elements, and trim. Consider using a fine brush for intricate details like gauge needles, buttons, and logos. Don’t forget washes and weathering techniques to add realism, simulating dust, grime, or wear and tear.
Assembly and Finishing Touches
If your car interior is printed in multiple parts (e.g., dashboard, seats, center console), assembly is the final step. Use a strong adhesive suitable for your chosen material – cyanoacrylate (super glue) or specialized plastic cement often works well. Take care during assembly to ensure proper alignment. Once assembled, you can apply a final clear coat (matte, satin, or gloss, depending on the desired finish) to protect the paintwork and unify the look. For an even more professional finish, consider adding small details like photo-etched parts for emblems or seatbelts, or even tiny LEDs for dashboard illumination if your model and electronics skills permit.
In conclusion, 3D printing highly detailed car interiors from STL files is a rewarding endeavor that pushes the boundaries of model making. It requires a deep understanding of file formats, meticulous slicing, strategic support placement, careful material selection, and patient post-processing. By mastering these technical aspects, from optimizing 3D printer settings for delicate features to employing advanced sanding and painting techniques, you can transform simple digital models into stunningly realistic replicas. Whether you’re a seasoned maker or just starting with FDM printing or resin printing, the principles discussed here will equip you to tackle even the most intricate automotive interiors. So, dive in, experiment with different settings and materials, and most importantly, enjoy the process of bringing these miniature automotive worlds to life. Happy printing!
“`
Featured 3D Car Models
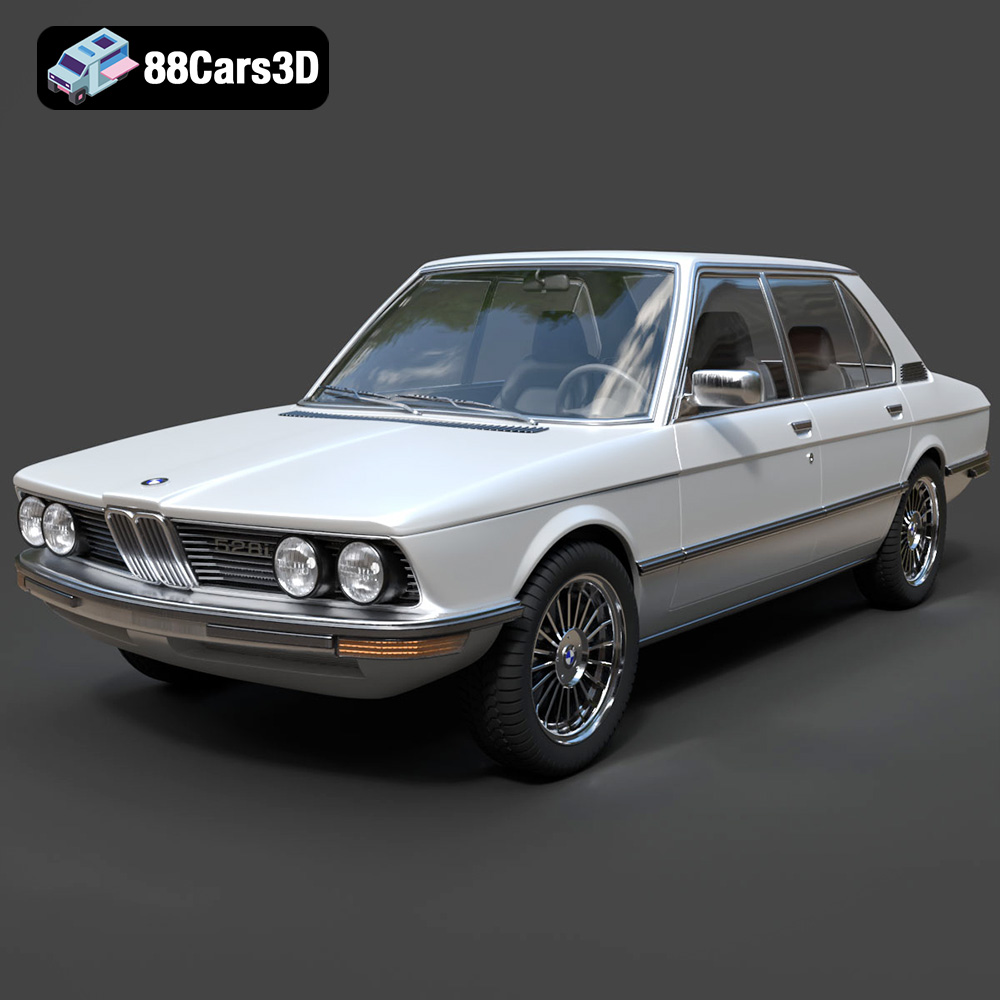
BMW 5 Series E12 528i 3D Model
Texture: Yes
Material: Yes
Download the BMW 5 Series E12 528i 3D Model featuring clean geometry, realistic detailing, and a fully modeled interior. Includes .blend, .fbx, .obj, .glb, .stl, .ply, .unreal, and .max formats for rendering, simulation, and game development.
Price: $14.99

BMW 5 Series F10 2014 3D Model
Texture: Yes
Material: Yes
Download the BMW 5 Series F10 3D Model featuring clean geometry, realistic detailing, and a fully modeled interior. Includes .blend, .fbx, .obj, .glb, .stl, .ply, .unreal, and .max formats for rendering, simulation, and game development.
Price: $14.99

BMW 4 Series Coupe M Sport 2014 3D Model
Texture: Yes
Material: Yes
Download the BMW 4 Series Coupe M Sport 2014 3D Model featuring clean geometry, realistic detailing, and a fully modeled interior. Includes .blend, .fbx, .obj, .glb, .stl, .ply, .unreal, and .max formats for rendering, simulation, and game development.
Price: $14.99

Bentley Brooklands 2008 3D Model
Texture: Yes
Material: Yes
Download the Bentley Brooklands 2008 3D Model featuring clean geometry, realistic detailing, and a fully modeled interior. Includes .blend, .fbx, .obj, .glb, .stl, .ply, .unreal, and .max formats for rendering, simulation, and game development.
Price: $14.99
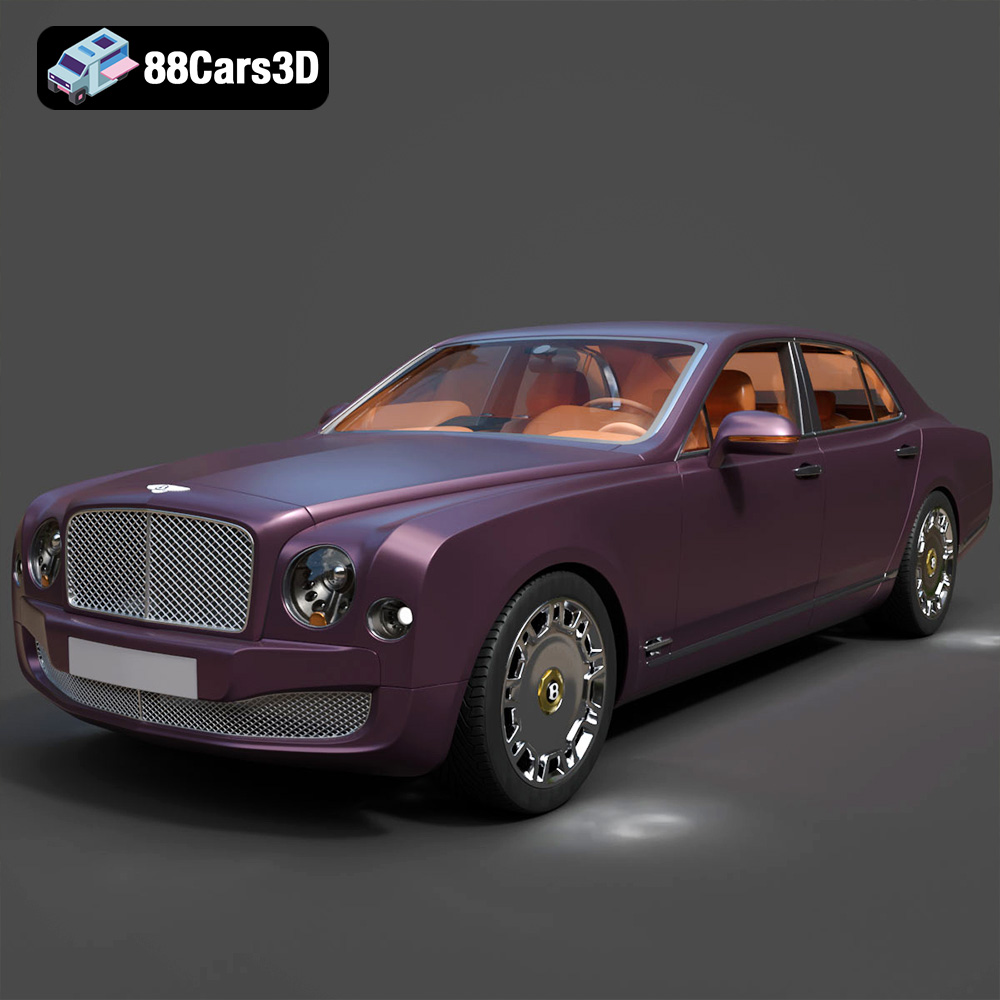
Bentley Mulsanne Luxury Sedan 3D Model
Texture: Yes
Material: Yes
Download the Bentley Mulsanne Luxury Sedan 3D Model featuring clean geometry, realistic detailing, and a fully modeled interior. Includes .blend, .fbx, .obj, .glb, .stl, .ply, .unreal, and .max formats for rendering, simulation, and game development.
Price: $14.99

Bentley Continental GT 2011 3D Model
Texture: Yes
Material: Yes
Download the Bentley Continental GT 2011 3D Model featuring clean geometry, realistic detailing, and a fully modeled interior. Includes .blend, .fbx, .obj, .glb, .stl, .ply, .unreal, and .max formats for rendering, simulation, and game development.
Price: $14.99

Bentley Continental Flying Spur 3D Model
Texture: Yes
Material: Yes
Download the Bentley Continental Flying Spur 3D Model featuring clean geometry, realistic detailing, and a fully modeled interior. Includes .blend, .fbx, .obj, .glb, .stl, .ply, .unreal, and .max formats for rendering, simulation, and game development.
Price: $14.99
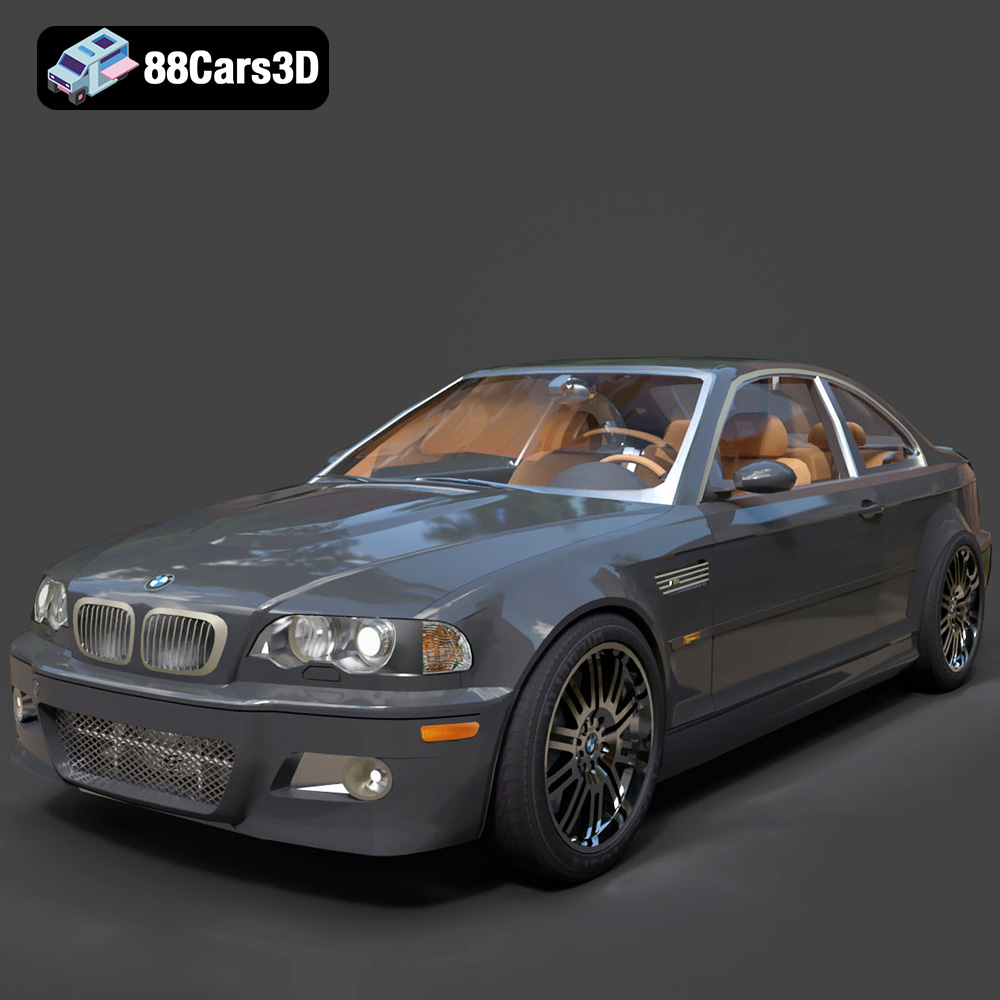
BMW M3 E46 3D Model
Texture: Yes
Material: Yes
Download the BMW M3 E46 3D Model featuring iconic sports car design and detailed interior. Includes .blend, .fbx, .obj, .glb, .stl, .ply, .unreal, and .max formats for rendering, simulation, and game development.
Price: $16.99

BMW i3 Coupe 3D Model
Texture: Yes
Material: Yes
Download the BMW i3 Coupe 3D Model featuring its iconic electric design and compact urban styling. Includes .blend, .fbx, .obj, .glb, .stl, .ply, .unreal, and .max formats for rendering, simulation, and game development.
Price: $17.99
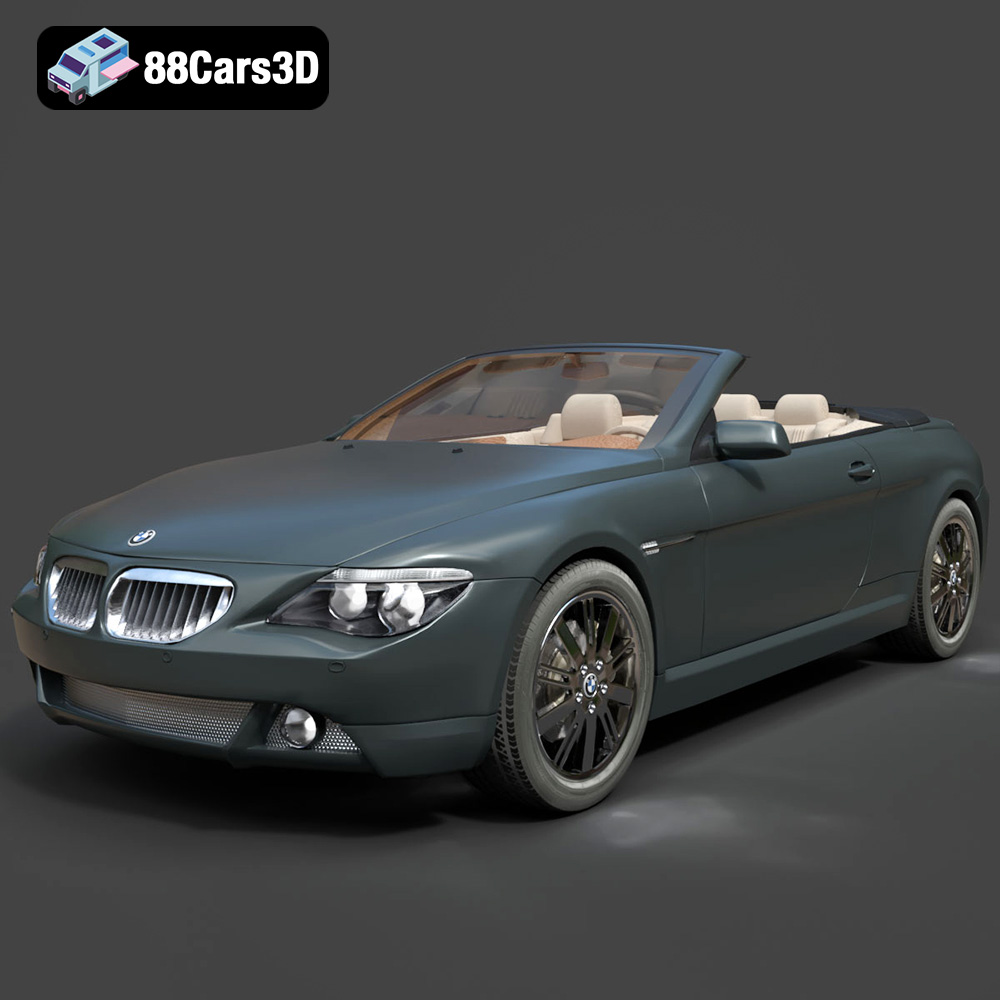
BMW 645ci 2004-2005 3D Model
Texture: Yes
Material: Yes
Download the BMW 645ci 3D Model featuring a sleek, detailed exterior and optimized interior. Includes .blend, .fbx, .obj, .glb, .stl, .ply, .unreal, and .max formats for rendering, simulation, and game development.
Price: $10.79
