

In the world of real-time rendering and automotive visualization, the difference between a visually appealing scene and a truly breathtaking cinematic experience often lies in the meticulous application of post-process effects. While stunning 3D car models, pristine PBR materials, and sophisticated lighting are fundamental, it’s the final layer of polish provided by Unreal Engine’s Post Process Volume (PPV) that elevates a render to a cinematic masterpiece. This isn’t merely about adding filters; it’s about art directing the visual tone, enhancing realism, and evoking specific emotions.
For artists and developers leveraging platforms like 88cars3d.com for high-quality, game-ready automotive assets, understanding and mastering these post-processing techniques is crucial. It allows you to transform a raw scene into a showcase-worthy visualization, whether for marketing, interactive configurators, or virtual production. In this comprehensive guide, we’ll dive deep into Unreal Engine’s Post Process Volume, exploring its myriad settings, best practices for automotive projects, and strategies for achieving a cinematic look while maintaining optimal real-time performance. Prepare to unlock the full visual potential of your Unreal Engine automotive projects.
The Foundation of Cinematic Looks: Understanding Unreal Engine’s Post Process Volume
At the heart of Unreal Engine’s visual fidelity toolkit lies the Post Process Volume. This versatile actor allows artists to apply a wide array of screen-space effects and adjustments to the final rendered image, influencing everything from color and exposure to depth of field and bloom. Think of it as the ultimate virtual camera and grading suite, offering granular control over how your scene is ultimately perceived by the viewer. For automotive visualization, where the goal is often to emulate high-end photography or film, the PPV is indispensable for achieving that coveted showroom or cinematic aesthetic.
Adding a Post Process Volume to your scene is straightforward: navigate to the Place Actors panel, search for “Post Process Volume,” and drag it into your viewport. Once placed, its parameters can be accessed and adjusted in the Details panel. The sheer number of settings can seem daunting initially, but they are logically grouped and designed to mimic real-world camera and post-production techniques. Mastering these controls means gaining the power to dictate the mood, style, and overall visual impact of your automotive scenes. The quality of your initial 3D car models, like those available on 88cars3d.com, provides a solid foundation, but the PPV is where you truly define their presentation.
Core Concepts: Global vs. Bounded Volumes
One of the first decisions when working with a Post Process Volume is whether it should affect the entire scene or a specific area. This is controlled by the ‘Unbound’ property within the PPV’s Details panel. When ‘Unbound’ is checked, the volume applies its effects globally, impacting every pixel rendered in the camera’s view, regardless of the camera’s position. This is ideal for establishing a consistent look across an entire level or for applying overarching stylistic choices.
Conversely, if ‘Unbound’ is unchecked, the Post Process Volume becomes a ‘bounded’ volume. Its effects are only applied to the camera when it is physically inside the volume’s bounds. This is incredibly useful for creating localized visual changes – perhaps a specific lighting and color grade for an interior showroom area, contrasting with a different look for an exterior test track. You can adjust the size of the bounded volume by scaling it in the viewport. When the camera approaches the edge of a bounded volume, the ‘Blend Weight’ parameter comes into play, smoothly transitioning the effects on or off, allowing for seamless transitions between different visual styles within a single environment.
Priority, Blend Weight, and the Blendables Array
When working with multiple Post Process Volumes, either bounded or unbound, their interaction is governed by ‘Priority’ and ‘Blend Weight.’ The ‘Priority’ value determines which volume takes precedence if there are overlaps. A volume with a higher priority value will override settings from a lower-priority volume in areas where their effects converge. This system allows for complex layering of effects and precise control over visual transitions.
The ‘Blend Weight’ parameter, typically ranging from 0 to 1, dictates the intensity with which a volume’s effects are applied. A blend weight of 0 means the volume has no effect, while 1 applies its effects at full strength. This is particularly valuable for keyframing smooth transitions in cinematic sequences using Sequencer, fading effects in and out, or for dynamically adjusting effects in interactive experiences via Blueprint. Furthermore, the ‘Blendables’ array within the Post Process Volume is a powerful feature that allows you to inject custom post-process materials or other blendable assets (like color grading lookup tables or LUTs) into the rendering pipeline. This opens up possibilities for highly stylized effects, custom sharpening, or unique artistic filters that aren’t natively available as standard PPV settings, expanding your artistic palette considerably.
Elevating Visual Fidelity: Exposure, Color Grading, and Tonemapping
After establishing the foundational setup of your Post Process Volume, the next crucial step in achieving a cinematic look for your automotive visualization involves meticulously adjusting exposure, color grading, and tonemapping. These settings are paramount because they directly influence the perceived brightness, contrast, and overall color temperature of your scene, mimicking the capabilities of a professional camera and color grading suite. Properly utilizing these controls can make a perfectly lit scene feel either vibrant and energetic or dark and brooding, depending on your artistic intent. This fine-tuning is what brings the realism of high-quality assets, such as the carefully crafted 3D car models, to the forefront, allowing their intricate PBR materials and detailed surfaces to truly shine under the right visual conditions.
Understanding the interplay between these parameters is key. For instance, adjusting the exposure will naturally affect how your colors appear, requiring subsequent tweaks to the color grading. Similarly, the chosen tonemapper can impact the overall contrast and saturation, necessitating further calibration. This iterative process is a core part of look development in Unreal Engine, empowering artists to sculpt the final image with precision. Detailed information on these processes can be found in the official Unreal Engine documentation at dev.epicgames.com/community/unreal-engine/learning, providing deeper insights into each setting.
Achieving Photographic Realism with Exposure and White Balance
Exposure controls are fundamental to capturing a realistic image. Unreal Engine offers both automatic and manual exposure modes. ‘Auto Exposure’ (found under ‘Lens’ > ‘Exposure’) intelligently adjusts the scene’s brightness based on predefined minimum and maximum brightness values, aiming for a balanced image. You can refine this by setting ‘Min Brightness’ and ‘Max Brightness’ to constrain the range, and ‘Speed Up’ and ‘Speed Down’ to control how quickly the exposure adapts. While convenient, for cinematic shots, ‘Manual Exposure’ often provides the most consistent and artistic control. By setting ‘Exposure Mode’ to ‘Manual’ and adjusting ‘Exposure Compensation,’ you can dial in the precise brightness level for your automotive scene, ensuring consistency across multiple shots in a sequence.
Complementing exposure is ‘White Balance,’ an essential photographic concept that corrects color shifts caused by different lighting temperatures. Under ‘Lens’ > ‘White Balance,’ you can adjust ‘Temp’ (temperature) and ‘Tint’ to remove unwanted color casts. For example, a scene lit by artificial warm lights might benefit from a cooler ‘Temp’ to neutralize the yellow hue, while an outdoor scene on an overcast day might require a slightly warmer ‘Temp’ or a touch of magenta ‘Tint’ to achieve a neutral white. Proper white balance ensures that the colors of your car models and environment appear accurate and true-to-life, preventing them from looking washed out or artificially tinted, which is critical for showcasing automotive paint finishes and interior details.
The Art of Color Grading: Global, Shadows, Midtones, Highlights
Color grading is where you truly define the aesthetic and mood of your automotive visualization. Unreal Engine provides extensive controls, categorized under ‘Color Grading.’ The ‘Global’ settings allow for overarching adjustments to ‘Saturation,’ ‘Contrast,’ ‘Gamma,’ and ‘Gain’ (brightness) across the entire image. However, for more nuanced control, you can independently grade ‘Shadows,’ ‘Midtones,’ and ‘Highlights.’ Each of these ranges offers ‘Lift,’ ‘Gamma,’ and ‘Gain’ controls:
- Lift: Primarily affects the dark tones (blacks) of your image, akin to adjusting the black point.
- Gamma: Adjusts the mid-tones, impacting the overall brightness and mood without crushing blacks or blowing out whites.
- Gain: Influences the bright tones (whites), similar to adjusting the white point or overall exposure of the brightest areas.
By manipulating these parameters, you can achieve a wide range of looks: from punchy, high-contrast visuals ideal for dynamic sports cars to soft, low-contrast aesthetics for luxury vehicles. For instance, increasing gamma in the mid-tones can brighten a car’s metallic paint without overexposing its reflections, while tweaking lift in the shadows can add depth without obscuring details in the darker areas of the scene. Furthermore, you can apply ‘Saturation,’ ‘Contrast,’ and ‘Gamma’ specifically to ‘Shadows,’ ‘Midtones,’ and ‘Highlights,’ allowing for a granular level of color sculpting. For advanced color grading, ‘Lookup Tables’ (LUTs) can be imported, which apply a predefined color transformation to your scene, enabling consistent artistic styles or replicating specific film stocks. This powerful combination of controls ensures that the PBR materials and intricate textures of your 3D car models are presented with optimal color accuracy and artistic flair.
Immersion and Depth: Ambient Occlusion, Bloom, and Depth of Field
Beyond the fundamental controls of exposure and color, post-process effects are instrumental in adding layers of immersion and depth that elevate a standard render to a photographic or cinematic quality. For automotive visualization, where the goal is to present a vehicle in the most compelling and realistic way possible, effects like Ambient Occlusion, Bloom, and Depth of Field are not mere embellishments; they are critical components that enhance realism, direct viewer attention, and simulate real-world camera optics. These effects help ground your 3D car models within their environment, making them feel less like isolated assets and more like integral parts of a living, breathing scene. Integrating these effects judiciously can dramatically improve the perceived quality of materials, lighting, and overall scene cohesion, making your vehicle showcases truly stand out.
Each of these effects serves a distinct purpose, contributing to the overall visual narrative. Ambient Occlusion adds subtle contact shadows, enhancing the perception of form and detail. Bloom simulates the glow of intense light sources, creating a sense of atmospheric presence. Depth of Field, a cornerstone of cinematic imagery, guides the viewer’s eye and adds a professional photographic touch. Mastering their application is key to achieving that high-end, polished look that is expected in professional automotive visualization. For further technical details on their implementation, consult the extensive resources available on the official Unreal Engine learning portal at dev.epicgames.com/community/unreal-engine/learning.
Enhancing Realism with Screen Space Ambient Occlusion (SSAO) and Ray Traced AO
Ambient Occlusion (AO) is a global illumination technique that approximates how exposed each point in a scene is to ambient light. It simulates subtle contact shadows where objects are close together or crevices exist, adding a crucial layer of realism that makes objects feel more grounded and substantial. Without AO, objects can appear to float unrealistically. In Unreal Engine, you have a couple of powerful options:
- Screen Space Ambient Occlusion (SSAO): This is a highly optimized, screen-space effect that works by sampling the depth buffer to determine occluded areas. Under ‘Ambient Occlusion’ in the PPV, you can control its ‘Intensity’ (how dark the shadows are), ‘Radius’ (how far the occlusion spreads), and ‘Bias’ (to push the occlusion away from surfaces and reduce self-occlusion artifacts). SSAO is a cost-effective way to add depth and is generally suitable for most real-time applications.
- Ray Traced Ambient Occlusion (RTAO): For the ultimate in realism, especially when using Lumen or a dedicated Ray Tracing setup, RTAO provides physically accurate ambient occlusion. It casts rays from points on surfaces to determine occlusion, resulting in much softer, more accurate contact shadows that react dynamically to scene changes. While more computationally intensive, RTAO dramatically enhances the visual quality of shadows on complex surfaces like car panels, tire treads, and interior details, making the 3D car models appear incredibly realistic. You can enable and adjust RTAO under ‘Ray Tracing’ > ‘Ambient Occlusion’ in the Post Process Volume.
For both methods, finding the right balance is crucial. Too much AO can make a scene look dirty or overly dark, while too little can leave it looking flat.
Capturing Camera Optics: Bloom and Lens Flares
Bloom is an effect that simulates the optical phenomenon where extremely bright light sources bleed into surrounding areas, creating a soft glow. This is a vital element for conveying intensity in emissive materials, reflections, and direct light sources, such as headlights, tail lights, or brilliant reflections on a car’s metallic paint. Under ‘Lens’ > ‘Bloom’ in the PPV, you can control:
- Intensity: The overall strength of the bloom effect.
- Threshold: The minimum brightness a pixel must have to contribute to the bloom. Adjusting this allows you to isolate which parts of your scene will glow.
- Tint: To add a color bias to the bloom.
- Dirt Mask: A texture that can be applied to simulate smudges or imperfections on a camera lens, creating unique bloom patterns and adding further realism.
Used subtly, bloom adds a touch of ethereal beauty and realism, especially for headlights or chrome reflections on a high-end vehicle. Overuse, however, can quickly make a scene look washed out or overly dreamy. ‘Lens Flares’ (found alongside Bloom) complement this by simulating the visual artifacts created when light reflects within a camera lens. These can add another layer of photographic realism, especially for shots with direct light sources hitting the camera lens, further enhancing the cinematic feel of your automotive scenes.
Directing Focus with Depth of Field
Depth of Field (DoF) is perhaps one of the most powerful cinematic tools in the Post Process Volume. It simulates the natural limitations of real-world camera lenses, where only a certain range of distances is in sharp focus, while foreground and background elements are progressively blurred. DoF is invaluable for directing the viewer’s eye to specific details on your 3D car models, isolating the vehicle from its environment, or creating a sense of scale and realism. Under ‘Lens’ > ‘Depth of Field,’ you have options for ‘Cinematic DoF’ (Gaussian or Bokeh blur) which produces high-quality, physically accurate blur effects. Key parameters include:
- Focus Distance: The exact distance from the camera where objects will be in sharp focus. This is typically set to the most important part of your car model.
- Focal Region: Defines a range around the ‘Focus Distance’ that remains sharp before blur begins to set in.
- Scale and Max Bokeh Size: Control the intensity and visual quality of the blur, with ‘Max Bokeh Size’ influencing the size of the blurred light disks (bokeh) in the out-of-focus areas.
By carefully setting the focus, you can make a specific design element of a car pop, highlight the texture of a tire, or draw attention to the interior details. This technique is routinely used in automotive photography and film to create stunning, professional-grade visuals. For interactive experiences or configurators, DoF can be dynamically adjusted via Blueprint or Sequencer to guide user attention as they explore different aspects of the vehicle.
Advanced Visual Effects: Vignette, Chromatic Aberration, and Grain
Having established the core visual parameters with exposure, color grading, and foundational depth effects, we can now delve into more advanced post-process effects that add nuanced stylistic flair and simulate imperfections inherent in real-world camera optics. These effects—vignette, chromatic aberration, and film grain—are often used subtly to achieve a desired mood, mimic specific photographic styles, or lend a truly filmic quality to your automotive visualizations. While they might seem like minor details, their judicious application can significantly elevate the perceived production value and realism of your renders. They help bridge the gap between a perfectly rendered digital image and the organic feel of actual footage, a crucial aspect when presenting high-fidelity 3D car models in a compelling, cinematic context. Each of these tools gives you further artistic control, allowing you to imbue your scenes with specific character and emotional resonance.
It’s important to use these advanced effects with discretion. Overdoing chromatic aberration, for instance, can quickly lead to an artificial or unappealing look, detracting from the realism you’ve carefully built. The goal is often to suggest, rather than explicitly state, the presence of these optical characteristics. Understanding when and how much to apply these effects is a hallmark of professional look development. For comprehensive guidance on these and other advanced rendering features in Unreal Engine, developers should always refer to the official Epic Games learning resources at dev.epicgames.com/community/unreal-engine/learning.
Subtle Stylization: Vignette and Film Grain
Vignette: A vignette is the natural darkening of an image at its periphery, often observed in real-world photography, especially with certain lens types. In Unreal Engine’s Post Process Volume, under ‘Film’ > ‘Vignette,’ you can control its ‘Intensity,’ which dictates how strong this darkening effect is. You can also specify a ‘Vignette Color’ if you want a color other than black. A subtle vignette can be incredibly effective in automotive visualization as it helps frame the subject – your car model – drawing the viewer’s eye towards the center of the image. This gentle soft focus on the edges mimics professional photography compositions and adds a touch of classic cinematic charm. However, an overly strong vignette can make the scene feel claustrophobic or obscure important details on the edges of your vehicle or environment.
Film Grain: Also found under ‘Film,’ ‘Film Grain’ simulates the random, granular texture inherent in traditional film stock. This effect adds a layer of organic imperfection that can make a perfectly clean digital render feel more authentic and less sterile. You can adjust the ‘Intensity’ and ‘Jitter’ (randomness) of the grain. Applying a light touch of film grain can impart a vintage or filmic quality to your automotive renders, enhancing the storytelling aspect. For a highly stylized look, combining film grain with specific color grading (e.g., desaturated tones) can evoke a powerful sense of nostalgia or a particular artistic vision. As with all stylistic effects, moderation is key to avoid distracting from the pristine surfaces and details of your 3D car models.
Simulating Camera Imperfections: Chromatic Aberration
Chromatic Aberration (CA) is a common optical distortion where a lens fails to focus all colors to the same convergence point. This results in color fringing (typically red, green, or blue) along high-contrast edges in an image. While often considered an imperfection, its deliberate and subtle inclusion in cinematic post-processing can enhance realism by simulating the characteristics of real camera lenses. Under ‘Lens’ > ‘Chromatic Aberration,’ you’ll find ‘Strength’ and ‘Start Offset’ parameters. ‘Strength’ controls the intensity of the color fringing, while ‘Start Offset’ determines how far from the image center the effect begins. Radial CA, which spreads outwards from the center, is most common.
For automotive visualization, CA should be used very sparingly. A barely perceptible amount can add a sophisticated touch, particularly in wide-angle shots or close-ups that emphasize the “camera” perspective. However, excessive chromatic aberration can quickly make your scene look blurry, cheap, or even induce motion sickness, particularly in interactive or AR/VR experiences. It’s a powerful tool for artistic expression, but its application demands a keen eye and a clear understanding of its impact on the overall visual comfort and realism of your presentation.
Integrating Custom Post-Process Materials via Blendables
While Unreal Engine’s native Post Process Volume offers a vast array of controls, sometimes you need something truly unique or highly specific to your artistic vision. This is where ‘Blendables’ come into play. Under the ‘Post Process Materials’ section of the PPV, you can add new elements to the ‘Blendables’ array. This allows you to inject custom Material assets directly into the post-processing pipeline. To do this, you create a new Material in the Content Browser and set its ‘Material Domain’ to ‘Post Process.’
Within this custom material, you can access the scene color (the result of all rendering *before* this post-process effect) using a ‘SceneTexture’ node set to ‘SceneColor.’ From there, you can perform almost any imaginable visual manipulation:
- Custom Sharpening: Apply advanced sharpening algorithms beyond the basic anti-aliasing.
- Edge Detection: Create stylized outlines or comic-book effects for artistic renders.
- Distortion Effects: Simulate heat haze, water distortions, or specific lens effects.
- Color Grading: Implement highly complex, procedural color grading that might be difficult to achieve with standard LUTs.
- Artistic Filters: Develop unique filters like oil paint, pixelation, or halftone effects.
Once your custom post-process material is created, simply add it to the ‘Blendables’ array in your Post Process Volume. You can even control its blend weight to seamlessly integrate it with other effects. This provides an unparalleled level of creative freedom, allowing you to extend Unreal Engine’s rendering capabilities to meet highly specialized artistic demands for your automotive projects, from creating unique visualizers for 3D car models to crafting bespoke virtual production environments.
Performance Optimization and Real-Time Considerations
Achieving a stunning cinematic look with Unreal Engine’s Post Process Volume is undoubtedly powerful, but it’s equally important to balance visual fidelity with performance, especially in real-time applications like interactive automotive configurators, games, or AR/VR experiences. Every post-process effect, from complex Ray Traced Ambient Occlusion to subtle bloom and depth of field, contributes to the overall render cost. For automotive visualization, maintaining a smooth frame rate is paramount to a premium user experience. A juddering configurator or a choppy virtual production scene, regardless of how beautiful the 3D car models are, detracts significantly from the professionalism of the presentation. Therefore, a strategic approach to performance optimization is not an afterthought but an integral part of the look development process. Understanding the computational demands of each effect and making informed decisions about their application is crucial for delivering high-quality, real-time automotive content that performs flawlessly across target hardware.
Optimizing post-process effects involves a combination of careful selection, intelligent parameter tuning, and leveraging Unreal Engine’s scalability features. It’s an iterative process of tweaking, profiling, and testing to find the sweet spot between visual impact and computational efficiency. The aim is always to achieve the desired cinematic aesthetic without sacrificing the responsiveness and fluidity that defines real-time experiences. For more insights on performance profiling and optimization, the Unreal Engine learning portal at dev.epicgames.com/community/unreal-engine/learning offers extensive guides.
Balancing Fidelity and Frame Rate for Automotive Experiences
The key to optimizing post-process effects lies in understanding their individual performance costs. Ray Traced effects (like RTAO or RT Reflections if used as a blendable) are generally the most expensive, followed by complex screen-space effects like high-quality Depth of Field (especially Bokeh DoF) and Screen Space Global Illumination (SSGI). Less costly effects include basic exposure, color grading, bloom with a low threshold, and simple lens flares. Here’s how to approach balancing:
- Prioritize Essential Effects: Identify the core effects that contribute most to your desired cinematic look. For an automotive showcase, excellent DoF to highlight the car, subtle Bloom for reflections, and accurate Color Grading are often non-negotiable. Less critical effects like heavy Chromatic Aberration or Film Grain might be dialed back or removed for performance.
- Parameter Tuning: For each effect, explore its parameters. For example, reducing the ‘Radius’ or ‘Intensity’ of SSAO can yield significant performance savings with minimal visual impact if done carefully. Lowering ‘Max Bokeh Size’ for DoF can reduce GPU load.
- Scalability Settings: Unreal Engine’s built-in scalability settings are powerful. You can tie different post-process quality levels to these settings, allowing users to choose between ‘Cinematic,’ ‘High,’ ‘Medium,’ and ‘Low’ presets. This is critical for shipping content that runs well across a range of hardware configurations. You can also override specific settings via console commands, for instance, `r.PostProcessAAQuality` for anti-aliasing quality.
- Resolution Scaling: For highly demanding scenes, dynamically reducing the screen percentage or resolution scale can provide a significant performance boost. While it impacts visual clarity, it can be a last resort for hitting target frame rates, especially in VR.
Remember that the overall scene complexity, including the polygon count of your 3D car models (where Nanite can be a game-changer for static meshes) and the complexity of your lighting (Lumen vs. baked lighting), also heavily influences available GPU budget for post-processing. A well-optimized base scene allows more room for high-quality post-effects.
Specific Considerations for AR/VR and Virtual Production
AR/VR Optimization: For Augmented Reality (AR) and Virtual Reality (VR) automotive applications, performance is king. Frame rate drops can quickly lead to motion sickness and a poor user experience. Therefore, post-process effects need to be handled with extreme care:
- Minimalistic Approach: Aim for the fewest possible post-process effects. Focus on core color correction, essential exposure adjustments, and very subtle bloom.
- Avoid Distortions: Effects like strong Chromatic Aberration or heavy Film Grain can be very disorienting in VR. DoF should also be used cautiously; while useful for guiding attention, a rapidly changing or overly aggressive DoF can cause discomfort.
- Optimization for Mobile AR: For mobile AR platforms (e.g., iOS, Android), post-process effects are often severely limited or completely disabled due to hardware constraints. Design your base scene and materials to look good without heavy post-processing.
- Foveated Rendering: Leverage features like foveated rendering (if supported by the VR platform) to apply lower-quality post-processing to the periphery of the user’s vision, saving performance.
Virtual Production (LED Walls): In virtual production environments utilizing large LED walls, post-process effects play a crucial role in matching the live-action plate and ensuring visual consistency. However, there are unique challenges:
- Color Accuracy: Maintaining precise color grading is vital to seamlessly integrate digital automotive assets with physical sets and actors. Excessive or incorrectly calibrated post-effects can break the illusion.
- Input Latency: Any post-processing added will introduce a small amount of latency. While often negligible for offline rendering, in real-time virtual production, every millisecond counts for camera tracking and synchronization.
- Off-Axis Viewports: For LED walls, the rendered image needs to be warped and rendered from multiple off-axis viewports. Complex screen-space post-effects can sometimes introduce artifacts or break down when projected onto these surfaces. Careful testing and potentially custom post-process materials are required.
In both AR/VR and Virtual Production, thorough testing on target hardware is indispensable to ensure that your cinematic look doesn’t come at the cost of performance or visual integrity. Using high-quality, pre-optimized 3D car models as a starting point significantly helps free up performance budget for the final post-processing polish.
Leveraging Sequencer for Dynamic Post-Process Effects
For truly cinematic automotive content, static post-process settings won’t suffice. This is where Unreal Engine’s powerful cinematic tool, Sequencer, becomes an invaluable ally. Sequencer allows you to keyframe virtually any parameter within your Post Process Volume over time, enabling dynamic and evolving visual effects throughout your cinematic sequence. This brings a level of polish and artistry typically associated with traditional film production directly into your real-time engine.
Here are just a few ways to leverage Sequencer for dynamic post-process effects in automotive visualization:
- Dynamic Exposure Shifts: Simulate a camera adjusting to changing light conditions as it moves from a dark tunnel into bright sunlight, or subtly shift exposure to emphasize a vehicle’s headlights coming on at dusk.
- Rack Focus (DoF): Create dramatic shifts in ‘Focus Distance’ to smoothly transition attention from a foreground element (e.g., a car badge) to the car itself, or from the car to the background environment. This is a classic cinematic technique for guiding the viewer’s eye.
- Color Grade Transitions: Smoothly transition between different color grades to mark scene changes, evoke different moods (e.g., warm daytime to cool nighttime), or highlight specific features of the car model as the narrative progresses.
- Bloom and Lens Flare Ramps: Gradually increase bloom intensity as the car approaches a bright light source, or animate lens flares to appear and disappear convincingly, adding dynamism to your shots.
- Vignette for Emphasis: Introduce a subtle vignette during a crucial moment or a close-up shot to further draw attention to the vehicle, then fade it out.
- Custom Material Blendables: If you’re using custom post-process materials in your ‘Blendables’ array, you can keyframe their ‘Blend Weight’ to dynamically apply or remove highly stylized effects.
By integrating Post Process Volume parameters into Sequencer, you can craft sophisticated visual narratives for your 3D car models, making your automotive showcases not just renders, but compelling pieces of real-time cinematography. This workflow is central to creating high-impact trailers, marketing materials, and interactive experiences that truly captivate the audience.
Conclusion
Mastering Unreal Engine’s Post Process Volume is an essential skill for any artist or developer aiming to produce cinematic-quality automotive visualizations. As we’ve explored, these effects are far more than simple filters; they are powerful tools for art directing the final image, enhancing realism, guiding the viewer’s eye, and infusing your scenes with a specific mood and style. From the fundamental controls of exposure and color grading to the nuanced realism of Ambient Occlusion and the artistic flair of Depth of Field, each setting offers a unique opportunity to elevate your 3D car models from mere assets to stunning visual narratives.
Remember that look development is an iterative process, demanding both a technical understanding of the tools and an artistic eye for detail. Experiment, observe how real-world photography and film utilize these techniques, and constantly refine your settings. While the high-quality, optimized 3D car models available on platforms like 88cars3d.com provide an exceptional starting point, it’s your command of the Post Process Volume that will truly unlock their full visual potential. Always keep performance in mind, especially for real-time applications like AR/VR and interactive configurators, ensuring your cinematic vision runs smoothly across all target platforms. By diligently applying these principles, you’ll transform your Unreal Engine automotive projects into truly captivating and professional-grade experiences. Now, go forth and create something breathtaking!
Featured 3D Car Models
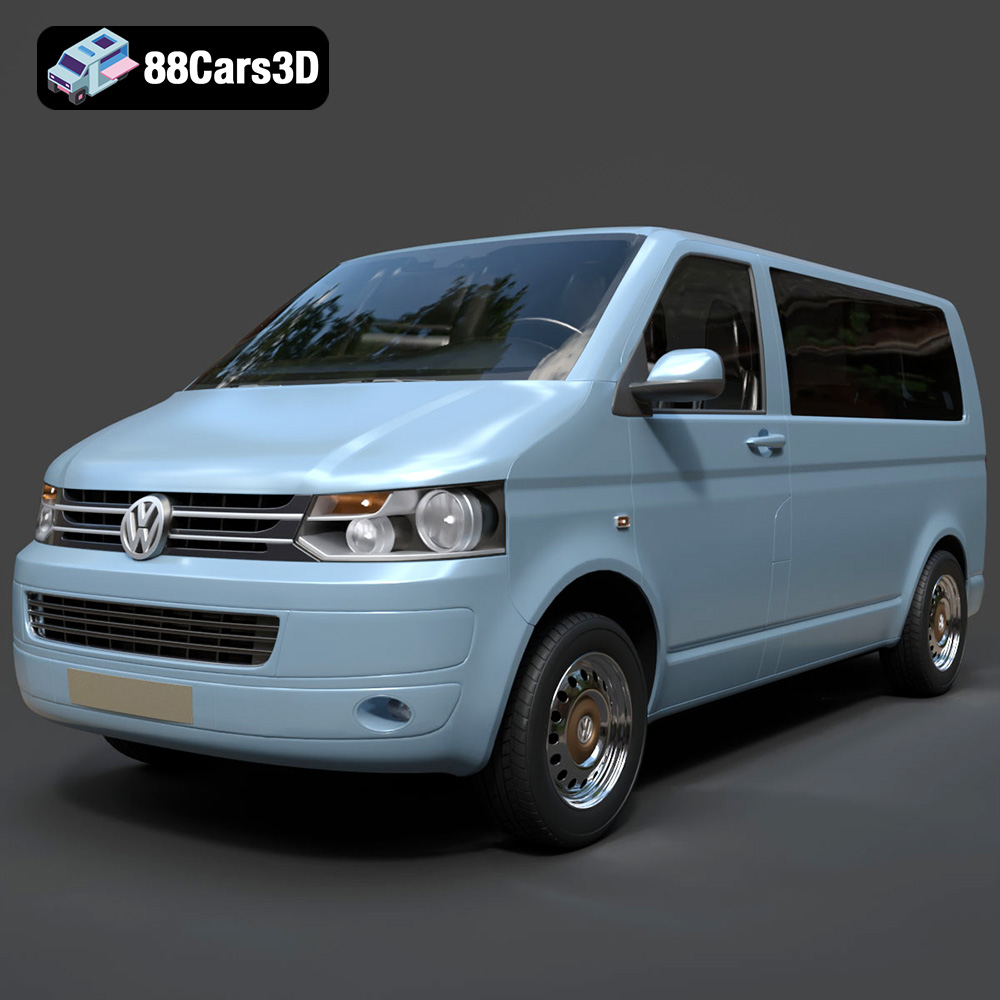
Volkswagen Transporter T5 FL 2010 3D Model
Texture: Yes
Material: Yes
Download the Volkswagen Transporter T5 FL 2010 3D Model featuring clean geometry, realistic detailing, and a fully modeled interior. Includes .blend, .fbx, .obj, .glb, .stl, .ply, .unreal, and .max formats for rendering, simulation, and game development.
Price: $22.99
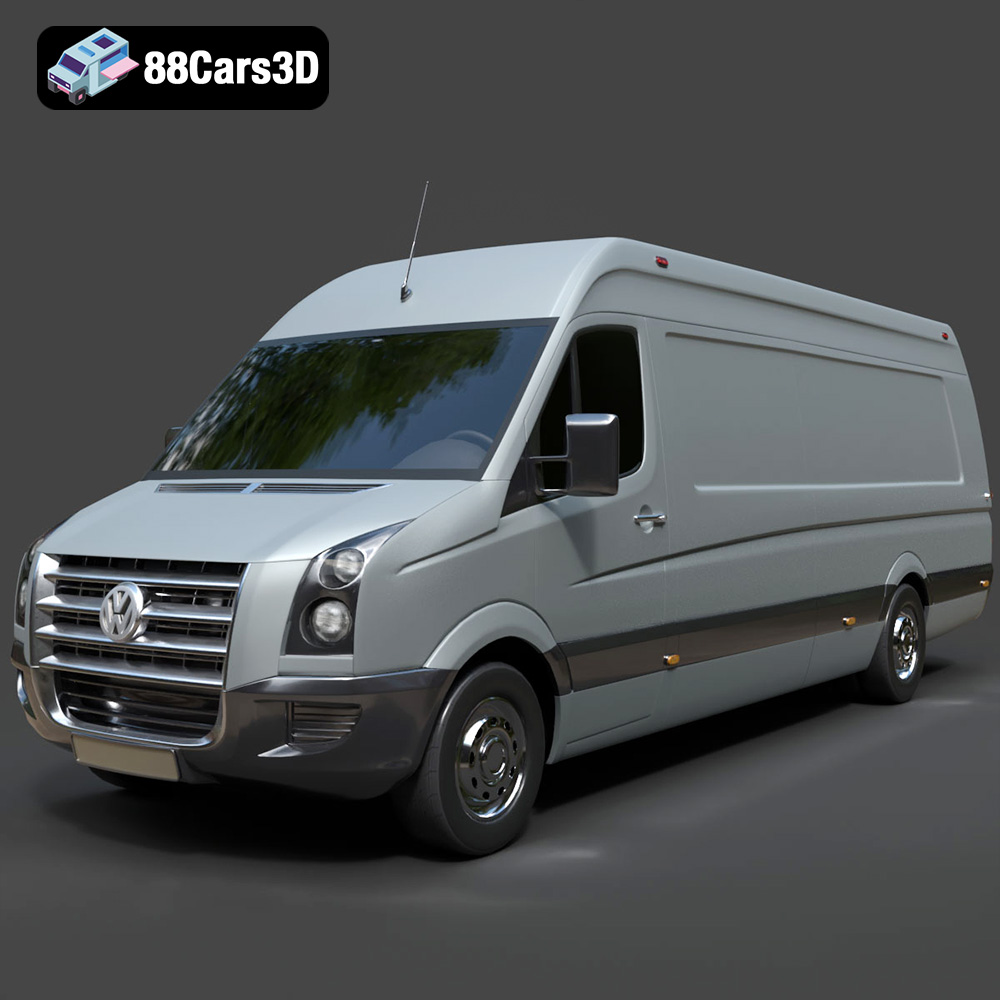
Volkswagen Crafter 2020 3D Model
Texture: Yes
Material: Yes
Download the Volkswagen Crafter 2020 3D Model featuring clean geometry, realistic detailing, and a fully modeled interior. Includes .blend, .fbx, .obj, .glb, .stl, .ply, .unreal, and .max formats for rendering, simulation, and game development.
Price: $22.99
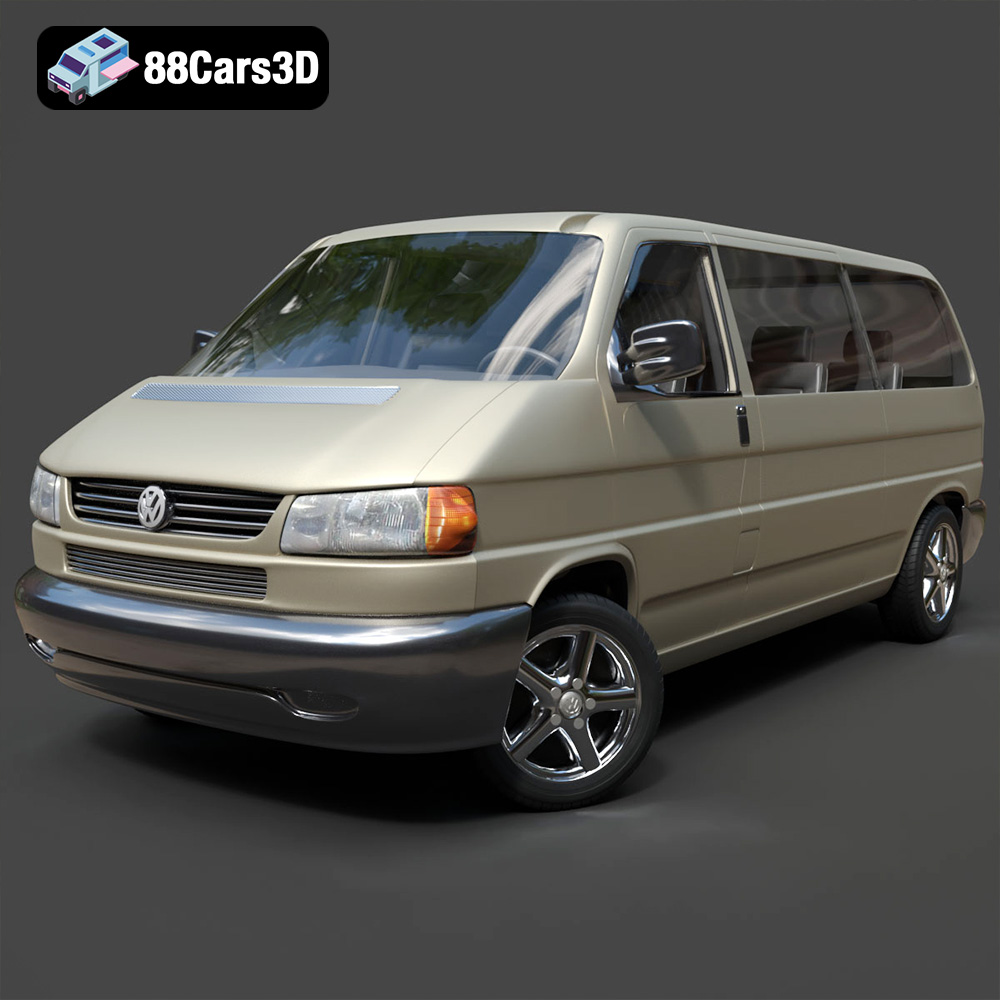
Volkswagen Caravelle 2020 3D Model
Texture: Yes
Material: Yes
Download the Volkswagen Caravelle 3D Model featuring a detailed exterior, functional interior, and optimized topology. Includes .blend, .fbx, .obj, .glb, .stl, .ply, .unreal, and .max formats for rendering, simulation, and game development.
Price: $23.99
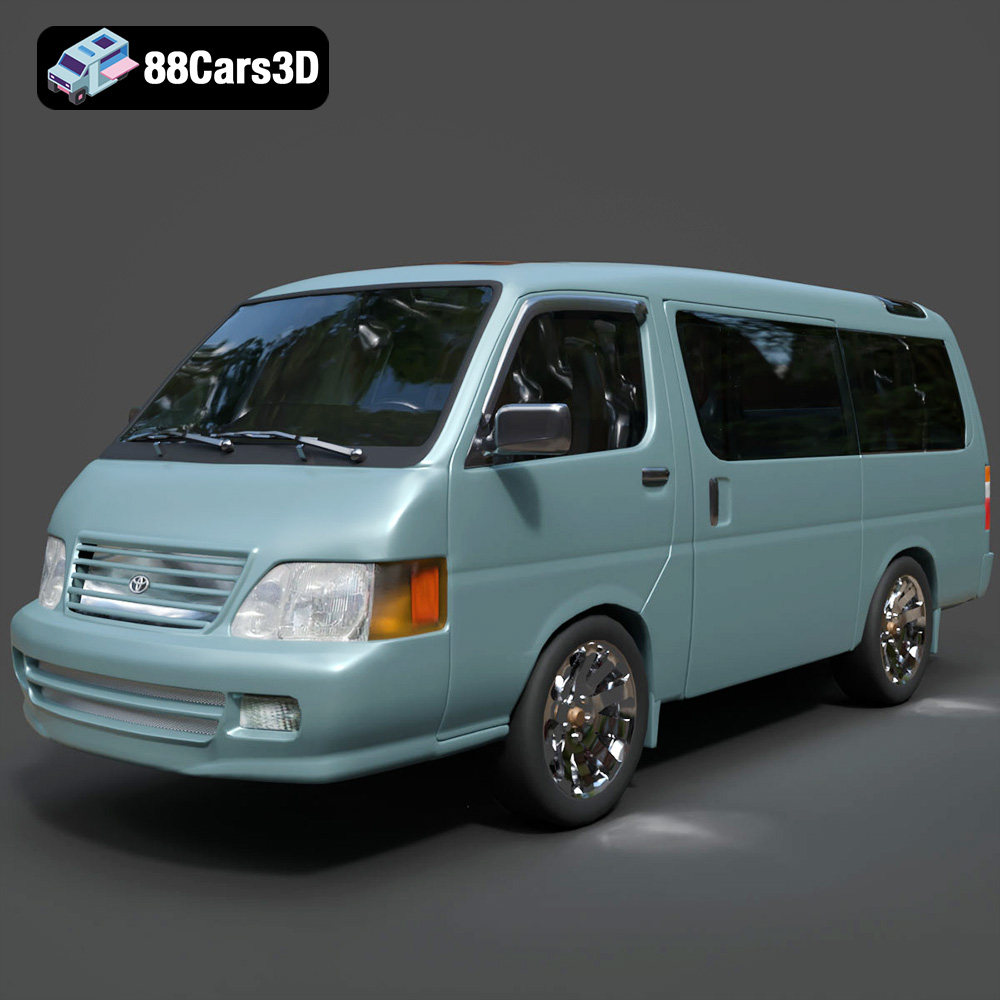
Toyota Hiace 3D Model
Texture: Yes
Material: Yes
Download the Toyota Hiace 3D Model featuring versatile design and detailed exterior. Includes .blend, .fbx, .obj, .glb, .stl, .ply, .unreal, and .max formats for rendering, simulation, and game development.
Price: $21.99
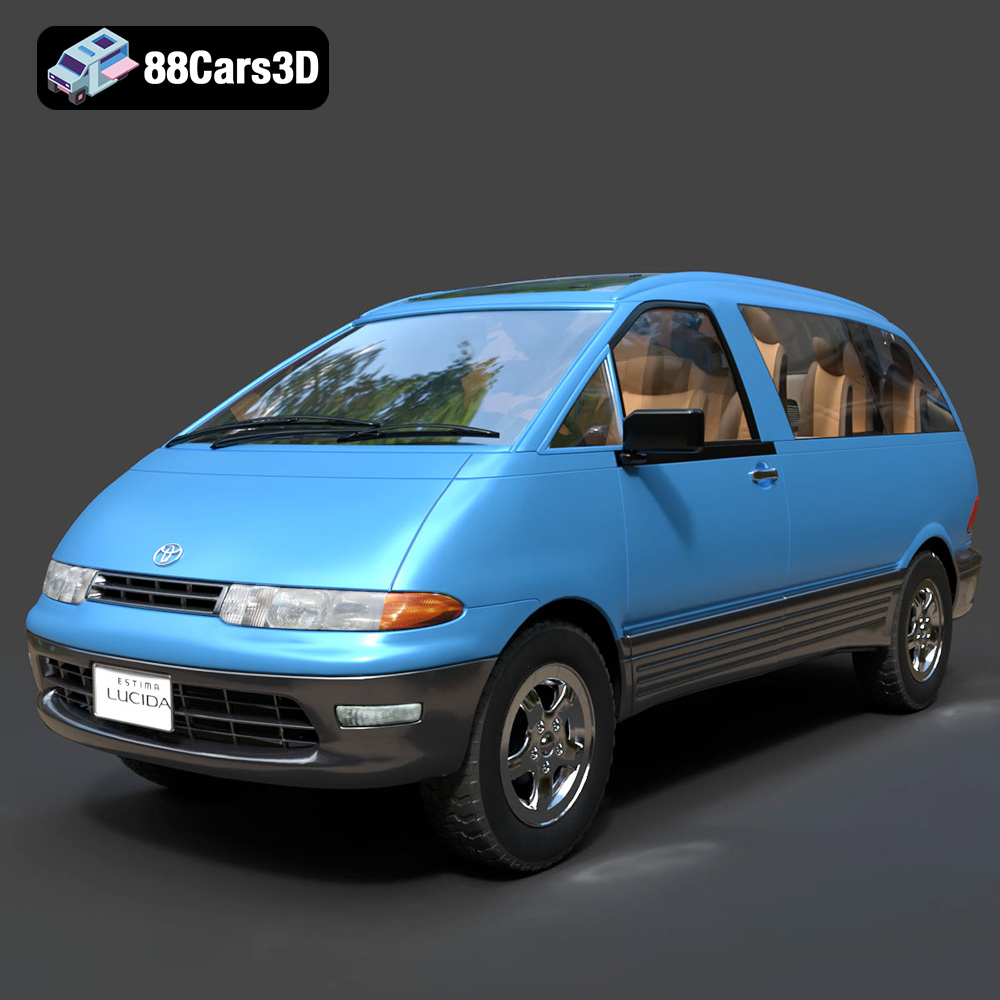
Toyota Estima Lucida 3D Model
Texture: Yes
Material: Yes
Download the Toyota Estima Lucida 3D Model featuring its iconic compact MPV design, versatile interior, and accurate exterior details. Includes .blend, .fbx, .obj, .glb, .stl, .ply, .unreal, and .max formats for rendering, simulation, and game development.
Price: $24.99

Toyota Alphard 3D Model
Texture: Yes
Material: Yes
Download the Toyota Alphard 3D Model featuring a detailed luxury minivan design with an accurate exterior and interior. Includes .blend, .fbx, .obj, .glb, .stl, .ply, .unreal, and .max formats for rendering, simulation, and game development.
Price: $21.99
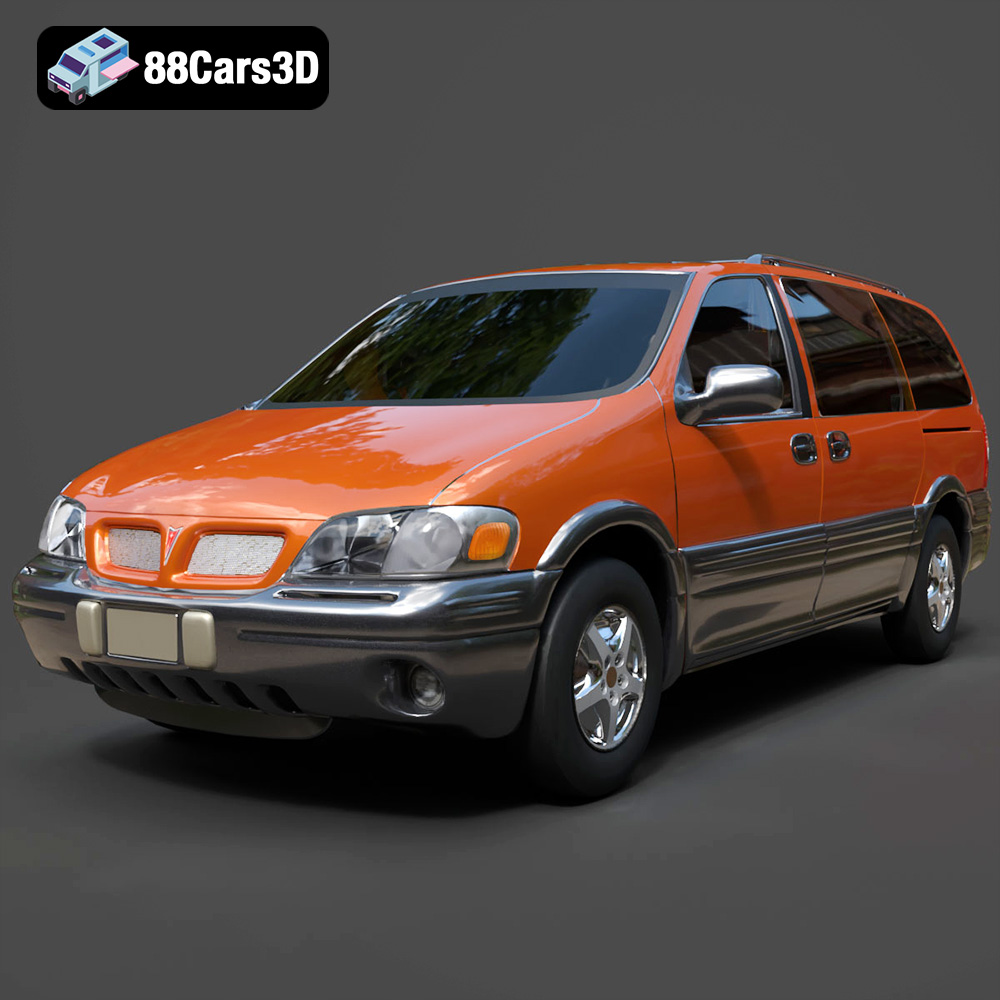
Pontiac Montana 1998 3D Model
Texture: Yes
Material: Yes
Download the Pontiac Montana 1998 3D Model featuring a detailed exterior, functional interior, and optimized mesh. Includes .blend, .fbx, .obj, .glb, .stl, .ply, .unreal, and .max formats for rendering, simulation, and game development.
Price: $21.99
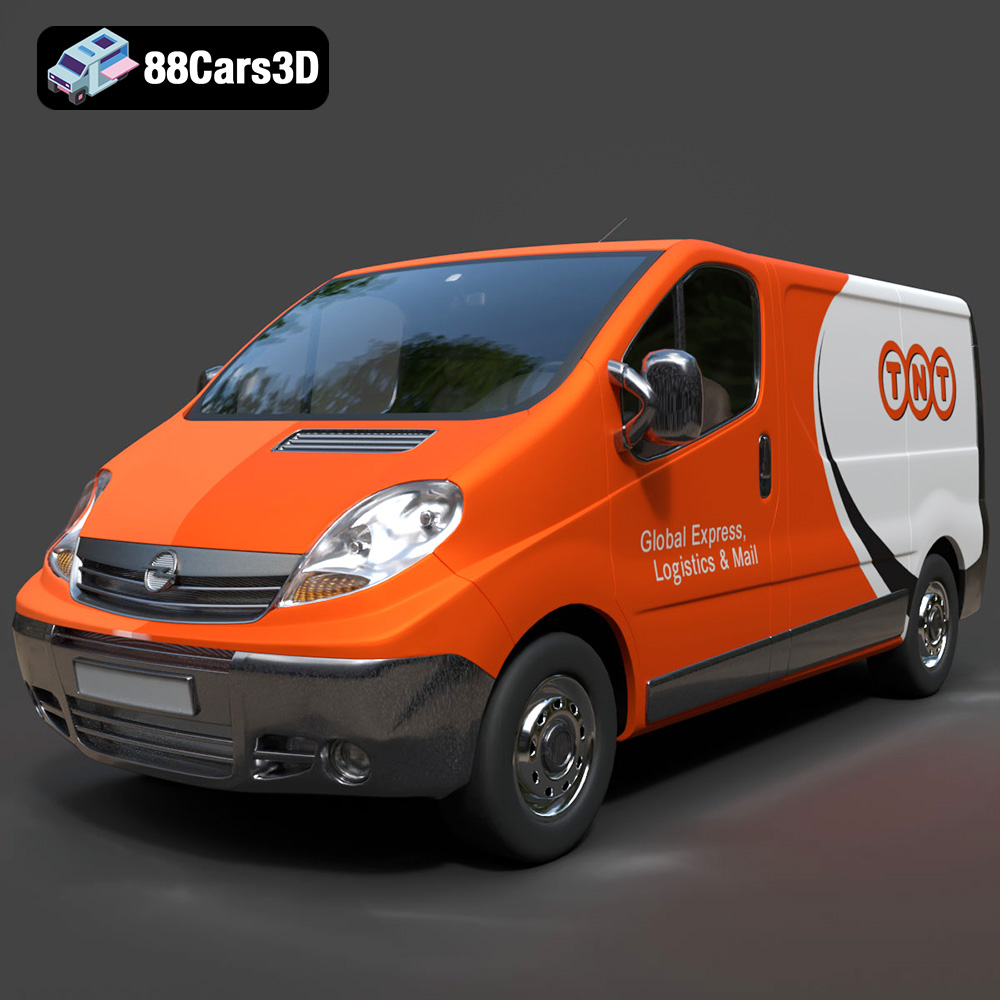
Opel Vivaro 3D Model
Texture: Yes
Material: Yes
Download the Opel Vivaro 3D Model featuring a versatile commercial van design with balanced detailing. Includes .blend, .fbx, .obj, .glb, .stl, .ply, .unreal, and .max formats for rendering, simulation, and game development.
Price: $21.99
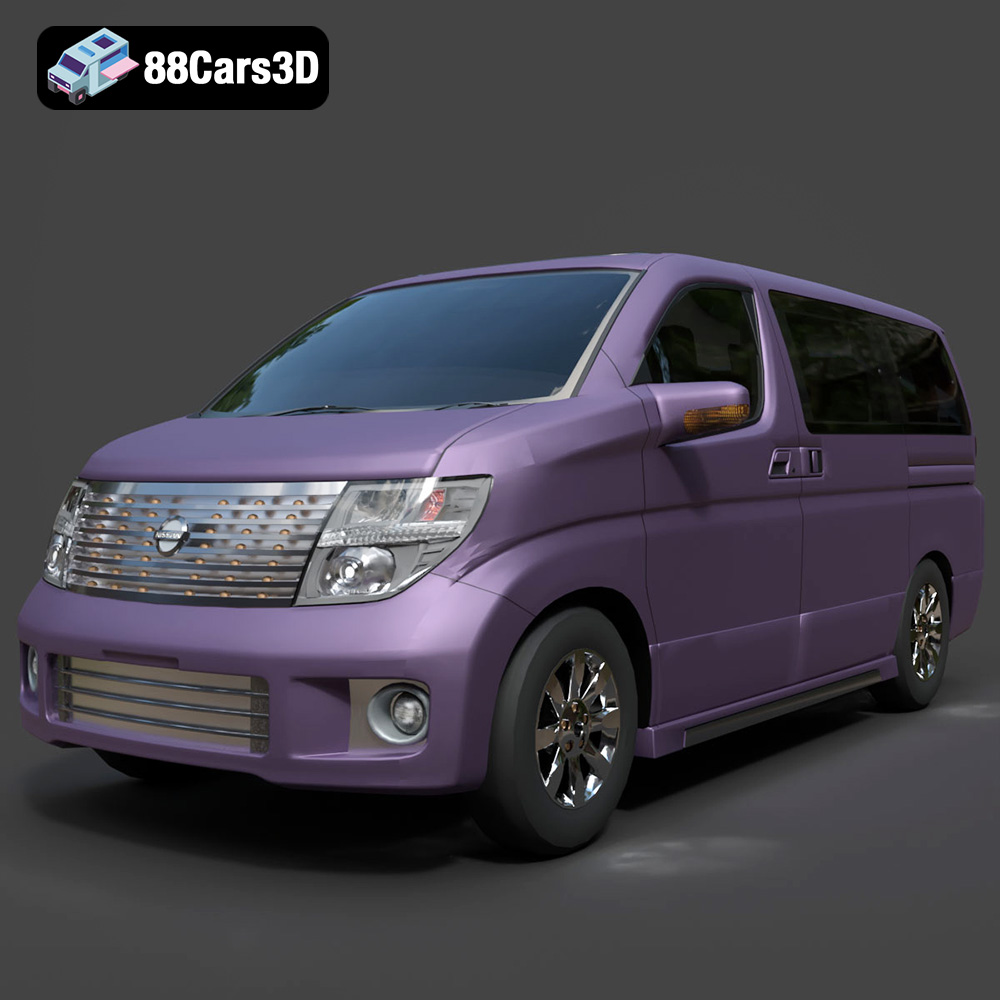
Nissan Elgrand 3D Model
Texture: Yes
Material: Yes
Download the Nissan Elgrand 3D Model featuring a versatile minivan design. Includes .blend, .fbx, .obj, .glb, .stl, .ply, .unreal, and .max formats for rendering, simulation, and game development.
Price: $21.99
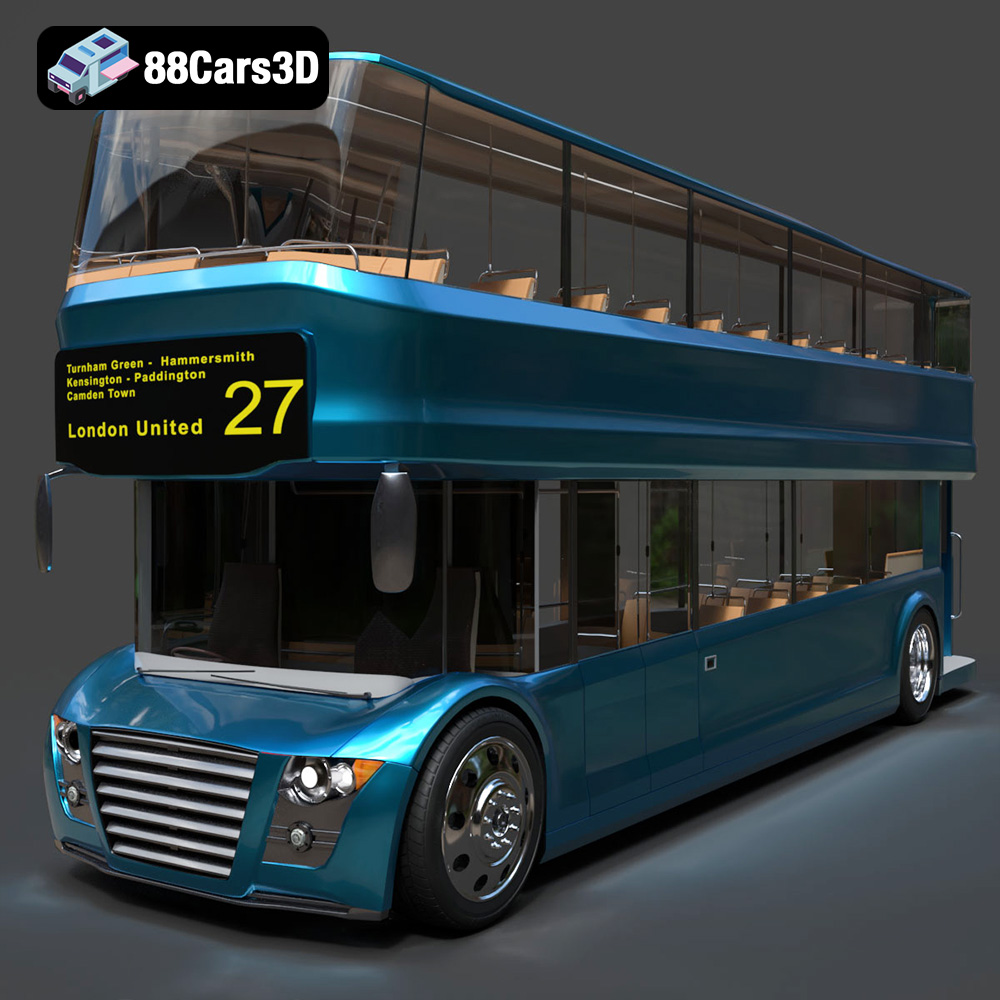
New Bus For London 3D Model
Texture: Yes
Material: Yes
Download the New Bus For London 3D Model featuring a detailed exterior and interior, optimized for rendering and animation. Includes .blend, .fbx, .obj, .glb, .stl, .ply, .unreal, and .max formats for rendering, simulation, and game development.
Price: $21.99
