

“`html
Beyond the Blueprint: Why STL Reigns Supreme in the World of 3D Printing
Welcome, fellow makers, model enthusiasts, and automotive aficionados! If you’ve ever embarked on the exciting journey of 3D printing, especially for intricate creations like detailed car models, you’ve undoubtedly encountered the ubiquitous STL file format. But why has this seemingly simple format become the de facto standard for additive manufacturing, eclipsing more complex file types? At 88cars3d.com, we’re passionate about bringing high-quality, printable car models to your fingertips, and understanding the bedrock technology—the file format—is crucial for achieving perfect prints. This comprehensive guide will delve deep into the technical reasons behind STL’s dominance, covering everything from its fundamental structure and slicing intricacies to troubleshooting common mesh issues. By the end, you’ll gain a profound appreciation for why STL is the cornerstone of your 3D printing workflow, enabling you to transform digital designs into tangible masterpieces.
The Humble Origins and Enduring Appeal of the STL Format
The Stereolithography (STL) file format, developed by 3D Systems in the mid-1980s, was one of the earliest file types designed specifically for 3D printing. Its simplicity and effectiveness were revolutionary for its time, and these core strengths continue to fuel its popularity today. Unlike other 3D file formats that can store a wealth of information such as color, texture, and material properties, STL focuses solely on the geometry of a 3D object. It represents a surface as a collection of interconnected triangles, a concept known as a triangular mesh. Each triangle is defined by the coordinates of its three vertices and a normal vector, which indicates the outward-facing direction of the surface. This minimalist approach is precisely what makes it so universally compatible with 3D printing slicer software and hardware.
The beauty of the STL format lies in its direct translation of object geometry into a format that a 3D printer can understand. Slicer software takes this mesh data and “slices” it into thin, horizontal layers. For each layer, the software calculates the path the printer’s nozzle (or laser/light source for resin printers) needs to follow to build that specific cross-section of the object. The simplicity of the triangular representation means that even highly complex geometries can be approximated with a sufficient number of triangles. While this can lead to large file sizes for very detailed models, it ensures that virtually any shape can be described and, crucially, printed.
ASCII vs. Binary STL: Understanding the Differences
STL files come in two primary variations: ASCII and binary. The ASCII version is human-readable, meaning you can open it in a text editor and see the coordinates of the vertices and the normal vectors. While this is useful for debugging or simple edits, ASCII STLs are significantly larger and slower to parse than their binary counterparts. The binary format, on the other hand, is more compact and efficient. It encodes the same geometric information using a more condensed binary representation. For most users, especially when downloading print-ready STL files from platforms like 88cars3d.com, the binary format is preferred due to its smaller file size and faster loading times in slicing software.
The Role of Normal Vectors in Mesh Integrity
The normal vector associated with each triangle is critical for defining the “inside” and “outside” of a 3D model. Slicers use these vectors to ensure the mesh is “watertight” or manifold—meaning it has a continuous, unambiguous surface without holes or self-intersections. If the normal vectors are inconsistent (e.g., some pointing inward, others outward on the same surface), the slicer may struggle to interpret the model correctly, leading to printing errors. Understanding this basic principle is the first step towards ensuring successful prints from your downloaded STL files.
Slicing STL Files: Translating Geometry into Printer Instructions
The process of transforming an STL file into a printable object hinges on the slicer software. This crucial intermediary takes the static geometric data of the STL and generates dynamic toolpath instructions for your specific 3D printer. Popular slicers like Cura, PrusaSlicer, and Simplify3D analyze the STL mesh layer by layer, calculating the precise movements and extrusions (or light exposures for resin printers) required to build the object. The quality of your final print is heavily influenced by the slicing parameters you choose, which must be carefully balanced against the capabilities of your printer and the characteristics of your chosen material.
Key slicing parameters include layer height, print speed, infill density and pattern, wall thickness, and retraction settings. For highly detailed models, such as the intricate car replicas found on 88cars3d.com, a smaller layer height (e.g., 0.1mm to 0.15mm for FDM, or even lower for resin) is often desirable to capture fine details and reduce the visibility of layer lines. However, this comes at the cost of significantly increased print times. Conversely, a larger layer height (e.g., 0.2mm to 0.3mm) will print much faster but may sacrifice surface finish on delicate features.
Infill plays a vital role in structural integrity and material consumption. For display models, a low infill density (e.g., 10-20%) is often sufficient, utilizing patterns like gyroid or cubic for good strength-to-weight ratio. For functional parts, higher infill densities and more robust patterns may be necessary. Understanding how these settings interact is key to optimizing your prints for both quality and efficiency.
Layer Height vs. Print Time: The Fundamental Trade-off
The most significant trade-off in slicing is between layer height and print time. Each layer is essentially a 2D cross-section of your 3D model. A smaller layer height means more layers are needed to build the same height, directly increasing the total print time. For example, printing a 100mm tall object with a 0.1mm layer height requires 1000 layers, while a 0.2mm layer height requires only 500 layers. While the geometric complexity of the STL file itself doesn’t change, the number of operations the printer performs is doubled. This is why detailed models can take many hours, or even days, to print.
Infill Strategies for Strength and Efficiency
Infill refers to the internal structure printed within the outer walls (perimeters) of your model. It provides support for upper layers and contributes to the overall strength of the part. The density (percentage) and pattern of the infill significantly impact print time, material usage, and structural integrity. Common infill patterns include:
- Grid: Simple crisscrossing lines, efficient but can be weaker in some directions.
- Lines: Parallel lines, very fast but minimal strength.
- 3D Honeycomb: Interconnecting hexagons, good strength in multiple directions.
- Cubic: A grid of cubes, offering good strength.
- Gyroid: A smooth, undulating pattern that provides excellent strength in all directions and is often preferred for its aesthetic internal structure and minimal stress points.
For display models, 10-20% infill with a Gyroid or Cubic pattern is usually more than adequate. If you’re printing functional parts or need maximum rigidity, you might increase this to 50% or more.
Mastering Support Structures: The Unsung Heroes of Complex Prints
Many 3D printable car models, especially those with delicate spoilers, intricate undercarriages, or large overhangs, require support structures. These temporary structures are printed alongside the model to prevent sagging or complete failure of unsupported sections during the printing process. The STL format itself doesn’t define supports; they are generated by the slicer software based on your defined overhang angles and support settings. Effective support generation and removal are critical for achieving clean, high-quality prints, especially for complex geometries.
Slicers offer various support types, including standard (grid-like), tree (branching), and custom supports. Tree supports, often found in advanced slicers or as plugins, are particularly useful for complex models as they tend to use less material, print faster, and are generally easier to remove cleanly than standard supports. The key is to generate supports that are robust enough to hold the overhanging geometry but not so integrated that they damage the model surface upon removal.
Careful consideration of print orientation is also paramount. Rotating a model on the print bed can significantly reduce the need for supports or place them in less visible areas. For instance, printing a car body upside down might eliminate the need for supports under the roof but require them for the wheel wells. Experimenting with different orientations in your slicer is a crucial step in the preparation workflow, especially when dealing with intricate models sourced from marketplaces like 88cars3d.com.
Support Settings: Overhang Angles and Densities
The most fundamental setting for support generation is the **overhang angle**. This threshold determines at what angle an overhang starts to require support. A common starting point is 45 degrees, meaning any part of the model extending outwards at an angle greater than 45 degrees from the vertical will receive support. For very delicate overhangs, you might lower this to 30 degrees. Conversely, if your printer handles overhangs well, you might increase it to 60 degrees.
Support density and pattern also influence ease of removal. A lower density (e.g., 10-15%) and patterns like Zig-Zag or Concentric can make supports easier to break away. You can also fine-tune settings like the “support-model distance” (Z distance and XY distance), which controls how closely the support touches the model. Increasing this gap slightly can make removal easier, but too large a gap might lead to poorer surface quality on the supported areas.
Manual Support Placement and Cleanup Techniques
While slicers automate support generation, manual intervention can often yield superior results. Some advanced slicers (or dedicated software like Meshmixer or Blender) allow you to manually add or remove support structures precisely where needed. This is invaluable for critical areas where automatic supports might cause damage or leave undesirable marks. After printing, the removal of supports is an art in itself. Use flush cutters, hobby knives, and small pliers carefully. For stubborn supports, a quick blast from a heat gun or a dip in isopropyl alcohol (for PLA) can sometimes soften the plastic slightly, aiding removal.
File Preparation and Mesh Integrity: Ensuring Printability
Even the highest quality STL files can sometimes present challenges. Issues like non-manifold geometry (holes, internal faces, inconsistent winding order), intersecting faces, or disconnected components can cause slicers to fail or produce unexpected results. While platforms like 88cars3d.com strive to provide perfectly prepared STL files, understanding basic mesh repair is an essential skill for any serious 3D printer operator.
Software like Meshmixer, Blender, or Netfabb (part of Autodesk Fusion 360) are invaluable tools for diagnosing and repairing STL files. These programs can analyze the mesh for errors, highlight problem areas, and often automatically correct them with tools like “Make Solid” or “Inspector.” Simple repairs might involve filling small holes or removing stray triangles. More complex issues, like self-intersecting geometry, require more advanced techniques to resolve.
For FDM printing, ensuring adequate wall thickness is also critical. A wall thickness less than the diameter of your nozzle (e.g., less than 0.4mm for a standard nozzle) will not print correctly and may be interpreted as a hole by the slicer. Similarly, for resin printing, very thin features can be difficult to cure properly and may break off during the printing or removal process.
Identifying and Repairing Non-Manifold Geometry
Non-manifold geometry refers to any condition where the surface is not a clean, continuous boundary. Common examples include:
- Holes: Gaps in the surface where triangles are missing.
- Internal Faces: Triangles inside the solid volume of the object.
- Sharp Edges: Where more than two triangles meet at an edge.
- Degenerate Triangles: Triangles with zero area (all vertices at the same point or on a line).
Slicers typically have basic repair functions, but dedicated mesh editing software offers more robust solutions. Meshmixer’s “Inspector” tool is excellent for identifying these issues, while Blender’s “3D-Print Toolbox” add-on provides similar functionality. The goal is to achieve a “watertight” or manifold mesh.
Optimizing Wall Thickness and Feature Size
For FDM printers, the minimum wall thickness is dictated by your nozzle diameter. A single wall extrusion is typically equal to your nozzle diameter (e.g., 0.4mm). Therefore, any feature smaller than this, or any wall thinner than this, may not print reliably. Slicers often have settings for “minimum feature size” or “detect thin walls” to help identify potential issues. For resin printing, the minimum feature size is more related to the resolution of your LCD screen and the curing time per layer. Extremely fine details might blur or fail to cure properly.
When downloading models, especially complex ones, it’s good practice to import them into your preferred mesh editor and check these parameters. If a feature is too thin, you might need to scale the entire model slightly or, if possible, thicken the specific feature using modeling software, though this can be challenging.
Material Selection and Printer Settings for Automotive Models
The choice of material and precise printer settings are paramount when printing detailed automotive models. Different filaments and resins offer varying levels of detail, strength, and ease of post-processing, directly impacting the final aesthetic and durability of your collectible.
For FDM printing, PLA is often the go-to material due to its ease of printing, low warping, and good detail reproduction. It’s ideal for display models. PETG offers increased strength and temperature resistance but can be stringier and slightly harder to print cleanly. ABS provides excellent strength and durability but is prone to warping and requires a heated enclosure and good ventilation. For resin printing (SLA/DLP/MSLA), standard resins are excellent for capturing extremely fine details, making them perfect for intricate car models. However, they can be brittle. Engineering resins offer greater toughness and durability but might come at a higher cost.
Regardless of material, **printer calibration** is non-negotiable. Ensuring your printer is properly leveled, calibrated for E-steps (extrusion steps), and has accurate temperature settings for your chosen filament/resin is the foundation of successful printing. Tuning retraction settings is also crucial for minimizing stringing, especially when printing small, detailed parts common in car models.
FDM vs. Resin Printing for Car Models
Choosing between FDM and resin printing depends on your priorities. FDM printers are generally more affordable, faster for larger objects, and use a wider range of materials. They are excellent for producing larger scale models or prototypes where extreme detail isn’t the primary concern. However, FDM printers inherently have a layer line resolution limited by nozzle diameter and layer height, which can be noticeable on smooth automotive surfaces.
Resin printers excel in capturing incredibly fine details and achieving smooth surface finishes with virtually invisible layer lines. This makes them ideal for highly detailed scale models where realism is key. The trade-offs include slower print speeds (especially for larger items), a smaller build volume, the need for post-curing (UV light exposure), and the handling of liquid resin, which requires safety precautions (gloves, ventilation). For collectors seeking museum-quality replicas, resin printing is often the preferred choice.
Essential Printer Calibration and Maintenance
Before tackling complex prints, ensure your printer is in top condition:
- Bed Leveling: Crucial for the first layer adhesion. Use auto-leveling features or manual adjustments to ensure a consistent gap across the entire build plate.
- E-step Calibration: Ensures the printer extrudes the correct amount of filament.
- Temperature Tuning: Print temperature towers to find the optimal temperature for your specific filament/resin and printer.
- Flow Rate/Extrusion Multiplier: Fine-tune this setting (often around 100% or 1.0) based on test prints to avoid over- or under-extrusion.
- Retraction Settings: Tune retraction distance and speed to minimize stringing, especially important for models with gaps and intricate details.
- Regular Maintenance: Clean your nozzle, check belts for tension, lubricate Z-axis rods, and ensure cooling fans are functioning optimally.
A well-calibrated printer is fundamental to successfully printing complex STL files, whether they are simple geometric shapes or highly detailed automotive models.
Post-Processing: Bringing Your Printed Models to Life
The journey doesn’t end when the print is finished. Post-processing is essential for achieving a professional, polished look for your 3D printed car models. This involves cleaning the print, removing supports, sanding, filling imperfections, priming, and painting.
After removing supports, you’ll likely be left with small marks or blemishes on the surface. Careful sanding is the most common method to smooth these areas and prepare the model for painting. Start with coarser grit sandpaper (e.g., 150-220 grit) to remove support nubs and major imperfections, then progressively move to finer grits (e.g., 400, 800, 1200+) to achieve a smooth finish. For FDM prints, a few layers of primer can fill minor layer lines and create a uniform surface for paint application. For resin prints, sanding is often sufficient, though fillers can be used for any minor imperfections.
Filling gaps or seams, especially if printing a model in multiple parts, can be achieved using modeling putty, wood filler, or even specialized 3D printing fillers like 3D Gloop! or Bondo. Once sanded smooth, the model is ready for primer and paint. Techniques like airbrushing can yield excellent results for automotive finishes, allowing for smooth gradients and metallic effects.
Sanding and Smoothing Techniques
The key to effective sanding is patience and progression. Always sand in a consistent direction for each grit, and when moving to a finer grit, change the sanding direction by 90 degrees. This helps reveal any remaining coarser scratches. For FDM prints, consider using a “vapor smoothing” technique if printing with ABS or ASA (using acetone vapor – exercise extreme caution and follow safety guidelines strictly). For PLA, vapor smoothing isn’t effective, and sanding or filler primers are the primary methods.
Painting and Finishing for Realistic Results
When painting, apply thin, even coats rather than thick ones, which can obscure fine details. A good quality primer is essential for paint adhesion and coverage. For automotive models, acrylic paints are widely used due to their ease of use and cleanup. Consider using specialized model paints for authentic automotive colors and finishes. Clear coats (gloss, satin, or matte) provide protection and the desired final sheen. For ultimate realism, weathering techniques like panel lining, washes, and subtle weathering effects can add incredible depth and character to your printed models.
In conclusion, the STL file format’s enduring legacy in 3D printing is a testament to its elegant simplicity and universal compatibility. While it focuses solely on geometry, this very limitation allows it to be processed by virtually any slicing software and interpreted by any 3D printer. Understanding the intricacies of STL mesh structure, mastering the art of slicing with optimized parameters, effectively utilizing support structures, performing essential file repairs, and selecting the right materials and post-processing techniques are all vital steps in transforming these digital files into stunning physical objects. Whether you’re printing a classic muscle car or a futuristic concept, a solid grasp of these principles, combined with the high-quality STL files available from resources like 88cars3d.com, will pave the way for print success and unlock your creative potential in the ever-expanding world of additive manufacturing.
“`
Featured 3D Car Models
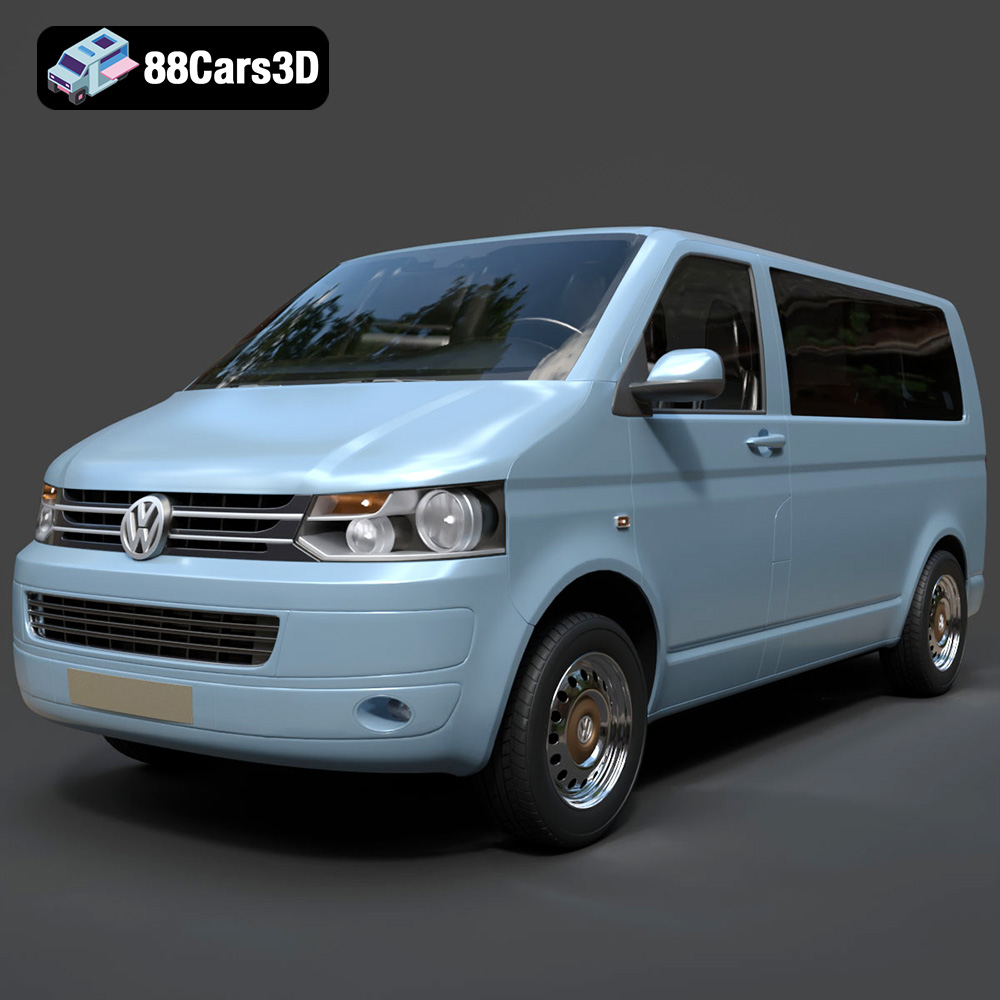
Volkswagen Transporter T5 FL 2010 3D Model
Texture: Yes
Material: Yes
Download the Volkswagen Transporter T5 FL 2010 3D Model featuring clean geometry, realistic detailing, and a fully modeled interior. Includes .blend, .fbx, .obj, .glb, .stl, .ply, .unreal, and .max formats for rendering, simulation, and game development.
Price: $22.99
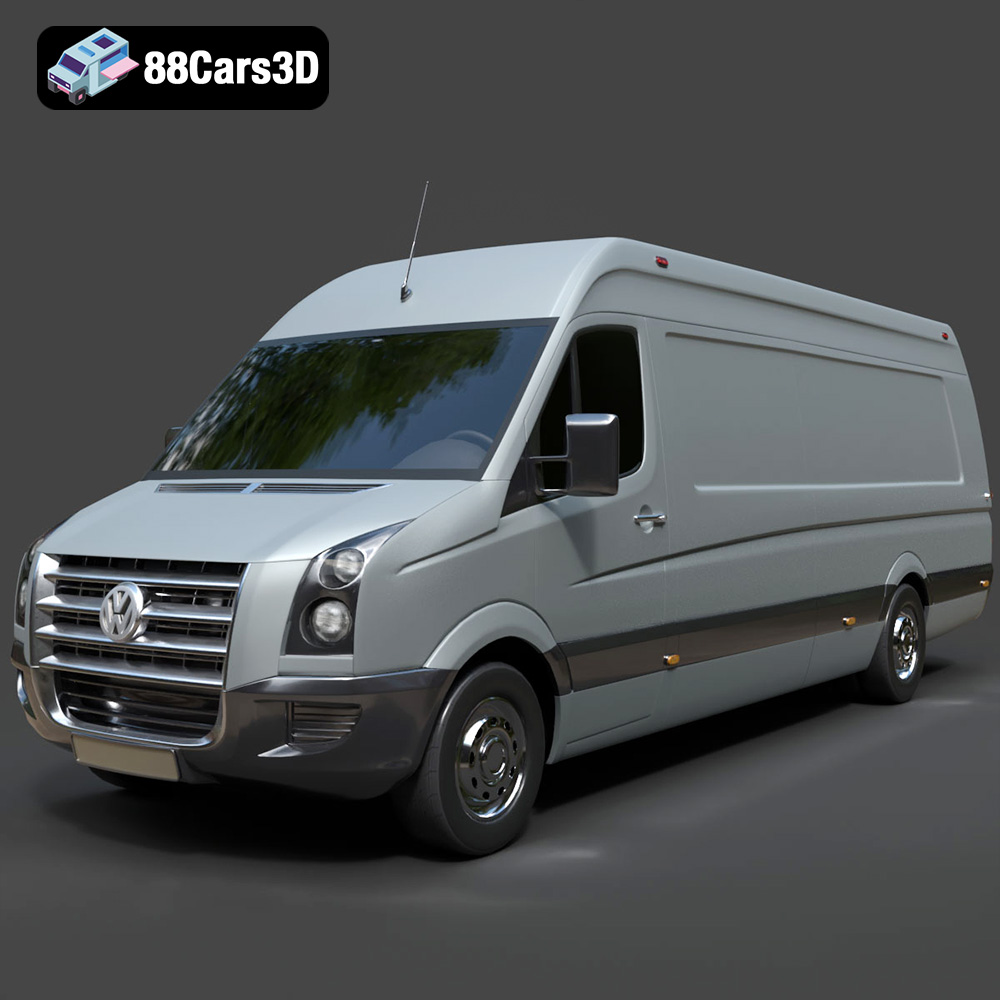
Volkswagen Crafter 2020 3D Model
Texture: Yes
Material: Yes
Download the Volkswagen Crafter 2020 3D Model featuring clean geometry, realistic detailing, and a fully modeled interior. Includes .blend, .fbx, .obj, .glb, .stl, .ply, .unreal, and .max formats for rendering, simulation, and game development.
Price: $22.99
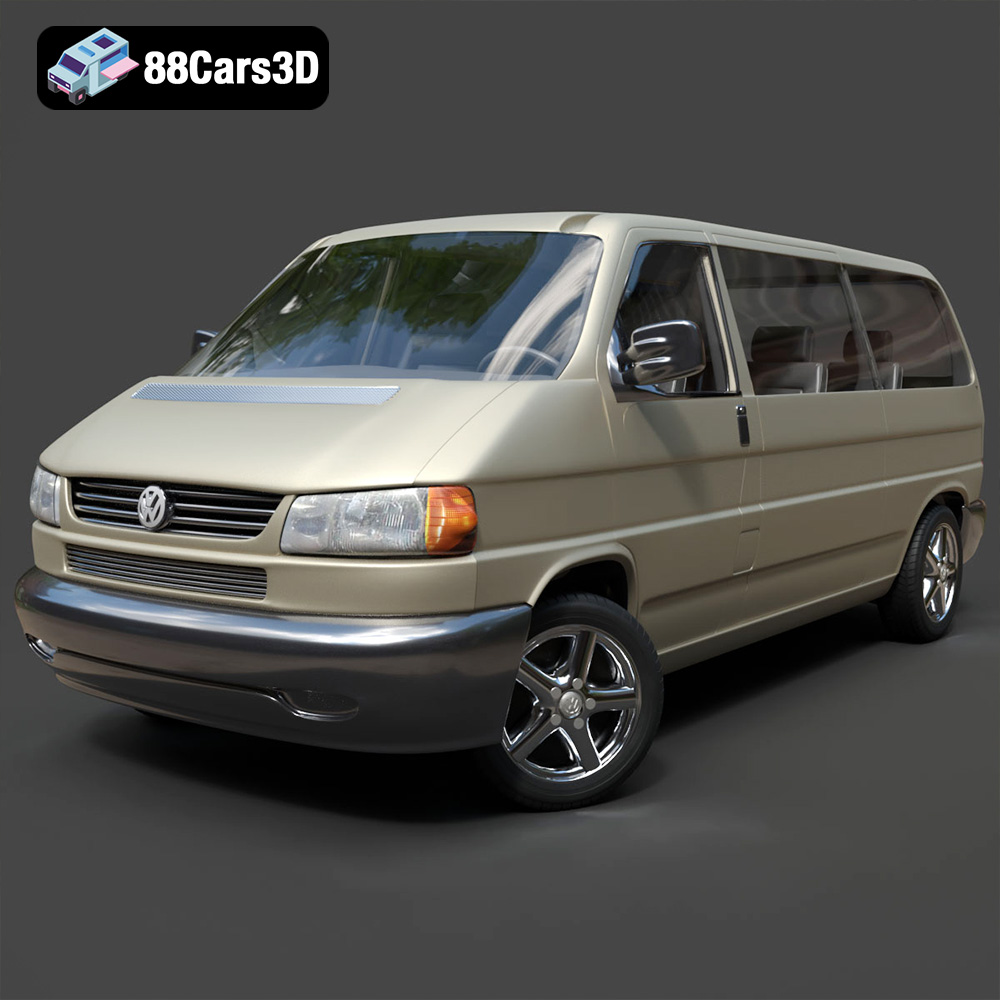
Volkswagen Caravelle 2020 3D Model
Texture: Yes
Material: Yes
Download the Volkswagen Caravelle 3D Model featuring a detailed exterior, functional interior, and optimized topology. Includes .blend, .fbx, .obj, .glb, .stl, .ply, .unreal, and .max formats for rendering, simulation, and game development.
Price: $23.99
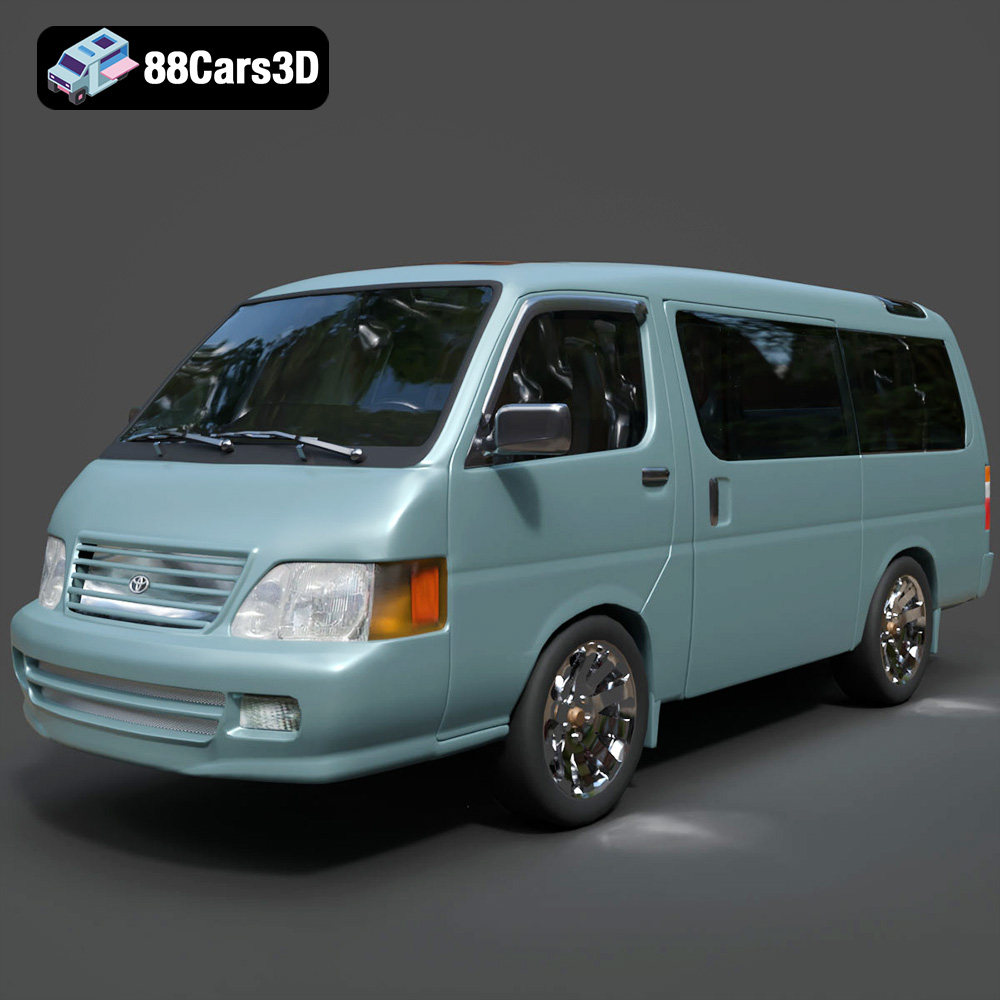
Toyota Hiace 3D Model
Texture: Yes
Material: Yes
Download the Toyota Hiace 3D Model featuring versatile design and detailed exterior. Includes .blend, .fbx, .obj, .glb, .stl, .ply, .unreal, and .max formats for rendering, simulation, and game development.
Price: $21.99
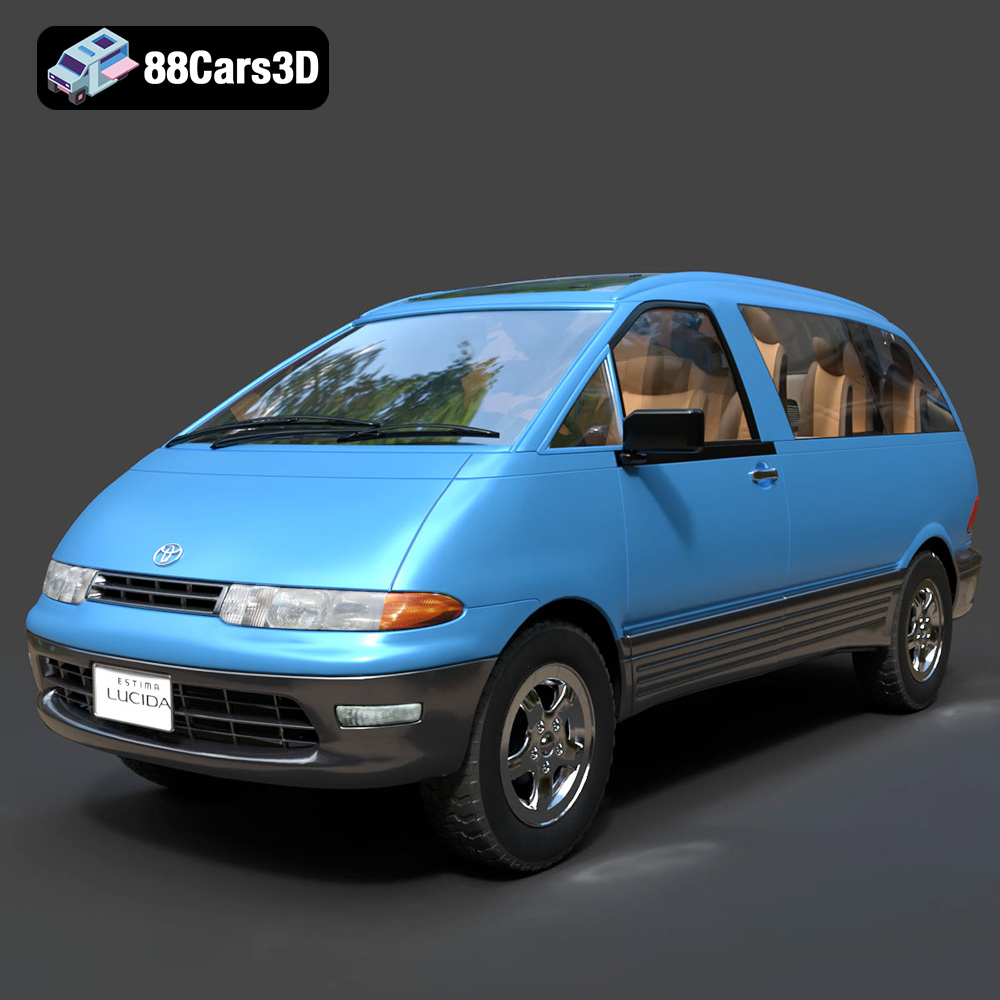
Toyota Estima Lucida 3D Model
Texture: Yes
Material: Yes
Download the Toyota Estima Lucida 3D Model featuring its iconic compact MPV design, versatile interior, and accurate exterior details. Includes .blend, .fbx, .obj, .glb, .stl, .ply, .unreal, and .max formats for rendering, simulation, and game development.
Price: $24.99

Toyota Alphard 3D Model
Texture: Yes
Material: Yes
Download the Toyota Alphard 3D Model featuring a detailed luxury minivan design with an accurate exterior and interior. Includes .blend, .fbx, .obj, .glb, .stl, .ply, .unreal, and .max formats for rendering, simulation, and game development.
Price: $21.99
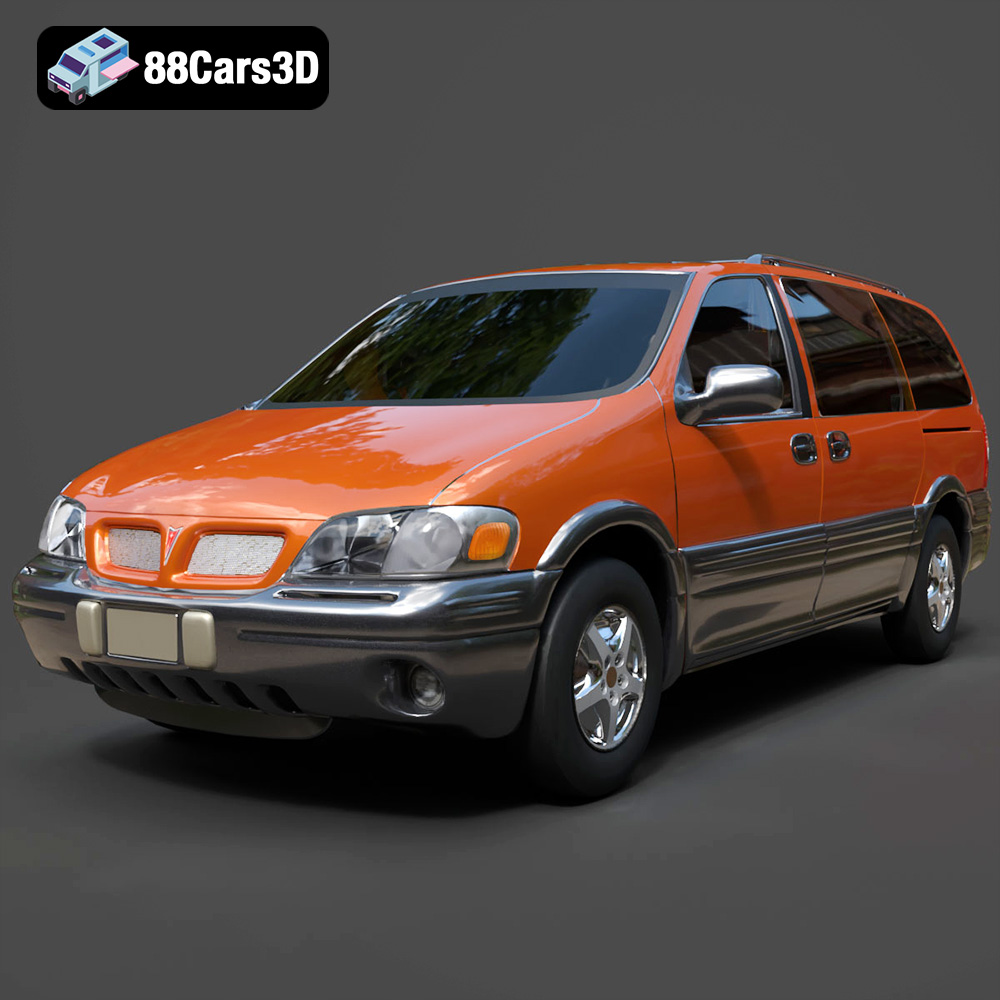
Pontiac Montana 1998 3D Model
Texture: Yes
Material: Yes
Download the Pontiac Montana 1998 3D Model featuring a detailed exterior, functional interior, and optimized mesh. Includes .blend, .fbx, .obj, .glb, .stl, .ply, .unreal, and .max formats for rendering, simulation, and game development.
Price: $21.99
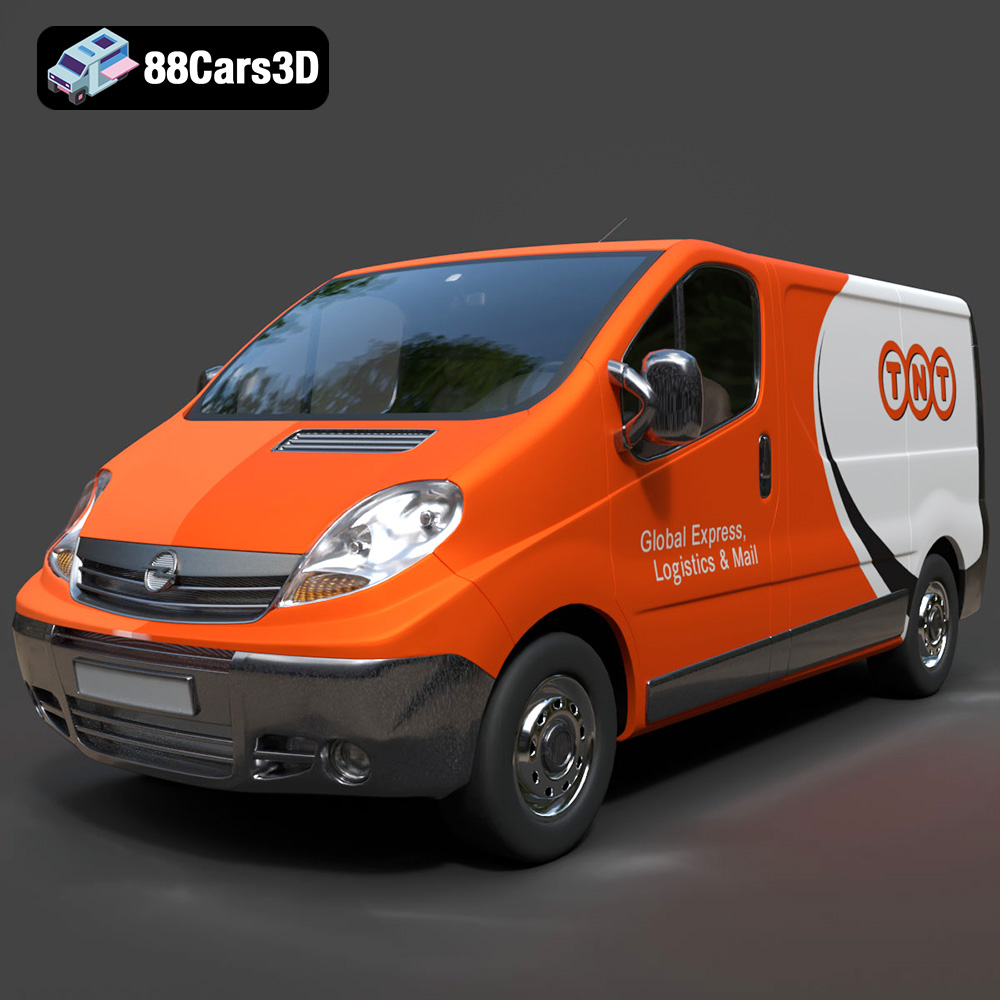
Opel Vivaro 3D Model
Texture: Yes
Material: Yes
Download the Opel Vivaro 3D Model featuring a versatile commercial van design with balanced detailing. Includes .blend, .fbx, .obj, .glb, .stl, .ply, .unreal, and .max formats for rendering, simulation, and game development.
Price: $21.99
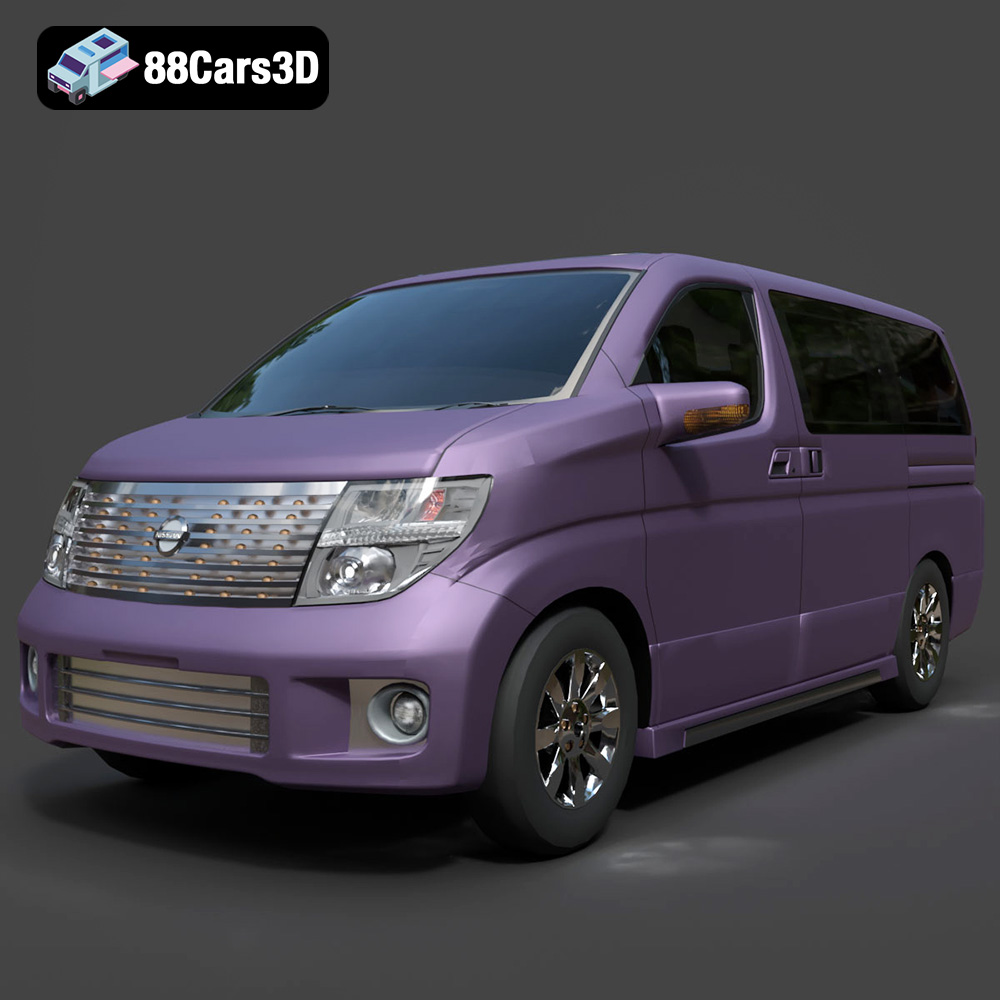
Nissan Elgrand 3D Model
Texture: Yes
Material: Yes
Download the Nissan Elgrand 3D Model featuring a versatile minivan design. Includes .blend, .fbx, .obj, .glb, .stl, .ply, .unreal, and .max formats for rendering, simulation, and game development.
Price: $21.99
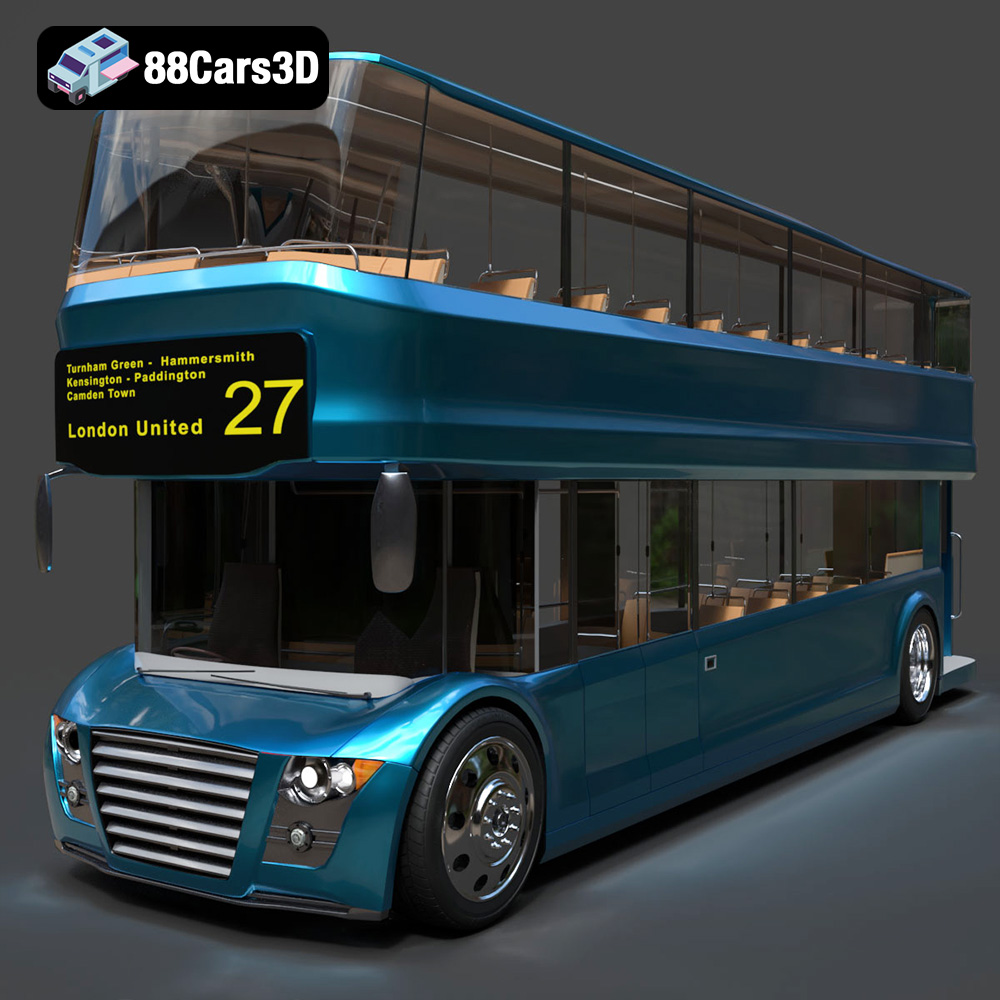
New Bus For London 3D Model
Texture: Yes
Material: Yes
Download the New Bus For London 3D Model featuring a detailed exterior and interior, optimized for rendering and animation. Includes .blend, .fbx, .obj, .glb, .stl, .ply, .unreal, and .max formats for rendering, simulation, and game development.
Price: $21.99
