

In the high-octane world of automotive visualization, real-time rendering, and game development, realism is paramount. While meticulously crafted 3D car models, like those found on 88cars3d.com, provide the essential foundation, it’s the dynamic visual effects (VFX) that truly breathe life into static scenes. From the subtle shimmer of heat rising from an exhaust to the dramatic spray of water kicked up by tires, these intricate details transform a mere render into an immersive experience. At the heart of creating such stunning effects in Unreal Engine lies Niagara, a powerful and highly flexible VFX system that empowers artists and developers to craft breathtaking real-time phenomena.
Niagara represents a paradigm shift in how visual effects are approached within Unreal Engine. Moving beyond the limitations of its predecessor, Cascade, Niagara introduces a modular, data-driven architecture that grants unprecedented control and creative freedom. For automotive projects, this means the ability to simulate everything from realistic tire smoke and exhaust fumes to dynamic dust trails, sparks during collisions, and even subtle atmospheric effects that enhance the perception of speed and environment. This comprehensive guide will deep dive into Niagara, exploring its core concepts, practical applications for automotive visualization, advanced techniques, and crucial optimization strategies, ensuring your 3D car models shine with unparalleled dynamic realism.
The Power of Niagara for Automotive Realism in Unreal Engine
Niagara is Unreal Engine’s advanced, node-based visual effects system, engineered for scalability, flexibility, and performance. Unlike traditional particle systems, Niagara operates on a highly modular and data-driven principle, allowing artists to define particle behavior through a series of interconnected modules. This architecture makes it an indispensable tool for anyone working with real-time automotive content, from creating interactive vehicle configurators to developing high-fidelity racing games or immersive virtual production experiences.
For automotive visualization professionals, Niagara offers several distinct advantages. It enables the creation of highly complex and nuanced effects that react dynamically to their environment, vehicle speed, and user input. Imagine a car accelerating, and the exhaust fumes subtly changing density and velocity, or a vehicle driving through mud, kicking up realistic, persistent splatters. Niagara makes these intricate scenarios not just possible, but artistically controllable, ensuring that the visual effects seamlessly integrate with the photorealistic PBR materials and high-fidelity geometry of your 3D car models, such as those optimized for Unreal Engine on platforms like 88cars3d.com.
Modular Architecture & Data-Driven Design
At its core, Niagara is built upon a modular structure. A Niagara System is composed of one or more Emitters, each housing a stack of Modules. These modules are the building blocks, dictating everything from a particle’s initial spawn parameters (e.g., spawn rate, initial velocity) to its behavior over its lifetime (e.g., color over life, size over life, collision detection). The data-driven nature means that particle attributes can be generated, read, and modified by various modules, allowing for incredibly sophisticated and interdependent behaviors. You can, for instance, have particles inherit velocity from the vehicle they are attached to, or change color based on a collision event, offering a level of physical accuracy previously challenging to achieve.
Real-time Performance & Scalability for Automotive VFX
One of Niagara’s most significant strengths is its focus on performance, critical for real-time applications like games and interactive configurators. It supports GPU computation for particles, allowing millions of particles to be simulated efficiently, which is vital for effects like dense smoke, rain, or large-scale dust clouds. Furthermore, Niagara provides robust tools for LOD (Level of Detail) management, allowing particle systems to scale their complexity based on distance or performance budgets. This ensures that while a detailed tire smoke effect might be visible up close, a simpler, less computationally intensive version is rendered when the car is far away, maintaining smooth frame rates without sacrificing visual integrity. Understanding these capabilities is crucial for balancing visual fidelity with performance targets in any real-time automotive project.
Setting Up Your First Automotive VFX in Niagara
Embarking on your Niagara journey for automotive effects begins with understanding the basics of creating and configuring a particle system. Let’s walk through the steps of setting up a foundational effect, such as exhaust smoke, which can then be expanded upon for more complex scenarios. The process involves creating a new Niagara System, defining its emitter properties, and adding modules to control particle behavior and appearance.
To begin, right-click in your Content Browser, navigate to ‘FX’, and select ‘Niagara System’. You’ll be presented with several template options. For a basic exhaust smoke, starting with an ‘Empty’ system or a ‘New system from selected emitters’ if you prefer to build from scratch is recommended, though templates like ‘Simple Sprite Emitter’ can accelerate the process. Once created, double-click the new Niagara System asset to open the Niagara Editor. This powerful editor is your hub for crafting all visual effects, featuring a System Overview panel, a Selection panel for module properties, and a Preview viewport. Understanding the layout and functionality of this editor is key to efficient VFX creation. Refer to the official Unreal Engine documentation on Niagara Editor UI for a detailed breakdown.
Basic Emitter Setup & Spawn Rates
Within your new Niagara System, you’ll see an ‘Emitter’ by default. Select this emitter to access its properties in the Selection panel. Under ‘Emitter Properties’, you’ll define fundamental aspects like the ‘Spawn Rate’ or ‘Burst Instantaneous’ for initial particle generation. For a continuous exhaust smoke, a ‘Spawn Rate’ of around 50-100 particles per second might be a good starting point, adjusting based on the desired density. In the ‘Emitter Update’ and ‘Particle Spawn’ groups, you’ll add initial modules. For instance, ‘Spawn Burst Instantaneous’ creates a one-time burst of particles, while ‘Spawn Rate’ continuously emits. A crucial module to add under ‘Particle Spawn’ is ‘Initialize Particle’, which sets the initial attributes like position, velocity, and size. Ensure the ‘Sprite Renderer’ module is also present under ‘Render’ to actually visualize your particles.
Particle Behavior with Modules (Velocity, Lifetime, Size over Life)
Once particles are spawning, their behavior is governed by modules added under ‘Particle Update’. For exhaust smoke, several modules are essential:
- Add Velocity: Gives particles an initial directional push. For exhaust, this would typically be along the car’s forward axis, perhaps with some upward or outward spread. Experiment with a small ‘Z’ component to simulate rising smoke.
- Gravity Force: Adds a downward pull, making the smoke eventually dissipate towards the ground.
- Scale Color over Life: Makes the smoke fade out and potentially change color (e.g., from opaque white to transparent grey) as it ages. You can define a curve for this.
- Scale Sprite Size over Life: Causes the smoke particles to grow or shrink over their lifetime, creating a more organic, dissipating effect.
- Lifetime: Defines how long each particle exists. For exhaust, a lifetime of 2-4 seconds is often realistic.
By adjusting the curves and parameters within these modules, you can fine-tune the visual characteristics of your exhaust smoke, making it appear light and wispy or thick and dense. Pay attention to the texture used in the ‘Sprite Renderer’ – a soft, cloud-like alpha-masked texture will yield the best results for smoke. Good particle textures are just as important as the high-quality base models you use from sources like 88cars3d.com.
Material Interaction for Realistic Shading
The visual fidelity of your Niagara particles heavily relies on the materials they use. For realistic effects like smoke, steam, or dust, you’ll typically create a custom particle material in Unreal Engine’s Material Editor. This material should utilize the ‘Translucent’ blend mode and ‘Two Sided’ shading model. Key nodes to include are ‘Particle Color’ and ‘Particle Relative Time’ which allow your material to react to the Niagara system’s parameters, such as the color and size changes defined in modules like ‘Scale Color over Life’. Use a masked texture (often a grayscale noise or cloud texture in the alpha channel) plugged into the opacity. For more advanced effects, you can sample the scene color (using a ‘SceneTexture’ node) to create refractive or heat-haze effects, making your automotive VFX truly integrate with the environment lit by systems like Lumen.
Advanced Niagara Techniques for Dynamic Automotive Scenes
Beyond basic particle emission, Niagara offers sophisticated features that unlock a new level of dynamic realism for automotive visualization. Leveraging data interfaces, GPU particles, and custom scratchpad modules, you can craft effects that respond intelligently to their surroundings, handle massive particle counts, and exhibit unique, handcrafted behaviors.
Imagine creating an effect where a car’s tires kick up dirt and debris that varies in intensity based on the terrain material, or sparks that fly off precisely at the point of collision with intricate metallic objects. These advanced scenarios move beyond simple ‘fire and forget’ particle systems and into the realm of data-driven, context-aware VFX. Mastering these techniques transforms generic effects into integrated, believable components of your automotive scene, making vehicles sourced from 88cars3d.com truly come alive.
Data Interfaces for Contextual VFX
Niagara’s Data Interfaces are a game-changer for creating truly reactive effects. They allow your particle systems to read data directly from the Unreal Engine world, enabling particles to respond to geometry, physics, and even other particle systems. For automotive applications, this opens up a wealth of possibilities:
- Skeletal Mesh Data Interface: Spawn particles directly on a car’s chassis for dynamic damage effects, or emit sparks from a specific wheel during a drift. You can sample bone positions, surface normals, and even UV data from your 3D car models.
- Static Mesh Data Interface: Use a mesh as a collision surface for particles, making rain splash realistically on the car’s body or dust settle precisely on its contours.
- Ray Trace Data Interface: Perform real-time ray traces from particles to detect surfaces, enabling effects like water drips that follow the car’s shape or precise light interaction.
- Linear Color Data Interface: Use a color gradient to drive particle attributes, such as making exhaust smoke appear hotter (redder) closer to the exhaust pipe.
By connecting these interfaces to your Niagara modules, you can create particles that know exactly where they are, what they’re interacting with, and adjust their behavior accordingly. For instance, a ‘Sample Skeletal Mesh’ module can read the speed of a car’s wheels to drive the intensity of tire smoke or water spray, making the effects directly proportional to the vehicle’s dynamics.
GPU Particles for High-Density Effects
While CPU particles are suitable for many effects, for anything involving thousands or millions of particles, GPU particles are essential for maintaining performance. Niagara allows you to easily switch between CPU and GPU simulation in your Emitter properties. When using GPU particles, the simulation is offloaded to the graphics card, freeing up the CPU for other tasks. This is crucial for large-scale environmental effects around vehicles, such as:
- Dense fog or volumetric clouds that interact with the car’s headlights.
- Heavy rain or snow that blankets the entire scene and streaks across the windshield.
- Massive dust clouds kicked up by off-road vehicles.
While GPU particles offer immense performance benefits, they do come with certain limitations, primarily around collision detection (which is generally less precise than CPU collision) and debugging. However, for sheer particle count and visual density, GPU particles are the undisputed champion, allowing your automotive scenes to feature breathtaking atmospheric and environmental effects.
Scratchpads for Custom Module Logic
For artists and technical artists who need to go beyond the capabilities of existing modules, Niagara’s Scratchpad feature is incredibly powerful. A Scratchpad module allows you to write custom particle logic directly within the Niagara editor using a node-based visual scripting interface, similar to the Material Editor or Blueprint. This means you can create highly specialized behaviors tailored precisely to your automotive VFX needs without touching C++ code.
For example, you could create a Scratchpad module to:
- Implement custom turbulence forces that create unique exhaust swirl patterns.
- Design a custom collision response that produces different particle types based on impact velocity.
- Develop a particle spawning logic that adapts to complex vehicle geometry for dynamic weathering effects.
Scratchpads effectively allow you to extend Niagara’s core functionality, providing a flexible way to achieve bespoke visual effects that would otherwise be impossible. This level of customization ensures your automotive projects can feature truly unique and groundbreaking visual effects, leveraging the power of Unreal Engine to its fullest.
Integrating Niagara with Blueprints & Sequencer for Interactive and Cinematic Automotive Experiences
The true power of Niagara for automotive visualization is fully realized when it’s integrated with other Unreal Engine systems. Blueprints enable interactive control over your VFX, allowing them to react to gameplay events or user inputs, while Sequencer transforms them into stunning cinematic elements for virtual production or promotional content. This synergy allows you to craft dynamic driving experiences and breathtaking marketing showcases for your automotive designs.
Whether you’re building an interactive configurator where users can customize a car and see dynamic effects like changing paint finishes or exhaust notes, or producing a high-fidelity car commercial with dramatic camera moves and environmental effects, Blueprints and Sequencer are your key allies. The high-fidelity 3D car models available on 88cars3d.com provide the perfect visual anchor for these interactive and cinematic experiences, brought to life with dynamic Niagara effects.
Blueprint Control of Niagara Systems
Blueprints, Unreal Engine’s visual scripting system, offer a robust way to interact with Niagara systems at runtime. This interaction is essential for making your automotive VFX dynamic and responsive. Here’s how you can leverage Blueprints:
- Spawning and Destroying Systems: Use the “Spawn System at Location” or “Spawn System Attached” nodes to dynamically create effects (e.g., tire smoke when drifting, sparks on impact). Corresponding “Destroy Component” nodes remove them.
- Activating and Deactivating: For persistent effects that toggle on/off (e.g., car headlights illuminating fog, engine smoke when the car starts), use “Activate” and “Deactivate” nodes on the Niagara Component.
- Setting User Parameters: This is a powerful feature. In your Niagara System, expose variables as “User Parameters” (e.g., ‘SmokeDensity’, ‘SparkIntensity’, ‘EffectColor’). In Blueprint, you can then use nodes like “Set Niagara Float Parameter”, “Set Niagara Vector Parameter”, or “Set Niagara Color Parameter” to control these variables dynamically. For example, ‘SmokeDensity’ could be linked to the car’s RPM or wheel spin rate, making the smoke effect more intense with acceleration.
- Collision Events: Trigger Niagara effects upon collision events. When a car collides with an object, you can spawn a spark effect at the impact point, setting its parameters based on the collision force.
By connecting game logic to Niagara parameters, you can ensure your automotive VFX are not just visually appealing but also integrated seamlessly into the interactive experience, enhancing player immersion or configurator realism.
Cinematic Effects with Sequencer
For creating stunning automotive cinematics, virtual productions, or pre-rendered trailers, Sequencer is Unreal Engine’s non-linear editor that provides precise control over Niagara systems. You can keyframe virtually any exposed parameter of your Niagara system directly within Sequencer, allowing for perfectly timed and synchronized effects.
- Adding Niagara Tracks: Simply drag your Niagara System (either from the World Outliner or Content Browser) into Sequencer. This creates a track for the Niagara Component.
- Keyframing Parameters: Expand the Niagara Component track, and you’ll see a ‘Parameters’ section. Here, you can add tracks for any User Parameters you’ve exposed in your Niagara System. You can then set keyframes at different points in your timeline to animate the intensity, color, size, or any other attribute of your effect. Imagine animating the density of exhaust smoke as a car revs up, or making water splashes more dramatic during a slow-motion sequence.
- Activating/Deactivating on Timeline: You can also keyframe the activation and deactivation of the entire Niagara system or individual emitters within it, ensuring effects appear and disappear precisely when needed in your cinematic.
Sequencer integration is crucial for automotive virtual production workflows where real-time VFX need to be perfectly orchestrated with camera movements, vehicle animations, and other environmental elements. The ability to precisely control every aspect of a Niagara effect over time ensures professional-grade cinematic output.
Virtual Production and LED Wall Workflows
In the burgeoning field of virtual production, particularly with large LED volumes, Niagara plays a pivotal role in creating dynamic backgrounds and foreground elements that react in real-time. For automotive shoots, this means placing a high-fidelity 3D car model (perhaps from 88cars3d.com) in front of an LED wall displaying a dynamic Unreal Engine environment, complete with weather effects, dust, or other atmospheric phenomena generated by Niagara. The real-time nature of Niagara, combined with its performance capabilities, ensures that these VFX are rendered seamlessly and interact correctly with the physical car and lighting on set.
Consider a car commercial being shot on a virtual desert set. Niagara can generate realistic dust clouds that rise as the car drives, volumetric fog that fills the valleys, or heat haze distorting the distant landscape. These effects dynamically adjust based on camera position, ensuring correct parallax and immersion for both the camera and the on-set talent. The ability to iterate on these effects in real-time, without costly reshoots, makes Niagara an indispensable tool for modern automotive virtual production.
Optimizing Niagara VFX for Performance in Real-Time Automotive Applications
While Niagara is incredibly powerful, creating visually stunning effects can quickly become a performance bottleneck if not optimized carefully. In real-time automotive applications, maintaining a stable frame rate is crucial for a smooth user experience, whether it’s in a game, an interactive configurator, or an AR/VR experience. Effective optimization involves a multi-faceted approach, balancing visual fidelity with computational cost.
When dealing with high-quality 3D car models and intricate environments, every bit of performance counts. Over-optimized particle systems can look fake, while under-optimized ones can cripple your frame rate. The key is to find the sweet spot, leveraging Niagara’s built-in optimization tools and adhering to industry best practices. This section will guide you through crucial strategies to ensure your automotive VFX run efficiently without sacrificing visual impact.
Performance Budgeting & Culling Strategies
The first step in optimization is performance budgeting. Understand how many particles your target platform can comfortably handle and set limits. In your Niagara Emitters, you can set a ‘Max Particles’ count, which is a hard limit on how many particles can exist for that emitter at any given time. This prevents runaway particle generation.
Furthermore, implementing effective culling strategies is vital:
- Fixed Bounds: For static effects like a factory exhaust, define ‘Fixed Bounds’ in the Emitter properties. This tells Unreal Engine the maximum spatial extent of your effect, allowing it to be culled (not rendered) if its bounds are entirely off-screen.
- LOD Distance: Niagara supports LODs for entire particle systems. You can define specific distances at which different levels of detail (e.g., fewer particles, simpler materials) are used. This allows for complex effects up close and simpler, cheaper versions further away.
- Emitters per LOD: Within a single Niagara system, you can control which emitters are active at different LOD levels. For instance, a detailed spark emitter might only be active at LOD0 (closest), while a broader smoke emitter persists across multiple LODs.
- Camera Distance Culling: Implement Blueprint logic to entirely deactivate Niagara systems when they are beyond a certain distance from the camera, or when they are occluded by other geometry.
By judiciously setting limits and ensuring systems are only rendered when necessary, you can significantly reduce the GPU and CPU load from your VFX.
LODs for Particle Systems
Niagara’s Level of Detail (LOD) system is a powerful feature to manage the complexity of your VFX dynamically. Similar to static meshes, you can define multiple LOD levels for your Niagara Systems. Each LOD can have different module settings, particle counts, and even entirely different emitters. For example:
- LOD 0 (Closest): Full detail, high particle count, complex materials, detailed collision.
- LOD 1 (Medium Distance): Reduced particle count (e.g., 50% of LOD 0), simpler particle materials (e.g., fewer texture lookups), less frequent collision checks.
- LOD 2 (Farthest): Very low particle count, basic billboard sprites, perhaps even a pre-rendered flipbook texture sequence instead of live particles for very distant effects.
You can define the transition distances between these LODs. This ensures that visual quality is maintained where it matters most (close to the camera) while performance is saved for distant effects. Leveraging LODs is non-negotiable for large-scale automotive environments or games where many vehicles with active VFX might be present.
Material Optimization for Particles
The materials used by your particles can be a significant performance drain, especially for translucent effects that overdraw heavily. Here are tips for optimizing particle materials:
- Keep them Simple: Avoid complex node networks, excessive texture lookups, or expensive calculations (like multiple custom lighting models) in particle materials. Simple masked or translucent materials with basic parameters for color, opacity, and perhaps a bit of emissive will perform best.
- Texture Atlases: Instead of using multiple textures for different particle types or animation frames, combine them into a single texture atlas. This reduces draw calls and texture memory overhead.
- Minimize Overdraw: Translucent particles, especially when layered, cause significant overdraw. Design your particle textures to have as much black (fully transparent) space as possible around the visible elements. This reduces the number of pixels the GPU has to process for blending. Use smaller, sparser particles for dense effects, rather than large, overlapping ones.
- Avoid Complex Shading Models: Stick to ‘Default Lit’ with transparency or ‘Unlit’ for most particle materials. Custom shading models add overhead. Ensure your automotive visualization is built on a solid foundation of optimized 3D assets, which is why sourcing models from platforms like 88cars3d.com with clean topology and efficient UVs is crucial.
Real-World Applications and Future Trends in Automotive Visualization
The capabilities of Niagara extend far beyond simple visual flair; they are fundamental to creating compelling and immersive experiences across various sectors of the automotive industry. From enabling dynamic gameplay in racing simulations to enhancing the realism of virtual product showcases, Niagara is at the forefront of driving innovation in how we perceive and interact with digital vehicles.
The synergy between high-fidelity 3D car models—like the expertly crafted assets from 88cars3d.com—and the dynamic power of Niagara unlocks endless possibilities. As real-time technology continues to advance, the demand for ever more realistic and interactive automotive experiences will only grow, cementing Niagara’s role as an essential tool for any professional in this field.
Interactive Configurators & Driver Experiences
Interactive automotive configurators allow potential buyers to customize vehicles in real-time. Niagara enhances these experiences by adding dynamic visual feedback. Imagine changing a car’s color, and seeing a subtle metallic sparkle material effect created by Niagara particles. Or, selecting different engine options could trigger different exhaust smoke densities or even visual representations of engine heat shimmering. For driving simulators or interactive demos, Niagara creates crucial immersion:
- Dynamic Weather Effects: Realistic rain droplets hitting the windshield and forming streaks, snow accumulating on the body, or fog obscuring visibility – all dynamically driven by Niagara.
- Tire Effects: Detailed tire smoke during drifts, dust clouds on dirt tracks, or water spray on wet roads, all reacting to vehicle speed, wheel rotation, and surface type.
- Damage & Wear: Sparks flying during collisions, smoke from a damaged engine, or dirt accumulation over time can be visually represented with Niagara, enhancing the narrative of a vehicle’s journey.
These interactive elements deepen engagement and provide a more visceral understanding of the vehicle’s characteristics and performance.
Game Development & Simulation
In game development, Niagara is indispensable for crafting the high-impact visual effects that define modern racing games and automotive simulations. The goal is not just realism, but also responsiveness and feedback to player actions:
- Vehicle Destruction: Sparks, debris, smoke, and fire effects upon impact, all controlled by Niagara, adding visceral feedback to crashes.
- Environmental Interaction: Dust and dirt kicked up by off-road vehicles, splashes from driving through water, and interactions with foliage, making environments feel alive.
- Boost & Special Abilities: Visual cues for nitrous boosts, turbocharger effects, or energy shields in futuristic vehicle combat games.
The ability to create performant, yet visually rich effects with Niagara allows game developers to push the boundaries of realism and excitement in their automotive titles. Leveraging optimized vehicle models from sources like 88cars3d.com ensures that the core assets are performance-ready, allowing more budget for complex VFX.
Emerging Trends: AI-driven VFX & Next-Gen Realism
Looking ahead, Niagara is poised to integrate with emerging technologies, further pushing the boundaries of automotive visualization. We can anticipate advancements in:
- AI-driven VFX: Procedural generation of effects based on learned behaviors or real-world data, allowing for even more realistic and varied weather patterns, debris fields, or material interactions without manual intervention.
- Volumetric Clouds & Fog: Deeper integration with volumetric rendering solutions, enabling more realistic and interactive clouds, fog, and atmospheric hazes that dynamically interact with vehicle lights and environmental conditions.
- Real-time Ray Tracing Integration: Enhanced particle lighting and shadowing with real-time ray tracing, creating incredibly accurate reflections and refractions for effects like water, ice, or transparent materials, leading to unprecedented levels of realism in automotive scenes powered by Lumen.
As Unreal Engine continues to evolve, Niagara will remain at the forefront of visual effects, empowering artists and developers to create increasingly immersive and believable automotive experiences. Staying informed about these developments and mastering Niagara’s capabilities will be key to future success in this dynamic industry.
Conclusion
The Niagara VFX system stands as a cornerstone of real-time automotive visualization in Unreal Engine, offering unparalleled power and flexibility to breathe dynamic life into static 3D models. From crafting intricate exhaust fumes and dramatic tire smoke to simulating realistic rain on a windshield and sparks during a collision, Niagara empowers artists and developers to create truly immersive and believable automotive experiences. Its modular, data-driven architecture, combined with robust performance optimization tools and seamless integration with Blueprints and Sequencer, makes it an indispensable asset for any project.
Mastering Niagara is a journey of continuous learning and experimentation. By understanding its core concepts, leveraging advanced techniques like Data Interfaces and Scratchpads, and diligently applying performance optimization strategies, you can elevate your automotive projects to cinematic heights. Whether you’re designing interactive configurators, developing next-generation racing games, or producing cutting-edge virtual production content, the visual fidelity provided by Niagara ensures your vehicles, especially those high-quality 3D car models sourced from 88cars3d.com, stand out with breathtaking dynamic realism. Dive in, experiment, and let Niagara unleash the full visual potential of your Unreal Engine automotive worlds.
Featured 3D Car Models

Ford Ambulance AmServ LTD Dusan-002 3D Model
Texture: Yes
Material: Yes
Download the Ford Ambulance AmServ LTD Dusan-002 3D Model featuring a high-detail exterior and interior, realistic textures, and emergency lighting. Includes .blend, .fbx, .obj, .glb, .stl, .ply, .unreal, and .max formats for rendering, simulation, and game development.
Price: $19.99
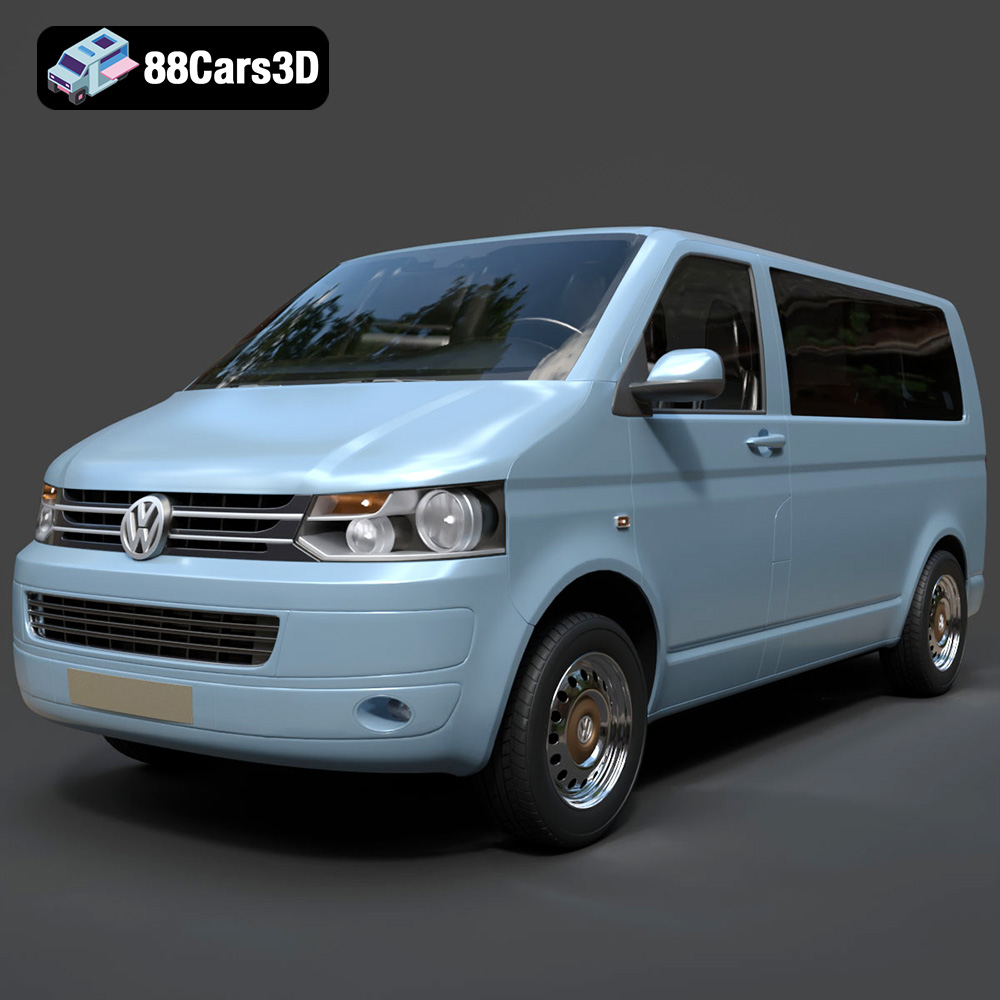
Volkswagen Transporter T5 FL 2010 3D Model
Texture: Yes
Material: Yes
Download the Volkswagen Transporter T5 FL 2010 3D Model featuring clean geometry, realistic detailing, and a fully modeled interior. Includes .blend, .fbx, .obj, .glb, .stl, .ply, .unreal, and .max formats for rendering, simulation, and game development.
Price: $22.99
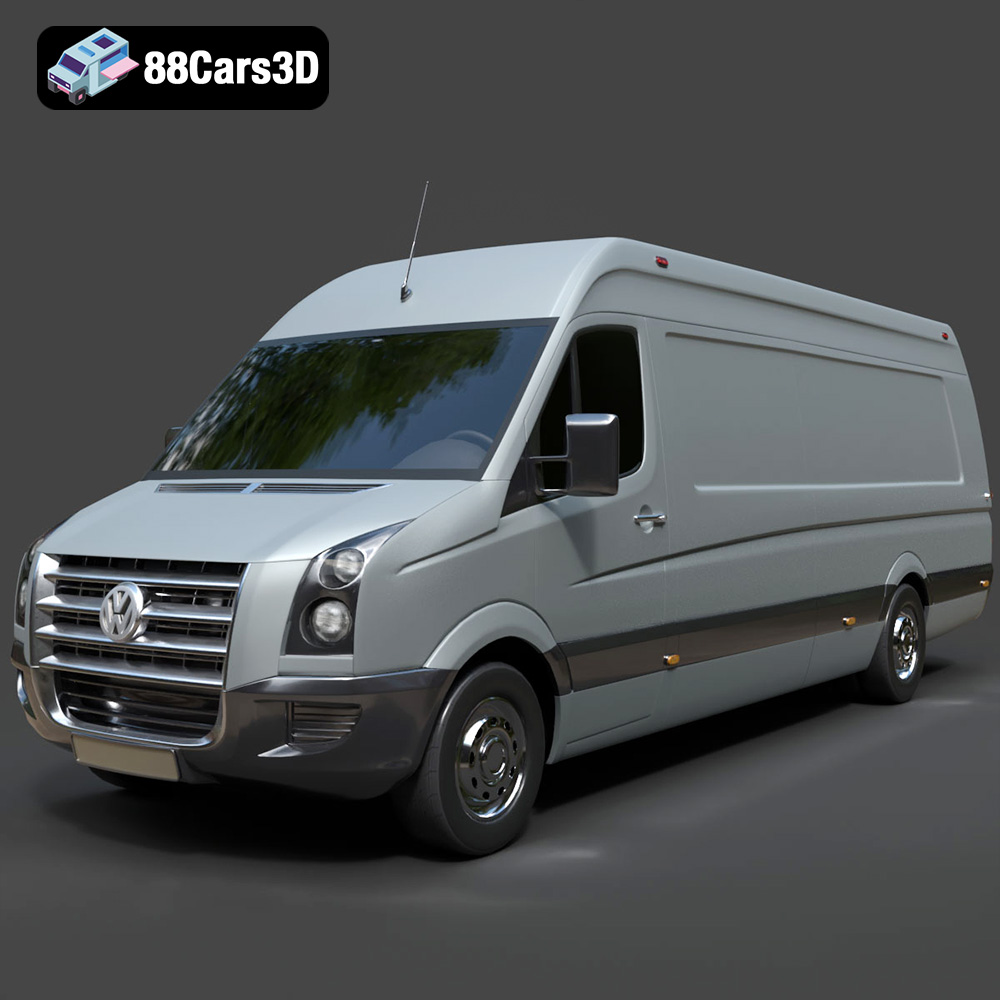
Volkswagen Crafter 2020 3D Model
Texture: Yes
Material: Yes
Download the Volkswagen Crafter 2020 3D Model featuring clean geometry, realistic detailing, and a fully modeled interior. Includes .blend, .fbx, .obj, .glb, .stl, .ply, .unreal, and .max formats for rendering, simulation, and game development.
Price: $22.99
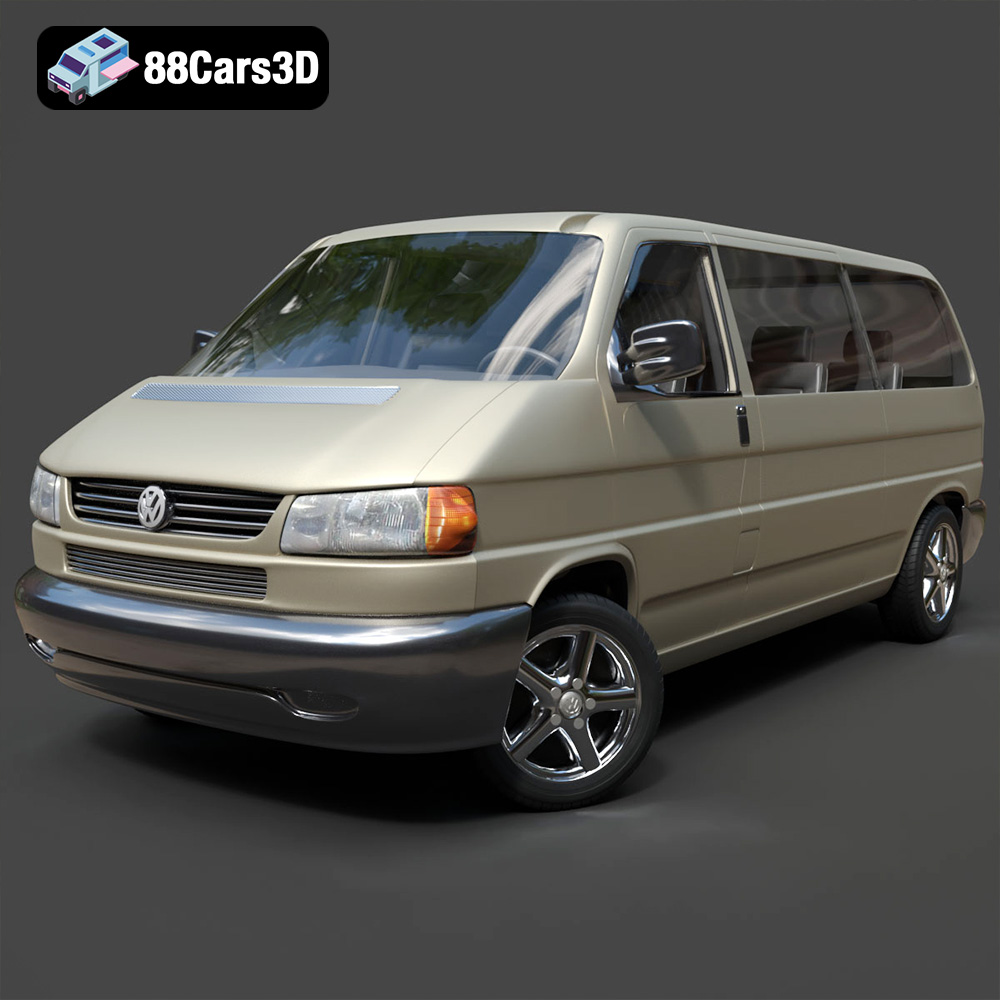
Volkswagen Caravelle 2020 3D Model
Texture: Yes
Material: Yes
Download the Volkswagen Caravelle 3D Model featuring a detailed exterior, functional interior, and optimized topology. Includes .blend, .fbx, .obj, .glb, .stl, .ply, .unreal, and .max formats for rendering, simulation, and game development.
Price: $23.99
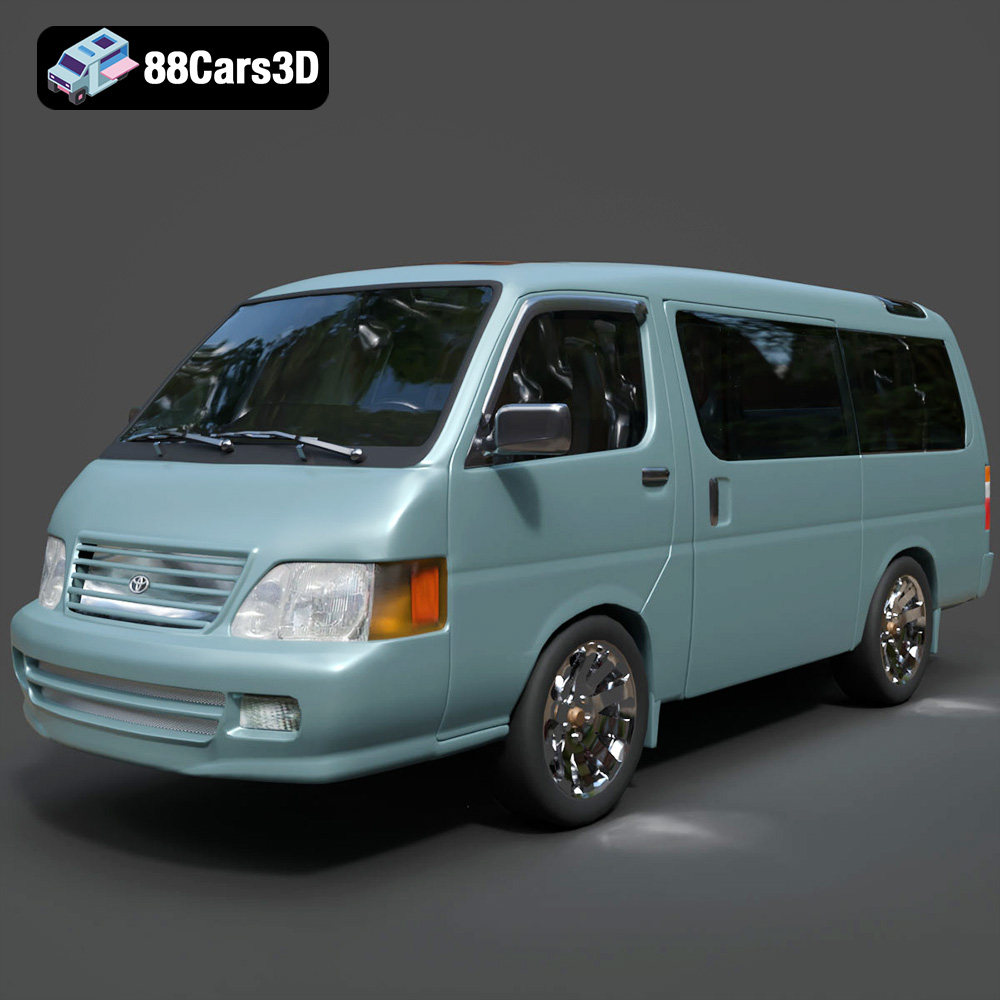
Toyota Hiace 3D Model
Texture: Yes
Material: Yes
Download the Toyota Hiace 3D Model featuring versatile design and detailed exterior. Includes .blend, .fbx, .obj, .glb, .stl, .ply, .unreal, and .max formats for rendering, simulation, and game development.
Price: $21.99
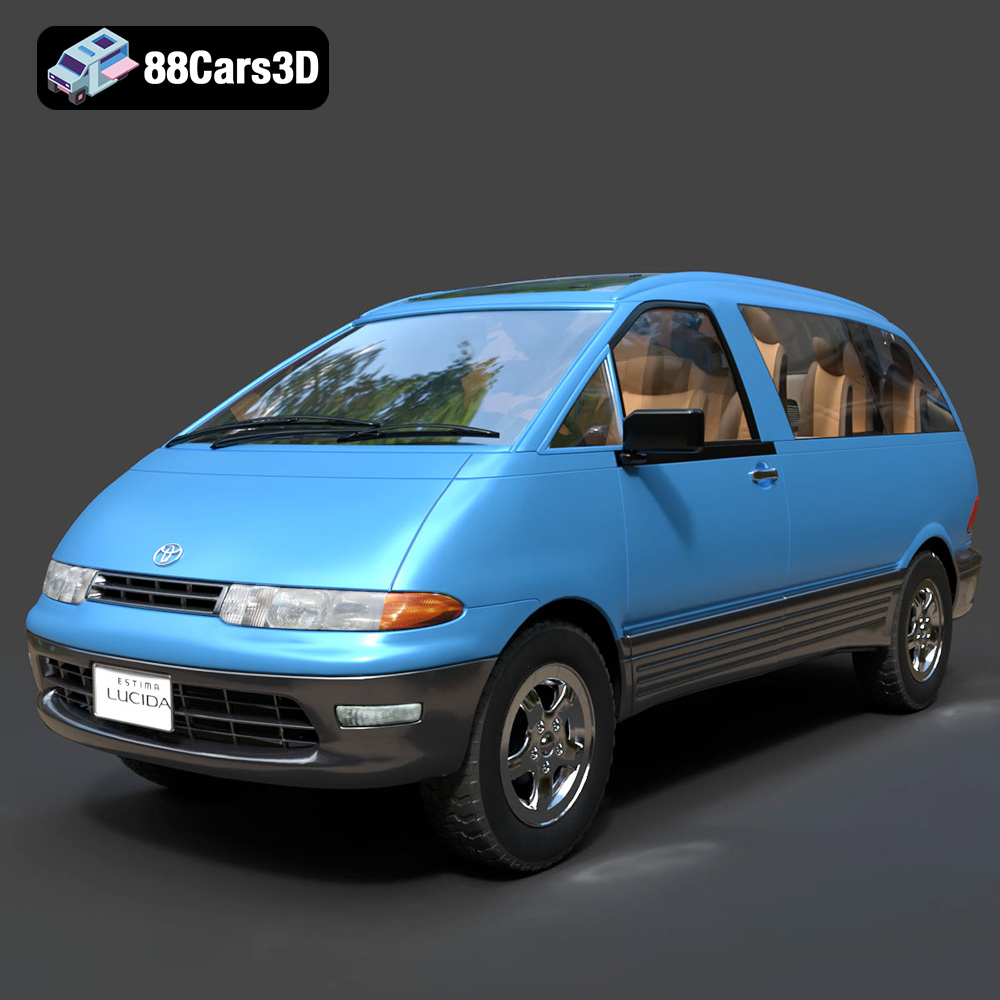
Toyota Estima Lucida 3D Model
Texture: Yes
Material: Yes
Download the Toyota Estima Lucida 3D Model featuring its iconic compact MPV design, versatile interior, and accurate exterior details. Includes .blend, .fbx, .obj, .glb, .stl, .ply, .unreal, and .max formats for rendering, simulation, and game development.
Price: $24.99

Toyota Alphard 3D Model
Texture: Yes
Material: Yes
Download the Toyota Alphard 3D Model featuring a detailed luxury minivan design with an accurate exterior and interior. Includes .blend, .fbx, .obj, .glb, .stl, .ply, .unreal, and .max formats for rendering, simulation, and game development.
Price: $21.99
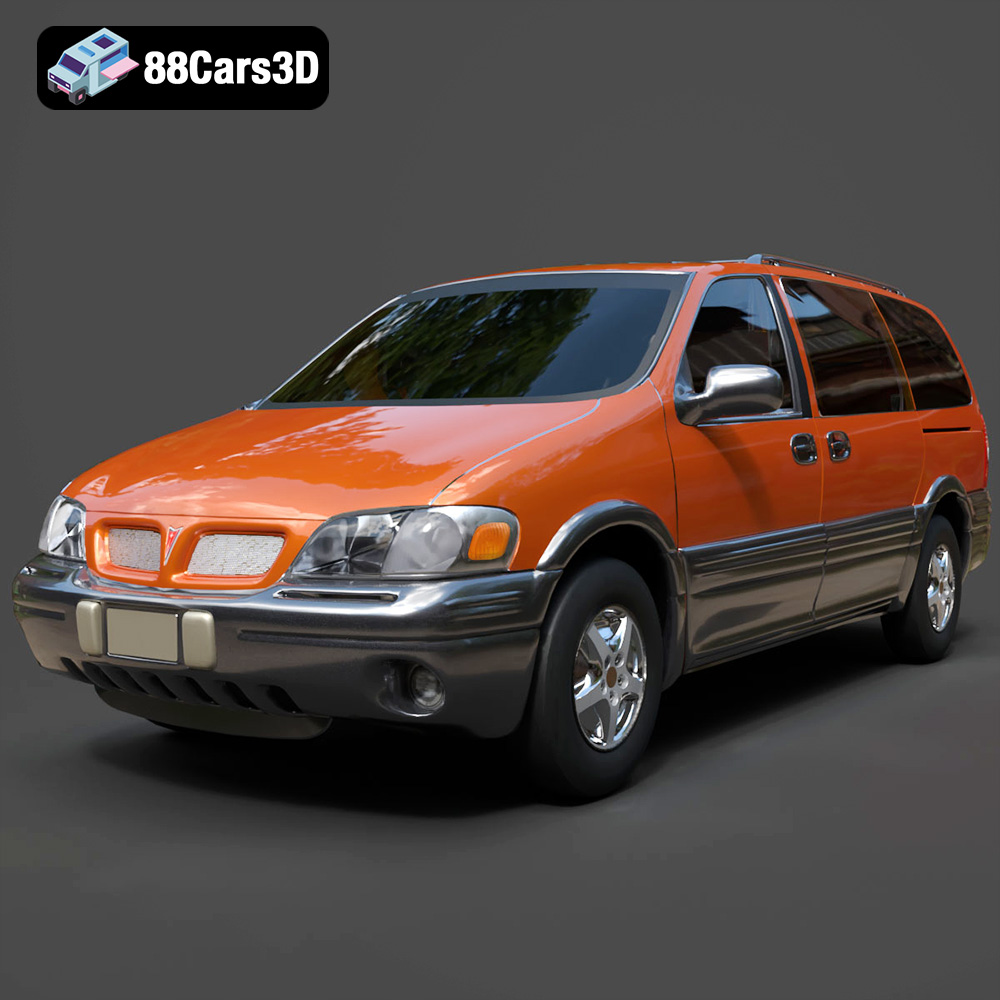
Pontiac Montana 1998 3D Model
Texture: Yes
Material: Yes
Download the Pontiac Montana 1998 3D Model featuring a detailed exterior, functional interior, and optimized mesh. Includes .blend, .fbx, .obj, .glb, .stl, .ply, .unreal, and .max formats for rendering, simulation, and game development.
Price: $21.99
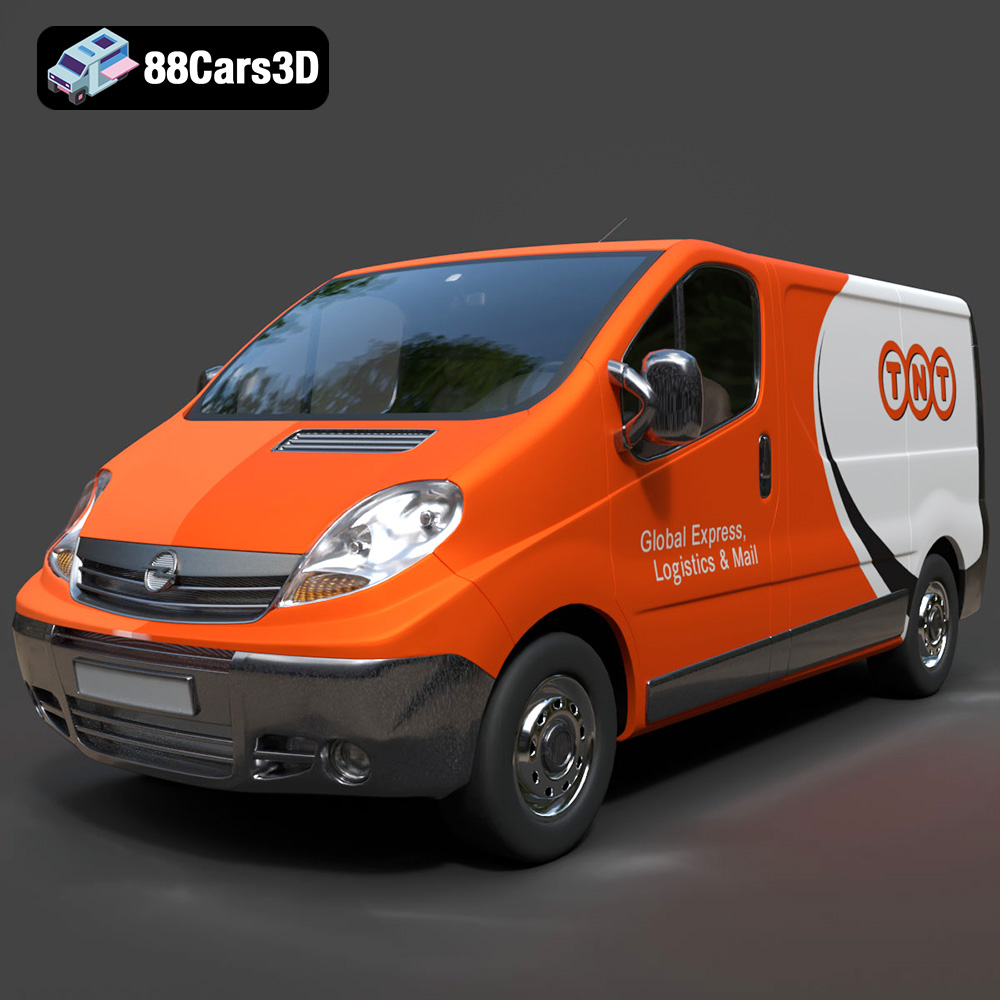
Opel Vivaro 3D Model
Texture: Yes
Material: Yes
Download the Opel Vivaro 3D Model featuring a versatile commercial van design with balanced detailing. Includes .blend, .fbx, .obj, .glb, .stl, .ply, .unreal, and .max formats for rendering, simulation, and game development.
Price: $21.99
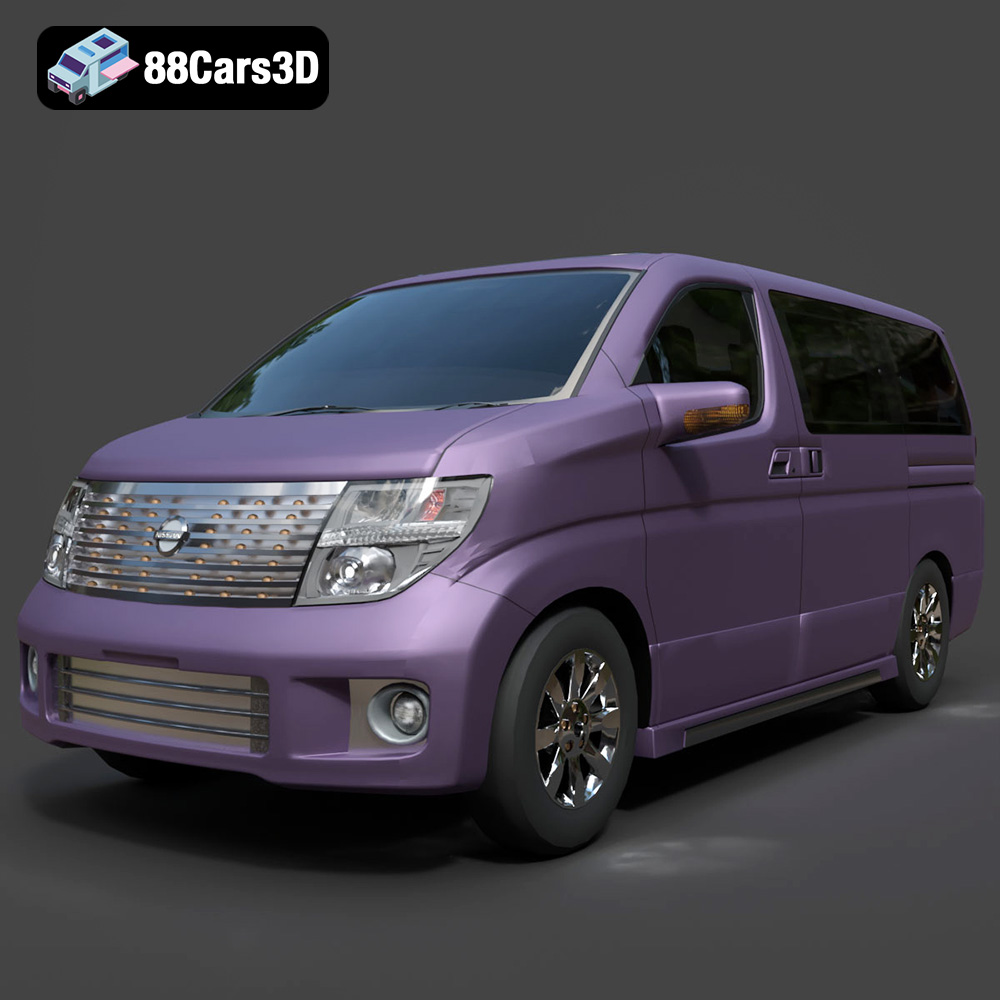
Nissan Elgrand 3D Model
Texture: Yes
Material: Yes
Download the Nissan Elgrand 3D Model featuring a versatile minivan design. Includes .blend, .fbx, .obj, .glb, .stl, .ply, .unreal, and .max formats for rendering, simulation, and game development.
Price: $21.99
