

In the realm of real-time rendering and high-fidelity visualization, few tools are as transformative as Unreal Engine’s Post-Process Effects. For professionals in automotive design, game development, and cinematic production, the difference between a good render and a breathtaking one often lies in the subtle yet powerful application of these effects. Imagine a meticulously crafted 3D car model, perhaps sourced from a platform like 88cars3d.com, featuring pristine PBR materials and clean topology. While the base asset is excellent, it’s the post-processing that imbues it with cinematic drama, a specific mood, or the photorealistic imperfection that makes it truly indistinguishable from reality.
This comprehensive guide delves deep into the art and science of leveraging Unreal Engine’s Post-Process Effects for unparalleled cinematic look development, especially for automotive visualization. We’ll explore everything from fundamental concepts to advanced techniques, covering how to sculpt light, refine colors, and introduce atmospheric depth that elevates your projects. Whether you’re aiming for a glossy showroom aesthetic, a gritty street scene, or an immersive AR/VR experience, understanding these tools is paramount. Prepare to unlock the full visual potential of your Unreal Engine projects and transform your automotive renders into captivating visual narratives.
The Foundation of Cinematic Post-Processing in Unreal Engine
At its core, post-processing in Unreal Engine involves applying screen-space effects and adjustments to the final rendered image, much like a photographer or filmmaker uses post-production techniques. These effects don’t alter the underlying geometry or materials but profoundly change how they are perceived. The primary mechanism for controlling these effects is the Post-Process Volume, a crucial actor that allows artists to define regions where specific visual adjustments are applied. Understanding how to set up and configure these volumes is the first step toward achieving a truly cinematic look for your 3D car models.
Every Unreal Engine project benefits from a thoughtful post-processing setup. Without it, even the highest quality 3D car models, featuring intricate details and realistic materials, can appear flat or uninspired. Post-process effects are the secret sauce that adds depth, atmosphere, and a professional sheen. They allow you to emulate real-world camera properties, control light and shadow behavior, and infuse your scenes with a distinct visual identity, vital for showcasing automotive assets from marketplaces like 88cars3d.com in their best light. When you consider the effort put into optimizing assets with clean topology and accurate UV mapping, ensuring the final visual output lives up to that quality is essential.
What are Post-Process Volumes? Global vs. Bounded
Post-Process Volumes are entities placed in your Unreal Engine level that define an area of influence for post-processing settings. There are two main types:
- Global Volumes: By default, a Post-Process Volume will affect the entire scene if its ‘Infinite Extent (Unbound)’ property is enabled. This is ideal for establishing an overarching visual style for your project, such as a consistent color grade or exposure setting. You typically only need one global unbound volume per level, acting as a baseline for all visual properties.
- Bounded Volumes: When ‘Infinite Extent (Unbound)’ is disabled, the volume’s effects are limited to its physical bounds in the scene. As the camera enters and exits these bounds, the post-processing effects can smoothly blend in and out. This is incredibly powerful for creating localized visual changes, such as a different color grade inside a tunnel, a unique depth-of-field effect when inspecting a particular part of a car, or even simulating environmental shifts like fog or rain effects only in specific areas. The blend radius property further refines this transition, ensuring a smooth visual experience.
Understanding the difference and strategic placement of these volumes allows for precise control over the visual storytelling within your automotive visualization projects.
Basic Setup: Creating and Configuring a Volume
To begin, simply drag a “Post Process Volume” from the “Modes” panel (or “Place Actors” in older versions) into your scene. For a global effect, locate the “Details” panel and check “Infinite Extent (Unbound)”. This immediately makes the volume’s settings apply everywhere. For more granular control, keep “Infinite Extent (Unbound)” unchecked and scale the volume’s bounds to encompass your desired area. You’ll also want to adjust the “Blend Radius” to control how gradually effects fade in and out at the volume’s edges.
Once you have your volume, the “Details” panel reveals a vast array of categories, each containing numerous properties. These are categorized logically, such as “Lens,” “Color Grading,” “Global Illumination,” and “Reflections.” For instance, under the “Lens” category, you’ll find “Exposure” settings where you can manually adjust the “Exposure Compensation” to brighten or darken your scene, or choose between various auto-exposure modes. Under “Color Grading,” you can manipulate “White Balance” to shift the overall color temperature, making your scene appear warmer or cooler, which is crucial for establishing mood around your high-quality 3D car models. Remember to save your level frequently as you experiment with these settings to avoid losing your progress. Reference the official Unreal Engine documentation at https://dev.epicgames.com/community/unreal-engine/learning for a complete breakdown of each setting’s technical specifications and impact.
Mastering Visual Depth and Focus: Depth of Field & Motion Blur
Beyond basic color and exposure, a true cinematic look is often defined by how a scene handles focus and movement. Depth of Field (DOF) and Motion Blur are two powerful post-process effects that emulate real-world camera optics, adding a layer of realism and artistry to your renders. For automotive visualization, these effects are indispensable, allowing artists to direct the viewer’s eye to specific details on a 3D car model, such as a sleek body line, a custom wheel, or an intricate headlight assembly, while blurring out distracting backgrounds. They transform a static image into one with narrative potential, guiding the viewer through the visual story you want to tell about the vehicle.
Achieving a convincing sense of depth through DOF helps to separate the subject (your car) from its environment, making it pop. Similarly, motion blur, when applied correctly, can convey speed and dynamic action, bringing a sense of life to animations or rapid camera movements. While Unreal Engine handles the computations for these effects efficiently, understanding their parameters and their impact on visual fidelity and performance is key. Especially when working with high-quality automotive assets, precise control over these photographic elements contributes significantly to the final, polished presentation that clients and audiences expect.
Cinematic Depth of Field: Bokeh, F-stop, Focal Distance
Depth of Field simulates the limited depth of focus of a real camera lens, where objects at a certain distance appear sharp, while objects closer or further away are blurred. In Unreal Engine, you’ll find these settings under the ‘Lens’ category of your Post-Process Volume:
- Focal Distance: This is the most critical setting. It defines the exact distance from the camera where objects will be in perfect focus. You can manually input a value or use the eyedropper tool to pick a point in your scene, which is incredibly useful for precisely focusing on a specific part of your 3D car model.
- Focal Region: Defines a range around the Focal Distance where objects remain sharp.
- F-Stop (Aperture): Mimics the aperture of a real camera lens. Lower F-stop values (e.g., f/1.4, f/2.8) result in a shallower depth of field (more blur), while higher values (e.g., f/16, f/22) produce a deeper depth of field (less blur). For dramatic cinematic shots of a car, a low F-stop is often desired to isolate the subject.
- Bokeh Shape: The shape of the blurred out-of-focus highlights. Unreal Engine supports various bokeh shapes, including circular (default), hexagonal, and custom textures, allowing you to emulate specific lens characteristics for a unique visual style. Utilizing custom bokeh textures can add a distinct photographic touch.
- Blur Size: Controls the maximum blur radius. Be mindful that very high blur sizes can be performance-intensive.
For automotive renders, judicious use of DOF can highlight specific design elements, creating compelling close-ups or establishing a dramatic presence for the vehicle within its environment.
Advanced Motion Blur: Shutter speed, Samples
Motion blur simulates the streaking or blurring of objects that are in motion relative to the camera during the camera’s exposure time. This effect is crucial for conveying a sense of speed and fluidity in animations and cinematic sequences. The settings are also found under the ‘Lens’ category:
- Amount: This is the primary control for the intensity of the motion blur effect. Higher values mean more blur.
- Max Blur Radius: Defines the maximum blur amount in pixels on screen. This is an important optimization setting; too high, and the effect can become overly aggressive and costly.
- Shutter Speed: Directly relates to real-world camera shutter speed. A slower shutter speed (longer exposure time) results in more motion blur, simulating how fast-moving objects are captured. For example, a 1/30s shutter speed will produce significantly more blur than a 1/250s shutter speed.
- Per-Object Motion Blur: Unreal Engine can calculate motion blur for individual objects (like a moving car) as well as camera movement. Ensure your skeletal meshes (if applicable) or cinematic cameras are set up to provide velocity data for accurate motion blur.
- Tips for Automotive Use: For car commercials or dynamic presentations, applying motion blur to the wheels of a stationary car with a moving camera, or to the entire car as it speeds past, adds incredible realism. Be cautious not to overdo it, as excessive motion blur can make the image muddy or difficult to read. Use it strategically to emphasize speed or dynamic action.
Both DOF and Motion Blur significantly enhance the cinematic appeal of your automotive content, pulling the viewer into the scene with dynamic visual cues.
Crafting Mood and Atmosphere: Color Grading and Look-Up Tables (LUTs)
Color grading is perhaps the most powerful tool in a post-production artist’s arsenal for defining the mood, atmosphere, and overall aesthetic of a scene. It’s the process of altering and enhancing the color of an image, much like a film colorist sculpts the visual narrative of a movie. In Unreal Engine, this is achieved through a comprehensive set of controls within the Post-Process Volume, allowing you to transform the raw output of your Lumen-lit scenes and pristine PBR materials into something truly evocative. For automotive visualization, color grading can dramatically alter how a 3D car model is perceived – from sleek and luxurious to rugged and adventurous, simply by manipulating its color profile.
Beyond individual color adjustments, Unreal Engine offers the flexibility of Look-Up Tables (LUTs). These small texture files contain a predefined set of color transformations that can be applied to an entire scene, ensuring a consistent visual style across multiple shots or even an entire project. This is invaluable for maintaining brand consistency in automotive marketing materials or achieving a specific artistic vision in a game. Mastering color grading and LUTs is essential for injecting personality and emotional resonance into your high-fidelity real-time renders, turning them into compelling visual experiences.
Understanding Color Grading Fundamentals: Global Tint, Contrast, Saturation, Lift/Gamma/Gain
Unreal Engine provides a detailed set of color grading controls, typically found under the ‘Color Grading’ section of your Post-Process Volume. These controls are designed to mimic industry-standard color correction tools:
- Global: This section offers overarching adjustments.
- Saturation: Controls the intensity or purity of all colors. Decreasing saturation can give a desaturated, muted, or noir look, while increasing it can make colors more vibrant.
- Contrast: Adjusts the difference between the brightest and darkest areas of the image. Higher contrast adds punch, lower contrast can create a softer, more dreamlike feel.
- Gamma: Affects the mid-tones of the image. Adjusting gamma can brighten or darken the overall image without clipping highlights or shadows as aggressively as exposure or contrast.
- Gain: Influences the highlights. Increasing gain brightens the brightest parts of the image.
- Lift: Affects the shadows. Increasing lift brightens the darkest parts of the image, preventing crushed blacks.
- Offset: Acts like a global color tint, shifting the entire color palette.
- Shadows/Midtones/Highlights: These sections allow for highly granular control. You can adjust the Saturation, Contrast, Gamma, Gain, Lift, and Offset independently for the shadow, midtone, and highlight regions of your image. This is incredibly powerful for selective color shifts – for example, giving your shadows a subtle blue tint for a cooler look, while keeping the highlights warm on your 3D car model.
By understanding and manipulating these parameters, artists can sculpt the light and color of their scenes to evoke specific emotions or match reference imagery, ensuring the final render of their game assets aligns perfectly with their artistic vision.
Implementing LUTs for Consistent Visual Styles
Look-Up Tables (LUTs) are a highly efficient way to apply complex color transformations to your entire scene. A LUT is essentially a small 2D texture (typically 256×16 pixels or 512×32 pixels, depending on engine version and desired precision) that maps input colors to output colors. Instead of manually tweaking numerous color grading parameters for every scene or shot, you can create a single LUT that embodies a specific look (e.g., a “daylight cinematic” look, a “night city” look, or a “vintage film” look) and apply it effortlessly.
To use a LUT:
- Under the ‘Color Grading’ section of your Post-Process Volume, find the ‘Color Grading’ subsection.
- Locate the ‘Color Grading RGB’ slot and assign your LUT texture.
- Adjust the ‘Color Grading Intensity’ slider (from 0 to 1) to control how much of the LUT’s effect is applied. This allows for blending between no LUT and full LUT application.
The primary benefit of LUTs is consistency. In large projects with multiple artists or many distinct scenes featuring various 3D car models, a shared library of LUTs ensures a cohesive visual language. This is particularly valuable in automotive configurators where different environments need to maintain a consistent brand aesthetic despite varying lighting conditions.
Custom LUT Workflow in Unreal Engine
Creating custom LUTs allows you to achieve unique and highly specific color grades. The typical workflow involves:
- Export a Neutral LUT: In Unreal Engine, navigate to your Post-Process Volume, go to ‘Color Grading’, and click the ‘Export’ button next to the ‘Color Grading RGB’ slot. This will save a neutral (untouched) LUT texture, usually as a .PNG. This neutral LUT is your starting point.
- Grade in External Software: Open the exported neutral LUT in image editing software like Photoshop, Affinity Photo, or DaVinci Resolve. Apply your desired color grading adjustments (contrast, saturation, color shifts, curves, etc.) to this neutral texture. It’s crucial not to resize, crop, or distort the image; simply apply color changes. The software maps the input color values from the neutral LUT to the output color values you’ve created.
- Import Custom LUT: Save your modified LUT as a .PNG or .EXR. Back in Unreal Engine, import this new texture into your project.
- Configure Texture Settings: For the imported LUT texture, open its details in the Content Browser and ensure:
- Compression Settings: Set to ‘UserInterface2D (RGBA)’.
- sRGB: Unchecked.
- Filter: Set to ‘Nearest’ or ‘Bilinear’.
- Mip Gen Settings: Set to ‘NoMipmaps’.
These settings are critical for accurate color reproduction.
- Apply to Post-Process Volume: Assign your newly imported and configured LUT texture to the ‘Color Grading RGB’ slot in your Post-Process Volume.
This workflow offers unparalleled flexibility, allowing artists to replicate specific film looks, photographic styles, or brand-specific color palettes, thereby enhancing the realism and visual appeal of their 3D car models and environments, whether for real-time rendering, virtual production, or game development.
Enhancing Realism and Polish: Bloom, Vignette, Chromatic Aberration & Screen Space Effects
Beyond broad color and focus adjustments, the finer details of a cinematic look often come down to emulating the subtle imperfections and optical phenomena of real-world cameras and environments. Unreal Engine provides a suite of post-process effects that add these layers of realism, transforming your automotive visualizations from clinical renders into visually rich, atmospheric experiences. Effects like Bloom, Vignette, and Chromatic Aberration directly simulate lens characteristics, while Screen Space Global Illumination (SSGI) and Screen Space Reflections (SSR) enhance the way light and reflections behave, complementing advanced lighting solutions like Lumen.
When showcasing high-quality 3D car models, these effects are not mere embellishments; they are crucial components in achieving true photorealism. Bloom, for instance, can make headlights glow with authentic intensity, while a subtle vignette can draw focus to the sleek lines of a vehicle. Understanding how to artfully apply these effects, balancing their visual impact with performance considerations, is a hallmark of a seasoned Unreal Engine artist. They bridge the gap between a technically accurate render and a visually compelling image that resonates with the viewer, highlighting the craftsmanship of game assets and automotive designs.
Bloom & Lens Flares: Realistic Light Dispersion
Bloom simulates the effect of extremely bright light sources bleeding into surrounding areas, often seen around lights or reflective surfaces in photography and film. It’s what makes car headlights look bright and powerful, or a chrome bumper gleam with intense reflections. Without bloom, intense light sources can appear flat or clipped.
- Intensity: Controls how strong the bloom effect is. Start with lower values and increase gradually.
- Threshold: Defines the luminance level above which pixels will start to bloom. A higher threshold means only very bright pixels will bloom, creating a more subtle effect. A lower threshold will make more areas bloom, leading to a softer image.
- Tint: Allows you to color the bloom, which can be useful for matching light temperatures or creating specific atmospheric effects.
- Dirt Mask: A texture that simulates smudges or dust on a camera lens, which disperses bloom in a specific pattern. This adds a fantastic layer of gritty realism to your camera’s optics. Use a subtle, high-resolution texture for the best effect.
Lens Flares, distinct from bloom, are visual artifacts produced when light refracts or reflects within a camera lens system. While Unreal Engine’s ‘Lens Flare’ section in the Post-Process Volume offers basic controls, more sophisticated, animated lens flares are often achieved using particle systems (Niagara) or custom materials applied to occluded meshes, offering greater artistic control for cinematic automotive sequences.
Vignette & Chromatic Aberration: Emulating Camera Lens Imperfections
These effects help simulate the subtle imperfections of real-world camera lenses, contributing to a more organic and less “digital” look:
- Vignette: Causes the edges of the image to gradually darken, drawing the viewer’s eye towards the center. This is a classic cinematic technique for focusing attention.
- Intensity: Controls how dark the vignette effect is. A subtle vignette (intensity around 0.3-0.5) is often most effective for automotive visualization, guiding focus without being distracting.
- Chromatic Aberration (Color Fringing): Occurs when a lens fails to focus all colors to the same convergence point, resulting in color fringes along high-contrast edges. This is a subtle effect but can significantly enhance realism, especially around the edges of a high-resolution screen or projection.
- Intensity: Controls the strength of the color fringing. Use very low values (e.g., 0.1-0.2) to keep it subtle and avoid an overly stylized or cheap look.
- Start Offset: Determines how far from the center the chromatic aberration begins, allowing you to limit the effect to the periphery of the frame.
Both vignette and chromatic aberration should be used sparingly. Their power lies in their subtlety; over-application can quickly detract from the visual quality of your high-fidelity 3D car models rather than enhance it.
Screen Space Global Illumination (SSGI) & Screen Space Reflections (SSR): Complementing Lumen/Nanite
While Lumen provides excellent real-time global illumination and reflections, and Nanite efficiently handles complex geometry, screen-space effects play a vital role in complementing these advanced features, especially for detailed reflections and local light bounces.
- Screen Space Global Illumination (SSGI): This effect approximates indirect lighting by calculating bounces based on what’s visible on screen. While Lumen offers a superior and more robust GI solution, SSGI can sometimes provide additional subtle bounces or be used in scenarios where Lumen might be disabled or constrained. It can also act as a good fallback or a way to augment less complex lighting setups.
- Screen Space Reflections (SSR): SSR generates reflections based on what is currently visible within the camera’s view. For surfaces with high reflectivity, like car paint or chrome, SSR adds crucial detail, especially when viewed up close.
- Intensity: Controls the strength of the reflections.
- Roughness Fade: Determines at what roughness level reflections start to fade out. Highly reflective surfaces (low roughness) will show stronger SSR.
- Max Roughness: Defines the maximum roughness at which SSR will still be visible.
It’s important to understand that SSR, by nature, cannot reflect objects that are off-screen or occluded. For comprehensive and accurate reflections, particularly on the complex surfaces of 3D car models, Lumen’s reflections (or traditional Ray Tracing reflections) are generally preferred. However, SSR can provide an excellent, performant augmentation, especially for subtle, localized reflections, contributing to the overall real-time rendering quality.
Performance Optimization and Advanced Techniques for Automotive Projects
While the allure of stunning cinematic post-processing effects is undeniable, their computational cost can be significant, especially in real-time applications like automotive configurators, interactive demos, or AR/VR experiences. Achieving a high-fidelity look for your 3D car models without sacrificing performance is a delicate balancing act. This section focuses on strategic optimization techniques and advanced workflows to ensure your projects run smoothly while still looking spectacular. Leveraging features like Blueprint visual scripting for dynamic adjustments and understanding the specific needs of different platforms (AR/VR vs. high-end virtual production) is critical for success.
A well-optimized project can mean the difference between a fluid, immersive experience and a frustrating, choppy one. This is particularly true when dealing with detailed game assets like those found on 88cars3d.com, which are designed for visual excellence. Every frame rendered contributes to the user experience, so managing the impact of post-process effects is paramount. We’ll explore how to profile your GPU, make informed decisions about which effects to prioritize, and even use Blueprint to adapt your post-processing on the fly, ensuring a responsive and visually consistent experience across diverse hardware and use cases.
Post-Process Optimization Strategies: Cost of Effects, Profile GPU
Every post-process effect adds to the GPU’s workload. To maintain optimal frame rates, especially for interactive automotive applications, it’s crucial to understand and manage this cost:
- Profiling the GPU: Use Unreal Engine’s built-in profiler (Ctrl+Shift+, or ‘stat gpu’ command in the console) to identify which post-process effects are the most expensive. Look for entries under ‘PostProcessing’ in the GPU profiler. This will tell you exactly where your rendering budget is being spent.
- Disable Unused Effects: Go through your Post-Process Volume settings and explicitly disable any effects you are not using by unchecking their corresponding boxes. Even if the intensity is zero, some effects still incur a minor cost.
- Reduce Intensity/Radius: For effects like Bloom, Depth of Field, and Motion Blur, reducing their intensity or maximum blur radius can significantly cut down on GPU computation without drastically altering the visual outcome. For example, a Depth of Field blur radius of 50 might look nearly identical to 100 in many situations but cost half as much.
- Lower Texture Resolutions: For effects like Bokeh (if using custom textures) or Dirt Mask, ensure their texture resolutions are appropriate and not excessively high.
- SSR vs. Lumen Reflections: While SSR is generally cheaper than Lumen or Ray Traced Reflections, its quality limitations (off-screen objects) must be weighed against its performance benefits. For high-fidelity automotive visualization, a blend or strategic use of Lumen/Ray Traced reflections for key surfaces and SSR for less critical ones might be optimal.
- Avoid Overlapping Volumes: Minimize the number of overlapping bounded Post-Process Volumes, as blending between multiple complex volumes can add overhead. Consolidate settings where possible.
- Shader Complexity Viewmode: Use the ‘Shader Complexity’ viewmode (in the ‘Lit’ dropdown) to visualize the complexity of your shaders, including those contributing to post-processing. While not a direct measure of post-process cost, it helps understand overall rendering burden.
Systematic profiling and careful adjustment of settings are key to achieving a performant yet visually stunning automotive presentation.
Conditional Post-Processing with Blueprints: Dynamic Adjustments
Blueprint visual scripting offers an incredibly powerful way to dynamically control post-process effects based on gameplay events, user interaction, or camera position. This is invaluable for interactive automotive configurators or dynamic cinematic sequences:
- Accessing Post-Process Settings: You can get a reference to your Post-Process Volume actor in Blueprint. From there, you can access its settings. For example, you can use a ‘Set Post Process Settings’ node to modify properties like ‘Exposure Compensation’, ‘Focal Distance’, or ‘Saturation’.
- Interactive Configurator Example: Imagine an automotive configurator where changing the car’s paint color from matte to glossy could trigger a slight adjustment in bloom intensity or reflection strength to better highlight the new finish. Or, when switching between “showroom” and “exterior” environments, different LUTs could be dynamically applied to create distinct moods.
- Camera-Driven Effects: You could use Blueprint to detect if the camera is performing a close-up on a specific part of the car and, in response, temporarily lower the ‘F-Stop’ for a very shallow Depth of Field, drawing immediate focus. Or, if the camera moves very quickly, momentarily increase ‘Motion Blur Amount’ to emphasize speed.
- Performance Toggles: For users with lower-end hardware, Blueprint could provide options to toggle off certain demanding post-process effects (e.g., Chromatic Aberration, complex Bloom) in real-time, improving frame rates without requiring a scene reload.
By leveraging Blueprint, artists can create highly responsive and adaptive visual experiences, moving beyond static renders to truly interactive and immersive real-time applications.
AR/VR and Virtual Production Considerations: Striking a Balance
AR/VR and virtual production environments (like LED walls) present unique challenges and requirements for post-processing. The need for extremely high frame rates (typically 90 FPS or more for VR to avoid motion sickness) and low latency means that post-process optimization becomes even more critical:
- Minimize Overheads for AR/VR:
- Reduce Passes: Many post-process effects require multiple render passes. Prioritize essential effects (e.g., basic exposure, color grading) and be very selective with demanding ones like high-quality Depth of Field, Screen Space Global Illumination, and excessive Motion Blur.
- Optimized Materials: Ensure your 3D car models from 88cars3d.com and their PBR materials are already highly optimized, as post-processing compounds the cost of rendering the base scene.
- Fixed Foveated Rendering: If targeting VR, consider using platform-specific rendering techniques like fixed foveated rendering, which reduces quality at the periphery of the user’s vision to save performance, allowing more budget for central post-process effects.
- Avoid High-Resolution Bokeh: For VR, complex bokeh shapes or very high blur radii in Depth of Field can be very expensive. Opt for simpler, more performant settings.
- Virtual Production (LED Wall) Specifics:
- Color Fidelity: For LED walls, precise color grading with LUTs is paramount to ensure consistency between the Unreal Engine render and the physical LED display. Calibration is key.
- Perspective Correction: Post-process materials can be used for advanced perspective correction or ‘frustum warping’ to seamlessly blend the virtual background with physical sets, although this is usually handled at a lower level than standard post-process volumes.
- Performance at Scale: Virtual production often involves rendering at extremely high resolutions (e.g., 4K or 8K per eye/frustum) and potentially multiple cameras simultaneously. This pushes hardware to its limits, making aggressive post-process optimization an absolute necessity. Sometimes, effects are baked into textures or materials rather than relying purely on screen-space post-processing.
In these demanding scenarios, the mantra is “less is more.” Focus on achieving the desired look with the fewest possible post-process effects, using every trick in the book to maintain performance and deliver an immersive, high-quality experience.
Integrating Post-Processing for High-Fidelity Automotive Visualization
The true power of Unreal Engine’s post-processing capabilities shines brightest when integrated into a holistic workflow for high-fidelity automotive visualization. It’s not just about applying individual effects; it’s about combining them strategically to elevate already excellent 3D car models into cinematic masterpieces. Whether you’re designing an interactive automotive configurator, producing a stunning virtual production sequence, or simply rendering breathtaking stills for marketing, post-processing is the final layer of polish that defines the overall visual impact. This section ties everything together, demonstrating how to leverage these tools to achieve truly professional-grade results with your automotive game assets.
The marketplace for high-quality automotive assets, such as 88cars3d.com, provides the foundational elements: detailed models, optimized topology, and PBR materials. It’s up to the Unreal Engine artist to then weave in the magic of lighting, environment, and crucially, post-processing to bring these vehicles to life. We’ll explore how these elements culminate in photorealistic presentations, dynamic cinematic sequences using Sequencer, and engaging interactive experiences, showcasing the versatility and visual prowess of Unreal Engine for the automotive industry.
Achieving Photorealism with 88cars3d.com Models: The Complete Pipeline
Achieving photorealism for 3D car models sourced from platforms like 88cars3d.com is a multi-step process where post-processing plays a critical role in the final output. It complements the initial setup, material work, and lighting:
- Quality Base Assets: Start with high-quality, optimized 3D car models. Ensure they have clean topology, proper UV mapping, and PBR-calibrated materials. Nanite-enabled meshes can handle immense detail without performance hitches, which then allows post-processing to enhance these details.
- Realistic Lighting with Lumen/Ray Tracing: Set up realistic lighting, often utilizing Lumen for global illumination and reflections, and potentially Ray Tracing for ultimate fidelity on reflections and shadows. A well-lit scene is the foundation upon which post-processing builds.
- Refined Materials: Ensure PBR materials react correctly to light, with accurate roughness, metallic, and normal map values. Post-processing will enhance how these materials reflect and absorb light.
- Post-Process Volume Configuration:
- Exposure: Fine-tune exposure for a balanced image.
- Color Grading: Apply a custom LUT or meticulous adjustments to Lift/Gamma/Gain, Saturation, and Contrast to establish the desired mood (e.g., warm, cool, dramatic).
- Depth of Field: Use a subtle, cinematic DOF to guide the viewer’s eye to key features of the car, such as badges, wheels, or specific body lines.
- Bloom & Lens Flares: Add realistic glow to headlights, taillights, and chrome reflections to simulate real-world camera optics. A subtle dirt mask can add realism.
- Vignette & Chromatic Aberration: Introduce very subtle lens imperfections to avoid a sterile “CGI” look and create a more organic, photographic feel.
- Screen Space Effects: Use SSR to augment Lumen reflections for localized detail, if performance allows, contributing to overall real-time rendering realism.
- Environment Details: Ensure realistic environments with proper PBR materials and lighting, as these will interact with your car model and be affected by post-processing.
Each of these steps builds upon the last, with post-processing acting as the crucial final layer that unifies all elements into a cohesive, photorealistic image, ready for high-resolution automotive visualization.
Cinematic Automotive Sequences with Sequencer and Post-Process
Unreal Engine’s Sequencer is the ultimate tool for crafting cinematic sequences, and its integration with Post-Process Volumes is seamless, allowing for dynamic visual storytelling. Sequencer enables you to keyframe virtually any property of a Post-Process Volume over time, creating compelling visual shifts:
- Dynamic DOF: Animate the ‘Focal Distance’ property to smoothly shift focus between different parts of the car or from the car to the background as the camera moves. You can also keyframe ‘F-stop’ to dramatically deepen or shallow the depth of field at specific moments.
- Adaptive Color Grading: Transition between different LUTs or adjust color grading parameters (e.g., ‘Saturation’, ‘Contrast’, ‘Lift/Gamma/Gain’) to change the mood of a scene. Imagine a car driving from a bright daytime setting into a moody, neon-lit tunnel, with color grading smoothly transitioning between the two environments.
- Dramatic Exposure Changes: Keyframe ‘Exposure Compensation’ for dramatic flashes of light or to simulate camera aperture adjustments in challenging lighting conditions.
- Motion Blur for Speed: When a car accelerates rapidly or the camera pans quickly, keyframe the ‘Motion Blur Amount’ to increase, emphasizing speed and dynamism, then reduce it as the action slows.
- Camera Imperfections: Introduce or intensify effects like ‘Vignette’ or ‘Chromatic Aberration’ at specific cinematic moments for stylistic emphasis, or as part of a camera transition.
By treating post-process effects as an integral part of your Sequencer timeline, you gain unparalleled control over the visual narrative, transforming your automotive animations into professional-grade cinematic content suitable for commercials, game trailers, or virtual production.
Interactive Automotive Configurators: Real-time Look Control
Interactive automotive configurators demand a highly optimized yet visually appealing experience. Post-processing plays a key role here, often integrated with Blueprint to provide real-time control and feedback:
- Dynamic Environments & LUTs: Allow users to select different environments (e.g., city, studio, off-road). Each environment can have an associated Post-Process Volume or a specific LUT that’s dynamically applied via Blueprint, instantly changing the visual mood.
- Paint Finish & Reflections: When a user selects a matte, metallic, or glossy paint finish for their 3D car model, Blueprint can dynamically adjust the ‘Screen Space Reflections’ or even ‘Bloom Intensity’ to appropriately highlight the material properties, providing instant, realistic feedback.
- Showroom vs. Outdoor Modes: Offer a toggle between a “showroom” view (cleaner lighting, slightly elevated contrast, subtle DOF) and an “outdoor” view (more atmospheric color grading, dynamic exposure). Blueprint can swap between different Post-Process Volumes or adjust parameters within a single volume.
- Performance Scaling: Implement quality settings where Blueprint adjusts the intensity or enables/disables certain post-process effects (e.g., high-quality DOF, SSGI) based on user preferences or detected hardware performance, ensuring a smooth experience across a range of systems. This is crucial for maintaining optimal real-time rendering frame rates.
- Blueprint for Visual Feedback: Create subtle visual cues, like a slight increase in bloom or a temporary color grade shift, when a user selects a new feature, providing satisfying feedback.
The synergy between Blueprint and Post-Process Volumes empowers developers to create highly engaging and visually rich interactive experiences, allowing users to fully appreciate the design and features of their desired automotive models in a flexible and performant real-time environment.
Mastering Unreal Engine’s Post-Process Effects is not merely about making your visuals look “pretty”; it’s about leveraging a sophisticated toolkit to tell a story, evoke emotion, and guide the viewer’s experience. From meticulously crafted 3D car models, ideally sourced from high-quality platforms like 88cars3d.com, to complex virtual production pipelines, the final cinematic look often hinges on these critical adjustments. We’ve explored how to establish foundational control with Post-Process Volumes, sculpt focus and motion with Depth of Field and Motion Blur, define atmosphere with Color Grading and LUTs, and add realistic imperfections with Bloom, Vignette, and Chromatic Aberration.
Crucially, we’ve emphasized the importance of performance optimization and advanced techniques, showcasing how Blueprint can unlock dynamic, interactive experiences without sacrificing precious frames. Whether you’re a game developer pushing visual boundaries, an automotive designer visualizing future concepts, or a real-time rendering professional creating breathtaking cinematics, the power of Unreal Engine’s post-processing is an indispensable asset. Embrace these tools, experiment, and refine your approach. The journey to cinematic photorealism is an iterative one, and with these insights, you’re well-equipped to elevate your projects to an entirely new level of visual excellence. Start experimenting today and transform your high-quality game assets into captivating works of art.
Featured 3D Car Models
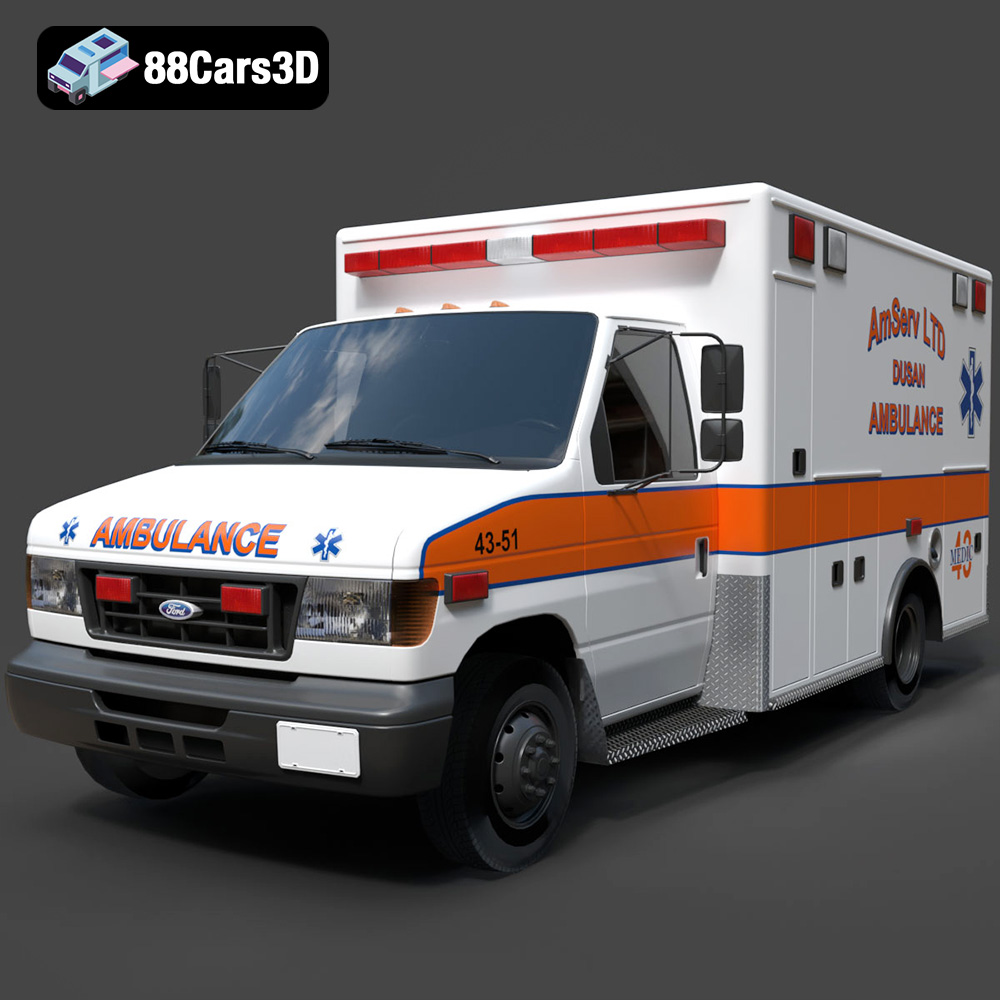
Ford Ambulance AmServ LTD Dusan-002 3D Model
Texture: Yes
Material: Yes
Download the Ford Ambulance AmServ LTD Dusan-002 3D Model featuring a high-detail exterior and interior, realistic textures, and emergency lighting. Includes .blend, .fbx, .obj, .glb, .stl, .ply, .unreal, and .max formats for rendering, simulation, and game development.
Price: $19.99
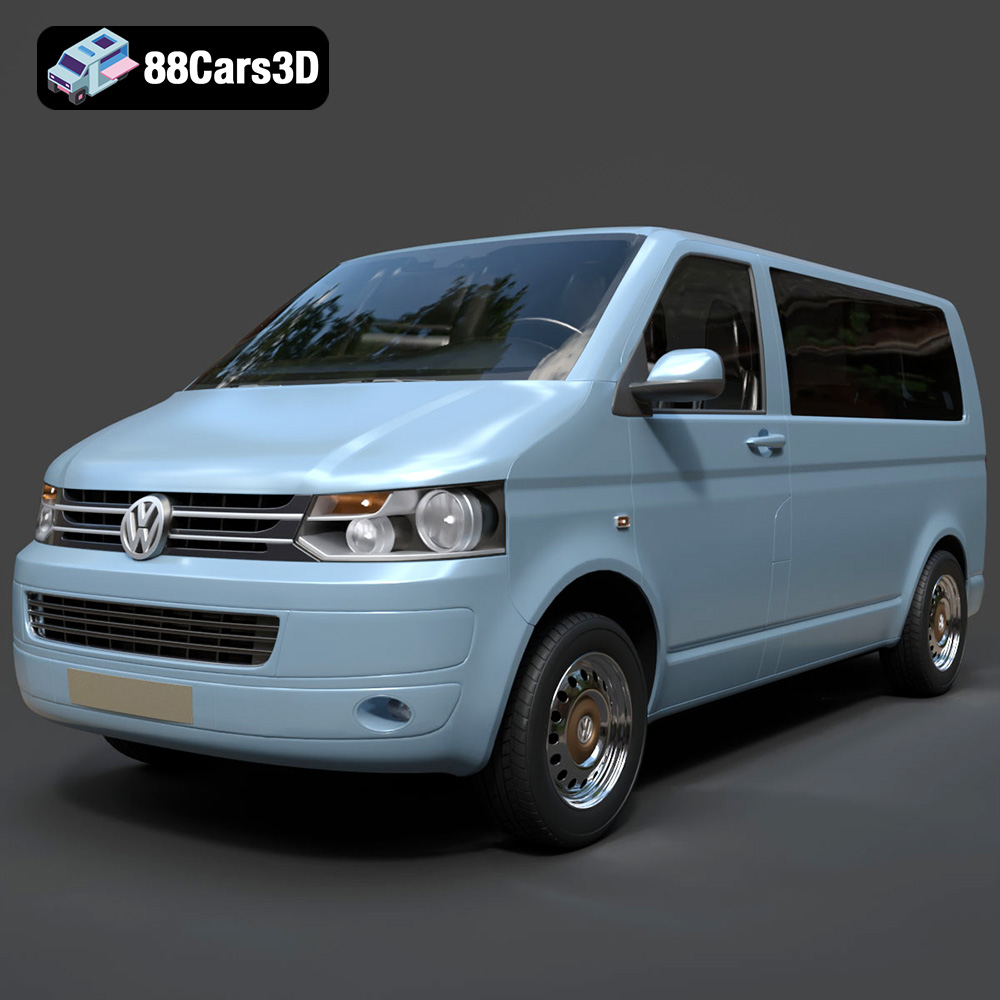
Volkswagen Transporter T5 FL 2010 3D Model
Texture: Yes
Material: Yes
Download the Volkswagen Transporter T5 FL 2010 3D Model featuring clean geometry, realistic detailing, and a fully modeled interior. Includes .blend, .fbx, .obj, .glb, .stl, .ply, .unreal, and .max formats for rendering, simulation, and game development.
Price: $22.99
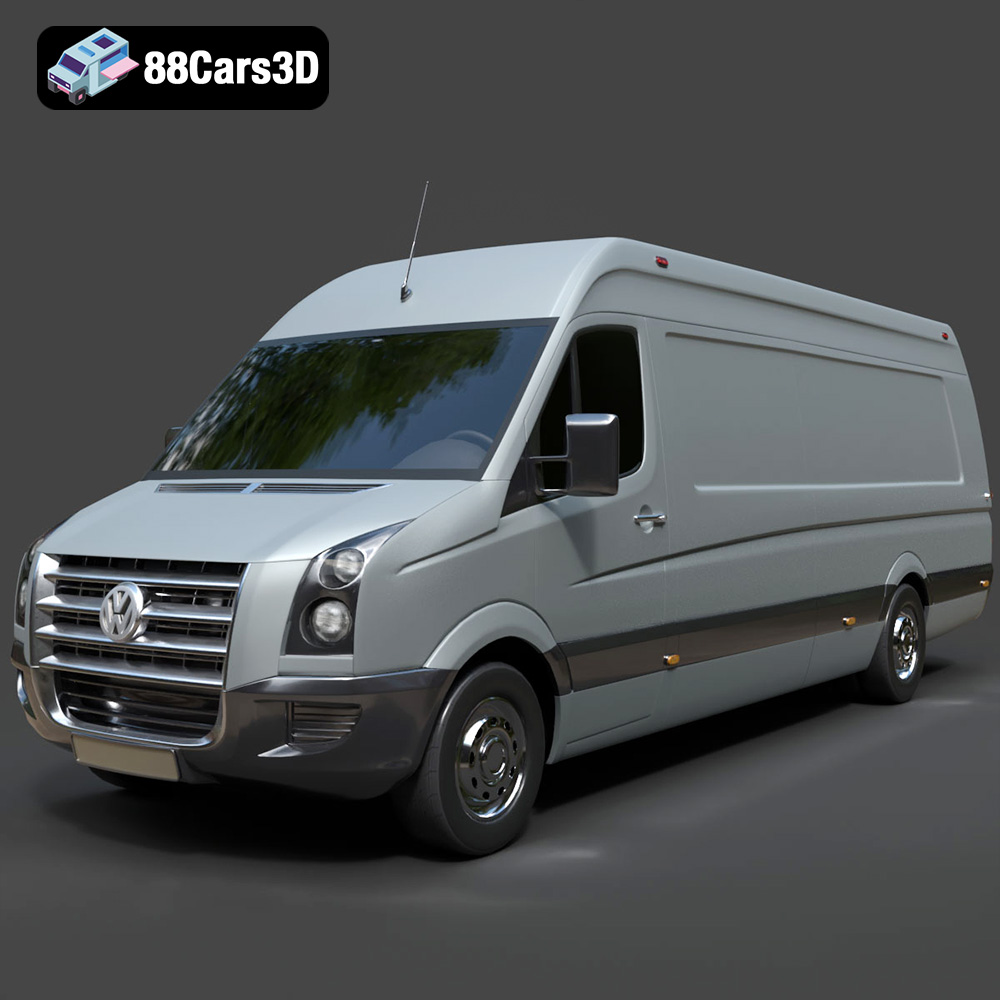
Volkswagen Crafter 2020 3D Model
Texture: Yes
Material: Yes
Download the Volkswagen Crafter 2020 3D Model featuring clean geometry, realistic detailing, and a fully modeled interior. Includes .blend, .fbx, .obj, .glb, .stl, .ply, .unreal, and .max formats for rendering, simulation, and game development.
Price: $22.99
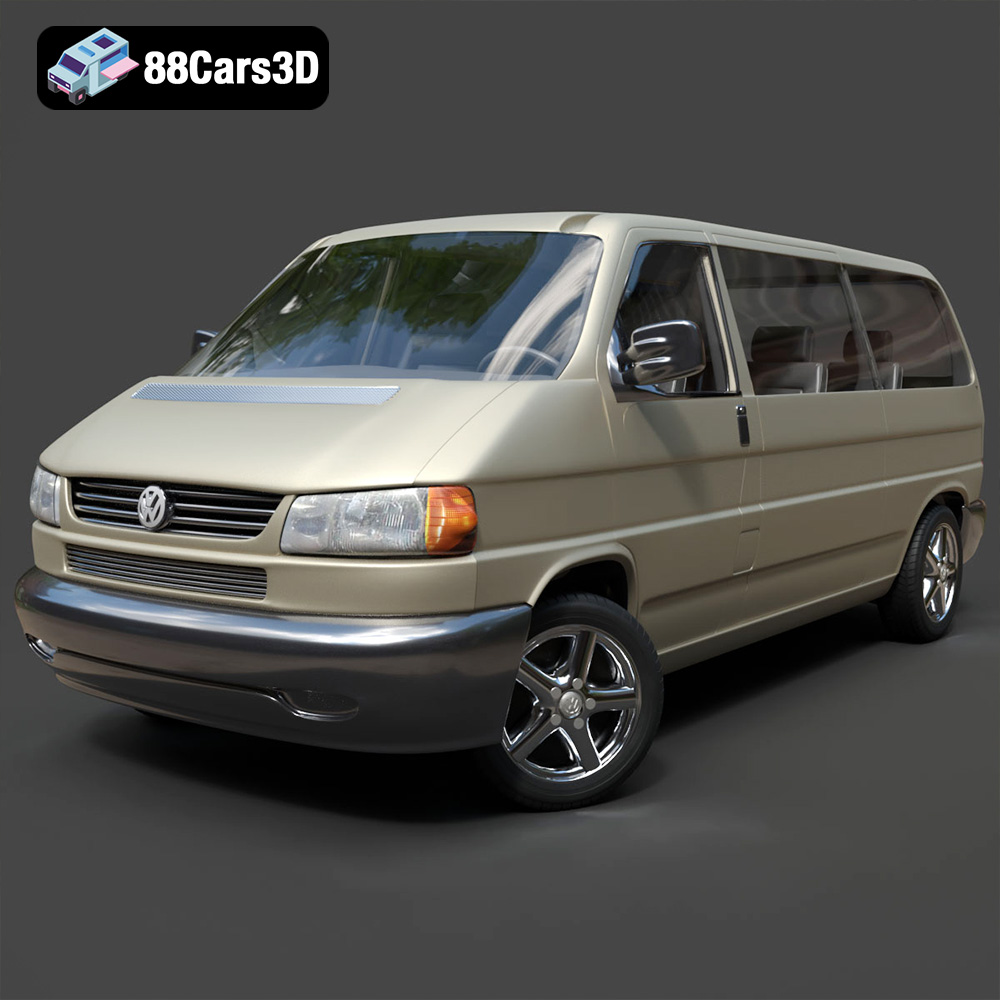
Volkswagen Caravelle 2020 3D Model
Texture: Yes
Material: Yes
Download the Volkswagen Caravelle 3D Model featuring a detailed exterior, functional interior, and optimized topology. Includes .blend, .fbx, .obj, .glb, .stl, .ply, .unreal, and .max formats for rendering, simulation, and game development.
Price: $23.99
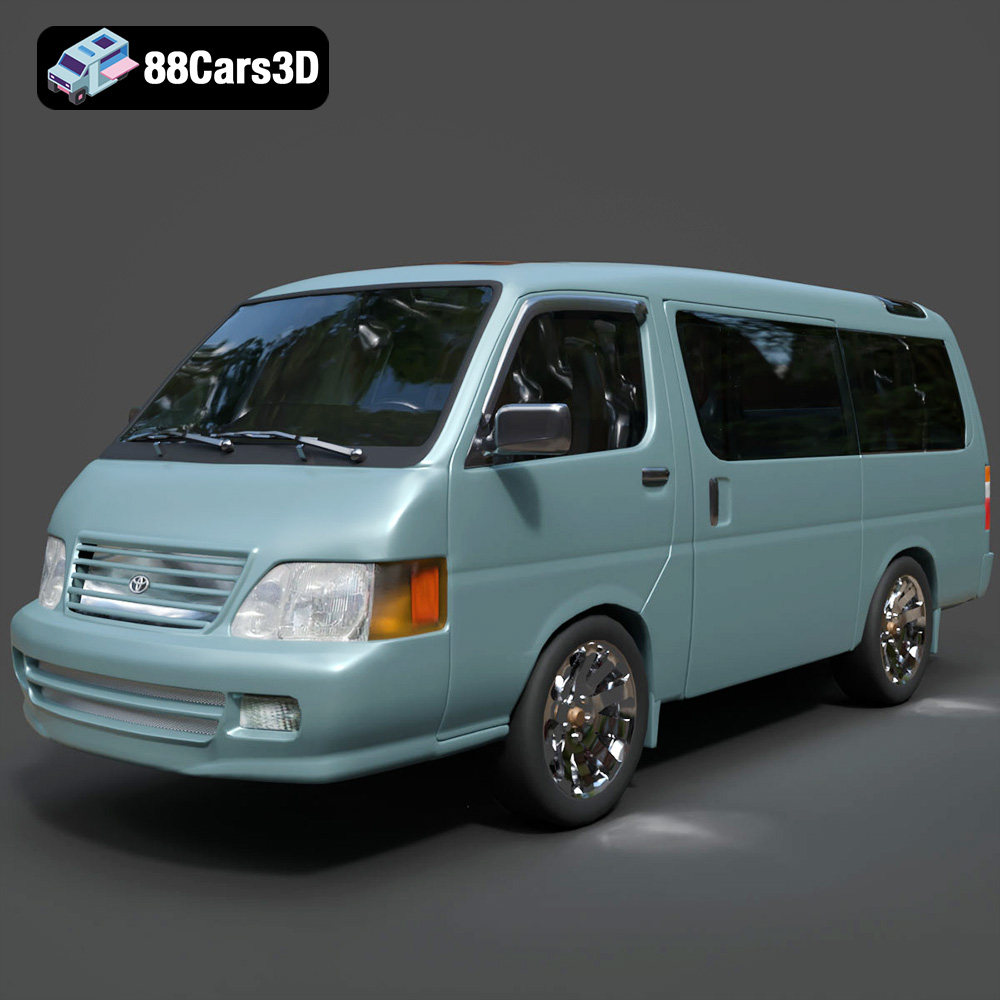
Toyota Hiace 3D Model
Texture: Yes
Material: Yes
Download the Toyota Hiace 3D Model featuring versatile design and detailed exterior. Includes .blend, .fbx, .obj, .glb, .stl, .ply, .unreal, and .max formats for rendering, simulation, and game development.
Price: $21.99
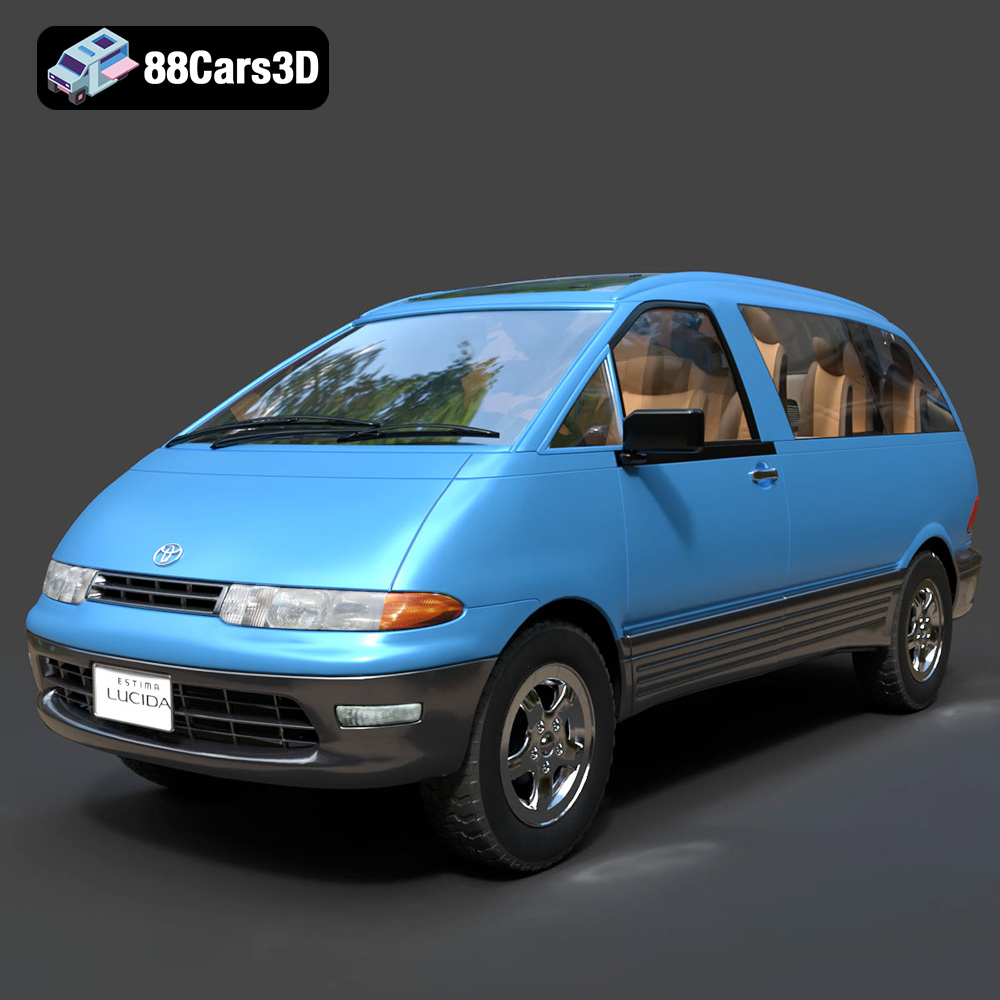
Toyota Estima Lucida 3D Model
Texture: Yes
Material: Yes
Download the Toyota Estima Lucida 3D Model featuring its iconic compact MPV design, versatile interior, and accurate exterior details. Includes .blend, .fbx, .obj, .glb, .stl, .ply, .unreal, and .max formats for rendering, simulation, and game development.
Price: $24.99

Toyota Alphard 3D Model
Texture: Yes
Material: Yes
Download the Toyota Alphard 3D Model featuring a detailed luxury minivan design with an accurate exterior and interior. Includes .blend, .fbx, .obj, .glb, .stl, .ply, .unreal, and .max formats for rendering, simulation, and game development.
Price: $21.99
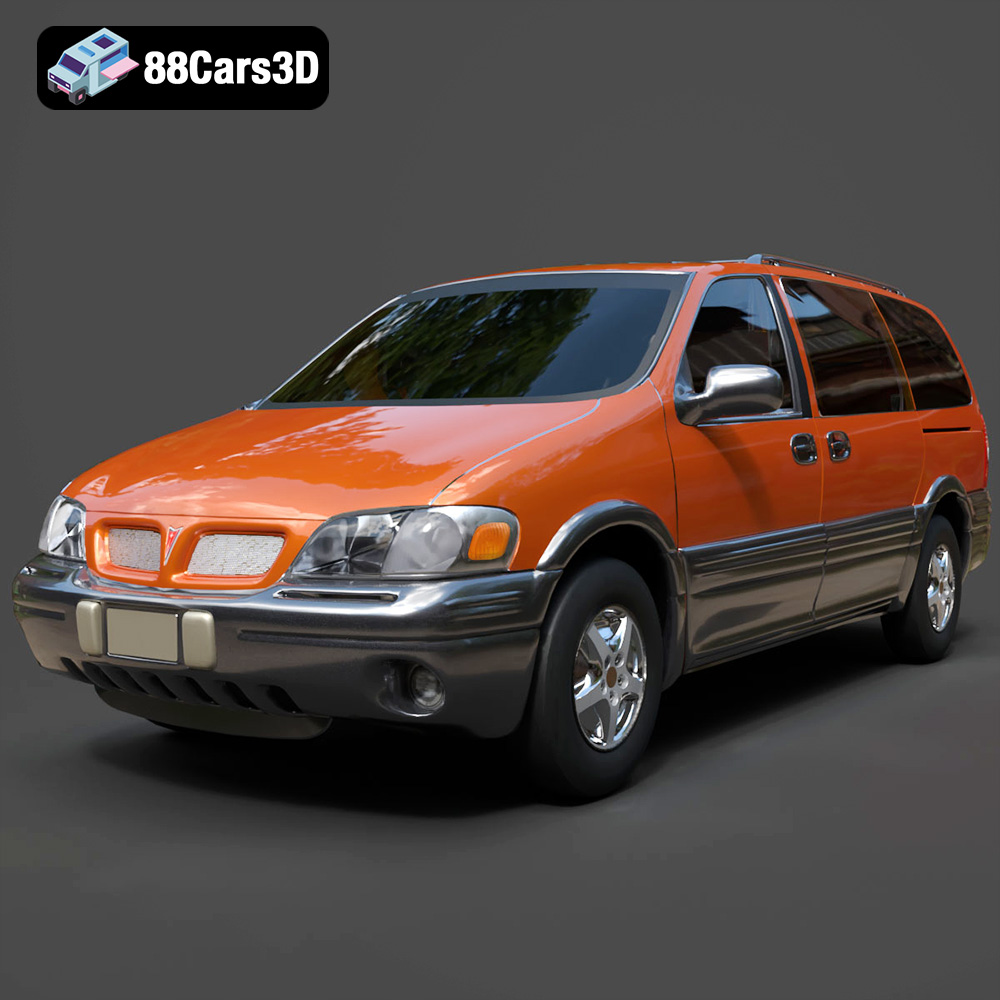
Pontiac Montana 1998 3D Model
Texture: Yes
Material: Yes
Download the Pontiac Montana 1998 3D Model featuring a detailed exterior, functional interior, and optimized mesh. Includes .blend, .fbx, .obj, .glb, .stl, .ply, .unreal, and .max formats for rendering, simulation, and game development.
Price: $21.99
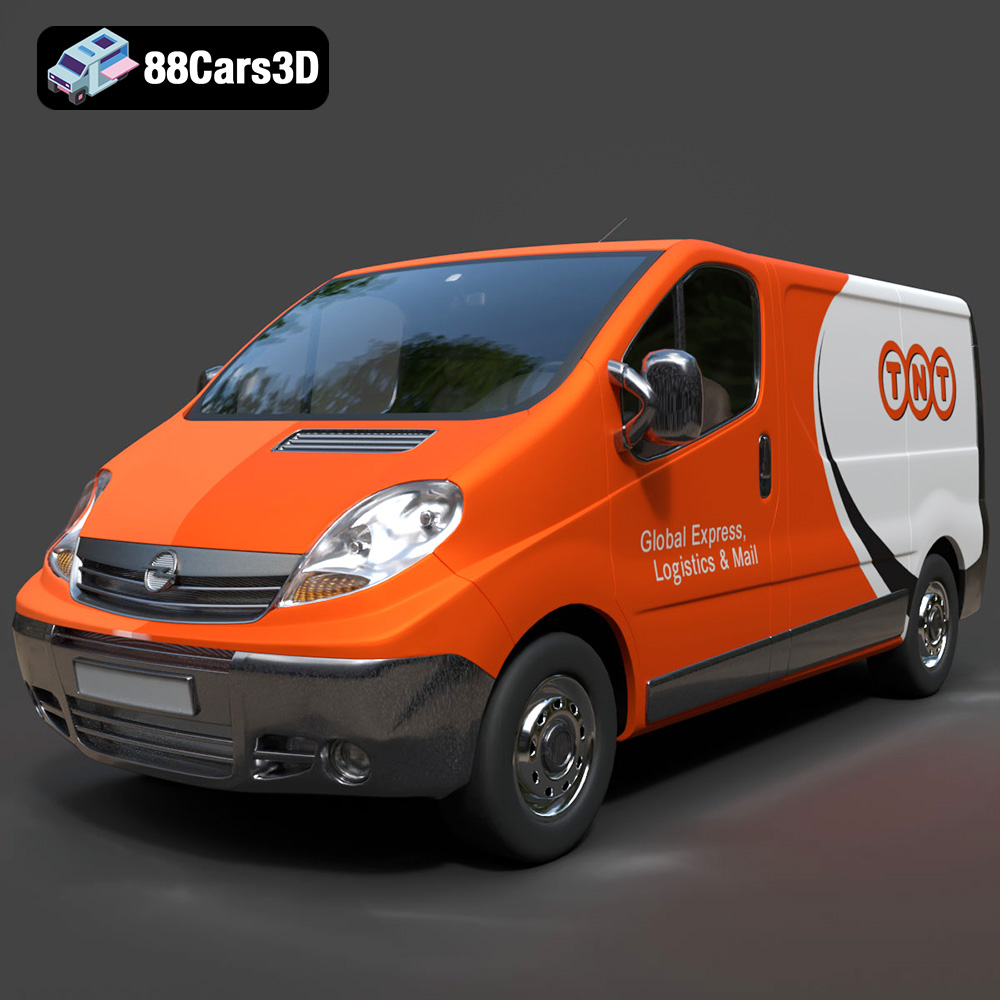
Opel Vivaro 3D Model
Texture: Yes
Material: Yes
Download the Opel Vivaro 3D Model featuring a versatile commercial van design with balanced detailing. Includes .blend, .fbx, .obj, .glb, .stl, .ply, .unreal, and .max formats for rendering, simulation, and game development.
Price: $21.99
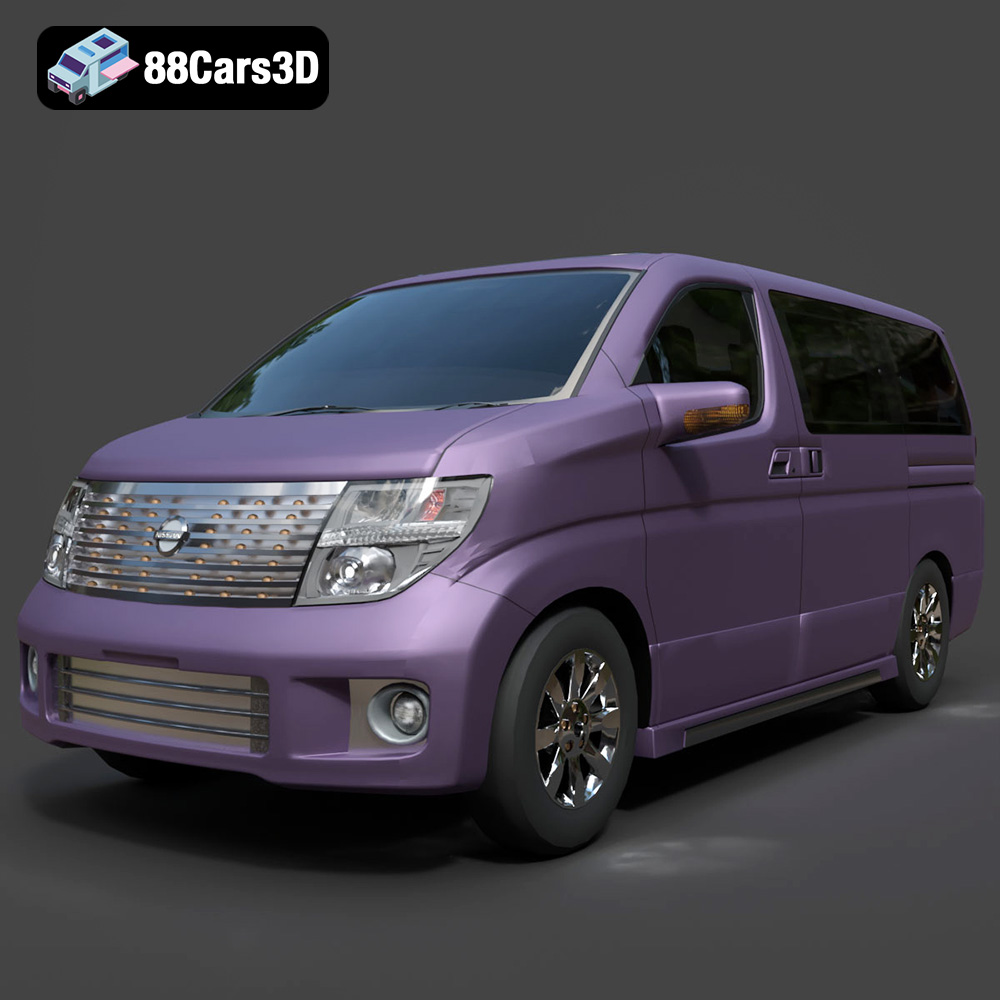
Nissan Elgrand 3D Model
Texture: Yes
Material: Yes
Download the Nissan Elgrand 3D Model featuring a versatile minivan design. Includes .blend, .fbx, .obj, .glb, .stl, .ply, .unreal, and .max formats for rendering, simulation, and game development.
Price: $21.99
