

The automotive industry is in a perpetual state of innovation, not just in vehicle design and engineering, but also in how cars are envisioned, presented, and experienced long before they hit the road. At the forefront of this revolution is real-time rendering, with Unreal Engine emerging as the undisputed champion for creating stunning, interactive automotive visualizations. From conceptual design reviews to marketing campaigns, virtual showrooms, and immersive AR/VR experiences, Unreal Engine 5 provides an unparalleled toolkit for automotive professionals. But the foundation of any breathtaking visualization lies in the quality of its assets.
This comprehensive guide delves deep into leveraging Unreal Engine 5 for mastering automotive visualization and real-time rendering. We’ll explore the entire workflow, from setting up your project and integrating high-quality 3D car models, to crafting realistic PBR materials, illuminating your scenes with advanced lighting, optimizing performance with cutting-edge features like Nanite, and finally, bringing your vehicles to life through interactivity and cinematic sequences. Whether you’re a game developer, an automotive designer, or a visualization specialist, understanding these techniques is crucial for staying ahead in a rapidly evolving digital landscape. Sourcing meticulously crafted game assets like those found on platforms such as 88cars3d.com provides an excellent starting point, ensuring your projects benefit from clean topology, realistic PBR materials, and optimized UV mapping right from the get-go.
Setting Up Your Unreal Engine Project for Automotive Excellence
Embarking on an automotive visualization project in Unreal Engine requires a thoughtful setup to ensure optimal performance and visual fidelity. The initial configuration lays the groundwork for every subsequent step, impacting everything from asset import to final render quality. Choosing the right project template and enabling essential plugins are critical first steps for any Unreal Engine development.
Project Creation and Core Settings
When creating a new project, while a ‘Blank’ template offers maximum flexibility, starting with an ‘Architectural Visualization’ or even ‘Games’ > ‘Blank’ template can provide useful initial settings or pre-configured assets. For automotive visualization, it’s often best to start clean to control every aspect. Crucially, ensure you enable Ray Tracing support if your hardware allows, as it significantly enhances reflections, shadows, and global illumination. Navigate to Edit > Project Settings > Engine > Rendering and enable ‘Ray Tracing’ and ‘Support Hardware Ray Tracing’.
Beyond this, several plugins are indispensable. Datasmith (found under Edit > Plugins > Built-in > Datasmith Importer) is vital for efficient CAD and DCC import, ensuring model integrity. For cinematic output, the ‘High Quality Media Export’ plugin is essential. For complex virtual production scenarios, ‘Virtual Production Utilities’ and ‘nDisplay’ might be necessary. Always restart the engine after enabling new plugins. Adjusting the Engine Scalability Settings (Settings > Engine Scalability Settings) to ‘Cinematic’ is a good starting point for high-fidelity work, though you’ll fine-tune specific settings later for real-time rendering optimization.
Importing High-Quality 3D Car Models
The quality of your 3D car models directly dictates the realism of your visualization. High-quality assets feature clean topology (quad-based, optimized polygon counts), proper UV mapping, and PBR-ready material assignments. When sourcing assets from marketplaces such as 88cars3d.com, you’re typically getting models pre-optimized for Unreal Engine, supporting formats like FBX, USD, and USDZ. For importing, Datasmith is the preferred workflow for static meshes like cars.
To import, navigate to File > Import into Level or use the Datasmith button on the toolbar. When importing an FBX or USD file, Datasmith intelligently processes the scene, retaining hierarchies, material assignments, and even basic animations. Ensure that the import settings align with your scene’s scale (Unreal Engine uses centimeters by default). After import, immediately check the asset’s scale, pivot point, and material slots. Models with clearly separated parts (body, wheels, interior, glass) will simplify material application and interactivity later on. Inspecting the mesh in the Static Mesh Editor for proper normals and tangent space generation is also crucial for accurate shading.
Crafting Realistic PBR Materials and Textures
The visual believability of a car in Unreal Engine hinges heavily on its materials. Physically Based Rendering (PBR) is the cornerstone of modern real-time graphics, providing a standardized way to describe how light interacts with surfaces. Mastering PBR materials in Unreal Engine’s Material Editor is paramount for achieving stunning automotive visualization.
Understanding PBR for Automotive Materials
PBR materials rely on a few core principles: energy conservation and physically accurate light interaction. The primary parameters you’ll work with are Base Color (Albedo), Metallic, Roughness, Normal, and Ambient Occlusion. For automotive applications, these maps are crucial for replicating diverse surfaces: glossy car paint, reflective chrome, rough tire rubber, transparent glass, and various interior textures like leather and plastic. Car paint, in particular, often requires a complex layered material setup to accurately simulate its clear coat, metallic flakes, and underlying base color. Materials should be authored with consistent PBR values; for instance, pure metals have a Metallic value of 1 and their Base Color defines their tint, while non-metals (dielectrics) have a Metallic value of 0 and their Base Color defines their diffuse color. Roughness determines the micro-surface detail, influencing how sharp or blurry reflections appear.
For efficient iteration and customization, always aim to create Master Materials and then generate Material Instances. This allows artists to quickly adjust parameters like color, roughness, or texture scale without recompiling the entire shader, which is invaluable when creating variants for an automotive configurator or experimenting with different finishes. Understanding how to correctly set these parameters for different automotive surfaces is key to achieving photorealism.
Advanced Material Editor Techniques
Unreal Engine’s Material Editor offers powerful tools for intricate material creation. For car paint, a common technique involves using a layered material approach. This means having a base layer for the car’s primary color and metallic flakes, and a separate clear coat layer on top that provides the characteristic gloss and reflectivity. This clear coat can have its own normal map (for orange peel effect) and roughness map (for subtle variations in gloss). Material Functions are invaluable for encapsulating reusable material logic, such as a custom car paint shader or a utility node for Fresnel reflections, which can then be easily incorporated into multiple master materials.
To add wear and tear, or dynamic decals, blending multiple materials or textures using masks is a common approach. For example, a dirt or scratch texture can be masked and blended over the base car paint material. Optimal texture resolutions are vital; while 4K or 8K textures might be used for large, prominent surfaces like the car body, smaller details might only need 2K or 1K. Proper UV mapping, often included with high-quality 3D car models from sources like 88cars3d.com, ensures textures display correctly without stretching. Ensure texture streaming is enabled and mipmaps are generated to manage memory efficiently, especially for large projects involving many vehicles or intricate environments.
Illuminating Your Scene: Mastering Real-Time Lighting
Lighting is the single most important factor in bringing life and realism to your automotive visualization. Unreal Engine 5 offers state-of-the-art real-time global illumination and reflections through Lumen, alongside traditional lighting methods, providing an incredible toolkit for creating captivating scenes. The interplay of light, shadow, and reflection can make or break the perception of a vehicle’s design and materials.
Lumen and Global Illumination for Dynamic Scenes
Lumen is Unreal Engine 5’s default global illumination and reflections system, designed for next-generation consoles and high-end PCs. It provides spectacular indirect lighting, making light bounce realistically off surfaces and illuminate the scene, eliminating the need for complex light baking in many scenarios. This dynamism is crucial for automotive projects where lighting might change throughout the day, or vehicles move between different environments. To enable Lumen, navigate to Edit > Project Settings > Engine > Rendering > Global Illumination and set ‘Dynamic Global Illumination Method’ to ‘Lumen’. Similarly, set ‘Reflection Method’ to ‘Lumen’.
Lumen excels at capturing the nuances of light interaction, from subtle color bounces off car paint to realistic fill light in shaded areas. For headlights and taillights, utilizing emissive materials on the light mesh, combined with local point lights or spotlights, creates a convincing effect. Ensure these emissive materials are correctly configured to contribute to Lumen’s global illumination. Understanding Lumen’s various settings (e.g., Final Gather Quality, Trace Distance) allows for fine-tuning the balance between visual quality and real-time rendering performance. While Lumen is powerful, a basic understanding of light types (Directional Light for sun, Sky Light for ambient, Point/Spot Lights for specific illumination) is still necessary to build effective lighting scenarios.
Cinematic Lighting Setups and HDRI Environments
Beyond Lumen’s powerful GI, achieving cinematic lighting often involves a combination of techniques. High Dynamic Range Image (HDRI) backdrops are incredibly effective for providing realistic environmental lighting and reflections, especially for studio setups or outdoor scenes. An HDRI Sky Dome (a sphere with an HDRI texture applied, often combined with a Sky Light) serves as both a light source and a reflection source, creating perfectly matched lighting conditions. Adjusting the Sky Light’s intensity and cubemap resolution is crucial for sharp reflections. For additional realism, consider placing a Directional Light to simulate direct sunlight, ensuring its direction aligns with the dominant light source in your HDRI.
Reflections are paramount for automotive surfaces. While Lumen handles global reflections dynamically, for very precise or performance-critical reflections, you might still utilize Planar Reflections (for flat surfaces like highly reflective floors) or Reflection Capture Actors (for static, pre-calculated reflections in specific areas). Always use a Post Process Volume to fine-tune exposure, color grading, bloom, ambient occlusion, and other visual effects that dramatically enhance the mood and realism of your scene. For highly static elements or scenarios where ray tracing isn’t feasible, traditional Lightmass baked lighting can still be leveraged, often accelerated by GPU Lightmass for faster iterations. Experimenting with light temperature, intensity, and bounce cards (simple white planes reflecting light) is key to professional-grade lighting.
Performance and Visual Fidelity: Nanite, LODs, and Optimization
Achieving breathtaking visual quality in automotive visualization projects within Unreal Engine, especially with highly detailed 3D car models, often comes with significant performance challenges. Unreal Engine 5 introduces revolutionary features like Nanite, alongside traditional optimization techniques like Level of Detail (LODs), to allow artists to push visual fidelity without sacrificing real-time rendering performance.
Unleashing Nanite for High-Poly Car Models
Nanite virtualized geometry is arguably Unreal Engine 5’s most transformative feature for high-fidelity assets. It allows artists to import and render meshes with millions or even billions of polygons without manual LODs, draw call budgeting, or significant performance drops. For detailed 3D car models, which can often have complex geometry for every bolt, seam, and interior component, Nanite is a game-changer. To enable Nanite on a Static Mesh, simply open the Static Mesh Editor and check ‘Enable Nanite’ in the Details panel, then apply changes. Nanite intelligently streams and renders only the necessary detail for each pixel on screen, drastically reducing GPU load.
The benefits are immense: artists can use high-resolution CAD data directly or sculpt highly detailed models without worrying about polygon count. This means a car body can maintain exquisite detail even up close, with all its subtle curves and surface imperfections faithfully rendered. However, Nanite currently has some limitations: it doesn’t support materials with World Position Offset, per-pixel translucent rendering (though translucent materials on Nanite meshes will fall back to traditional rendering for the translucent part), or specific rendering features like tessellation. For translucent parts like glass, it’s often best to separate them from the main Nanite mesh. For animated car parts (e.g., opening doors), you might need to use standard static meshes or skeletal meshes, depending on the complexity of the animation and interaction. For optimal performance, always analyze Nanite’s statistics (using the ‘stat nanite’ console command) to ensure efficient usage.
Level of Detail (LODs) and Culling Strategies
While Nanite handles geometry complexity for static meshes, traditional Level of Detail (LOD) management remains crucial for other asset types and scenarios, particularly for skeletal meshes (like animated vehicle components or characters) and for optimizing scenes where Nanite might not be applicable or desired. LODs allow you to create multiple versions of a mesh, each with a decreasing number of polygons, and then swap them out based on the camera’s distance to the object. For optimal performance, objects further away use lower-poly LODs, significantly reducing vertex processing. Unreal Engine can automatically generate LODs (right-click on a Static Mesh > ‘Create LODs’), but manual creation and fine-tuning offer greater control, especially for critical assets like the car itself. Set appropriate ‘Screen Size’ thresholds for each LOD to ensure smooth transitions.
Beyond LODs, various culling strategies contribute to performance optimization. Occlusion Culling prevents rendering objects hidden behind other opaque objects, while Frustum Culling ensures only objects within the camera’s view frustum are processed. Proper scene organization, using hierarchical structures and instancing common meshes (like bolts or repeated interior patterns), helps reduce draw calls, a significant performance bottleneck. Efficient texture streaming with appropriate mipmaps ensures that only the necessary texture resolution is loaded into memory, saving VRAM. Regularly profiling your scene using Unreal Engine’s built-in tools (e.g., ‘stat unit’, ‘stat GPU’, ‘Unreal Insights’) is essential to identify and address performance bottlenecks effectively, ensuring a smooth real-time rendering experience for your automotive visualization.
Bringing Cars to Life: Interactivity and Cinematics
Static renders, while beautiful, only tell part of the story. The true power of Unreal Engine in automotive visualization lies in its ability to create interactive experiences and compelling cinematic narratives. By leveraging Blueprint visual scripting and the powerful Sequencer tool, you can transform static 3D car models into dynamic, engaging showcases.
Blueprint for Interactive Automotive Experiences
Blueprint is Unreal Engine’s visual scripting system, allowing designers and artists to create complex gameplay and interactive elements without writing a single line of code. For automotive projects, Blueprint is indispensable for building interactive configurators, animated vehicle features, and dynamic environments. Imagine a user clicking on a car to change its paint color, swap wheel designs, or open its doors – all achieved through Blueprint. A common workflow involves:
- Material Swapping: Create an array of material instances (e.g., different car paint colors). Use a Blueprint script to switch the car body’s material dynamically when a UI button is pressed or an event is triggered.
- Part Swapping: For wheel changes or alternative body kits, you can toggle the visibility of different Static Mesh components or spawn new meshes based on user selection.
- Animations: Animate doors, hoods, or trunks using simple timelines in Blueprint. When a user interacts, play the timeline forward or reverse to open/close the component. You can also integrate basic vehicle physics using Unreal Engine’s Chaos Vehicle system, enabling realistic driving experiences.
Setting up simple collision detection and event dispatchers allows for robust interaction. For example, a “mouse click” event on a car part could trigger an animation or bring up a customization menu. Integrating a user interface (UI) using Unreal Engine’s UMG (Unreal Motion Graphics) further enhances the user experience, providing intuitive controls for your automotive configurator or interactive demo. For more details on vehicle physics and control, consult the official Unreal Engine documentation on Chaos Vehicles.
Cinematic Storytelling with Sequencer
When it comes to creating stunning promotional videos, virtual showroom tours, or narrative-driven animations, Sequencer is your go-to tool in Unreal Engine. Sequencer is a powerful non-linear cinematic editor that allows you to choreograph every aspect of your scene over time, including camera movements, character animations (if applicable), object transformations, material changes, and visual effects. It’s essentially a complete video editing suite built right into the engine.
Key workflows in Sequencer for automotive visualization include:
- Camera Animation: Create dynamic camera paths that smoothly orbit, zoom, or track the vehicle, showcasing its design details. You can use Cine Camera Actors for film-like lens effects.
- Vehicle Animation: Animate the car’s movement, wheels spinning, or even dynamic suspension effects. Combine this with keyframing material parameters to show off dynamic paint finishes or lighting changes.
- Lighting and Environment Changes: Transition between different lighting setups (day to night), activate spotlights, or change weather effects to demonstrate the car in various conditions.
- High-Quality Export: Once your cinematic is complete, use the High Quality Media Export feature to render out professional-grade video files (e.g., EXR image sequences for post-production, or ProRes/H.264 videos). Ensure settings like frame rate, resolution, and anti-aliasing are optimized for your desired output quality.
Sequencer is also a core component of virtual production workflows, where it can be used to control live LED wall content, allowing for seamless integration of virtual cars into real-world studio environments. Mastering Sequencer is essential for any professional looking to create high-impact visual content with their Unreal Engine projects.
Advanced Applications: AR/VR, Virtual Production, and Future Trends
The capabilities of Unreal Engine extend far beyond traditional visualization, enabling cutting-edge applications in augmented reality (AR), virtual reality (VR), and virtual production. These advanced uses are revolutionizing how automotive designers, marketers, and engineers interact with their products, pushing the boundaries of immersive experiences and collaborative workflows.
Optimizing for AR/VR Automotive Experiences
Creating immersive AR/VR automotive applications presents unique optimization challenges due to the stringent performance requirements for a smooth user experience (typically 90+ frames per second). Every polygon, texture, and shader instruction must be meticulously managed. When developing for VR, for instance, you need to render the scene twice (once for each eye), effectively doubling the rendering cost. Key optimization strategies include:
- Aggressive LODs: While Nanite is powerful, ensure that non-Nanite meshes (like interactive components or transparent parts) have robust LODs that aggressively reduce poly counts at distance.
- Draw Call Reduction: Consolidate materials where possible, use instancing for repeated elements, and minimize the number of unique meshes.
- Texture Optimization: Use appropriate texture resolutions, enable mipmaps, and compress textures efficiently.
- Simplified Materials: Avoid overly complex material graphs with many instructions. Consider baking complex lighting into textures for static environments if dynamic Lumen isn’t feasible for target hardware.
- Forward Shading: For VR, using the Forward Shading renderer (enabled in Project Settings) can offer performance benefits, especially with transparency and MSAA.
For mobile AR (e.g., ARKit for iOS, ARCore for Android), performance is even more critical. You’ll need highly optimized 3D car models with lower polygon counts (e.g., under 100k triangles for the entire vehicle), significantly reduced texture sizes, and streamlined material setups. Blueprint scripting is used to handle AR functionalities like plane detection, anchoring models to real-world surfaces, and user interaction within the AR environment, allowing users to place and interact with a virtual car in their own driveway.
Virtual Production and Automotive Design Reviews
Virtual Production is rapidly transforming filmmaking and industrial design, and the automotive sector is a prime beneficiary. Using technologies like nDisplay, designers can project their Unreal Engine scenes onto large LED walls, creating immersive, real-time backgrounds for physical vehicle prototypes or even real actors. This allows for unparalleled realism in design reviews, marketing shoots, and collaborative ideation sessions.
Key aspects of virtual production in automotive:
- nDisplay: This Unreal Engine framework enables rendering a single scene across multiple synchronized displays or projectors, powering vast LED volumes. It’s used to create dynamic environments that react to camera movement, providing accurate real-time parallax.
- LED Wall Workflows: Combining high-quality 3D car models within an Unreal Engine environment, projected onto an LED wall, allows designers to see their vehicles in diverse virtual settings, making real-time adjustments and evaluating design choices more effectively.
- Real-time Data Visualization: Unreal Engine can be integrated with external data sources to visualize engineering data, aerodynamic simulations, or structural analyses directly onto the 3D car model, facilitating data-driven design decisions in real-time.
- USD (Universal Scene Description): The USD format is gaining traction in collaborative pipelines, offering a robust way to exchange complex scene data (geometry, materials, animation) between different DCC applications and Unreal Engine, streamlining workflows for large teams and ensuring data consistency.
These advanced applications underscore Unreal Engine’s versatility, offering sophisticated tools for every stage of the automotive lifecycle, from conceptual design to immersive marketing campaigns and beyond. The ability to integrate real-time rendering into these workflows marks a significant leap forward for the industry.
Conclusion
The journey through Unreal Engine 5 for automotive visualization reveals a potent combination of cutting-edge technology and artistic precision. We’ve explored how a meticulous project setup, coupled with high-quality 3D car models from resources like 88cars3d.com, forms the bedrock of stunning visuals. From crafting intricate PBR materials that accurately capture the essence of various surfaces to illuminating your scenes with Lumen‘s dynamic global illumination and cinematic lighting setups, every detail contributes to photorealism.
The revolutionary power of Nanite allows artists to embrace incredibly dense geometry without crippling performance, while traditional LOD management and smart optimization strategies ensure smooth real-time rendering across diverse platforms. Beyond static images, we delved into bringing vehicles to life through interactive Blueprint scripts for configurators and dynamic vehicle features, and by creating compelling narratives using Sequencer. Finally, we touched upon advanced applications in AR/VR and virtual production, demonstrating Unreal Engine’s pivotal role in shaping the future of automotive design and marketing.
The landscape of automotive visualization is continually evolving, driven by the relentless innovation of engines like Unreal. For anyone involved in this dynamic field, mastering these tools and techniques is no longer optional but essential. The path to creating immersive, interactive, and visually stunning automotive experiences starts here. We encourage you to dive in, experiment with these powerful features, and unleash the full potential of your Unreal Engine development skills to redefine what’s possible in the world of real-time automotive rendering.
Featured 3D Car Models
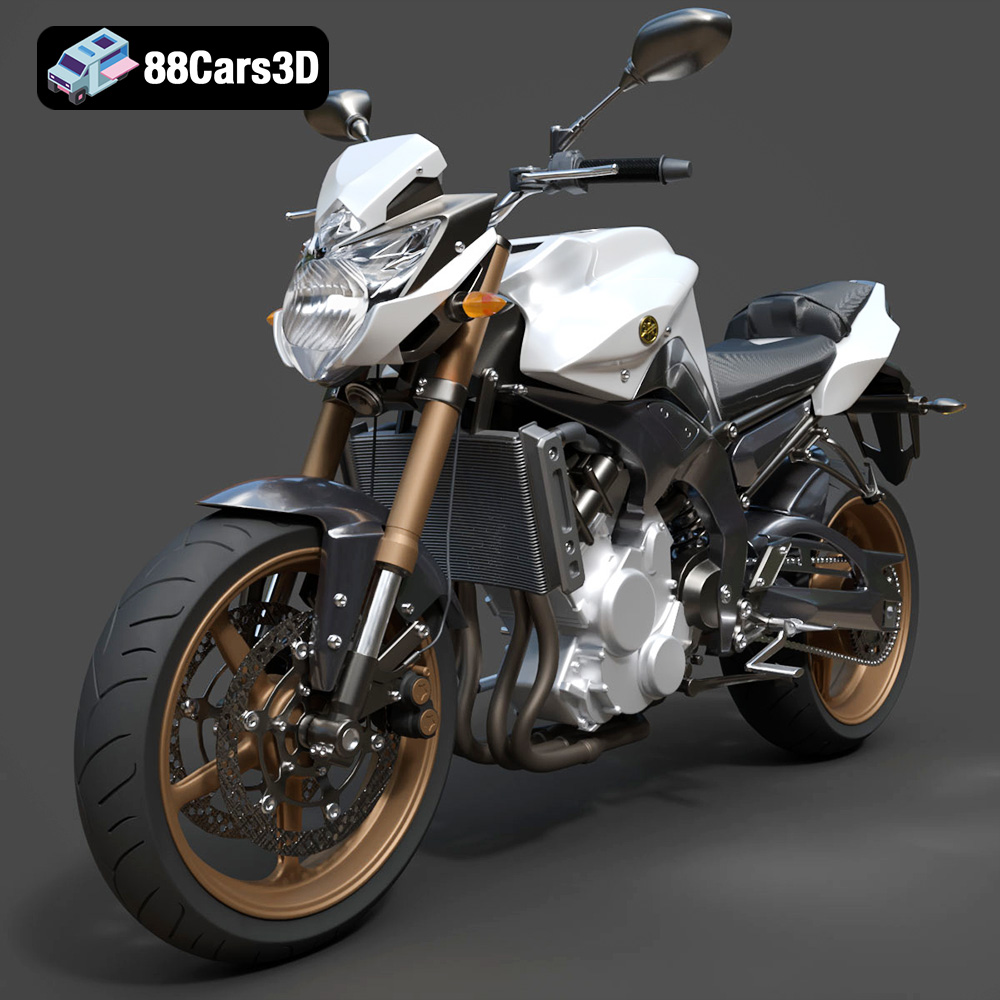
Yamaha FZ8 2011 3D Model
Texture: Yes
Material: Yes
Download the Yamaha FZ8 2011 3D Model featuring clean geometry, realistic detailing, and a fully modeled interior. Includes .blend, .fbx, .obj, .glb, .stl, .ply, .unreal, and .max formats for rendering, simulation, and game development.
Price: $19.99
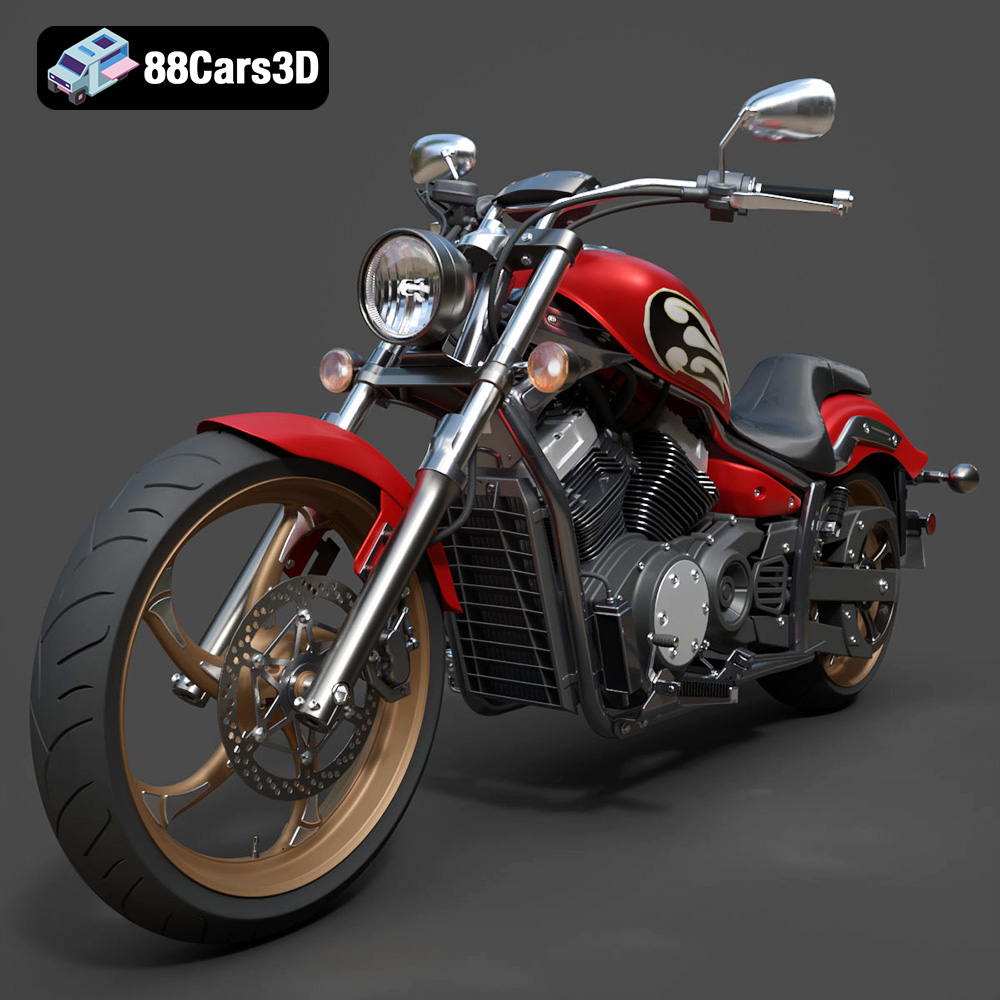
Yamaha Stryker 2012 3D Model
Texture: Yes
Material: Yes
Download the Yamaha Stryker 2012 3D Model featuring clean geometry, realistic detailing, and a fully modeled interior. Includes .blend, .fbx, .obj, .glb, .stl, .ply, .unreal, and .max formats for rendering, simulation, and game development.
Price: $19.99
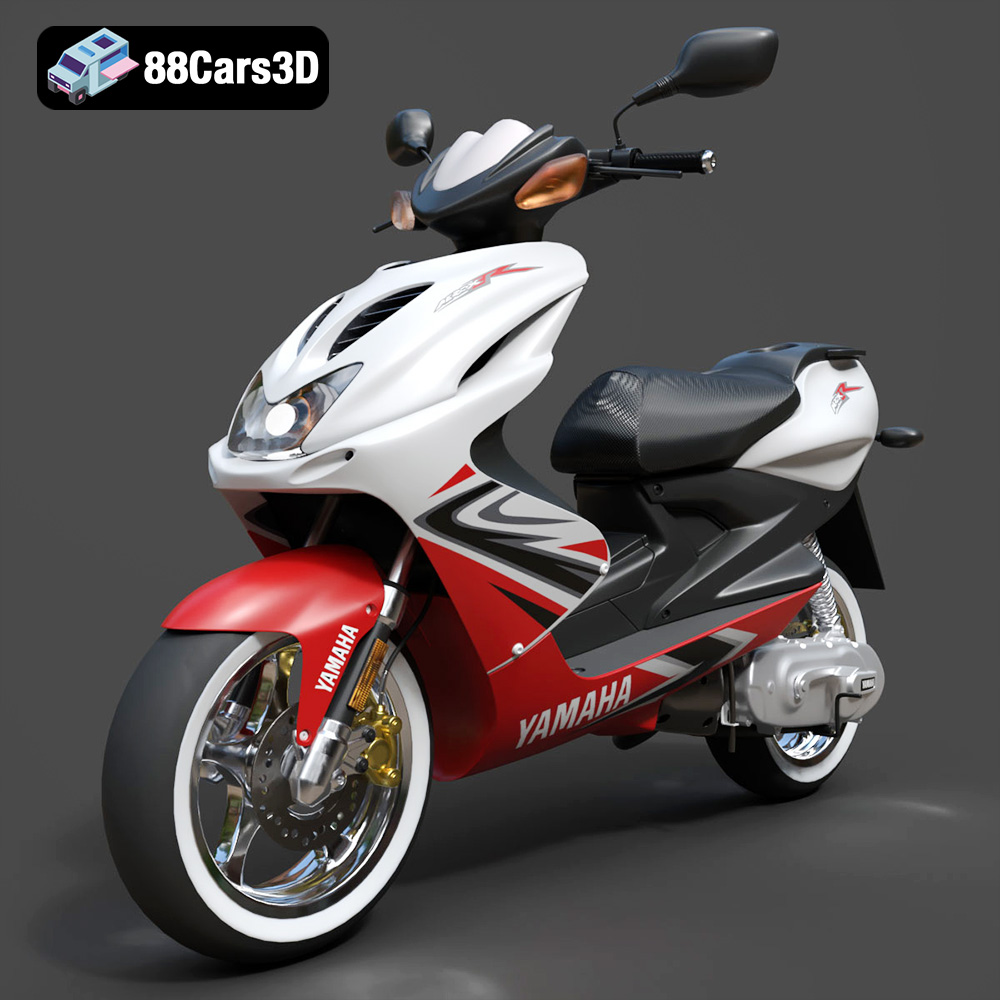
Yamaha Aerox R-002 2024 3D Model
Texture: Yes
Material: Yes
Download the Yamaha Aerox R-002 2024 3D Model featuring clean geometry, realistic detailing, and a fully modeled interior. Includes .blend, .fbx, .obj, .glb, .stl, .ply, .unreal, and .max formats for rendering, simulation, and game development.
Price: $19.99
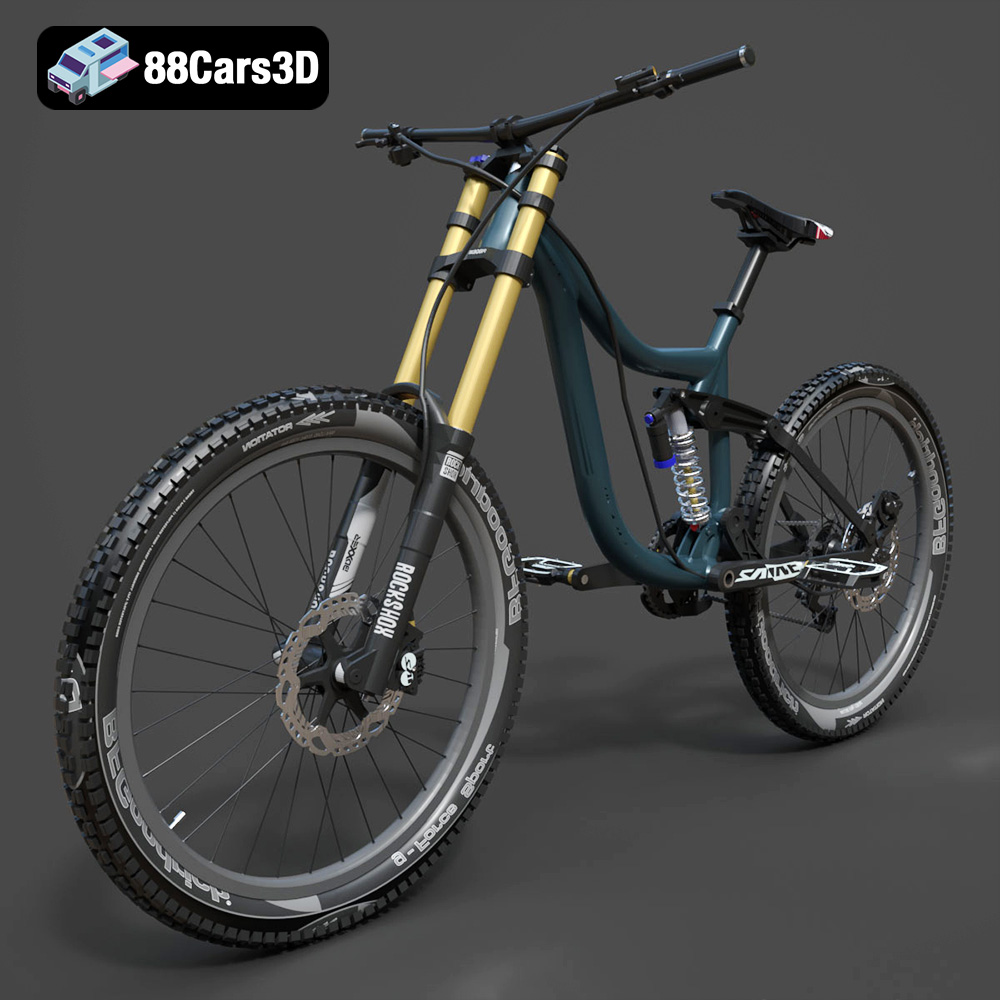
Mototsikly Downhill Bike-002 3D Model
Texture: Yes
Material: Yes
Download the Mototsikly Downhill Bike-002 3D Model featuring clean geometry, realistic detailing, and precise mechanical components. Includes .blend, .fbx, .obj, .glb, .stl, .ply, .unreal, and .max formats for rendering, simulation, and game development.
Price: $19.99
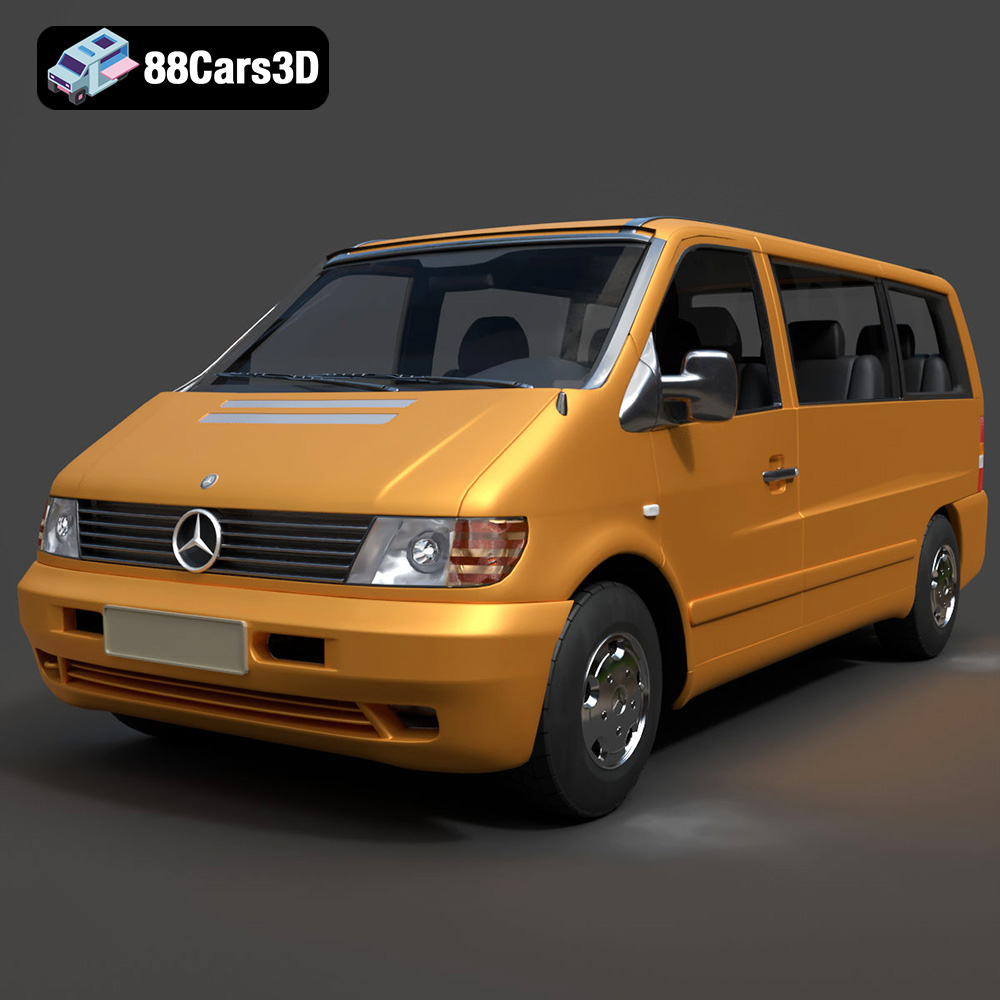
Mercedes-Benz Vito Passenger Van 3D Model
Texture: Yes
Material: Yes
Download the Mercedes-Benz Vito Passenger Van 3D Model featuring clean geometry, realistic detailing, and a fully modeled interior. Includes .blend, .fbx, .obj, .glb, .stl, .ply, .unreal, and .max formats for rendering, simulation, and game development.
Price: $19.99
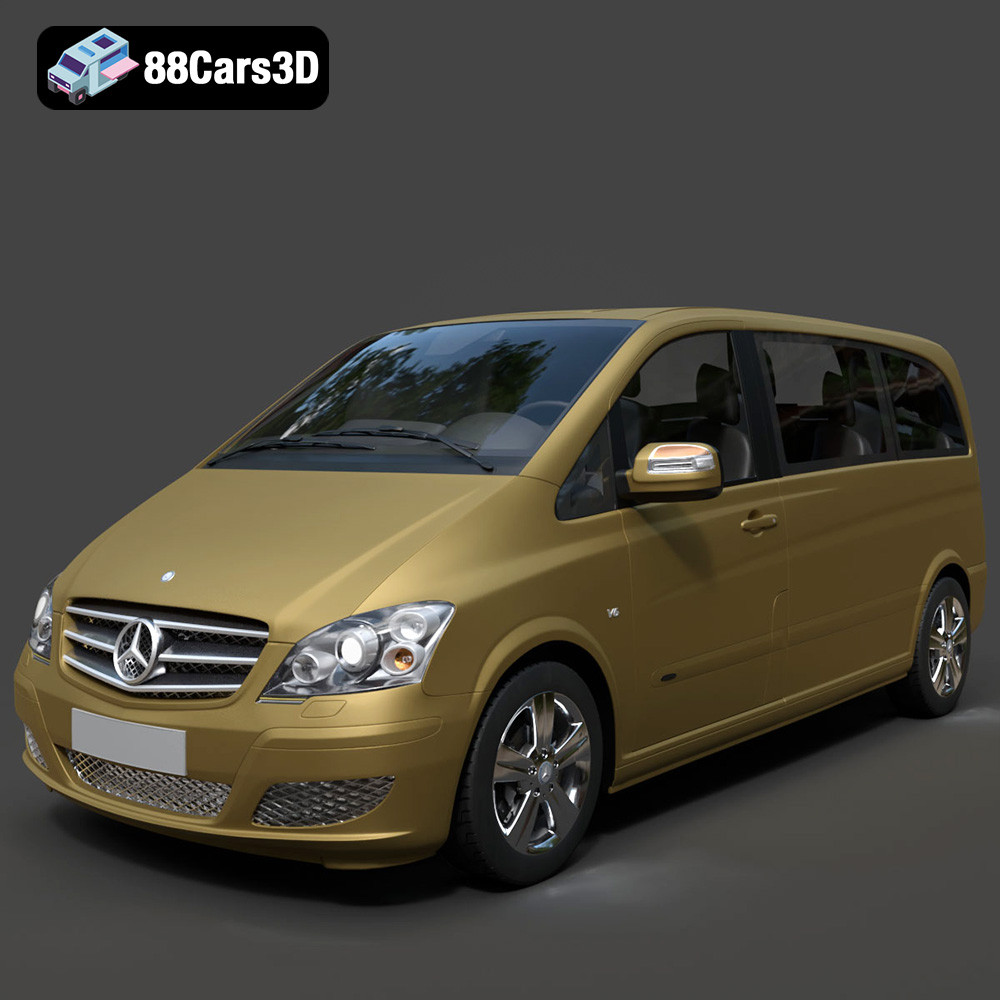
Mercedes-Benz Viano 2010 3D Model
Texture: Yes
Material: Yes
Download the Mercedes-Benz Viano 2010 3D Model featuring clean geometry, realistic detailing, and a fully modeled interior. Includes .blend, .fbx, .obj, .glb, .stl, .ply, .unreal, and .max formats for rendering, simulation, and game development.
Price: $19.99

Emt Avtobus 007 3D Model
Texture: Yes
Material: Yes
Download the Emt Avtobus 007 3D Model featuring clean geometry, realistic detailing, and a fully modeled interior. Includes .blend, .fbx, .obj, .glb, .stl, .ply, .unreal, and .max formats for rendering, simulation, and game development.
Price: $19.99
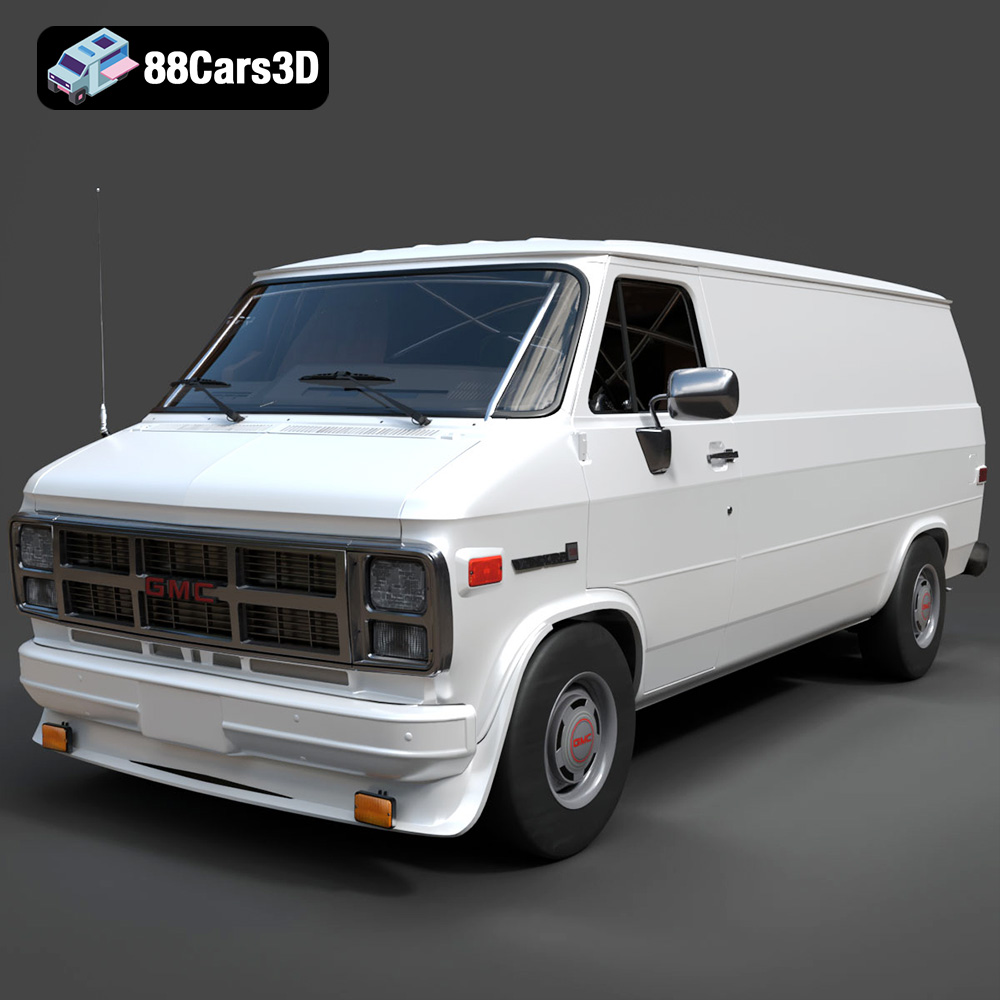
GMC Vandura G-1500 1983 3D Model
Texture: Yes
Material: Yes
Download the GMC Vandura G-1500 1983 3D Model featuring clean geometry, realistic detailing, and a fully modeled interior. Includes .blend, .fbx, .obj, .glb, .stl, .ply, .unreal, and .max formats for rendering, simulation, and game development.
Price: $19.99
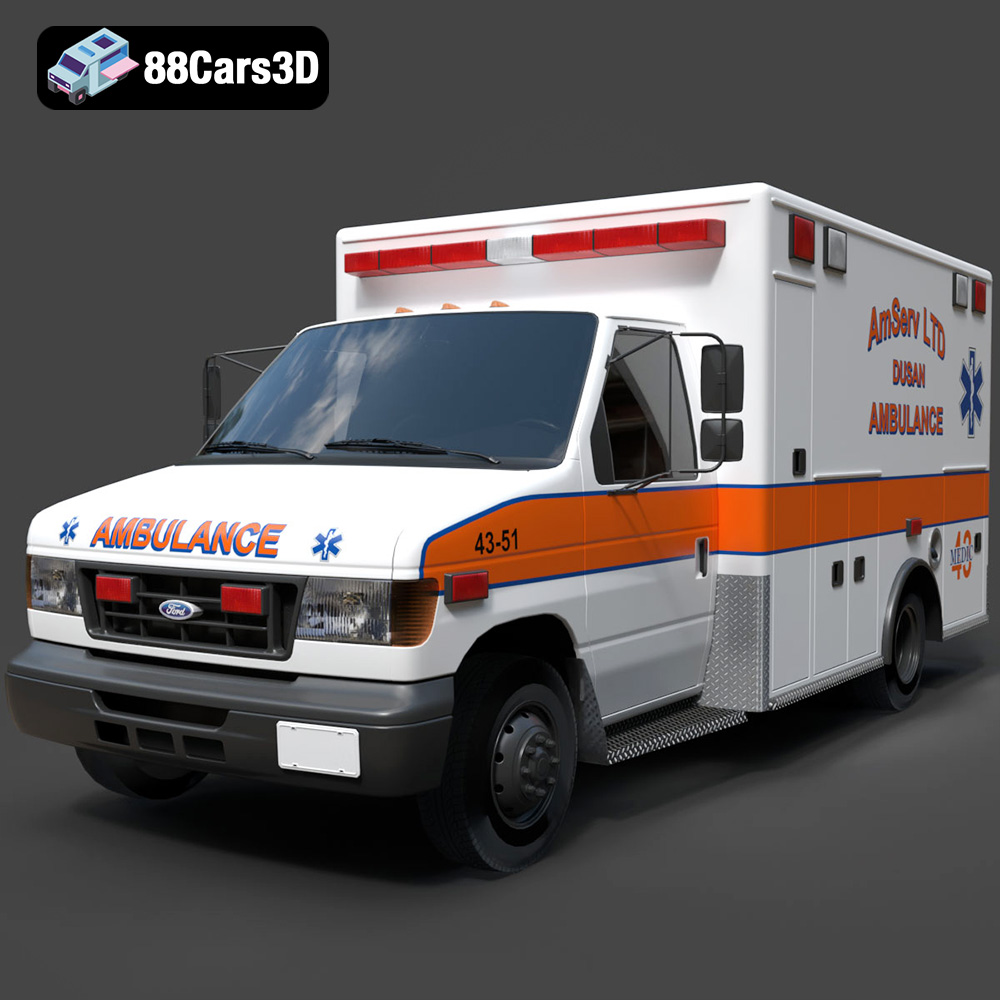
Ford Ambulance AmServ LTD Dusan-002 3D Model
Texture: Yes
Material: Yes
Download the Ford Ambulance AmServ LTD Dusan-002 3D Model featuring a high-detail exterior and interior, realistic textures, and emergency lighting. Includes .blend, .fbx, .obj, .glb, .stl, .ply, .unreal, and .max formats for rendering, simulation, and game development.
Price: $19.99
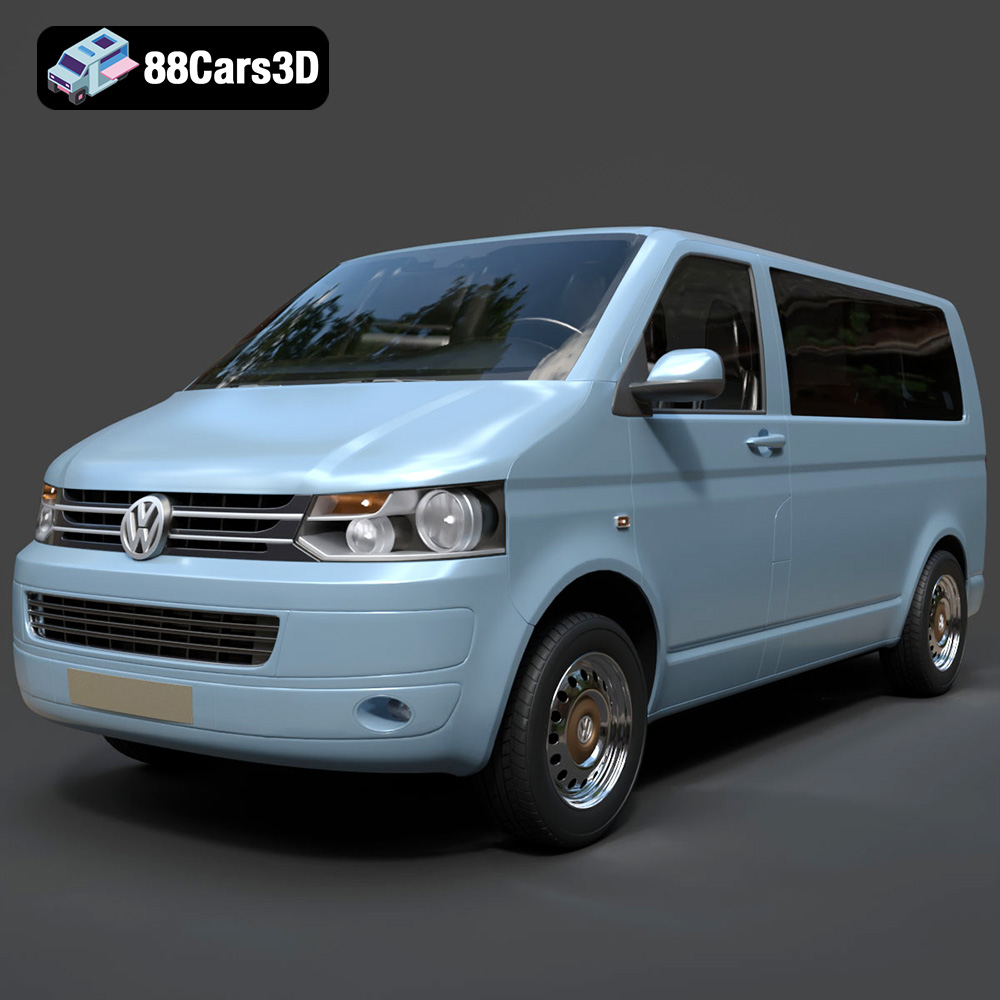
Volkswagen Transporter T5 FL 2010 3D Model
Texture: Yes
Material: Yes
Download the Volkswagen Transporter T5 FL 2010 3D Model featuring clean geometry, realistic detailing, and a fully modeled interior. Includes .blend, .fbx, .obj, .glb, .stl, .ply, .unreal, and .max formats for rendering, simulation, and game development.
Price: $22.99
