

The automotive industry is undergoing a profound transformation, driven by the relentless pursuit of realism and immersion in digital experiences. From concept design and marketing to interactive configurators and virtual production, real-time rendering with Unreal Engine has emerged as the indispensable tool. Professionals no longer rely on static images or lengthy offline renders; instead, they demand dynamic, interactive visualizations that can adapt and evolve in real time. This shift is not just about speed; it’s about empowerment, enabling designers, engineers, and marketers to bring their automotive visions to life with unprecedented fidelity and flexibility.
Unreal Engine, with its cutting-edge rendering capabilities, robust toolset, and vibrant ecosystem, stands at the forefront of this revolution. It allows artists and developers to transcend traditional limitations, creating experiences that blur the lines between the digital and physical. However, unlocking its full potential, especially with high-fidelity automotive assets, requires a deep understanding of its workflows, optimization strategies, and advanced features. This comprehensive guide will navigate you through the essential steps, from setting up your Unreal Engine project to leveraging advanced features like Nanite, Lumen, and Blueprint scripting, ensuring your 3D car models shine with unmatched realism and performance. Whether you’re a game developer, an automotive designer, or a visualization professional, prepare to elevate your skills and push the boundaries of real-time automotive rendering.
Setting the Stage: Unreal Engine Project Setup for Automotive Excellence
Embarking on an automotive visualization project in Unreal Engine begins with a thoughtful and strategic project setup. The foundation you lay here will dictate the efficiency of your workflow, the quality of your renders, and the performance of your interactive experiences. A well-configured project ensures that Unreal Engine’s powerful features are optimally aligned with the demands of high-fidelity automotive assets, such as those found on marketplaces like 88cars3d.com.
Project Templates and Initial Configuration
When creating a new project, selecting the appropriate template is your first critical decision. For automotive visualization, the ‘Automotive’ or ‘Games – Blank’ template often provides a good starting point. The ‘Automotive’ template includes pre-configured settings and starter content relevant to car rendering, while ‘Blank’ offers maximum flexibility for a custom setup. Regardless of your choice, several project settings require immediate attention for optimal performance and visual quality:
- Rendering Settings: Navigate to Project Settings > Engine > Rendering. Here, ensure ‘Lumen Global Illumination’ and ‘Lumen Reflections’ are enabled for realistic lighting. For ray-traced reflections and shadows, enable ‘Hardware Ray Tracing’ (requires supported GPU). Adjust ‘Virtual Shadow Maps’ (VSM) settings for high-quality, performant shadows, especially crucial for detailed car models.
- Scalability Settings: Unreal Engine’s scalability settings (Edit > Editor Preferences > Appearance > Scalability) are crucial for balancing visual fidelity with performance during development. While you’ll aim for “Epic” or “Cinematic” for final output, it’s wise to work with a slightly lower setting to maintain smooth editor performance.
- Input and UI: For interactive applications, configure input settings (Project Settings > Engine > Input) for camera controls, UI navigation, and any interactive elements you plan to implement.
It’s also beneficial to establish a clean folder structure from the outset (e.g., Models, Materials, Textures, Blueprints, Maps) to keep your project organized, especially when dealing with the numerous assets involved in detailed automotive scenes.
Essential Plugins for Automotive Workflows
Unreal Engine’s plugin architecture significantly extends its core capabilities, and several are indispensable for automotive projects. Activating these early in your development cycle can streamline import, scene management, and interactive content creation:
- Datasmith: This is arguably the most crucial plugin for importing complex CAD or DCC scene files (like those from 3ds Max, Maya, or SolidWorks) into Unreal Engine. Datasmith maintains scene hierarchy, material assignments, and metadata, making the transition of highly detailed 3D car models incredibly efficient. It supports various formats, including .UDATASMITH, .FBX, and .STEP, ensuring geometry, UVs, and initial materials are accurately transferred. For more details on Datasmith workflows, refer to the official Unreal Engine documentation at https://dev.epicgames.com/community/unreal-engine/learning.
- Variant Manager: Essential for interactive automotive configurators, the Variant Manager allows you to define and switch between different configurations of your car model (e.g., paint colors, wheel types, interior trims) without altering the base assets. This non-destructive approach is vital for managing complex product variations.
- USD (Universal Scene Description): The USD plugin offers a powerful, collaborative framework for scene description and interchange. It’s increasingly adopted in virtual production and large-scale asset pipelines, allowing for non-destructive layering and efficient management of complex automotive scenes across different software.
- ArchViz Toolkit: While primarily for architectural visualization, many of its tools, such as measurement utilities and interactive camera controls, can be highly beneficial for presenting automotive models in realistic environments.
- Substance Plugin (if using Substance materials): If your workflow involves Adobe Substance materials, this plugin allows for direct import and dynamic adjustment of .sbsar files within Unreal Engine, providing incredible flexibility for material variations.
By carefully configuring your project and activating these key plugins, you establish a robust environment ready to tackle the intricate demands of high-fidelity automotive visualization.
Integrating High-Quality 3D Car Models into Unreal Engine
The core of any automotive visualization project is the 3D car model itself. The quality of this asset, combined with an efficient import and optimization pipeline, directly impacts the final visual fidelity and real-time performance within Unreal Engine. Sourcing high-quality, production-ready models from platforms like 88cars3d.com is a crucial first step, as they typically feature clean topology, proper UV mapping, and optimized material setups, significantly reducing the cleanup work.
Importing Assets: FBX, Datasmith, and USD Workflows
Unreal Engine provides several powerful avenues for bringing 3D car models into your project, each with its strengths:
- FBX (Filmbox): The traditional and widely supported interchange format. When importing FBX, ensure your 3D car models are exported with proper scale, pivot points at the origin (or logical rotation centers for parts like wheels), and embedded media (textures). During import into Unreal, check settings like ‘Combine Meshes’ (usually off for automotive to maintain separate parts for customization), ‘Import Materials’, and ‘Import Textures’. FBX is excellent for individual static meshes or animated skeletal meshes, but it can be less robust for entire scenes with complex hierarchies and metadata compared to Datasmith or USD.
- Datasmith: For comprehensive scene imports, especially from CAD software or DCC tools like 3ds Max and Maya, Datasmith is unparalleled. It preserves scene hierarchy, metadata, material assignments, and even basic lighting setups. This is invaluable for complex automotive assemblies where individual components (doors, hood, wheels, interior parts) need to remain separate for interactive functionality. To use Datasmith, you typically export a
.udatasmithfile from your source application (or use a direct link plugin if available) and then import it via the Datasmith importer in Unreal Engine. This workflow significantly reduces manual setup and error-prone reassembly within Unreal. - USD (Universal Scene Description): USD is emerging as a powerful choice for large-scale, collaborative projects, particularly in virtual production. It allows for non-destructive layering of scene data, meaning different artists can work on geometry, materials, or animations simultaneously without overwriting each other’s work. Importing USD files into Unreal Engine (via the dedicated USD plugin) brings in the full scene description, making it ideal for managing complex automotive environments alongside your primary car model, or for scenarios where different configurations need to be managed through external scene graphs. For advanced USD workflows, Epic Games provides extensive documentation on integrating USD into various pipelines.
Regardless of the format, always double-check the imported assets’ scale against Unreal’s default unit (centimeters) and verify that pivot points are correctly placed for manipulation and animation.
Initial Optimization and Meshing for Real-Time
Even high-quality assets require initial optimization for real-time performance. This step is crucial for maintaining frame rates, especially in interactive applications or AR/VR experiences:
- Mesh Checks and Cleanup: Before or immediately after import, inspect your meshes for unnecessary polygons, flipped normals, or non-manifold geometry. While Nanite (discussed later) can handle high poly counts, clean topology remains a best practice. Ensure all meshes have proper UV mapping for textures and lightmaps.
- Collision Meshes: For physics simulations or user interaction, create simplified collision meshes. Unreal Engine can generate these automatically, but for complex shapes like a car, manual low-poly collision meshes (e.g., Convex Hull or custom UCX meshes) often yield better performance and accuracy.
- Pivot Points: Verify that the pivot points of individual car parts (doors, wheels, hood) are correctly positioned. For example, a wheel’s pivot should be at its center for proper rotation, and a door’s pivot at its hinge axis for realistic opening animations. Incorrect pivots lead to cumbersome manipulation and animation challenges later on.
- Asset Naming Conventions: Adopt a consistent naming convention (e.g., SM_Car_Body, M_Car_Paint, T_Car_Normal) for all assets. This greatly improves project organization and ease of management, particularly in large-scale automotive projects with numerous components.
- Material Slot Assignment: Ensure that your 3D car models have distinct material slots for each logical component (body, windows, tires, interior parts). This allows for easy material assignment and modification within Unreal Engine’s Material Editor, facilitating material instance creation for variant configurations. When sourcing automotive assets from marketplaces such as 88cars3d.com, these considerations are usually handled, providing a solid foundation to build upon.
Crafting Photorealistic Materials and Textures with PBR
Materials are the skin of your 3D car models, and their realism is paramount in automotive visualization. Unreal Engine’s Physically Based Rendering (PBR) system allows you to create incredibly lifelike surfaces, ensuring your car models react realistically to light, just as they would in the physical world. Understanding PBR fundamentals and applying advanced material techniques are key to achieving stunning visual fidelity.
PBR Fundamentals in Unreal Engine Material Editor
PBR materials mimic how light interacts with real-world surfaces, using a set of standardized texture maps to define properties. In Unreal Engine’s Material Editor, you primarily work with these parameters:
- Base Color (Albedo): This map defines the diffuse color of the surface, essentially what color you see when the surface is evenly lit. It should be flat, without any lighting or shadow information baked in. For car paint, this would be the core color of the vehicle.
- Metallic: A grayscale map (0 to 1) that dictates how “metallic” a surface is. Values close to 1 represent metals (e.g., chrome, polished aluminum), where the diffuse color is completely absorbed, and the specular color (reflection) takes on the base color. Values close to 0 represent non-metals (dielectrics like plastic, rubber, paint), where the specular color is white or close to it.
- Specular: For non-metals, this parameter defines the intensity of the specular reflection (the shininess). While less common to map directly in modern PBR (often derived from Metallic/Roughness), it plays a role in defining reflectivity.
- Roughness: Crucial for surface appearance, this grayscale map controls the smoothness or roughness of a surface. A value of 0 is perfectly smooth (like polished chrome), resulting in sharp, clear reflections. A value of 1 is completely rough (like matte rubber), scattering reflections widely and appearing dull. This parameter dramatically influences how light spreads across a car’s body, glass, or interior.
- Normal Map: This tangent-space texture fakes high-detail surface geometry (like subtle bumps, scratches, or panel lines) using a color map that describes surface orientation. It creates the illusion of intricate detail without increasing polygon count, vital for optimizing automotive models while maintaining visual fidelity.
- Ambient Occlusion (AO): While often applied as a post-process in Unreal Engine (e.g., Screen Space Ambient Occlusion), an AO texture map can be used to pre-bake subtle contact shadows in crevices and corners, enhancing depth and realism without relying solely on real-time lighting solutions.
By correctly authoring and combining these maps, you can create materials that respond authentically to Unreal Engine’s lighting system, from brilliant reflections on polished chrome to the subtle sheen of leather upholstery.
Advanced Material Techniques for Automotive Surfaces
Automotive surfaces, particularly car paint, present unique material challenges. Unreal Engine’s Material Editor, along with Material Instances, offers powerful solutions:
- Complex Car Paint Shaders: Achieving realistic car paint often involves multiple layers. A common approach is a ‘clear coat’ shader. This involves blending two layers: a base metallic/roughness layer (the paint color) and a top, highly reflective, slightly rougher layer (the clear coat). You can further enhance this with ‘flake’ normal maps to simulate metallic flakes within the paint, and parameters to control iridescent effects (e.g., using a Fresnel node to drive color changes based on viewing angle).
- Glass Materials: Realistic car glass requires careful setup. Beyond basic transparency, consider refraction (using a ‘Refraction’ input in the material, often driven by a ‘ScreenPosition’ node with offsets), accurate reflection (driven by roughness and metallic values), and potential tinting or dirt layers. Using ‘Translucency Lighting Mode’ and ‘Two Sided’ properties are also essential.
- Tire Rubber and Plastic: These materials often require subtle variations in roughness, a slight normal map for tread detail, and perhaps some wear and tear grunge maps to break up uniformity. Using ‘Vertex Color’ masks can allow for localized dirt or scuffs on tires.
- Interior Fabrics and Leather: For interior materials, specialized shaders like ‘Subsurface Profile’ (for soft leathers) or ‘Cloth’ shaders can add depth and realism. Textures for weave patterns, subtle imperfections, and variable roughness are key.
- Material Instances: Once you’ve created a complex master material (e.g., for car paint), create Material Instances from it. This allows you to rapidly create variations (different paint colors, roughness values, flake densities) without recompiling shaders, significantly speeding up iteration and enabling dynamic customization for configurators. This is invaluable when working with the extensive variety of car models found on platforms like 88cars3d.com.
Mastering these material techniques ensures that every surface of your 3D car model contributes to an overall impression of authentic, high-quality realism.
Dynamic Lighting and Reflections with Lumen and Ray Tracing
Lighting is the soul of any visualization, and in automotive rendering, it’s critical for highlighting design, materials, and form. Unreal Engine’s modern lighting solutions, particularly Lumen and hardware-accelerated Ray Tracing, offer unparalleled realism, allowing 3D car models to truly come alive within dynamic environments. Understanding how to leverage these technologies, alongside traditional methods, is essential for professional results.
Harnessing Lumen for Global Illumination and Reflections
Lumen is Unreal Engine’s fully dynamic global illumination and reflections system, providing real-time indirect lighting that adapts immediately to changes in direct lighting, geometry, or materials. For automotive visualization, Lumen offers several transformative benefits:
- Realistic Bounce Light: Lumen accurately simulates how light bounces off surfaces, illuminating darker areas and coloring indirect light based on surrounding materials. This is crucial for automotive interiors, under-car shadows, and reflecting ambient light onto the car’s body from its environment.
- Dynamic Lighting Scenarios: With Lumen, you can change the time of day, move light sources, or even switch environments entirely, and the global illumination will update instantly. This is invaluable for interactive configurators or virtual production stages where lighting needs to be highly flexible.
- Hardware Ray Tracing Integration: Lumen can leverage hardware ray tracing for higher quality global illumination and reflections on supported GPUs, enhancing fidelity and crispness, especially in reflections on polished car surfaces. Ensure ‘Hardware Ray Tracing’ is enabled in your project settings for this.
- Performance Considerations: While powerful, Lumen has a performance cost. Optimizing for Lumen involves balancing settings like ‘Global Illumination Quality’, ‘Reflection Quality’, and ‘Screen Space Tracing’ parameters. For scenes with many reflective surfaces, a slightly lower Lumen quality combined with specific local reflection captures or planar reflections (for floors) can offer a good balance. Utilizing ‘Distance Field Ambient Occlusion’ can also complement Lumen for fine details. For detailed setup and optimization, the official Unreal Engine documentation provides comprehensive guides on Lumen and its settings.
Properly configured, Lumen eliminates the need for complex lightmap baking, accelerating workflow dramatically while delivering superior visual quality for dynamic automotive scenes.
Traditional Lighting Approaches and Mixed Methods
While Lumen handles much of the global illumination, direct lighting and specific effects still benefit from traditional Unreal Engine lighting actors and mixed strategies:
- HDRI Backdrops and Sky Light: A High Dynamic Range Image (HDRI) wrapped around your scene (often via a Sky Sphere or Sky Light) provides excellent ambient lighting and reflections, serving as a base for realistic environments. The Sky Light captures this HDRI and uses it to light the scene, working seamlessly with Lumen to provide indirect bounce. For dynamic skies, consider the ‘Sky Atmosphere’ system combined with a ‘Directional Light’ (representing the sun) for realistic time-of-day changes.
- Directional Light: This simulates sunlight and is the primary source of direct illumination. Configure its intensity, color, and angle to achieve the desired mood and shadow characteristics. For sharp, realistic shadows on your 3D car models, utilize Virtual Shadow Maps (VSM) and fine-tune its settings (e.g., ‘Shadow Bias’, ‘Shadow Map Resolution’).
- Point Lights, Spot Lights, and Rect Lights: These localized light sources are essential for specific effects. Point lights can simulate interior cabin lights, while spot lights or rect lights are perfect for studio-style product shots, emphasizing specific details or creating dramatic highlights on car body panels. For these lights, ensure ‘Cast Ray Traced Shadows’ is enabled for realistic soft shadows if hardware ray tracing is active.
- Reflection Captures and Planar Reflections: Although Lumen provides dynamic reflections, ‘Reflection Capture’ actors can still be valuable for supplementing reflections in specific areas, especially for static elements or as a fallback. ‘Planar Reflections’ offer incredibly accurate reflections for flat surfaces like showroom floors or puddles, albeit at a higher performance cost, providing mirror-like quality that perfectly showcases the detailed automotive models from 88cars3d.com.
By combining Lumen’s dynamic global illumination with carefully placed direct lights and specific reflection techniques, you can achieve nuanced, visually stunning lighting setups that elevate your automotive visualizations to cinematic levels.
Unreal Engine’s Power Features for Automotive Interaction and Performance
Unreal Engine’s true strength lies not just in its rendering prowess, but in its ability to handle complex, highly detailed assets while maintaining real-time performance, and facilitating rich interactive experiences. For automotive projects, features like Nanite, LODs, and Blueprint visual scripting are transformative, enabling both visual fidelity and dynamic functionality.
Nanite and LODs for Scalable Geometry
Managing the polygon budgets of high-fidelity 3D car models has historically been a significant challenge in real-time rendering. Unreal Engine’s Nanite virtualized geometry system, introduced in Unreal Engine 5, revolutionizes this:
- Nanite Virtualized Geometry: Nanite allows artists to import and render cinematic-quality assets with billions of polygons directly into Unreal Engine without manual polygon reduction or normal map baking. For highly detailed car models from marketplaces like 88cars3d.com, this means preserving every curve, panel gap, and intricate interior detail without worrying about performance limitations due to vertex count. Nanite automatically streams and processes only the visible and necessary detail in real-time, making it incredibly efficient. To enable Nanite on a static mesh, simply open the Static Mesh Editor and check the ‘Enable Nanite’ option in the Details panel. While Nanite supports most static meshes, dynamic objects, masked materials, and some transparency methods may still require traditional meshes.
- Traditional LOD Management: For meshes that cannot utilize Nanite (e.g., skinned meshes for characters, certain transparent or masked meshes, or mobile platforms that don’t support Nanite), Level of Detail (LOD) management remains crucial. LODs are simplified versions of your mesh that automatically swap in at a certain distance from the camera, reducing polygon count and draw calls. You can generate LODs within Unreal Engine (via the Static Mesh Editor’s ‘LOD Settings’ section) or import pre-made LODs. Aim for significant polygon reductions at each LOD step (e.g., 50% reduction for LOD1, 75% for LOD2) to maximize performance gains. For highly complex assets like a car, manual optimization of LODs for specific parts (e.g., tires, engine) can be more effective than automatic generation.
- Performance Budgets: Even with Nanite, it’s essential to be mindful of performance. Monitor your frame rate and GPU usage using Unreal Engine’s profiling tools (e.g., ‘stat unit’, ‘stat GPU’, ‘r.Nanite.Visualize’). While Nanite handles geometry, texture memory, material complexity, and overdraw (especially with many transparent surfaces) still contribute to performance bottlenecks.
By strategically employing Nanite for complex static parts and traditional LODs for dynamic or non-Nanite-compatible elements, you can achieve stunning visual fidelity without compromising real-time performance.
Blueprint Scripting for Interactive Configurators
Interactive automotive configurators are a powerful way to engage audiences, allowing them to customize a vehicle in real-time. Unreal Engine’s Blueprint visual scripting system is the ideal tool for building these complex interactions without writing a single line of C++ code:
- Changing Colors and Materials: Create Material Instances for different paint colors, wheel finishes, and interior fabrics. Blueprint can then be used to swap these instances on the fly. For example, a UI button click can trigger a Blueprint event that sets a new material instance on the car’s body mesh.
- Opening Doors and Animated Parts: Blueprints can control skeletal mesh animations (e.g., engine block covers) or manipulate static mesh components. You can create a Blueprint that, when a user clicks on a door, triggers an animation sequence (e.g., using a ‘Timeline’ node for smooth interpolation) to open or close it. This can be extended to hoods, trunks, or even convertible roofs.
- Custom UI Integration: Develop interactive user interfaces (using Unreal Engine’s UMG – Unreal Motion Graphics) to control the configurator. Blueprints connect UI buttons, sliders, and drop-down menus to the underlying logic that changes vehicle attributes. For instance, a slider could control the intensity of an interior light, or a radio button group could switch between different wheel designs.
- Integrating Vehicle Dynamics: For a more immersive experience, Blueprints can integrate basic physics simulations. While Unreal Engine has a dedicated Chaos Vehicle plugin for complex vehicle physics, Blueprints can handle simpler interactions like rotating wheels when a virtual accelerator is pressed, or even basic collision responses for demonstration purposes. This might involve setting angular velocity on wheel components or applying forces.
- Event-Driven Interactions: Blueprints excel at handling events. A user hovering over a specific part of the car could highlight it, or clicking it could bring up detailed information. This event-driven approach makes configurators intuitive and highly responsive.
Blueprint scripting democratizes complex interactivity, allowing artists and designers to build sophisticated automotive configurators that are both visually stunning and highly functional, leveraging the detailed models from 88cars3d.com to their fullest potential.
Advanced Applications: Virtual Production, AR/VR, and Cinematics
Beyond traditional rendering, Unreal Engine pushes automotive visualization into new frontiers, from virtual film sets to immersive augmented and virtual reality experiences. These advanced applications leverage the engine’s real-time capabilities to create dynamic, interactive, and often collaborative workflows that are reshaping how cars are designed, marketed, and presented.
Virtual Production Workflows with Automotive Models
Virtual Production (VP) is revolutionizing filmmaking and advertising, and automotive models are at the heart of many VP projects. Unreal Engine serves as the real-time hub for these complex workflows:
- Sequencer for Cinematic Shots: Unreal Engine’s Sequencer is a powerful non-linear cinematic editor. It allows you to create high-quality, pre-rendered or real-time cinematic sequences with your 3D car models. You can animate camera movements, control vehicle animations (e.g., driving paths, door openings), manipulate lighting over time, and choreograph effects. Sequencer is ideal for creating automotive commercials, showcasing design features, or generating marketing content directly within the engine.
- Virtual Cameras: Integrating virtual cameras (e.g., using an iPad with Unreal Remote 2 app or specialized hardware) allows filmmakers to ‘shoot’ their virtual car models within the Unreal Engine environment as if they were on a physical set. This provides intuitive, hands-on control over framing and movement, enabling dynamic, organic camera work that feels natural and cinematic.
- LED Wall Integration: For cutting-edge virtual production, automotive models can be placed within an LED volume. The Unreal Engine scene is rendered on massive LED screens, creating a seamless background and realistic reflections on the physical car (or a buck) in the foreground. This technique, often using the ‘nDisplay’ plugin, eliminates greenscreens, offers real-time lighting interaction, and provides immediate visual feedback, significantly reducing post-production time and costs for automotive ads and presentations.
- Live Link: Plugins like Live Link facilitate real-time data streaming between Unreal Engine and external applications or motion capture hardware. This can be used to drive virtual camera movements, animate vehicle parts based on external inputs, or even stream live facial capture for virtual presenters interacting with the car.
The synergy between high-quality 3D car models and Unreal Engine’s virtual production toolkit opens up endless creative possibilities for dynamic and engaging automotive content.
Optimizing for AR/VR Experiences
Augmented Reality (AR) and Virtual Reality (VR) offer unparalleled immersion for showcasing automotive models, from virtual showrooms to interactive design reviews. However, these platforms demand stringent performance optimization:
- Performance Budgets: AR/VR platforms, especially mobile AR (e.g., iOS ARKit, Android ARCore) or standalone VR headsets (e.g., Meta Quest), have very strict performance budgets. A target frame rate of 72-90 FPS is common for VR to prevent motion sickness, and even higher for AR. This means aggressive optimization across all aspects.
- Asset Stripping and LODs for AR/VR: While Nanite handles immense polycounts, it’s not currently supported on most mobile AR/VR platforms. This necessitates careful LOD (Level of Detail) management and often aggressive polygon reduction for assets. Consider creating dedicated low-poly versions of your 3D car models specifically for AR/VR, potentially removing intricate interior details not visible in a typical AR/VR viewing distance.
- Material Simplification: Complex car paint shaders with multiple layers, reflections, and numerous texture samples can be performance heavy. For AR/VR, simplify materials where possible. Use fewer texture maps, combine channels (e.g., Roughness, Metallic, AO into one RGB texture), and potentially bake complex lighting into simpler, optimized PBR textures. Avoid expensive translucent materials where opaque alternatives suffice.
- Lightmap Baking (for static scenes): While Lumen is dynamic, baking static lighting into lightmaps for stationary parts of your scene (like a showroom environment) can significantly reduce real-time lighting calculations and boost performance for AR/VR. This means setting your lights to ‘Static’ or ‘Stationary’ where appropriate.
- Draw Call Reduction: Minimize the number of unique meshes and materials in your scene. Use Instanced Static Meshes for repeating elements (e.g., bolts, small trim pieces) to reduce draw calls. Merge meshes where logical and possible.
- Mobile Rendering Features: Unreal Engine’s ‘Mobile Rendering’ settings in Project Settings offer specific optimizations for handheld and standalone devices. Utilize ‘Mobile Multi-View’ for VR, and disable features not supported or too expensive for mobile, such as advanced post-processing effects.
- Post-Processing Optimization: Limit post-processing effects like bloom, depth of field, and elaborate screen-space reflections, as these can be very expensive on lower-end hardware.
By meticulously optimizing every aspect of your project, from the 3D car models themselves (which can be sourced with AR/VR optimization in mind from 88cars3d.com) to materials and lighting, you can deliver compelling and smooth automotive AR/VR experiences that truly showcase the vehicle’s design and features in an immersive manner.
The journey from a raw 3D car model to a fully interactive, photorealistic visualization in Unreal Engine is a comprehensive one, touching upon diverse technical disciplines. We’ve explored the foundational steps of project setup, ensuring your environment is primed for high-fidelity automotive assets. We delved into the intricacies of importing models efficiently using FBX, Datasmith, and USD, emphasizing the importance of clean meshes and proper UV mapping—qualities inherently found in the meticulously crafted models available on 88cars3d.com. We then moved into the art of materials, mastering PBR fundamentals and advanced car paint shaders to give your vehicles a lifelike sheen.
The power of modern lighting with Lumen and ray tracing was uncovered, demonstrating how dynamic global illumination and reflections can elevate realism to cinematic levels, complemented by traditional lighting techniques for precise control. Critically, we examined Unreal Engine’s performance powerhouses: Nanite, which handles billions of polygons effortlessly, and robust LOD strategies for optimal scalability. Finally, the transformative potential of Blueprint visual scripting for interactive configurators and the advanced applications in virtual production and AR/VR were detailed, showcasing how these tools enable cutting-edge experiences.
Unreal Engine is more than just a renderer; it’s a complete ecosystem for creating, visualizing, and interacting with automotive designs in real-time. The ability to iterate rapidly, achieve stunning visual fidelity, and deploy across diverse platforms makes it an unparalleled choice for today’s demanding automotive professionals. To truly harness this power, start with exceptional assets. We encourage you to explore the curated collection of high-quality, optimized 3D car models available on 88cars3d.com. These models provide the perfect foundation, allowing you to immediately dive into the advanced techniques discussed here and bring your automotive visions to spectacular real-time life.
Featured 3D Car Models
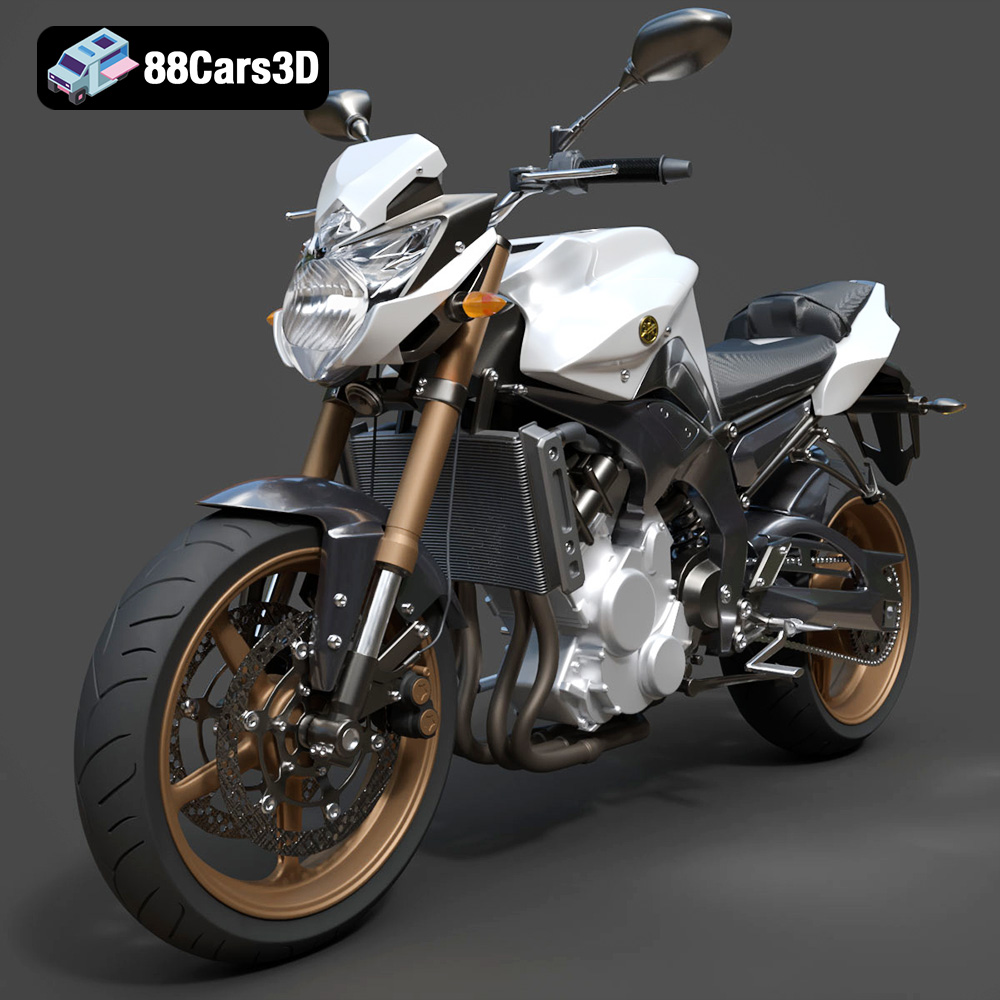
Yamaha FZ8 2011 3D Model
Texture: Yes
Material: Yes
Download the Yamaha FZ8 2011 3D Model featuring clean geometry, realistic detailing, and a fully modeled interior. Includes .blend, .fbx, .obj, .glb, .stl, .ply, .unreal, and .max formats for rendering, simulation, and game development.
Price: $19.99
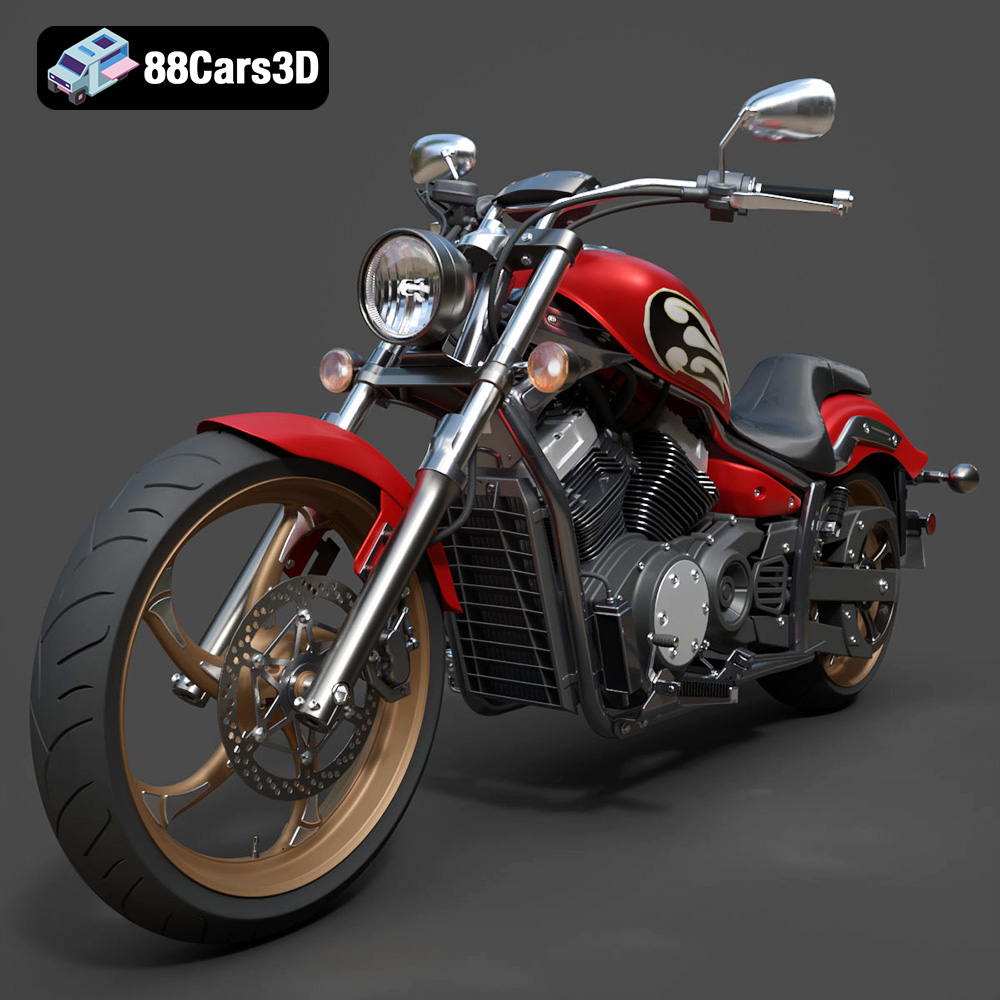
Yamaha Stryker 2012 3D Model
Texture: Yes
Material: Yes
Download the Yamaha Stryker 2012 3D Model featuring clean geometry, realistic detailing, and a fully modeled interior. Includes .blend, .fbx, .obj, .glb, .stl, .ply, .unreal, and .max formats for rendering, simulation, and game development.
Price: $19.99
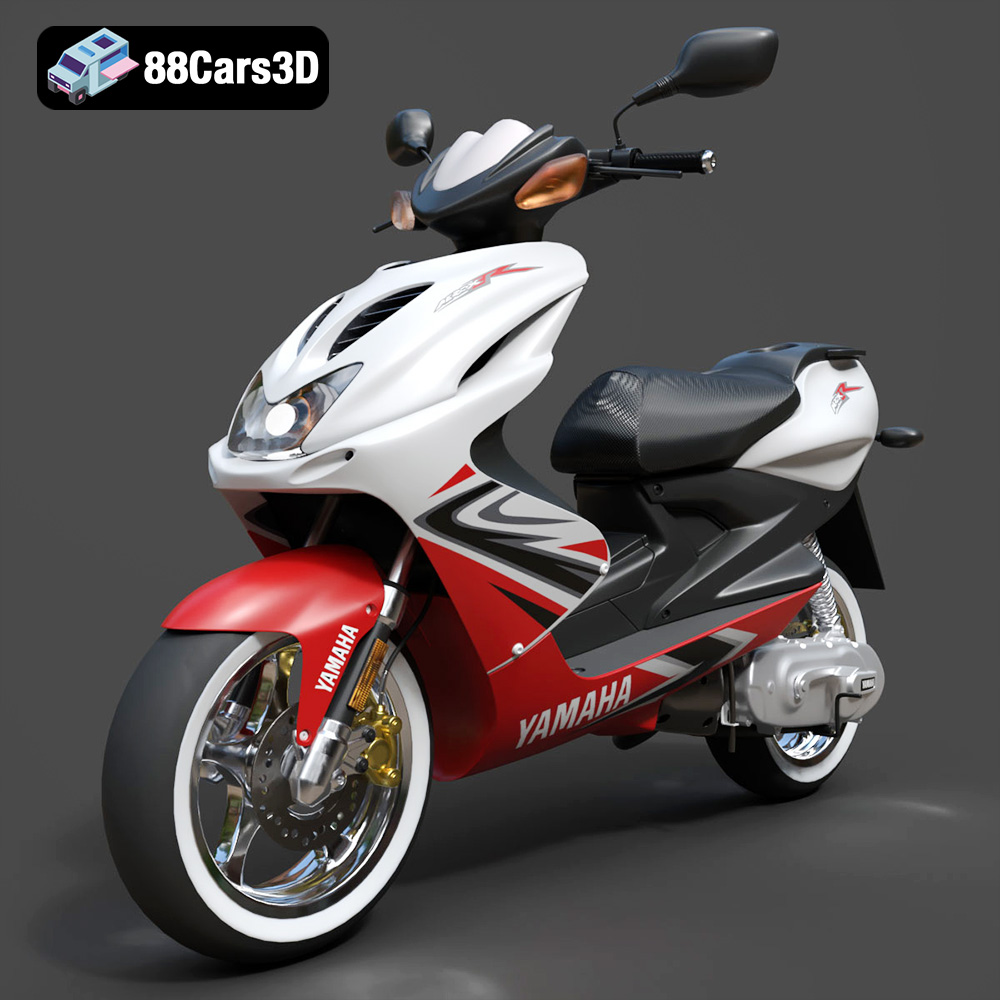
Yamaha Aerox R-002 2024 3D Model
Texture: Yes
Material: Yes
Download the Yamaha Aerox R-002 2024 3D Model featuring clean geometry, realistic detailing, and a fully modeled interior. Includes .blend, .fbx, .obj, .glb, .stl, .ply, .unreal, and .max formats for rendering, simulation, and game development.
Price: $19.99
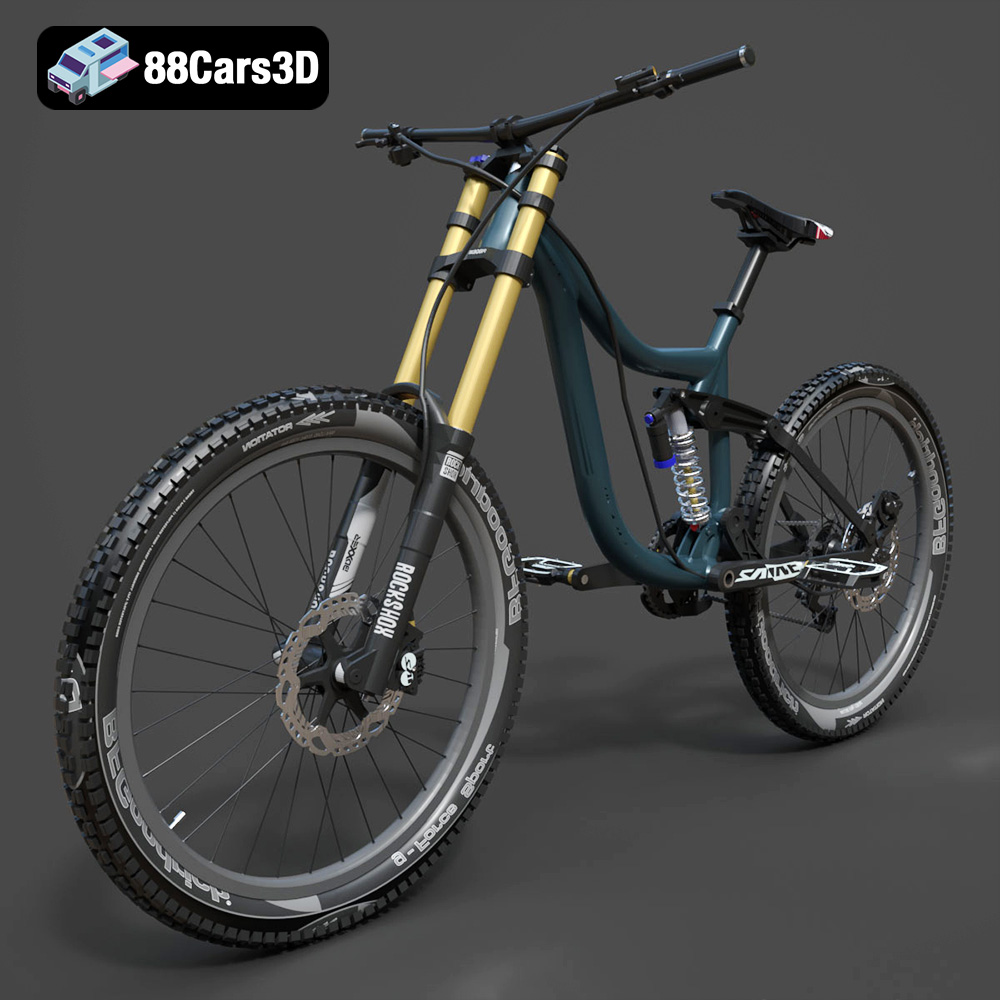
Mototsikly Downhill Bike-002 3D Model
Texture: Yes
Material: Yes
Download the Mototsikly Downhill Bike-002 3D Model featuring clean geometry, realistic detailing, and precise mechanical components. Includes .blend, .fbx, .obj, .glb, .stl, .ply, .unreal, and .max formats for rendering, simulation, and game development.
Price: $19.99
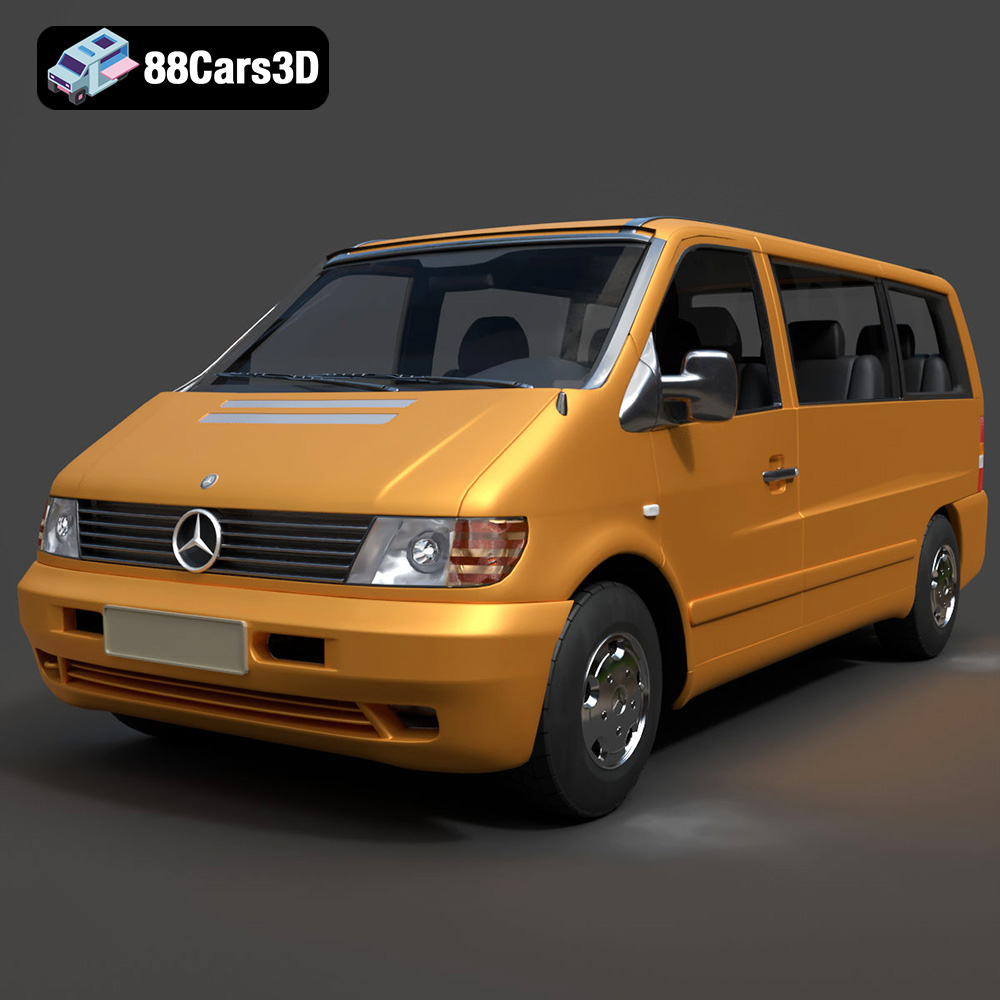
Mercedes-Benz Vito Passenger Van 3D Model
Texture: Yes
Material: Yes
Download the Mercedes-Benz Vito Passenger Van 3D Model featuring clean geometry, realistic detailing, and a fully modeled interior. Includes .blend, .fbx, .obj, .glb, .stl, .ply, .unreal, and .max formats for rendering, simulation, and game development.
Price: $19.99
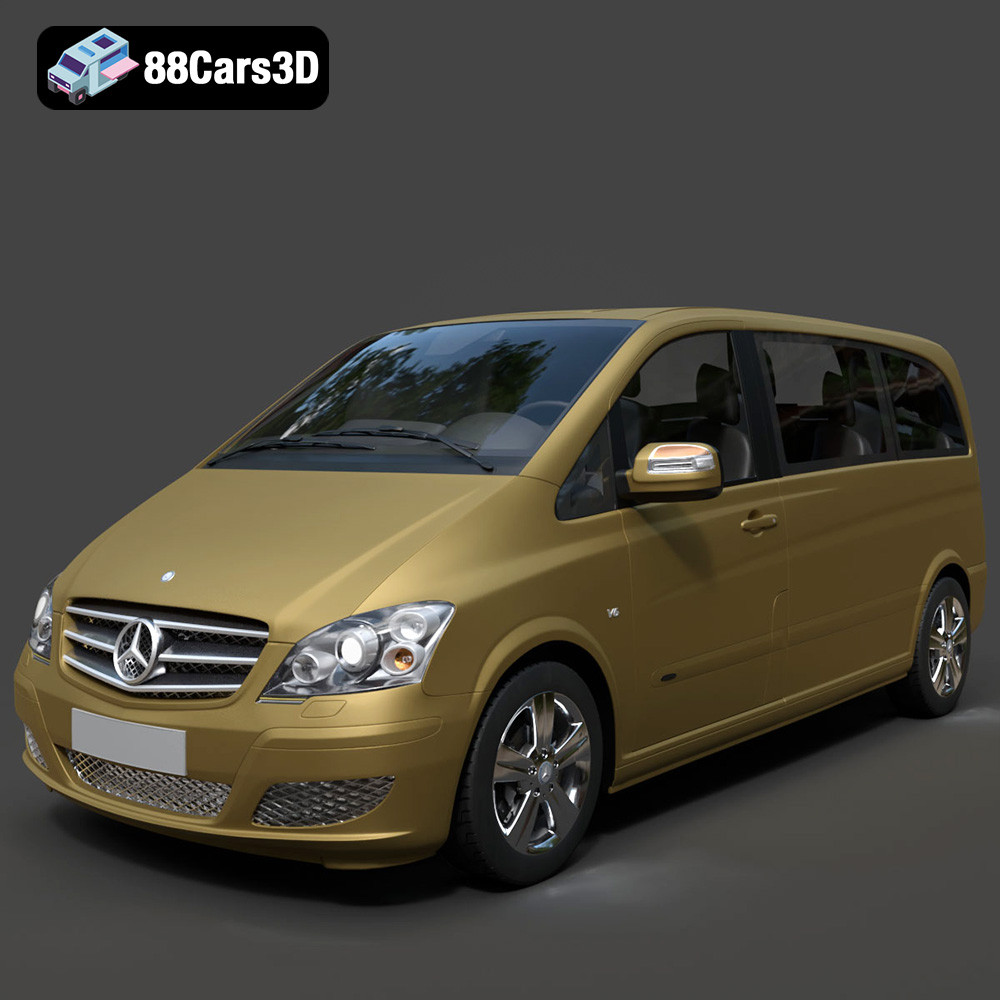
Mercedes-Benz Viano 2010 3D Model
Texture: Yes
Material: Yes
Download the Mercedes-Benz Viano 2010 3D Model featuring clean geometry, realistic detailing, and a fully modeled interior. Includes .blend, .fbx, .obj, .glb, .stl, .ply, .unreal, and .max formats for rendering, simulation, and game development.
Price: $19.99

Emt Avtobus 007 3D Model
Texture: Yes
Material: Yes
Download the Emt Avtobus 007 3D Model featuring clean geometry, realistic detailing, and a fully modeled interior. Includes .blend, .fbx, .obj, .glb, .stl, .ply, .unreal, and .max formats for rendering, simulation, and game development.
Price: $19.99
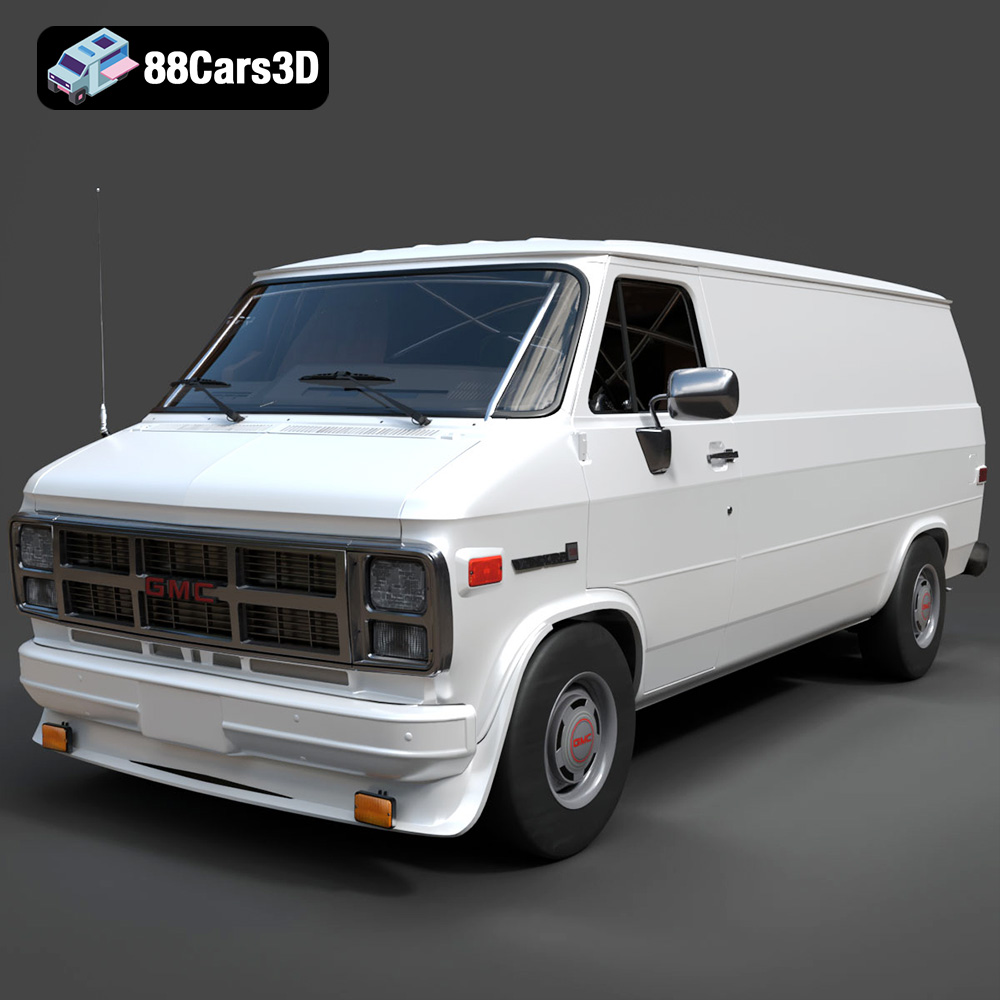
GMC Vandura G-1500 1983 3D Model
Texture: Yes
Material: Yes
Download the GMC Vandura G-1500 1983 3D Model featuring clean geometry, realistic detailing, and a fully modeled interior. Includes .blend, .fbx, .obj, .glb, .stl, .ply, .unreal, and .max formats for rendering, simulation, and game development.
Price: $19.99
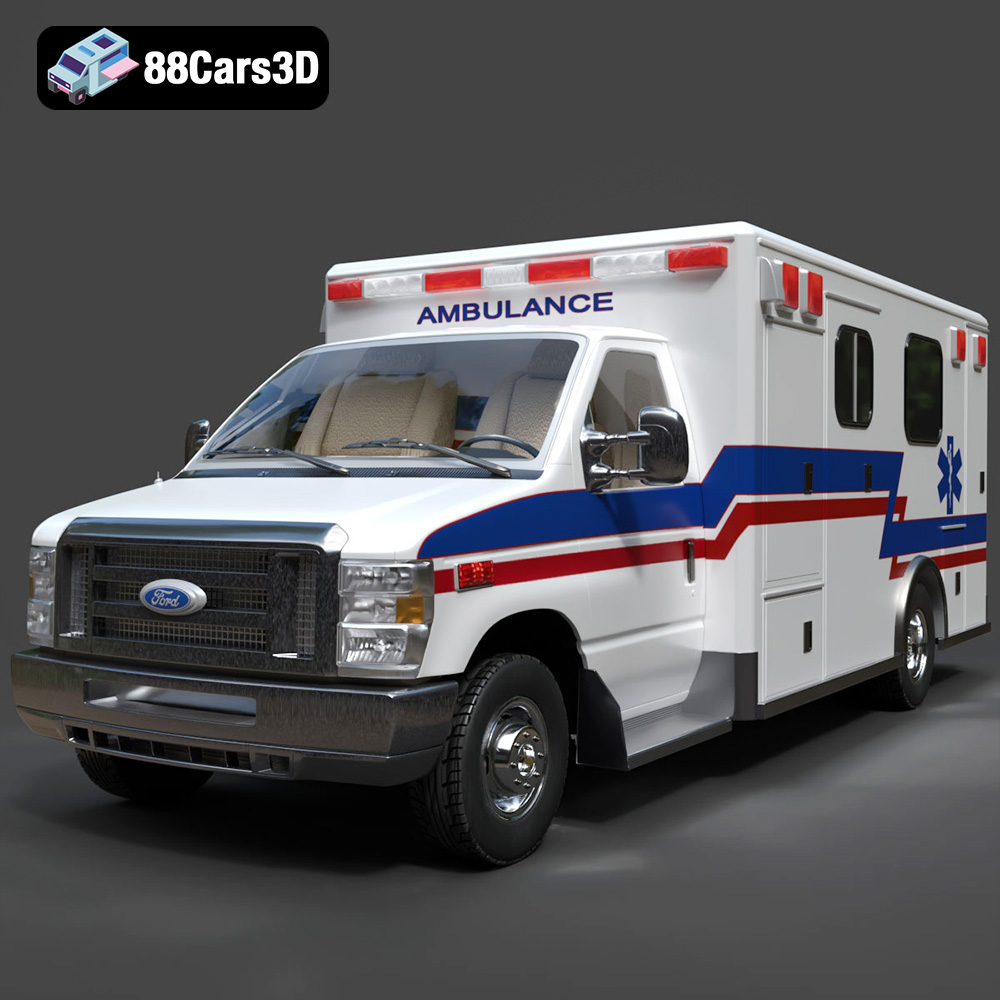
Ford E-450 Ambulance 3D Model
Texture: Yes
Material: Yes
Download the Ford E-450 Ambulance 3D Model featuring clean geometry, realistic detailing, and a fully modeled interior. Includes .blend, .fbx, .obj, .glb, .stl, .ply, .unreal, and .max formats for rendering, simulation, and game development.
Price: $19.99

Fiat Ducato SWB-001 3D Model
Texture: Yes
Material: Yes
Download the Fiat Ducato SWB-001 3D Model featuring clean geometry, realistic detailing, and a fully modeled interior. Includes .blend, .fbx, .obj, .glb, .stl, .ply, .unreal, and .max formats for rendering, simulation, and game development.
Price: $19.99
