

The automotive industry is constantly pushing the boundaries of visual fidelity, seeking innovative ways to showcase vehicles long before they hit the showroom floor. In this quest for unparalleled realism and interactivity, Unreal Engine has emerged as the definitive platform. It empowers artists, designers, and developers to craft breathtakingly photorealistic environments that not only highlight the intricate beauty of a 3D car model but also offer immersive, real-time experiences.
Creating such environments is a blend of technical mastery and artistic vision. It involves everything from meticulous project setup and material authoring to advanced lighting, robust optimization, and sophisticated interactivity. Whether you’re building a cutting-edge automotive configurator, a cinematic trailer, or an immersive AR/VR experience, the principles remain consistent: precision, performance, and visual impact. This comprehensive guide will deep dive into the technical workflows within Unreal Engine, equipping you with the knowledge to transform high-quality 3D car models into stunning, living environments.
We’ll explore how to leverage Unreal Engine’s powerful features like Nanite, Lumen, and Blueprint, alongside industry best practices, to achieve a level of realism that blurs the line between virtual and reality. From managing complex assets sourced from platforms like 88cars3d.com to optimizing every pixel for real-time performance, prepare to unlock the full potential of automotive visualization in Unreal Engine.
Laying the Foundation: Project Setup and Asset Integration
The journey to photorealistic automotive environments begins with a well-configured Unreal Engine project and the seamless integration of high-quality 3D car models. A solid foundation ensures optimal performance and visual fidelity throughout the development process, preventing costly rework later on. Understanding the nuances of project settings and asset pipelines is crucial for maximizing Unreal Engine’s capabilities for automotive visualization.
Initial Project Configuration for Automotive Visualization
When starting a new project in Unreal Engine, selecting the right template and configuring initial settings can significantly streamline your workflow. For automotive visualization, a Blank project is often preferred as it gives you complete control, though the Games > Vehicle Advanced template can offer a starting point with basic vehicle physics already set up. Alternatively, for cinematic and broadcast quality, the Film/Television > Virtual Production template provides a robust framework for high-fidelity rendering. Regardless of the template, several core settings require attention.
- Engine Scalability Settings: Access this via Settings > Engine Scalability Settings. For high-end visualization, set everything to “Epic” or “Cinematic.” This ensures the engine renders at its highest quality, enabling features like advanced anti-aliasing, shadow quality, and post-processing effects.
- Plugins: Enable essential plugins like Datasmith CAD Importer (for handling complex CAD data), Datasmith FBX Importer (for standard 3D formats), and potentially USD Importer if you’re working with Universal Scene Description files. For specific rendering features, ensure Chaos Vehicles (for advanced physics) and Niagara Fluids (for dynamic effects like smoke or exhaust) are also enabled if needed.
- Default Rendering Features: Navigate to Project Settings > Rendering. Here, ensure features like Lumen Global Illumination and Lumen Reflections are enabled for dynamic, real-time lighting. For top-tier quality, consider enabling Hardware Ray Tracing if your target hardware supports it, as it vastly improves shadows, reflections, and ambient occlusion.
Properly setting up your project from the outset saves considerable time and effort down the line, ensuring your environment is ready to handle the demands of photorealistic rendering.
Importing High-Quality 3D Car Models
The quality of your source 3D car models is paramount. Even the most sophisticated Unreal Engine environment cannot compensate for poorly modeled or textured assets. Platforms like 88cars3d.com specialize in providing high-quality 3D car models that are optimized for Unreal Engine, featuring clean topology, proper UV mapping, and PBR-ready textures.
- File Formats: The most common formats for importing into Unreal Engine are FBX and USD. FBX is widely supported and excellent for individual meshes, while USD (Universal Scene Description) is gaining traction for its ability to handle complex scene hierarchies, animations, and material assignments in a robust, non-destructive manner. For CAD data, Datasmith is invaluable, converting proprietary formats into optimized Unreal Engine assets.
- Import Process: Drag and drop your FBX or USD file directly into the Content Browser, or use the “Import” button. Pay close attention to the import settings:
- Scale: Ensure the imported model’s scale matches Unreal Engine’s default units (1 unit = 1cm). Most 3D car models are exported in meters, so often a uniform scale of 100 is needed to match real-world proportions.
- Pivot Point: Verify the pivot point is at the base of the car, preferably at the origin (0,0,0) of the model’s local space. This simplifies placement and manipulation within Unreal.
- Material Import Options: For models with embedded materials, Unreal can attempt to import them. Often, it’s better to import without materials and create PBR materials from scratch in Unreal for full control and optimization, especially if you want to leverage specific Unreal Engine shading models like Clear Coat.
- Combine Meshes: Decide whether to combine meshes (e.g., body, interior, wheels) or import them as separate components. Separate components offer more flexibility for material variations, Blueprint scripting, and optimization (e.g., using Nanite selectively). For assets from 88cars3d.com, they are typically provided with logical mesh breakdowns.
- Organization: After import, immediately organize your meshes, textures, and materials into dedicated folders (e.g., "Cars/ModelX/Meshes", "Cars/ModelX/Materials", "Cars/ModelX/Textures"). This maintainability is critical for large projects with multiple vehicle assets.
By carefully handling asset import, you ensure that your high-quality 3D car models are properly integrated and ready for the next stages of material authoring and lighting.
Crafting Realistic Materials: The Heart of Photorealism
Photorealism in automotive visualization is heavily reliant on the quality and accuracy of your materials. A perfectly modeled car will still look artificial without convincing surfaces that interact correctly with light. Unreal Engine’s Material Editor provides an incredibly powerful and flexible environment for creating physically based rendering (PBR) materials that accurately simulate real-world surfaces, from the complex multi-layered finish of car paint to the subtle reflectivity of glass and the dullness of tire rubber.
Mastering PBR Materials for Automotive Surfaces
PBR materials are fundamental to achieving realism because they follow real-world physics for light interaction. This means that a material will look correct under any lighting condition, unlike older, non-PBR workflows. The core properties of a PBR material include:
- Base Color (Albedo): Represents the diffuse color of the surface, or the color of light reflected after absorption. For metallic surfaces, this is the color of the metal itself.
- Metallic: A binary value (0 or 1, or interpolated between) indicating if a surface is metallic (1) or non-metallic (0). Metals reflect light differently and have no diffuse color.
- Roughness: Controls the microsurface detail, determining how blurry or sharp reflections appear. A value of 0 is perfectly smooth (like a mirror), while 1 is completely rough (matte).
- Normal Map: Adds fine surface detail without increasing polygon count, simulating bumps, scratches, and textures.
- Ambient Occlusion (AO): Defines areas that should receive less ambient light, typically crevices and corners, adding depth.
For automotive materials, these properties are critical. Consider car paint: it’s a complex material often involving a metallic base layer and a clear coat. Tire rubber requires a low metallic value, a dark base color, and a roughness that varies with wear. Glass, conversely, is non-metallic, highly reflective, and often uses specific transmission and refraction properties.
Within the Unreal Material Editor, you’ll construct graphs using various nodes to define these properties. For example, a car paint material might involve multiple texture maps for color, roughness, and normal detail, combined with mathematical operations to control metallic flakes or clear coat intensity. The use of Material Functions allows for modularity, enabling you to reuse complex material setups across different assets or variations, significantly streamlining the workflow for assets sourced from 88cars3d.com.
Advanced Material Techniques for Automotive Detailing
Achieving true automotive photorealism often requires going beyond basic PBR setup to leverage advanced shading models and techniques available in Unreal Engine. These techniques add layers of complexity and authenticity to your vehicle models.
- Clear Coat Shading Model: This is indispensable for realistic car paint. The Clear Coat model simulates a reflective, transparent layer on top of a base material. It features a dedicated Roughness and Normal input for the clear coat layer, allowing for distinct reflection properties separate from the underlying paint. This accurately mimics the multi-layered nature of real-world automotive finishes, where a clear protective layer sits over a metallic or solid color base. You can find more details on this in the official Unreal Engine documentation on shading models.
- Layered Materials: For highly detailed or weathered surfaces, a layered material approach is powerful. You can blend multiple material functions—such as clean paint, dust, scratches, or rain effects—using mask textures or procedural techniques. This allows for dynamic wear and tear, mud splashes, or subtle imperfections that significantly enhance realism.
- Decal Materials: Use deferred decals for adding surface details like dirt, grime, logos, or panel gaps without modifying the base mesh. Decals project a material onto existing geometry, making them ideal for adding subtle yet impactful imperfections or branding elements to your vehicles and environments.
- Material Instances: Once a complex master material is created (e.g., for car paint), create Material Instances from it. These instances allow you to adjust exposed parameters (like base color, metallic flake intensity, roughness values) without recompiling the shader, leading to much faster iteration times and reduced memory footprint. This is invaluable for offering multiple color options or finishes for a car model in a configurator.
- Subsurface Scattering: For translucent materials like headlights, taillights, or certain interior fabrics, Subsurface Scattering (SSS) simulates light penetrating the surface, scattering, and exiting at a different point. This adds a soft, lifelike quality that standard translucent materials cannot achieve.
By combining these advanced techniques, you can elevate the realism of your automotive materials, transforming a static 3D model into a visually convincing vehicle that feels truly present in its environment.
Illuminating the Scene: Dynamic Lighting and Global Illumination
Lighting is arguably the most critical element for achieving photorealism. It dictates how surfaces appear, creates mood, and defines the sense of space within your environment. Unreal Engine offers a sophisticated suite of lighting tools, from traditional static and dynamic lights to advanced real-time global illumination solutions like Lumen, allowing for incredible artistic control and physically accurate light simulation.
Harnessing Lumen for Real-Time Global Illumination
Lumen is Unreal Engine’s groundbreaking real-time global illumination (GI) and reflections system, introduced with Unreal Engine 5. It dynamically calculates indirect lighting and reflections, meaning light bounces, shadows, and reflections update instantly as you move lights or objects, without the need for light baking. This is a game-changer for automotive visualization, enabling rapid iteration and realistic interactive experiences.
- Lumen Overview: Lumen works by tracing rays within a scene to gather light information from surfaces, including emissive materials. It provides dynamic diffuse GI, specular GI, and reflections, effectively simulating how light behaves in the real world. For automotive projects, this means realistic light bounce within vehicle interiors, accurate indirect lighting from the environment reflecting onto the car body, and pristine real-time reflections on glossy surfaces like car paint and chrome.
- Lumen Settings: Access Lumen settings in Project Settings > Rendering and within the Post Process Volume. Key settings include:
- Global Illumination Method / Reflection Method: Set to Lumen.
- Quality Presets: Adjust settings like “Final Gather Quality” and “Samples Per Pixel” for a balance between visual fidelity and performance. Higher values yield better quality but are more demanding.
- Software Ray Tracing vs. Hardware Ray Tracing: Lumen defaults to Software Ray Tracing for broad compatibility. However, if your target hardware supports DirectX 12 and RT Cores (e.g., NVIDIA RTX, AMD RX 6000 series and above), enabling Hardware Ray Tracing for Lumen (in Project Settings > Rendering > Hardware Ray Tracing) will provide significantly more accurate and higher-quality GI and reflections, albeit at a higher performance cost.
While Lumen offers unparalleled dynamism, it’s performance-intensive. For high-fidelity automotive cinematics or high-end configurators, it’s ideal. For AR/VR or lower-spec games, careful optimization or a hybrid approach might be necessary. Always monitor performance using the ‘stat gpu’ and ‘stat rhi’ commands.
Strategic Lighting with Directional, Sky, and HDRI Backdrops
While Lumen handles global illumination, the primary light sources still need to be strategically placed and configured to define the scene’s mood and illuminate the car effectively. A combination of directional, sky, and High Dynamic Range Image (HDRI) lighting provides a robust and realistic lighting setup.
- Directional Light: This simulates the sun. Position it to create strong, clear shadows that define the car’s form and volume. Adjust its intensity and color to match the time of day and atmospheric conditions. For dramatic effect, ensure the light direction highlights key design features of the car.
- Sky Light: The Sky Light captures the distant environment and applies it as ambient lighting, providing realistic fill light and subtle color contributions from the sky. When Lumen is active, the Sky Light typically contributes to Lumen’s GI, but it’s still essential for capturing distant sky details and contributing to reflections.
- High Dynamic Range Images (HDRIs): HDRIs are crucial for achieving realistic environmental lighting and reflections. An HDRI contains high-fidelity light information from a real-world location, which a Sky Light can then use to illuminate your scene.
- To implement, import a high-resolution HDRI (e.g., .exr format) into Unreal. Create a new Sky Light and set its “Source Type” to “SLS Captured Scene” or “SLS Specified Cubemap,” then assign your HDRI cubemap.
- For reflections, create a Sky Sphere or a simple dome mesh, apply an unlit material with your HDRI as the emissive texture, and ensure it surrounds your scene. This provides accurate reflections on the car’s paint and windows, making it feel truly integrated into the environment.
- Emissive Materials: Beyond direct lights, emissive materials can act as subtle light sources. Use them for car headlights, taillights, dashboard displays, or even for studio light panels in a virtual set. Ensure these materials contribute to Lumen’s GI for realistic light propagation.
For more control, consider using Lightmass (Unreal’s baked lighting system) for static elements of your environment if you are not relying solely on Lumen. Baking static lighting can offer very high quality and performance for immovable parts of your scene, freeing up Lumen for dynamic objects like the car itself. However, with the advancements in Lumen, many choose to go fully dynamic for maximum flexibility and rapid iteration, especially when working on iterative automotive configurators or virtual production sets where scene changes are frequent.
Optimizing Performance: Smooth Real-Time Experiences
Photorealism often comes with a performance cost. For real-time applications like games, AR/VR experiences, or interactive configurators, maintaining a smooth frame rate is paramount. Unreal Engine offers an array of powerful optimization tools and techniques to manage complexity and ensure your automotive visualizations run efficiently without sacrificing visual quality.
Nanite and Virtualized Geometry for High-Fidelity Cars
Nanite, introduced in Unreal Engine 5, is a virtualized micropolygon geometry system that dramatically changes how we approach high-detail assets. It allows artists to import film-quality assets with millions or even billions of polygons directly into Unreal Engine without performance degradation. For 3D car models, which are often highly detailed, Nanite is a game-changer.
- What Nanite Does: Instead of processing every triangle in a mesh, Nanite intelligently streams and renders only the detail that is perceptibly needed on screen, based on distance and screen space. It automatically handles Level of Detail (LODs), significantly simplifying the asset pipeline.
- Converting to Nanite: For static meshes (which most 3D car models are), simply open the Static Mesh Editor, navigate to the “Details” panel, and check the “Enable Nanite” box. You can then adjust settings like “Fallback Relative Error” to control the quality of the non-Nanite fallback mesh, useful for specific rendering passes or older hardware.
- Benefits for Car Models:
- Unprecedented Detail: Import incredibly detailed car models from CAD or high-poly sculpting, capturing every curve and panel gap without manual retopology.
- Simplified LODs: Nanite effectively eliminates the need for manual LOD generation for static meshes, saving immense artist time.
- Improved Performance: Despite rendering more geometric detail, Nanite often improves performance by reducing draw calls and optimizing geometry processing.
- Considerations: While powerful, Nanite has some limitations:
- It currently does not support skeletal meshes (animated characters), translucent materials (glass, transparent plastics), World Position Offset (for procedural mesh deformation), or decals that project onto Nanite meshes.
- For these specific parts of a car model (e.g., animated suspension, car windows, tire deformation), traditional optimization methods or separate non-Nanite meshes are still required.
For high-fidelity 3D car models from marketplaces like 88cars3d.com, converting the main body and interior components to Nanite is highly recommended to preserve intricate details while maintaining performance.
LODs, Culling, and Shader Complexity
Even with Nanite handling much of the geometry, other optimization techniques remain crucial for parts of the car or environment that don’t support Nanite, or for achieving optimal performance on diverse hardware.
- Level of Detail (LODs): For non-Nanite meshes (like translucent glass, or assets for AR/VR), manually generated LODs are essential. LODs are lower-polygon versions of your mesh that automatically swap in at a distance. Unreal Engine can automatically generate LODs (Static Mesh Editor > LOD Settings > Number of LODs), but manual creation or fine-tuning offers greater control and quality. A common strategy for vehicles is 3-5 LOD levels, reducing poly count by 50-75% for each step.
- Culling:
- Occlusion Culling: Unreal automatically culls (stops rendering) objects that are hidden behind other objects from the camera’s perspective. Ensure your scene has solid occluders to benefit from this.
- Frustum Culling: Objects outside the camera’s view frustum are automatically culled. This is a fundamental optimization that works out of the box.
- Shader Complexity: Complex materials, especially those with many texture samplers, complex mathematical operations, or numerous blending layers, can be performance bottlenecks.
- Use the “Shader Complexity” view mode (Alt+8) to visualize the cost of your materials. Green indicates optimal, while red/pink indicates very expensive shaders.
- Optimize by reducing the number of instructions in your materials, consolidating textures into channels (e.g., Metallic, Roughness, AO into a single texture’s RGB channels), and using Material Instances to avoid unnecessary shader recompilations.
Post-Processing for Cinematic Polish
Post-processing effects are the final polish that elevates a realistic scene to a cinematic masterpiece. Applied globally or within specific Post Process Volumes, they refine the visual tone, mood, and perceived realism of your automotive visualization. However, they also come with a performance cost that must be managed.
- Post Process Volume Settings: Place a Post Process Volume in your scene and ensure its “Unbound” property is checked for global effects, or scale it to affect specific areas. Key settings for automotive visuals include:
- Exposure: Crucial for balancing the brightness of your scene, preventing blown-out highlights or crushed shadows. Use “Exposure Metering Mode” for automatic adjustments or “Manual” for precise control.
- Bloom: Simulates light scattering around bright areas, adding a subtle glow to headlights, emissive screens, and intense reflections. Use sparingly to avoid an overblown look.
- Lens Flares: Adds a photographic feel, particularly useful for simulating camera optics when the sun or bright lights are in view.
- Color Grading: Adjusts saturation, contrast, temperature, and tint to achieve a specific mood or aesthetic (e.g., cool tones for a futuristic look, warm tones for a sunset drive).
- Vignette: Darkens the edges of the screen, subtly drawing attention to the center, often used in photography and film.
- Depth of Field (DOF): Creates a shallow focus effect, blurring the background or foreground to emphasize the car. Cinematic DOF can be very demanding; use “Bokeh DOF” for higher quality.
- Anti-aliasing Methods: Jagged edges can break realism. Unreal offers several anti-aliasing (AA) methods:
- Temporal Anti-aliasing (TAA): The default, effective at smoothing edges but can introduce ghosting or blur with motion.
- Temporal Super Resolution (TSR): An advanced TAA variant in UE5, offering improved temporal stability and quality, particularly when upscaling.
- Multisample Anti-aliasing (MSAA): Higher quality, but more performance-intensive and typically used in deferred rendering for specific passes.
- Fast Approximate Anti-aliasing (FXAA): Less effective than TAA but faster.
- Performance Implications: Every post-process effect adds to rendering time. Profile your scene using ‘stat gpu’ to identify bottlenecks. Prioritize the most impactful effects and fine-tune their intensity to strike a balance between visual quality and target frame rate, especially crucial for demanding real-time applications like AR/VR.
Creating Interactive Experiences and Cinematic Journeys
Beyond static renders, Unreal Engine excels at bringing automotive visions to life through interactivity and dynamic cinematics. Whether it’s allowing users to customize a vehicle in real-time or creating a breathtaking promotional video, Unreal Engine’s tools empower developers to craft engaging and memorable experiences.
Blueprint for Automotive Configurators and Interactivity
Blueprint Visual Scripting is Unreal Engine’s powerful node-based interface for creating game logic and interactive elements without writing a single line of code. For automotive configurators and interactive demos, Blueprint is indispensable.
- Introduction to Blueprint: Blueprint allows you to define complex behaviors and interactions by connecting nodes that represent functions, events, and variables. For example, clicking a button in a user interface (UI) can trigger an event in Blueprint, which then changes the color of a car’s material or swaps out a wheel mesh.
- Examples of Automotive Interactions:
- Changing Car Colors: Create an array of FLinearColor values (or material instances) representing different paint options. When a UI button is pressed, use Blueprint to set the Base Color parameter of the car paint material instance. For more advanced setups, swap between different master material instances, allowing for distinct clear coat properties or metallic flake patterns for each color.
- Switching Parts: Enable or disable mesh components (e.g., different wheel designs, spoiler options, interior trims) based on user input. This typically involves storing references to the mesh components and using “Set Visibility” nodes. For more complex part swapping, you might need to handle attachment points and offsets.
- Opening Doors/Hoods/Trunks: Animate these components using Sequencer (covered below) and trigger the animation via Blueprint on user interaction. For a smoother experience, you can use “Timeline” nodes within Blueprint to create simple, interpolated movements without full Sequencer tracks.
- Custom Camera Movements: Implement smooth camera transitions between different viewpoints (e.g., exterior orbit, interior view, close-up on details). Use “Set View Target with Blend” to smoothly transition the player camera to a pre-defined camera actor.
- UI Implementation with UMG: Unreal Motion Graphics (UMG) is Unreal Engine’s UI system. Use UMG Widgets to create buttons, sliders, dropdowns, and text displays for your configurator. Blueprint handles the logic that connects these UI elements to the car’s properties. For instance, a color picker in UMG can pass an RGB value to a Blueprint event, which then updates the car’s material.
- Data Tables for Managing Options: For configurators with many options (e.g., dozens of colors, multiple rim types, various interior packages), use Data Tables. These are spreadsheet-like structures that store vehicle configurations, material references, and other parameters, making it easy to manage and update choices without modifying core Blueprint logic. This approach is highly scalable and efficient.
Cinematic Storytelling with Sequencer
For creating compelling automotive advertisements, product reveals, or virtual production content, Unreal Engine’s Sequencer is the industry-standard tool. It’s a powerful non-linear cinematic editor that allows you to orchestrate camera movements, animations, visual effects, and audio to tell a story.
- Sequencer Basics: Sequencer operates on tracks. You can add tracks for actors (e.g., your car, environment props), cameras, animations (skeletal or transform), materials, audio, and more. Keyframes on these tracks define changes over time.
- Cameras: Create Cine Camera Actors for realistic camera behavior (e.g., focal length, aperture, depth of field) and animate their position, rotation, and focus distance to guide the viewer’s eye.
- Animation: Animate objects directly within Sequencer using transform tracks. For more complex animations (like suspension compression or tire rotation), you can import pre-animated FBX files or drive them with Blueprint.
- Creating Stunning Car Reveals:
- Dynamic Camera Paths: Use splines to create smooth, flowing camera movements around and through the vehicle, highlighting design features.
- Lighting Transitions: Animate light intensities, colors, or even the sun position to create dramatic time-of-day changes or emphasize different aspects of the car.
- Part Reveals: Animate components like doors opening, roofs retracting, or even interior elements sliding into view to showcase functionality and design.
- Visual Effects (Niagara): Integrate Niagara particle systems for effects like exhaust fumes, dust kicks, or water spray to add dynamic realism.
- Integrating Animation: For physically accurate vehicle dynamics, you might use Chaos Vehicle physics. While Chaos handles real-time simulation, Sequencer can drive specific animations, such as a precise wheel spin or a custom suspension “settle” animation during a static shot.
- Exporting High-Quality Video: Once your cinematic is complete, use the Movie Render Queue (Window > Cinematics > Movie Render Queue) for high-quality, anti-aliased exports. This tool offers advanced settings for frame rate, resolution, output format (e.g., EXR for post-production compositing), and temporal anti-aliasing (TSR) samples, ensuring a pristine final output that meets broadcast standards.
By mastering Blueprint and Sequencer, you can transform your static 3D car models into dynamic, interactive experiences and compelling cinematic narratives, demonstrating the true power of real-time rendering in Unreal Engine.
Advanced Applications and Future Trends
Unreal Engine’s capabilities extend far beyond traditional game development and static visualizations. Its real-time rendering prowess makes it a cornerstone for cutting-edge applications in virtual production, AR/VR, and other emerging fields, particularly within the automotive sector.
Virtual Production and LED Wall Integration
Virtual Production (VP) is revolutionizing filmmaking and broadcast by combining physical sets with real-time rendered environments on large LED volumes. Unreal Engine is at the forefront of this revolution, offering immense benefits for automotive advertising and film.
- Brief Overview of Virtual Production Workflows: In a VP setup, actors and physical props are placed on a stage surrounded by large LED screens. Unreal Engine renders the virtual background environment in real-time, displaying it on the LED walls. A tracking system (e.g., Mo-Sys, Stype) synchronizes the virtual camera within Unreal with the physical camera on set, ensuring perfect parallax and perspective. This creates the illusion that the physical elements are seamlessly integrated into the virtual world.
- Using Unreal Engine as a Real-Time Renderer for LED Volumes: For automotive commercials, this means a physical car can be placed on an LED stage, and Unreal Engine renders dynamic, photorealistic environments (cityscapes, race tracks, scenic routes) around it.
- Benefits:
- Real-time Lighting and Reflections: The LED wall emits light, dynamically illuminating the physical car with accurate environmental lighting and reflections from the virtual world. This is far more realistic than green screen compositing.
- Immediate Feedback: Directors and cinematographers see the final composite shot in real-time, allowing for instant creative decisions and adjustments.
- Flexibility: Easily change environments, time of day, or weather conditions with a few clicks in Unreal Engine, eliminating the need for costly reshoots or travel to exotic locations.
- In-Camera VFX: Many effects are captured in-camera, reducing post-production time and costs.
- Technical Considerations: Requires specialized hardware (high-end GPUs, robust networking), specific Unreal Engine configurations for multi-display rendering (nDisplay), and precise camera tracking. The Unreal Engine documentation on nDisplay is an excellent resource for this.
- Benefits:
This integration allows automotive brands to create stunning, dynamic content with unprecedented creative freedom and efficiency, blurring the lines between physical and virtual realities.
AR/VR for Immersive Automotive Experiences
Augmented Reality (AR) and Virtual Reality (VR) offer unparalleled immersive experiences for showcasing vehicles, from interactive design reviews to virtual test drives and sales configurators. Unreal Engine is a leading platform for developing these applications, but it demands stringent optimization.
- Specific Optimization Challenges for AR/VR:
- High Frame Rate: VR typically requires a minimum of 90 frames per second (fps) to prevent motion sickness. AR often aims for 60fps or higher. This strict performance target means every aspect of your scene must be meticulously optimized.
- Poly Count & Draw Calls: Even with Nanite, target hardware for AR/VR (especially mobile AR) may have limitations. Reducing draw calls and overall polygon count for distant objects becomes crucial.
- Texture & Shader Complexity: High-resolution textures and complex shaders can quickly consume memory and processing power. Smart texture streaming and simpler material graphs are often necessary.
- Stereoscopic Rendering: Rendering two slightly different views for each eye doubles the workload, making performance optimization even more critical.
- Strategies for Mobile AR (e.g., USDZ Export):
- Target Platform Optimization: When developing for mobile AR platforms like iOS ARKit or Android ARCore, focus on extremely lean assets. Simplify materials, reduce texture resolutions, and ensure meshes have optimized LODs.
- USDZ Export: Unreal Engine supports exporting scenes and assets as USDZ, a single file format optimized for AR experiences on Apple devices. This allows designers to quickly prototype and share AR models of vehicles that can be viewed on iPhones and iPads.
- Setting up VR Pawn and Motion Controllers:
- VR Template: Start with Unreal Engine’s VR Template for a pre-configured VR Pawn and basic motion controller functionality.
- Interaction: Use motion controllers to allow users to interact with the car (e.g., open doors, change colors, inspect details). Implement ray casting from the controllers to detect interactions and trigger Blueprint events.
- Navigation: Implement various locomotion methods (teleportation, smooth locomotion) while prioritizing comfort to avoid motion sickness.
- Importance of Well-Optimized Assets: For AR/VR, the quality of your base assets is even more critical. Sourcing automotive assets from marketplaces such as 88cars3d.com, which offer models with clean topology and efficient UVs, provides a strong starting point for the demanding optimization required for immersive experiences. You may still need to create additional, more aggressive LODs for these specific use cases.
As AR/VR technology advances, creating these immersive automotive experiences will become increasingly vital for product showcases, training, and customer engagement, with Unreal Engine remaining at the forefront of development.
Conclusion
The journey to creating photorealistic automotive environments in Unreal Engine is a comprehensive one, touching upon every facet of real-time 3D development. We’ve explored the critical importance of a robust project setup, the artistry and technicality behind crafting physically accurate PBR materials, and the transformative power of dynamic lighting solutions like Lumen. We’ve also delved into indispensable optimization strategies, from Nanite’s virtualized geometry to meticulous LOD management and shader complexity reduction, all crucial for achieving smooth real-time performance.
Furthermore, we’ve seen how Unreal Engine extends beyond passive viewing, enabling rich interactive experiences through Blueprint visual scripting for configurators and cinematic storytelling with Sequencer. Finally, we looked at the exciting frontier of virtual production with LED walls and the immersive potential of AR/VR, demonstrating Unreal Engine’s versatility across professional automotive applications.
The synergy between high-quality 3D car models and Unreal Engine’s advanced feature set unlocks unprecedented possibilities for automotive visualization. Platforms like 88cars3d.com provide the essential foundation—meticulously crafted 3D car models—that, when combined with the techniques discussed here, can be transformed into stunning, real-time virtual experiences. We encourage you to experiment, explore, and push the boundaries of what’s possible. The tools and knowledge are at your fingertips to create compelling automotive narratives and immersive worlds that captivate and inspire. Dive in, and bring your automotive visions to life with Unreal Engine.
Featured 3D Car Models

Porsche Cayenne 3D Model
Meta Description:
Texture: Yes
Material: Yes
Download the Porsche Cayenne 3D Model featuring realistic exterior styling and detailed interior design. Includes .blend, .fbx, .obj, .glb, .stl, .ply, .unreal, and .max formats for rendering, simulation, AR VR, and game development.
Price: $19.9
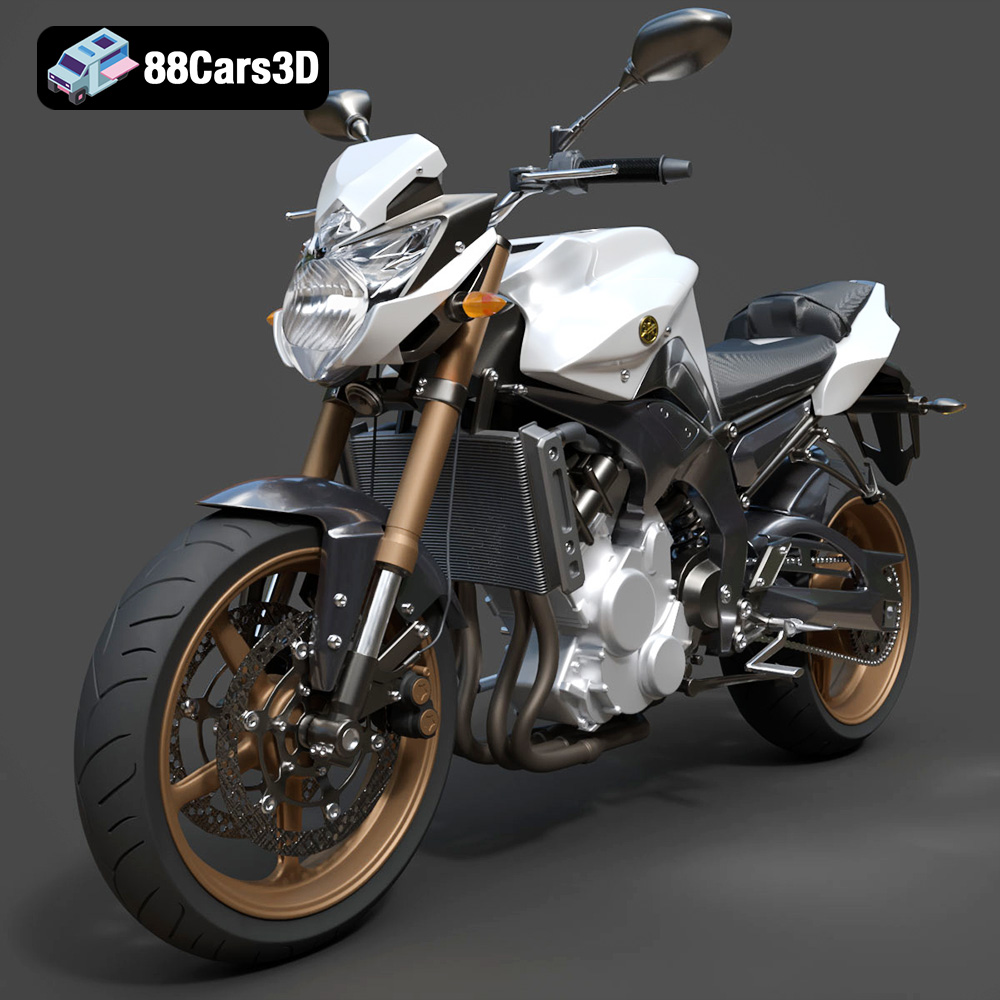
Yamaha FZ8 2011 3D Model
Texture: Yes
Material: Yes
Download the Yamaha FZ8 2011 3D Model featuring clean geometry, realistic detailing, and a fully modeled interior. Includes .blend, .fbx, .obj, .glb, .stl, .ply, .unreal, and .max formats for rendering, simulation, and game development.
Price: $19.99
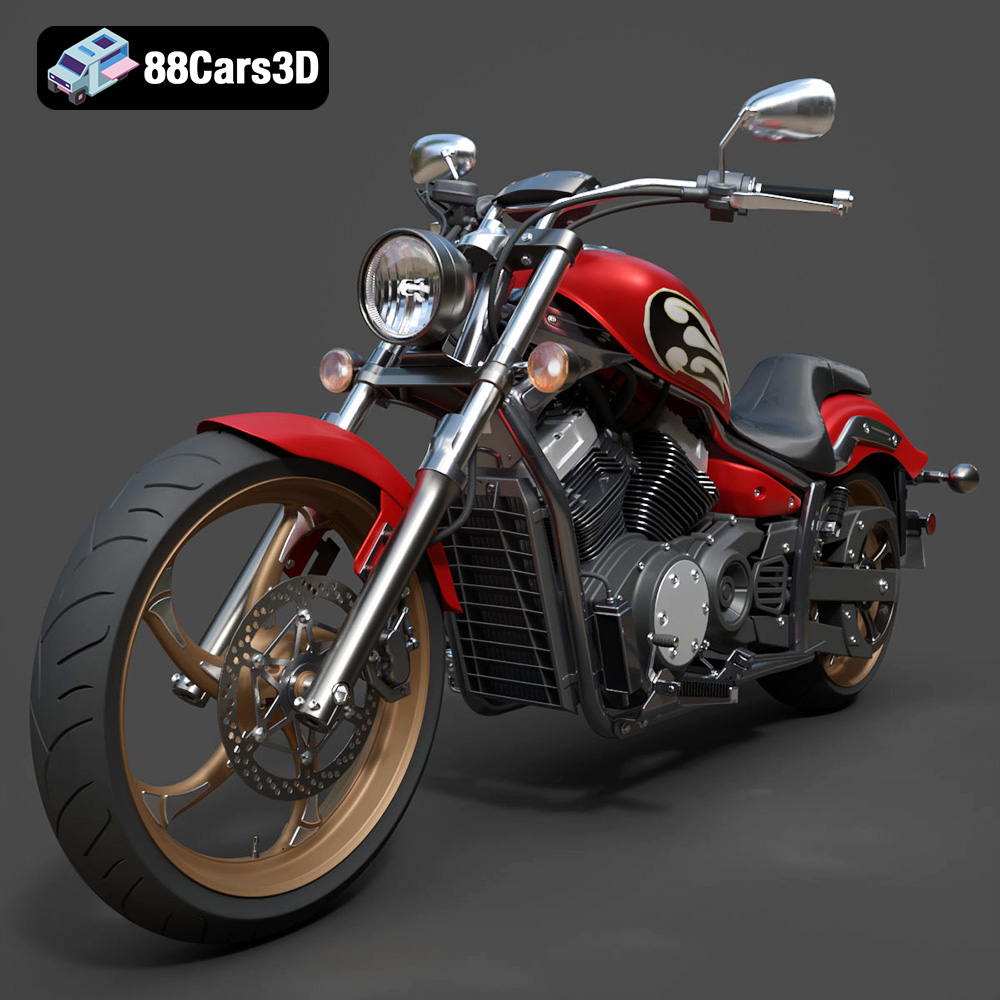
Yamaha Stryker 2012 3D Model
Texture: Yes
Material: Yes
Download the Yamaha Stryker 2012 3D Model featuring clean geometry, realistic detailing, and a fully modeled interior. Includes .blend, .fbx, .obj, .glb, .stl, .ply, .unreal, and .max formats for rendering, simulation, and game development.
Price: $19.99
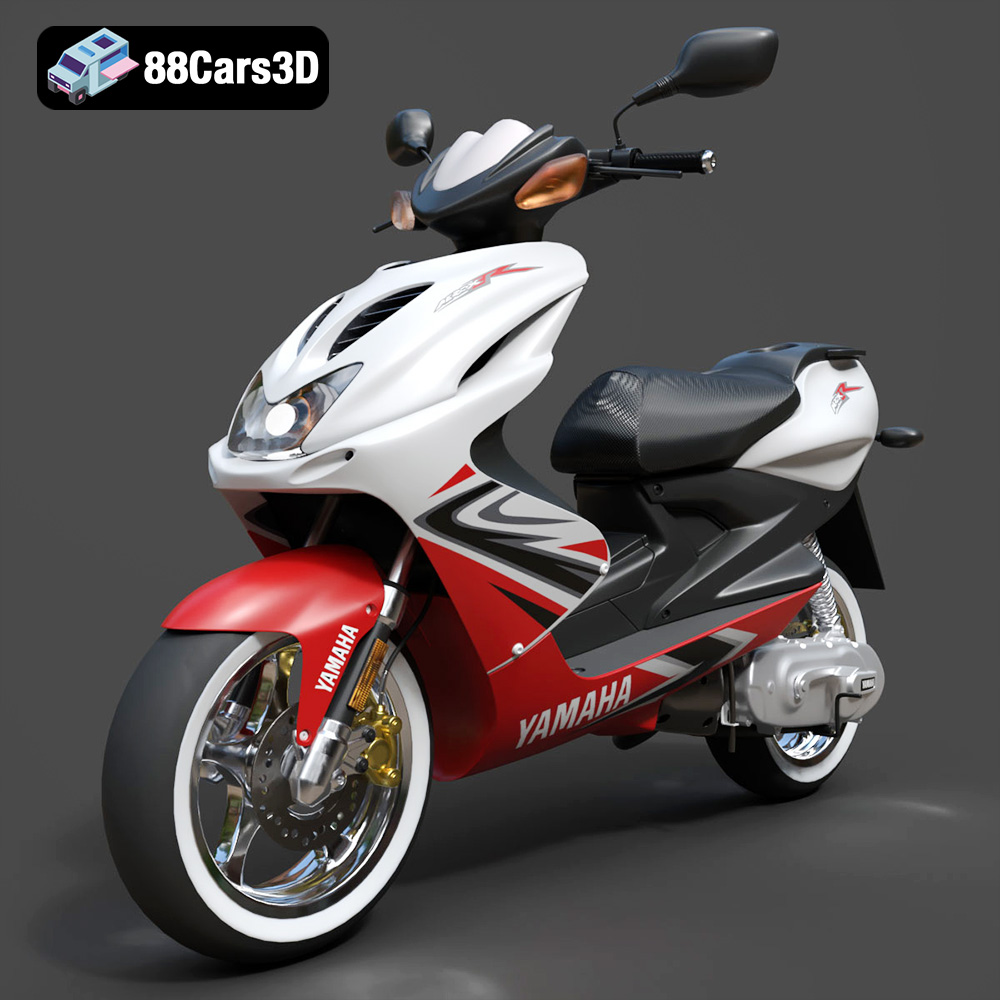
Yamaha Aerox R-002 2024 3D Model
Texture: Yes
Material: Yes
Download the Yamaha Aerox R-002 2024 3D Model featuring clean geometry, realistic detailing, and a fully modeled interior. Includes .blend, .fbx, .obj, .glb, .stl, .ply, .unreal, and .max formats for rendering, simulation, and game development.
Price: $19.99
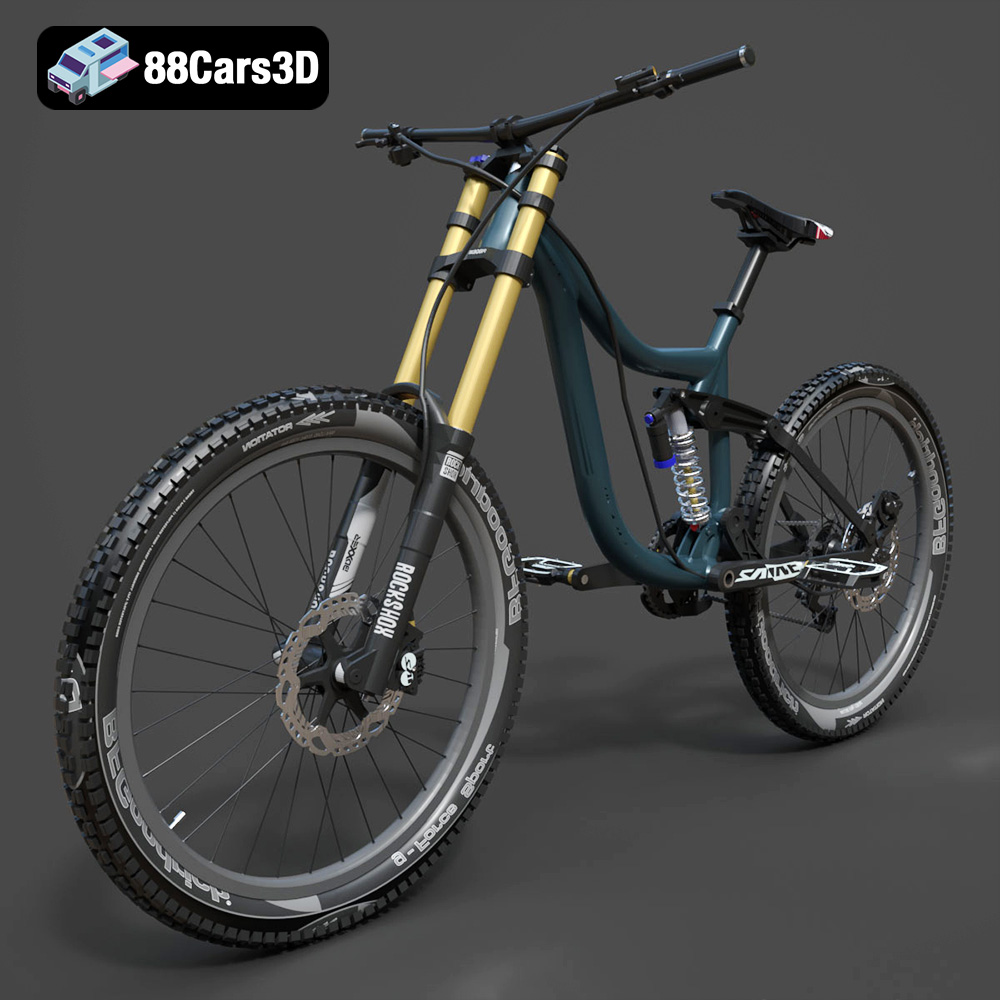
Mototsikly Downhill Bike-002 3D Model
Texture: Yes
Material: Yes
Download the Mototsikly Downhill Bike-002 3D Model featuring clean geometry, realistic detailing, and precise mechanical components. Includes .blend, .fbx, .obj, .glb, .stl, .ply, .unreal, and .max formats for rendering, simulation, and game development.
Price: $19.99
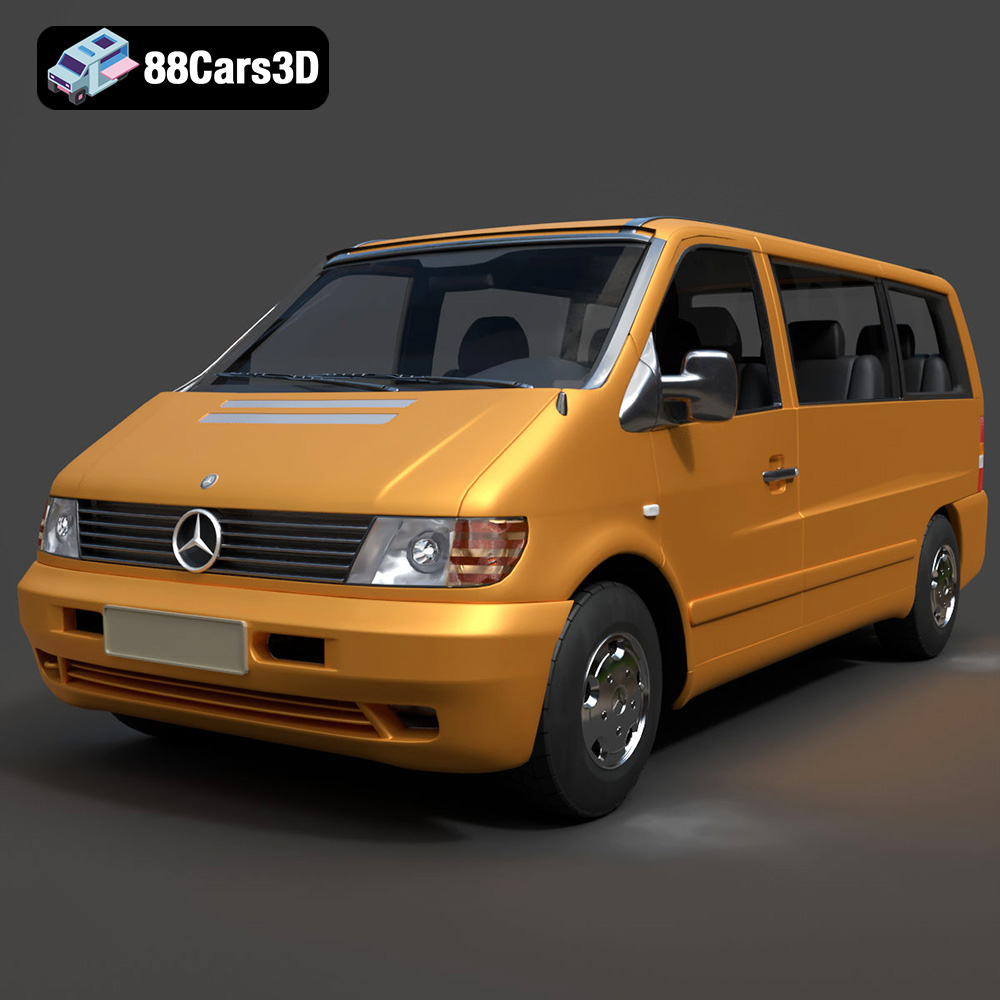
Mercedes-Benz Vito Passenger Van 3D Model
Texture: Yes
Material: Yes
Download the Mercedes-Benz Vito Passenger Van 3D Model featuring clean geometry, realistic detailing, and a fully modeled interior. Includes .blend, .fbx, .obj, .glb, .stl, .ply, .unreal, and .max formats for rendering, simulation, and game development.
Price: $19.99
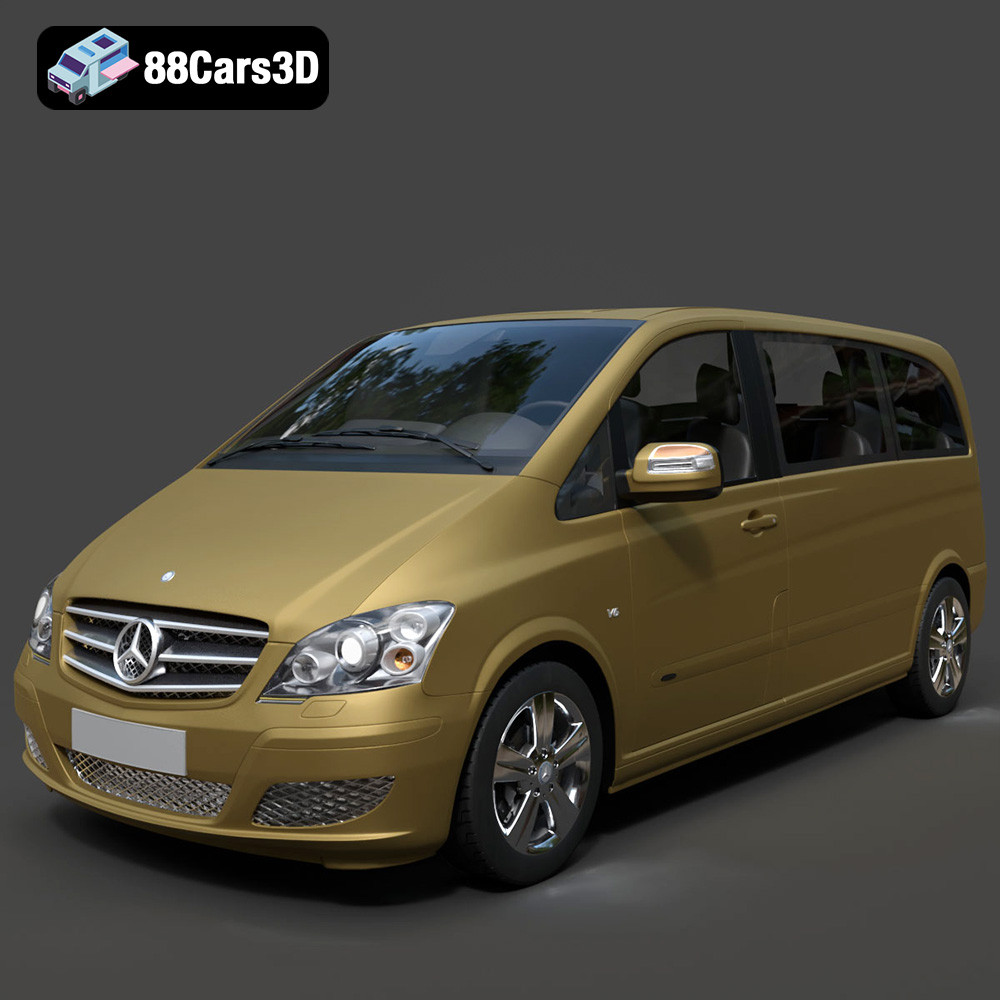
Mercedes-Benz Viano 2010 3D Model
Texture: Yes
Material: Yes
Download the Mercedes-Benz Viano 2010 3D Model featuring clean geometry, realistic detailing, and a fully modeled interior. Includes .blend, .fbx, .obj, .glb, .stl, .ply, .unreal, and .max formats for rendering, simulation, and game development.
Price: $19.99

Emt Avtobus 007 3D Model
Texture: Yes
Material: Yes
Download the Emt Avtobus 007 3D Model featuring clean geometry, realistic detailing, and a fully modeled interior. Includes .blend, .fbx, .obj, .glb, .stl, .ply, .unreal, and .max formats for rendering, simulation, and game development.
Price: $19.99
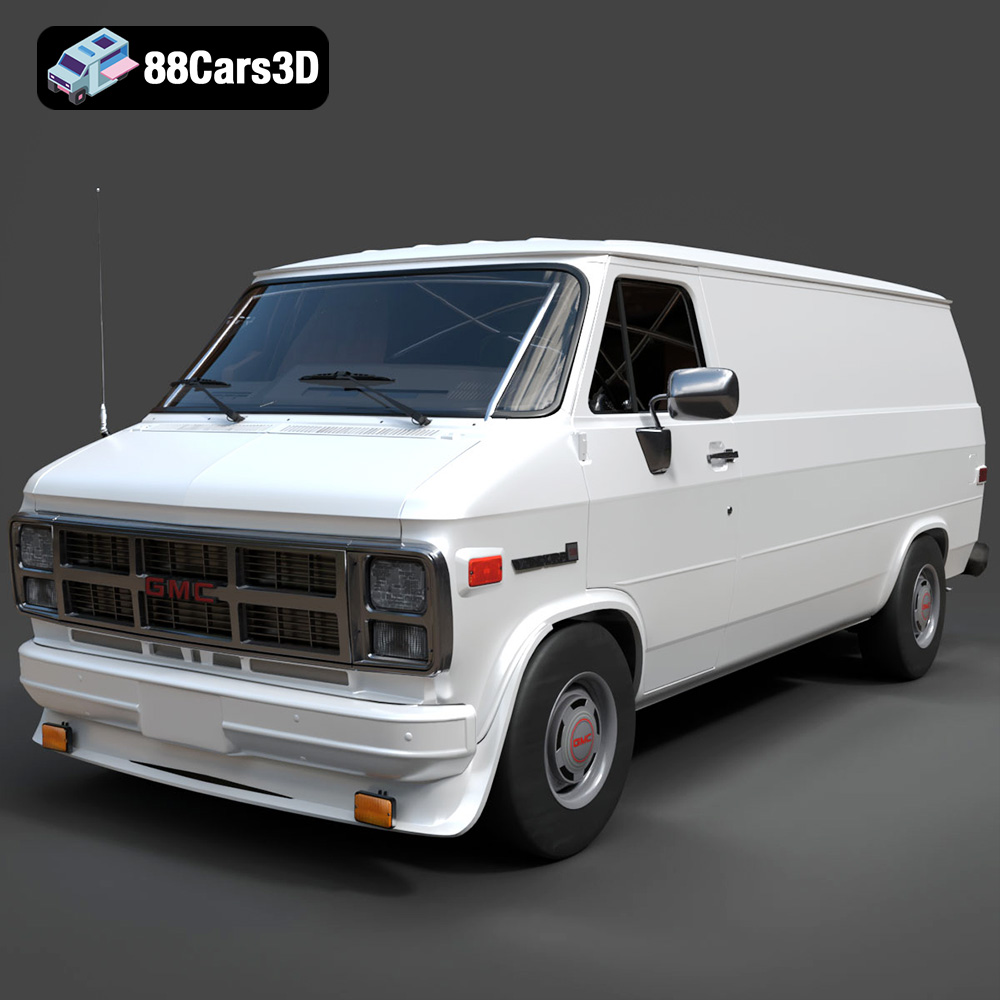
GMC Vandura G-1500 1983 3D Model
Texture: Yes
Material: Yes
Download the GMC Vandura G-1500 1983 3D Model featuring clean geometry, realistic detailing, and a fully modeled interior. Includes .blend, .fbx, .obj, .glb, .stl, .ply, .unreal, and .max formats for rendering, simulation, and game development.
Price: $19.99
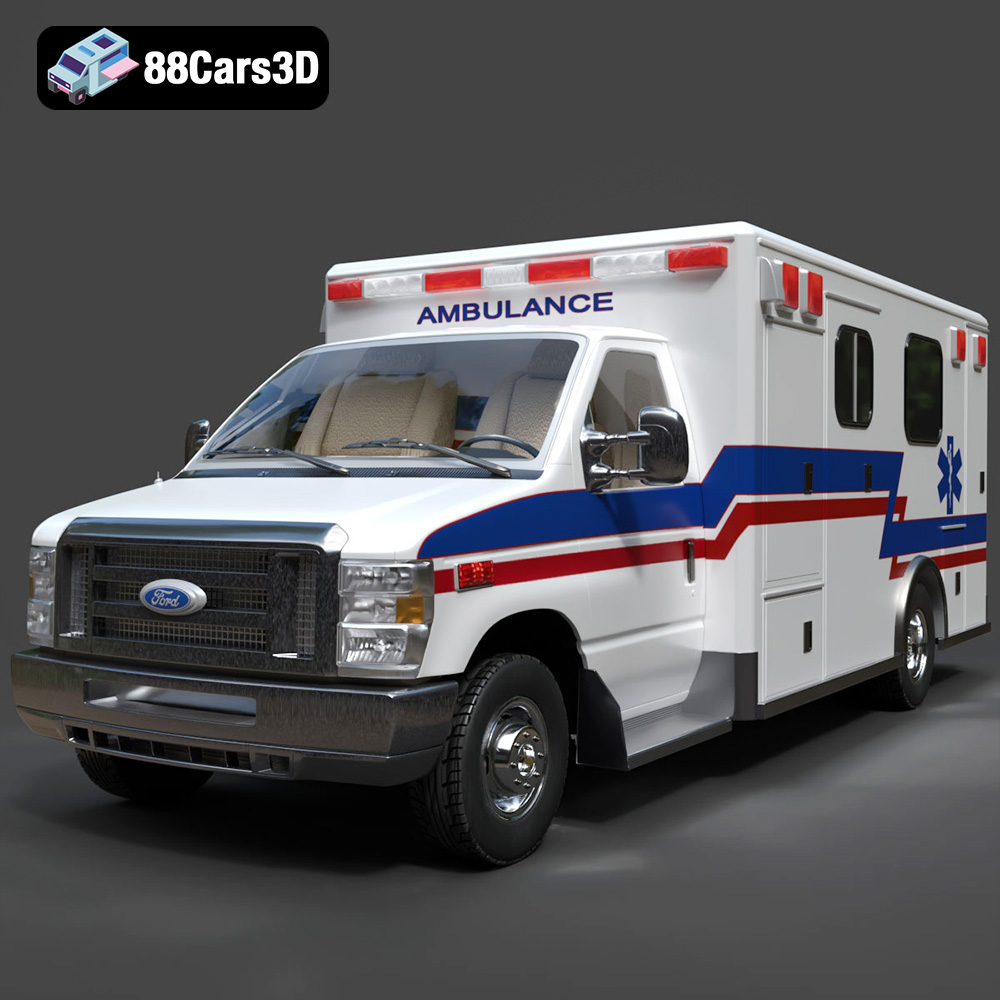
Ford E-450 Ambulance 3D Model
Texture: Yes
Material: Yes
Download the Ford E-450 Ambulance 3D Model featuring clean geometry, realistic detailing, and a fully modeled interior. Includes .blend, .fbx, .obj, .glb, .stl, .ply, .unreal, and .max formats for rendering, simulation, and game development.
Price: $19.99
