

Mastering Realistic Vehicle Physics in Unreal Engine: A Deep Dive for Automotive Visualization and Game Development
In the dynamic world of automotive visualization and game development, realism is paramount. For vehicles, this realism extends far beyond pristine 3D models and stunning PBR materials; it delves into the very core of how a car behaves on a virtual road. Achieving believable vehicle physics in Unreal Engine is a complex yet incredibly rewarding endeavor, transforming static visuals into immersive, interactive experiences. Whether you’re crafting a high-fidelity car configurator, a cutting-edge racing game, or an architectural visualization project featuring dynamic vehicles, understanding Unreal Engine’s robust physics systems is crucial.
This comprehensive guide will take you on a deep dive into the technical intricacies of setting up, tuning, and optimizing realistic vehicle physics within Unreal Engine. We’ll explore everything from preparing your high-quality 3D car models (like those found on 88cars3d.com) for physics simulation, to leveraging Unreal Engine’s advanced Chaos Vehicles system, fine-tuning suspension and tire properties, and integrating these systems into interactive experiences. By the end of this post, you’ll have a solid understanding of the workflows and best practices required to bring your virtual vehicles to life with unparalleled realism and performance. Prepare to accelerate your skills and drive your Unreal Engine projects to new heights of authenticity.
Laying the Foundation: Importing and Preparing Your 3D Car Model
The journey to realistic vehicle physics begins with a meticulously prepared 3D car model. The quality and structure of your source asset significantly impact the ease and effectiveness of setting up physics in Unreal Engine. A well-constructed model not only looks better but also provides a more stable and predictable base for physics simulations. When sourcing automotive assets from marketplaces such as 88cars3d.com, you often find models pre-optimized with clean geometry and suitable collision meshes, which is an excellent starting point. However, understanding the underlying requirements is still essential for effective integration.
Begin by ensuring your 3D model is correctly scaled (Unreal Engine typically works best with a 1 unit = 1cm scale, so a standard car might be around 450-550 units long). The pivot point of your vehicle’s root should ideally be at the center bottom, allowing for intuitive placement and rotation within the scene. For vehicles, it’s common to import a skeletal mesh, where the main chassis is the root bone, and each wheel is its own child bone. This skeletal structure is crucial for Unreal Engine’s `WheeledVehicleMovementComponent` to correctly identify and simulate the rotational movement of each wheel. Each wheel mesh should have its pivot point at the center of its rotation axis.
Model Preparation for Physics: Collision Meshes & Hierarchies
A visually stunning mesh is only half the story; for physics, you need accurate collision geometry. Unreal Engine offers various methods for collision detection, from simple primitive shapes to complex per-poly collision. For vehicles, a common and efficient approach involves using a combination of simple box/sphere primitives for the main body and simplified convex hulls for more complex shapes that require accurate interaction (e.g., bumpers, spoilers). Avoid using per-poly collision for the main vehicle body as it can be very performance intensive and often unnecessary for driving physics.
When importing your skeletal mesh, Unreal Engine can automatically generate a Physics Asset. However, it’s often best to manually refine this asset. Within the Physics Asset Editor, you can create “bodies” (collision shapes) for each bone in your skeletal mesh. Assign a capsule or sphere to each wheel bone for accurate tire-to-ground contact, and create a simplified box or convex hull for the main chassis. Ensure these collision shapes accurately encapsulate the visible geometry without excessive overlap or gaps. Pay particular attention to the wheel collision, as this directly affects tire friction and suspension behavior. Correctly setting up the collision mesh for the main body prevents the vehicle from getting snagged on terrain or other objects unnecessarily.
Blueprint Setup for Vehicle Components
Once your model is imported and has a suitable Physics Asset, the next step is to integrate it into an Unreal Engine Blueprint. Create a new Blueprint class and select `WheeledVehiclePawn` as the parent class (or `Pawn` if you plan to implement your own custom movement component, though `WheeledVehiclePawn` is the standard for Chaos Vehicles). Inside the Blueprint, add your skeletal mesh component and assign your imported car model.Crucially, you’ll need to configure the `WheeledVehicleMovementComponent` attached to this Pawn.
In the `Details` panel for your skeletal mesh, expand the `Skeletal Mesh` section and identify the `Wheel Setups`. Here, you’ll add an entry for each wheel (Front Left, Front Right, Rear Left, Rear Right). For each entry, specify the corresponding bone name from your skeletal mesh (e.g., “wheel_FL_JNT”) and assign a `Wheel Class`. This `Wheel Class` is a Blueprint-defined asset (usually based on `ChaosVehicleWheel`) where you define specific parameters for that wheel, such as its radius, width, and whether it’s a driven wheel (i.e., receives engine torque). The accuracy of these physical dimensions is paramount for realistic physics, as they directly influence ground contact, turning radius, and overall vehicle scale within the simulation.
For more detailed information on setting up skeletal meshes and collision, refer to the official Unreal Engine documentation on Skeletal Meshes and Physics Assets.
Unreal Engine’s Vehicle Physics Systems: Chaos vs. PhysX
Unreal Engine has evolved its physics capabilities significantly over the years, with Chaos Physics now being the primary and most powerful system for vehicle simulation. Understanding the differences and advantages of Chaos is key to developing high-fidelity automotive experiences. While legacy projects might still utilize PhysX, new projects should almost always opt for Chaos due to its superior performance, stability, and expanded feature set.
Chaos Physics is Unreal Engine’s custom-built physics simulation system, designed for high performance and extensibility. It’s multi-threaded, robust, and capable of handling complex scenarios with greater fidelity than its predecessor. For vehicles, Chaos offers a dedicated `ChaosWheeledVehicleMovementComponent`, which is a highly configurable and optimized solution for simulating wheeled vehicles. This component handles everything from engine torque and transmission gearing to tire friction, suspension damping, and collision response, all within a unified and efficient framework.
Understanding Chaos Vehicles: The Modern Standard
The `ChaosWheeledVehicleMovementComponent` is the heart of your vehicle’s physics. It consolidates a vast array of parameters that collectively define your vehicle’s behavior. Unlike simpler physics implementations, Chaos Vehicles models many aspects of a real vehicle, allowing for a deep level of realism. Key properties include the vehicle’s mass, center of mass, engine torque curves, transmission gear ratios, differential types, and a comprehensive set of suspension and tire parameters.
One of the significant advantages of Chaos is its deterministic nature (given the same inputs, it produces the same outputs), which is critical for networked multiplayer games and consistent simulation results. It also offers advanced features like destructible environments and dynamic vehicle components, opening up possibilities for more interactive and engaging vehicle experiences beyond just driving. When migrating from older PhysX-based vehicles or starting new, embracing Chaos is a fundamental step. The official Unreal Engine documentation on Chaos Vehicles provides an excellent deep dive into its architecture and configuration.
Configuring Vehicle Movement Components
Tuning the `ChaosWheeledVehicleMovementComponent` involves a meticulous process of adjusting numerous parameters to match the real-world characteristics of your chosen vehicle. This is where the engineering data of your car model comes into play.
* Engine: Define the `Max Torque` and `Max RPM`. Crucially, you’ll create an `Engine Torque Curve` (a Float Curve asset) that maps RPM to torque output. This curve is vital for simulating realistic power delivery. A typical curve starts with low torque, peaks in the mid-range, and then gradually drops off towards max RPM. Adjust `Idle RPM` and `Engine Brake Effect` for more nuanced behavior.
* Transmission: Set up `Gear Ratios` for each forward and reverse gear. The `Final Drive Ratio` is also important. Choose between `Automatic` or `Manual` transmission behavior and define `Clutch Strength` for more detailed simulation.
* Brakes: Specify `Brake Force` and `Handbrake Force`. These values directly impact stopping power and the effectiveness of drifts.
* Differential: Select the appropriate differential type (`Open`, `Limited Slip`, `Locked`, `Front-Wheel Drive`, `Rear-Wheel Drive`, `All-Wheel Drive`). This choice profoundly affects how power is distributed to the wheels and, consequently, the vehicle’s handling characteristics, especially under cornering and acceleration. An `Open Differential` allows wheels to spin independently, while a `Limited Slip Differential` transfers power to the wheel with more traction, common in performance cars.
The default values in Unreal Engine provide a starting point, but achieving true realism requires extensive testing and iterative adjustments, often referencing real-world vehicle specifications.
Mastering Wheel and Tire Physics
Beyond the engine and transmission, the interaction between the tires and the ground is perhaps the most critical factor in realistic vehicle physics. The subtle nuances of tire grip, slip, and suspension response dictate how a vehicle corners, accelerates, and brakes. Unreal Engine provides detailed control over these elements through `TireConfig` assets and direct parameters within the `ChaosVehicleWheel` class.
Each wheel in your vehicle Blueprint can reference a `TireConfig` asset. This asset is where you define the friction properties of the tire. It’s not enough to simply set a high friction value; realism comes from how friction changes based on the amount of slip the tire experiences. A tire generates maximum grip at a certain percentage of slip (often around 10-20%) and then gradually loses grip as slip increases, leading to a slide. This non-linear relationship is what makes driving engaging and challenging.
Tire Setup and Friction Curves
The `TireConfig` asset allows you to define a `Longitudinal Slip` and `Lateral Slip` friction curve. These curves represent the amount of friction generated at different slip ratios.
* Longitudinal Slip: This relates to acceleration and braking. A curve typically starts at zero friction, rises to a peak (the point of maximum grip during acceleration/braking), and then decreases as the tire slips further.
* Lateral Slip: This relates to cornering. Similar to longitudinal slip, it defines how much grip the tire has sideways. A well-tuned lateral slip curve is essential for realistic cornering, drifts, and preventing unrealistic “stickiness.”
For each curve, you’ll typically define several data points:
* `Min Slip`: Usually 0.0, with a corresponding friction value.
* `Peak Slip`: The slip value at which maximum friction is achieved (e.g., 0.15 for longitudinal, 0.2 for lateral).
* `Peak Friction`: The friction multiplier at peak slip (e.g., 1.2-1.5).
* `Max Slip`: The slip value beyond which friction starts to stabilize or decrease significantly.
* `Max Friction`: The friction multiplier at max slip (often lower than peak friction, representing a full slide).
Adjusting these values will significantly alter how your vehicle behaves. A common mistake is to make tires too sticky; real-world tires have a limited friction envelope. Experimenting with different `TireConfig` assets for different tire types (e.g., road, racing, off-road) can add another layer of realism to your project.
Suspension System Tuning for Dynamic Handling
A car’s suspension system is crucial for stability, comfort, and handling. In Unreal Engine, each `ChaosVehicleWheel` has parameters to simulate realistic suspension behavior.
* Spring Rate: This defines the stiffness of the spring. A higher value means a stiffer ride. It’s measured in N/cm (Newtons per centimeter).
* Damper Rate: This controls how quickly the suspension returns to its equilibrium position and absorbs impacts. It has `Compression` (how much resistance when the wheel moves up) and `Rebound` (how much resistance when the wheel moves down) components. Higher damper rates lead to a firmer, less bouncy ride.
* Suspension Max Droop/Max Raise: These define the maximum travel distance of the suspension from its resting position, both downwards (droop) and upwards (raise).
* Anti-Roll Bars: While not a direct parameter in the `ChaosVehicleWheel`, you can simulate anti-roll bars (also known as sway bars) through Blueprint logic or by carefully adjusting the spring and damper rates between opposing wheels. Anti-roll bars reduce body roll during cornering, significantly impacting handling.
Furthermore, the `Center of Mass (COM)` of the vehicle, specified in the `ChaosWheeledVehicleMovementComponent`, plays a critical role. A lower COM generally leads to more stable handling, while a higher COM can result in more body roll and a greater tendency to flip. Shifting the COM forward or backward can also influence understeer/oversteer characteristics. Achieving realistic suspension often involves a delicate balance of these parameters, requiring iterative testing on various terrains and cornering scenarios.
Advanced Vehicle Interactions and Feedback
Beyond the core physics simulation, true immersion comes from the rich interplay of visual, auditory, and haptic feedback. A perfectly tuned physics model can feel flat without the accompanying sensory cues that inform the driver or viewer about the vehicle’s state. Unreal Engine offers powerful tools to synchronize these effects with your vehicle’s physics, creating a cohesive and believable experience.
Consider a high-performance racing car: the roar of the engine accelerating, the subtle vibrations felt through the steering wheel, the squeal of tires pushing the limits of adhesion, and the puff of smoke from a controlled drift. These elements, when integrated correctly, elevate the physics simulation from a technical achievement to an emotionally resonant experience. Integrating such feedback requires a combination of Blueprint scripting, advanced particle systems like Niagara, and thoughtful audio design.
Implementing Force Feedback and Haptics
For simulator experiences, force feedback steering wheels and pedals are crucial for delivering tactile information to the user. Unreal Engine provides robust input systems that can be leveraged to drive these devices. By reading vehicle state data (e.g., longitudinal and lateral slip values, engine RPM, suspension compression, collision impacts) from the `ChaosWheeledVehicleMovementComponent`, you can generate corresponding force feedback signals.
* Tire Slip: When tires start to lose grip, you can transmit a vibration or a reduction in steering resistance to indicate the loss of traction.
* Road Texture: Driving over different surfaces (gravel, rumble strips, curbs) can generate unique vibration patterns based on collision events or surface material queries.
* Collision Impacts: Hard impacts should trigger strong, sudden forces through the steering wheel and potentially the pedal set.
* Engine Vibrations: As the engine RPM increases, a subtle, higher-frequency vibration can be applied to simulate engine harmonics.
These effects are typically implemented within the vehicle’s Blueprint using `Event Tick` or custom events that check vehicle physics data. You’ll then use input mapping and platform-specific functions to send haptic feedback commands to the connected devices. This level of physical feedback significantly enhances the sense of connection between the player and the virtual vehicle.
Integrating Visual and Audio Effects for Immersion
Visual and audio cues are just as vital as haptic feedback. Unreal Engine’s Niagara particle system and its advanced audio engine are perfectly suited for this.
* Niagara for Visual Effects:
* Tire Smoke: Use Niagara emitters spawned at each wheel, triggered by high lateral or longitudinal slip values. The intensity and color of the smoke can vary based on slip amount and surface type.
* Dust/Water Spray: Detect ground contact and surface material (e.g., using line traces or physical materials) to spawn dust clouds or water spray when driving on dirt, gravel, or wet surfaces.
* Exhaust Backfire: Trigger small, explosive particle effects at the exhaust pipes based on sudden throttle changes or gear shifts at high RPMs.
* Debris: Upon collision, spawn small debris particles (e.g., shattered glass, detached plastic bits) using Niagara to add impact realism.
* Audio Engine for Sound Effects:
* Engine Sounds: Use a `Sound Cue` with multiple RPM-driven loops and crossfades to create a dynamic engine sound that responds accurately to throttle and RPM changes. Include separate layers for idle, low RPM, mid-range, and high RPM, along with gear shift sounds.
* Tire Squeal: Trigger and blend tire squeal sounds based on the magnitude of lateral slip during cornering or longitudinal slip during hard braking. The pitch and volume can vary with slip intensity.
* Suspension Creaks/Scrapes: Use collision events or suspension compression values to trigger subtle creaking sounds or scraping noises if the chassis scrapes the ground.
* Wind Noise: Gradually increase wind noise volume based on vehicle speed.
By carefully scripting these effects in Blueprint, tying them directly to physics variables, you can create a truly immersive driving experience that appeals to all senses.
Performance Optimization for Real-Time Vehicle Physics
Achieving realistic vehicle physics in Unreal Engine is one thing; ensuring it runs smoothly at target frame rates in real-time is another. Optimization is a continuous process that involves balancing visual fidelity, physics accuracy, and performance overhead. For complex scenes with multiple vehicles, or in demanding applications like AR/VR and virtual production, every millisecond counts. Efficient asset management and clever use of Unreal Engine’s performance features are essential.
The computational cost of physics simulations can be significant, especially with high polygon counts, complex collision geometry, and numerous interactive elements. Therefore, understanding how to streamline your assets and configure Unreal Engine’s physics solver is paramount. Platforms like 88cars3d.com provide optimized 3D car models that already consider many performance factors, offering clean geometry and appropriate UV mapping, which makes the optimization process much more manageable.
LODs and Physics Asset Optimization
Level of Detail (LOD) systems are critical for maintaining performance, particularly for vehicles that might appear at varying distances from the camera. While Nanite in Unreal Engine 5 handles visual mesh LODs automatically for high-poly geometry, physics meshes still benefit from manual optimization.
* Collision Mesh LODs: Create simplified collision meshes for your vehicle’s body. For distant vehicles, a single large box might suffice for collision, drastically reducing physics calculation overhead. You can swap these collision meshes dynamically based on distance or use Unreal’s built-in physics LOD system.
* Physics Asset Bone Count: The more bones and collision bodies in your Physics Asset, the more complex the calculations. For physics simulation, focus on the essential bones (chassis, wheels) and use simplified shapes. Avoid creating collision bodies for small, non-essential parts of the car.
* Wheel Count: While most cars have four wheels, custom vehicles or specific scenarios might have more. Be mindful that each additional wheel adds to the physics calculation. If a wheel isn’t driven or doesn’t require precise friction, consider simplifying its physics representation or only simulating it visually.
Tick Groups and Physics Substepping
Unreal Engine provides powerful features to control when and how physics simulations are updated, allowing you to fine-tune performance and stability.
* Tick Groups: `Tick Groups` determine the order in which different parts of your game logic are updated. For physics, it’s often beneficial to ensure that physics calculations occur early in the frame (e.g., `TG_PrePhysics`) or that your vehicle’s movement component ticks after other essential components to ensure accurate input and state. Misaligned tick groups can lead to jittery movement or delayed responses.
* Physics Substepping: This is a crucial setting for stable vehicle physics, especially with fast-moving objects. When `Physics Substepping` is enabled (in `Project Settings > Physics > Substepping`), Unreal Engine will perform multiple, smaller physics steps within a single frame. This prevents objects from “tunneling” through collision geometry and provides more accurate collision detection and resolution.
* `Max Substep Delta Time`: The maximum time allowed for a single physics substep (e.g., 0.016667 for 60fps, meaning up to 1 substep per frame without exceeding frame rate if no other substeps occur).
* `Max Substeps`: The maximum number of substeps allowed per frame. A higher value leads to more stable physics but also higher CPU cost. Finding the right balance here (e.g., 2-4 substeps) is key to balancing stability and performance.
By carefully managing these settings, you can ensure your vehicles handle smoothly and predictably, even under high-load conditions, without sacrificing crucial visual or interactive fidelity.
Real-World Applications: From Simulators to Configurators
The mastery of realistic vehicle physics in Unreal Engine extends beyond purely theoretical understanding; it unlocks a vast array of practical applications across various industries. From creating highly interactive product showcases for automotive manufacturers to developing sophisticated training simulators and even integrating real-time vehicles into virtual production pipelines, the possibilities are immense. The ability to simulate precise vehicle behavior combined with Unreal Engine’s stunning rendering capabilities positions it as an indispensable tool for forward-thinking professionals.
The demand for high-fidelity, real-time automotive experiences is growing exponentially. Whether it’s enabling customers to virtually test-drive a new car model, allowing engineers to evaluate aerodynamic properties in a simulated wind tunnel, or empowering filmmakers to stage complex car chases without physical vehicles, robust physics simulations are at the heart of these innovations. Leveraging quality assets and applying the techniques discussed ensures your projects meet the rigorous standards of these diverse applications.
Building Interactive Automotive Configurators
Automotive configurators are a prime example of where realistic vehicle physics and interactive design converge. These tools allow potential buyers to customize a vehicle in real-time, changing colors, materials, wheel types, interior trims, and even adding accessories. While the visual aspects are paramount, integrating physics can significantly enhance the experience.
* Dynamic Environment Interaction: Imagine customizing a car and then being able to “drive” it around a virtual showroom or a scenic test track to see how your chosen suspension or tire setup visually impacts its stance and handling. While full physics simulation might be overkill for every configurator, even subtle physics (like suspension compression when opening a door or reacting to minor terrain changes) adds a layer of realism.
* Component Swapping with Blueprint: Use Blueprint scripting to manage the swapping of different car parts (e.g., different wheel models, spoilers, bumpers). This can involve dynamically loading skeletal mesh components or swapping static meshes. Ensure that when a wheel is swapped, its corresponding `TireConfig` and `ChaosVehicleWheel` parameters are updated to reflect the new wheel’s characteristics (e.g., diameter, width).
* Interactive Features: Blueprint can also control doors opening/closing, headlights turning on/off, and even internal displays. Combining these interactive elements with dynamic lighting (Lumen for global illumination and reflections) and physics-driven animations (like opening a trunk with gravity) creates a highly engaging configurator.
These configurators can be deployed across various platforms, from web-based applications (using Pixel Streaming) to standalone desktop and even AR/VR experiences, providing unparalleled product immersion.
Simulators and Virtual Production Integration
The precision and realism offered by Unreal Engine’s Chaos Physics make it an ideal platform for professional driving simulators and virtual production workflows.
* Professional Driving Simulators: For training, research, or entertainment, linking Unreal Engine’s vehicle physics to external hardware (steering wheels, pedals, motion platforms) creates highly realistic driving experiences. This involves:
* Input Integration: Using Unreal Engine’s input system to map physical steering wheel rotation and pedal inputs to the `ChaosWheeledVehicleMovementComponent`.
* Data Logging: Implementing Blueprint logic to record vehicle data (speed, RPM, slip angles, suspension travel) for post-simulation analysis, crucial for engineering and driver training.
* Motion Platform Integration: Sending vehicle physics data (acceleration, angular velocity, G-forces) to external motion platforms to provide physical feedback to the user.
* Virtual Production and LED Wall Workflows: In the realm of filmmaking and broadcast, Unreal Engine is revolutionizing virtual production. Integrating realistic vehicle physics allows for:
* Real-time Vehicle Control: Directors can control virtual cars on an LED volume in real-time, perfectly synchronizing with physical camera movements and actor performances. This eliminates the need for expensive green screen shoots and allows for dynamic, iterative changes on set.
* Cinematic Content: Leveraging Sequencer, Unreal Engine’s non-linear cinematic editor, you can create breathtaking car chase sequences or dynamic product reveals. The realistic physics ensures that the vehicle behaves authentically, while Sequencer handles camera animation, lighting changes, and special effects, all rendered in real-time.
* AR/VR Optimization: For AR/VR experiences, optimization is key. While detailed physics are beneficial, specific optimizations like reducing physics substeps for distant vehicles, utilizing simplified collision for non-critical objects, and ensuring efficient `TireConfig` setups are vital to maintaining high frame rates required for comfortable VR.
By harnessing Unreal Engine’s capabilities for vehicle physics, developers and artists can push the boundaries of realism and interactivity across a multitude of professional applications.
Conclusion
Achieving truly realistic vehicle physics in Unreal Engine is an art form that blends technical understanding with iterative refinement. From the meticulous preparation of your 3D car models (leveraging high-quality assets from platforms like 88cars3d.com) to the intricate tuning of Chaos Vehicle Movement Components, every detail contributes to the immersive experience. We’ve explored the critical importance of clean collision geometry, the power of Unreal Engine’s Chaos Physics, and the nuances of configuring engine, transmission, tire, and suspension parameters for authentic vehicle behavior.
Beyond the core physics, integrating advanced sensory feedback through Niagara particle systems, a dynamic audio engine, and even force feedback haptics elevates a simulation into a believable, engaging world. And, for optimal performance across demanding applications like interactive configurators and virtual production, we’ve highlighted the necessity of LODs, physics asset optimization, and strategic use of tick groups and physics substepping.
The journey to mastering vehicle physics is ongoing, demanding patience, experimentation, and a keen eye for detail. However, with Unreal Engine’s robust toolset and the insights shared in this guide, you now possess a powerful foundation to create compelling, high-fidelity automotive experiences. So, fire up Unreal Engine, import your favorite car model, and start tuning. The open road of realistic simulation awaits your command.
Featured 3D Car Models

Porsche Cayenne 3D Model
Meta Description:
Texture: Yes
Material: Yes
Download the Porsche Cayenne 3D Model featuring realistic exterior styling and detailed interior design. Includes .blend, .fbx, .obj, .glb, .stl, .ply, .unreal, and .max formats for rendering, simulation, AR VR, and game development.
Price: $19.9
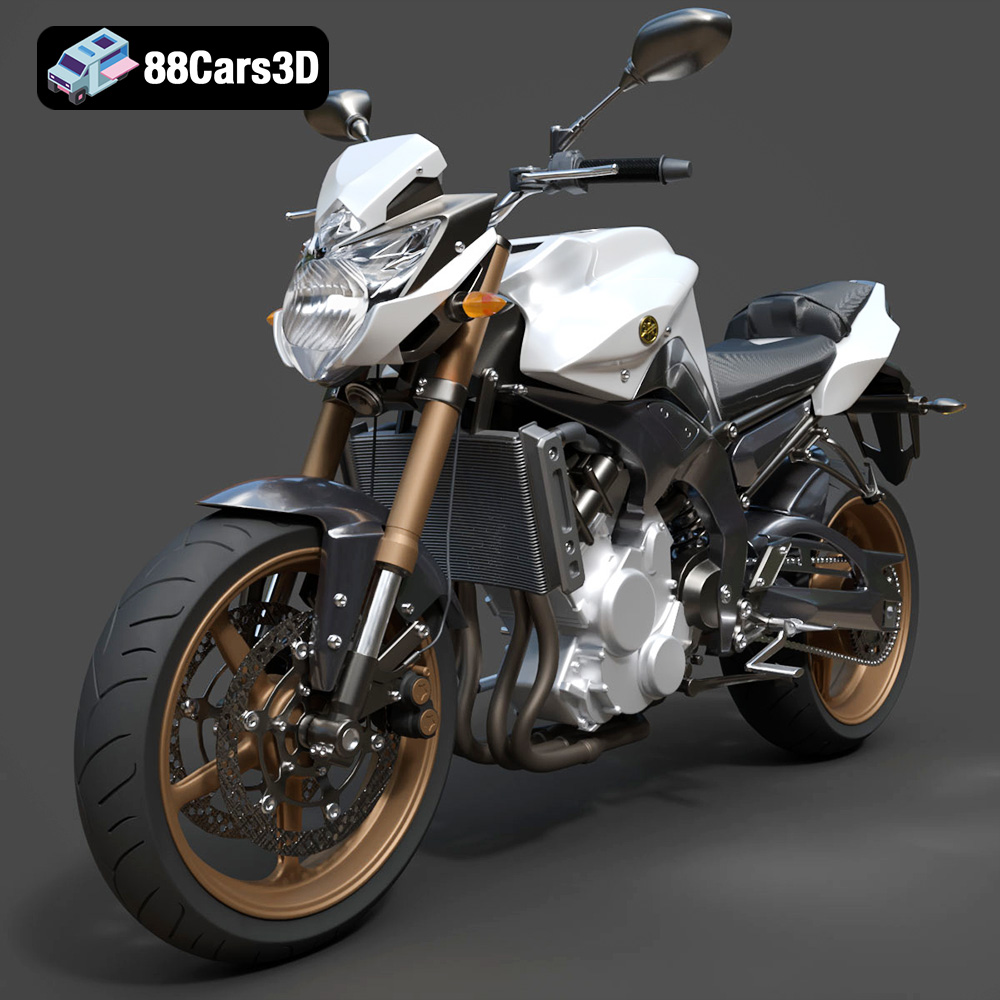
Yamaha FZ8 2011 3D Model
Texture: Yes
Material: Yes
Download the Yamaha FZ8 2011 3D Model featuring clean geometry, realistic detailing, and a fully modeled interior. Includes .blend, .fbx, .obj, .glb, .stl, .ply, .unreal, and .max formats for rendering, simulation, and game development.
Price: $19.99
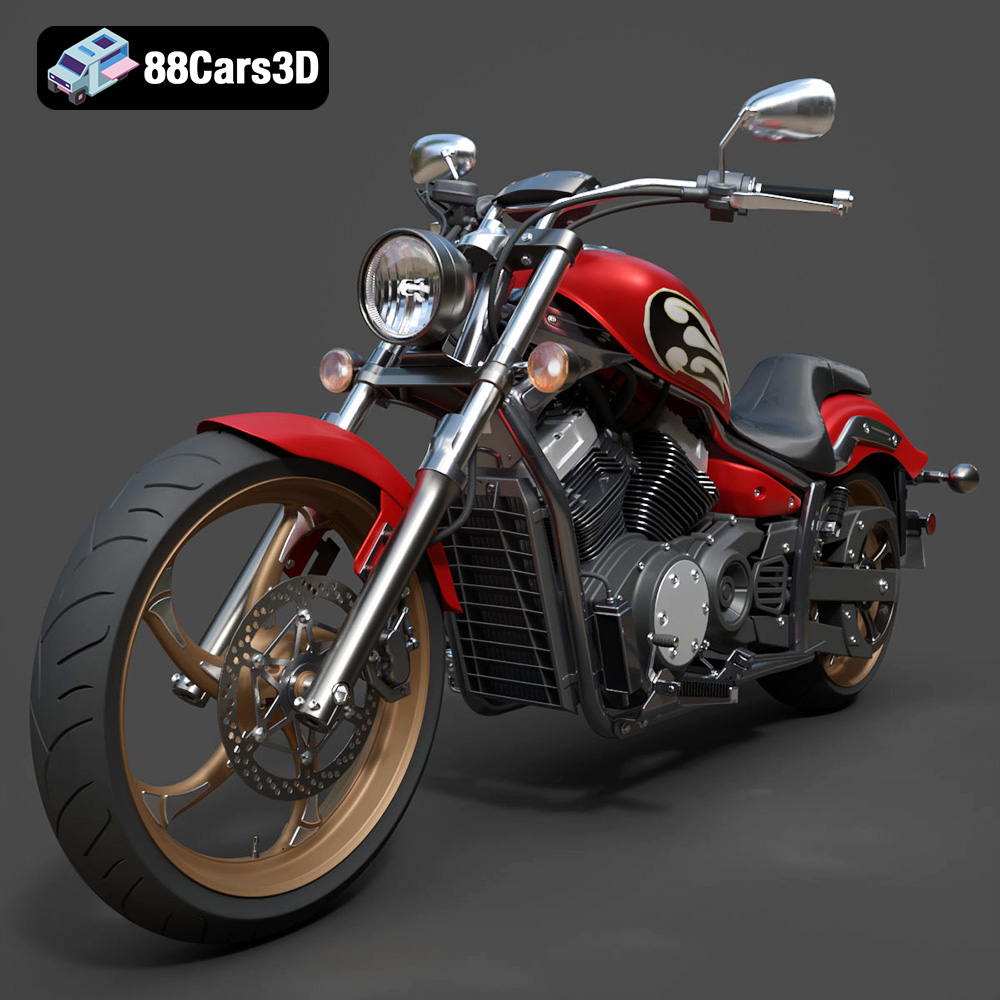
Yamaha Stryker 2012 3D Model
Texture: Yes
Material: Yes
Download the Yamaha Stryker 2012 3D Model featuring clean geometry, realistic detailing, and a fully modeled interior. Includes .blend, .fbx, .obj, .glb, .stl, .ply, .unreal, and .max formats for rendering, simulation, and game development.
Price: $19.99
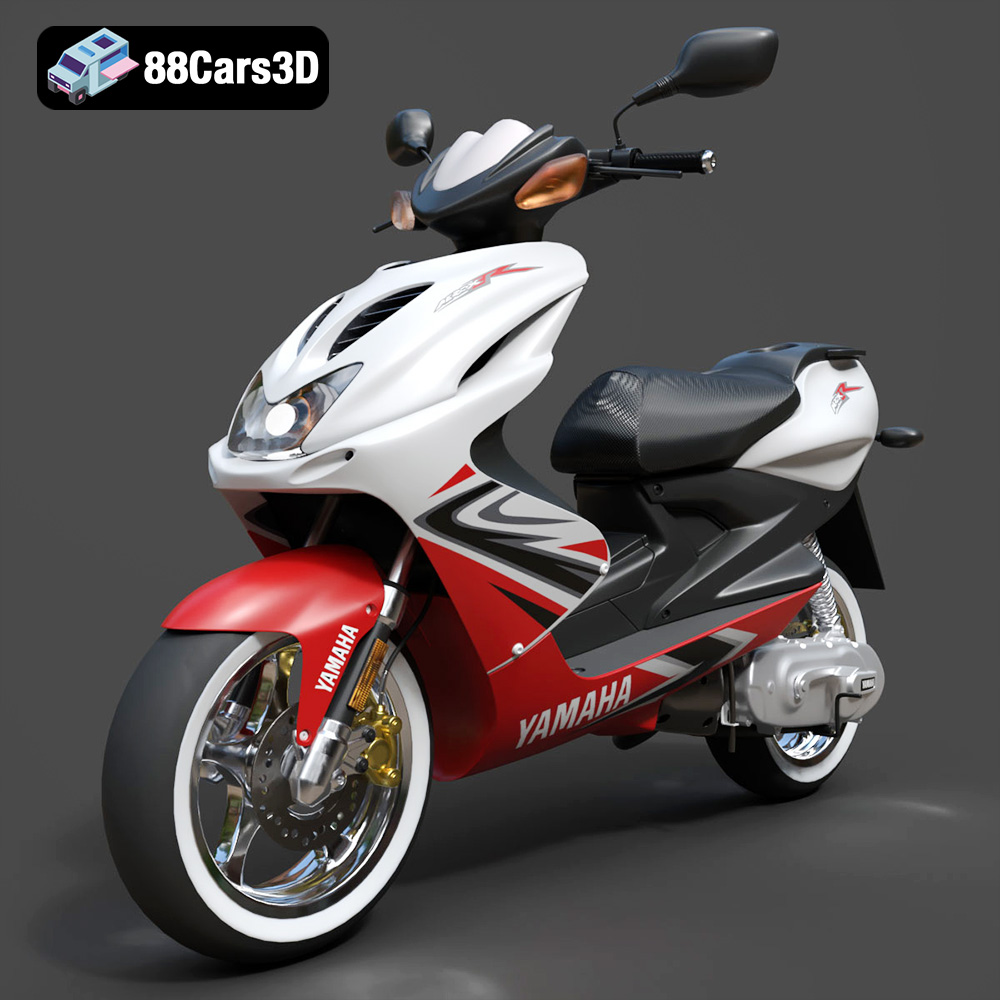
Yamaha Aerox R-002 2024 3D Model
Texture: Yes
Material: Yes
Download the Yamaha Aerox R-002 2024 3D Model featuring clean geometry, realistic detailing, and a fully modeled interior. Includes .blend, .fbx, .obj, .glb, .stl, .ply, .unreal, and .max formats for rendering, simulation, and game development.
Price: $19.99
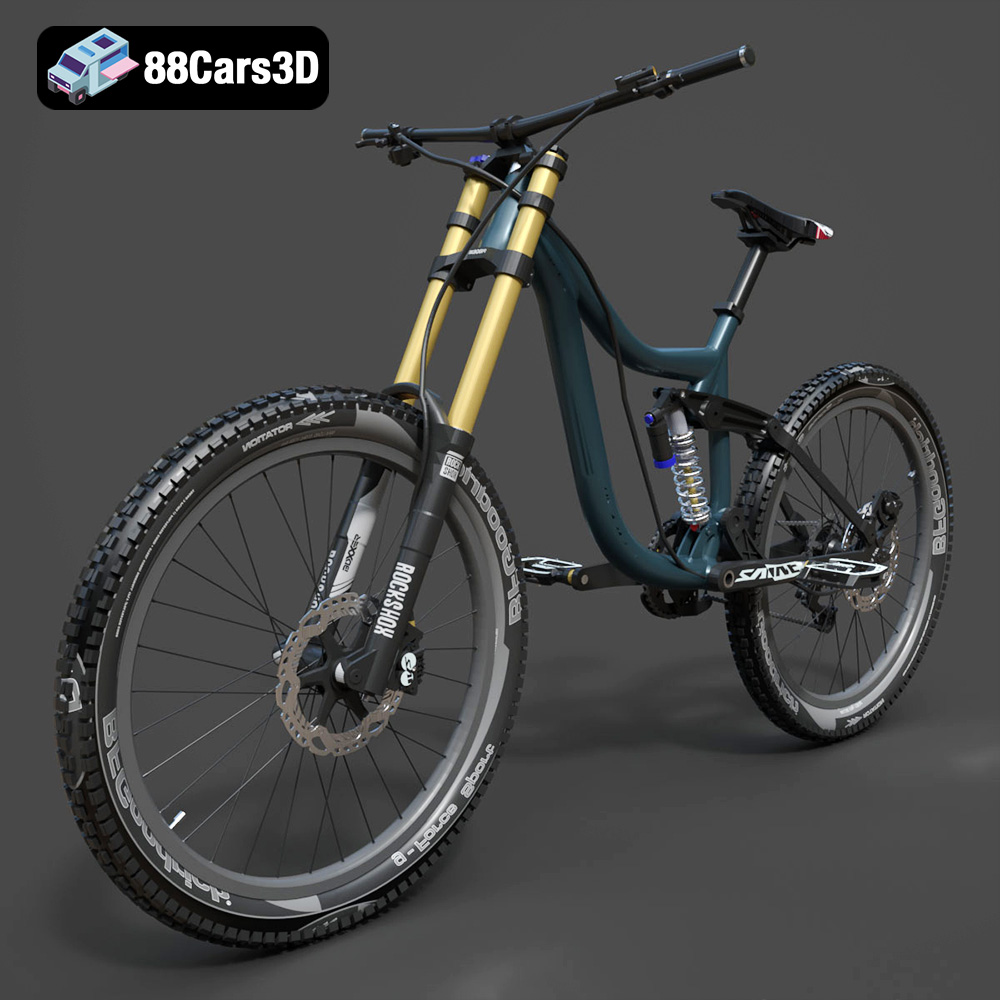
Mototsikly Downhill Bike-002 3D Model
Texture: Yes
Material: Yes
Download the Mototsikly Downhill Bike-002 3D Model featuring clean geometry, realistic detailing, and precise mechanical components. Includes .blend, .fbx, .obj, .glb, .stl, .ply, .unreal, and .max formats for rendering, simulation, and game development.
Price: $19.99
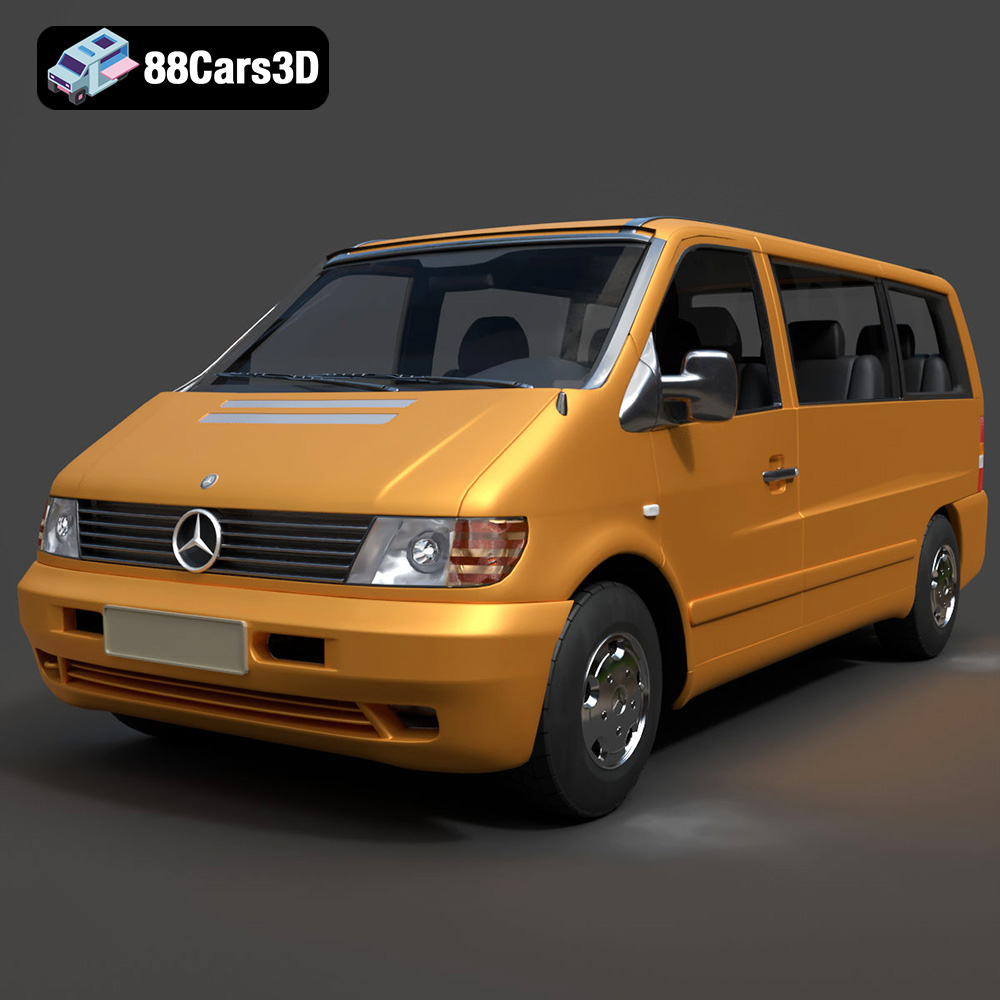
Mercedes-Benz Vito Passenger Van 3D Model
Texture: Yes
Material: Yes
Download the Mercedes-Benz Vito Passenger Van 3D Model featuring clean geometry, realistic detailing, and a fully modeled interior. Includes .blend, .fbx, .obj, .glb, .stl, .ply, .unreal, and .max formats for rendering, simulation, and game development.
Price: $19.99
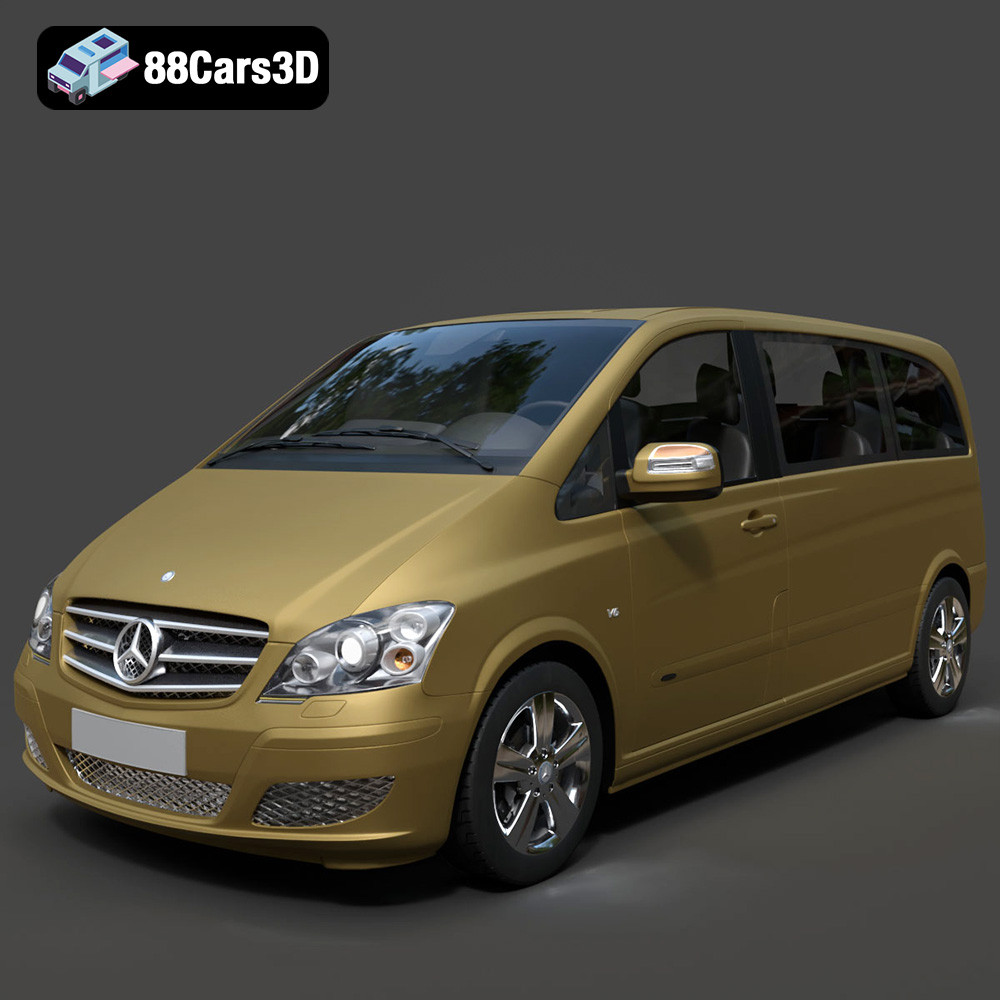
Mercedes-Benz Viano 2010 3D Model
Texture: Yes
Material: Yes
Download the Mercedes-Benz Viano 2010 3D Model featuring clean geometry, realistic detailing, and a fully modeled interior. Includes .blend, .fbx, .obj, .glb, .stl, .ply, .unreal, and .max formats for rendering, simulation, and game development.
Price: $19.99

Emt Avtobus 007 3D Model
Texture: Yes
Material: Yes
Download the Emt Avtobus 007 3D Model featuring clean geometry, realistic detailing, and a fully modeled interior. Includes .blend, .fbx, .obj, .glb, .stl, .ply, .unreal, and .max formats for rendering, simulation, and game development.
Price: $19.99
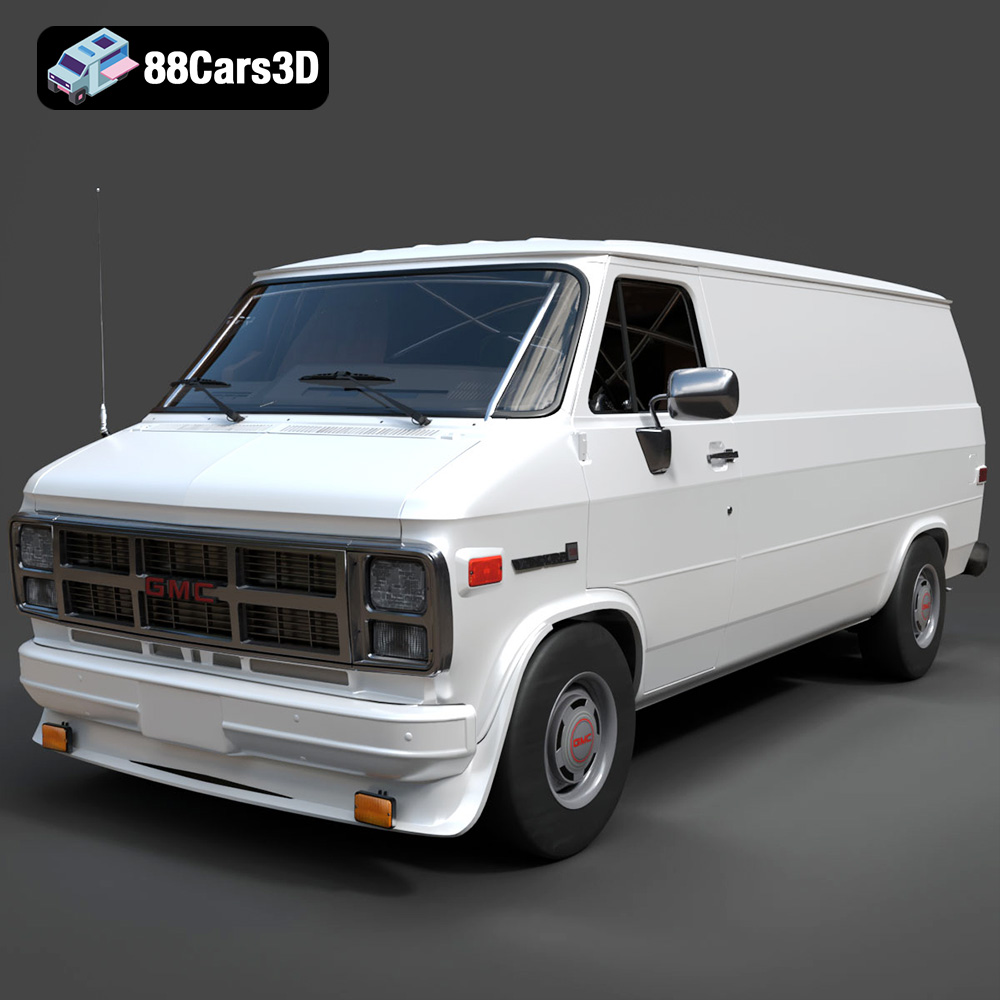
GMC Vandura G-1500 1983 3D Model
Texture: Yes
Material: Yes
Download the GMC Vandura G-1500 1983 3D Model featuring clean geometry, realistic detailing, and a fully modeled interior. Includes .blend, .fbx, .obj, .glb, .stl, .ply, .unreal, and .max formats for rendering, simulation, and game development.
Price: $19.99

Ford E-450 Ambulance 3D Model
Texture: Yes
Material: Yes
Download the Ford E-450 Ambulance 3D Model featuring clean geometry, realistic detailing, and a fully modeled interior. Includes .blend, .fbx, .obj, .glb, .stl, .ply, .unreal, and .max formats for rendering, simulation, and game development.
Price: $19.99
