Unreal Engine has long been a powerhouse for creating immersive real-time experiences, from blockbuster games to stunning architectural visualizations. Its capabilities for rendering photorealistic environments and interactive simulations are now revolutionizing the automotive industry, providing unprecedented tools for design, marketing, and sales.
For professionals dedicated to crafting compelling automotive visualizations, Unreal Engine offers an unparalleled suite of features. Whether you’re an automotive designer showcasing a new concept, a marketing specialist building a virtual showroom, or a game developer integrating high-fidelity vehicles, mastering Unreal Engine is essential. This comprehensive guide will take you through the technical intricacies of leveraging Unreal Engine for automotive visualization, from initial project setup and asset integration to advanced material creation, real-time lighting, interactive Blueprints, and critical performance optimization. We’ll delve into how features like Nanite and Lumen transform workflows and explore best practices for delivering breathtaking results. By the end, you’ll have a robust understanding of how to harness Unreal Engine’s full potential to bring your automotive visions to life with stunning realism and interactivity.
Project Setup and Integrating High-Quality 3D Car Models
Embarking on any Unreal Engine project requires a solid foundation, especially when dealing with the intricate details of automotive visualization. Proper project setup ensures optimal performance and a smooth workflow as you integrate complex 3D car models. The quality of your initial assets dictates the realism and efficiency of your final product. Platforms like 88cars3d.com specialize in providing pre-optimized, high-fidelity 3D car models that are specifically designed for Unreal Engine, featuring clean topology, realistic PBR materials, and proper UV mapping, which can significantly accelerate your development process.
Initial Project Configuration for Automotive Visualization
Start by selecting the appropriate Unreal Engine version and project template. For automotive visualization, the “Film, Television & Live Events” template often provides a good starting point due to its focus on high-fidelity rendering and cinematic tools. Alternatively, a “Blank” project allows for maximum customization, letting you enable only the necessary plugins and features. Key plugins to enable immediately include Datasmith Importer (essential for CAD data and complex scene import), Pixel Streaming (for web-based configurators), and potentially Substance Plugin if you use Substance Painter for texturing. In your Project Settings, navigate to Rendering and consider enabling features like Hardware Ray Tracing if your target hardware supports it, and adjust default scalability settings to start optimizing for your desired quality level. It’s also wise to set up source control (e.g., Git LFS, Perforce) from the outset to manage large assets and collaborate effectively, especially when working with production-ready assets which can easily exceed gigabytes in size.
Importing and Optimizing 3D Car Models for Unreal Engine
The journey from a raw 3D model to a game-ready asset involves careful optimization. When sourcing automotive assets from marketplaces such as 88cars3d.com, you often receive models in formats like FBX or USD, which are ideal for direct import. For CAD data, Datasmith is invaluable. It intelligently tessellates CAD geometry into Unreal-friendly meshes, preserves hierarchies, and converts materials, making it a critical tool for automotive designers. When importing, pay close attention to:
- Polygon Count: While Nanite (discussed later) handles incredibly high polygon counts, understanding your model’s poly budget is still crucial for non-Nanite assets and performance targets. A high-detail car exterior might range from 200,000 to 2 million triangles.
- Mesh Topology: Ensure meshes have clean, quads-based topology where possible, to facilitate deformations, subdivisions, and UV unwrapping. Triangulated meshes, while common in game-ready assets, should be well-formed.
- UV Mapping: Proper UVs are non-negotiable for applying textures accurately. Ensure that different parts of the car (body, interior, wheels, glass) have distinct and well-packed UV channels. Usually, Channel 0 is for diffuse/normal maps, and Channel 1 for lightmaps or ambient occlusion.
- Material IDs: Grouping different parts of the car with unique material IDs in your 3D modeling software before export greatly simplifies material assignment within Unreal Engine.
- Pivot Points: Verify that interactive elements like doors, wheels, and trunks have correctly placed pivot points for realistic animation and interaction later on.
After import, consider using Unreal Engine’s built-in mesh optimization tools (e.g., Merge Actors, Simplify Mesh) or external DCC tools for further refinement if the model isn’t already optimized. This foundational step is critical for building a performant and visually stunning automotive visualization project. You can find more details on importing assets on the official Unreal Engine learning portal: https://dev.epicgames.com/community/unreal-engine/learning.
Mastering PBR Materials and Realistic Shading
The visual fidelity of your automotive visualization hinges significantly on the quality and realism of your Physically Based Rendering (PBR) materials. PBR materials accurately simulate how light interacts with surfaces in the real world, providing a consistent and believable look under various lighting conditions. Mastering the Unreal Engine Material Editor to craft these complex materials is paramount for achieving photorealistic results for your vehicles.
PBR Workflow and Material Editor Deep Dive
PBR materials rely on a set of texture maps to define a surface’s properties:
- Base Color (Albedo): Defines the color of the surface without any lighting information. For metals, this map can contain color and metallic properties.
- Metallic: A grayscale map (0 to 1) indicating how metallic a surface is. Pure black (0) is dielectric (non-metal), pure white (1) is metal.
- Roughness: A grayscale map (0 to 1) defining the micro-surface detail, influencing how diffuse or specular reflections appear. Rougher surfaces scatter light more, appearing duller, while smoother surfaces have sharper reflections.
- Normal Map: Provides high-frequency surface detail without adding geometry, simulating bumps and grooves.
- Ambient Occlusion (AO): A grayscale map simulating soft shadows where surfaces are close together, enhancing perceived depth.
In Unreal Engine’s Material Editor, you combine these texture maps using various nodes. For a standard material, you would drag and drop your textures, then connect them to the corresponding inputs (Base Color, Metallic, Roughness, Normal, Ambient Occlusion) of the main Material Node. Material instances are crucial here: create a parent material with exposed parameters (e.g., color, roughness multiplier) and then create instances for each variation (e.g., different car paint colors, interior trim options). This allows for rapid iteration and significantly reduces compilation times, enhancing workflow efficiency.
Advanced Material Techniques for Automotive Realism
Achieving true automotive realism requires pushing beyond basic PBR. Car paint, in particular, is a complex material that often incorporates multiple layers and effects:
- Layered Car Paint: A typical car paint shader in Unreal Engine utilizes a clear coat layer on top of a base metallic paint. This involves using the
ClearCoat and ClearCoatRoughness inputs on the Material Node. You can use a metallic material for the base layer, then add a translucent, slightly rough clear coat on top to simulate the protective outer layer, which often has its own set of reflections.
- Metallic Flakes: To simulate the sparkle of metallic paint, you can use a detailed normal map that represents tiny metallic flakes embedded within the paint. This normal map can be blended with the base normal map and often incorporates a subtle animation (panning texture) or a UV distortion based on camera angle to create a dynamic, shimmering effect.
- Emissive Materials for Lights: For headlights, taillights, and dashboard elements, use emissive textures connected to the
Emissive Color input. Combine this with bloom in post-processing for a realistic glow. For dynamic lighting, you might even attach small spot or point lights to headlight meshes and control their intensity via Blueprints.
- Glass Shaders: Automotive glass requires specific handling. Use a translucent material with carefully calibrated
Opacity, Refraction, and Roughness values. Tint the glass with the Base Color, and apply a normal map for subtle imperfections. Ray Traced Translucency and Reflections, if enabled, can drastically improve glass realism.
- Tire Rubber: Tires benefit from highly detailed normal maps and roughness maps that show wear and tread patterns. A subtle dirt layer or wetness effect can be blended on top for added realism, often driven by material parameters and vertex colors.
By combining these advanced techniques, artists can create automotive materials that are virtually indistinguishable from their real-world counterparts, capturing the nuanced interplay of light, reflection, and texture that defines high-fidelity vehicles.
Dynamic Lighting and Scene Atmosphere
Lighting is arguably the most critical element in any visualization project, and automotive visualization is no exception. It defines mood, highlights design features, and breathes life into your 3D car models. Unreal Engine offers a powerful and flexible lighting system, with Lumen and traditional methods, allowing for breathtaking real-time illumination and atmospheric effects.
Lumen: Real-Time Global Illumination and Reflections
Lumen is Unreal Engine’s fully dynamic global illumination and reflections system, providing an unprecedented level of realism in real-time. For automotive scenes, Lumen is a game-changer as it eliminates the need for complex lightmap baking and allows for instant feedback on lighting changes.
- Global Illumination (GI): Lumen calculates how light bounces off surfaces, illuminating indirect areas and colors. This means your car will realistically pick up ambient light and color bounces from its environment, whether it’s parked in a studio or on a sun-drenched street. Enable Lumen GI in Project Settings -> Rendering, and also on your Post Process Volume.
- Real-time Reflections: Lumen provides software ray tracing for reflections, offering accurate mirror-like reflections on highly polished surfaces like car paint and chrome. For the highest quality, you can combine Lumen reflections with Hardware Ray Tracing Reflections (if enabled) in your Post Process Volume. Ensure your materials have accurate Metallic and Roughness values to properly leverage Lumen’s reflection capabilities.
- Environment Lighting (HDRI): A common practice is to use High Dynamic Range Images (HDRIs) for environment lighting. Import an HDRI as a texture, set it to “Cubemap,” and then use it in a Sky Light actor. The Sky Light, when set to “Source Type: SL_CapturedScene,” works seamlessly with Lumen to provide realistic outdoor lighting and reflections. Adjusting the Sky Light’s intensity and rotation can drastically alter the mood of your scene.
When working with Lumen, remember that performance can be demanding. Optimize by adjusting Lumen’s quality settings in your Post Process Volume (e.g., Global Illumination -> Quality, Reflections -> Quality) and ensuring your scene geometry isn’t excessively complex without Nanite enabled.
Traditional Lighting Methods and Post-Processing for Polish
While Lumen handles global illumination and reflections dynamically, traditional light types are still essential for direct illumination, shadows, and artistic control.
- Directional Light: Simulates a distant light source like the sun. Use it for primary outdoor lighting, ensuring it casts crisp, realistic shadows. Adjust its rotation to control the time of day.
- Spot Lights and Point Lights: Perfect for studio setups, highlighting specific features of the car, or simulating interior lights. Spot lights have a cone, while point lights emit light omnidirectionally. Use IES profiles (Inverse Square Falloff) for more realistic light distribution from artificial fixtures.
- Rect Lights: Ideal for soft, even lighting, often used in studio environments or for simulating windows. They are particularly effective for creating smooth reflections on metallic surfaces.
Beyond lighting, Post Process Volumes are where you add the final layer of polish and cinematic flair. Place a Post Process Volume in your scene and enable “Infinite Extent (Unbound)” to apply effects globally.
- Exposure: Control the overall brightness of your scene, often linked to the camera’s auto-exposure.
- Color Grading: Adjust Hue, Saturation, Contrast, and Gamma to achieve a desired aesthetic. Use LUTs (Look Up Tables) for professional-grade color correction.
- Bloom: Creates a glow effect around bright areas, enhancing emissive lights and reflections.
- Depth of Field (DOF): Simulates camera lens blur, drawing attention to the car while softening the background.
- Lens Flares: Adds cinematic flair, simulating light scattering within a camera lens.
- Vignette, Chromatic Aberration: Subtle effects that mimic real-world camera imperfections for added realism.
By thoughtfully combining Lumen’s dynamic capabilities with traditional direct lighting and comprehensive post-processing, you can create automotive visualizations that are not only technically accurate but also emotionally resonant and visually captivating.
Interactive Experiences with Blueprint and UI
Beyond static renders, the true power of Unreal Engine for automotive visualization lies in its ability to create interactive experiences. Blueprint visual scripting empowers artists and designers to build complex functionalities without writing a single line of C++ code, making dynamic configurators, virtual showrooms, and engaging demos accessible to a broader audience. Coupled with robust UI development, these tools enable users to explore and customize vehicles in real-time.
Blueprint Visual Scripting for Vehicle Configurator Logic
Blueprint is Unreal Engine’s node-based visual scripting system that allows you to define game logic, interactions, and dynamic behaviors. For an automotive configurator, Blueprint is the backbone:
- Material Swaps: This is fundamental for changing paint colors, interior trim, or wheel finishes. Create a Blueprint Actor for your car. Expose material parameters in your master materials (e.g., a “Paint_Color” Vector Parameter). In Blueprint, create a function that takes a new color or material instance as input and sets that parameter on the relevant mesh component. This can be triggered by UI buttons.
- Part Swaps: For changing wheels, spoilers, or even internal components, you can use Blueprint to swap static mesh components. For example, have multiple wheel mesh options hidden, and when a UI button is pressed, hide the current wheel and show the selected one. Ensure all parts are correctly aligned and share the same pivot for seamless transitions.
- Door/Trunk Animation: Use a Timeline node in Blueprint to create smooth open/close animations for doors, trunks, and hoods. This involves animating the rotation or translation of the respective mesh components over a specified duration. Event Tracks within the Timeline can trigger sounds or other effects at specific points in the animation.
- User Input and Camera Control: Blueprint handles user input (mouse clicks, keyboard presses). You can script dynamic camera movements, allowing users to orbit around the car, zoom in on details, or switch to predefined cinematic camera angles. Implement logic to prevent camera clipping and ensure smooth transitions.
- Data Persistence: For more advanced configurators, Blueprint can handle saving and loading user selections, allowing them to revisit their customized vehicle later. This might involve using SaveGame objects to store material parameters and mesh selections.
The beauty of Blueprint lies in its modularity. You can create reusable functions and macros, making it easier to manage complex configurator logic and scale your project.
UI/UX Development for Automotive Demos
A well-designed User Interface (UI) and intuitive User Experience (UX) are crucial for making your automotive configurator enjoyable and easy to use. Unreal Engine’s Widget Blueprints (UMG) provide a powerful system for creating interactive menus, buttons, sliders, and text displays.
- Creating Widgets: Start by creating a new Widget Blueprint. Use the Designer tab to lay out your UI elements (buttons, sliders, image, text) using various panels (Canvas Panel, Horizontal Box, Vertical Box). Anchor widgets correctly to ensure they scale and position appropriately across different screen resolutions.
- Event Handling: In the Graph tab of your Widget Blueprint, you can define how UI elements respond to user input. For example, a “On Clicked” event for a button can trigger a Blueprint function in your car Actor to change its paint color.
- Data Binding: Connect UI elements directly to variables in your car Actor or Game State. For instance, a text block displaying the selected engine type can be bound to a string variable, updating automatically when the engine is changed via another UI element.
- Animation and Feedback: Add subtle animations to your UI elements (e.g., button hover states, fade-in/out effects) to enhance user feedback and make the experience more dynamic. Use sound effects to reinforce interactions.
- Navigation: Design a clear and intuitive navigation flow. Organize options logically (Exterior, Interior, Wheels, Performance). Consider implementing a “breadcrumb” navigation or a clear progress indicator for multi-step configurations.
By carefully crafting both the backend Blueprint logic and the frontend UI, you can transform a static 3D car model into a compelling, interactive experience, enabling users to truly engage with and personalize vehicles, whether for virtual showrooms, training, or product promotion.
Performance Optimization for Real-Time Rendering & AR/VR
Achieving photorealistic automotive visualizations in real-time, especially for demanding applications like AR/VR or high-fidelity configurators, requires relentless focus on performance optimization. Unreal Engine provides powerful tools to manage complex geometry and rendering demands, but understanding their application is key to delivering smooth frame rates and exceptional visual quality.
Nanite, LOD Management, and Draw Call Reduction
Performance in real-time rendering is largely about efficiently managing geometry, materials, and draw calls.
- Nanite Virtualized Geometry: This is a game-changing feature for automotive visualization. Nanite allows you to import and render incredibly high-polygon models (millions or even billions of triangles) without explicit LODs or significant performance penalties. It intelligently streams and renders only the necessary detail, making it perfect for detailed car bodies and intricate interior components. To enable Nanite, select your Static Mesh in the Content Browser, right-click, and choose “Nanite -> Enable Nanite.” Remember that Nanite works best for opaque static meshes and doesn’t support deformation (e.g., cloth simulation) or translucent materials (e.g., glass) directly, meaning those elements will still require traditional optimization.
- Traditional LODs (Levels of Detail): For meshes that cannot use Nanite (e.g., translucent glass, skeletal meshes, small interactive elements), traditional LODs are still crucial. LODs automatically swap out higher-detail meshes for simpler versions as the camera moves further away. Unreal Engine can automatically generate LODs (Static Mesh Editor -> LOD Settings -> Number of LODs), but manual creation in a DCC tool often yields better results. Aim for significant polygon reduction between LODs (e.g., LOD1: 50% poly count, LOD2: 25%).
- Draw Call Reduction: Every unique mesh, material, and light contributes to draw calls, which can quickly bottleneck performance.
- Merge Actors: Use Unreal Engine’s “Merge Actors” tool to combine multiple static meshes into a single mesh, reducing draw calls. This is particularly useful for static background elements or parts of the car that don’t need individual interaction.
- Material Instances: As discussed, using a single master material with many instances (for color variations, etc.) is far more performant than having many unique materials.
- Texture Atlases: Combine multiple smaller textures into one larger texture atlas to reduce material samples and draw calls.
- Occlusion Culling: Unreal Engine automatically culls objects not visible to the camera. Ensure your scene has proper blocking volumes or simple geometry to aid this process.
- Texture Resolution: While modern GPUs handle large textures, using appropriate resolutions is key. Car body textures might be 4K or 8K, but interior details or less prominent elements can often be 2K or 1K. Use texture streaming settings to load textures efficiently.
Regularly use the Unreal Engine Profiler (Shift+F1, then ‘stat unit’, ‘stat fps’, ‘stat gpu’, ‘stat rhi’) to identify performance bottlenecks and guide your optimization efforts. For detailed profiling, refer to the official Unreal Engine documentation on performance tools. https://dev.epicgames.com/community/unreal-engine/learning
AR/VR Optimization for Automotive Applications
Augmented Reality (AR) and Virtual Reality (VR) impose even stricter performance requirements due to the need for high, stable frame rates (typically 72-90fps) to prevent motion sickness.
- Forward Shading Renderer: For VR, especially on mobile VR platforms, consider switching to the Forward Shading Renderer in Project Settings -> Rendering. It’s often more performant than the default Deferred Shading path, though it has some limitations (e.g., fewer dynamic lights).
- Instanced Stereo Rendering: Enable Instanced Stereo in Project Settings -> VR. This renders both eyes in a single pass, significantly improving VR performance.
- Fixed Foveated Rendering (FFR): For supported platforms (e.g., Oculus Quest), FFR renders the periphery of the viewport at a lower resolution than the center, exploiting the eye’s natural foveal vision to save performance.
- Mobile Optimizations: For AR on mobile devices, focus on drastically reducing polygon counts (even with Nanite, mobile performance varies), draw calls, and texture sizes. Use baked lighting (Lightmass) where possible instead of dynamic Lumen, as Lumen can be too heavy for many mobile chipsets. Consider using Mobile HDR and Mobile MSAA carefully.
- Material Complexity: Simplify materials for AR/VR. Avoid complex nodes, too many texture samples, or expensive calculations (e.g., excessive clear coat layers). Aim for lightweight PBR shaders.
- Lighting Budget: Limit the number of dynamic lights. Bake static scene lighting with Lightmass for static environments, relying on a few dynamic lights for the car itself or key interactive elements.
- Scalability Settings: Provide options for users to adjust graphical settings based on their hardware. Implement robust scalability options to dynamically lower resolutions, disable post-processing effects, or reduce shadow quality.
Optimizing for AR/VR is an iterative process. Continuously profile your application on the target hardware to identify and eliminate bottlenecks, ensuring a smooth, comfortable, and visually stunning experience for automotive exploration.
Cinematic Production and Virtual Photography
Unreal Engine isn’t just for real-time interactivity; it’s also a powerful tool for producing stunning automotive cinematics, animations, and virtual photography. Leveraging its integrated tools like Sequencer and advanced rendering features, artists can create broadcast-quality content for marketing campaigns, design reviews, and virtual production pipelines, bringing an unparalleled level of polish to their automotive projects.
Sequencer for Automotive Cinematics and Animations
Sequencer is Unreal Engine’s multi-track non-linear editor, designed for creating cinematics and linear animations. It functions much like video editing software, but with direct control over every aspect of your Unreal Engine scene.
- Camera Animation: Create Cine Camera Actors and add them to Sequencer. Animate their position, rotation, focal length, and aperture over time to achieve dynamic camera moves. Use keyframes to define specific camera positions and transitions.
- Object Animation: Animate your 3D car model components. This can include opening doors, trunks, or hoods, rotating wheels, or even changing specific material parameters (e.g., dynamically adjusting car paint roughness for a reveal effect). Each animatable property can be added as a track in Sequencer and keyframed.
- Material Parameter Animation: Drive changes in your materials over time. For example, transition between different car paint colors, illuminate internal light sources, or dynamically apply a “dirt” or “wetness” layer to the vehicle’s surface for a more dramatic visual narrative.
- Light Animation: Animate light intensities, colors, and positions to create dramatic lighting changes or day-night cycles. This is crucial for setting the mood and highlighting different aspects of the car.
- Audio Tracks: Add sound effects (e.g., engine sounds, door closing) and music tracks to enhance the emotional impact of your cinematic. Synchronize audio precisely with visual events.
- Particle Effects (Niagara): Integrate visually stunning particle systems created with Niagara. This could be exhaust fumes, dust clouds, or even subtle atmospheric effects like falling rain or snow, all synchronized within Sequencer.
- Render Movie Queue: Once your cinematic is complete, use the Render Movie Queue (RMQ) to output high-quality video files (e.g., EXR sequences, ProRes, H.264) with various rendering options, including high-resolution renders, custom post-processing, and multi-pass rendering for compositing.
Sequencer allows for precise control over timing, blending, and layering, making it an indispensable tool for crafting polished, professional automotive animations.
Virtual Production and LED Wall Workflows
Beyond traditional cinematics, Unreal Engine is at the forefront of virtual production, especially with the rise of LED volume stages. This technology allows real-time backgrounds to be displayed on massive LED screens, blending physical sets and actors with virtual environments seamlessly, a technique increasingly adopted for automotive commercials and films.
- nDisplay: This Unreal Engine feature drives multiple displays (like LED walls) simultaneously, projecting your virtual environment onto a physical stage. The car model, often a physical prop or a real car, is placed in front of this dynamic background, creating the illusion of being in any virtual location.
- Camera Tracking: Real-time camera tracking systems (e.g., Mo-Sys, Stype) integrate with Unreal Engine via Live Link. This allows the virtual background on the LED wall to react to the physical camera’s movement, maintaining correct perspective and parallax. As the camera moves around the real car, the virtual environment behind it shifts realistically, eliminating issues like perspective distortion.
- In-Camera VFX: The combination of LED walls and camera tracking enables “In-Camera VFX,” where the final visual effects are captured directly on set, reducing reliance on post-production green screen keying. This results in more realistic lighting on the physical car, as it’s directly illuminated by the colors and intensity from the virtual environment on the LED wall.
- Live Link for Motion Capture: For driving simulations or character interaction around the car, Live Link can stream real-time motion capture data into Unreal Engine, allowing actors to interact with the virtual environment and the physical car in a truly integrated production workflow.
- Physics Simulation and Vehicle Dynamics: While a deep dive into vehicle dynamics is extensive, Unreal Engine’s Chaos physics engine allows for realistic vehicle simulation. You can integrate custom physics models or use existing vehicle templates to simulate realistic driving behavior, tire friction, suspension, and collisions. This is crucial for interactive driving experiences, training simulations, or even for generating realistic animation data for cinematics, where the car’s movement needs to feel authentic and responsive to its virtual environment.
By embracing these virtual production techniques, automotive brands and filmmakers can achieve unparalleled realism and creative flexibility, shooting complex car scenes in diverse virtual locations without leaving the studio, saving time and resources while pushing the boundaries of visual storytelling.
Conclusion
Unreal Engine has firmly established itself as an indispensable tool for automotive visualization, transforming the way vehicles are designed, presented, and experienced. From the initial import and meticulous material creation to dynamic real-time lighting with Lumen, complex interactive experiences powered by Blueprint, and performance optimization driven by Nanite, every facet of the engine is geared towards delivering unparalleled realism and interactivity.
We’ve explored the critical steps of project setup, ensuring your 3D car models are optimized for Unreal Engine’s demanding real-time environment. We delved into the intricacies of PBR materials, crafting photorealistic car paint, glass, and interior finishes. Understanding dynamic lighting with Lumen and leveraging traditional methods for atmospheric control are key to establishing mood and visual impact. Furthermore, the power of Blueprint for creating interactive configurators and UI elements empowers users to truly engage with the vehicle. Finally, we tackled the crucial aspects of performance optimization for both real-time applications and the stringent demands of AR/VR, and highlighted how Sequencer and virtual production techniques are revolutionizing automotive marketing and cinematic content creation. By mastering these techniques and leveraging high-quality assets from sources like 88cars3d.com, you are equipped to push the boundaries of automotive visualization. The journey is continuous, with Unreal Engine constantly evolving, offering new possibilities to render the automotive future in breathtaking detail.
Featured 3D Car Models

Meta Description:
Texture: Yes
Material: Yes
Download the Porsche Cayenne 3D Model featuring realistic exterior styling and detailed interior design. Includes .blend, .fbx, .obj, .glb, .stl, .ply, .unreal, and .max formats for rendering, simulation, AR VR, and game development.
Price: $19.9
View Product
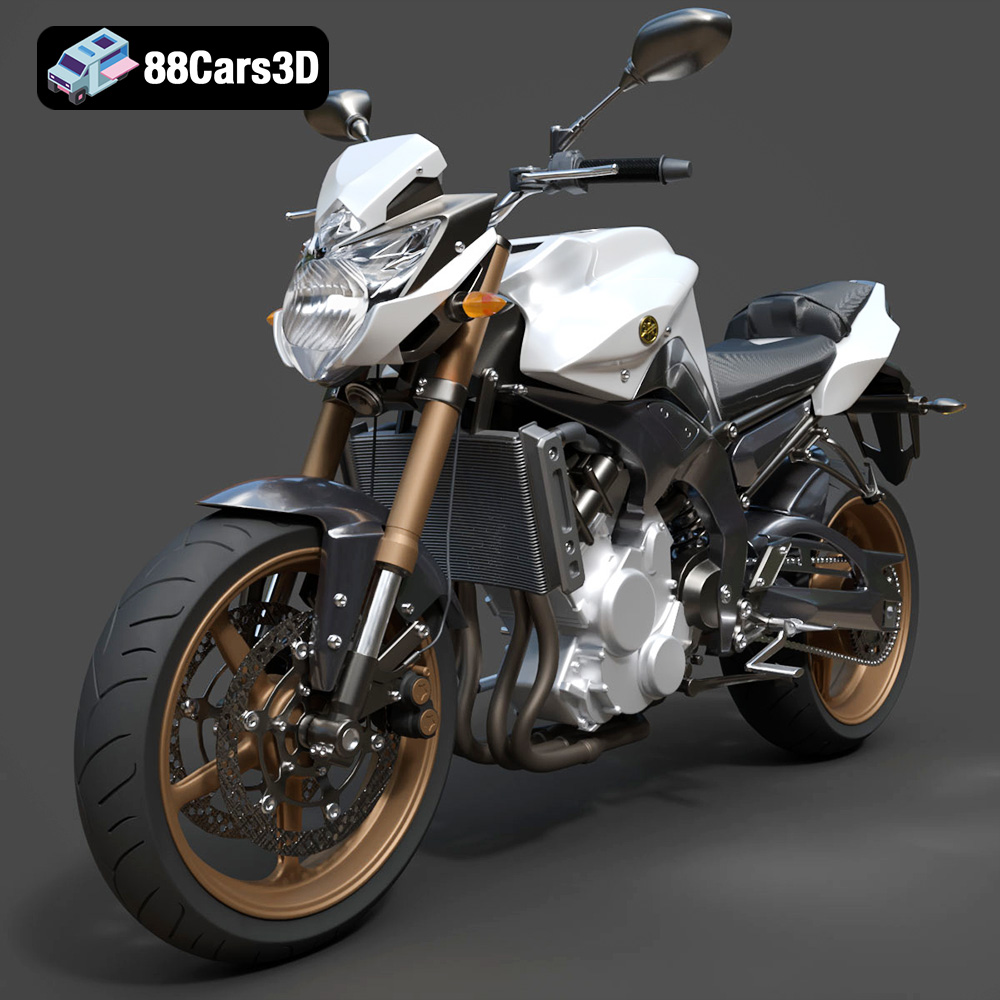
Texture: Yes
Material: Yes
Download the Yamaha FZ8 2011 3D Model featuring clean geometry, realistic detailing, and a fully modeled interior. Includes .blend, .fbx, .obj, .glb, .stl, .ply, .unreal, and .max formats for rendering, simulation, and game development.
Price: $19.99
View Product
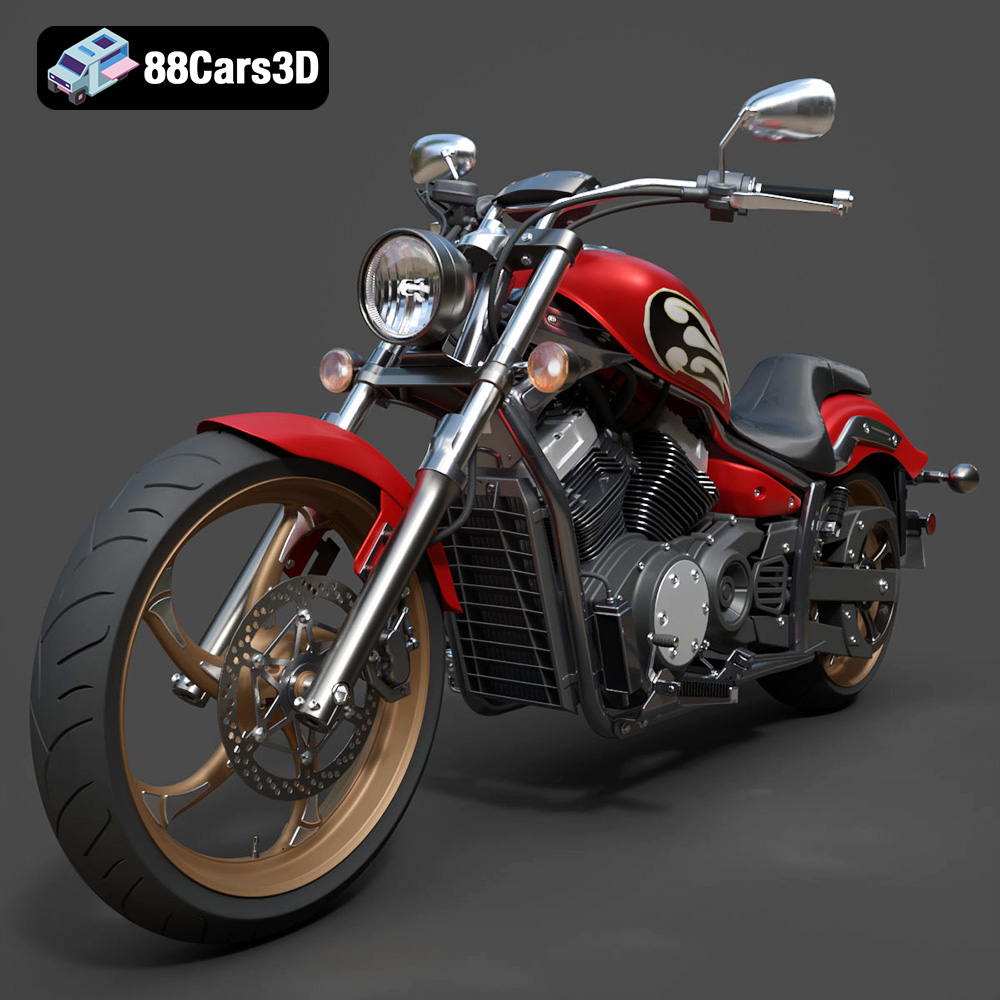
Texture: Yes
Material: Yes
Download the Yamaha Stryker 2012 3D Model featuring clean geometry, realistic detailing, and a fully modeled interior. Includes .blend, .fbx, .obj, .glb, .stl, .ply, .unreal, and .max formats for rendering, simulation, and game development.
Price: $19.99
View Product
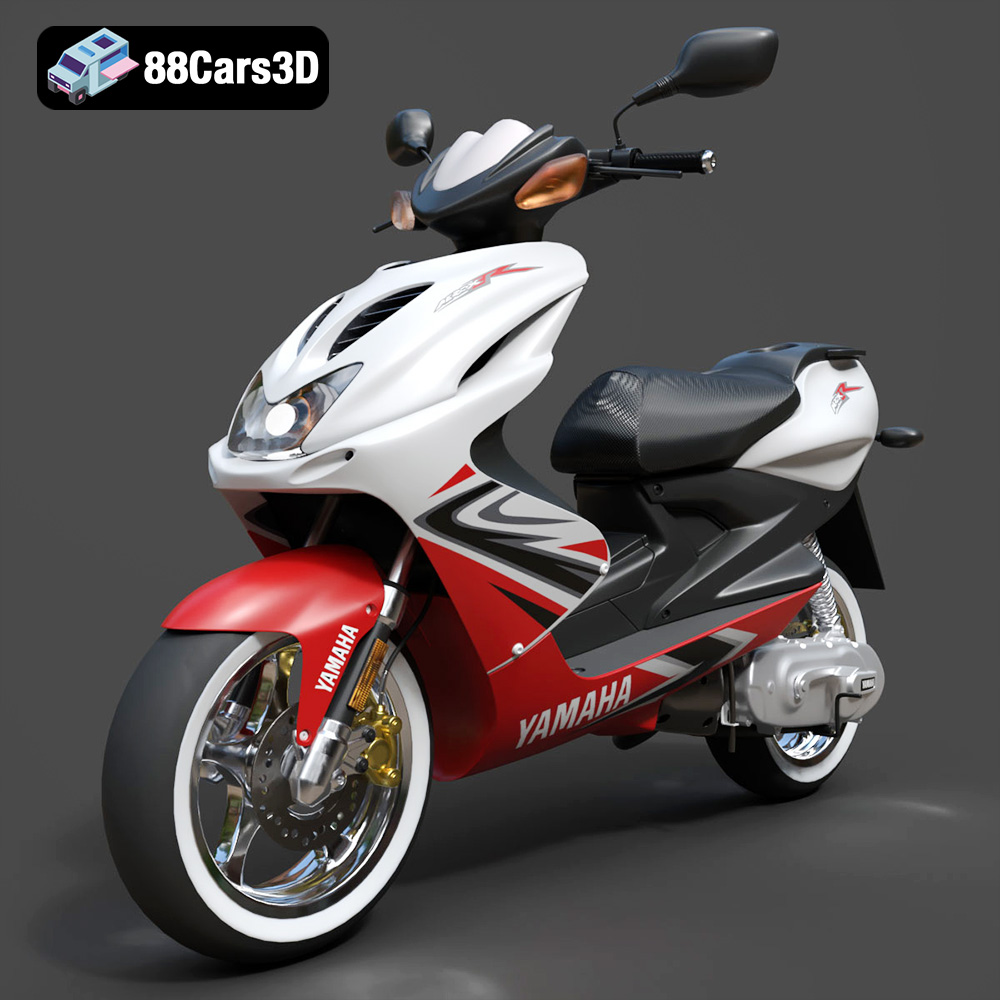
Texture: Yes
Material: Yes
Download the Yamaha Aerox R-002 2024 3D Model featuring clean geometry, realistic detailing, and a fully modeled interior. Includes .blend, .fbx, .obj, .glb, .stl, .ply, .unreal, and .max formats for rendering, simulation, and game development.
Price: $19.99
View Product
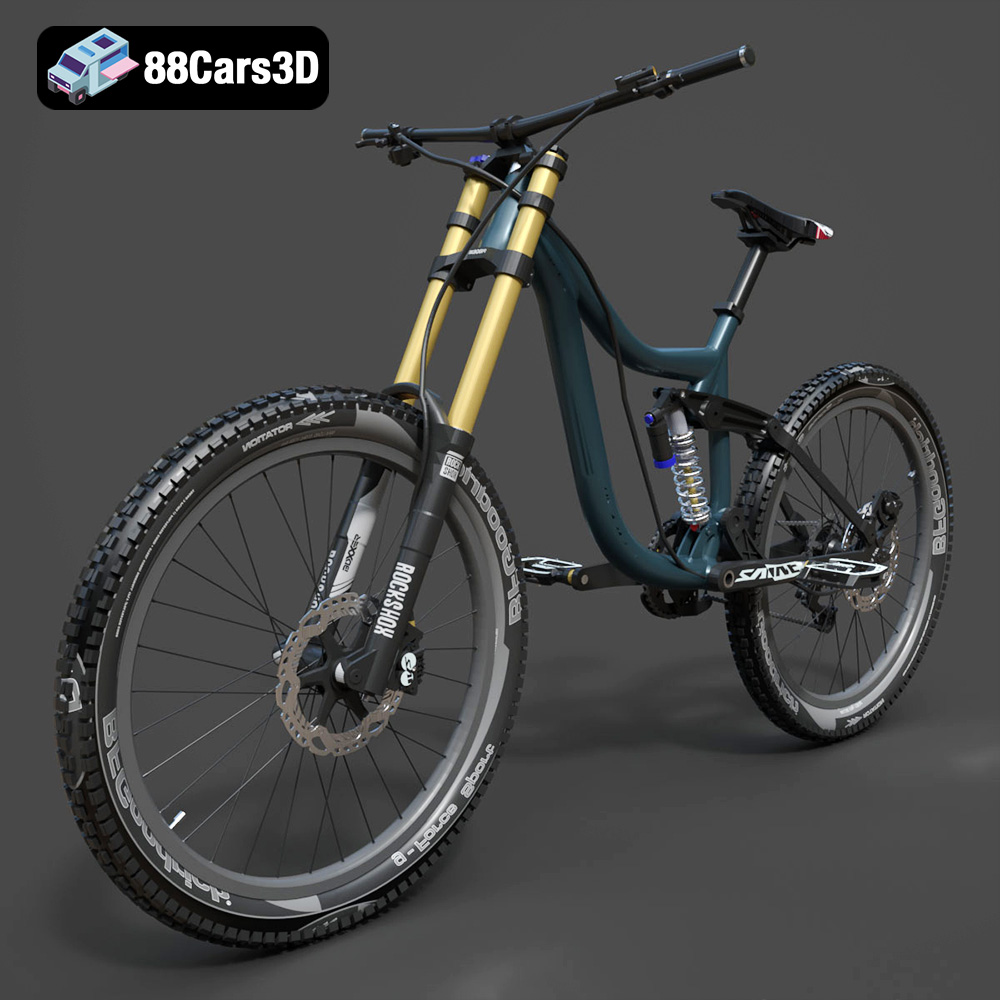
Texture: Yes
Material: Yes
Download the Mototsikly Downhill Bike-002 3D Model featuring clean geometry, realistic detailing, and precise mechanical components. Includes .blend, .fbx, .obj, .glb, .stl, .ply, .unreal, and .max formats for rendering, simulation, and game development.
Price: $19.99
View Product
Texture: Yes
Material: Yes
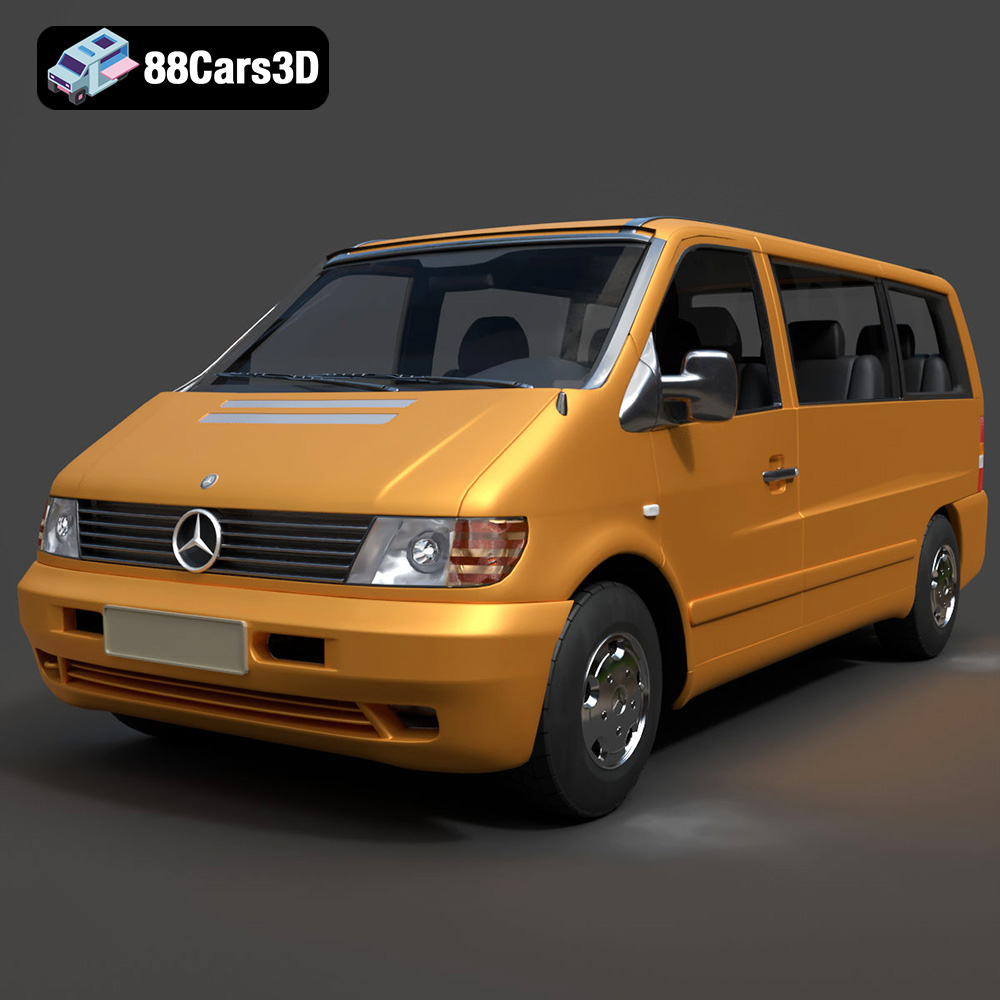
Download the Mercedes-Benz Vito Passenger Van 3D Model featuring clean geometry, realistic detailing, and a fully modeled interior. Includes .blend, .fbx, .obj, .glb, .stl, .ply, .unreal, and .max formats for rendering, simulation, and game development.
Price: $19.99
View Product
Texture: Yes
Material: Yes
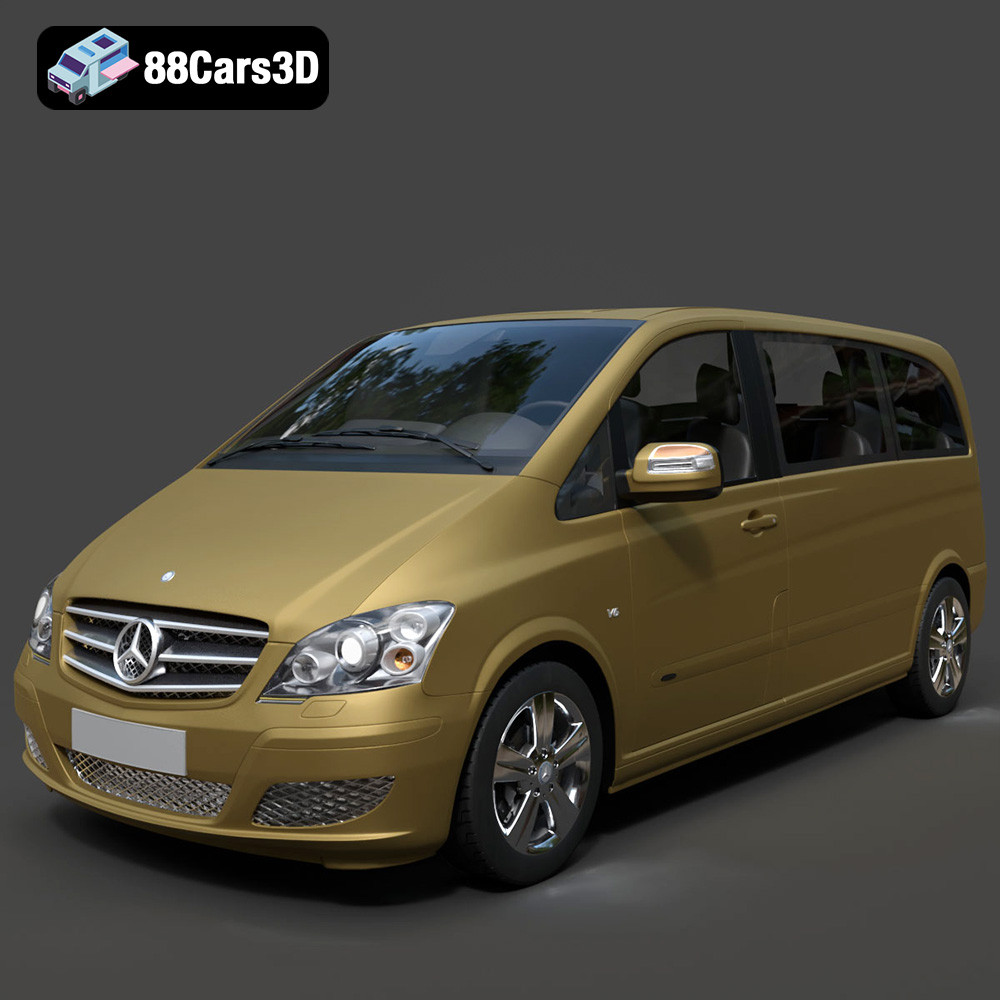
Download the Mercedes-Benz Viano 2010 3D Model featuring clean geometry, realistic detailing, and a fully modeled interior. Includes .blend, .fbx, .obj, .glb, .stl, .ply, .unreal, and .max formats for rendering, simulation, and game development.
Price: $19.99
View Product

Texture: Yes
Material: Yes
Download the Emt Avtobus 007 3D Model featuring clean geometry, realistic detailing, and a fully modeled interior. Includes .blend, .fbx, .obj, .glb, .stl, .ply, .unreal, and .max formats for rendering, simulation, and game development.
Price: $19.99
View Product
Texture: Yes
Material: Yes
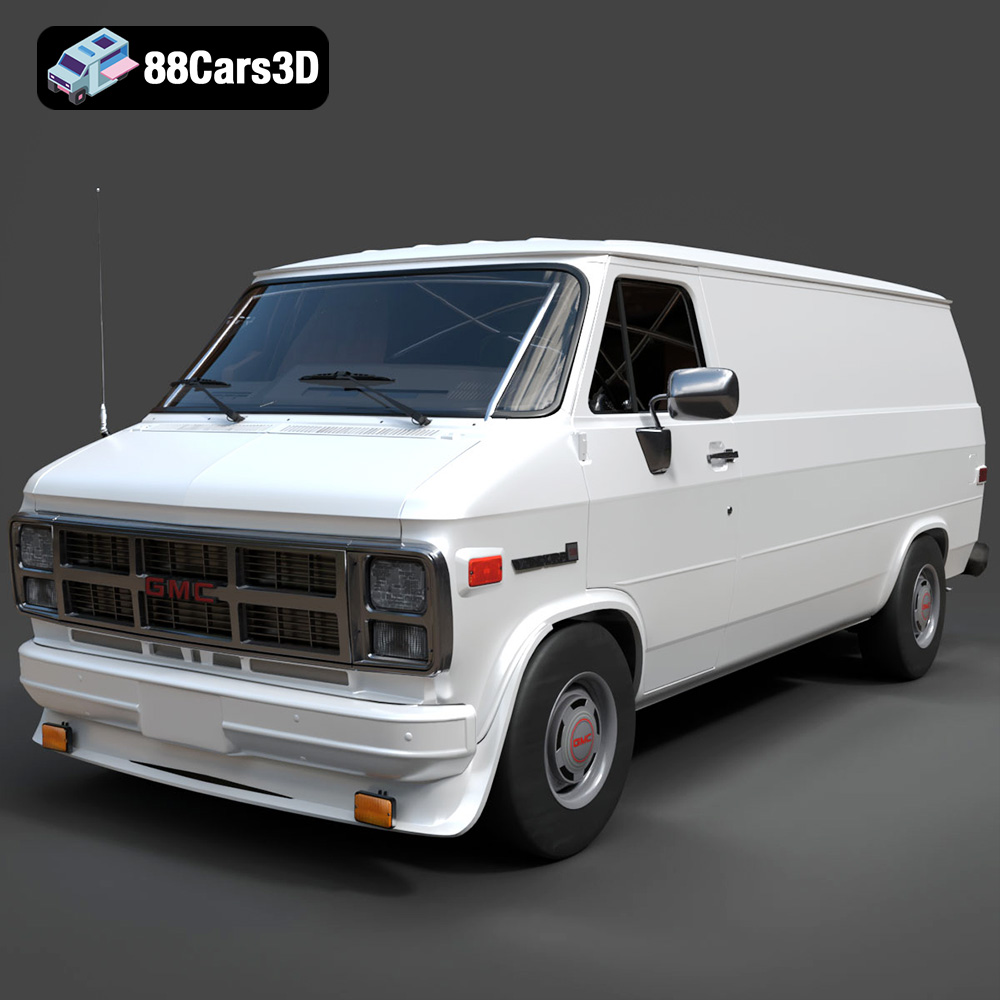
Download the GMC Vandura G-1500 1983 3D Model featuring clean geometry, realistic detailing, and a fully modeled interior. Includes .blend, .fbx, .obj, .glb, .stl, .ply, .unreal, and .max formats for rendering, simulation, and game development.
Price: $19.99
View Product
Texture: Yes
Material: Yes
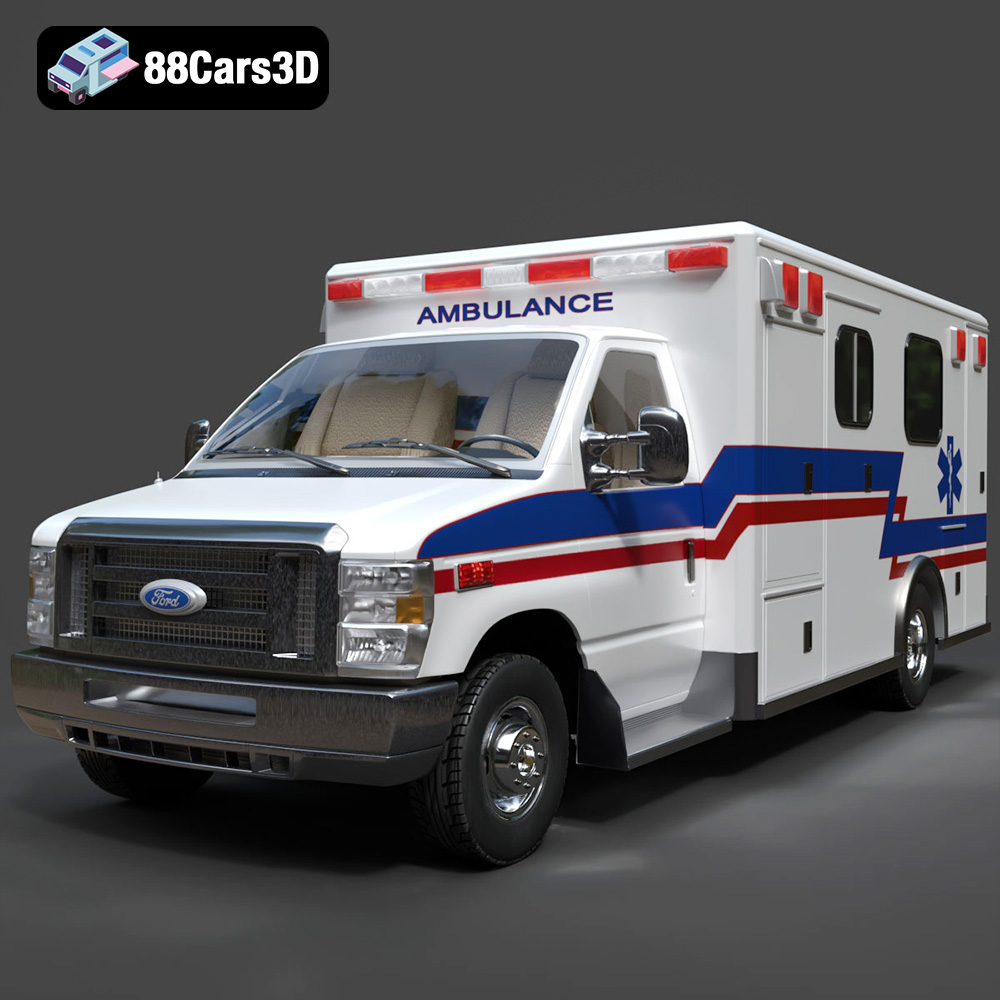
Download the Ford E-450 Ambulance 3D Model featuring clean geometry, realistic detailing, and a fully modeled interior. Includes .blend, .fbx, .obj, .glb, .stl, .ply, .unreal, and .max formats for rendering, simulation, and game development.
Price: $19.99
View Product


