Get 20% OFF All Premium 3D & STL Models!

In the fast-evolving digital landscape, where personalization reigns supreme, the demand for customizable 3D assets has never been higher. For automotive enthusiasts, game developers, visualization artists, and even AR/VR creators, the ability to modify a vehicle to exact specifications is a game-changer. This is particularly true for 3D car models, where a single base mesh can transform into countless unique iterations – from a street racer with a bespoke body kit to a rugged off-roader with specialized gear. This comprehensive guide delves deep into the technical intricacies of creating modular 3D car parts, offering a roadmap to building highly versatile assets that can power dynamic customization systems. We’ll explore everything from foundational modeling principles and advanced UV mapping strategies to PBR material creation, game engine optimization, and beyond, equipping you with the knowledge to craft compelling and infinitely adaptable automotive experiences.
The journey into modular 3D car asset creation begins long before any polygons are pushed. It starts with a meticulous design philosophy centered on interchangeability and robust foundational geometry. Modular design is about breaking down a complex object, such as an entire car, into discrete, manageable components that can be independently developed, optimized, and swapped out without affecting the integrity or functionality of other parts. This approach not only streamlines the production pipeline but also empowers end-users with unprecedented customization options, whether they’re swapping out a bumper in a racing game or configuring a luxury vehicle in an online configurator. The core principle here is to anticipate variations and build the asset’s structure around those possibilities from the outset.
Effective modularity hinges on a strategic decomposition of the vehicle. Instead of modeling a car as a monolithic mesh, consider it as an assembly of distinct, interchangeable units. Common breakdowns include the main chassis (often the non-customizable core), body panels (hood, doors, fenders, trunk), bumpers (front and rear), side skirts, spoilers, mirrors, headlights, taillights, wheels (rims and tires), brake calipers, suspension components, and interior elements (seats, dashboard, steering wheel). Each of these components should be designed as a separate mesh, or at least a distinct logical grouping within a larger mesh, ensuring they can be easily detached, replaced, or hidden. For example, a sports car might have several bumper variations, each modeled to perfectly align with the car’s existing fender and headlight geometry. It’s crucial to establish a consistent pivot point for each modular part – typically at its geometric center or a logical attachment point on the main chassis – to ensure easy assembly and rotation without manual recalibration. This systematic approach allows for a clean hierarchy in your scene and simplifies the scripting required for in-engine customization systems.
Underpinning successful modularity is impeccable topology and edge flow. Every modular part must maintain a consistent and clean quad-based mesh structure. This is critical for several reasons: it ensures predictable deformation if the model is animated, allows for efficient subdivision (e.g., using a Subdivision Surface modifier in Blender or Turbosmooth in 3ds Max for high-resolution renders), and most importantly, facilitates seamless visual integration between different parts. Edge loops must flow logically along the contours of the car’s design, concentrating around areas of high curvature or where different panels meet. When designing connecting parts, such as a bumper and a fender, ensure that their edges align perfectly at the seam. This might involve creating “connector” edge loops that match in vertex count and spacing, preventing unsightly gaps or overlaps. Aim for a consistent mesh density across all parts that will be visible together, avoiding drastic polygon count differences at connection points, which can lead to shading artifacts. For game assets, while aiming for a lower poly count, the principle of clean, even quad distribution still applies to ensure the model holds up well under various lighting conditions and LOD transitions. Adhering to these topological best practices minimizes headaches later in the pipeline, especially when applying normal maps or dealing with real-time rendering.
With the foundational design principles established, the next phase focuses on the meticulous execution of modeling and UV unwrapping. These steps are paramount in ensuring that each modular part not only looks fantastic on its own but also integrates flawlessly into the larger vehicle assembly, ready for diverse texturing and material applications. Precision here saves significant time down the line and dramatically enhances the flexibility of your customizable assets.
When modeling modular car parts, precision and consistency are key. All components must adhere to a consistent scale and coordinate system to ensure perfect alignment when assembled. It’s best practice to model parts in their final assembled position relative to a central origin (0,0,0) in your 3D software. For example, if you’re modeling a front bumper, it should be positioned exactly where it would be on the complete car. Use non-destructive modeling techniques wherever possible, employing modifiers or procedural workflows (e.g., Bevel, Solidify, Subdivision Surface in Blender; Modifier Stack in 3ds Max). This allows for easy adjustments and variations without permanently altering the base mesh. When creating variations of a part, such as different spoiler designs, ensure that their attachment points and collision bounds are identical or compatible. This allows game engines or configurators to swap them out seamlessly. Leverage snapping tools and precise numeric inputs to ensure edges and vertices align perfectly between connecting components. For Blender users, the official documentation at https://docs.blender.org/manual/en/4.4/?utm_source=blender-4.4.0 provides extensive details on precision modeling tools, modifiers, and non-destructive workflows, which are invaluable for creating high-quality modular assets. Maintain consistent naming conventions for your meshes and objects (e.g., `Car_Body_Hood_Sport`, `Car_Body_Hood_Standard`) to keep your scene organized and facilitate easier export and integration into game engines or asset libraries like those found on 88cars3d.com.
UV mapping is a critical stage for modular assets, as it dictates how textures will wrap around your models. For customization, your UV strategy must prioritize flexibility and consistency across all parts. Each modular component should have its own dedicated UV space, ensuring that its textures can be changed independently. When planning UV layouts, minimize seams and stretch, especially on prominent surfaces. Hard edges in your mesh are often good candidates for UV seams, as they naturally hide the texture breaks. For car models, cylindrical or planar projections often work well for specific parts, followed by careful unwrapping and packing. A crucial aspect is **texel density**: ensuring that all modular parts have a relatively consistent texel density (pixels per unit of surface area). This prevents textures from appearing blurry on one part and overly sharp on another when viewed together. Tools within 3ds Max, Blender, or Maya can calculate and display texel density, allowing you to normalize it across your assets. When dealing with similar parts (e.g., left and right fenders), consider mirroring UVs to save texture space, but be aware that this can cause issues with asymmetrical decals or text. Alternatively, if unique textures are required for each side, provide independent UVs. For decals and custom paint jobs, consider dedicating a separate UV channel or utilizing a ‘trim sheet’ approach for common elements, which can be dynamically layered in the shader. Properly planned UVs are the backbone of appealing, customizable PBR materials.
Once your modular car parts are meticulously modeled and UV unwrapped, the next crucial step is to breathe life into them through physically based rendering (PBR) materials. PBR materials are essential for achieving photorealistic results in modern renderers and game engines, ensuring that your customizable parts react accurately to light regardless of the environment. The goal here is not just realism, but also flexibility – creating materials that can be easily tweaked, recolored, and adapted to countless design variations.
A standard PBR material typically comprises several texture maps, each defining a specific property of the surface. The core maps include:
The workflow for creating these maps typically involves baking them from a high-polygon model onto your optimized low-polygon modular parts using tools like Substance Painter, Marmoset Toolbag, or even directly in Blender (see the official Blender 4.4 manual on baking at https://docs.blender.org/manual/en/4.4/render/bake/introduction.html for detailed instructions). When working with modular parts, it’s vital to ensure consistent resolution and color space (e.g., sRGB for Base Color, Linear for Metallic/Roughness/Normal) across all your texture sets to maintain visual uniformity. For shared elements like carbon fiber or generic plastic, consider using reusable texture atlases to save memory.
Beyond the individual texture maps, the true power of PBR for customization lies in the shader networks. These are the instructions that tell the renderer or game engine how to interpret your textures and parameters to create the final look. For modular car parts, you want to design shaders that are highly flexible and parameter-driven.
In game engines like Unity or Unreal Engine, this involves creating master materials/shaders with exposed parameters. These parameters allow artists or even players to dynamically adjust properties without modifying the underlying texture maps. Key parameters for car customization include:
This approach allows you to create hundreds of visual variations from a single shader and a few texture sets. For instance, a single car paint shader can generate gloss, matte, metallic, and pearl finishes simply by adjusting exposed parameters. By linking these parameters to in-game UI elements, you can create powerful and intuitive customization systems. Platforms like 88cars3d.com often leverage such sophisticated material setups to offer highly customizable 3D car models.
While high-quality models and realistic materials are critical, the true test of modular car parts often comes in their performance within real-time environments like game engines. Game development, AR/VR experiences, and interactive configurators demand assets that are not only visually appealing but also incredibly efficient. Optimization strategies are paramount to ensure smooth frame rates and a seamless user experience, especially when dealing with numerous interchangeable components.
Level of Detail (LOD) is a fundamental optimization technique that involves creating multiple versions of a mesh, each with a progressively lower polygon count. The game engine then dynamically swaps between these LODs based on the camera’s distance to the object. For modular car parts, this means each component (e.g., a bumper, a wheel) should have its own set of LODs.
Most 3D software (Blender, Maya, 3ds Max) and game engines (Unity, Unreal Engine) have tools to automatically generate LODs, but manual cleanup and optimization are often necessary to ensure good visual transitions. The goal is to make the LOD transitions imperceptible to the player. When designing modular parts, consider how their silhouette will simplify at lower LODs and ensure consistent bounding boxes across all LOD versions of a single part to prevent popping.
Draw calls are instructions sent from the CPU to the GPU to render an object. Each draw call carries overhead, and too many can severely impact performance. For modular car parts, where many individual meshes might be present (e.g., car body, four wheels, two bumpers, spoiler, etc.), draw call optimization is crucial.
This requires careful planning during the UV unwrapping phase to ensure different parts occupy different regions of the atlas. While reducing draw calls, be mindful of over-optimizing to the point where modularity is sacrificed; there’s a balance to be struck between performance and customization flexibility.
For interactive experiences, every modular part needs appropriate collision geometry and, often, physics assets. Collision meshes are simplified, often invisible, versions of your model used by the game engine’s physics system to detect collisions.
Ensure that the collision meshes for modular parts perfectly align with their visual counterparts and that their pivot points are consistent. This prevents objects from visually clipping through each other or having inaccurate physical interactions, which is especially important for dynamically attachable components.
Once the modular car parts are modeled, textured, and optimized, the final stage is their integration into game engines or visualization platforms. This phase involves setting up hierarchies, managing data, and potentially scripting logic to enable dynamic customization, ensuring that the hard work put into modular design pays off in a functional and flexible system.
The process of bringing your assets into a game engine involves careful setup.
In **Unity**:
In **Unreal Engine**:
Regardless of the engine, strict naming conventions and a clear understanding of your asset hierarchy are vital for a smooth integration process.
The choice of file format is crucial for cross-platform compatibility and efficient integration.
When exporting, always verify export settings for scale, axis orientation (e.g., Z-up vs. Y-up), and embedded media (textures). Ensuring consistent export settings across all modular parts prevents frustrating alignment or scaling issues in the target platform. Marketplaces like 88cars3d.com typically provide models in several of these formats to cater to a broad range of user needs.
Managing a large library of modular car parts, especially with variations and LODs, can quickly become complex. Implementing a robust asset management and version control strategy is essential:
Proper asset management ensures that your modular library is scalable, maintainable, and easy for any team member to navigate and utilize effectively.
The utility of modular 3D car parts extends far beyond real-time game engines. These versatile assets are equally valuable for high-fidelity rendering, immersive AR/VR experiences, and even physical production through 3D printing. Each application presents its own set of unique challenges and optimization requirements, further highlighting the importance of a well-structured modular workflow.
For marketing materials, cinematic sequences, or architectural visualization, photorealistic rendering of customizable cars is paramount. Here, the emphasis shifts from polygon budget to absolute visual quality.
The modular nature of the car allows artists to quickly swap out components and render new iterations without rebuilding the entire scene, significantly speeding up content creation for promotional purposes.
AR (Augmented Reality) and VR (Virtual Reality) platforms offer incredibly immersive ways to experience customizable cars, allowing users to view a vehicle in their real-world environment or within a virtual showroom. However, these platforms have strict performance budgets.
The ability to interactively customize a car and instantly see it rendered realistically in AR/VR is a powerful application of modular 3D car assets, providing a highly engaging user experience.
Beyond digital visualization, modular 3D car parts can be prepared for physical manufacturing through 3D printing, creating tangible prototypes, collectibles, or model kits. This requires a different set of technical considerations.
The ability to 3D print customized car parts offers a unique blend of digital design and physical realization, opening up possibilities for bespoke automotive merchandise and rapid prototyping.
Creating modular 3D car parts for customization is a complex yet incredibly rewarding endeavor. It demands a holistic understanding of the entire 3D pipeline, from the foundational principles of topology and modular design to advanced texturing, optimization, and integration techniques across diverse platforms. By strategically breaking down vehicles into interchangeable components, meticulously crafting clean geometry, developing versatile PBR materials, and rigorously optimizing for performance, artists and developers can unlock an unparalleled degree of flexibility and creative freedom.
The benefits are clear: reduced production times, enhanced asset reusability, and ultimately, a richer, more personalized experience for end-users, whether they are configuring a dream car in a visualization tool, racing a uniquely styled vehicle in a game, or even bringing a custom design to life through 3D printing. The techniques discussed, from LOD generation and texture atlasing to flexible shader networks and careful file format selection, are not merely suggestions but essential best practices for anyone serious about pushing the boundaries of digital automotive design.
As the demand for interactive and personalized digital content continues to grow, mastering the art of modular 3D asset creation will be an increasingly valuable skill. We encourage you to explore the resources available, experiment with different workflows, and leverage high-quality base models from platforms like 88cars3d.com to kickstart your projects. Embrace the challenge, and begin building your own universe of infinitely customizable 3D vehicles today!

Meta Description:
Texture: Yes
Material: Yes
Download the Porsche Cayenne 3D Model featuring realistic exterior styling and detailed interior design. Includes .blend, .fbx, .obj, .glb, .stl, .ply, .unreal, and .max formats for rendering, simulation, AR VR, and game development.
Price: $19.9
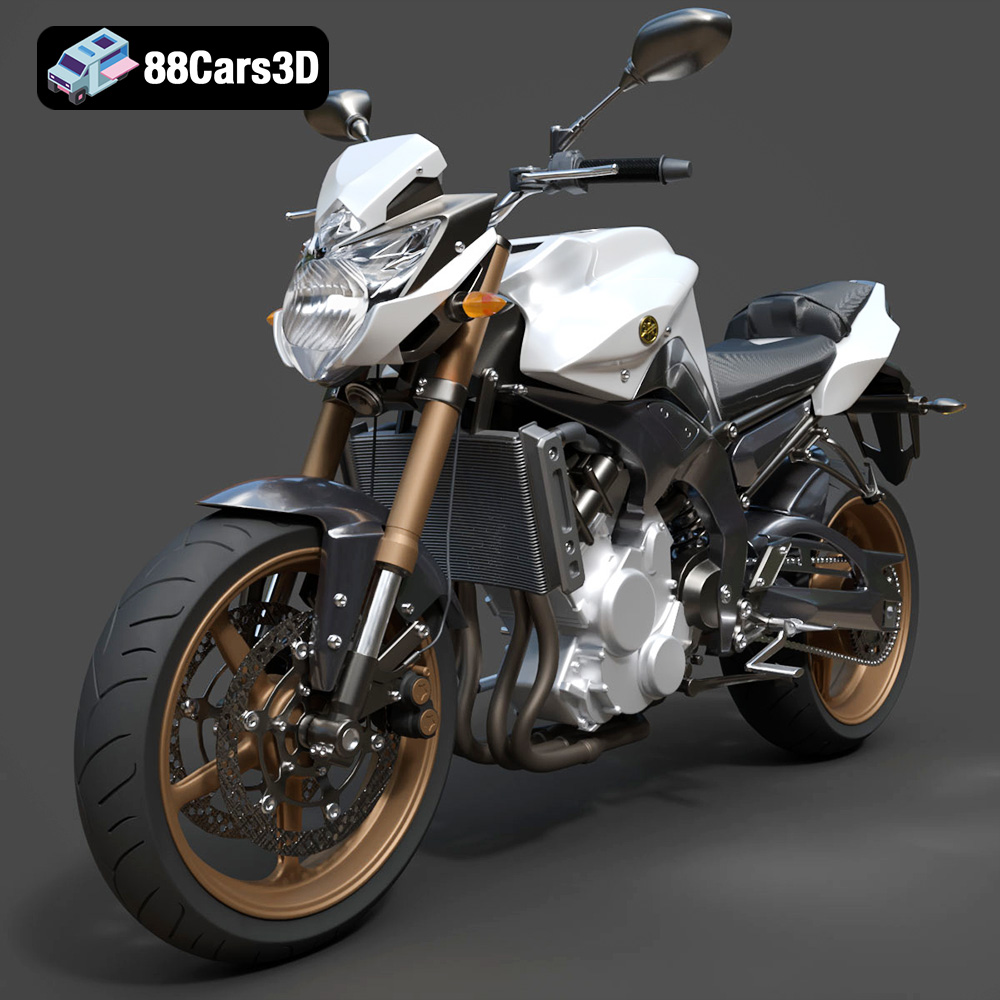
Texture: Yes
Material: Yes
Download the Yamaha FZ8 2011 3D Model featuring clean geometry, realistic detailing, and a fully modeled interior. Includes .blend, .fbx, .obj, .glb, .stl, .ply, .unreal, and .max formats for rendering, simulation, and game development.
Price: $19.99
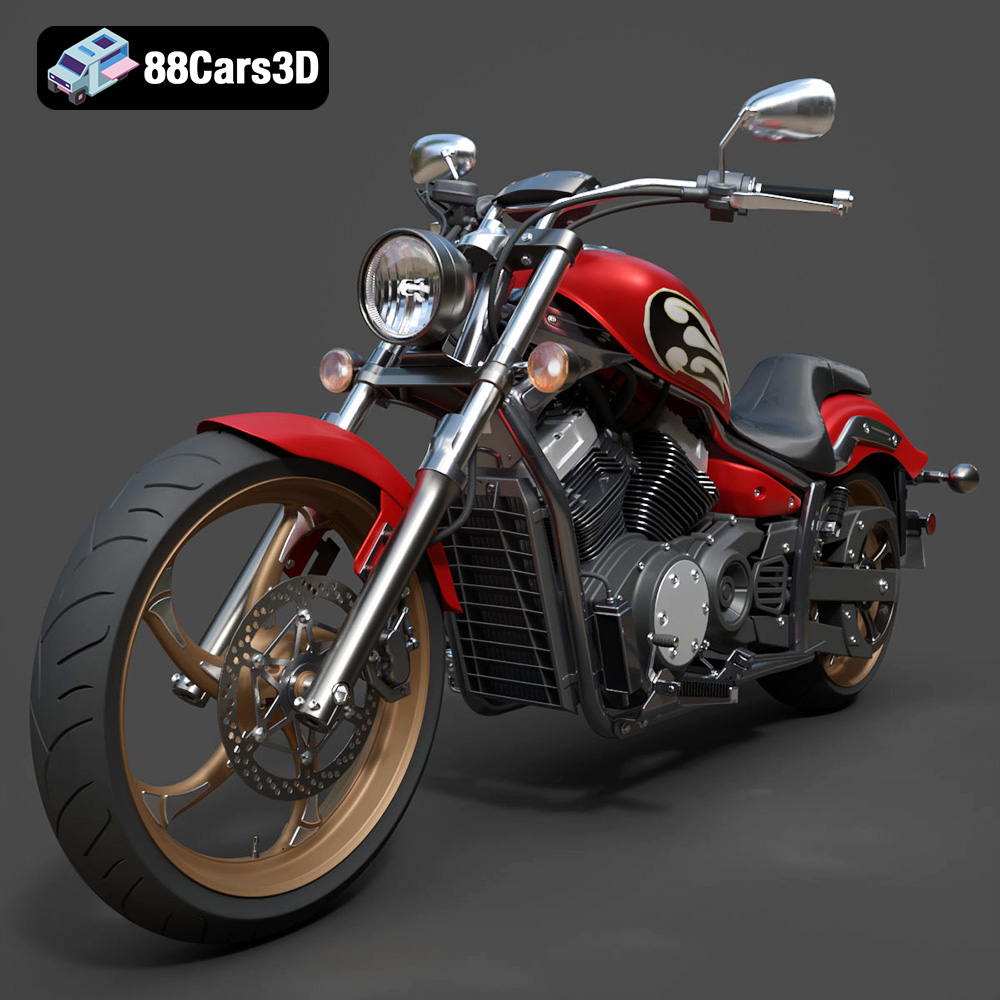
Texture: Yes
Material: Yes
Download the Yamaha Stryker 2012 3D Model featuring clean geometry, realistic detailing, and a fully modeled interior. Includes .blend, .fbx, .obj, .glb, .stl, .ply, .unreal, and .max formats for rendering, simulation, and game development.
Price: $19.99
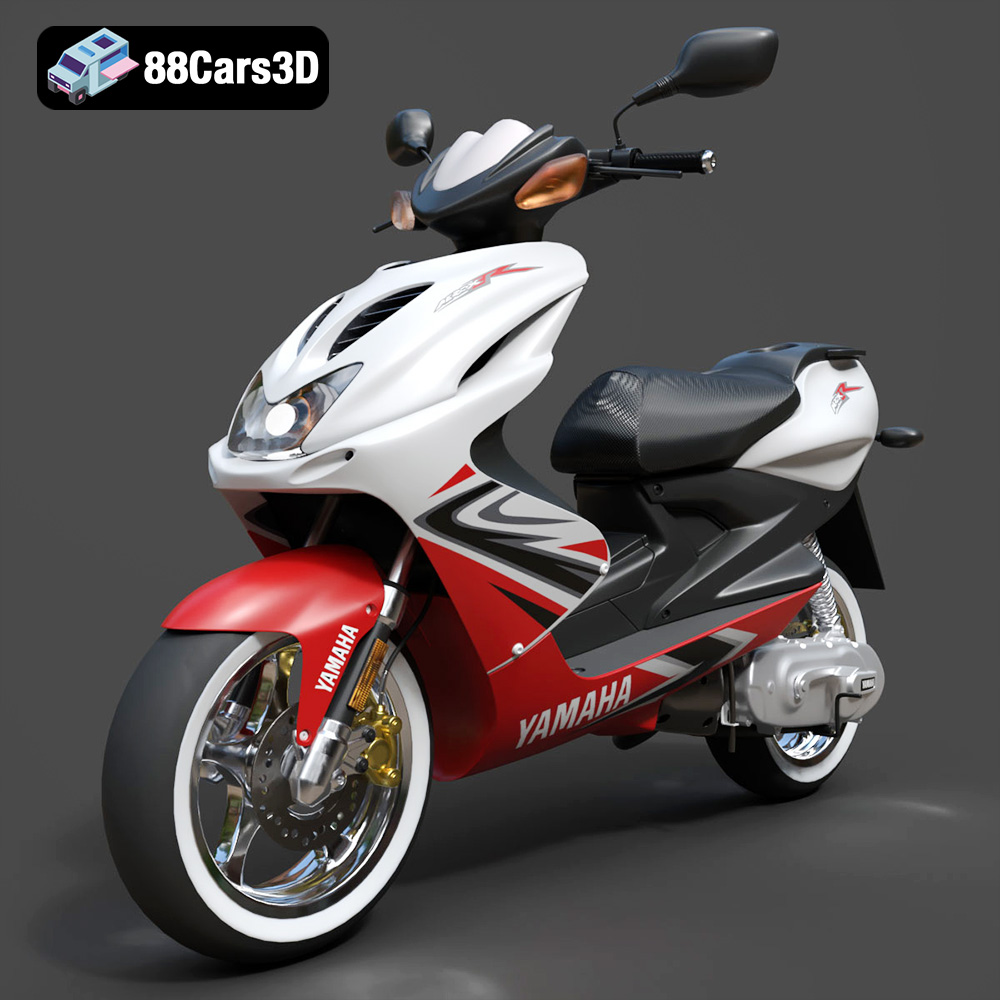
Texture: Yes
Material: Yes
Download the Yamaha Aerox R-002 2024 3D Model featuring clean geometry, realistic detailing, and a fully modeled interior. Includes .blend, .fbx, .obj, .glb, .stl, .ply, .unreal, and .max formats for rendering, simulation, and game development.
Price: $19.99
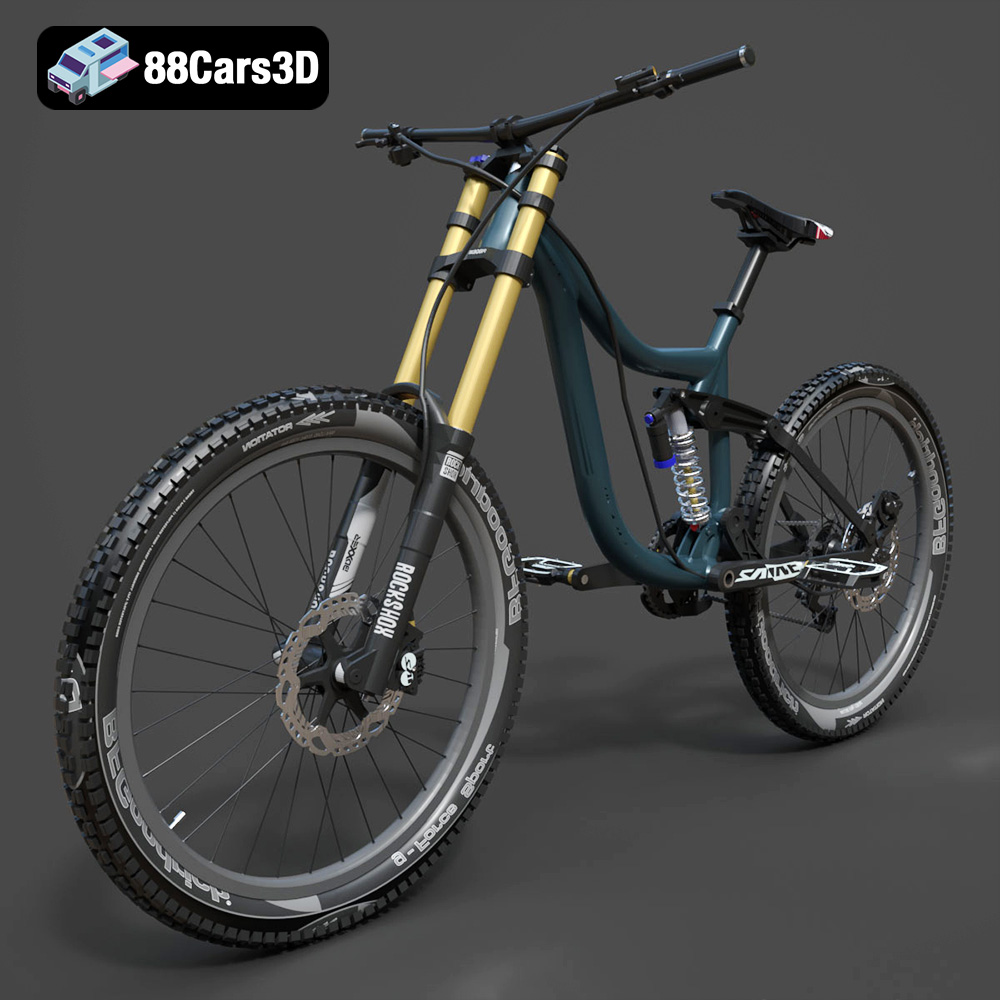
Texture: Yes
Material: Yes
Download the Mototsikly Downhill Bike-002 3D Model featuring clean geometry, realistic detailing, and precise mechanical components. Includes .blend, .fbx, .obj, .glb, .stl, .ply, .unreal, and .max formats for rendering, simulation, and game development.
Price: $19.99
Texture: Yes
Material: Yes
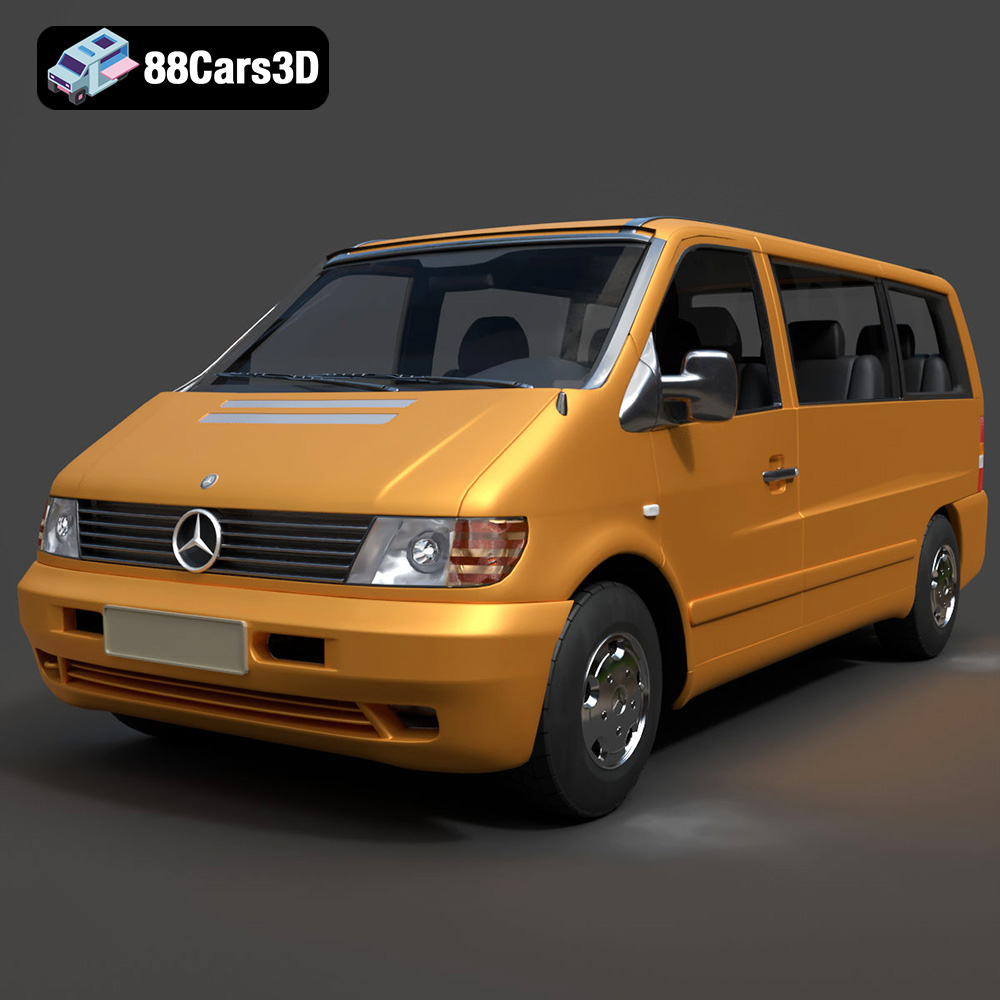
Download the Mercedes-Benz Vito Passenger Van 3D Model featuring clean geometry, realistic detailing, and a fully modeled interior. Includes .blend, .fbx, .obj, .glb, .stl, .ply, .unreal, and .max formats for rendering, simulation, and game development.
Price: $19.99
Texture: Yes
Material: Yes
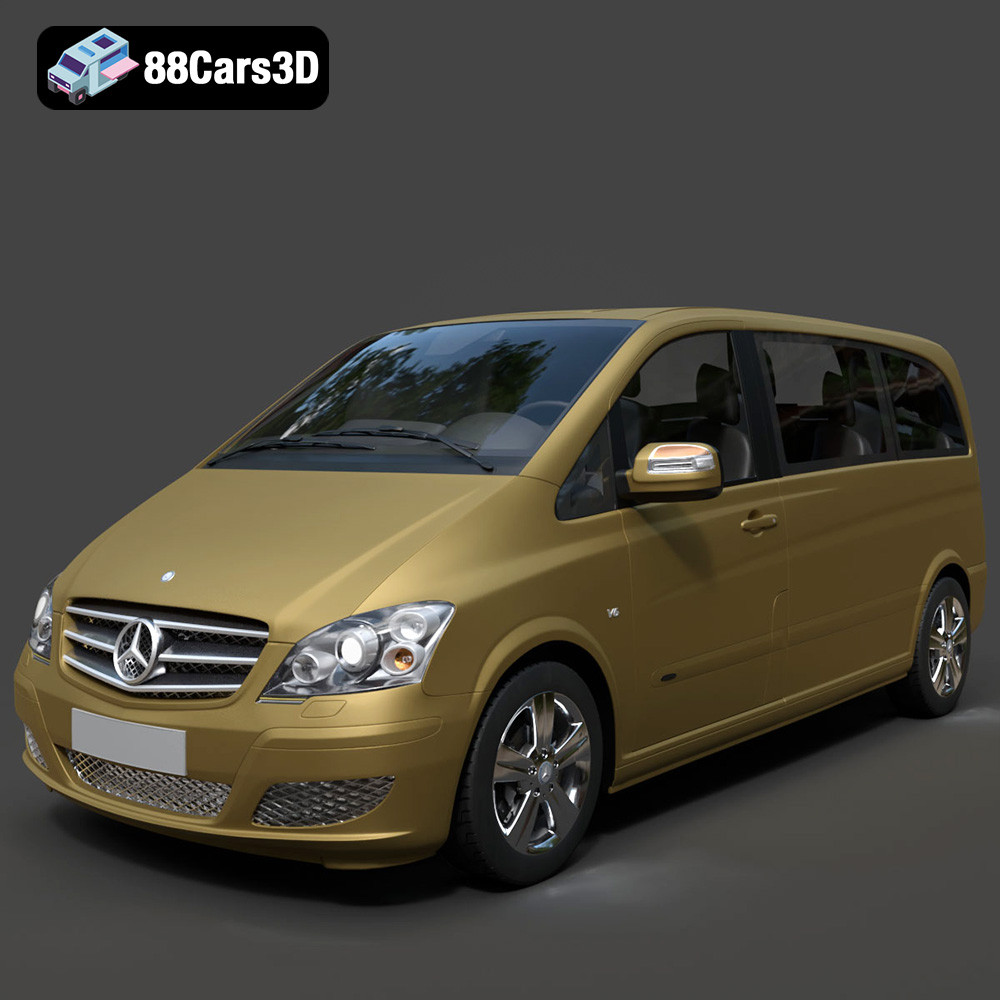
Download the Mercedes-Benz Viano 2010 3D Model featuring clean geometry, realistic detailing, and a fully modeled interior. Includes .blend, .fbx, .obj, .glb, .stl, .ply, .unreal, and .max formats for rendering, simulation, and game development.
Price: $19.99

Texture: Yes
Material: Yes
Download the Emt Avtobus 007 3D Model featuring clean geometry, realistic detailing, and a fully modeled interior. Includes .blend, .fbx, .obj, .glb, .stl, .ply, .unreal, and .max formats for rendering, simulation, and game development.
Price: $19.99
Texture: Yes
Material: Yes
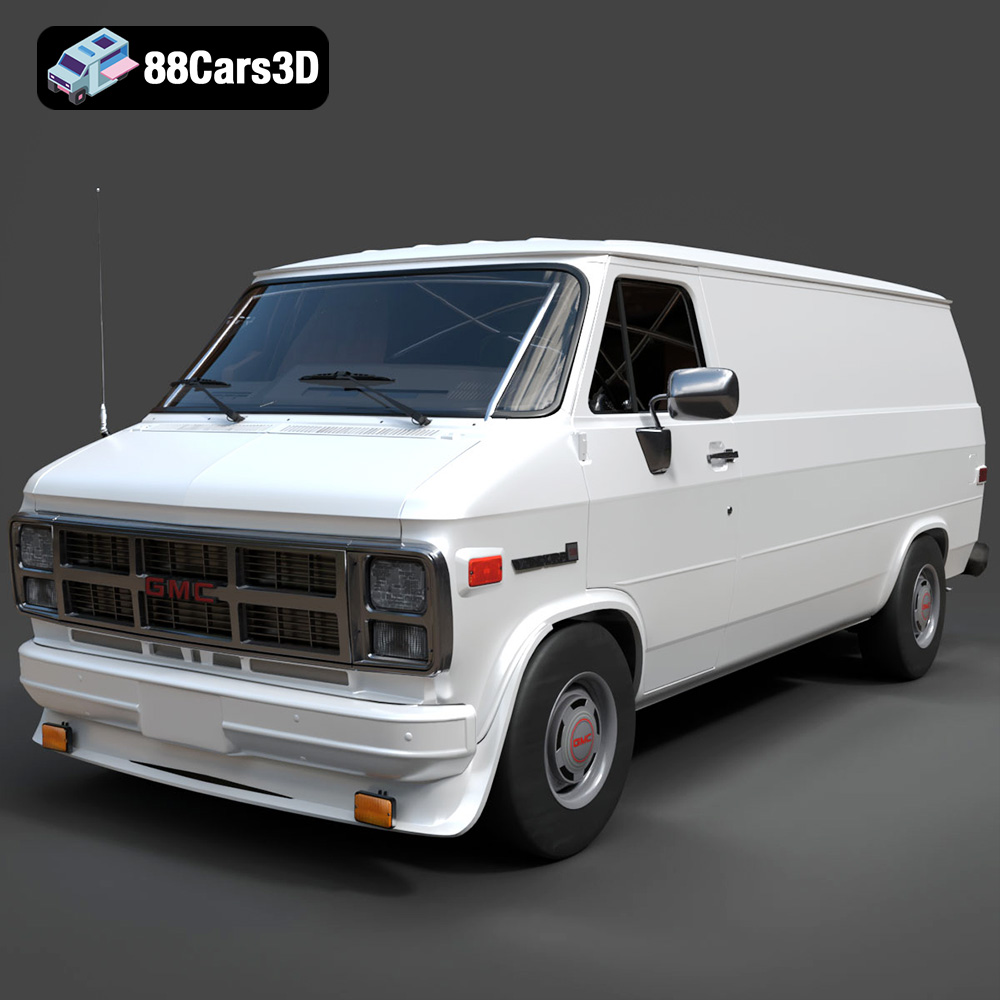
Download the GMC Vandura G-1500 1983 3D Model featuring clean geometry, realistic detailing, and a fully modeled interior. Includes .blend, .fbx, .obj, .glb, .stl, .ply, .unreal, and .max formats for rendering, simulation, and game development.
Price: $19.99
Texture: Yes
Material: Yes
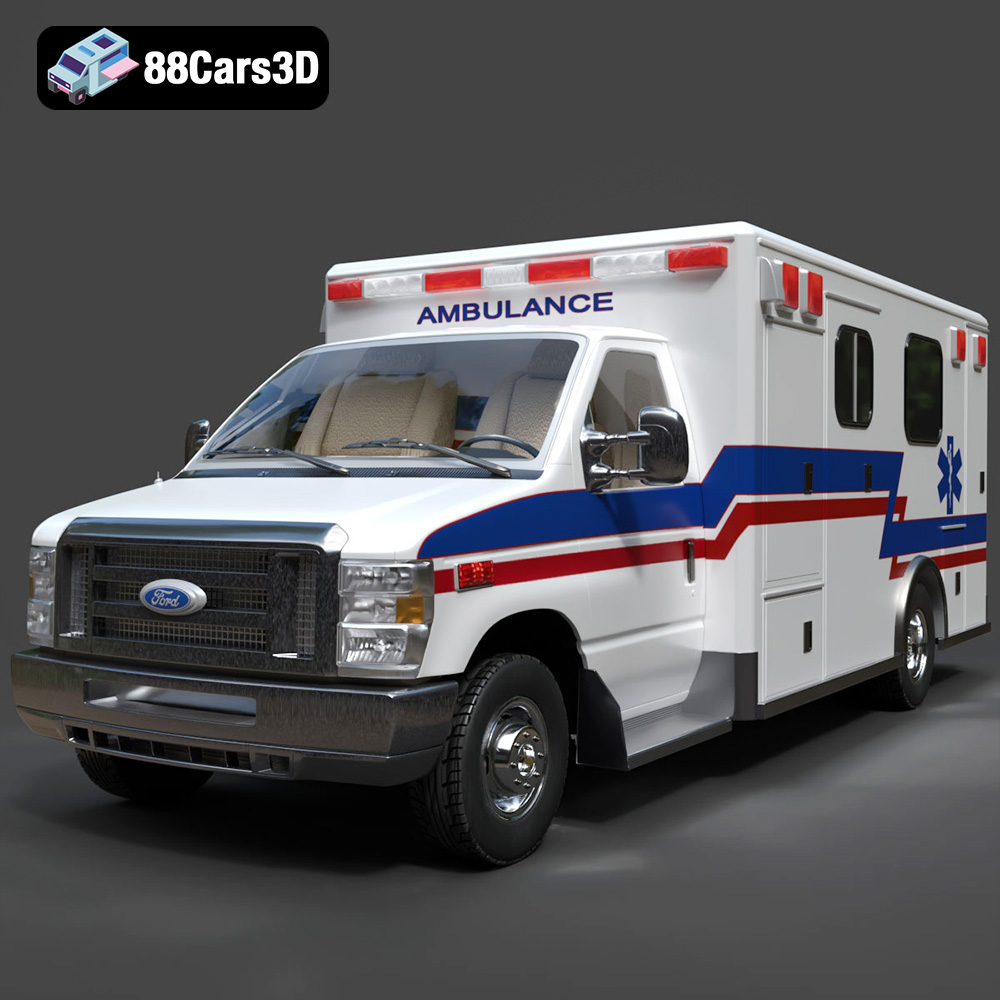
Download the Ford E-450 Ambulance 3D Model featuring clean geometry, realistic detailing, and a fully modeled interior. Includes .blend, .fbx, .obj, .glb, .stl, .ply, .unreal, and .max formats for rendering, simulation, and game development.
Price: $19.99

