

“`html
Achieving Showroom-Quality Surfaces on Your 3D Printed Car Models
The allure of a perfectly rendered 3D printed car model, with its sleek lines and smooth, paint-ready surfaces, is a goal shared by many enthusiasts and hobbyists. Whether you’re recreating a classic icon, a futuristic concept, or a race-day champion, the finish of your model is paramount to its overall impact. While 3D printing technology has advanced dramatically, achieving those flawless, showroom-quality surfaces on intricate automotive STL files can present unique challenges. This guide dives deep into the technical aspects of transforming raw 3D prints into miniature masterpieces. We’ll explore the crucial interplay between STL file preparation, slicing strategies, printer settings, material choices, and post-processing techniques that are essential for achieving exceptionally smooth surfaces on your 3D printed car models, whether you’re printing them on FDM or resin machines.
Section 1: The Foundation – Understanding Your STL File and Initial Preparation
Before your chosen car model even touches a 3D printer, the quality of the underlying STL file and its initial preparation are the bedrock upon which a smooth finish is built. An STL (STereoLithography) file represents a 3D object as a collection of triangular facets. The resolution and integrity of these facets directly impact the potential for a smooth surface. Low-resolution models or those with poorly defined edges will inherently lead to a stepped, faceted appearance on the final print, regardless of how optimized your printer settings are.
At 88cars3d.com, we prioritize delivering high-quality, print-ready STL files. This means our models undergo rigorous checks for watertightness, manifold geometry, and appropriate polygon count. However, understanding what makes a “good” STL file is still beneficial for any serious modeler. A manifold mesh means the model is a closed, solid object with no holes or self-intersections – crucial for successful slicing and printing. The density of the triangles (polygon count) is a balance: too low, and curves will appear jagged; too high, and file sizes become unmanageable, potentially impacting slicer performance. For detailed car models, especially those with subtle curves like body panels, a sufficient polygon count is essential.
H3: Mesh Integrity and Repair Workflows
Even with carefully prepared files, issues can sometimes arise. Common problems include non-manifold edges, holes, or inverted normals. Fortunately, powerful software tools can address these. For minor repairs, many slicers like Cura or PrusaSlicer have built-in mesh repair functions that can automatically fix common issues. For more complex problems, dedicated mesh editing software is invaluable. Blender, a free and open-source 3D creation suite, offers robust tools for mesh analysis and repair, including the ‘3D-Print Toolbox’ add-on which provides quick checks for manifold errors, non-manifold edges, and other printability issues. Autodesk Netfabb is another industry-standard tool, offering advanced diagnostics and automated repair capabilities, particularly useful for complex geometries found in detailed automotive models. When downloading models from marketplaces such as 88cars3d.com, these tools can be used for any last-minute checks or for scaling the model to your desired size while ensuring the mesh integrity is maintained.
H3: Scaling and Orientation for Surface Detail
The scale at which you print your car model can significantly influence surface smoothness. Printing a model at a larger scale can make layer lines less noticeable and allow for finer details to be resolved. Conversely, printing very small models can exacerbate any imperfections in the STL or the printing process. When scaling, ensure your slicer is set to scale uniformly to avoid distorting the car’s proportions. Orientation is equally critical. The way a model is positioned on the print bed affects how supports are generated and how layer lines are perceived. For curved surfaces like car bodies, orienting them to minimize overhangs and direct layer lines along the contour of the design can dramatically improve the perceived smoothness. Sometimes, rotating a car model 15-30 degrees on the Z-axis can help break up the visual impact of layer lines on large, flat surfaces like roofs or hoods.
Section 2: Slicing Strategies – Translating Geometry into Printer Instructions
The slicer software is the bridge between your 3D model and your 3D printer. It converts the STL file into a series of thin horizontal layers and generates the toolpath (G-code) that the printer follows. The settings you choose here have a profound impact on surface quality, especially for achieving that desired smooth finish on car models. Optimizing these settings involves a careful balancing act between detail, speed, and print success. For intricate automotive shapes, every setting needs to be considered.
The fundamental principle for smoother surfaces is reducing the visibility of layer lines. This is achieved by printing with finer layer heights and ensuring that the printer accurately follows the contours of the model. However, reducing layer height dramatically increases print time. Therefore, a strategic approach is necessary, often involving a combination of settings and potentially accepting a slightly longer print for critical areas or the entire model.
H3: The Layer Height Dilemma: Detail vs. Time
Layer height is arguably the most significant factor influencing surface smoothness. Standard layer heights for FDM printing often range from 0.1mm to 0.3mm. For smooth car models, aiming for the lower end of this spectrum is crucial. A layer height of 0.1mm or even 0.08mm will produce noticeably smoother curves and finer details compared to 0.2mm or 0.3mm. However, each layer takes time to print. Printing at 0.1mm can double or triple the print time compared to 0.2mm. For resin printers (SLA/DLP/MSLA), layer heights are typically much finer, often ranging from 0.025mm to 0.05mm, contributing to their inherent ability to produce smoother surfaces out-of-the-box. When selecting an STL file from a quality source like 88cars3d.com, ensure it has sufficient detail to benefit from these finer layer heights.
H3: Wall Thickness, Seam Placement, and Outer Wall Settings
Beyond layer height, several other slicing parameters are vital. Wall thickness (also known as shell thickness or perimeter count) determines how many extrusions form the outer walls of your model. Increasing the number of walls (e.g., from 2 to 3 or 4) can reinforce thin sections and contribute to a more solid feel, but more importantly for surface finish, it can help hide internal infill patterns from showing through on the outer surface, especially on curved panels. Slicers often have an option to print the outer wall first or last. Printing the outer wall last can sometimes lead to a cleaner finish as the nozzle has less material to traverse over after completing the outer perimeter. Look for settings like “Outer Wall Wipe Distance” or “Coasting” which help prevent over-extrusion at the start and end of perimeters, thus reducing blobs and zits. Careful attention to seam placement is also critical. Seams are the points where a layer starts and ends. While some slicers try to hide seams automatically (e.g., “Sharpest Corner” or “Aligned”), for car models, you might strategically choose to place the seam on a less visible edge or a sharp crease using the “User Specified” option in your slicer. This prevents unsightly lines from disrupting the smooth flow of body panels.
H3: Print Speed Optimization for Surface Quality
While faster printing is tempting, high speeds can compromise surface quality. When aiming for smooth finishes, reducing print speeds, particularly for the outer walls, is essential. For the outer perimeter, speeds as low as 20-40 mm/s are often recommended, especially when printing at fine layer heights or with materials prone to stringing. Print speed affects how well the molten plastic adheres to the layer below and how smoothly the nozzle can trace the model’s contours. Slower speeds allow the material more time to settle and cool, resulting in a more uniform surface. Consider setting a significantly lower speed for the outer walls compared to the infill. For example, if your infill speed is 60 mm/s, set your outer wall speed to 30 mm/s. This optimization requires experimentation on your specific printer and material combination.
Section 3: The Art of Support Structures – Essential for Complex Geometries
Automotive models, with their intricate shapes, including spoilers, undercarriages, mirrors, and complex body curves, almost invariably require support structures. The way supports are generated, their density, their contact points with the model, and how they are removed are critical factors in achieving a smooth surface finish on the final printed car. Poorly implemented supports can leave behind unsightly blemishes, stringing, or even damage the delicate details of the model during removal.
The goal with supports is to provide just enough scaffolding to hold up overhanging sections without creating excessive surface scarring. This involves understanding the limitations of your printer, the material you’re using, and the capabilities of your slicing software. For high-quality automotive prints, generic support settings are rarely sufficient; customization is key.
H3: Support Types and Settings for Minimal Scarring
Most slicers offer various support types: standard, tree (or organic), and custom. For car models, tree supports are often preferred as they tend to be more efficient, use less material, and crucially, have fewer contact points with the model, leading to cleaner removal and smoother surfaces. They branch out like a tree, touching the model only at specific, often optimized, points. When using standard supports, ensure you enable settings like “Support Interface” or “Support Roof/Floor.” A support interface is a denser layer of support material printed just below the actual model surface. This interface is typically printed with a different pattern (like zigzag or grid) and often has a small gap (Z-distance) between it and the model, making it easier to remove and leaving a smoother surface on the underside of the overhang. Experiment with the Z-distance between the model and the support interface – a value of 0.1mm to 0.2mm is common for FDM, while resin printers might use smaller values. The X/Y distance between the support pillar and the model is also important; increasing this slightly can reduce adhesion and make removal easier, but too large a distance can lead to instability.
H3: Support Density, Pattern, and Placement
The density of your supports directly impacts their strength and the effort required for removal. While higher density provides more stability, it also makes removal more difficult and can increase the likelihood of scarring. Start with lower densities (e.g., 10-15% for FDM) and increase only if necessary. The support pattern (e.g., grid, lines, concentric) can also influence ease of removal and the resulting surface texture. For example, concentric patterns might follow the curves of the model better, potentially leading to a smoother interface. Careful support placement is also an art. Many slicers allow you to define “touching buildplate only” or “everywhere.” For car models, you often want supports “everywhere” to catch internal overhangs or complex undercarriage details, but pay close attention to where these supports will touch the visible surfaces of the car. You can often paint custom support blockers or enforcers in your slicer to prevent supports from appearing in undesirable locations or to force them in critical areas.
H3: Support Removal Techniques for a Pristine Finish
Once the print is complete and the bed has cooled sufficiently (especially important for PLA), carefully begin support removal. For FDM prints, small pliers, hobby knives, and needle-nose tweezers are essential tools. Start by gently wiggling the supports to break their adhesion. For tree supports, often you can snap off the main branches first. For standard supports, try to break them away from the edges of the interface. Never force it. If a support is stuck, try using a small amount of isopropyl alcohol to loosen the plastic or gently scoring the base of the support. For resin prints, supports are typically thinner and require more delicate handling. Use flush cutters to snip them away as close to the model surface as possible, being mindful of sharp edges on the tools. After initial removal, small nubs or marks may remain. These are typically addressed during the post-processing stage, but minimizing them during removal is key.
Section 4: Material Selection and Printer Settings – The Hardware and Consumables
The choice of material and the calibration of your 3D printer are fundamental to achieving smooth surfaces. Different filament types (for FDM) and resin formulations (for resin printers) have unique printing characteristics that affect surface finish. Furthermore, a well-calibrated printer ensures that every extrusion is precise, which is non-negotiable for detailed automotive models.
For FDM printing, common materials like PLA, PETG, and ABS offer varying levels of ease-of-use and finish quality. Resin printers, on the other hand, are known for their inherently higher resolution and smoother surfaces, but they come with their own set of considerations.
H3: FDM Materials: PLA, PETG, and Beyond
PLA (Polylactic Acid) is the most common FDM material due to its ease of printing, low warping, and excellent detail resolution. It’s often the go-to for beginners and for models where high temperature resistance isn’t a concern. PLA generally produces a smooth surface finish with proper settings. PETG is more durable and temperature-resistant than PLA but can be more prone to stringing, which can mar surface finish if not dialed in. Careful temperature and retraction tuning are crucial for PETG. ABS offers excellent strength and temperature resistance but is more challenging to print, requiring an enclosed printer and higher temperatures, and can suffer from warping. However, ABS can be smoothed post-print using acetone vapor, a technique not suitable for PLA or PETG. For showcasing high-quality car models, consider premium PLA filaments specifically designed for detail, or specialty filaments that offer unique finishes.
H3: Resin Printing: The Detail Advantage
Resin 3D printers (SLA, DLP, MSLA) use liquid photopolymer resin that is cured layer by layer by a UV light source. This process inherently allows for much finer resolution and smoother surfaces than most FDM printers. Layer lines are far less apparent, often only visible at extreme magnification. However, resin printing involves handling chemicals and requires thorough post-processing (washing and curing). Different resin formulations exist, including standard resins, tough resins, and high-detail resins, each offering different properties. For automotive models demanding extreme detail and smoothness, resin printing is often the superior choice, provided you have the necessary setup and post-processing capabilities. Models from 88cars3d.com are often designed with both FDM and resin printing in mind, but the inherent capabilities of resin printing make it ideal for showcasing the most intricate details.
H3: Printer Calibration: Extrusion, Bed Leveling, and Cooling
A perfectly calibrated printer is paramount. Extrusion calibration (E-steps) ensures that the printer extrudes the correct amount of material. Under-extrusion leads to gaps and weak layers, while over-extrusion causes blobs and dimensional inaccuracies. Perform an E-step calibration and then fine-tune the Flow Rate (or Extrusion Multiplier) in your slicer for each filament type. Ensure your bed leveling is impeccable, as the first layer is the foundation for the entire print. Poor first layers can lead to adhesion issues, warping, and uneven surfaces. Finally, cooling is vital for FDM prints. Adequate part cooling ensures that the deposited plastic solidifies quickly, allowing the nozzle to trace sharp corners and curves without them deforming. Experiment with fan speeds, especially for outer walls, ensuring sufficient cooling for crisp details without causing layer adhesion issues (which can be a problem at extremely high fan speeds or with certain materials like ABS).
Section 5: Post-Processing – Refining Your Print to Perfection
Even with the most meticulous printing process, a 3D print rarely emerges with a perfectly smooth, ready-to-paint surface. Post-processing is the crucial stage where raw prints are transformed into display-worthy models. This involves a series of steps designed to eliminate imperfections, refine details, and prepare the surface for finishing treatments like painting or clear coating.
The techniques used will vary depending on whether you’ve used FDM or resin printing, and the desired final finish. However, the core objective remains the same: to achieve a surface that is uniformly smooth, free of layer lines, support marks, and other printing artifacts.
H3: Surface Smoothing Techniques: Sanding and Filling
For FDM prints, sanding is the most common method for smoothing. Start with coarser grit sandpaper (e.g., 120-220 grit) to remove obvious layer lines and support marks, progressing to finer grits (400, 800, 1000, 1500, and even higher) to achieve a glass-like finish. Wet sanding (using sandpaper with water) can help reduce dust and prevent sandpaper from clogging. For significant layer lines, especially on PLA, applying a filler primer or a hobby-grade filler putty (like Tamiya Putty or Milliput) can be highly effective. Apply a thin layer, let it dry, sand it smooth, and repeat until the desired smoothness is achieved. For resin prints, sanding is still often necessary, but generally requires finer grits due to the inherently smoother surface. Always wear appropriate safety gear, including a dust mask, when sanding plastics.
H3: Chemical Smoothing and Specialized Treatments
As mentioned earlier, acetone vapor smoothing is a powerful technique for ABS prints. This involves exposing the print to a controlled amount of acetone vapor, which melts and smooths the outer surface. It requires careful setup in a well-ventilated area and is highly effective for achieving a glossy, injection-molded look. However, it can slightly round off sharp details and should be approached with caution. For resin prints, specialized smoothing agents or UV post-curing in a controlled environment can sometimes further enhance surface finish, though aggressive chemical smoothing is less common. Always research and follow safety guidelines meticulously when using chemical smoothing agents.
H3: Priming, Painting, and Assembly
Once sanding and filling are complete, the next step is priming. A good quality primer acts as a uniform base coat, revealing any remaining imperfections that need further attention. It also ensures consistent adhesion for your paint. For car models, applying multiple thin coats of primer is recommended. After priming, you can proceed with painting. Airbrushing offers the smoothest finish for automotive paints, allowing for thin, even coats. Hand-brushing can be used for smaller details or if an airbrush is not available, but requires skill to avoid brush marks. Finally, for models with multiple parts, careful assembly is required. Using appropriate adhesives (like super glue or plastic cement) and ensuring precise alignment will maintain the seamless look of your finished car model.
Achieving showroom-quality surfaces on your 3D printed car models from sources like 88cars3d.com is a journey that involves a deep understanding of your tools, materials, and processes. From the initial STL file integrity and slicer settings to the final post-processing steps, each stage plays a critical role. By meticulously tuning your printer, strategically employing supports, choosing the right materials, and dedicating time to post-processing, you can transform your 3D prints into miniature works of art that truly capture the essence of the vehicles they represent. Embrace the technical details, experiment with settings, and enjoy the rewarding process of bringing your favorite cars to life in stunning detail.
“`
Featured 3D Car Models

Porsche Cayenne 3D Model
Meta Description:
Texture: Yes
Material: Yes
Download the Porsche Cayenne 3D Model featuring realistic exterior styling and detailed interior design. Includes .blend, .fbx, .obj, .glb, .stl, .ply, .unreal, and .max formats for rendering, simulation, AR VR, and game development.
Price: $19.9
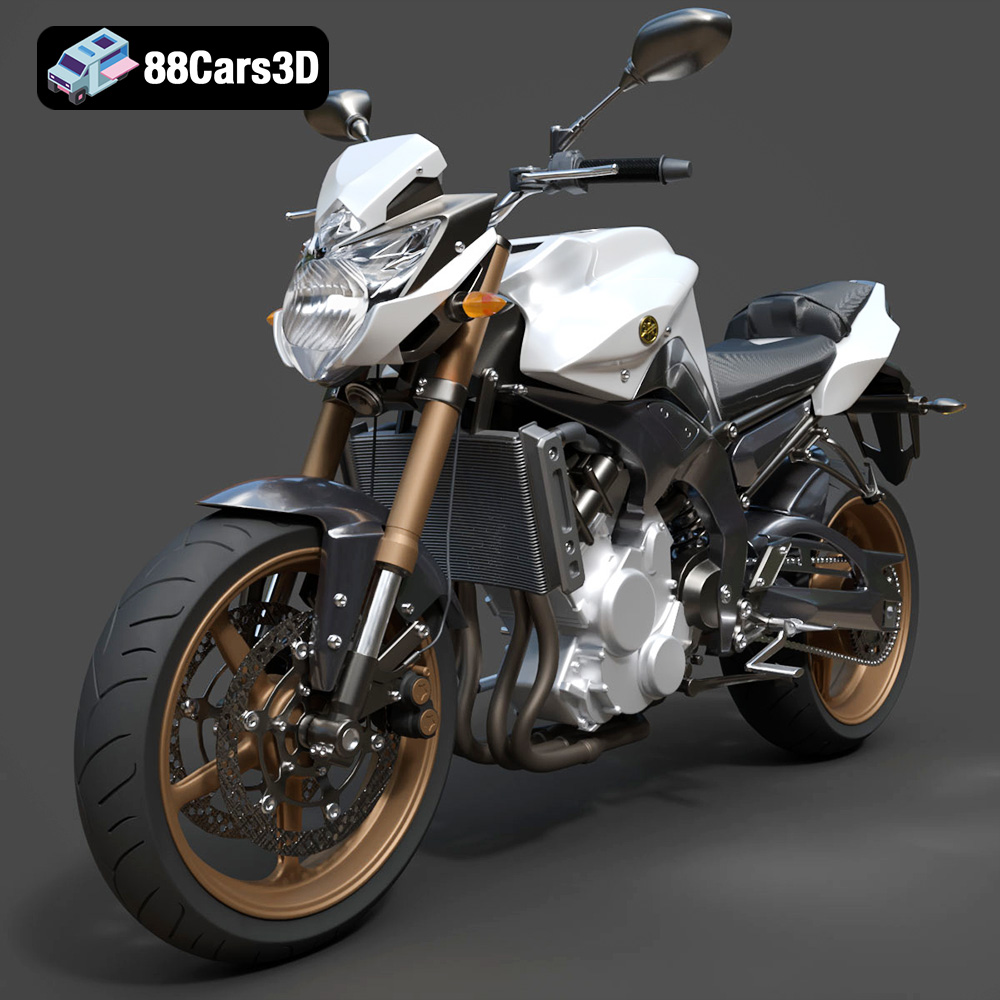
Yamaha FZ8 2011 3D Model
Texture: Yes
Material: Yes
Download the Yamaha FZ8 2011 3D Model featuring clean geometry, realistic detailing, and a fully modeled interior. Includes .blend, .fbx, .obj, .glb, .stl, .ply, .unreal, and .max formats for rendering, simulation, and game development.
Price: $19.99
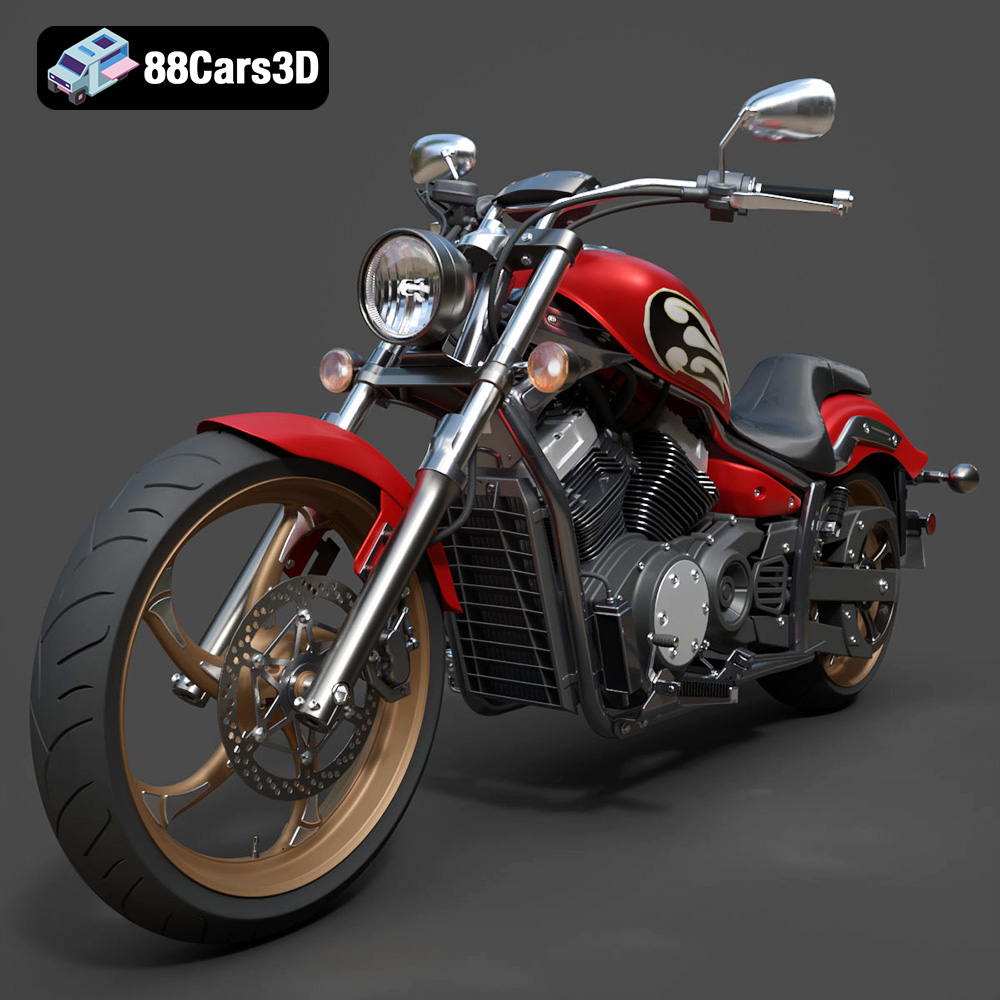
Yamaha Stryker 2012 3D Model
Texture: Yes
Material: Yes
Download the Yamaha Stryker 2012 3D Model featuring clean geometry, realistic detailing, and a fully modeled interior. Includes .blend, .fbx, .obj, .glb, .stl, .ply, .unreal, and .max formats for rendering, simulation, and game development.
Price: $19.99
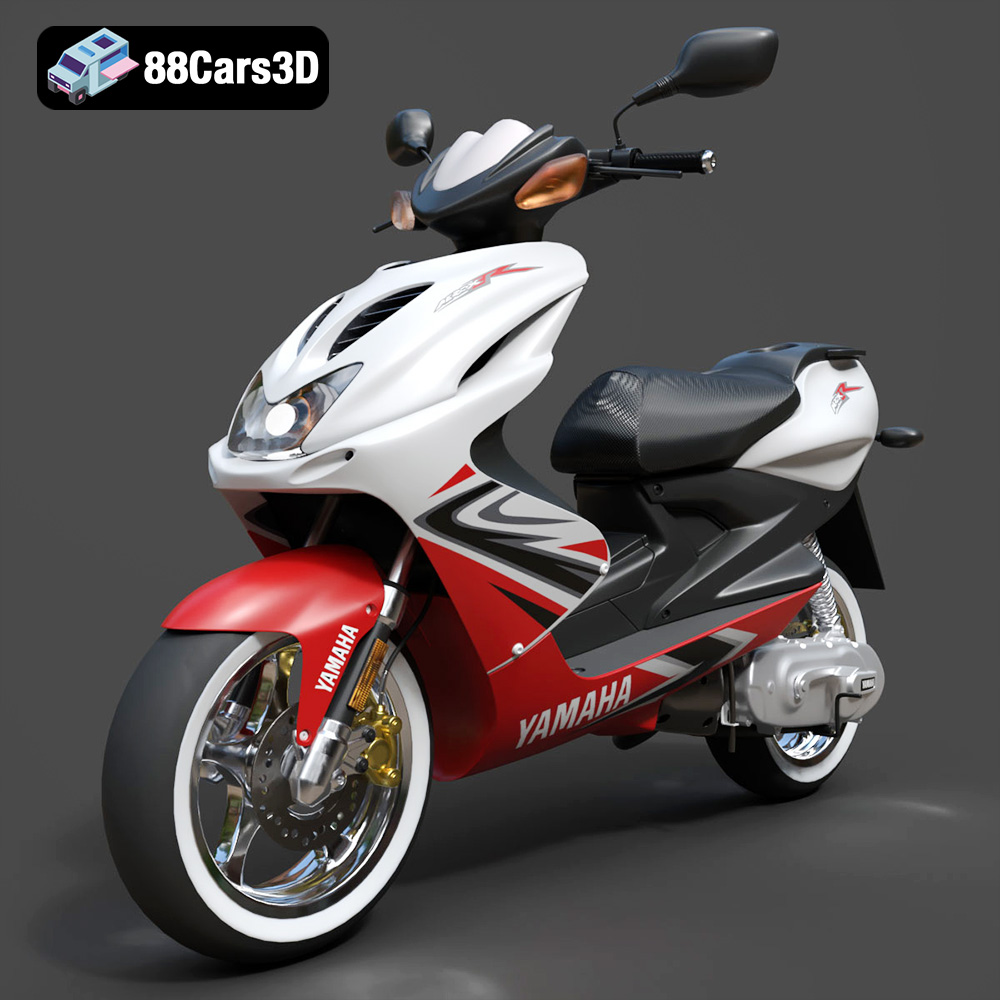
Yamaha Aerox R-002 2024 3D Model
Texture: Yes
Material: Yes
Download the Yamaha Aerox R-002 2024 3D Model featuring clean geometry, realistic detailing, and a fully modeled interior. Includes .blend, .fbx, .obj, .glb, .stl, .ply, .unreal, and .max formats for rendering, simulation, and game development.
Price: $19.99
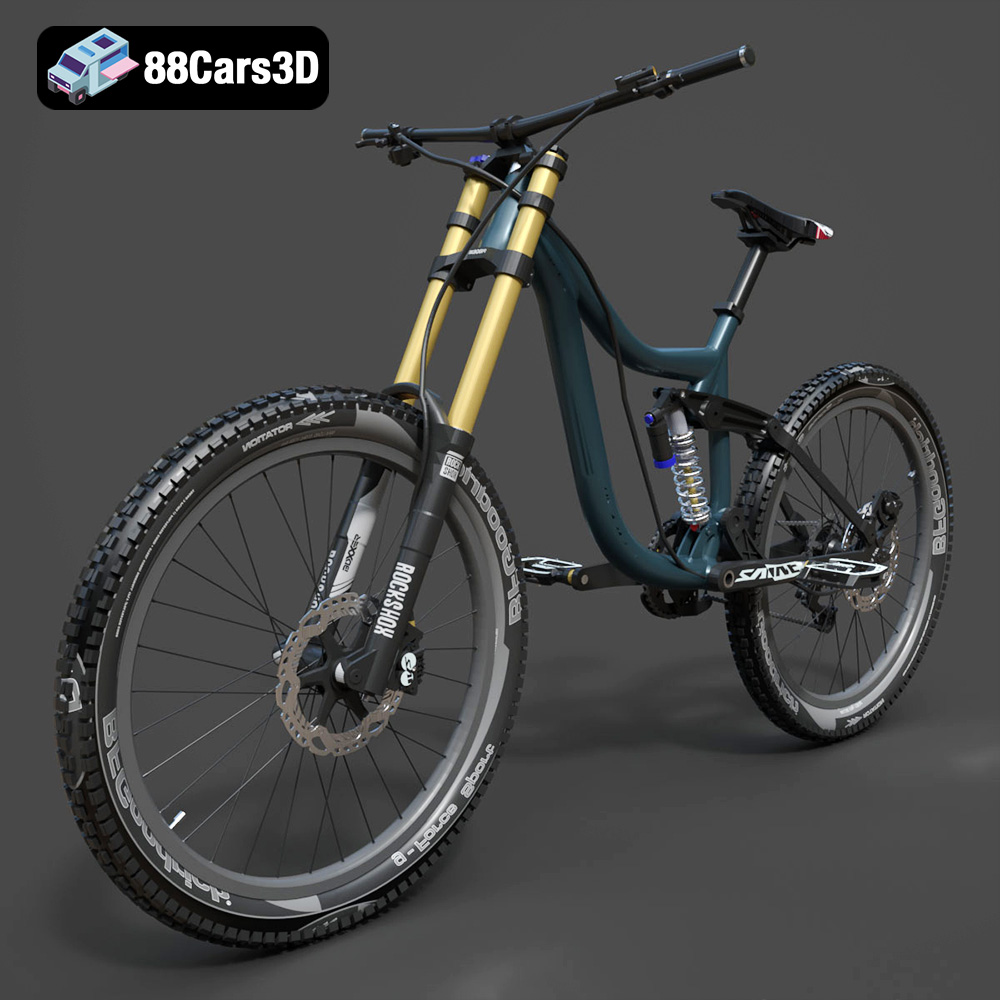
Mototsikly Downhill Bike-002 3D Model
Texture: Yes
Material: Yes
Download the Mototsikly Downhill Bike-002 3D Model featuring clean geometry, realistic detailing, and precise mechanical components. Includes .blend, .fbx, .obj, .glb, .stl, .ply, .unreal, and .max formats for rendering, simulation, and game development.
Price: $19.99
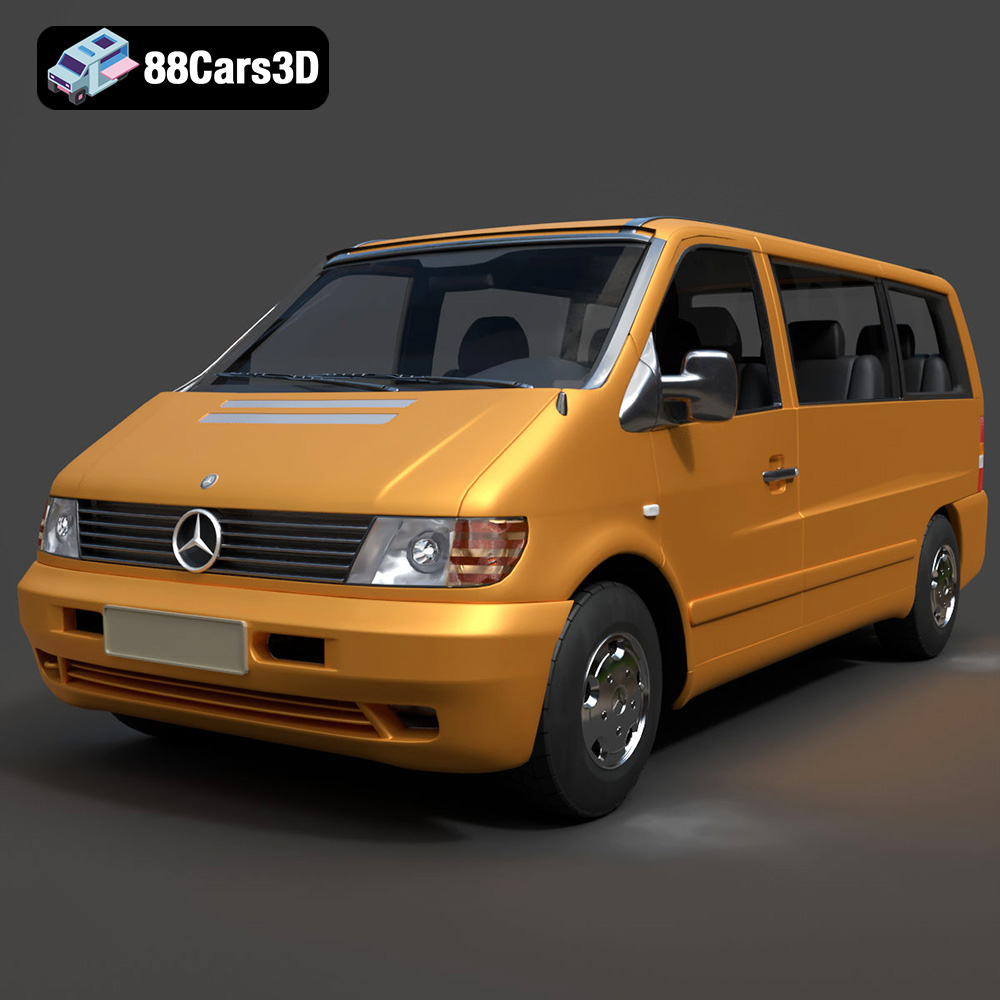
Mercedes-Benz Vito Passenger Van 3D Model
Texture: Yes
Material: Yes
Download the Mercedes-Benz Vito Passenger Van 3D Model featuring clean geometry, realistic detailing, and a fully modeled interior. Includes .blend, .fbx, .obj, .glb, .stl, .ply, .unreal, and .max formats for rendering, simulation, and game development.
Price: $19.99
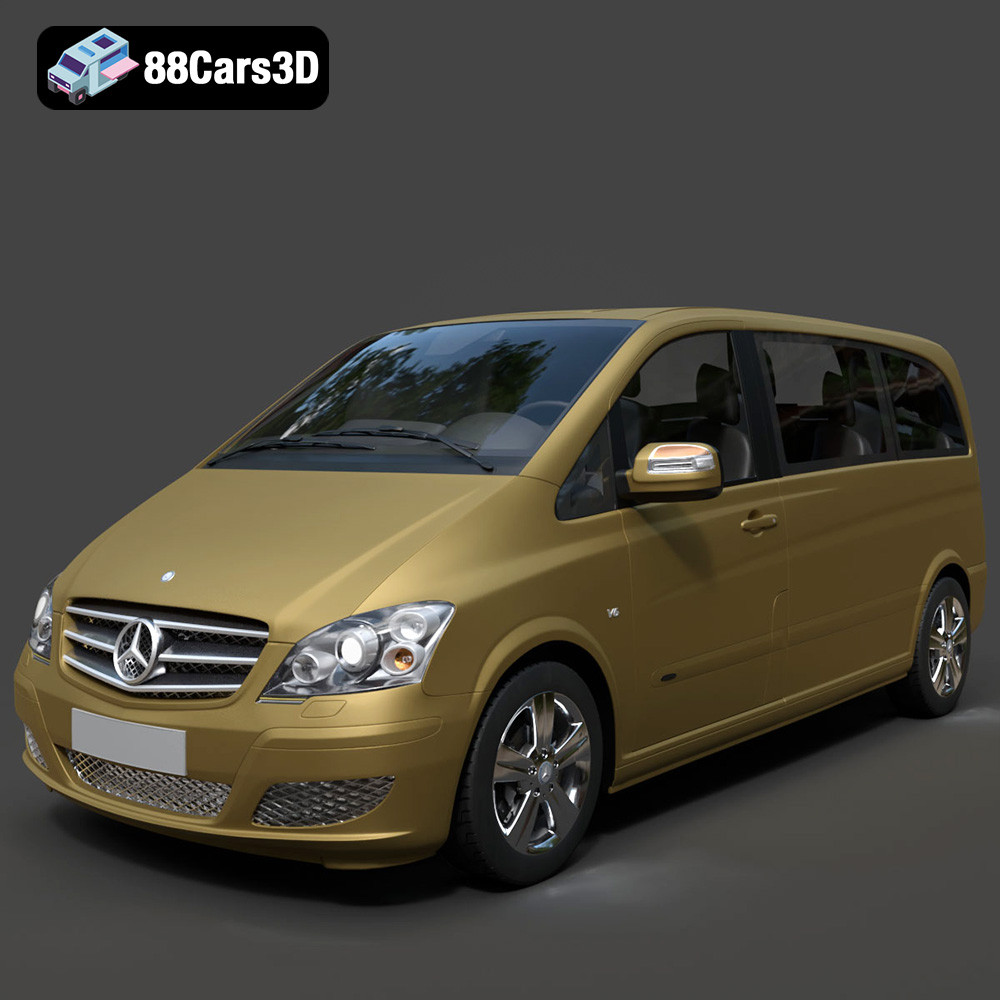
Mercedes-Benz Viano 2010 3D Model
Texture: Yes
Material: Yes
Download the Mercedes-Benz Viano 2010 3D Model featuring clean geometry, realistic detailing, and a fully modeled interior. Includes .blend, .fbx, .obj, .glb, .stl, .ply, .unreal, and .max formats for rendering, simulation, and game development.
Price: $19.99

Emt Avtobus 007 3D Model
Texture: Yes
Material: Yes
Download the Emt Avtobus 007 3D Model featuring clean geometry, realistic detailing, and a fully modeled interior. Includes .blend, .fbx, .obj, .glb, .stl, .ply, .unreal, and .max formats for rendering, simulation, and game development.
Price: $19.99
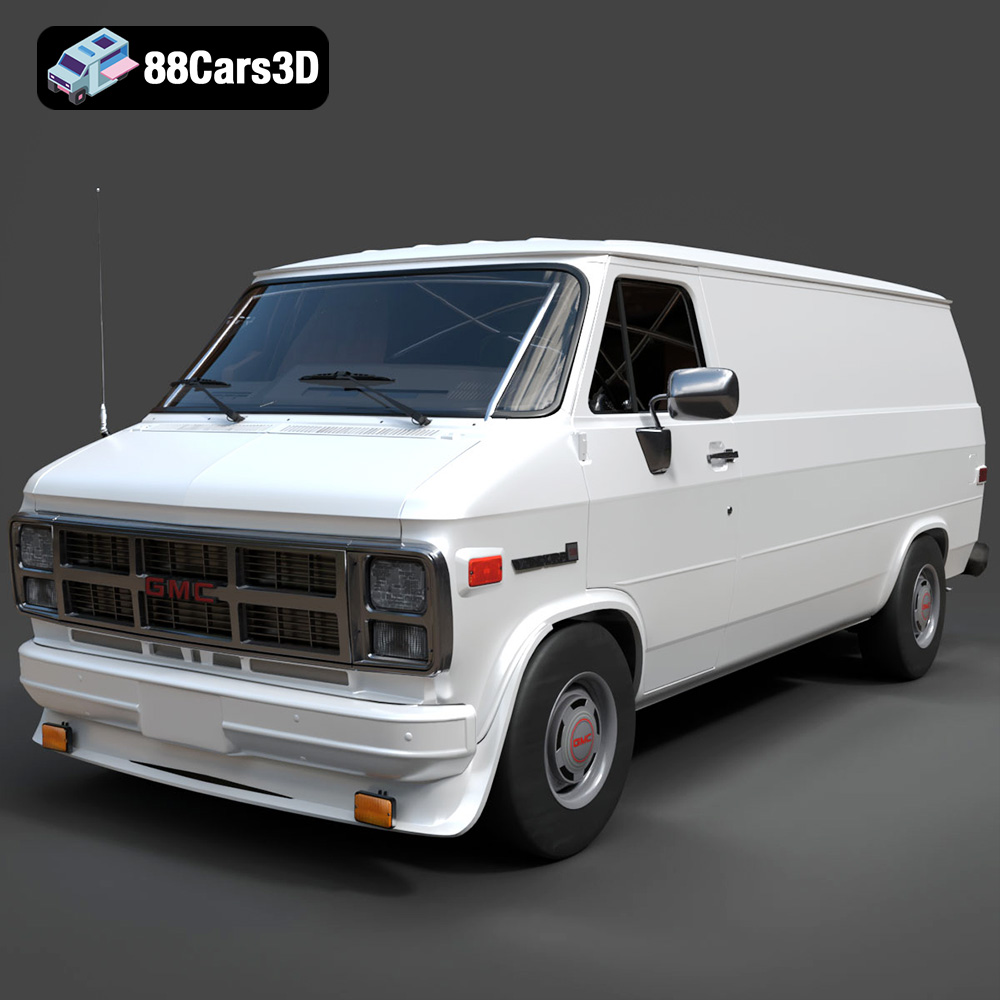
GMC Vandura G-1500 1983 3D Model
Texture: Yes
Material: Yes
Download the GMC Vandura G-1500 1983 3D Model featuring clean geometry, realistic detailing, and a fully modeled interior. Includes .blend, .fbx, .obj, .glb, .stl, .ply, .unreal, and .max formats for rendering, simulation, and game development.
Price: $19.99
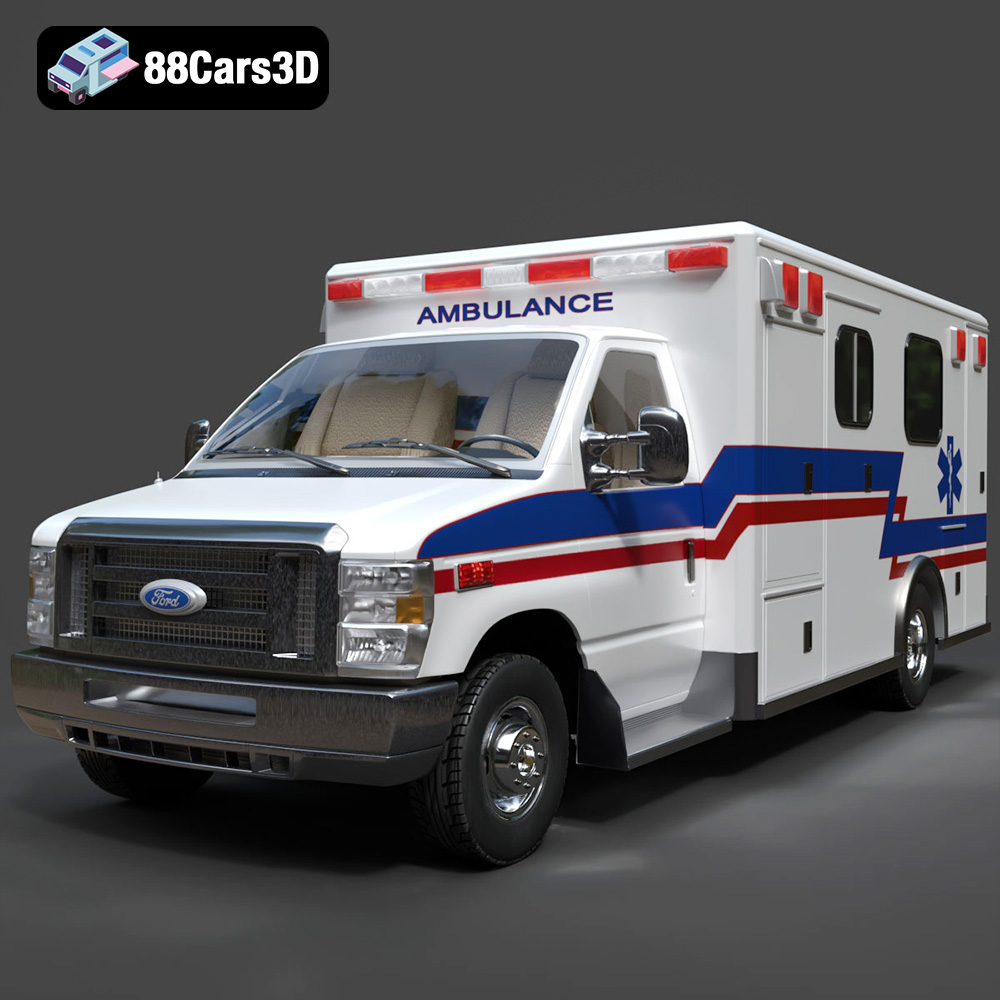
Ford E-450 Ambulance 3D Model
Texture: Yes
Material: Yes
Download the Ford E-450 Ambulance 3D Model featuring clean geometry, realistic detailing, and a fully modeled interior. Includes .blend, .fbx, .obj, .glb, .stl, .ply, .unreal, and .max formats for rendering, simulation, and game development.
Price: $19.99
