Get 50% OFF All Premium 3D & STL Models!

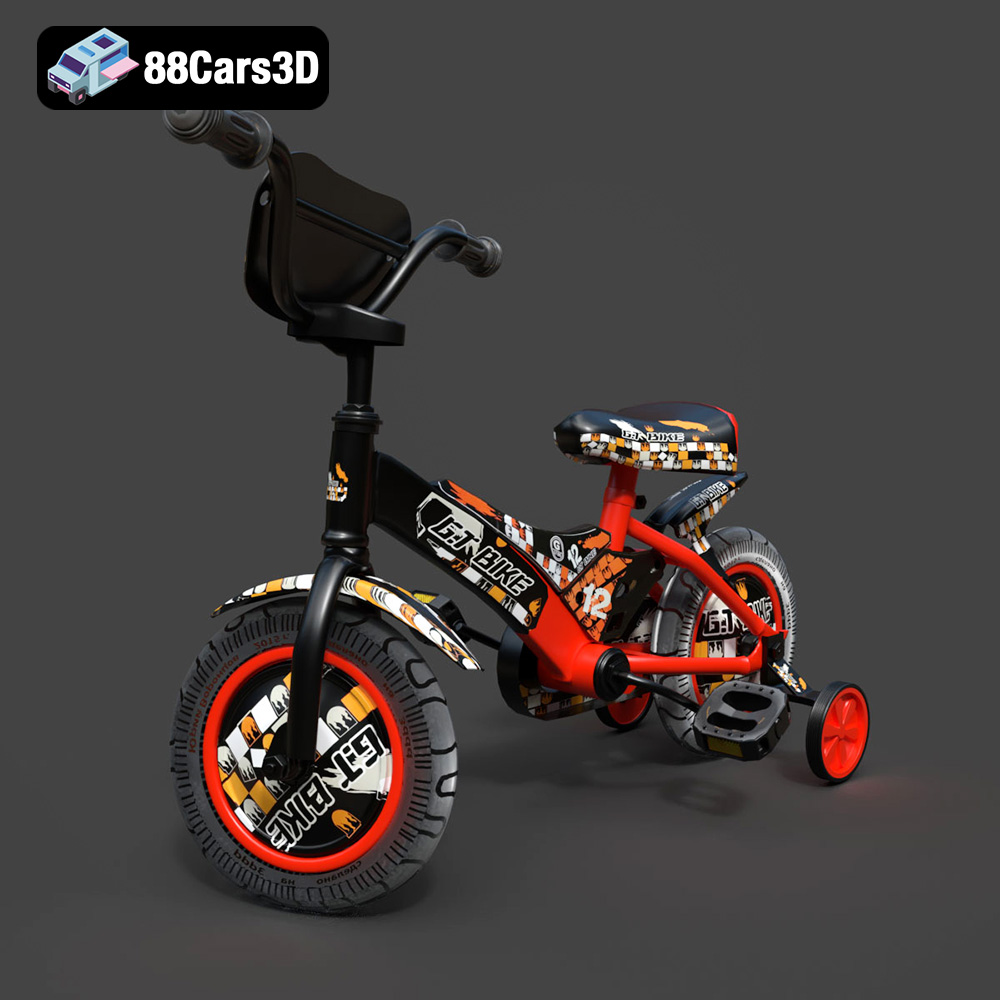
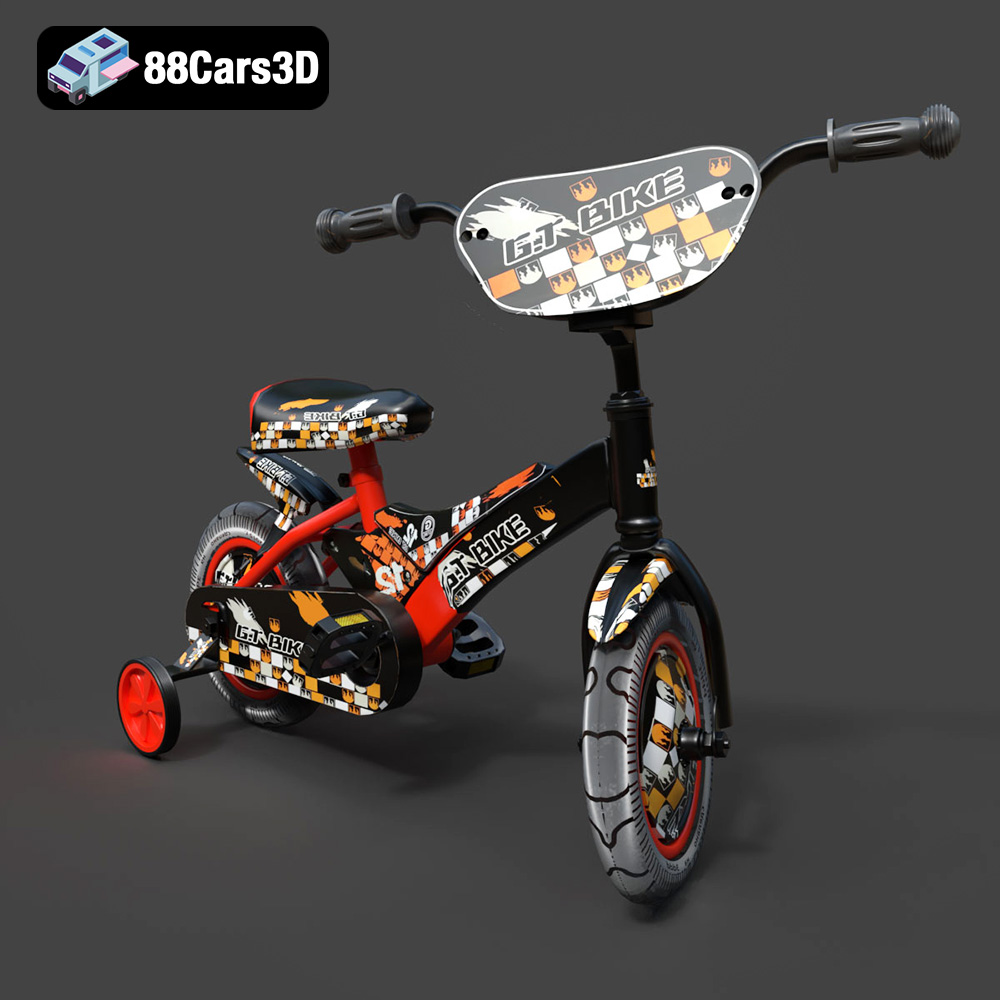
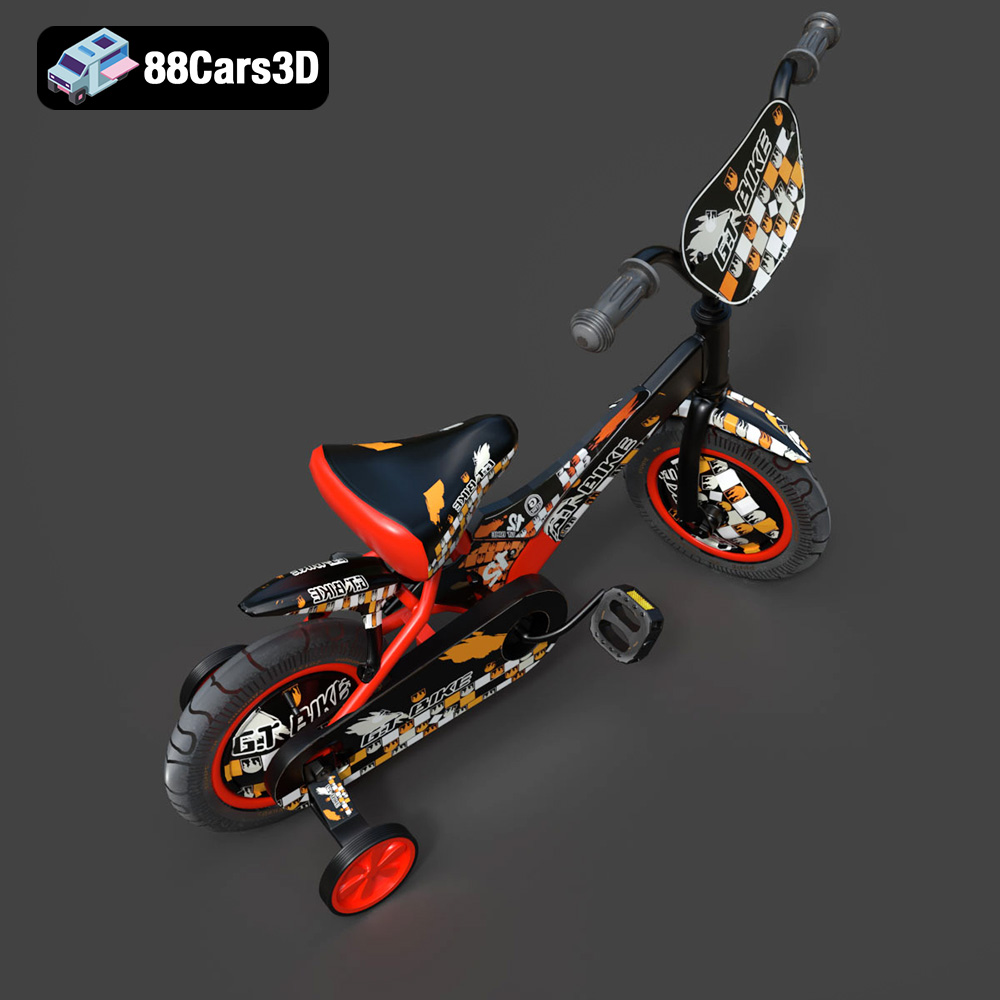
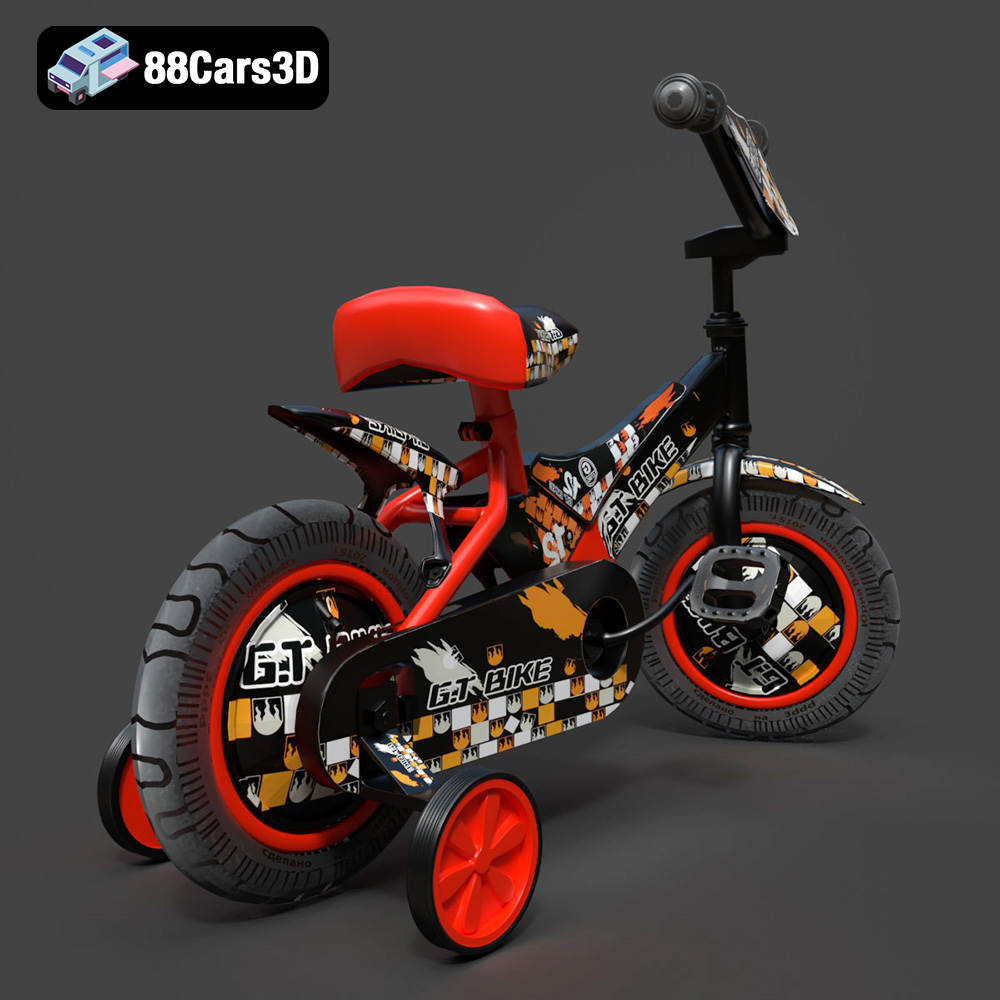
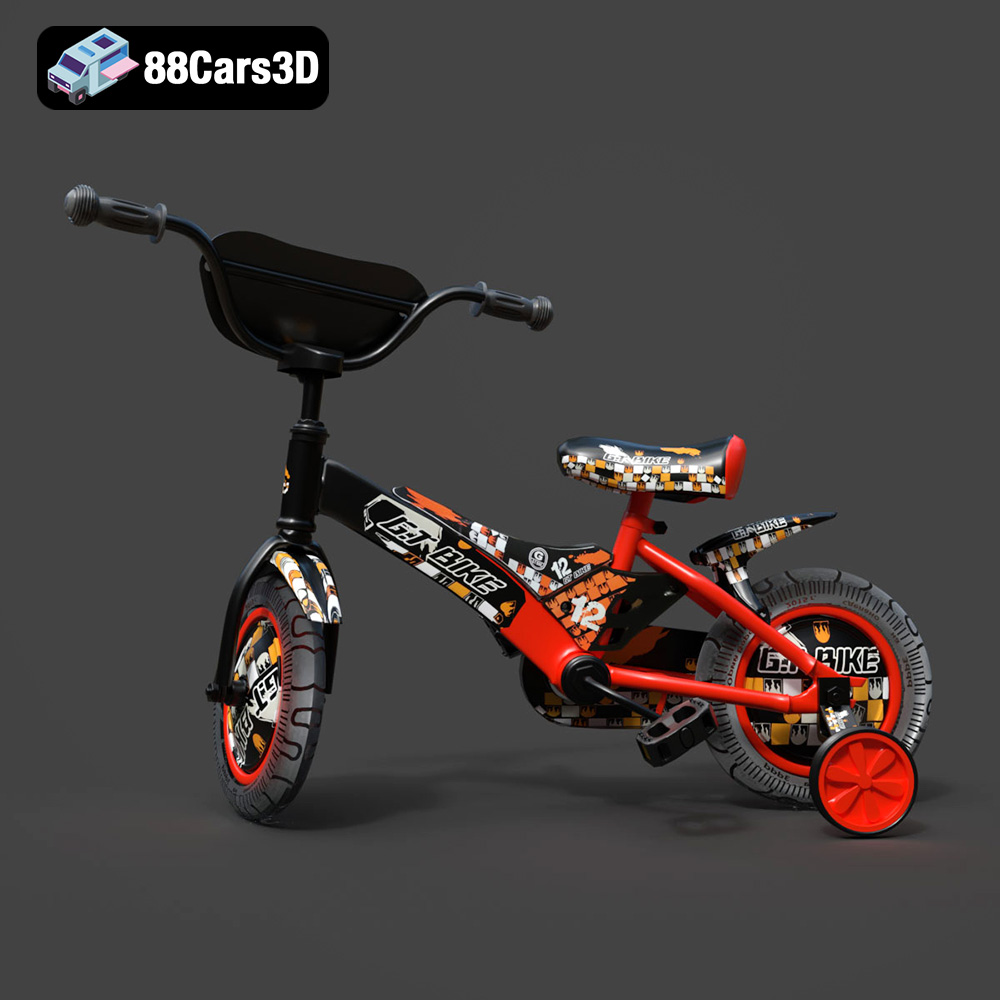
The Velik Bicycle 3D Model from 88cars3d.com offers a fantastic opportunity to create a detailed miniature replica of a classic road bike. Whether you’re a cycling enthusiast, a model collector, or simply enjoy the process of 3D printing, this model provides a rewarding project. This guide will walk you through the essential steps for successfully 3D printing the Velik Bicycle, from choosing the right materials and settings to post-processing techniques that will elevate your finished model. Let’s explore how to transform this digital design into a tangible piece of art.
Choosing the right file format is the first step towards a successful 3D printing project. While the Velik Bicycle 3D Model on 88cars3d.com is available in multiple formats, understanding their nuances is crucial for optimal results.
The .stl (Stereolithography) format remains the workhorse of 3D printing. It represents the 3D model’s surface geometry as a collection of triangles. This simplicity makes it universally compatible with slicing software. However, .stl files only contain mesh data; they lack color or texture information. When preparing the Velik Bicycle 3D Model for printing, the .stl format will be your primary choice. Slicing software uses the .stl file to generate the toolpath for your 3D printer. Ensure the .stl file is properly oriented and scaled within your slicing software before proceeding.
The .obj (Wavefront Object) format goes beyond simple geometry by supporting color and texture information. If you plan on painting or applying decals to your 3D printed Velik Bicycle, the .obj format can be useful as a reference during the post-processing phase, but not during the printing phase itself.
The .ply (Polygon File Format) is designed to capture high-detail mesh data. It’s particularly well-suited for models scanned from real-world objects. While not essential for the Velik Bicycle 3D Model, which is already optimized, .ply offers the potential for incredibly precise reproduction if you were to modify the model based on a real bicycle.
The .blend format is the native file format for Blender, a popular open-source 3D modeling software. Having the .blend file allows for extensive customization of the Velik Bicycle model before 3D printing. You could modify the frame design, add accessories, or adjust the overall proportions. If you intend to heavily customize the model, Blender and the .blend file are invaluable. However, after any modification, export as an .stl to 3D print.
The .fbx (Filmbox) format is often used for transferring 3D models between different software applications while preserving material and animation data. Although it supports materials, its primary use in 3D printing is limited since most printers don’t reproduce all material properties. It is best used for importing the model into slicing software for visual reference but export as an .stl to 3D print.
The .glb (GL Transmission Format Binary) is designed for efficient transmission and loading of 3D models, especially in augmented reality (AR) applications. Before committing to a 3D print, you could use the .glb file to preview the Velik Bicycle in your real-world environment using an AR-enabled device. This helps visualize the scale and appearance of the printed model.
The .max format is the native file format for 3ds Max, another professional 3D modeling software. Similar to .blend, having the .max file provides extensive customization options for the Velik Bicycle model. This format allows for advanced modifications and detailing before exporting as an .stl file for 3D printing.
For 3D printing the Velik Bicycle model, the .stl format is the most suitable and widely supported. Slicing software is designed to work seamlessly with .stl files, allowing you to control crucial printing parameters like layer height, infill density, and support structures. While other formats can be useful for visualization and customization, .stl is the format your printer will ultimately need to bring the Velik Bicycle to life. Prioritize a clean, well-defined mesh in your .stl file to ensure a high-quality print.
The material you choose will greatly impact the final appearance, strength, and durability of your 3D printed Velik Bicycle. Here’s a breakdown of popular options:
* **Pros:** PLA (Polylactic Acid) is biodegradable, easy to print, and offers a wide range of colors. It’s a great option for beginners due to its low printing temperature and minimal warping.
* **Cons:** PLA is not as strong or heat-resistant as other materials. It may become brittle over time, especially in direct sunlight.
* **Recommendations:** PLA is suitable for creating display models of the Velik Bicycle that won’t be subjected to stress or high temperatures.
* **Pros:** PETG (Polyethylene Terephthalate Glycol-modified) is stronger and more flexible than PLA, offering better impact resistance and durability. It also has good chemical resistance.
* **Cons:** PETG can be more prone to stringing during printing and may require higher printing temperatures than PLA.
* **Recommendations:** PETG is a good choice if you want a more robust model of the Velik Bicycle that can withstand some handling.
* **Pros:** ABS (Acrylonitrile Butadiene Styrene) is known for its high strength, heat resistance, and impact resistance. It’s commonly used in engineering applications.
* **Cons:** ABS requires higher printing temperatures and a heated bed to prevent warping. It also emits fumes during printing, so proper ventilation is necessary.
* **Recommendations:** ABS is suitable for creating a Velik Bicycle model that needs to be very strong and durable, but it’s best left to experienced 3D printers.
* **Pros:** Resin 3D printing (SLA/DLP) offers exceptional detail and smooth surfaces. It’s ideal for creating highly detailed miniatures.
* **Cons:** Resin printers are more expensive than filament printers. Resin materials can be brittle and require careful handling and post-curing.
* **Recommendations:** If you want to capture every tiny detail of the Velik Bicycle, especially at smaller scales, resin printing is the way to go.
Slicing software is essential for converting the 3D model into instructions that your printer can understand. Here’s how to prepare the Velik Bicycle model for slicing:
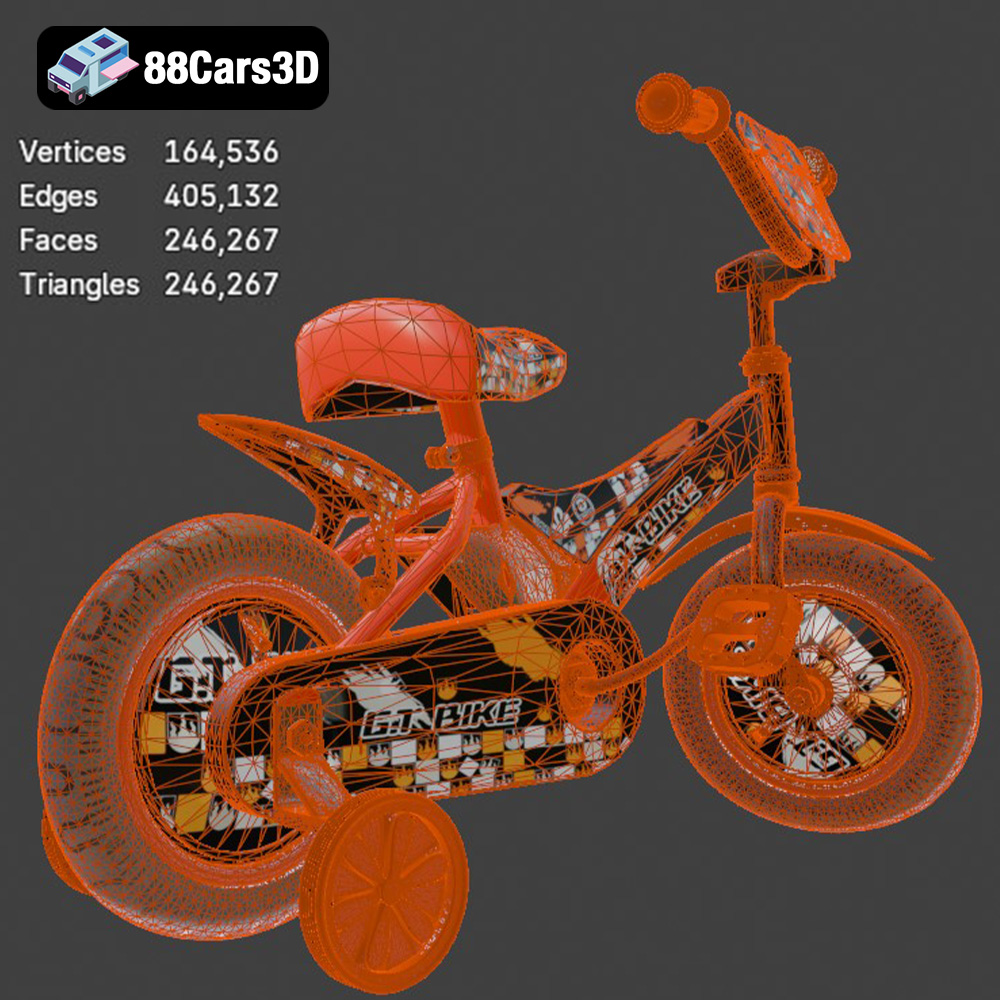
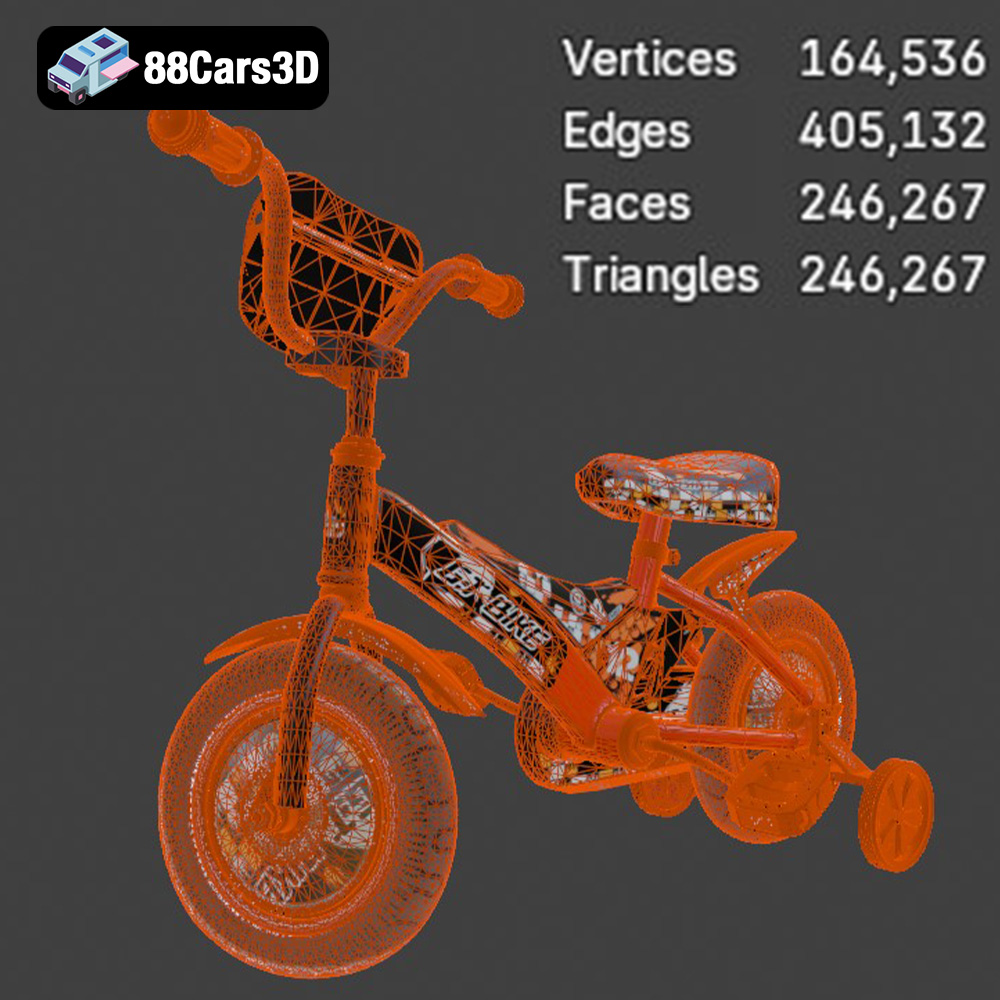
* **Mesh Analysis:** Use your slicing software to analyze the .stl file for any errors, such as non-manifold edges or holes. Repair any errors before proceeding.
* **Orientation:** The orientation of the model on the build plate significantly impacts print quality and support requirements. Experiment with different orientations to minimize overhangs and support material. Angling the frame can often improve surface finish. Print the wheels separately for best results.
* **Layer Height:** A lower layer height (0.08-0.16mm) will result in finer details and smoother surfaces, but it will also increase print time.
* **Infill Density:** Choose an infill density between 15-25% for a good balance of strength and material usage. Consider increasing infill in areas that need extra support.
* **Wall Thickness:** A wall thickness of 1.2-2mm will provide sufficient strength for the frame.
* **Support Structures:** Generate support structures to support any overhangs, such as the pedals, handlebar sections, and frame details. Use tree supports or adjustable supports to minimize material usage and improve surface finish.
* **Scaling:** The product description recommends scales of 1:18, 1:12, 1:10, or 1:8. Choose a scale that suits your needs and printer capabilities. Remember that smaller scales will require finer details and may be better suited for resin printing.
* **Print Time:** Use your slicing software to estimate the print time and material usage before starting the print. This will help you plan accordingly and avoid running out of filament mid-print.
Fine-tuning your printer settings is crucial for achieving a high-quality print of the Velik Bicycle.
* **Extruder Temperature:** Set the extruder temperature according to the filament manufacturer’s recommendations. PLA typically prints between 190-220°C, PETG between 220-250°C, and ABS between 230-260°C.
* **Bed Temperature:** A heated bed is essential for preventing warping, especially with ABS. Set the bed temperature to 60-70°C for PLA, 70-80°C for PETG, and 90-110°C for ABS.
* **Print Speed:** Reduce the print speed for intricate details and overhangs. A speed of 40-60mm/s is generally recommended.
* **Retraction:** Adjust the retraction settings to minimize stringing. Increase the retraction distance and speed until stringing is eliminated.
* **Support Density:** Adjust the support density to provide adequate support without wasting material.
* **Support Placement:** Manually adjust the support placement to ensure that all overhangs are properly supported and that supports are easy to remove.
Post-processing is the key to transforming a raw 3D print into a polished masterpiece.
* **Support Removal:** Carefully remove the support structures using pliers or a hobby knife. Be patient and avoid damaging the model.
* **Sanding:** Sand the surface of the model to remove any imperfections and layer lines. Start with coarse sandpaper and gradually move to finer grits for a smooth finish.
* **Priming:** Apply a primer to the model to create a uniform surface for painting.
* **Painting:** Paint the model with your desired colors using acrylic paints or spray paint. Consider using stencils or masking tape to create intricate details.
* **Assembly:** If you printed the wheels separately, attach them to the frame using glue or small screws. Ensure that the wheels are properly aligned and can rotate freely.
Even with careful preparation, you may encounter some common 3D printing issues.
* **Cause:** Warping occurs when the first layer of the print doesn’t adhere properly to the build plate.
* **Solution:** Ensure that the build plate is clean and level. Use a brim or raft to increase adhesion. Increase the bed temperature and reduce the print speed.
* **Cause:** Stringing occurs when filament oozes from the nozzle during travel moves.
* **Solution:** Increase the retraction distance and speed. Reduce the printing temperature. Ensure that the filament is dry.
* **Cause:** Layer shifting occurs when the print head moves unexpectedly during printing.
* **Solution:** Check that the belts and pulleys are tight. Reduce the print speed. Ensure that the printer is stable and not subject to vibrations.
3D printing the Velik Bicycle 3D Model from 88cars3d.com is a rewarding project that allows you to create a detailed miniature replica of a classic bicycle. By carefully selecting your materials, optimizing your printer settings, and mastering post-processing techniques, you can achieve stunning results. Remember to pay attention to model orientation, support structures, and layer height to maximize print quality. With a little patience and practice, you’ll be able to proudly display your 3D printed Velik Bicycle, a testament to the power of additive manufacturing.
The Velik Bicycle 3D Model is a high-detail digital recreation of a classic road-style bicycle designed for urban commuting and recreational riding. Built with realistic proportions and mechanical accuracy, this model captures the lightweight frame structure, slim road tires, chain-driven drivetrain system, and ergonomic handlebar configuration.
$9.99
.arvr
.bicycle
.bicycle3dmodel
.bike
.blend
.cycling
.fbx
.gameasset
.glb
.max
.obj
.ply
.rendering
.simulation
.sportsvehicle
.stl
.unreal
.urbanvehicle
.velik