Get 20% OFF All Premium 3D & STL Models!

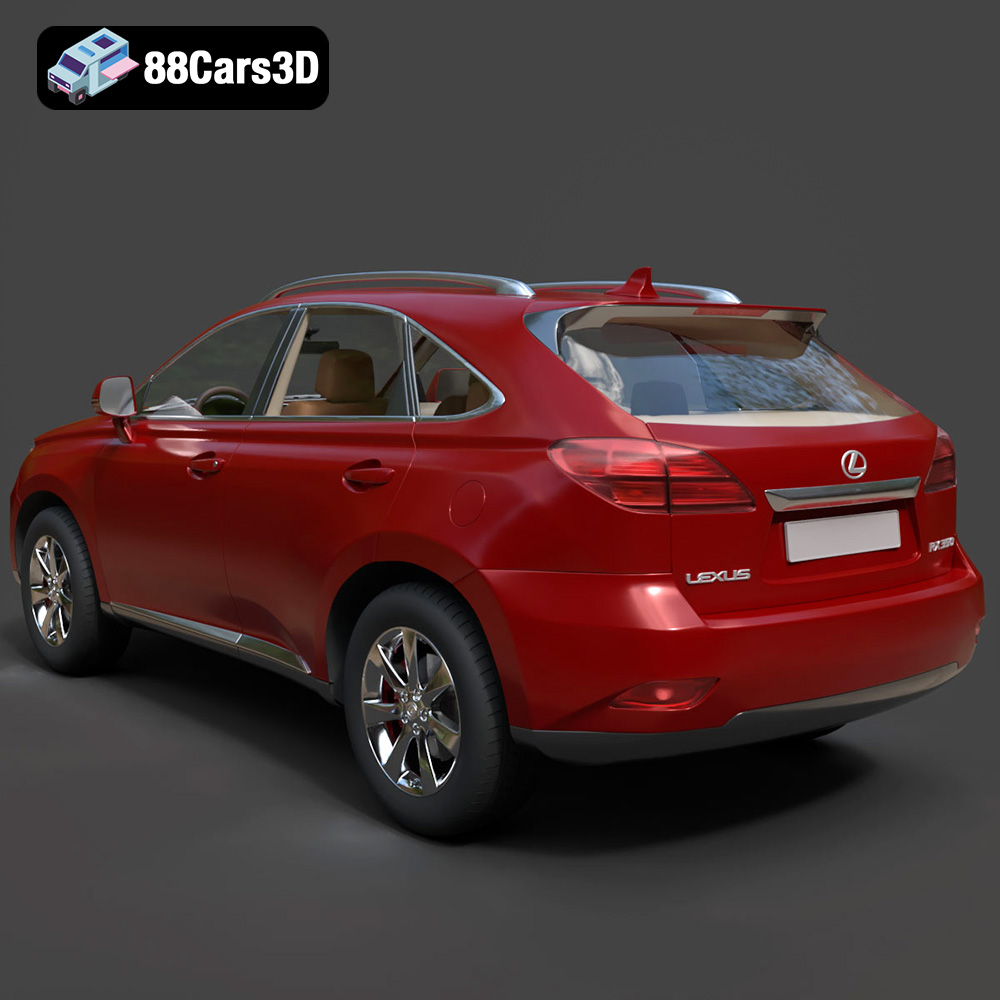
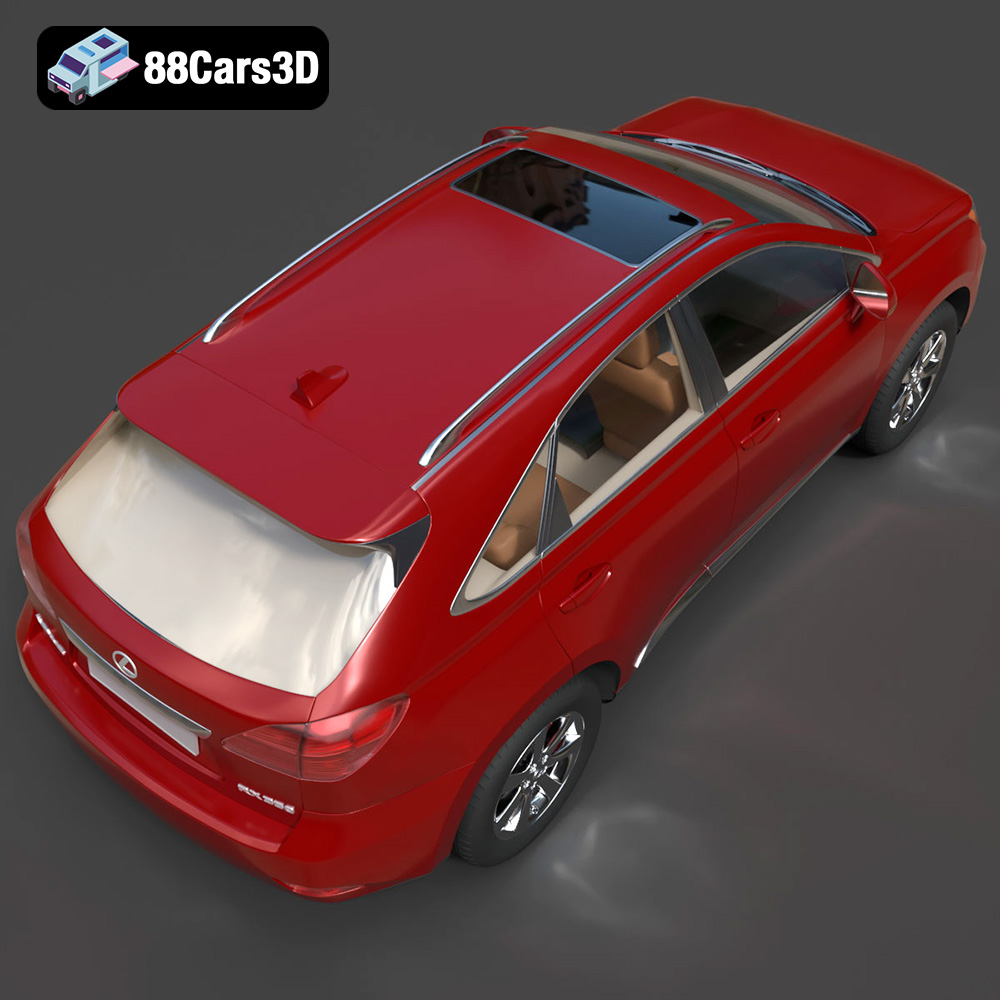
The Lexus RX350 2010 is a classic example of a luxury crossover SUV, and now, thanks to 88cars3d.com, you can bring this iconic vehicle to life with 3D printing. This guide will walk you through the entire process of 3D printing the Lexus RX350 2010 model, from preparing the STL files to post-processing your finished print. We’ll cover everything you need to know to achieve a high-quality, detailed replica of this sophisticated vehicle.
Before you even think about loading filament or resin, proper preparation is crucial. This involves inspecting the 3D model, choosing the right scale, and making any necessary repairs using software tools. The Lexus RX350 2010 3D model from 88cars3d.com is already optimized, but there are still a few steps you should take.
* **Visual Inspection:** Open the STL files in a 3D viewing software (like MeshLab or even your slicer) and carefully examine the model. Look for any obvious errors like holes, non-manifold edges, or flipped normals. These issues can cause printing problems.
* **Scale Selection:** The product description suggests scales of 1:12, 1:18, or 1:24. Consider the size of your printer’s build volume and the level of detail you want to capture. A larger scale (1:12) will show more detail but require more material and print time.
* **Separate Components:** Decide whether to print the wheels, suspension, and steering components separately. The model is designed to accommodate this, allowing for more detailed painting and potential animation.
* **MeshMixer/Netfabb Basic:** These are free software options that can automatically detect and repair common mesh errors in STL files. Import the STL, run the repair function, and export the cleaned-up version.
* **Manual Repair (if needed):** For complex errors, you might need to manually repair the mesh using tools like Blender. This requires more skill but allows for finer control. Look for tools like “Fill Holes,” “Merge by Distance,” and “Recalculate Normals.”
Choosing the correct file format is fundamental to a successful 3D printing experience. While several formats exist, each possesses unique characteristics that influence compatibility, detail retention, and overall print quality. The Lexus RX350 2010 model is available in a variety of formats, understanding the nuances of each will help you make the right choice for additive manufacturing.
The STL (Stereolithography) format remains the cornerstone of 3D printing. Representing a 3D object’s surface geometry using a collection of triangles, it’s universally accepted by virtually all slicing software. The key advantage of STL lies in its simplicity and widespread compatibility. However, its mesh-only structure means it doesn’t inherently store color, texture, or material information. For the Lexus RX350 2010, the STL format is your go-to choice for direct 3D printing. It’s especially suitable for single-material prints where color is applied post-printing via painting or coating.
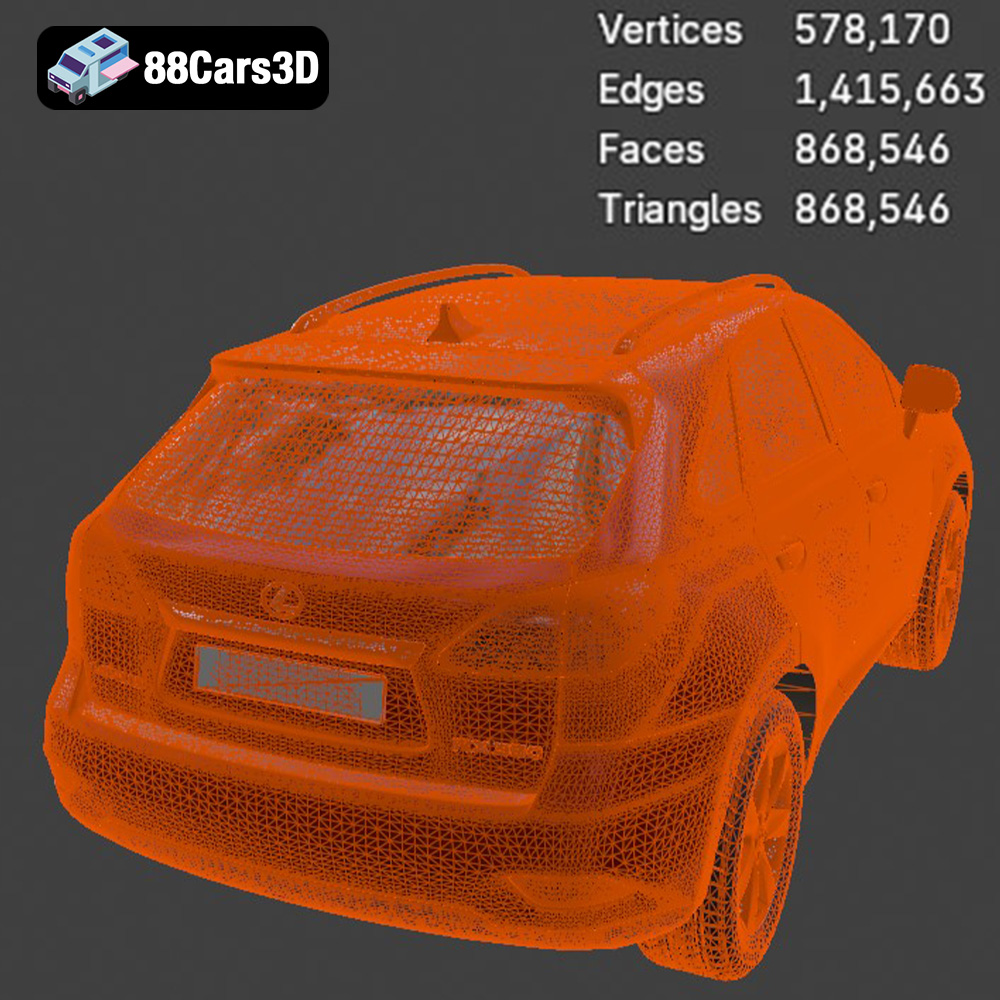
The quality of an STL file directly depends on its triangle count – higher triangle counts lead to smoother curves and finer details, albeit at the cost of larger file sizes. For complex models like the RX350, a balance is crucial. Too few triangles result in a faceted, blocky appearance, while excessive triangles can overwhelm your slicing software and printer. The ~200k triangle count of the Lexus RX350 2010 model on 88cars3d.com strikes a good balance. When importing STL files, your slicing software will interpret the triangular mesh and convert it into a series of layers for your 3D printer to build.
OBJ is a more versatile format than STL, capable of storing not only geometry but also color, texture, and material data. This makes it suitable for applications where you want to preserve color information from the original model, potentially for multimaterial printing (if your printer supports it) or simply as a reference for painting. However, not all slicing software fully supports OBJ’s advanced features, and importing OBJ files can sometimes be more resource-intensive than STL.
PLY (Polygon File Format) is designed for storing 3D data acquired from 3D scanners, often resulting in very high-resolution meshes. While it can handle color and texture information, it’s primarily used when extreme detail is required. For most 3D printing applications, including the Lexus RX350 2010 model, the level of detail in a PLY file is often unnecessary and can lead to very large file sizes and processing overhead.
.blend files are native to Blender, a powerful and free 3D modeling software. If you want to heavily modify the Lexus RX350 2010 model before printing – perhaps simplifying certain areas, adding custom details, or splitting the model into smaller, more printable parts – having the .blend file gives you the most control. After making changes, you’ll need to export the model to STL for 3D printing.
FBX (Filmbox) is a proprietary format developed by Autodesk, widely used for exchanging 3D data between different software packages. It supports geometry, textures, materials, and animation. While some advanced slicing software can import FBX files, its primary purpose is for transferring models between 3D creation tools, not directly for 3D printing. You’d typically use FBX to bring the Lexus RX350 2010 into a 3D modeling program for further refinement before exporting to STL.
GLB (GL Transmission Format Binary) is designed for efficient delivery and loading of 3D models in web and augmented reality (AR) applications. It’s a compact, single-file format that includes all the necessary information (geometry, textures, animations) for displaying a 3D model. While not directly used for 3D printing, GLB is valuable for previewing the Lexus RX350 2010 in AR to get a sense of its scale and appearance before committing to a print.
Like .blend files, .max files are native to 3ds Max, another professional 3D modeling software. This format allows for extensive customization, detailing, and modification before export to STL for printing. It offers similar capabilities as the .blend format, but within the 3ds Max environment.
The material you choose greatly impacts the final appearance, strength, and durability of your 3D printed Lexus RX350 2010. Similarly, the slicing software determines how the model is translated into instructions for your printer.
* **PLA (Polylactic Acid):** This is a popular, biodegradable filament known for its ease of use and relatively low printing temperature. It’s a good choice for beginners and for models where high strength isn’t crucial. PLA provides a decent surface finish for the Lexus RX350 2010 and is easy to paint.
* **PETG (Polyethylene Terephthalate Glycol-modified):** PETG offers a better balance of strength, flexibility, and temperature resistance compared to PLA. It’s a good option if you want a more durable model that can withstand some wear and tear. It can be slightly more challenging to print than PLA, requiring careful temperature and retraction settings.
* **Resin (SLA/DLP):** For the highest level of detail, resin printing is the way to go, particularly for smaller-scale models of the Lexus RX350 2010. Resin printers can achieve incredibly fine layer heights (down to 0.025mm or even less), resulting in smooth surfaces and intricate details. However, resin prints require more post-processing (washing and curing) and the materials are generally more expensive and potentially toxic.
* **ABS (Acrylonitrile Butadiene Styrene):** ABS is a strong and heat-resistant material, but it’s also prone to warping and requires a heated bed and enclosure for successful printing. It’s not generally recommended for beginners, but could be considered for specific parts needing higher impact resistance.
* **Cura (Free):** A widely used, open-source slicer with a user-friendly interface and a wide range of customizable settings. It’s a great starting point for beginners and offers advanced features for experienced users.
* **Simplify3D (Paid):** A powerful slicer known for its advanced features, including customizable support structures and precise control over print parameters. It’s a good choice if you want more control over the printing process and are willing to invest in paid software.
* **PrusaSlicer (Free):** Another excellent open-source option, developed by Prusa Research. It’s known for its accurate slicing algorithms and support for a wide range of printers and materials.
Fine-tuning your printer settings is crucial for achieving a high-quality 3D print. These settings will vary based on your chosen material, printer type, and desired level of detail.
* **Layer Height:** For FDM printing (PLA, PETG, ABS), a layer height of 0.1mm to 0.2mm is a good starting point for the Lexus RX350 2010. Lower layer heights (e.g., 0.1mm) will produce smoother surfaces but increase print time. For resin printing, layer heights between 0.025mm and 0.05mm are typical. The product description recommends 0.04-0.12mm for resin.
* **Infill:** The infill percentage determines the internal density of the print. For a display model, 20-30% infill is usually sufficient. You can increase the infill for parts that require more strength, such as the wheels or suspension components.
* **Print Speed:** Slower print speeds generally result in better print quality, especially for intricate details. Start with a print speed of 40-60mm/s for FDM printing and adjust as needed. Resin printing speeds are determined by exposure time and lift speed, which will depend on your resin and printer.
* **Support Structures:** The Lexus RX350 2010 model will require support structures for overhanging features like the mirrors, exhaust, and undercarriage. Use your slicer’s support generation tools to automatically create these structures. Experiment with different support patterns (e.g., tree supports, linear supports) to find what works best for your printer and material.
* **Bed Adhesion:** Ensuring the first layer adheres properly to the build plate is crucial. Use a heated bed (if available), apply a bed adhesive (like glue stick or hairspray), and make sure your bed is properly leveled. For ABS, an enclosure is essential to prevent warping.
* **Body/Frame:** The product description suggests printing the frame angled for structural integrity. This means orienting the model so that the longest dimension is not parallel to the build plate. This can improve layer adhesion and prevent warping, especially for larger parts.
* **Wheels and Smaller Parts:** Wheels and other smaller parts can be printed flat on the build plate for optimal adhesion. Consider printing multiple small parts together to maximize build plate utilization.
* **Consider Hidden Surfaces:** Think about which surfaces will be most visible on the final model and orient the parts to minimize the visibility of support marks.
Post-processing is where you transform a raw 3D print into a polished, finished product. This typically involves removing supports, sanding, priming, and painting.
* **Support Removal:** Carefully remove the support structures using pliers, cutters, or a deburring tool. Be patient and avoid damaging the model.
* **Sanding:** Start with coarse sandpaper (e.g., 220 grit) to remove any remaining support marks and layer lines. Gradually move to finer grits (e.g., 400, 600, 800 grit) to smooth the surface. Wet sanding can help to reduce dust and improve the finish.
* **Priming:** Apply a thin coat of primer to the entire model. This will help to fill in any remaining imperfections and provide a smooth surface for painting.
* **Painting:** Use acrylic paints or model-specific paints to achieve the desired colors and finishes. Consider using an airbrush for a more even and professional finish. The product description suggests using authentic factory colors with metallic finishes for a realistic look. Multiple thin coats are better than one thick coat to avoid runs and drips.
* **Clear Coat:** Apply a clear coat to protect the paint and add a glossy or matte finish.
* **Assembly:** If you printed the wheels, suspension, and steering components separately, assemble them using glue or small screws. Ensure proper alignment and functionality.
* **Details:** Add any final details, such as decals, badges, or chrome accents, to complete the look.
Even with careful preparation, you might encounter some challenges during the 3D printing process. Here are some common issues and their solutions.
* **Warping:** This occurs when the corners of the print lift off the build plate due to uneven cooling. Solutions include using a heated bed, applying a bed adhesive, and printing in an enclosure.
* **Bed Adhesion:** If the first layer isn’t sticking properly, try leveling the bed, cleaning the build plate, and adjusting the nozzle height.
* **Elephant’s Foot:** This is a widening of the first few layers due to excessive squish. Reduce the initial layer height or flow rate to correct this issue.
* **Stringing:** This is the formation of thin strands of plastic between different parts of the print. Increase retraction distance and speed, and lower the printing temperature.
* **Blobs and Zits:** These are small imperfections on the surface of the print. Adjust the retraction settings and reduce the printing speed.
The print time and material costs will depend on several factors, including the scale of the model, the layer height, the infill percentage, and the material used.
* **Print Time:** A 1:18 scale model printed with PLA at a 0.2mm layer height and 20% infill could take anywhere from 10 to 20 hours to print. Resin prints will generally be faster for smaller parts but can take longer for larger parts.
* **Material Costs:** A 1kg spool of PLA costs around $20-30. A 1-liter bottle of resin costs around $30-50. The Lexus RX350 2010 model will likely require less than 200g of filament or resin, so the material cost should be relatively low.
By following these steps, you can successfully 3D print a detailed and accurate replica of the Lexus RX350 2010. Remember to be patient, experiment with different settings, and don’t be afraid to learn from your mistakes. With a little practice, you’ll be able to create stunning 3D printed models that you can be proud of. The detailed model available at 88cars3d.com provides a great starting point for your project!
The Lexus RX350 2010 is a definitive representation of the luxury crossover SUV segment, bringing together refined elegance, advanced comfort, and robust versatility. This 3D model is meticulously crafted to deliver exceptional visual fidelity while maintaining an optimized topology. Perfect for urban driving simulations, luxury lifestyle architectural visualizations, virtual dealership showrooms, and cinematic renders.
$19.99
.2010
.blend
.crossover
.fbx
.glb
.lexus
.luxury suv
.max
.obj
.ply
.rendering
.stl
.unreal
car-3d-model
game asset
game-ready
low-poly
optimized
rx350
SUV
vehicle-3d-model
VR/AR