Get 20% OFF All Premium 3D & STL Models!

“`html
3D printing offers incredible opportunities for hobbyists, engineers, and automotive enthusiasts to bring their visions to life, especially with detailed printable car models. However, the journey from digital design to physical object isn’t always smooth. One of the most common hurdles is dealing with broken or corrupted STL files. These issues can range from minor imperfections to severe mesh errors that prevent successful printing. This article provides a comprehensive guide to repairing broken STL meshes using two powerful software tools: Meshmixer and Netfabb. We’ll explore the common types of mesh errors, step-by-step repair processes, and best practices for ensuring your 3D printed car models are flawless. You’ll learn how to diagnose and fix problems like non-manifold edges, holes in the mesh, self-intersections, and flipped normals, allowing you to print high-quality models from platforms like 88cars3d.com.
Before diving into the repair process, it’s crucial to understand the basics of STL files and the types of errors that can occur. STL (Stereolithography) is a file format that represents 3D models as a collection of triangles. Each triangle is defined by three vertices and a normal vector, which indicates the triangle’s orientation. Errors arise when these triangles are improperly connected, oriented, or positioned.
An STL file approximates the surface of a 3D object using a mesh of triangles. The denser the mesh (more triangles), the more accurate the representation. However, excessively dense meshes can lead to larger file sizes and slower processing. When downloading models from marketplaces such as 88cars3d.com, you’ll typically find well-optimized STL files, but even these may occasionally require repair, especially if they’ve been converted from other file formats or modified.
Meshmixer, a free software from Autodesk, is a powerful tool for manipulating and repairing 3D meshes. It offers a wide range of features specifically designed for fixing common STL errors. Its intuitive interface and robust algorithms make it a favorite among 3D printing enthusiasts.
The first step is to import your STL file into Meshmixer. Go to “File > Import” and select your car model STL file. Once loaded, use the “Analysis > Inspector” tool to identify potential errors. Meshmixer highlights problem areas with different colored markers. For example, non-manifold edges are often marked in red, while small holes are indicated in blue.
Meshmixer’s “Make Solid” tool is a powerful automatic repair function. Select “Edit > Make Solid.” This tool converts the mesh into a solid, watertight object, automatically filling holes, stitching edges, and resolving many common errors. Experiment with the “Solid Type” settings to achieve the best results. For complex models, the “Accurate” setting often yields the most reliable outcome, although it may increase processing time. Consider adjusting the “Mesh Density” slider to balance accuracy and file size. A value between 256 and 512 often works well for car models.
While “Make Solid” can fix many issues, manual repair is sometimes necessary for more complex or persistent errors. The “Sculpt” and “Erase & Fill” tools are invaluable for this purpose. The “Sculpt” tool allows you to push, pull, and smooth the mesh, while “Erase & Fill” lets you manually fill small holes or gaps. To fill a hole, select the “Erase & Fill” tool, draw a border around the hole, and Meshmixer will intelligently generate new triangles to close the gap. For smoothing rough areas, the “Smooth” brush within the “Sculpt” tool is incredibly useful. Adjust the brush size and strength to fine-tune the smoothing effect. Consider using the “Select” tool to isolate problematic areas before applying these manual fixes.
Netfabb, another software solution for mesh repair and optimization, provides advanced tools for fixing complex STL issues. While a premium software, Netfabb’s capabilities can be indispensable for professional users and those dealing with highly intricate models. Its robust algorithms and comprehensive feature set make it a powerful asset in the 3D printing workflow.
Begin by importing your STL file into Netfabb. Navigate to “File > Add Part” and select your car model’s STL file. After loading, use the “Analysis > Add Analysis” tool to generate a detailed report of any errors present in the mesh. Netfabb provides a clear and concise breakdown of issues such as holes, flipped triangles, and self-intersections, often with specific measurements and locations.
Netfabb’s “Repair Part” function is a one-stop solution for many common mesh problems. Access this feature by right-clicking on the part in the project tree and selecting “Repair.” The repair dialog box offers various options, including “Close All Holes,” “Remove Trivial Triangles,” “Fix Flipped Triangles,” and “Stitch Triangles.” Activate all relevant options based on the initial analysis report. The “Automatic Repair” option provides a comprehensive fix, while the “Extended Repair” offers more aggressive cleaning. Experiment with different settings to find the optimal balance between repair quality and mesh integrity. For complex car models, enabling “Self-Intersections” repair is often critical.
For intricate repairs, Netfabb offers a suite of manual mesh editing tools. The “Triangle” and “Edge” selection modes allow precise manipulation of individual mesh elements. Use these tools to delete erroneous triangles, stitch edges, or flip normals. The “Surface Deviation” tool is particularly useful for identifying and correcting subtle distortions in the mesh. For filling larger holes, the “Cut & Fill” functionality provides advanced control over the filling process. This allows you to define the shape and density of the new mesh, ensuring a seamless transition between the original and repaired sections. Netfabb’s ability to remesh specific regions is also invaluable for improving mesh quality and reducing file size after repairs.
Repairing the mesh is only half the battle. Optimizing the STL file for your specific 3D printer and material is equally important. This involves adjusting settings like resolution, orientation, and support structures to ensure a successful and high-quality print.
The resolution of the STL file directly affects the print quality. Higher resolution (more triangles) results in smoother surfaces and more accurate details, but it also increases file size and processing time. For car models, a balance between detail and efficiency is crucial. Exporting your STL file from Meshmixer or Netfabb with a triangle count of 500,000 to 1,000,000 often provides a good compromise. In Meshmixer, this can be controlled using the “Mesh Density” slider in the “Make Solid” tool. In Netfabb, you can control mesh density during export by adjusting the “Maximum Edge Length” parameter.
The orientation of your car model on the 3D printer bed significantly impacts print quality and the amount of support material required. Choose an orientation that minimizes overhangs and maximizes bed adhesion. Consider the model’s aesthetics and functionality when determining the optimal orientation. For example, orienting the model with the roof facing upwards can minimize the visibility of support scars on the body. When generating support structures, use a slicing software like Cura or PrusaSlicer to customize the support type, density, and placement. For intricate details, consider using soluble support material for easier removal and a cleaner finish. Experiment with different support patterns, such as tree supports or linear supports, to find the best balance between support strength and material usage.
Slicing parameters, such as layer height, print speed, and temperature, play a critical role in determining the final print quality. Lower layer heights (e.g., 0.1mm or 0.15mm) result in smoother surfaces but increase print time. Slower print speeds generally improve accuracy and reduce warping. The optimal temperature depends on the material being used. For PLA, a temperature of 200-220°C is typically recommended, while ABS requires a higher temperature of 230-250°C. When selecting a material, consider the model’s intended use. PLA is a good general-purpose material for aesthetic models, while PETG offers improved strength and heat resistance. ABS is suitable for functional parts that require high durability. Remember to calibrate your 3D printer before starting a large print. This includes leveling the bed, adjusting the Z-offset, and performing temperature towers to optimize material settings.
Even with a perfectly repaired and optimized STL file, 3D printing can still present challenges. Understanding common issues and their solutions is essential for achieving successful prints.
Poor bed adhesion is a common issue, especially with larger prints. Ensure that your print bed is clean and level. Use a bed adhesion enhancer, such as glue stick, hairspray, or specialized adhesive sheets. Warping occurs when the printed part cools unevenly, causing it to lift from the bed. To prevent warping, use a heated bed and enclosure. Adjust the bed temperature to the recommended value for your material. For ABS, a bed temperature of 100-110°C is typically required. Increase the brim size to improve bed adhesion and reduce warping. Ensure proper cooling fan settings to prevent overcooling of upper layers while maintaining bed adhesion on the first layer.
Layer shifting occurs when the print head abruptly moves out of alignment, resulting in misaligned layers. This can be caused by loose belts, excessive print speed, or insufficient motor current. Check and tighten all belts and pulleys. Reduce the print speed. Increase the motor current if necessary, but be careful not to overheat the motors. Under-extrusion happens when the printer fails to extrude enough material, resulting in gaps and weak layers. This can be caused by a clogged nozzle, incorrect filament diameter settings, or insufficient extruder tension. Clean or replace the nozzle. Calibrate the extruder steps per millimeter (E-steps) to ensure accurate material flow. Adjust the extruder tension to provide adequate grip on the filament.
Printing overhangs without proper support can lead to sagging or collapsing layers. Ensure that support structures are adequately strong and dense. Increase the support density and interface layers. Use a smaller layer height for overhangs. If supports fail to adhere to the bed, increase the support area and brim. For complex overhangs, consider using soluble support material for easier removal and a cleaner finish.
After the print is complete, post-processing techniques can enhance the appearance and functionality of your 3D printed car models. These techniques include support removal, sanding, painting, and assembly.
Carefully remove support structures using pliers, cutters, or specialized support removal tools. Take care not to damage the model’s surface. Sand the surface with progressively finer grits of sandpaper to remove layer lines and imperfections. Start with a coarse grit (e.g., 220 grit) and gradually move to finer grits (e.g., 400, 600, 800, and 1000 grit). Wet sanding can help to reduce dust and achieve a smoother finish. For hard-to-reach areas, use small sanding sponges or rotary tools with sanding attachments.
Apply a primer coat to the sanded surface to create a smooth base for painting. Choose a primer that is compatible with your chosen paint. Apply multiple thin coats of paint, allowing each coat to dry completely before applying the next. Use masking tape to create clean lines and protect areas that you don’t want to paint. After painting, apply a clear coat to protect the paint and add a glossy or matte finish. Consider using automotive-grade paints and clear coats for a professional-looking finish. Platforms like 88cars3d.com offer print-ready STL files that benefit greatly from such post-processing techniques.
If your car model consists of multiple parts, carefully assemble them using glue, screws, or other fasteners. Ensure that all parts fit together properly. Add details such as decals, stickers, or photo-etched parts to enhance the model’s realism. Consider using weathering techniques to simulate wear and tear, adding a sense of realism and character to your 3D printed car model.
Repairing broken STL meshes is a fundamental skill for any 3D printing enthusiast. By mastering the techniques described in this guide, you can overcome common mesh errors and achieve high-quality prints of intricate car models. Remember to use software like Meshmixer and Netfabb effectively, optimize your STL files for your specific printer and material, and address common printing issues proactively. Don’t forget the power of post-processing to bring your creations to life. With practice and patience, you’ll be creating stunning 3D printed car models in no time. Start by downloading some models from 88cars3d.com and experimenting with these techniques. The possibilities are endless!
“`
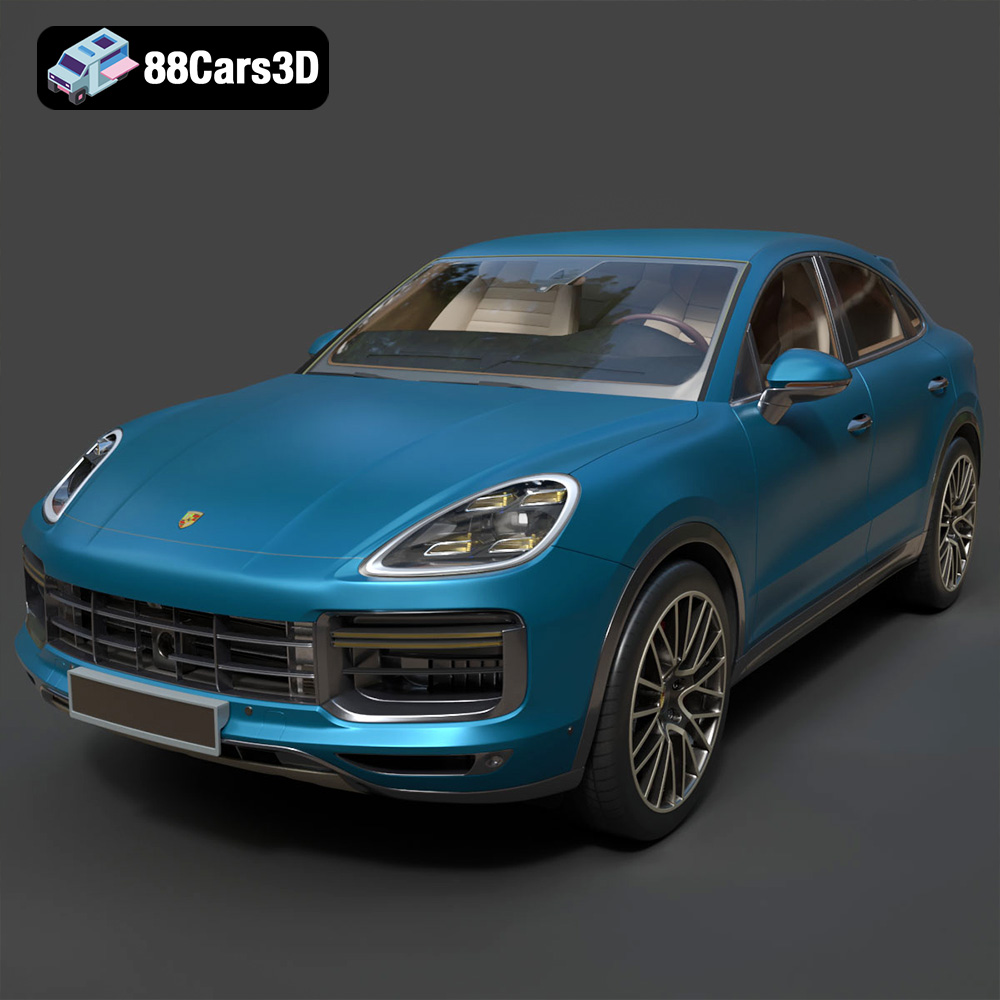
Texture: Yes | Material: Yes
Download the highly detailed, game-ready Porsche Cayenne Turbo Coupe 2020 3D Model. Features an aggressive coupe roofline, detailed quad exhaust, and a meticulously crafted luxury sport interior. Includes .blend, .fbx, .obj, .glb, .stl, .ply, .unreal, and .max formats for game development, AR/VR, and rendering.
Price: $19.99
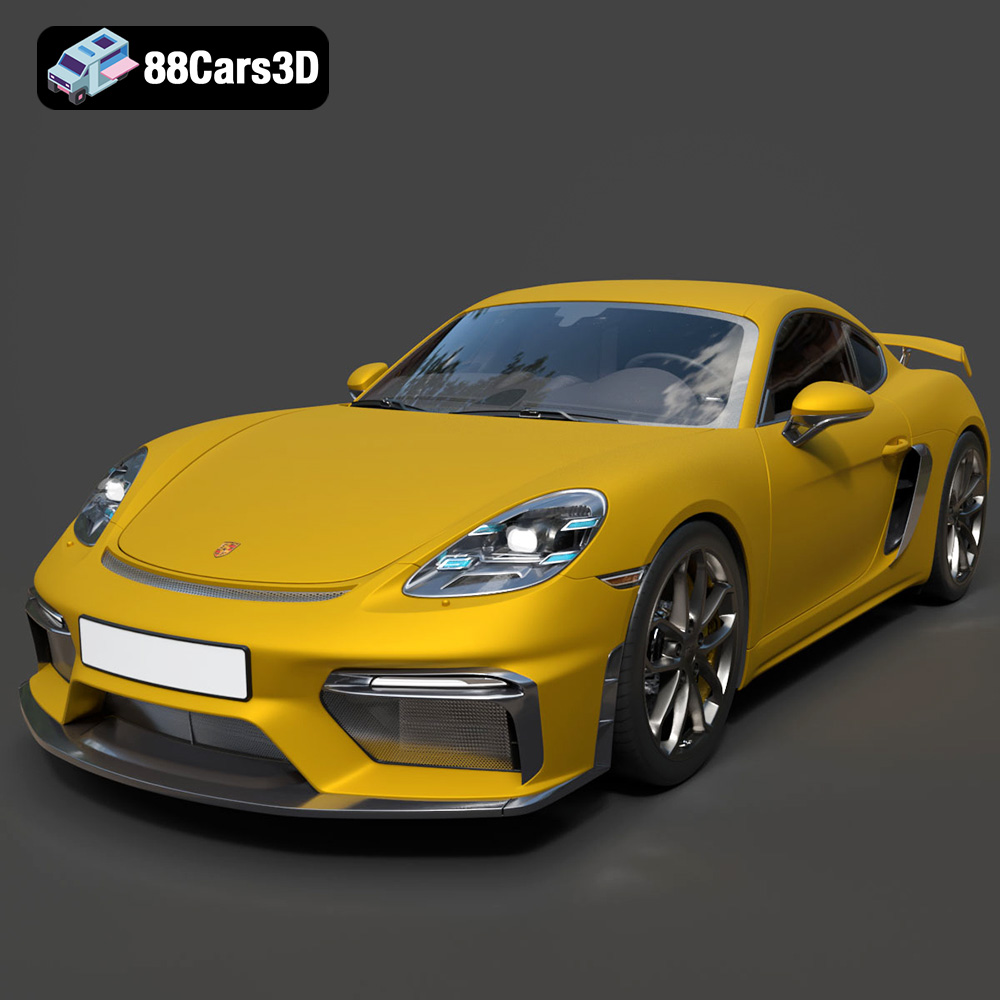
Texture: Yes | Material: Yes
Download the highly detailed, game-ready Porsche 718 Cayman GT4 2020 3D Model. Features an aggressive fixed rear wing, distinctive side air intakes, and a track-focused stance. Includes .blend, .fbx, .obj, .glb, .stl, .ply, .unreal, and .max formats for game development, AR/VR, and rendering.
Price: $19.99

Texture: Yes | Material: Yes
Download the highly detailed, game-ready Polestar 2 2020 3D Model. Features minimalist Scandinavian fastback styling, pixel LED lighting, and an accurate electric vehicle profile. Includes .blend, .fbx, .obj, .glb, .stl, .ply, .unreal, and .max formats for game development, AR/VR, and rendering.
Price: $19.99
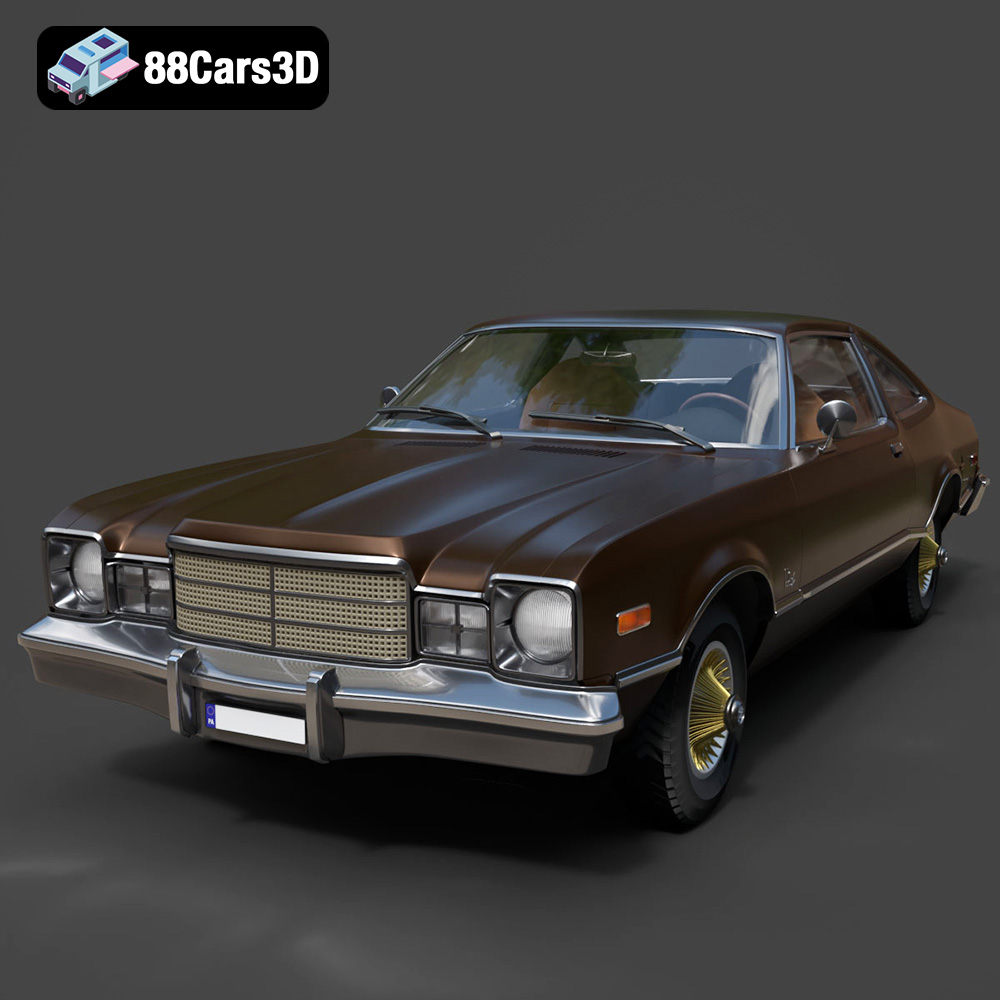
Texture: Yes | Material: Yes
Download the highly detailed, game-ready Plymouth Volare Coupe 1977 3D Model. Features classic F-body styling, detailed chrome trim, and an accurate vintage interior. Includes .blend, .fbx, .obj, .glb, .stl, .ply, .unreal, and .max formats for game development, AR/VR, and rendering.
Price: $19.99

Texture: Yes | Material: Yes
Download the highly detailed, game-ready Peugeot 208 2020 3D Model. Features aggressive ‘fang’ LED DRLs, sporty hatchback proportions, and aerodynamic alloy wheels. Includes .blend, .fbx, .obj, .glb, .stl, .ply, .unreal, and .max formats for game development, AR/VR, and rendering.
Price: $19.99

Texture: Yes | Material: Yes
Download the highly detailed, game-ready MV Agusta Brutale 1090 R 3D Model. Features an exposed trellis frame, distinctive teardrop headlight, and muscular naked bike styling. Includes .blend, .fbx, .obj, .glb, .stl, .ply, .unreal, and .max formats for game development, AR/VR, and rendering.
Price: $19.99
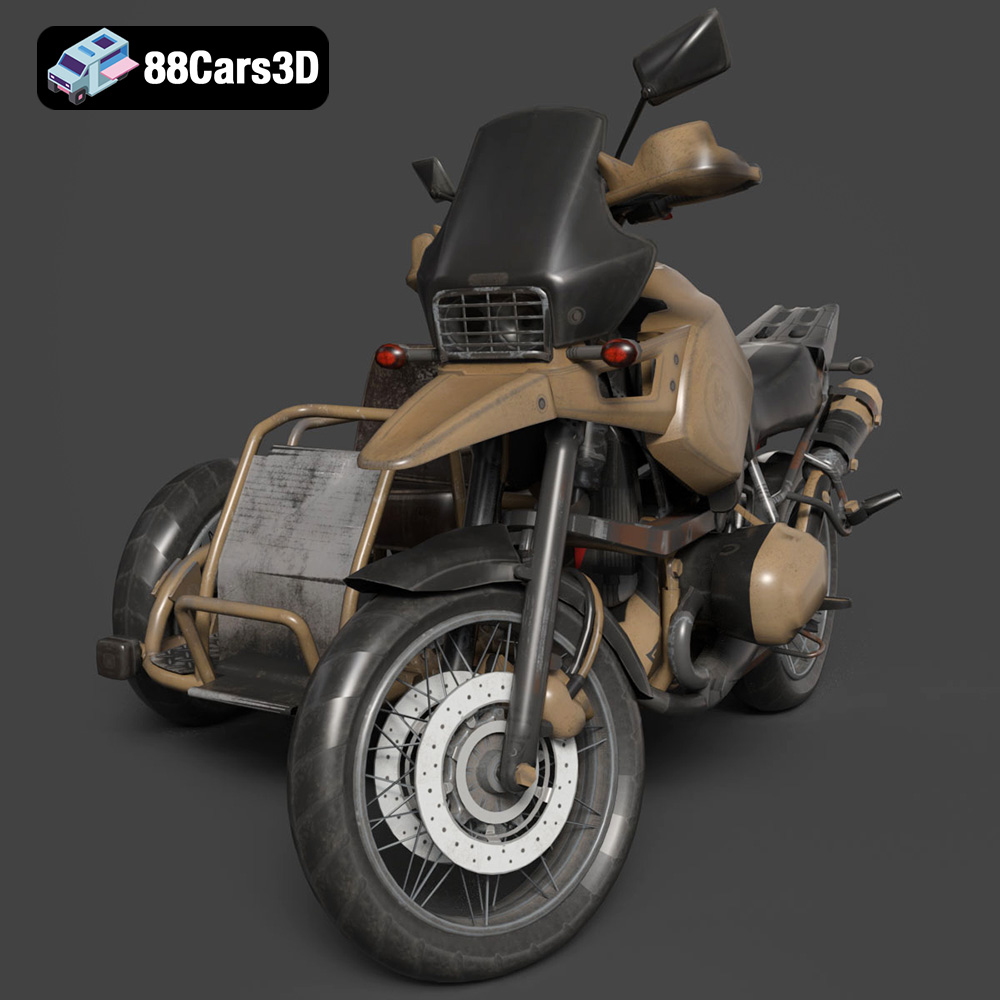
Texture: Yes | Material: Yes
Download the highly detailed, game-ready Custom Off-Road BMW R1150GS Adventure Sidecar 3D Model. Features rugged all-terrain suspension, an attached passenger sidecar, and off-road knobby tires. Includes .blend, .fbx, .obj, .glb, .stl, .ply, .unreal, and .max formats for game development, AR/VR, and rendering.
Price: $19.99

Texture: Yes | Material: Yes
Download the highly detailed, game-ready Mitsubishi Outlander GT 2010 3D Model. Features the aggressive Lancer-inspired front grille, accurate exterior styling, and high-fidelity alloy wheels. Includes .blend, .fbx, .obj, .glb, .stl, .ply, .unreal, and .max formats for game development, AR/VR, and rendering.
Price: $19.99
Texture: Yes | Material: Yes
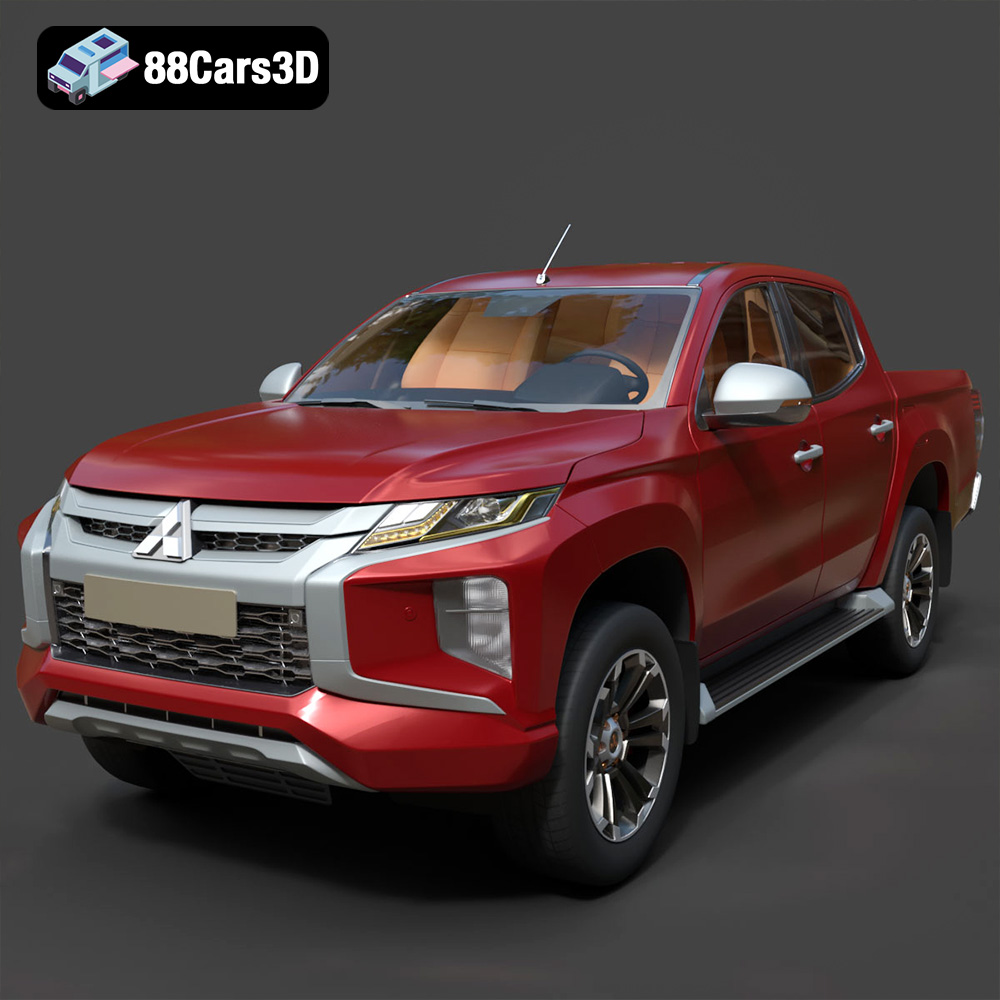
Download the highly detailed, game-ready Mitsubishi L200 Crew Cab 2019 3D Model. Features the iconic Dynamic Shield front fascia, rugged cargo bed, and a spacious crew cab interior. Includes .blend, .fbx, .obj, .glb, .stl, .ply, .unreal, and .max formats for game development, AR/VR, and rendering.
Price: $19.99
Texture: Yes | Material: Yes
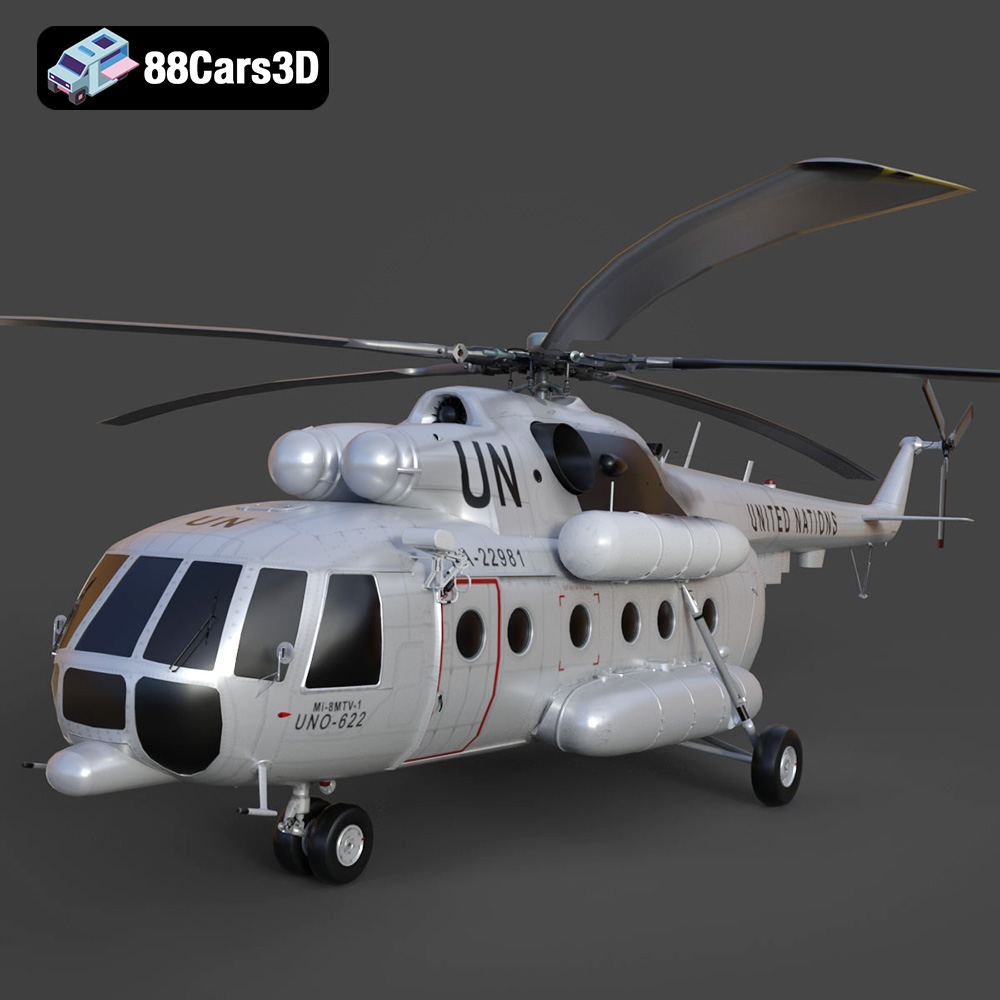
Download the highly detailed, game-ready Mil Mi-8MTV-UN 3D Model. Features the iconic United Nations white livery, detailed twin turboshaft engines, and fully articulated rotor assemblies. Includes .blend, .fbx, .obj, .glb, .stl, .ply, .unreal, and .max formats for game development, AR/VR, and rendering.
Price: $19.99

