Get 20% OFF All Premium 3D & STL Models!

“`html
For automotive enthusiasts and 3D printing hobbyists, the allure of recreating iconic vehicles in miniature form is undeniable. Thanks to platforms like 88cars3d.com, high-quality 3D printable car models in STL format are readily available. However, the key to achieving stunning results lies in selecting the right 3D printer. This comprehensive guide explores the best 3D printer technologies and specific models suited for producing highly detailed vehicle models. We’ll delve into FDM vs. resin printing, crucial printer settings, slicing techniques, and post-processing methods, equipping you with the knowledge to transform digital STL files into tangible works of art.
Whether you’re aiming for museum-quality replicas or simply want to expand your 3D printing skills, understanding the nuances of printer selection and optimization is paramount. We’ll cover everything from essential features to troubleshooting common issues, ensuring a smooth and rewarding 3D printing journey.
The first crucial decision is selecting between Fused Deposition Modeling (FDM) and resin-based printing technologies like Stereolithography (SLA) or Digital Light Processing (DLP). Each offers distinct advantages and disadvantages for printing detailed vehicle models.
FDM printers work by extruding heated thermoplastic filament layer by layer. They are generally more affordable and versatile, capable of printing in a wide range of materials like PLA, ABS, PETG, and even flexible filaments. However, FDM prints typically exhibit visible layer lines, which can detract from the realism of highly detailed models. The minimum layer height achievable often ranges from 0.1mm to 0.2mm, affecting surface smoothness.
Resin printers use liquid resin cured by UV light to create objects. SLA uses a laser, while DLP uses a projector. Resin printing offers significantly higher resolution and detail than FDM. Layer heights can be as low as 0.025mm, resulting in exceptionally smooth surfaces and the ability to capture intricate details like panel lines, emblems, and interior features. However, resin printers tend to be more expensive, have smaller build volumes, and require more post-processing, including washing and curing the prints.
While resin printers excel in detail, advancements in FDM technology have made it possible to produce respectable vehicle models with careful printer selection and optimized settings. Consider these FDM printer options for your automotive projects.
The Prusa i3 MK3S+ is a highly regarded FDM printer known for its reliability and consistent performance. With a direct drive extruder, it handles a variety of filaments well. To maximize detail when printing car models, use a 0.25mm nozzle, reduce layer height to 0.1mm or 0.15mm, and slow down the print speed to around 40-50 mm/s. Enabling features like “Ironing” in PrusaSlicer can further smooth out top surfaces. Consider printing the body and chassis separately for optimal orientation and detail.
The Creality Ender 3 S1 Pro offers excellent value for its price point. It comes with a direct drive extruder and auto bed leveling, simplifying the printing process. Like the Prusa, using a smaller nozzle (0.4mm or even 0.2mm with upgrades) and lower layer heights (0.12mm – 0.16mm) are crucial for improving detail. Experiment with different infill patterns like gyroid or cubic for structural integrity without excessive material use. You can also upgrade the hotend to an all-metal version for better temperature control and filament compatibility.
For users seeking professional-grade FDM printing, the Ultimaker S3 is a robust option. It features dual extrusion, allowing you to print with multiple colors or use soluble support material for complex geometries. The Ultimaker Cura software is tightly integrated with the printer and offers advanced settings for optimizing print quality. Consider using a PVA support material for intricate overhangs and internal details. Typical settings involve a 0.4mm nozzle, layer heights between 0.06mm and 0.1mm, and print speeds around 40 mm/s for best results.
If detail is your top priority, resin printing is the way to go. These resin printers offer the precision required to capture the intricate details of vehicle models.
The Elegoo Mars 3 Pro is an excellent entry-level resin printer with a high-resolution monochrome LCD screen. This allows for faster printing and finer details. When printing car models, orient the parts at an angle to minimize the cross-sectional area and reduce the risk of warping. Use a layer height of 0.03mm to 0.05mm, and adjust the exposure time according to the resin manufacturer’s recommendations. Hollowing out larger parts and adding drain holes is crucial to conserve resin and prevent suction forces during printing.
The Anycubic Photon Mono X 6K offers a larger build volume than the Mars 3 Pro while maintaining high resolution. This allows you to print larger car models or multiple parts simultaneously. Experiment with different resin types to find the best balance between detail, strength, and ease of post-processing. Consider using a flexible build plate for easier print removal. Settings generally involve layer heights of 0.02mm to 0.04mm and adjusted exposure times based on resin and environmental factors.
The Formlabs Form 3 is a professional-grade resin printer that utilizes Low Force Stereolithography (LFS) technology for exceptional print quality and reliability. Its sophisticated software and wide range of materials make it a versatile option for demanding projects. However, the Form 3 comes at a significantly higher price point. Utilize Formlabs PreForm software to automatically generate support structures and optimize print orientation. Typical settings include layer heights of 0.025mm to 0.1mm, depending on the material and desired level of detail.
Regardless of the printer you choose, proper slicing is essential for achieving optimal results. Slicing software converts the STL file into a series of instructions that the printer can understand. Careful adjustment of parameters can significantly impact print quality, strength, and speed.
Layer height directly affects the resolution and surface finish of the print. Lower layer heights result in smoother surfaces and finer details but increase print time. For FDM printing, a layer height of 0.1mm to 0.15mm is a good starting point for detailed car models. For resin printing, aim for 0.025mm to 0.05mm. Remember that extremely low layer heights might not always be beneficial, as they can lead to over-adhesion and reduced strength. Experiment to find the optimal balance for your specific printer and material.
Support structures are necessary for printing overhangs and complex geometries. In FDM printing, consider using tree supports or adaptive support structures that minimize material usage and contact points. In resin printing, carefully position and orient the model to minimize the need for supports on visible surfaces. Use supports with small contact points and consider using a resin with good elongation properties to minimize the risk of breakage during removal. After printing, carefully remove the supports using specialized tools like flush cutters or hobby knives. Post-curing the print *before* removing supports can also improve their rigidity and make removal cleaner.
Infill density determines the internal strength and weight of the print. For car models, a moderate infill density of 15-25% is usually sufficient for structural integrity. Experiment with different infill patterns like gyroid, cubic, or honeycomb to find the best balance between strength, weight, and print time. For parts that require high strength, such as axles or suspension components, increase the infill density to 50% or higher. Remember that higher infill densities increase material usage and print time.
Post-processing is often necessary to refine the appearance and functionality of 3D printed car models. This can include sanding, painting, assembly, and other techniques.
Sanding is crucial for removing layer lines and imperfections from FDM prints. Start with coarse sandpaper (e.g., 220 grit) and gradually move to finer grits (e.g., 400, 600, 800, 1000) to achieve a smooth surface. Wet sanding can further improve the results. For resin prints, sanding is often less necessary due to the smoother surface finish, but it may still be required to remove support marks or other imperfections. Consider using a primer filler to fill in any remaining imperfections before painting.
Painting is essential for adding color and realism to car models. Use high-quality model paints designed for plastic or resin. Apply multiple thin coats of paint, allowing each coat to dry completely before applying the next. Consider using an airbrush for a smoother and more even finish. Add details like panel lines, emblems, and lights using fine-tipped brushes or masking techniques. Apply a clear coat to protect the paint and add a glossy or matte finish.
Many car models consist of multiple parts that need to be assembled. Use super glue or epoxy to bond the parts together. Ensure proper alignment and fit before applying the adhesive. Consider using screws or bolts for added strength, especially for functional parts like wheels or axles. Take your time and be patient during the assembly process to avoid mistakes.
Even with careful planning and optimized settings, 3D printing can sometimes present challenges. Here are some common issues and how to address them.
Warping occurs when the corners of the print lift off the build plate. This is often caused by temperature differences between the print and the environment. Ensure that the build plate is clean and level. Use a heated build plate and adjust the temperature according to the material being used. Apply a bed adhesion aid like glue stick, hairspray, or painter’s tape. Consider using a brim or raft to increase the contact area with the build plate. Enclosing the printer can also help to maintain a consistent temperature and prevent warping.
Stringing occurs when the printer extrudes filament while moving between different parts of the print. Blobs are small accumulations of excess filament. Reduce the retraction distance and speed in the slicer settings. Adjust the printing temperature to minimize oozing. Ensure that the nozzle is clean and free of debris. Increase travel speed to minimize the time spent moving between parts. Using coasting and wipe settings in your slicer can also help.
Layer separation occurs when the layers of the print do not adhere properly. This can be caused by low printing temperature, insufficient cooling, or poor layer adhesion. Increase the printing temperature to improve layer adhesion. Ensure that the cooling fan is not blowing directly on the print, as this can cause warping. Reduce the printing speed to allow more time for the layers to bond. Increase the layer height slightly to improve layer adhesion.
When downloading models from marketplaces such as 88cars3d.com, ensure you inspect the files in a mesh editor before printing. Correct any non-manifold edges or flipped normals to avoid unexpected issues during printing.
Choosing the right 3D printer for detailed vehicle models is a crucial first step towards achieving stunning results. Understanding the differences between FDM and resin printing, optimizing slicing parameters, and mastering post-processing techniques are essential for transforming digital STL files from platforms like 88cars3d.com into tangible masterpieces. By carefully considering your budget, desired level of detail, and the complexity of the models you plan to print, you can select the perfect printer and embark on a rewarding 3D printing journey.
Remember to experiment with different settings and materials to fine-tune your workflow and achieve the best possible results. Regularly calibrate and maintain your printer to ensure consistent performance. With practice and perseverance, you can create incredibly detailed and realistic 3D printed vehicle models that will impress even the most discerning automotive enthusiast. Start by downloading some high-quality STL files and begin experimenting with your chosen printer!
“`

Texture: Yes | Material: Yes
Download the highly detailed, game-ready Suzuki King B 2008 3D Model. Features its massive 1340cc engine block, signature dual under-seat exhausts, and aggressive streetfighter bodywork. Includes .blend, .fbx, .obj, .glb, .stl, .ply, .unreal, and .max formats for game development, AR/VR, and rendering.
Price: $19.99
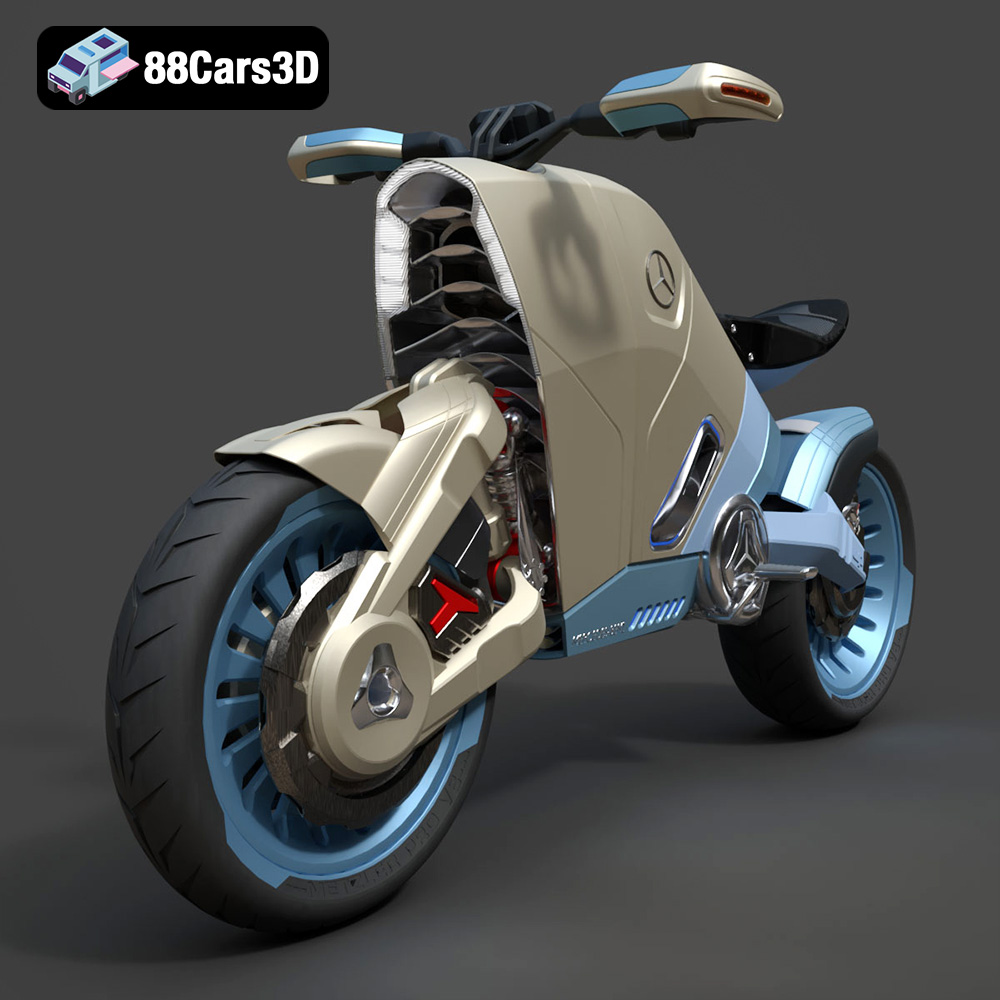
Texture: Yes | Material: Yes
Download the highly detailed, game-ready SMARANZA Mercedes Concept Electrical Motorcycle 3D Model. Features futuristic aerodynamic styling and an advanced electric drivetrain. Includes .blend, .fbx, .obj, .glb, .stl, .ply, .unreal, and .max formats for game development, AR/VR, and rendering.
Price: $19.99
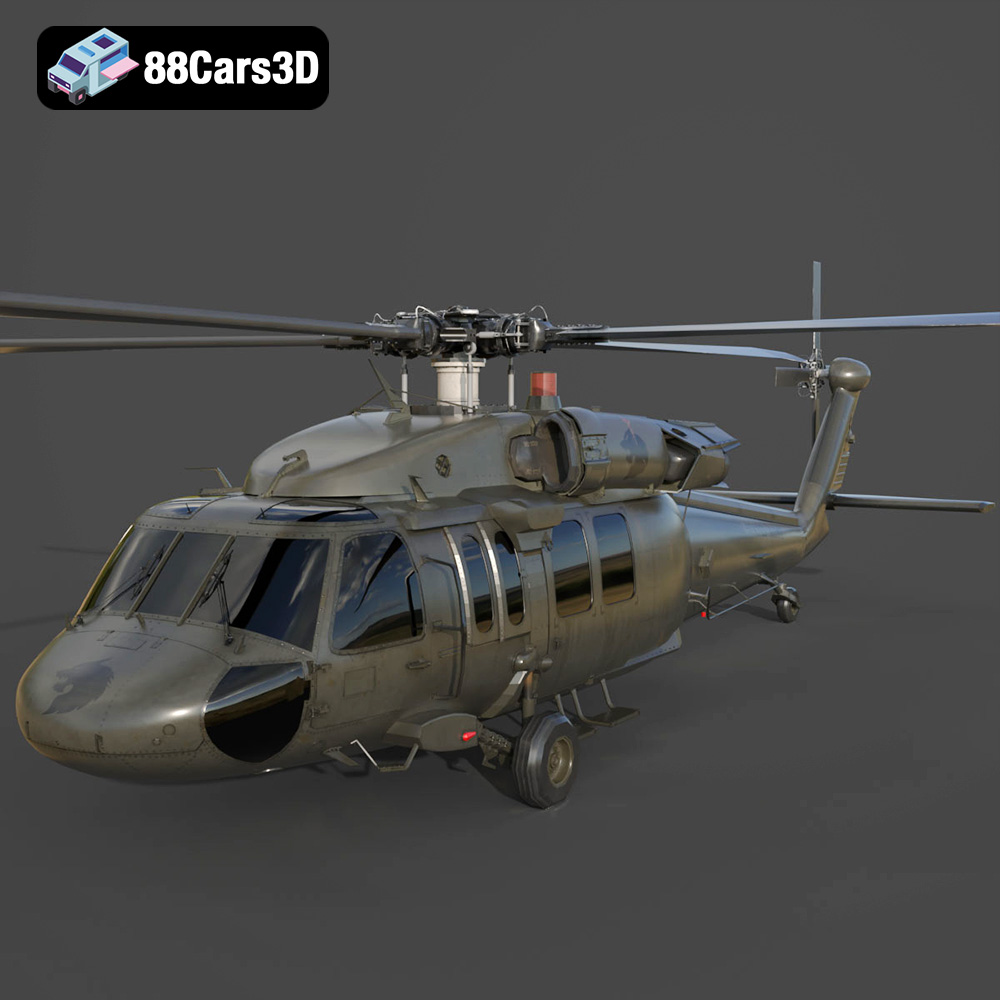
Texture: Yes | Material: Yes
Download the highly detailed, game-ready Sikorsky UH-60 Black Hawk US 3D Model. Features an accurate four-blade rotor system, detailed military fuselage, and realistic twin-engine housing. Includes .blend, .fbx, .obj, .glb, .stl, .ply, .unreal, and .max formats for game development, AR/VR, and rendering.
Price: $19.99
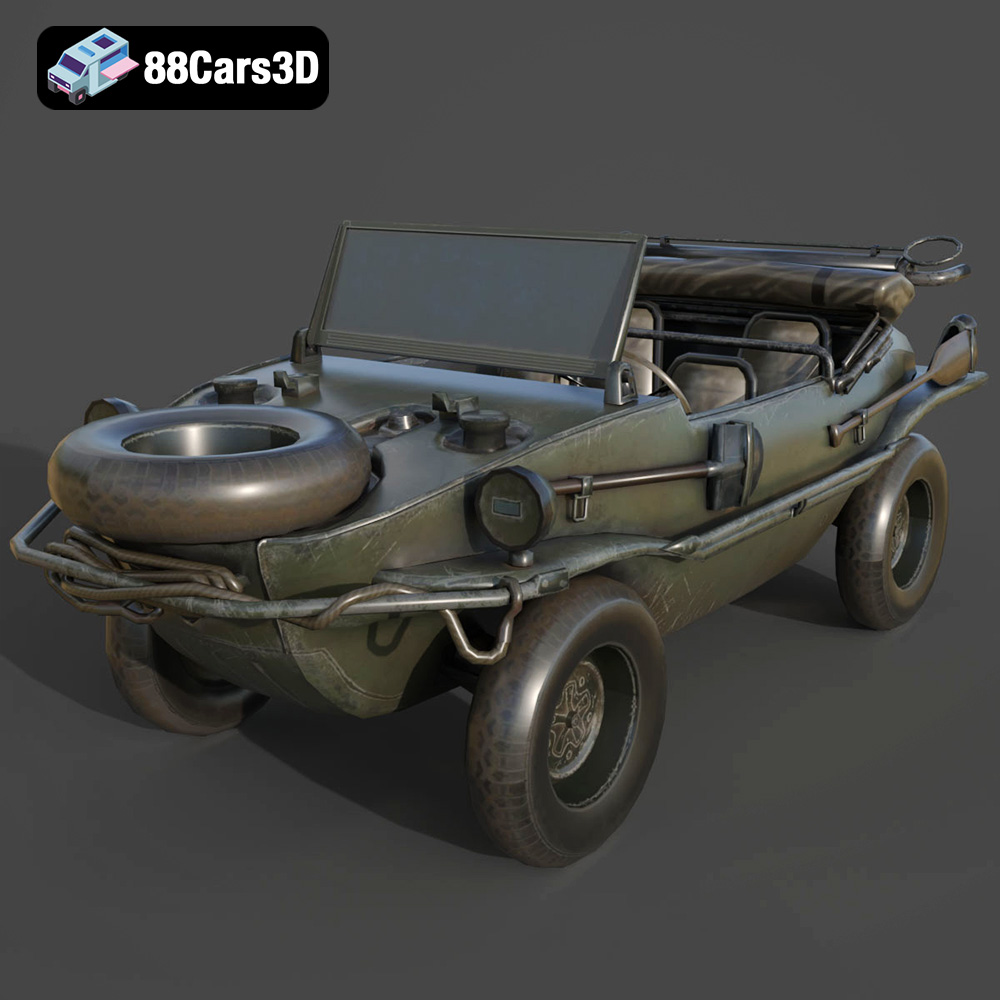
Texture: Yes | Material: Yes
Download the highly detailed, game-ready Volkswagen Schwimmwagen Typ 166 3D Model. Features an authentic boat-like watertight hull, fold-down propeller mechanism, and accurate military styling. Includes .blend, .fbx, .obj, .glb, .stl, .ply, .unreal, and .max formats for game development, AR/VR, and rendering.
Price: $19.99
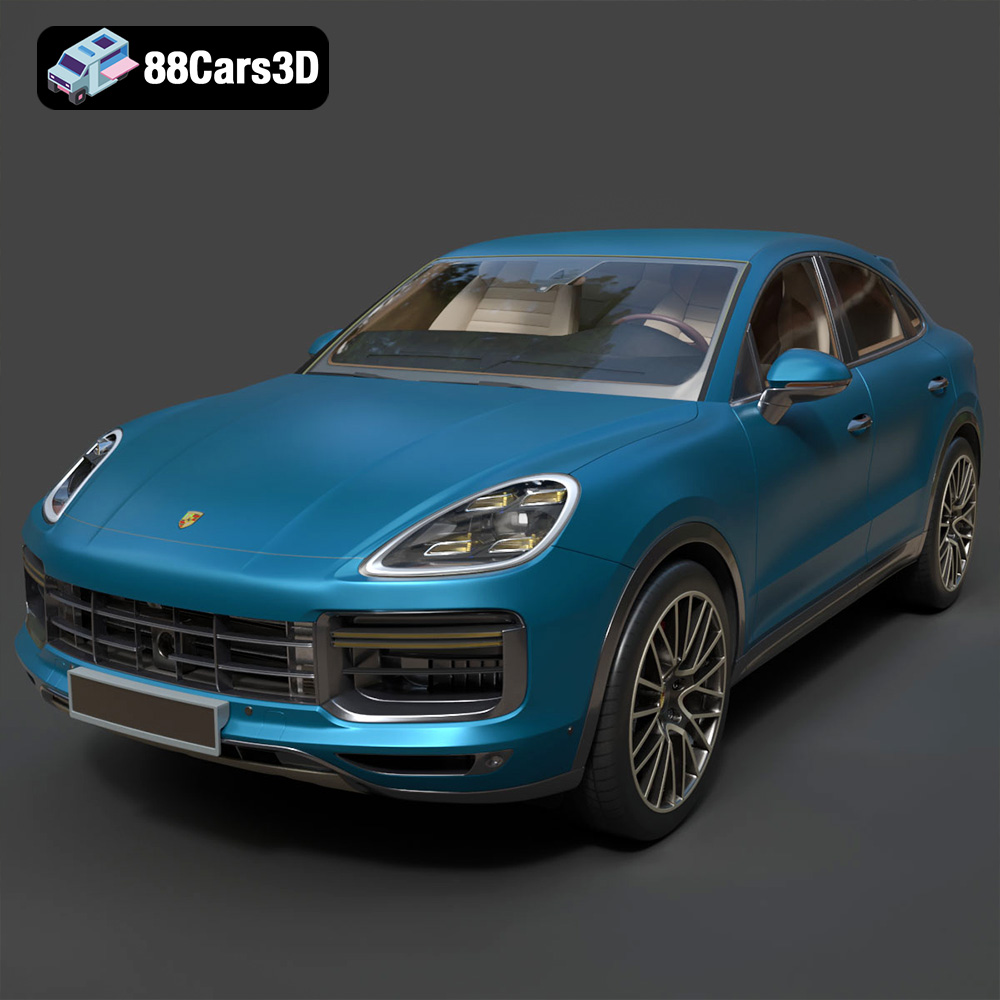
Texture: Yes | Material: Yes
Download the highly detailed, game-ready Porsche Cayenne Turbo Coupe 2020 3D Model. Features an aggressive coupe roofline, detailed quad exhaust, and a meticulously crafted luxury sport interior. Includes .blend, .fbx, .obj, .glb, .stl, .ply, .unreal, and .max formats for game development, AR/VR, and rendering.
Price: $19.99
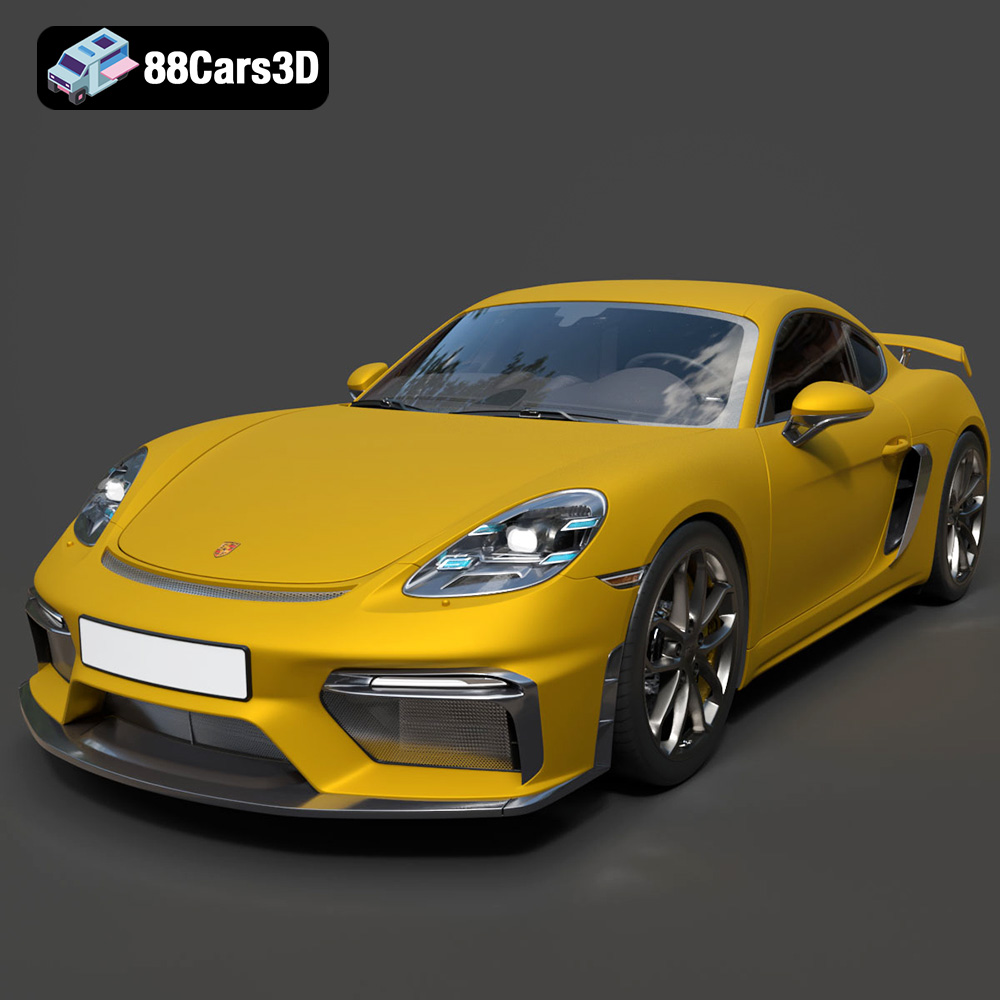
Texture: Yes | Material: Yes
Download the highly detailed, game-ready Porsche 718 Cayman GT4 2020 3D Model. Features an aggressive fixed rear wing, distinctive side air intakes, and a track-focused stance. Includes .blend, .fbx, .obj, .glb, .stl, .ply, .unreal, and .max formats for game development, AR/VR, and rendering.
Price: $19.99

Texture: Yes | Material: Yes
Download the highly detailed, game-ready Polestar 2 2020 3D Model. Features minimalist Scandinavian fastback styling, pixel LED lighting, and an accurate electric vehicle profile. Includes .blend, .fbx, .obj, .glb, .stl, .ply, .unreal, and .max formats for game development, AR/VR, and rendering.
Price: $19.99
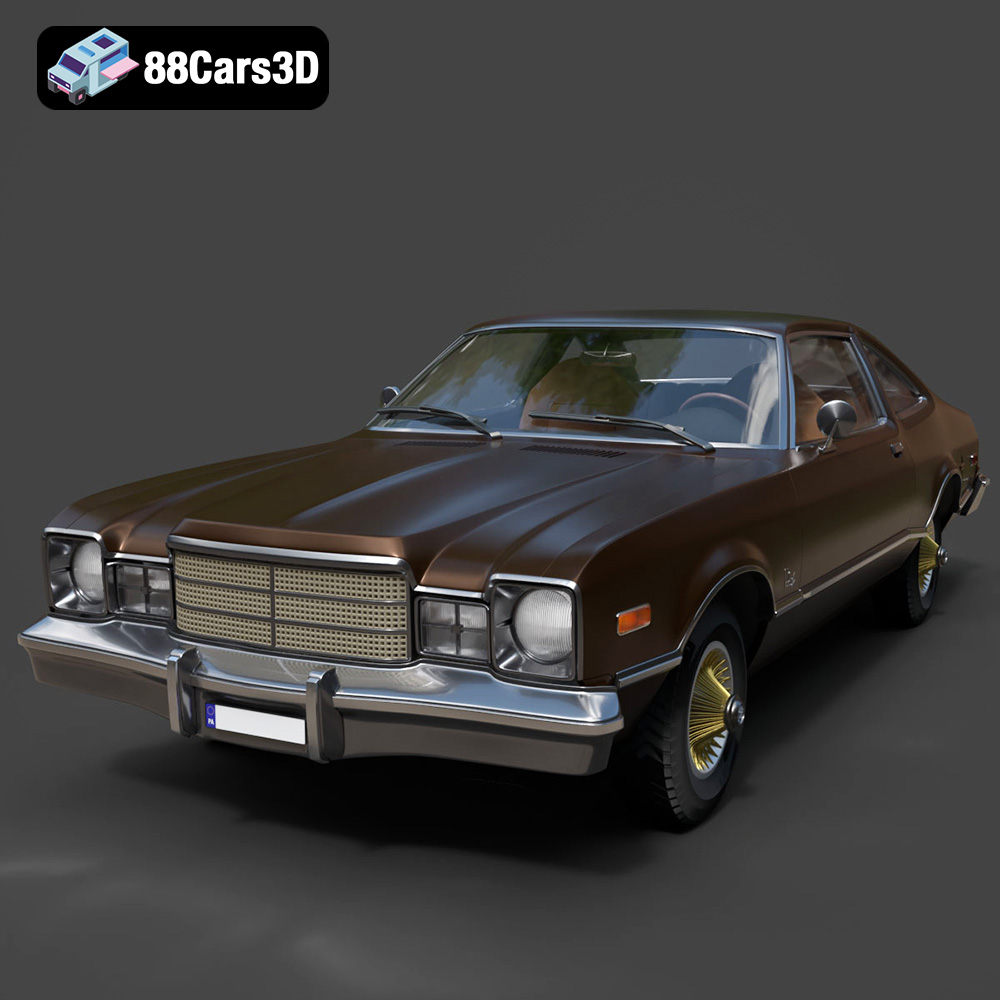
Texture: Yes | Material: Yes
Download the highly detailed, game-ready Plymouth Volare Coupe 1977 3D Model. Features classic F-body styling, detailed chrome trim, and an accurate vintage interior. Includes .blend, .fbx, .obj, .glb, .stl, .ply, .unreal, and .max formats for game development, AR/VR, and rendering.
Price: $19.99
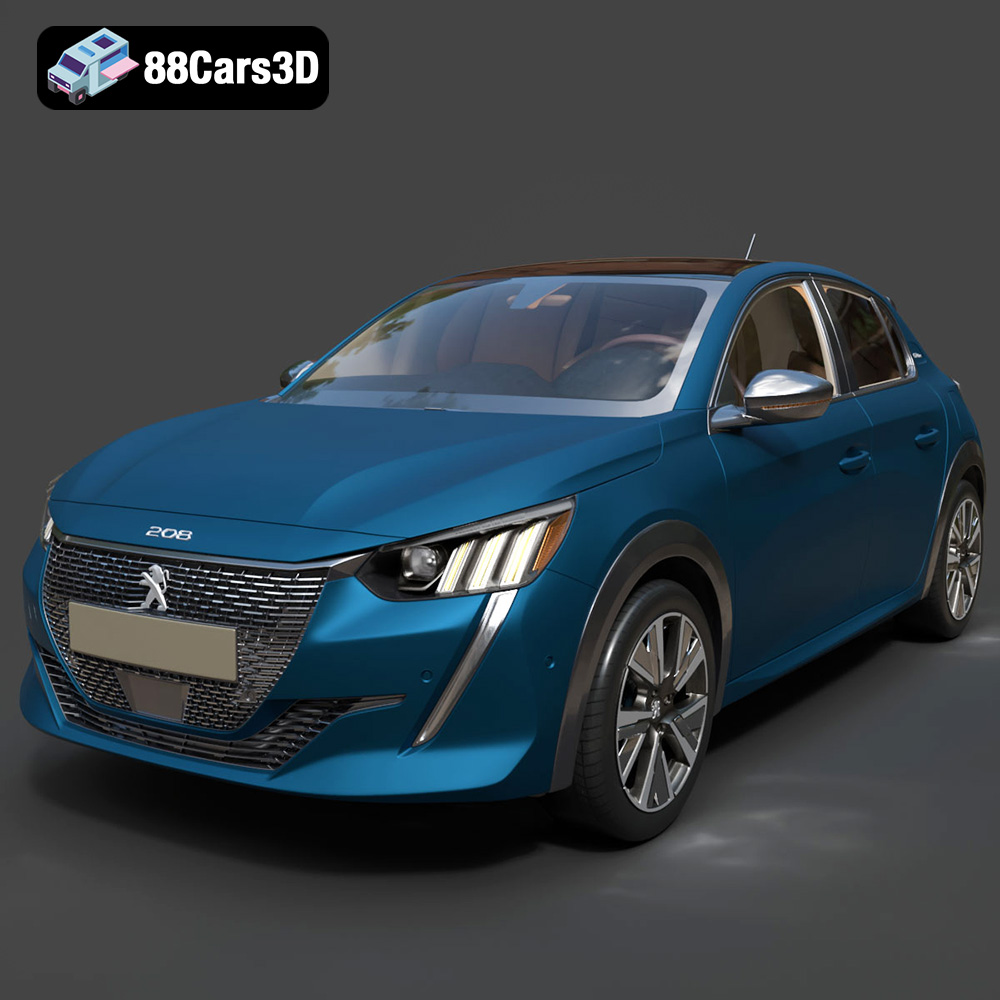
Texture: Yes | Material: Yes
Download the highly detailed, game-ready Peugeot 208 2020 3D Model. Features aggressive ‘fang’ LED DRLs, sporty hatchback proportions, and aerodynamic alloy wheels. Includes .blend, .fbx, .obj, .glb, .stl, .ply, .unreal, and .max formats for game development, AR/VR, and rendering.
Price: $19.99

Texture: Yes | Material: Yes
Download the highly detailed, game-ready MV Agusta Brutale 1090 R 3D Model. Features an exposed trellis frame, distinctive teardrop headlight, and muscular naked bike styling. Includes .blend, .fbx, .obj, .glb, .stl, .ply, .unreal, and .max formats for game development, AR/VR, and rendering.
Price: $19.99

