Get 20% OFF All Premium 3D & STL Models!

“`html
For 3D printing enthusiasts, especially those passionate about creating intricate car models, understanding the inner workings of STL (Stereolithography) files is crucial. The STL file format is the backbone of most 3D printing workflows, serving as the digital blueprint for your creations. This blog post dives deep into the anatomy of STL files, explaining the mesh structure, the role of triangles, and the significance of precision. Whether you are downloading printable car models from platforms like 88cars3d.com or designing your own, a solid grasp of STL fundamentals will dramatically improve your printing outcomes. We’ll cover everything from the basic structure of an STL file to advanced techniques for optimizing your models for printing.
In this guide, you’ll learn about: the underlying principles of STL files, how they represent 3D geometry, the importance of mesh quality, best practices for preparing STL files for printing, common issues and solutions, and optimizing your models for both FDM and resin printing.
At its core, an STL file is a representation of a 3D surface using a collection of triangles. It’s a relatively simple format compared to more modern options, but its ubiquity makes it essential for 3D printing. The file contains data describing the surface geometry but lacks information about color, texture, or material properties. It’s purely a geometric description.
STL files come in two main flavors: ASCII and Binary. ASCII STL files are human-readable, using text to define the triangles. A typical ASCII STL file begins with the line “solid” followed by the object name, and each triangle is defined by its vertices (three points in 3D space) and its normal vector (a vector perpendicular to the triangle’s surface). Binary STL files, on the other hand, store the same data in a compact binary format, making them significantly smaller and faster to process. For large and complex models, the binary format is highly recommended. The first 80 bytes of a binary STL file are a header (usually ignored), followed by a 4-byte integer indicating the number of triangles in the file. Each triangle is then represented by 50 bytes: 12 bytes for the normal vector, 12 bytes each for the three vertices, and 2 bytes for an attribute byte count (usually zero).
The normal vector associated with each triangle is crucial for defining the orientation of the surface. It indicates which side of the triangle faces outward. Incorrectly oriented normals can lead to printing errors, such as surfaces appearing inside-out or misaligned. Most slicing software automatically attempts to correct normal orientations, but it’s still good practice to ensure they are correct during the model design phase. Tools like MeshLab and Netfabb are excellent for visualizing and correcting normal orientations. In MeshLab, you can use the “Show Normal” filter to display the normals, and the “Flip Normals” filter to correct any inconsistencies.
The number of triangles in an STL file directly impacts the level of detail and smoothness of the represented surface. A higher triangle count results in a more accurate representation of curved surfaces but also increases file size and processing time. Conversely, a lower triangle count leads to a coarser representation, potentially exhibiting noticeable facets or jagged edges.
Finding the right balance between detail and performance is crucial. For printing detailed car models, you will want to ensure smooth curves and sharp edges are adequately represented. However, excessively high triangle counts can strain your computer’s resources and slow down the slicing process. Many CAD and 3D modeling programs allow you to control the tessellation level when exporting to STL format. Experiment with different settings to find the optimal balance for your specific model and printer capabilities. Consider using adaptive tessellation, where areas with high curvature have more triangles than flat surfaces, to optimize triangle distribution.
If you have a model with an excessively high triangle count, you can use mesh simplification techniques to reduce the number of triangles without significantly sacrificing detail. Tools like MeshLab and Blender offer various mesh simplification algorithms. The “Quadric Edge Collapse Decimation” algorithm in MeshLab is particularly effective at preserving detail while reducing the triangle count. When simplifying a mesh, it’s essential to visually inspect the results to ensure that the simplification process hasn’t introduced any unwanted artifacts or distortions. Aim to reduce the triangle count by 20-50% initially and then iteratively reduce it further while monitoring the visual quality.
Before sending an STL file to your 3D printer, several preparation steps are crucial to ensure a successful print. These steps involve checking for errors in the mesh, orienting the model appropriately, and generating support structures.
One of the most common issues with STL files is the presence of errors in the mesh, such as non-manifold edges, holes, and self-intersections. These errors can prevent the slicer from correctly interpreting the geometry and lead to print failures. Fortunately, several tools are available to automatically repair these errors. Netfabb Basic is a popular choice, offering a robust automatic repair function. Simply import the STL file into Netfabb, and the software will identify and fix most common mesh errors. Another excellent option is MeshMixer, which offers a range of mesh editing and repair tools. In MeshMixer, use the “Make Solid” function to create a watertight mesh. Always visually inspect the repaired mesh to ensure that the repairs haven’t introduced any undesirable changes to the model’s geometry.
The orientation of your model on the build plate significantly impacts print quality, support requirements, and bed adhesion. Choose an orientation that minimizes the need for support structures, particularly in areas with fine details. For car models, printing with the body angled can reduce the amount of support needed under the wheel arches and bumpers. Ensure that the surfaces in contact with the build plate are flat and large enough to provide adequate adhesion. If you’re experiencing adhesion problems, consider adding a brim or raft to increase the contact area. A brim adds a single-layer outline around the base of the model, while a raft creates a multi-layer platform underneath the model. For PLA, a bed temperature of 60°C is typically sufficient, while ABS may require a heated bed temperature of 100-110°C.
Slicing software translates the STL file into a series of instructions (G-code) that the 3D printer can understand. The slicing parameters you choose have a profound impact on the print’s quality, strength, and printing time. Experimenting with different settings is essential to find the optimal configuration for your specific printer, material, and model.
Layer height determines the vertical resolution of the print. Smaller layer heights result in smoother surfaces and finer details but also increase printing time. A common starting point for FDM printing is a layer height of 0.2mm, but you can reduce this to 0.1mm or even 0.05mm for highly detailed models. For resin printing, layer heights are typically much smaller, ranging from 0.025mm to 0.05mm. Print speed also affects print quality. Slower speeds generally result in better adhesion between layers and reduced warping. A print speed of 40-60mm/s is a good starting point for PLA, while ABS may require slightly slower speeds. Experiment with different speeds to find the fastest speed that still produces acceptable results.
Infill density determines the internal structure of the print and affects its strength and weight. Higher infill densities result in stronger but heavier prints, while lower infill densities result in lighter but weaker prints. For most applications, an infill density of 20-30% is sufficient. The infill pattern also affects the print’s strength and printing time. Common infill patterns include rectilinear, grid, and honeycomb. Honeycomb infill provides excellent strength-to-weight ratio, while rectilinear infill is faster to print. For car models, consider using a denser infill in areas that will be subjected to stress, such as the axles and suspension components. You can use variable infill density to optimize the infill based on the part of the model being printed. This is available in more advanced slicing software like Simplify3D or PrusaSlicer.
The choice of printing material and proper printer calibration are crucial factors influencing the final outcome of your 3D printed car models. Different materials offer varying properties, such as strength, flexibility, and temperature resistance.
For FDM printing, PLA, ABS, and PETG are the most commonly used materials. PLA is easy to print, biodegradable, and produces excellent surface details, making it suitable for aesthetic models. It requires a nozzle temperature of 190-220°C and a bed temperature of 60°C. ABS is stronger and more heat-resistant than PLA, making it suitable for functional parts that will be exposed to higher temperatures. However, ABS is more prone to warping and requires a heated bed temperature of 100-110°C and an enclosure to maintain a consistent temperature. PETG combines the best of both worlds, offering good strength, temperature resistance, and ease of printing. It requires a nozzle temperature of 220-250°C and a bed temperature of 70-80°C. Consider the intended use of your car model when selecting a material. For example, if you plan to display the model in a sunny location, ABS or PETG may be better choices than PLA due to their higher heat resistance.
Resin printing offers the advantage of producing highly detailed and accurate parts. Standard resin is suitable for general-purpose printing and provides excellent detail. Tough resin is more impact-resistant, making it suitable for functional parts. Flexible resin allows you to print parts with a certain degree of flexibility, such as tires or rubber components. When printing with resin, it’s essential to properly calibrate your printer and follow the manufacturer’s recommended settings for the specific resin you are using. Layer heights are typically much smaller in resin printing. Consider water washable resins to make post processing easier.
Proper printer calibration is essential for achieving accurate and consistent prints. Ensure that your printer’s bed is properly leveled and that the Z-axis is calibrated correctly. Regularly clean and lubricate your printer’s moving parts to ensure smooth operation. For FDM printers, check the nozzle for clogs and replace it as needed. For resin printers, clean the build plate and resin vat after each print. Regularly inspect the FEP film in the resin vat for damage and replace it as needed. Downloadable test prints are available that can test bridging, overhangs, stringing, and other common print challenges. Platforms such as 88cars3d.com often provide helpful guidance on material choice and printer calibration tips related to their models.
Support structures are essential for printing overhanging features and complex geometries. However, they can also be challenging to remove and may leave blemishes on the printed surface.
Most slicing software offers automatic support generation, which can quickly generate support structures based on the model’s geometry. However, automatic supports are not always optimal and may generate unnecessary supports in some areas. Manual support generation allows you to have more control over the placement and density of supports. In PrusaSlicer or Cura, you can use the manual support painting tool to add or remove supports in specific areas. Focus support on areas with significant overhangs and complex geometry. Consider using tree supports, which are more efficient and easier to remove than traditional linear supports. Tree supports branch out from the build plate and connect to the model at strategic points.
Careful support removal is essential to avoid damaging the printed model. Use a sharp hobby knife or flush cutters to carefully cut away the supports. Heat can help soften the support structures. For PLA, warm water can make the supports brittle and easier to break away. For ABS, a heat gun can soften the supports. For resin prints, soaking the model in warm water can soften the supports. After removing the supports, use sandpaper or a file to smooth any remaining blemishes. Start with a coarse grit sandpaper (e.g., 220 grit) and gradually move to finer grits (e.g., 400 grit, 600 grit) to achieve a smooth surface.
Understanding STL files is paramount for achieving high-quality 3D prints, especially when working with intricate models like printable car models. By grasping the underlying structure of STL files, mastering mesh repair techniques, optimizing slicing parameters, and carefully selecting materials, you can significantly improve your printing outcomes. Remember to balance detail with performance by managing triangle count, choosing appropriate support structures, and calibrating your printer effectively. Taking the time to learn these nuances will not only enhance the quality of your prints but also streamline your workflow, saving you time and resources. Whether you are a hobbyist or a professional, these tips will help you unlock the full potential of your 3D printer and create stunning models.
Now that you have a solid foundation in STL file fundamentals, take the next step and experiment with different settings and techniques. Download high-quality STL files from reputable sources like 88cars3d.com and put your newfound knowledge to the test. Happy printing!
“`
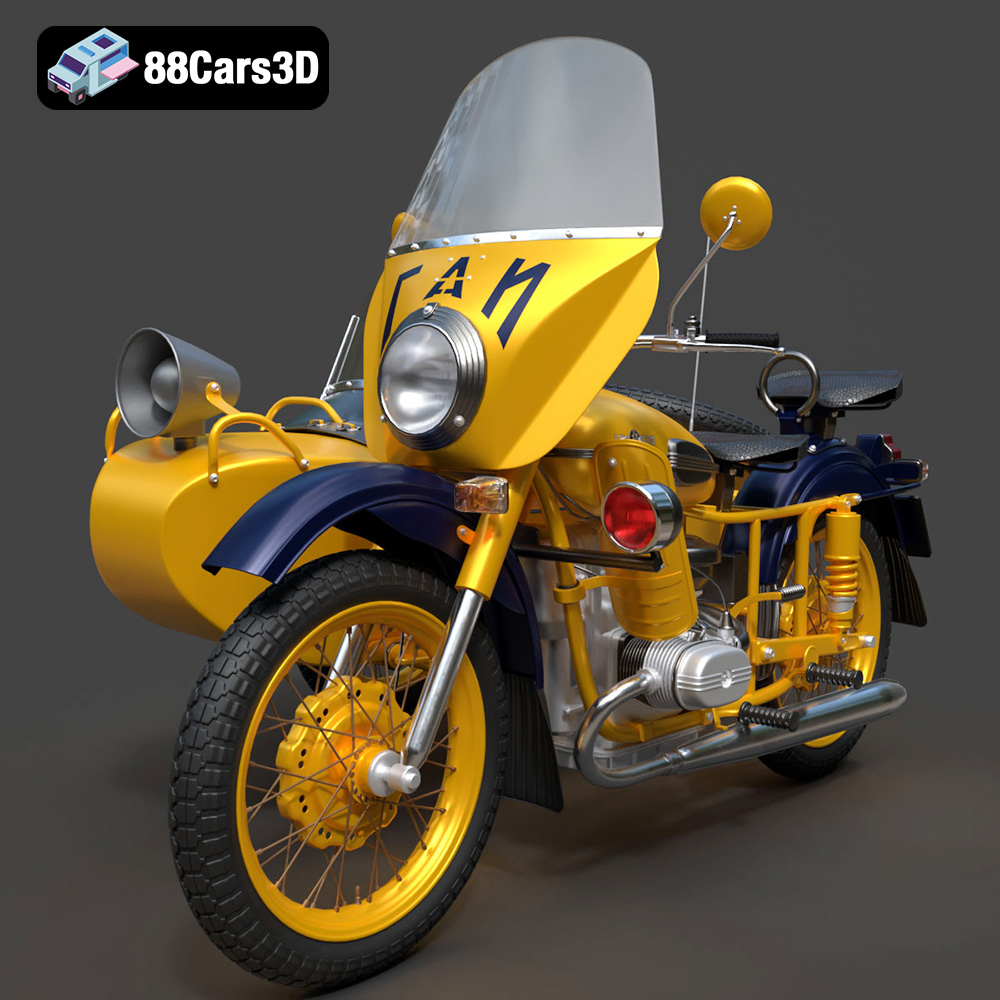
Texture: Yes | Material: Yes
Download the highly detailed, game-ready Ural M67-36-P 1976 3D Model. Features the iconic air-cooled boxer engine, vintage utilitarian styling, and authentic spoked wheels. Includes .blend, .fbx, .obj, .glb, .stl, .ply, .unreal, and .max formats for game development, AR/VR, and rendering.
Price: $19.99
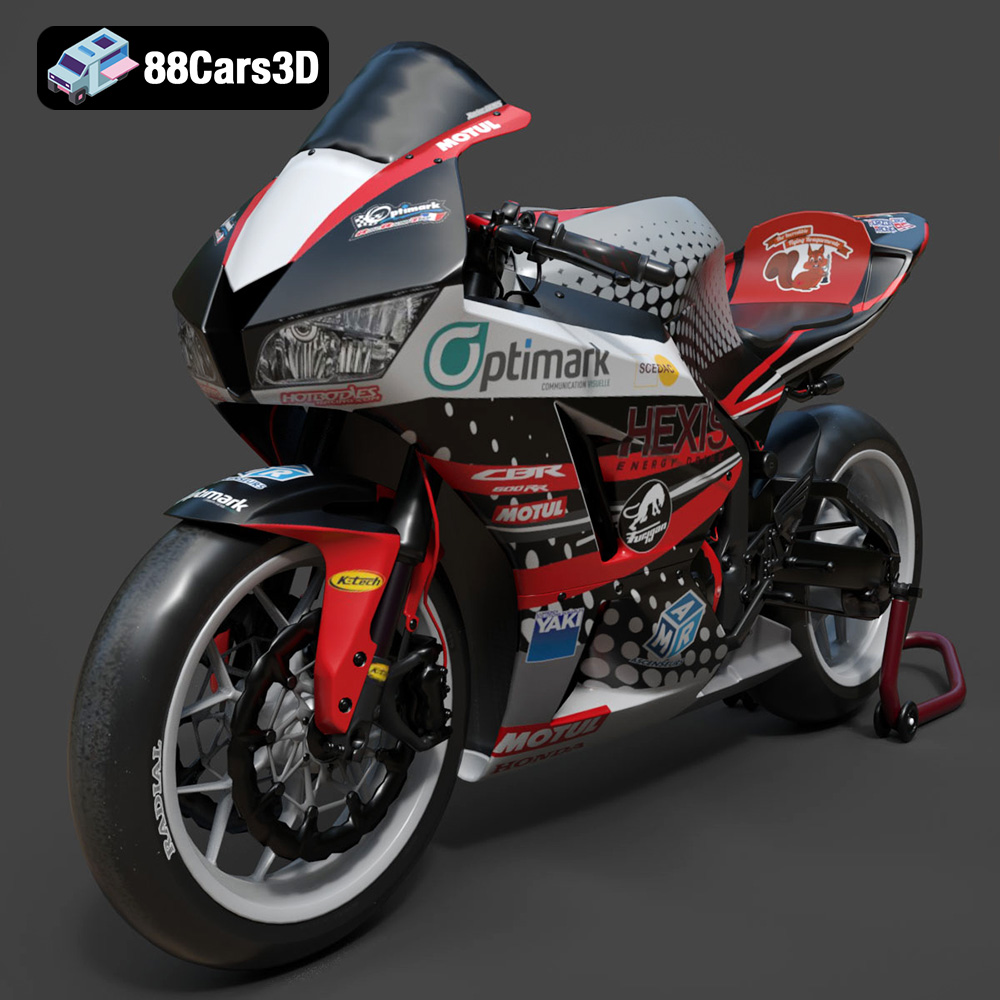
Texture: Yes | Material: Yes
Download the highly detailed, game-ready Honda CBR600RR 3D Model. Features aerodynamic fairings, an iconic center-up exhaust, and an aggressive track-focused stance. Includes .blend, .fbx, .obj, .glb, .stl, .ply, .unreal, and .max formats for game development, AR/VR, and rendering.
Price: $19.99
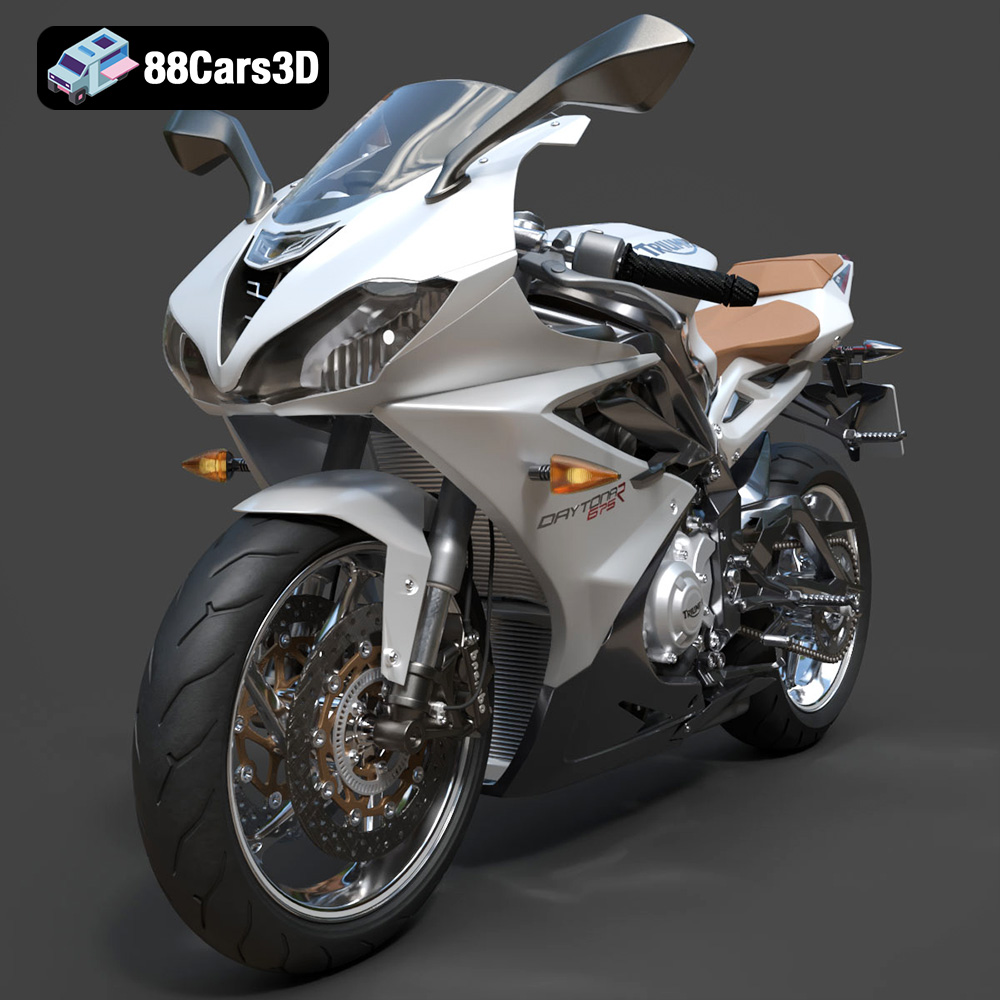
Texture: Yes | Material: Yes
Download the highly detailed, game-ready Triumph Daytona 675R ABS 2015 3D Model. Features aerodynamic sport fairings, a detailed inline-triple engine, and premium Öhlins suspension components. Includes .blend, .fbx, .obj, .glb, .stl, .ply, .unreal, and .max formats for game development, AR/VR, and rendering.
Price: $19.99

Texture: Yes | Material: Yes
Download the highly detailed, game-ready Toyota Tacoma TRD Off-Road 2016 3D Model. Features a rugged exterior, TRD off-road suspension details, and a meticulously crafted interior. Includes .blend, .fbx, .obj, .glb, .stl, .ply, .unreal, and .max formats for game development, AR/VR, and rendering.
Price: $19.99

Texture: Yes | Material: Yes
Download the highly detailed, game-ready Toyota Supra 2020 3D Model. Features aggressive aerodynamic styling, a distinctive double-bubble roof, and accurate B58 engine components. Includes .blend, .fbx, .obj, .glb, .stl, .ply, .unreal, and .max formats for game development, AR/VR, and rendering.
Price: $19.99

Texture: Yes | Material: Yes
Download the highly detailed, game-ready Toyota RAV4 LE 2019 3D Model. Features rugged exterior styling, signature polygonal motif, and a detailed interior. Includes .blend, .fbx, .obj, .glb, .stl, .ply, .unreal, and .max formats for game development, AR/VR, and rendering.
Price: $19.99

Texture: Yes | Material: Yes
Download the highly detailed, game-ready Suzuki King B 2008 3D Model. Features its massive 1340cc engine block, signature dual under-seat exhausts, and aggressive streetfighter bodywork. Includes .blend, .fbx, .obj, .glb, .stl, .ply, .unreal, and .max formats for game development, AR/VR, and rendering.
Price: $19.99
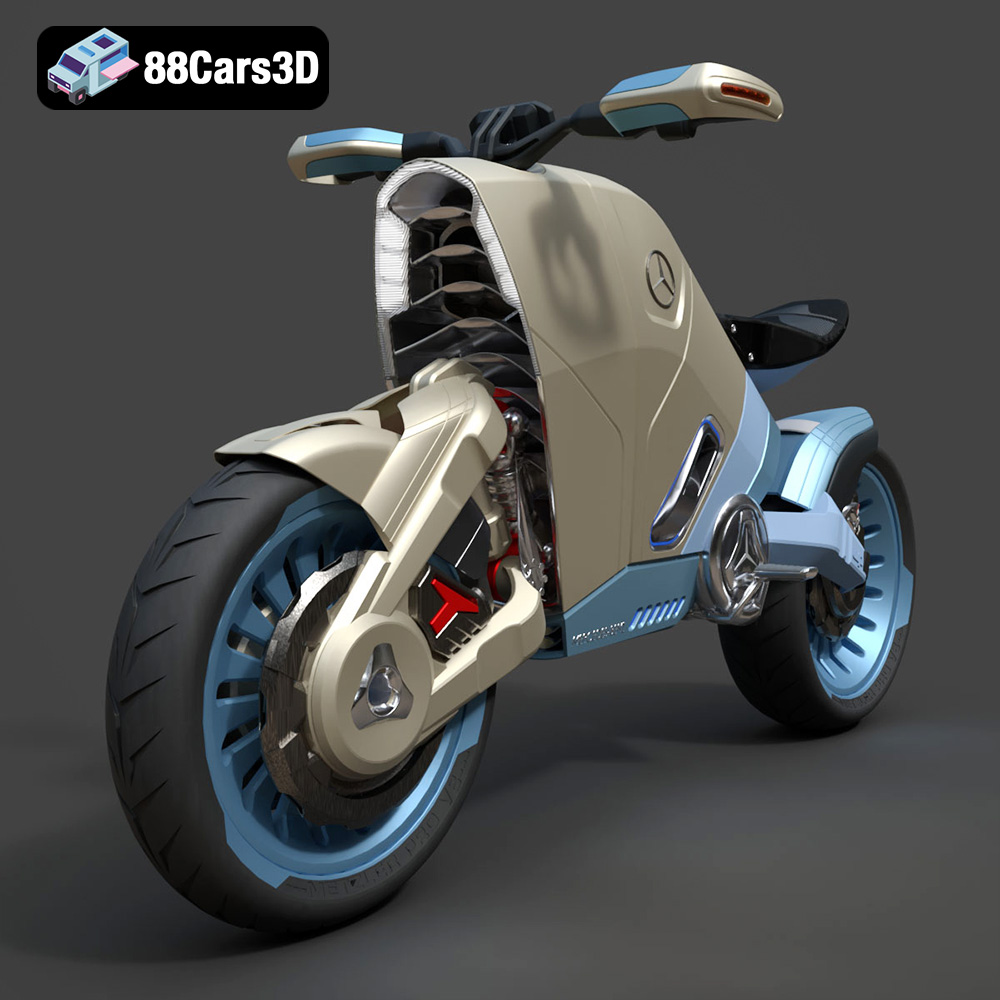
Texture: Yes | Material: Yes
Download the highly detailed, game-ready SMARANZA Mercedes Concept Electrical Motorcycle 3D Model. Features futuristic aerodynamic styling and an advanced electric drivetrain. Includes .blend, .fbx, .obj, .glb, .stl, .ply, .unreal, and .max formats for game development, AR/VR, and rendering.
Price: $19.99
Texture: Yes | Material: Yes
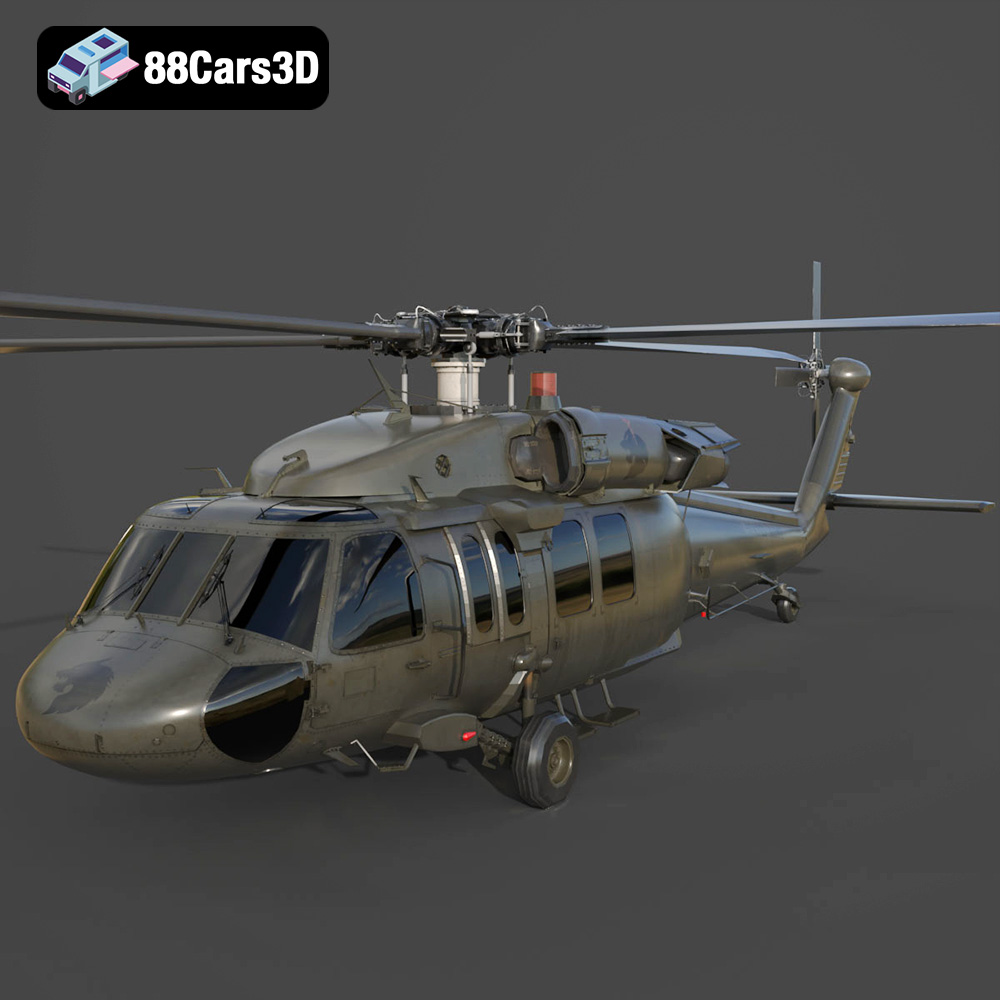
Download the highly detailed, game-ready Sikorsky UH-60 Black Hawk US 3D Model. Features an accurate four-blade rotor system, detailed military fuselage, and realistic twin-engine housing. Includes .blend, .fbx, .obj, .glb, .stl, .ply, .unreal, and .max formats for game development, AR/VR, and rendering.
Price: $19.99
Texture: Yes | Material: Yes
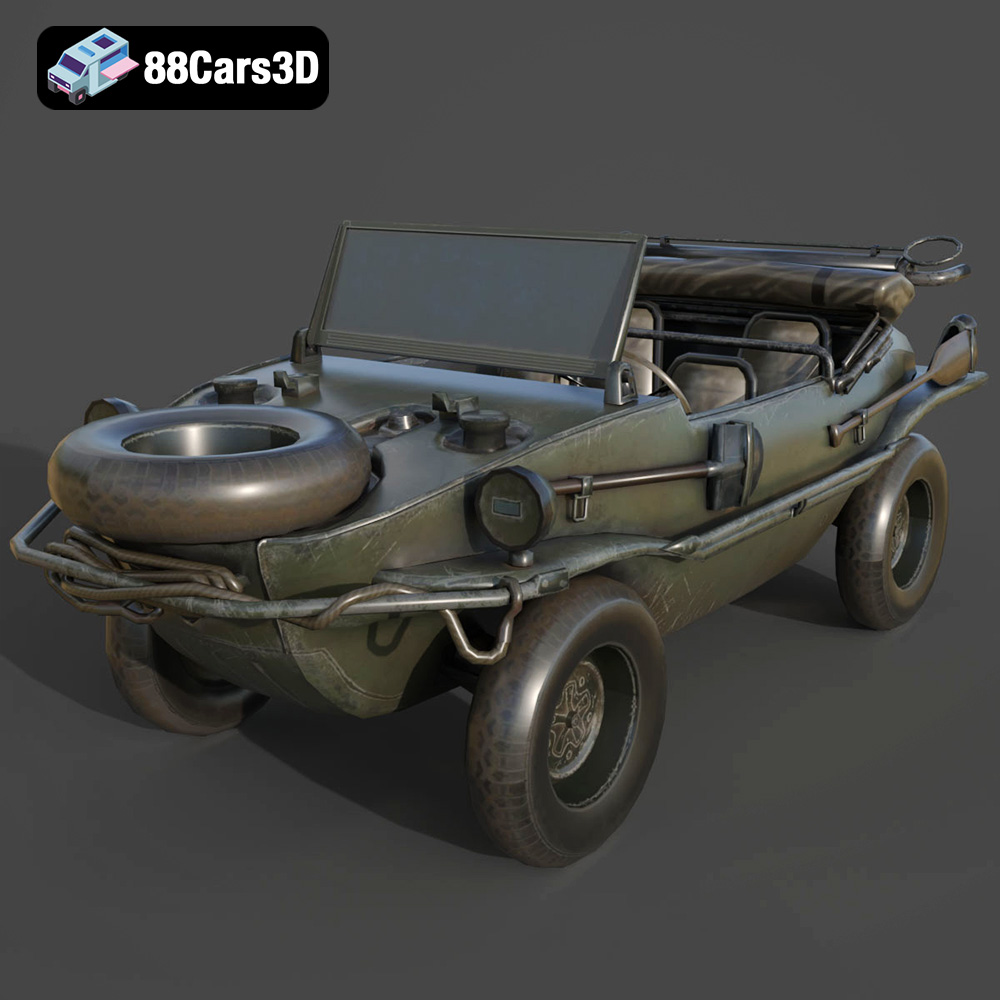
Download the highly detailed, game-ready Volkswagen Schwimmwagen Typ 166 3D Model. Features an authentic boat-like watertight hull, fold-down propeller mechanism, and accurate military styling. Includes .blend, .fbx, .obj, .glb, .stl, .ply, .unreal, and .max formats for game development, AR/VR, and rendering.
Price: $19.99

